
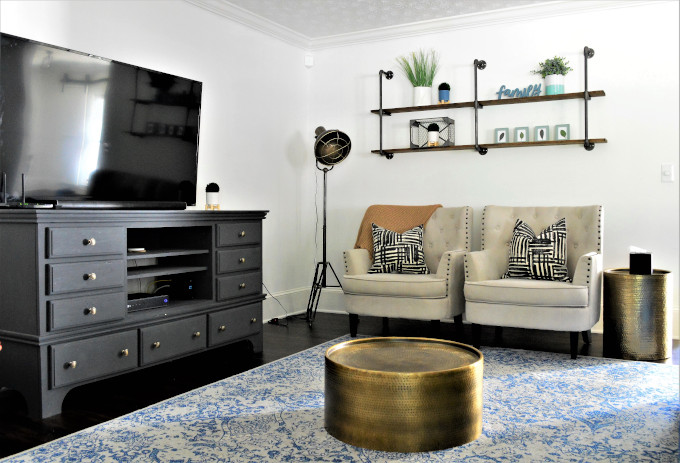
Our living room is the most used room in our home. Instead of buying new furniture when we moved in, I modified the industrial shelving I made for our last house and painted a dresser to use as a media cabinet. Although the furniture “worked,” I never really loved it.
Like most of my projects, I found inspiration for shiplap built-ins on Instagram. Erin, with The Heart and Haven, shared a picture of shiplap built-ins she had a contractor install. Luckily, she posted a few progress pictures pictures and key dimensions. I was then able to come up with my own design that would fit our space.
I started with the IKEA BESTA TV unit. These units have been used in several DIY home decor projects on Instagram for a good reason…they are affordable and sturdy. Our living room wall is rather long, so I chose to purchase two of the two door units.
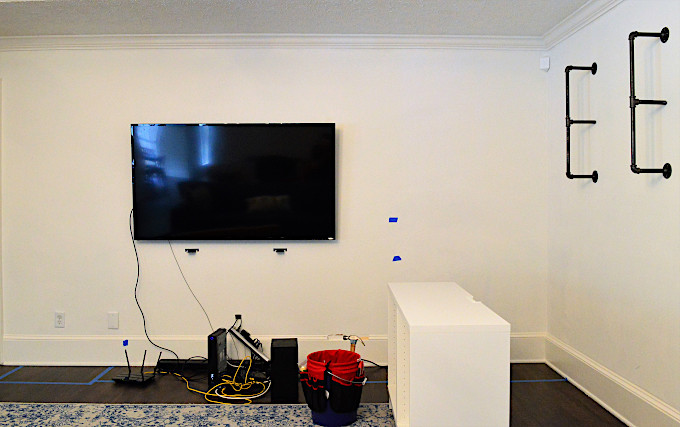
Based on the width of the BESTA units and the location of the outlets, I was able to determine the width of my built-ins. Before I began constructing the built-ins, I removed all of the trim on my wall. I needed to bolt the built-ins to the wall and I wanted to be sure they would sit flush against the wall.
The structure of the built-ins were mainly constructed with 2×4’s. I did add two 2×10’s to support the bottom shelf. I wanted the shelf sit a little higher off of the floor and be able to hold the weight of our kids…because I’m sure they’ll be climbing on them at some point..
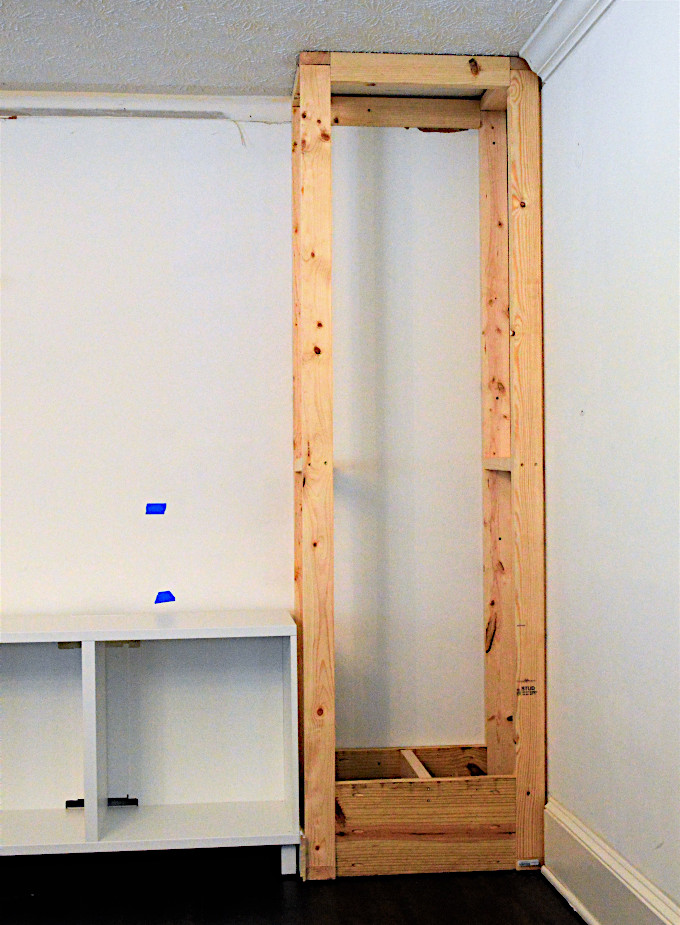
Once the built-in structures were assembled, I secured them to the wall using 2-1/2″ construction screws. I made sure that I installed them in studs. First, I installed the unit that was butted up against the wall. To space them out, I measured the width of the IKEA BESTA units I would be installing plus the thickness of the shiplap that would be installed on the units. I added about 1/8″ to that number and spaced the second built-in structure that distance.

**This post contains affiliate links to products that I recommend. If you purchase something through an affiliate link, I may receive a small percentage of the sale at no extra cost to you. I really appreciate your support.**
Next up…shiplap! I personally like to work from the ground up with shiplap, so that’s where I began! I started with the space between the units and then did the back wall of both built-ins. I secured the shiplap directly to the wall using construction adhesive and finishing nails. I recently purchased the DEWALT 20-Volt Max 16-Gauge Cordless Angled Finish Nailer and it makes projects like this a breeze!
To give the units a more polished look, I decided to cut the corners of the shiplap pieces on a 45 degree angle to create a continuous joint. I did not use any trim to conceal the corner joints. It was a little more time consuming, but I love the finished look!

After all of the shiplap was installed, I added 1-1/8″ lattice molding to the top of the built-ins. I chose to not add any trim to the base. There was a clean line between the built-ins and the floor, so I decided not to mess with trim.
Luckily, my husband helped with the caulking. It was quite time consuming since I had to do all corners. I cleaned out the shiplap spacing using a flat head screw driver.
I recently purchased a paint sprayer and used it to paint the exterior of our garage. It was so quick and easy to use, so I decided to give it a try on the built-ins. I taped everything up and used plastic to cover up the surrounding area. I thought I had it all covered…until I finished the first coat of paint. There was a dusting of paint all over our floors. Luckily, I was able to quickly mop it all up. I added more plastic and finished painting.

It’s incredible how different the finish is when you spray vs roller! I feel like the built-ins look more professional just based on the paint job! Even though I am super impressed with the finish of the paint, it’s going to take some serious convincing to get me to use the paint sprayer in the house again. I am not a fan of messes and this made a huge mess!

I let the paint dry…and then it was time to put my measurements to the test! I was very nervous that the IKEA BESTA unit would not fit between the built-ins, despite how careful I was about the placement of the structures. It actually fit with like 1/8″ of space! I literally screamed with excitement!

The last piece of the built-ins were the floating shelves. Before I began working on the built-ins, I searched everywhere for floating shelves. I knew that I wanted them to be the full width and close to the full depth of the built-ins. The few options that I found were not cheap! I finally decided to make my own.
There are a few great things about making the floating shelves myself:
- I could make them any size.
- I could choose any finish.
- I could make them solid wood or hollow.
I chose to make the floating shelves hollow to save money and make them lighter. I went with edge glued panel on the top and bottom, since I decided to paint them black. I did use some pine that I had laying around for the front of the floating shelves.

The floating shelves were quick and easy to make. I simply cut 1×2’s the length of the shelf and glued and nailed them between two pieces of the edge glued panel. To finish it off, I glued and nailed a the piece of pine to the front of the shelf. After the shelves were fully assembled, I sanded and painted them.

One thing to note about the floating shelves is that the space between the top and bottom pieces needs to be the same as the brackets. If the space is larger than the mounting brackets, it will not sit level. I used two different types of brackets and did have to add a piece of 1/4″ plywood to account for the smaller bracket size.
When installing the floating shelves, I decided to use shelf pins to support the front of the shelf. I was afraid my kids would pull on them and ruin the shelves. I painted the pins black, so they won’t be noticeable.
As soon as the floating shelves were up…the fun began! I love home decor and don’t have many shelves to decorate, so this was a real treat! I have been collecting decor for the built-ins since I decided to go forward with the project. I was a little unsure about what to put on the bottom shelf, but ultimately decided on two large baskets.

To say that I love these built-ins is an understatement. I absolutely love how they turned out!! They really add so much character to our living room. I have surprised myself with yet another DIY project that turned out amazing!


very nice Home to stay in . I like it I f God can give me place like this .
Thank you so much!!