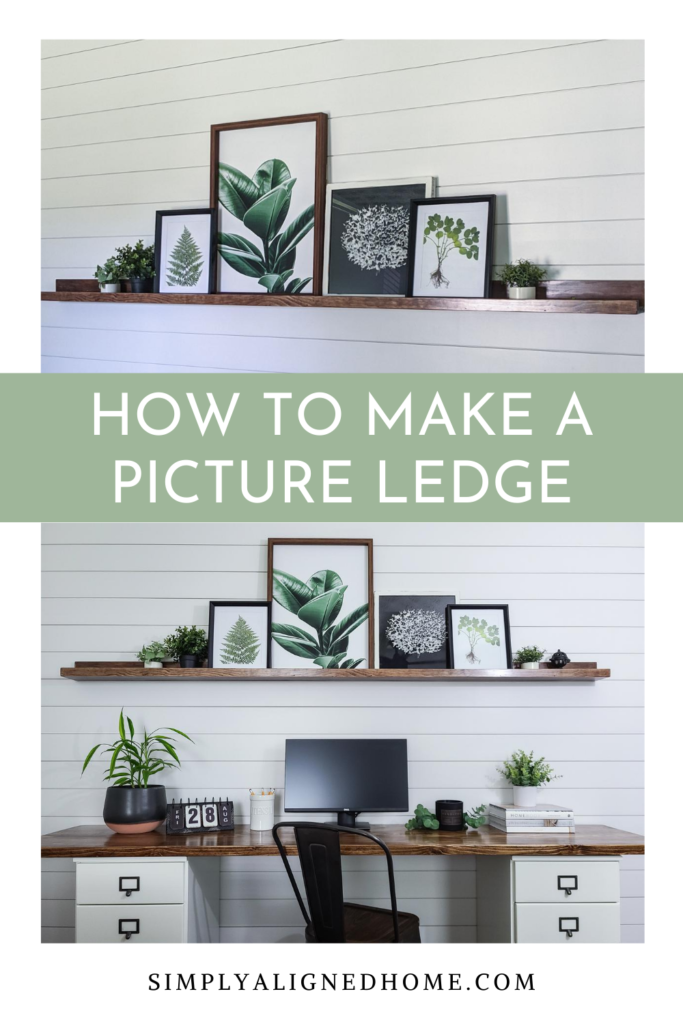
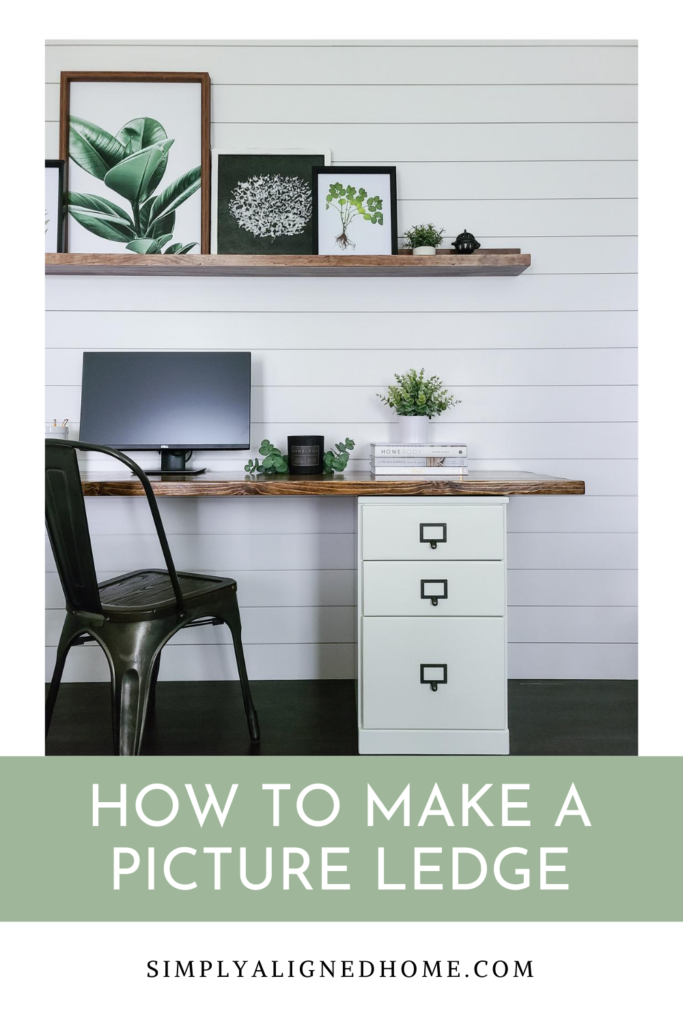
Picture ledges are a popular home decor item right now. It’s an easy way to add decor to your wall without putting a ton of holes in the wall…and you can easily change it up as much as you want. I actually made one of these for our playroom a while ago and still love it!
Store bought picture ledges can be quite expensive, but they are so easy and affordable to make! Here is how I made an 8′ long picture ledge.
Select the Wood
For this picture ledge, I decided to purchase select pine. Select pine wood is very affordable. It is a little more expensive than common boards, but has less knots and imperfections.
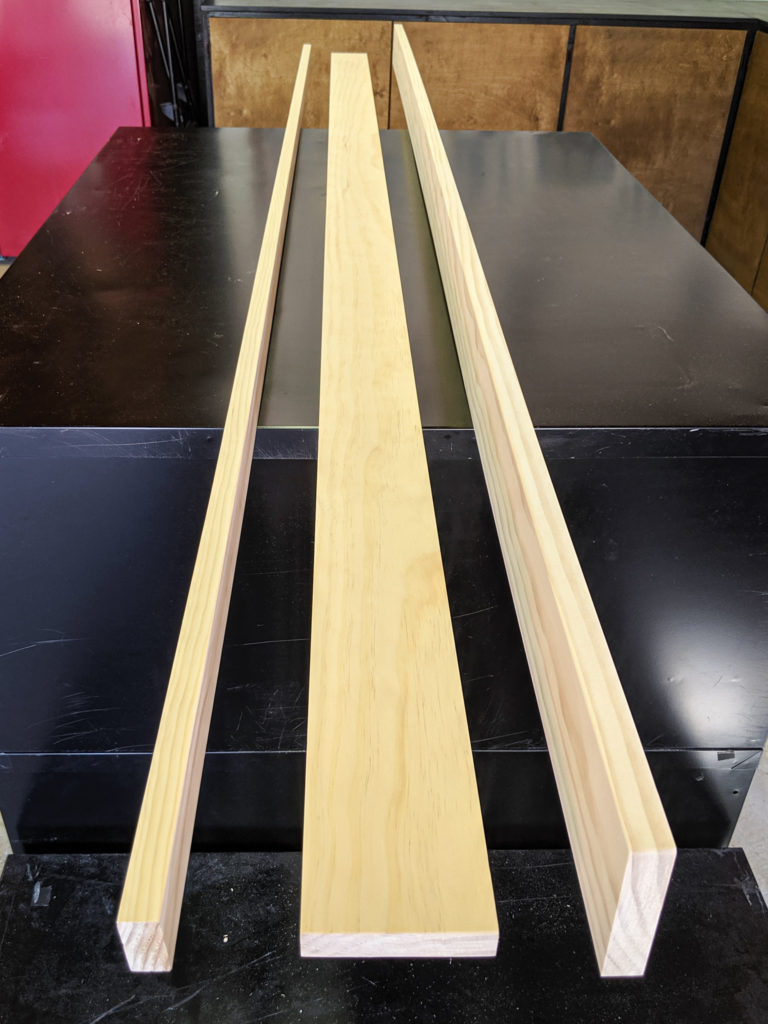
Picture ledges are made up of three pieces…the back, bottom and front. I chose to use a 1×4 for both the back and bottom pieces and a 1×2 for the front. I purchased 8′ long boards for all of the pieces.
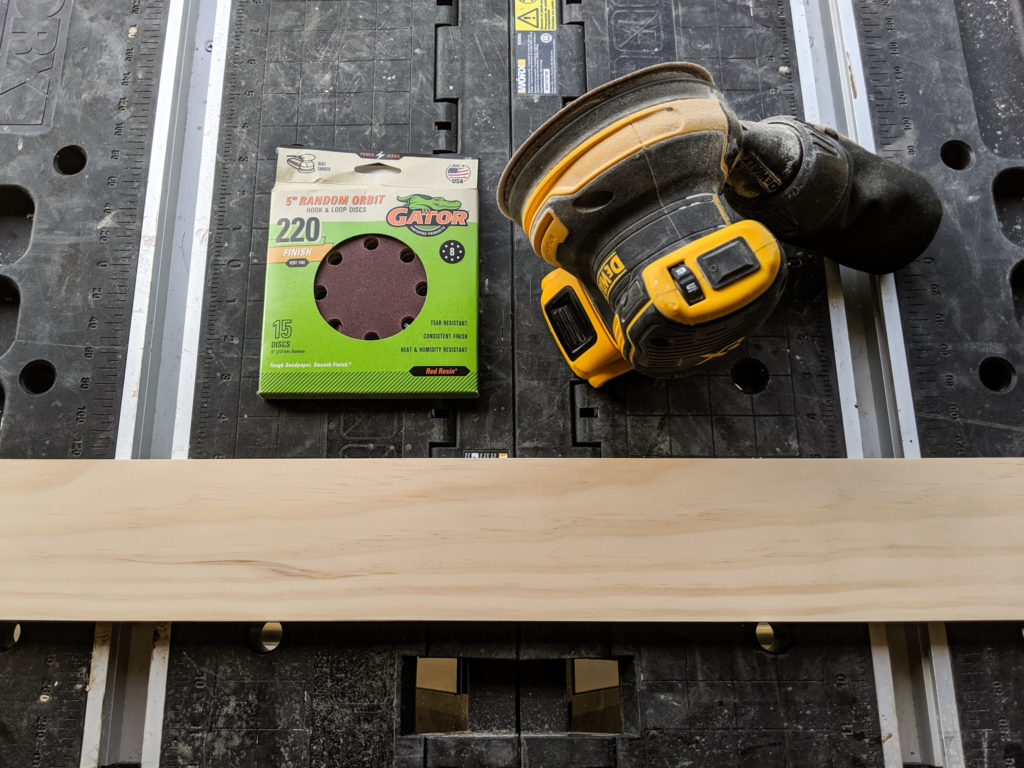
Sand the Wood
Before I assembled the picture ledge, I did a quick sanding of all of the wood using 220 grit sandpaper. It is so much easier to sand the individual pieces of wood than the assembled picture ledge. I just sanded to make sure the wood was smooth with no rough edges.
Assemble the Picture Ledge
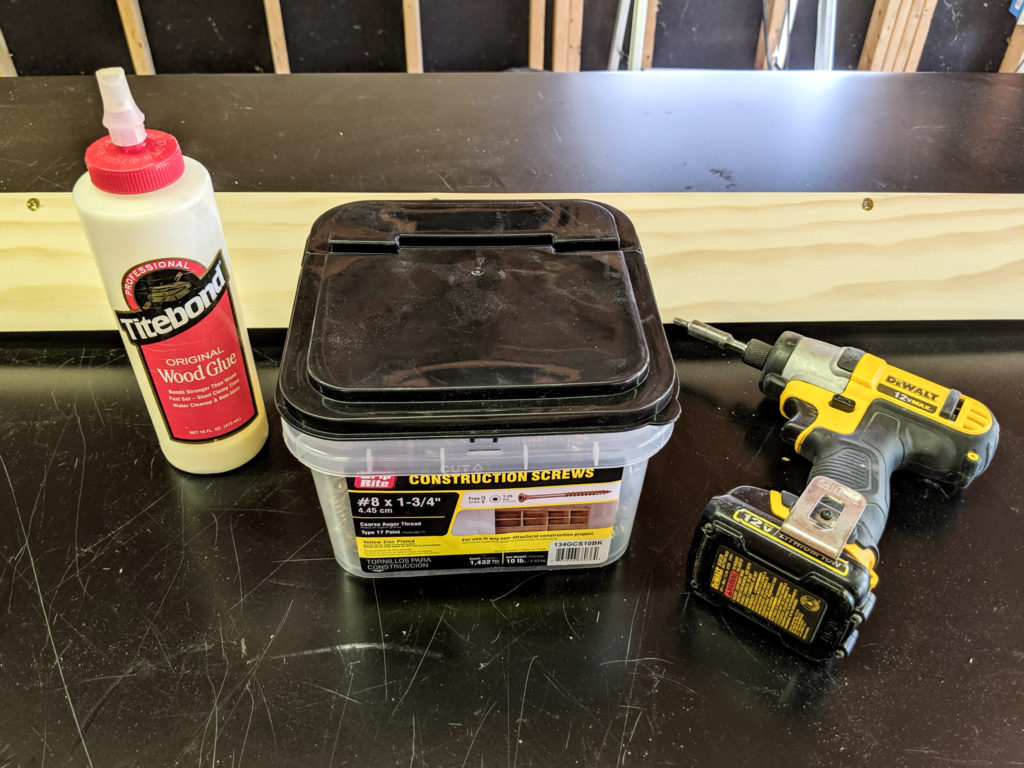
First, I secured the back piece to the bottom. I did this using both wood glue and construction screws. I screwed through the back piece and into the bottom. The screws won’t be seen since they’ll be against the wall. It’s important to use screws on this part, and not finishing nails, because they will support most of the weight of the picture ledge.
In order to easily line up the pieces of wood, I used my corner clamps and quick release clamps.
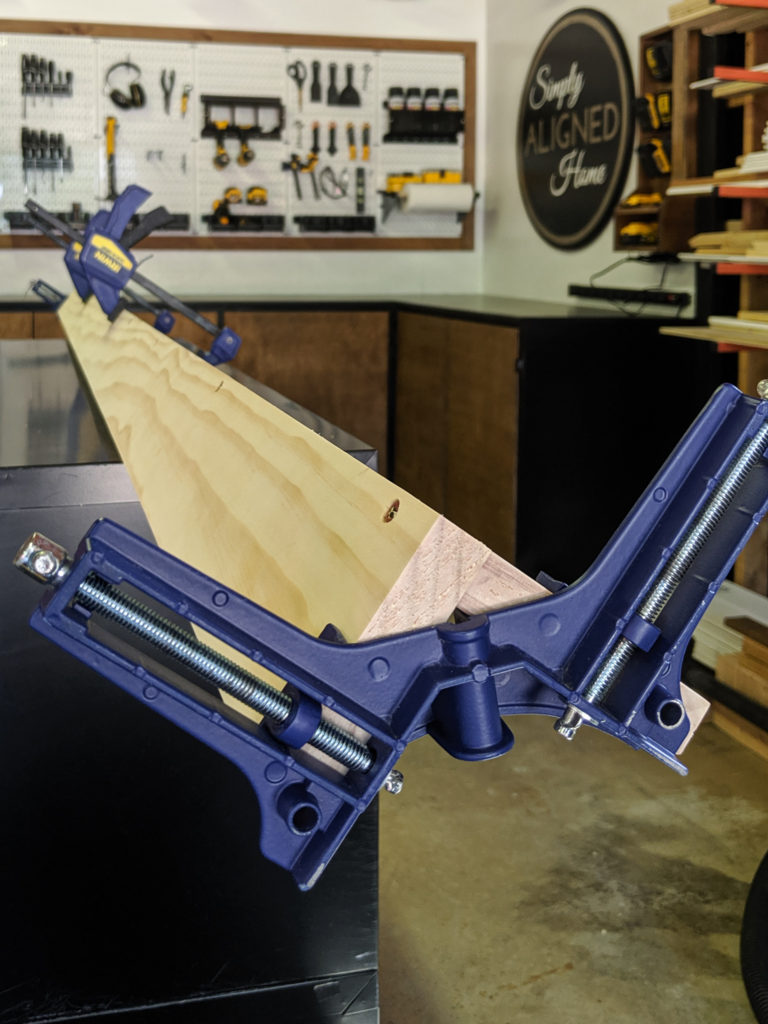
I used wood glue and finishing nails to attach the front piece to the bottom piece. The front piece won’t support any weight and will be visible.
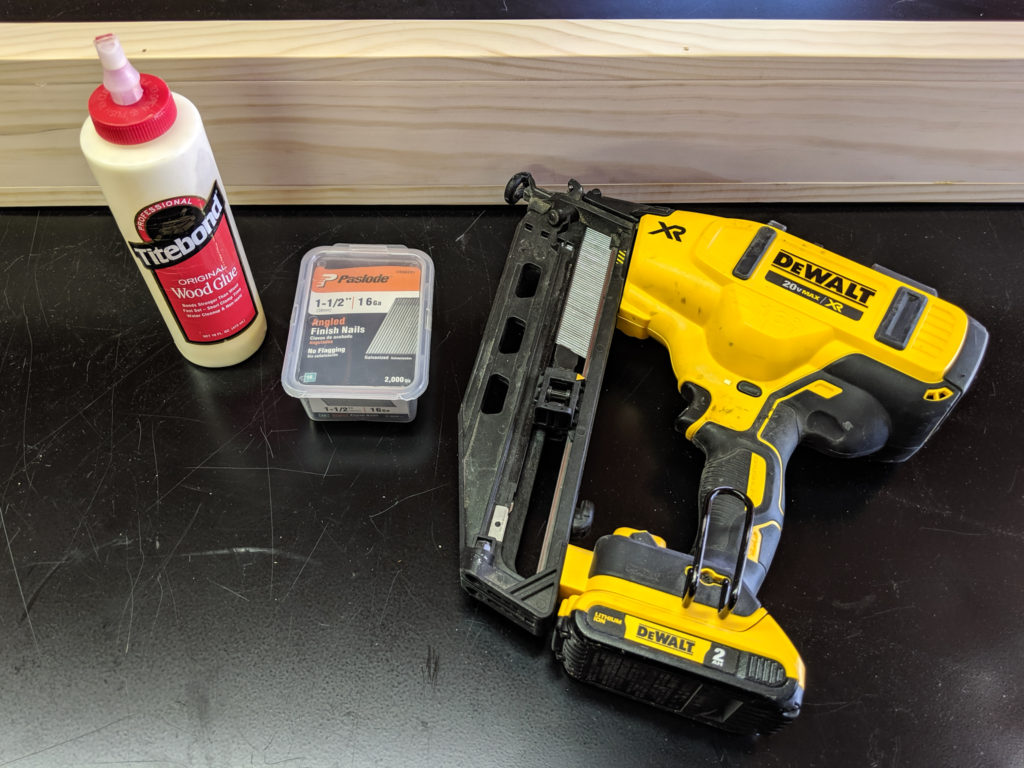
The nail holes are small enough that I didn’t even bother filling them before staining.

Cut Edges of the Picture Ledge (Optional)
Since all of the boards are 8′ long, they should line up fairly well. As you can see, the boards just barely did not line up at the ends.

In order to get a really clean edge where the pieces line up perfectly, I decided to cut the very ends of the picture ledge with my miter saw. This is not necessary, but makes the finished product look a little nicer.
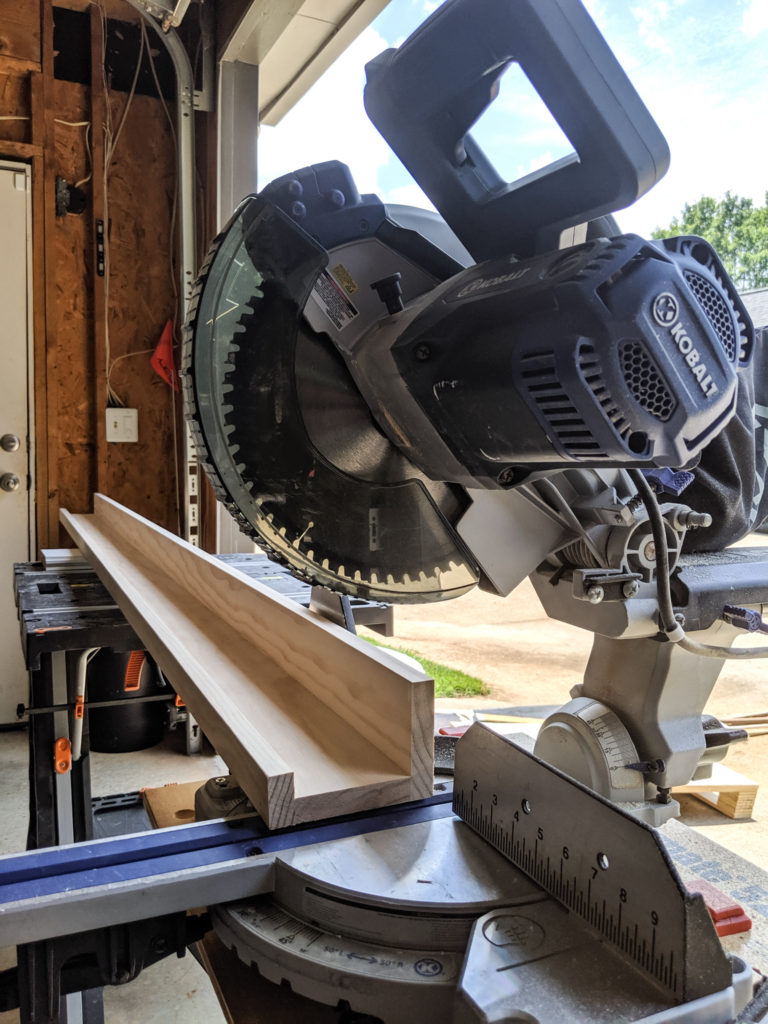
Also, if you want to make smaller picture ledges, you could assemble the 8′ ledge and then cut it down into smaller pieces. Buying 8′ long boards is usually more cost effective than buying several shorter boards.
Sand the Picture Ledge
I did one more sanding of the picture ledge once it was assembled to remove any sharp edges or wood glue that might have seeped out of the seams. I gently sanded all corners and edges to round them just a little.
Stain or Paint the Picture Ledge
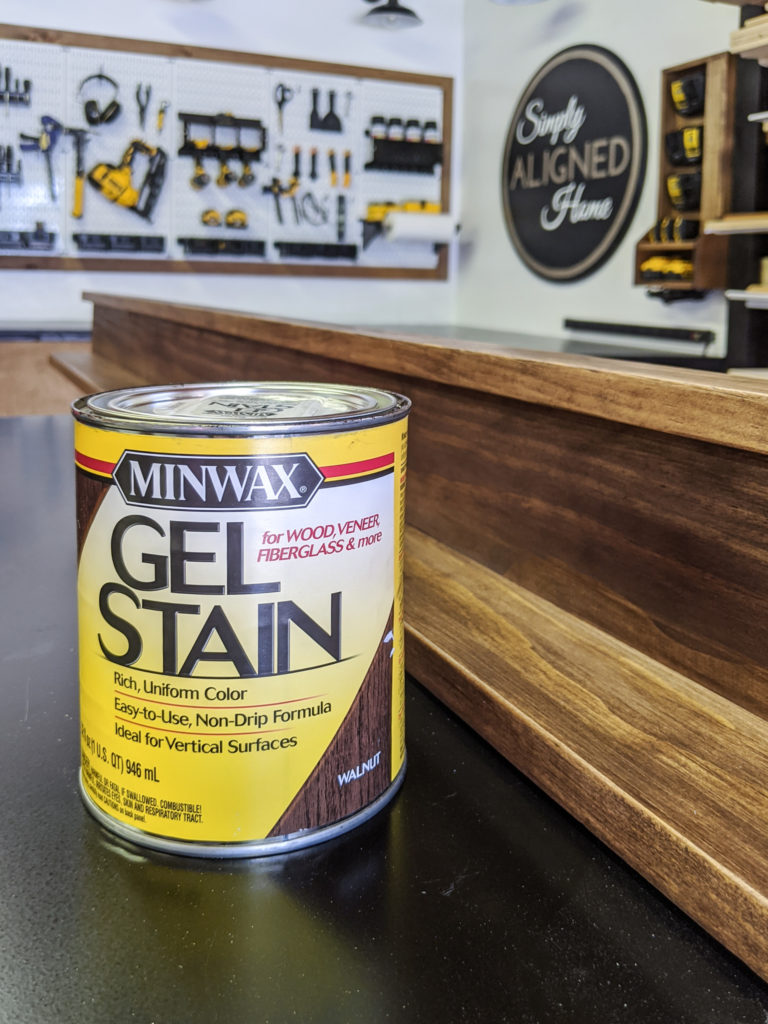
I decided to stain my picture ledge. For some reason, I decided to test out a gel stain on this picture ledge. I’ve never used a gel stain and had no clue what to expect. I applied the stain with a brush and wiped it off with a cloth. The application was very easy…wiping it off was a different story!
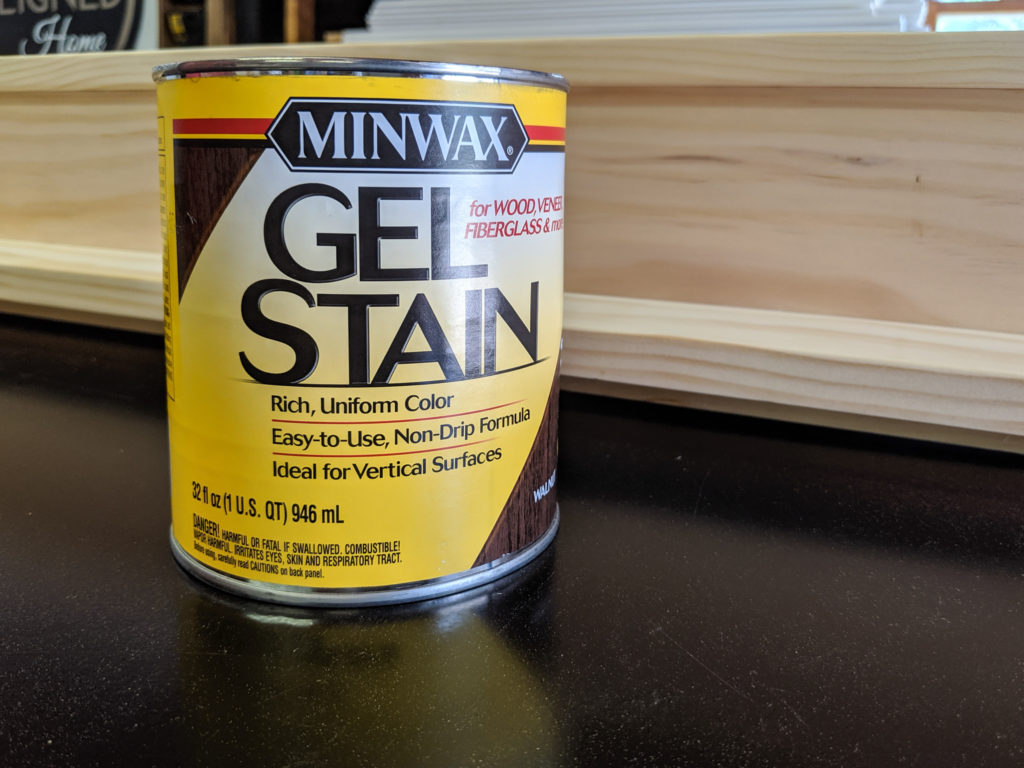
I think I applied it a little too heavy with the brush, because it did not come off easily! I was pretty happy with the results when I finally got it all wiped off!
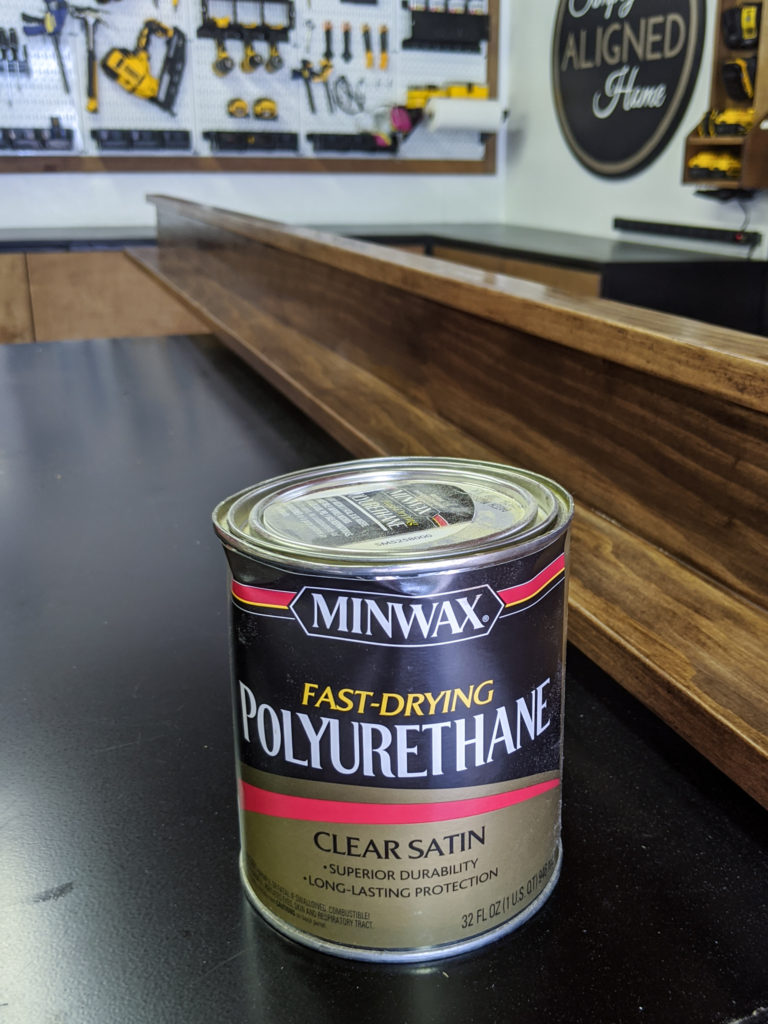
Once the stain was dry, I sealed the picture ledge with polyurethane.
Hang the Picture Ledge
I am all about making my life easier! You could hang the picture ledge with hanging hardware, but I decided to install it with construction screws. I made sure to secure the studs and used a few construction screws. I simply screwed straight through the back piece of the picture ledge and into the studs. I tried to place the construction screws where they would be hidden by decor, but they won’t be very noticeable if they aren’t covered.

I recently shared how I quickly hung the picture ledge and another piece of large wall art using my Cubit by Plott.
Decorate the Picture Ledge
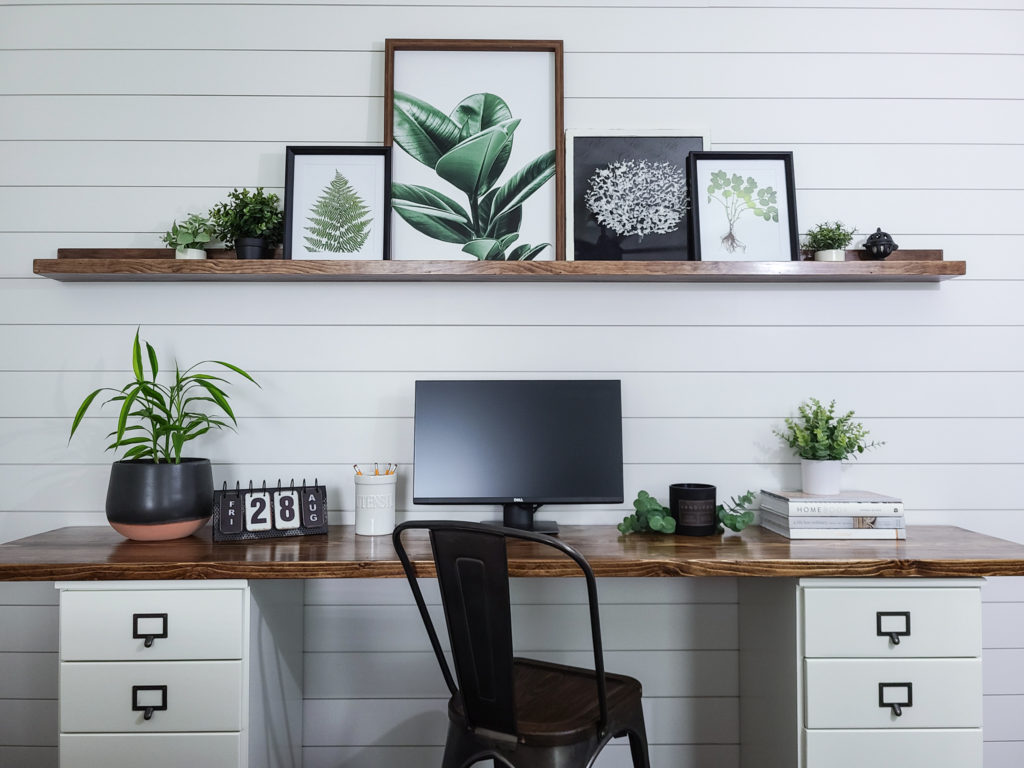
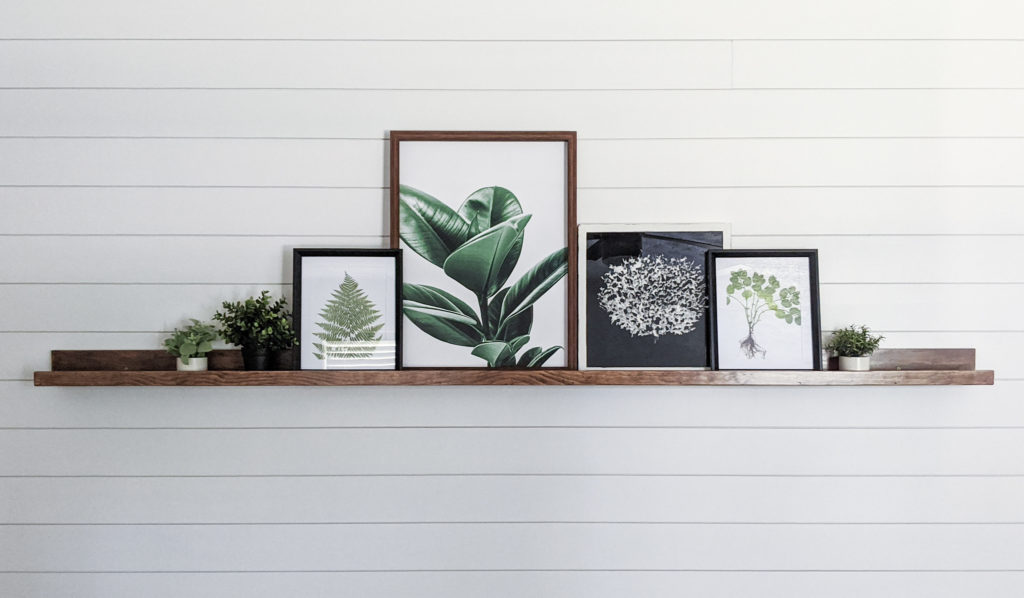
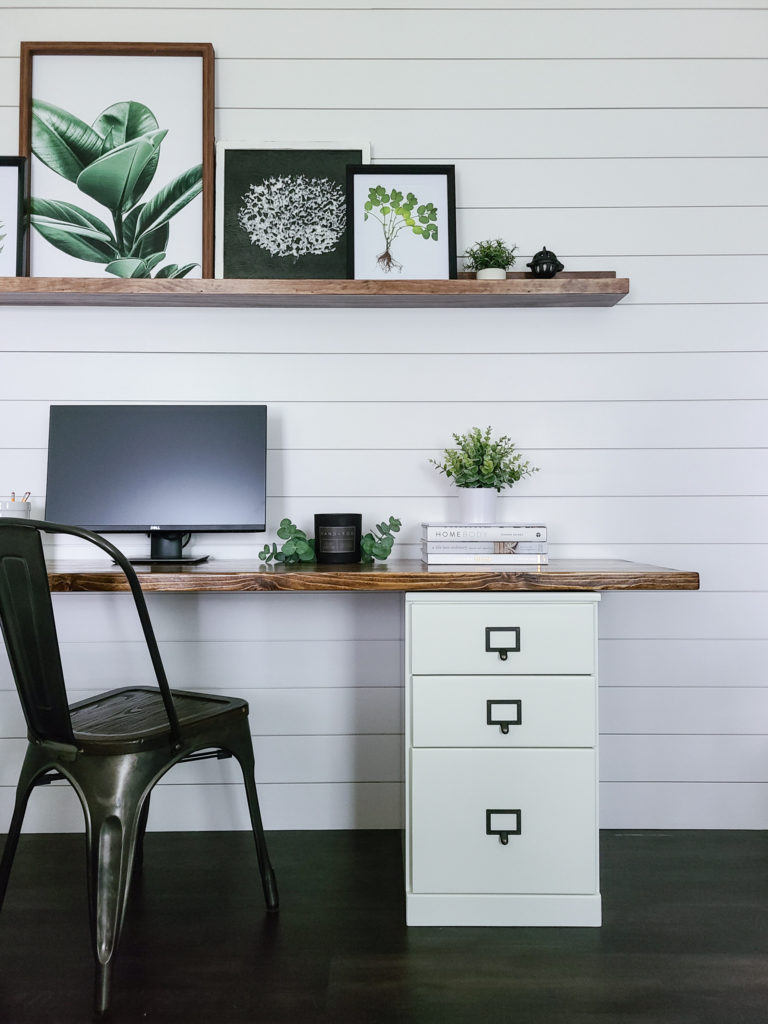
I opted for a few botanical prints for my picture ledge. I didn’t want to overwhelm my space with lots of colors or bold prints. I picked a few different size prints and even added some small faux plants! Like I said, the beauty of a picture ledge is that you can easily change it up.
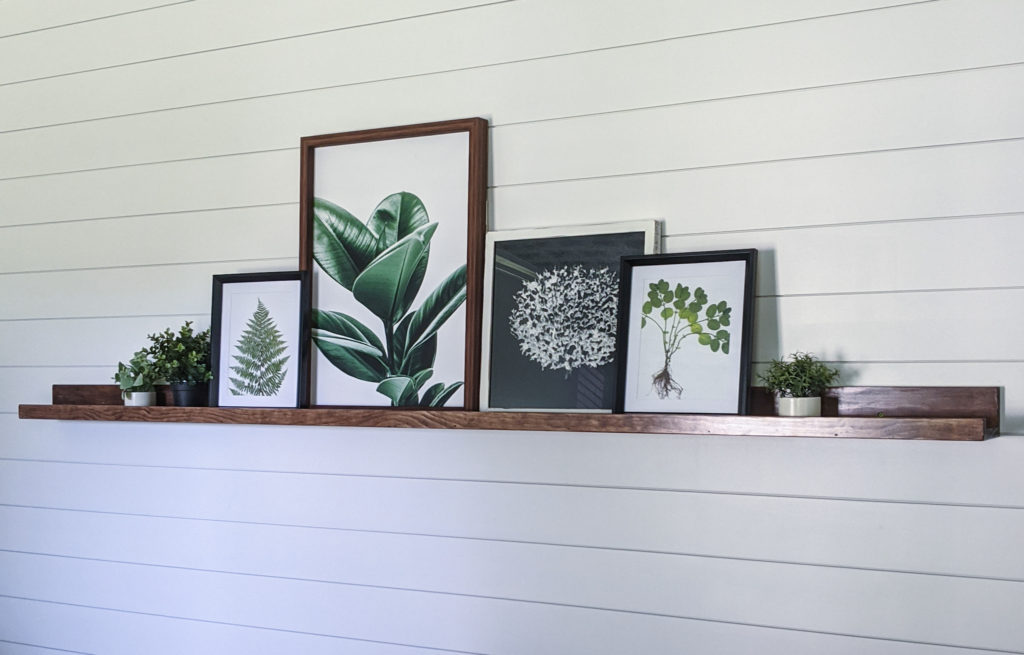
It’s crazy how such a simple piece of decor can add so much character to a room! I ended up making a filing cabinet desk to put under the picture ledge. This is now the perfect home office space!