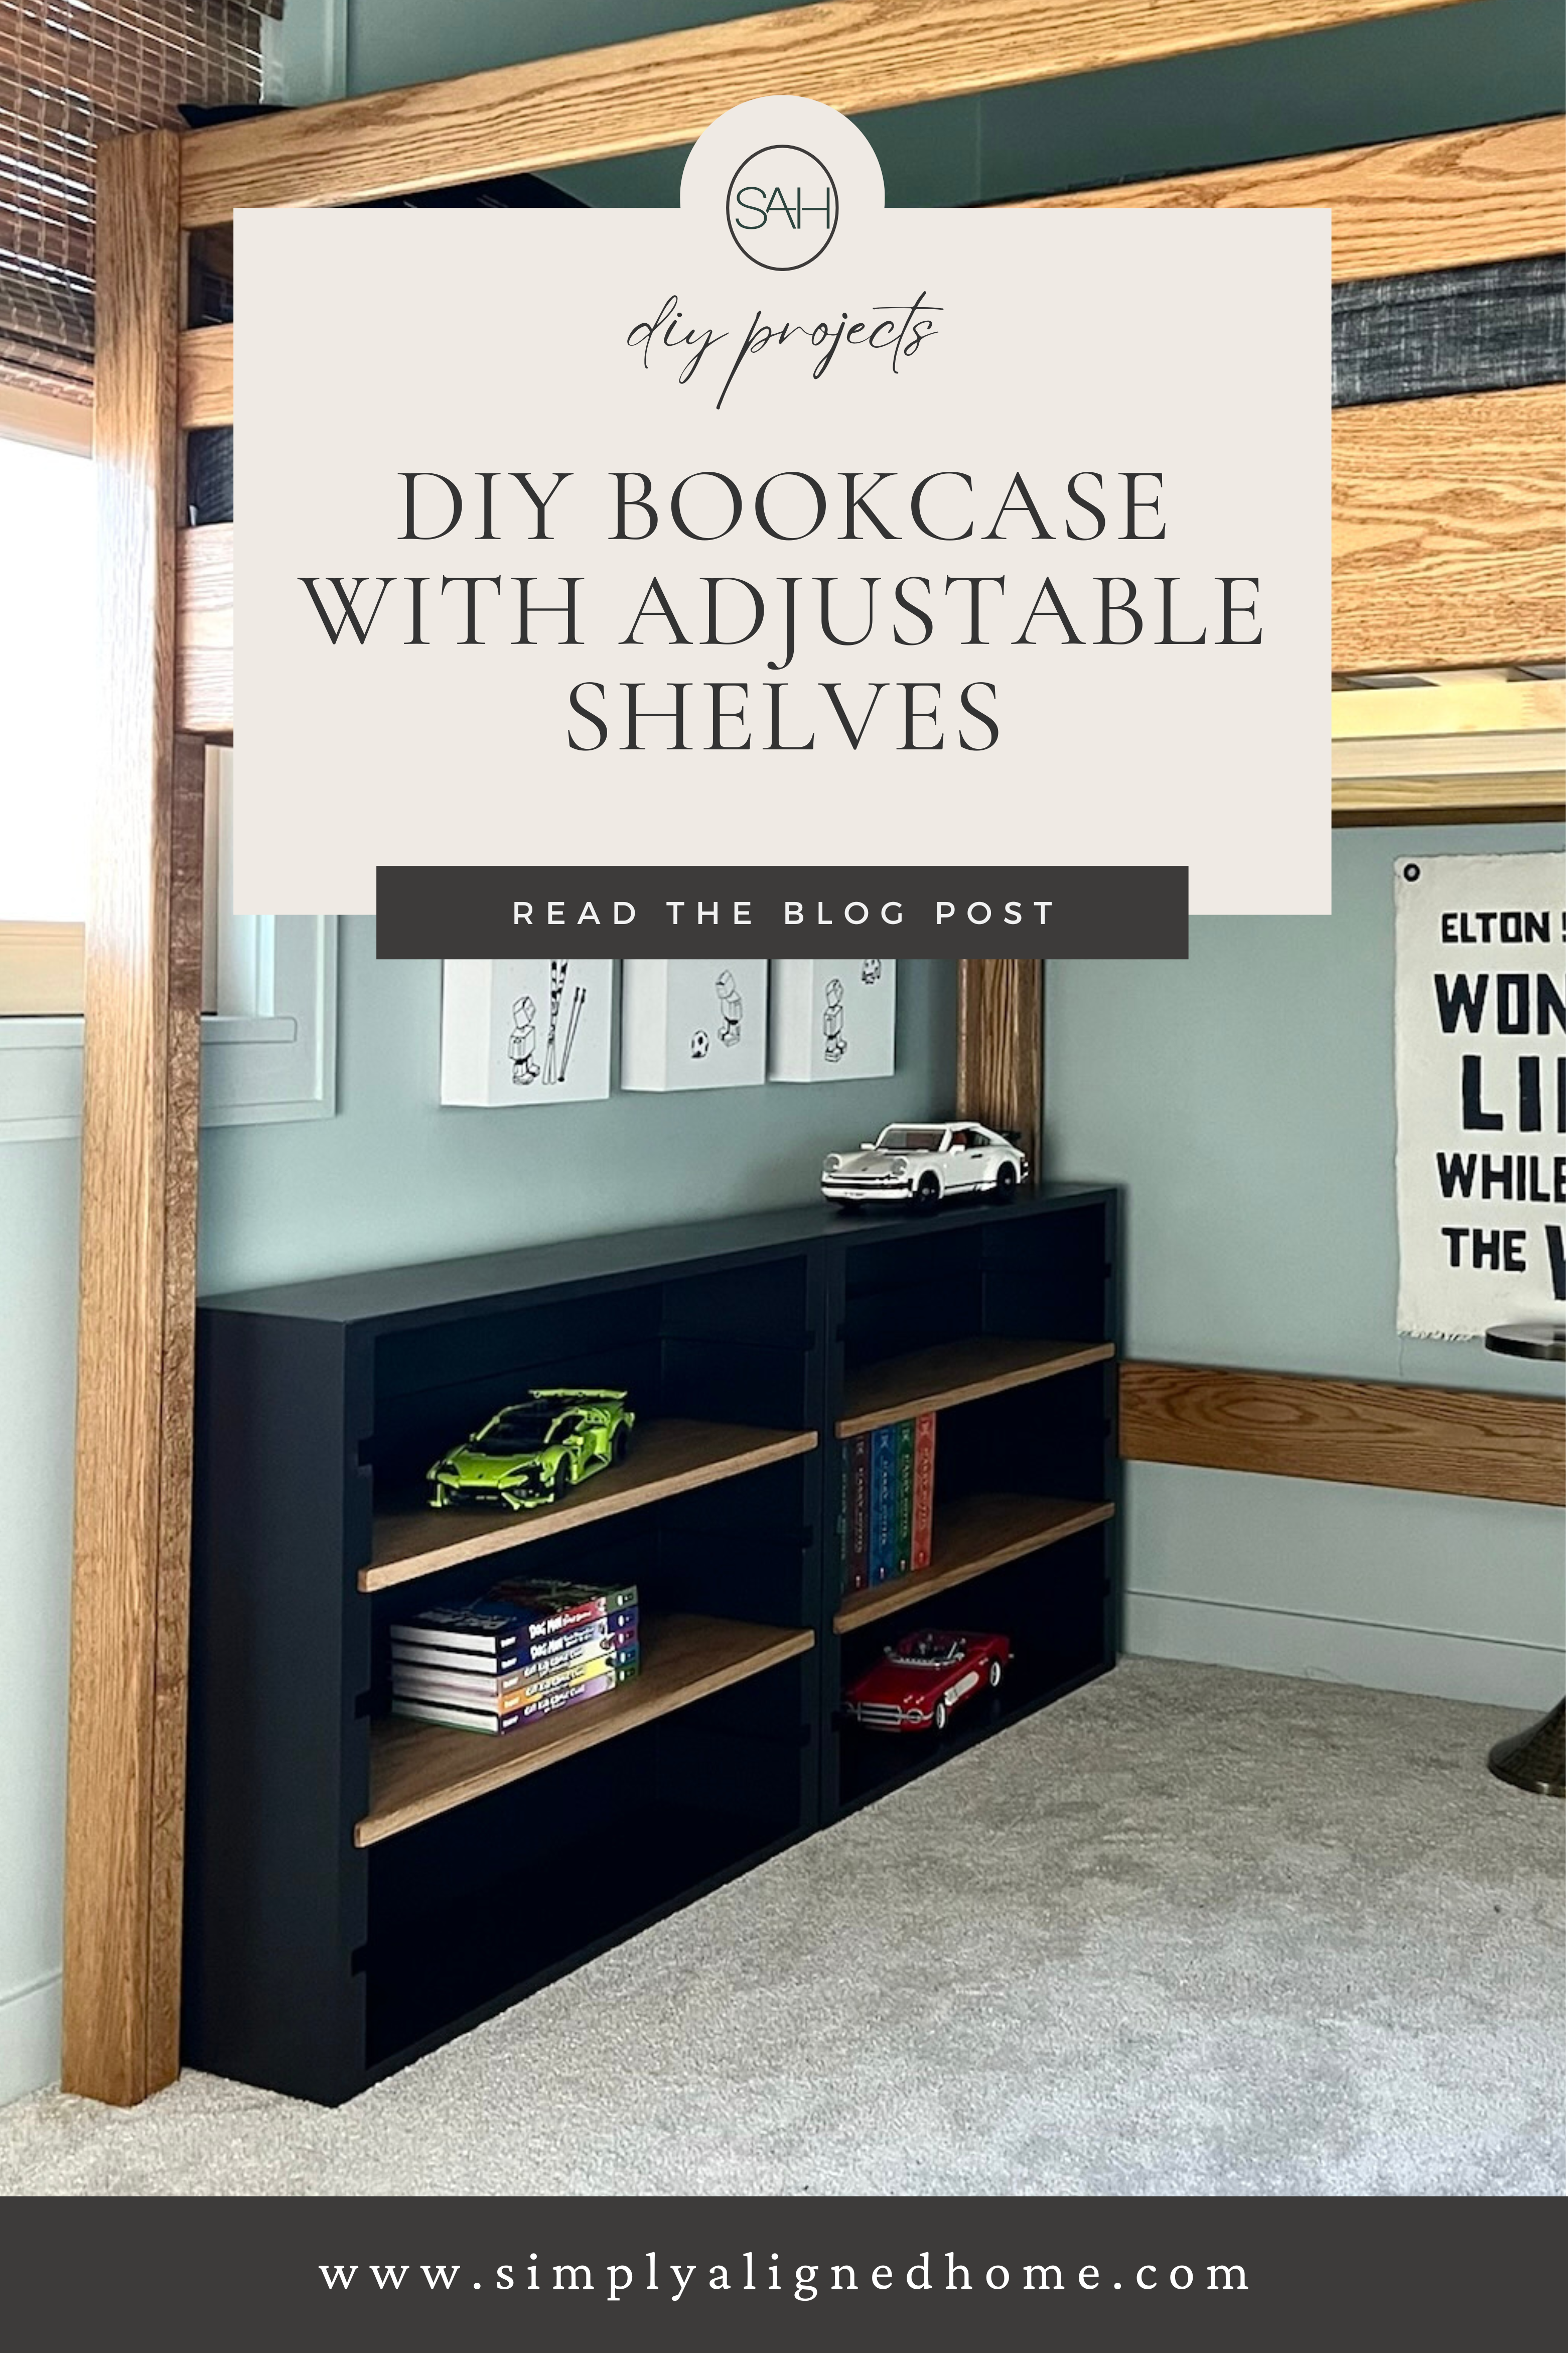
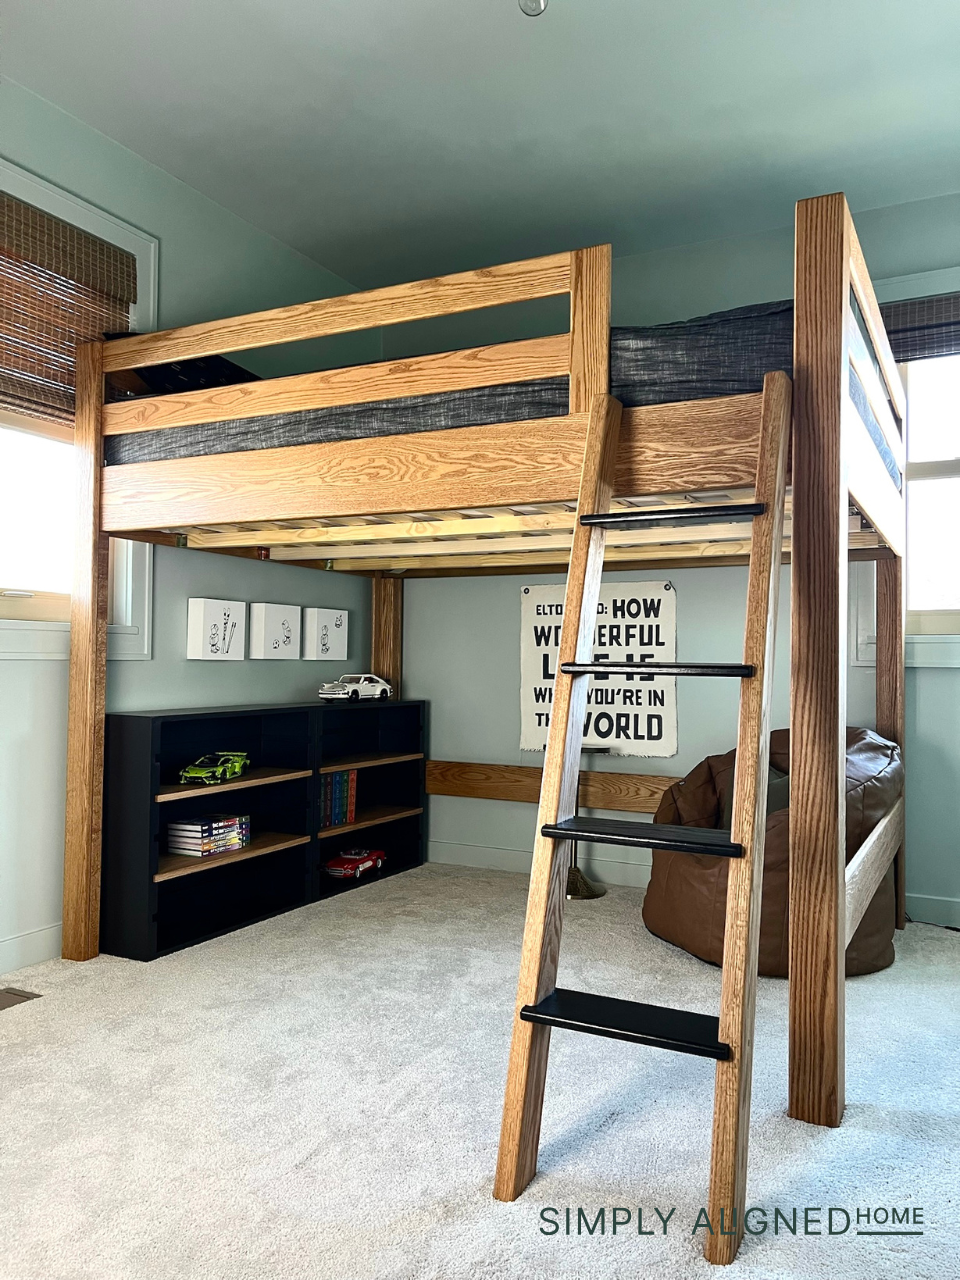
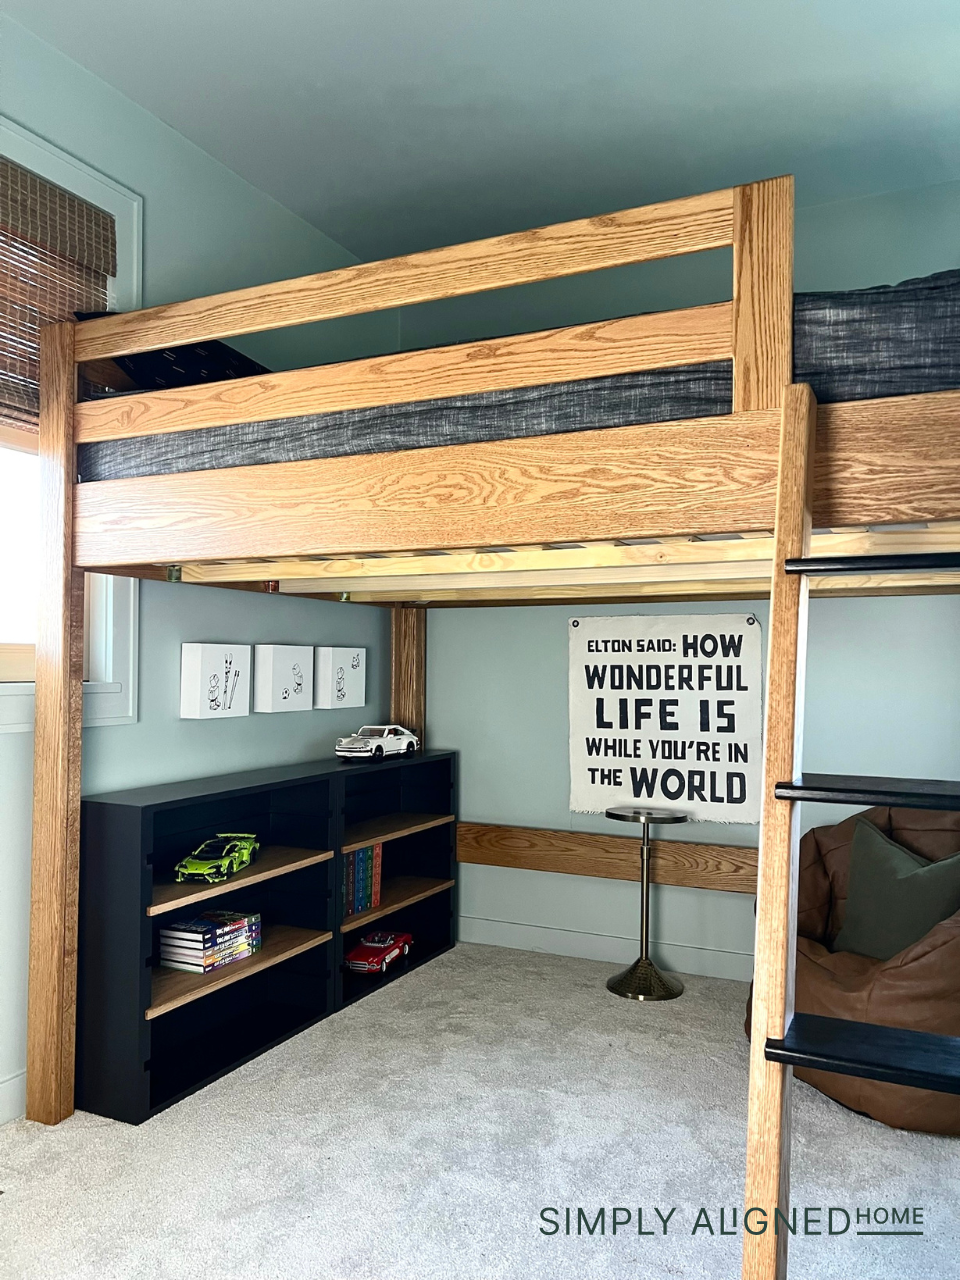
With my son’s lofted bed all built and installed, I decided to build him a bookcase. I saw some adjustable shelf bookcases and thought they would be perfect for under his bed….so I decided to make them!
**This post contains affiliate links to products that I used or recommend. If you purchase something through an affiliate link, I may receive a small percentage of the sale at no extra cost to you. I really appreciate your support!**
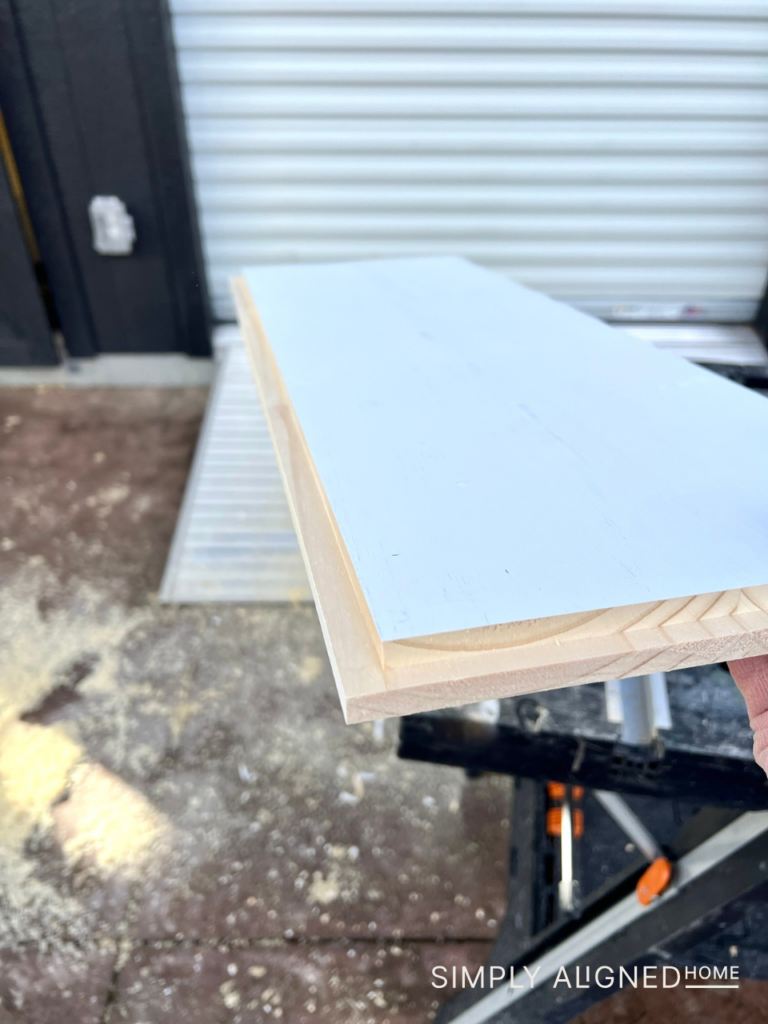
To make this bookcase, I decided to use primed pine. I measured out the size of the bookcase and made my cuts on my miter saw. I like to challenge myself and try new things. That’s the best part of DIY. So, I decided to try double rabbet joints on the frame. I made them with my brushless router and they turned out pretty good!
Assembly
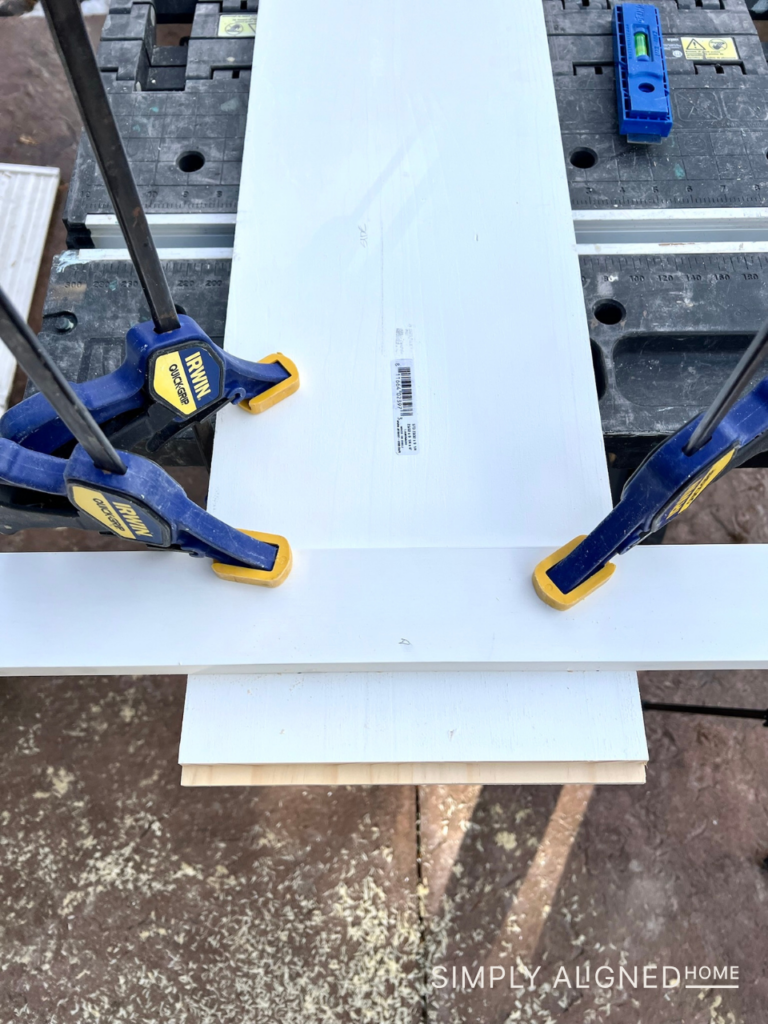
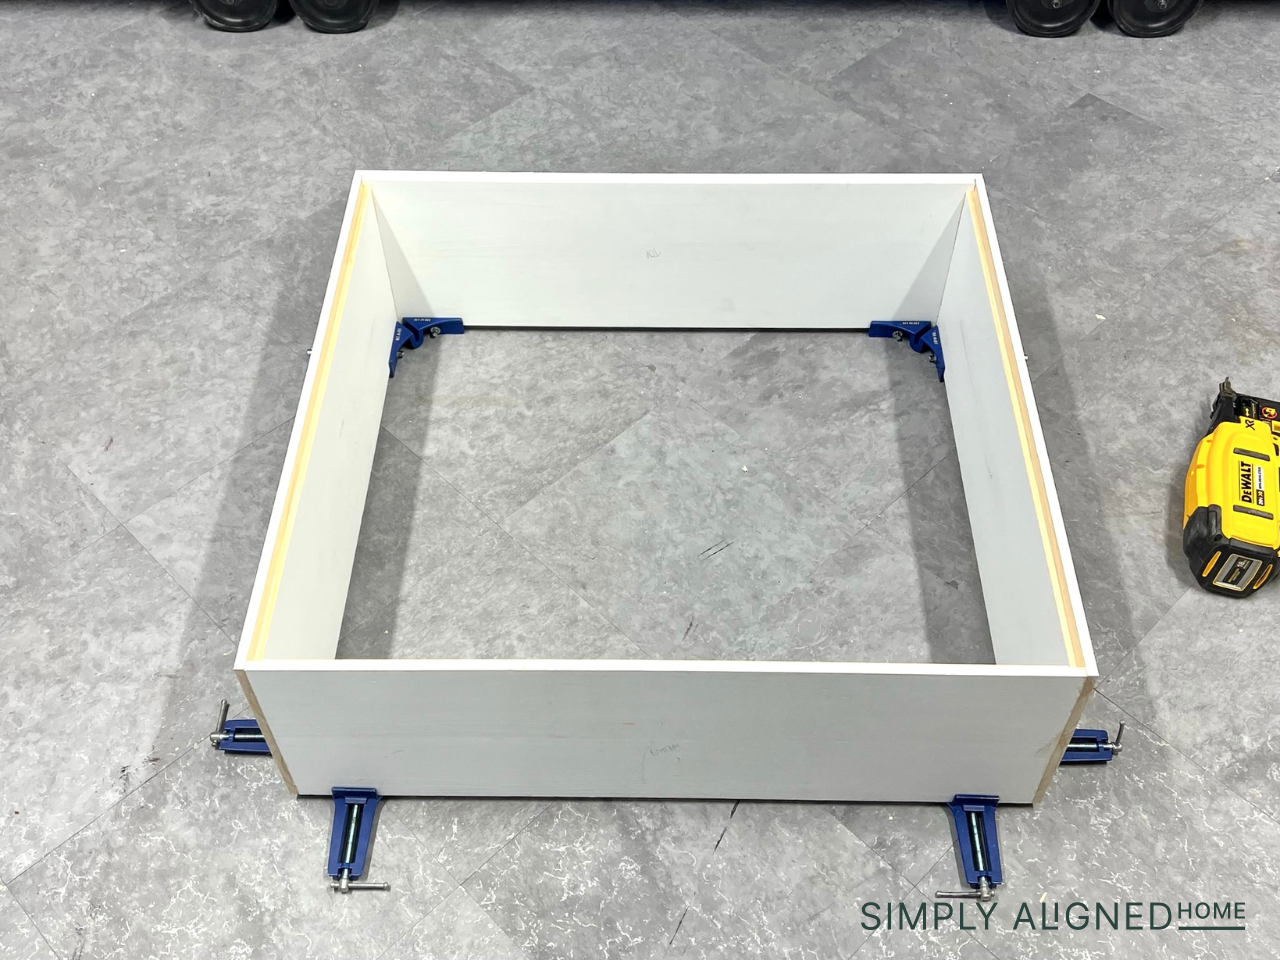
Then, I assembled my pieces with wood glue, corner clamps, and my brad nailer. If you plan on making boxes, drawers, cabinets, or really anything that is square, these clamps are a must!
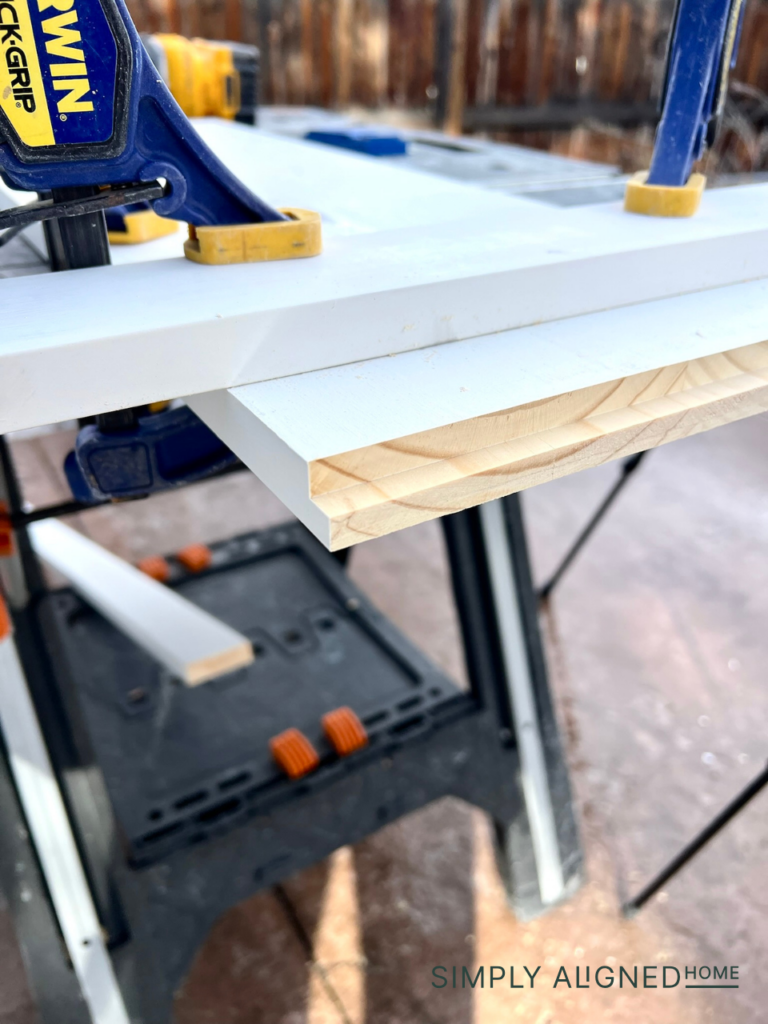
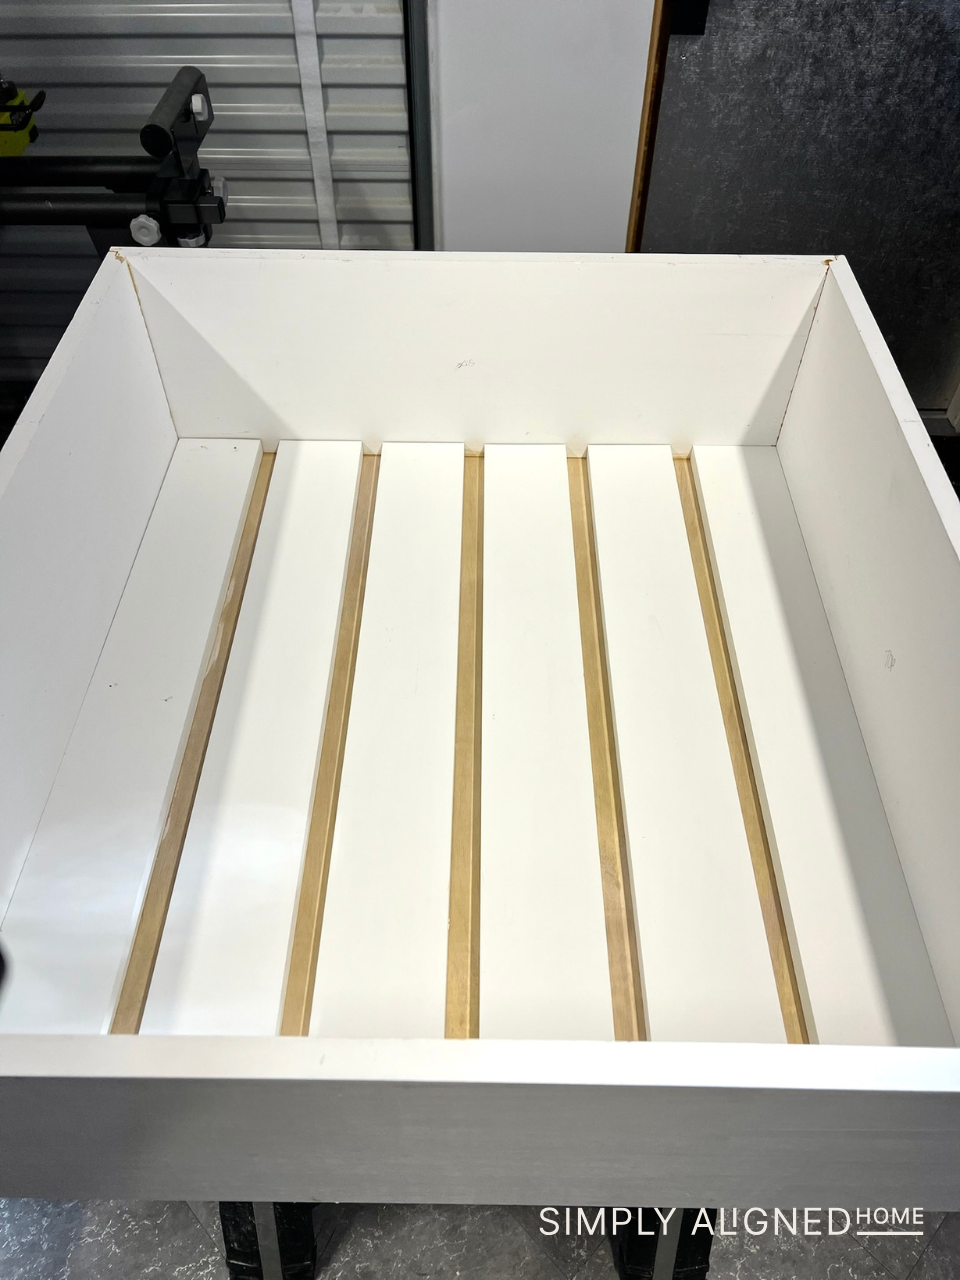
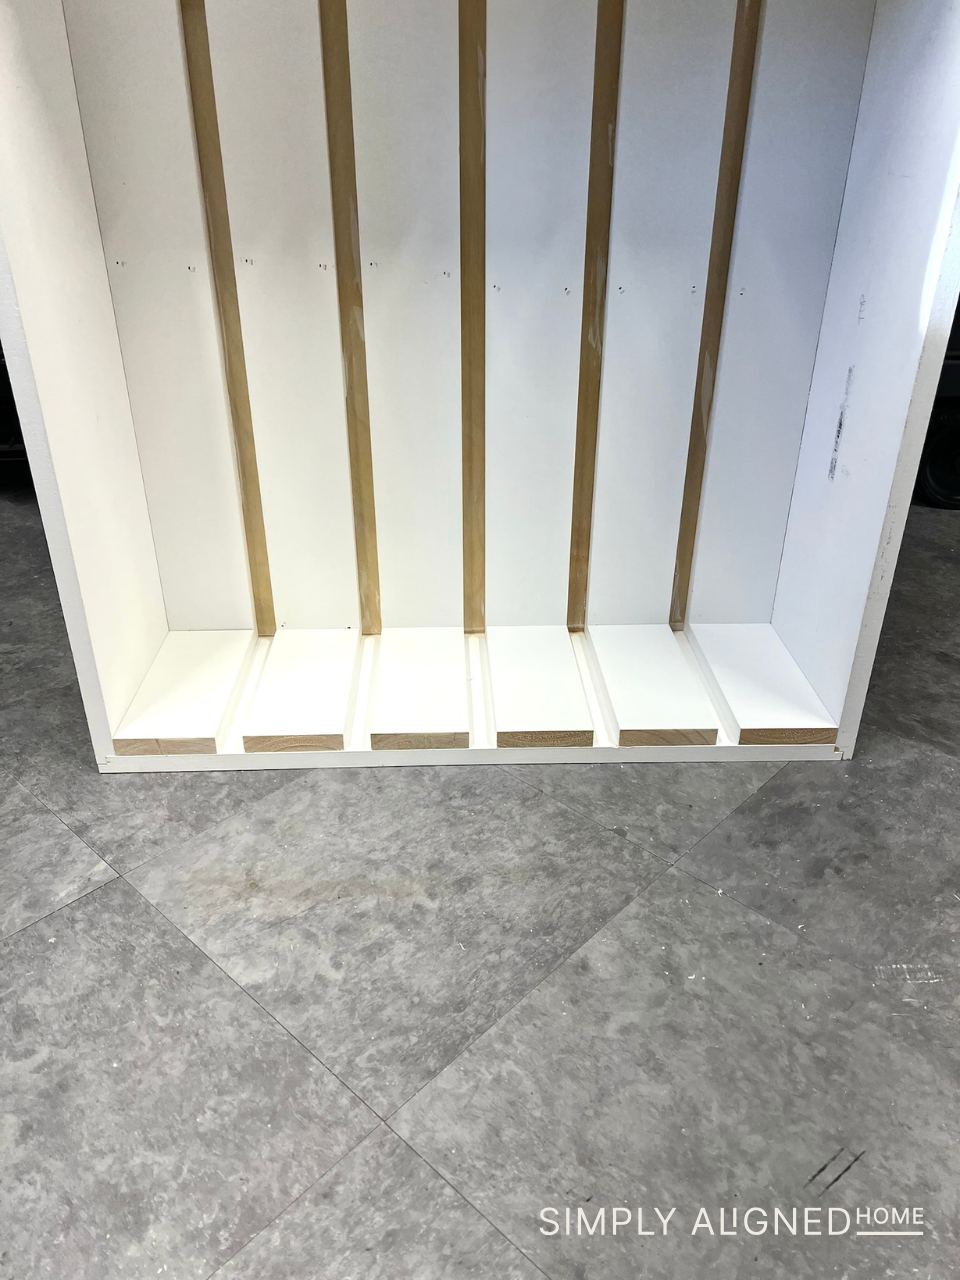
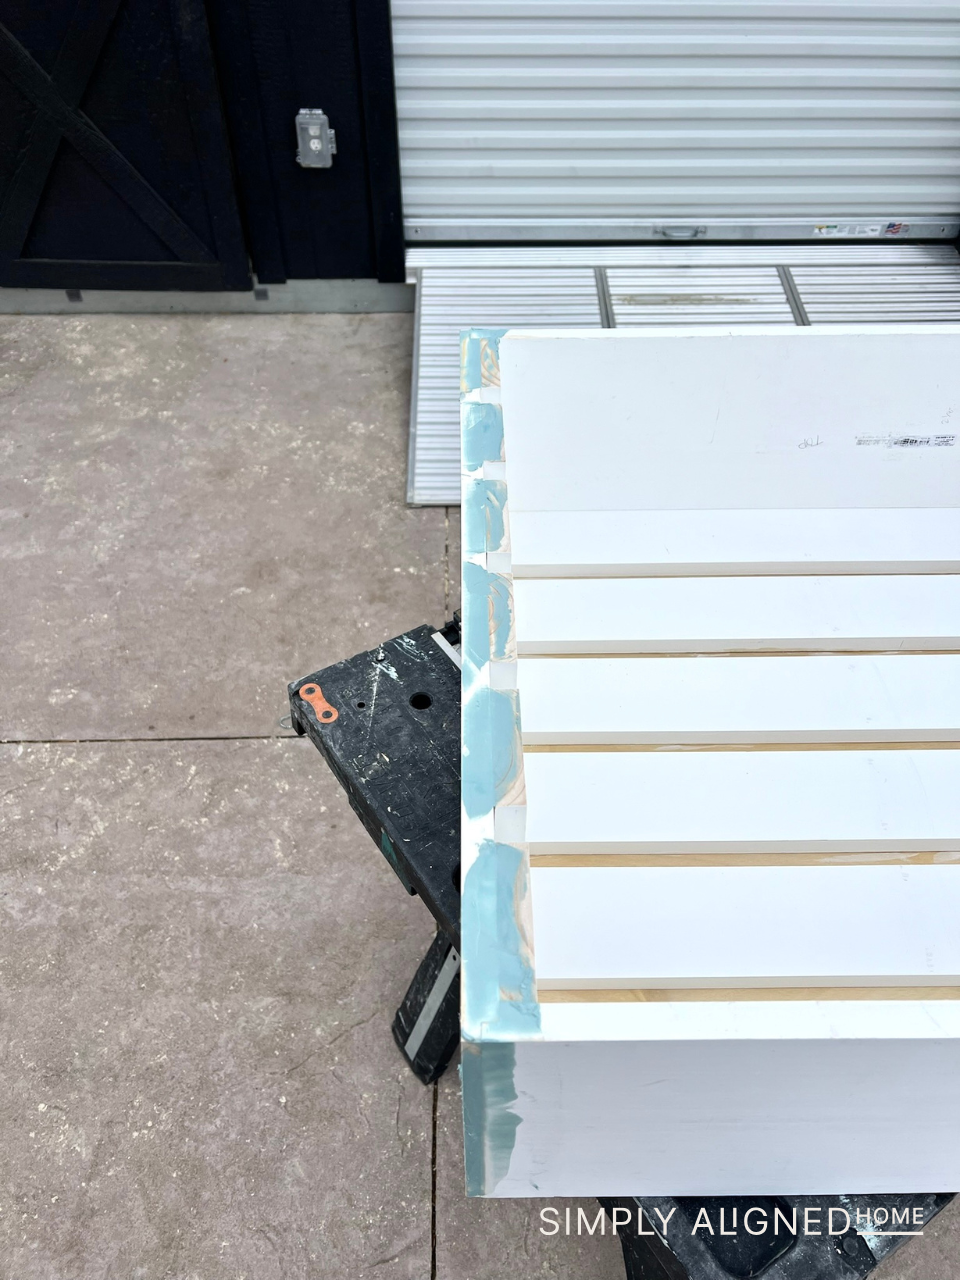
Then, I attached plywood to the back of the frame with wood glue and brad nails. For the back and sides, I used 1×4 primed pine and left a 7/8″ space between each piece. I secured each piece with wood glue and brad nails. The shelves would slide into the spaces!
I decided to use Bondo to fill the seams and nail holes. While this stuff smells pretty bad, it looks great once it’s sanded – and it will never crack!
Paint
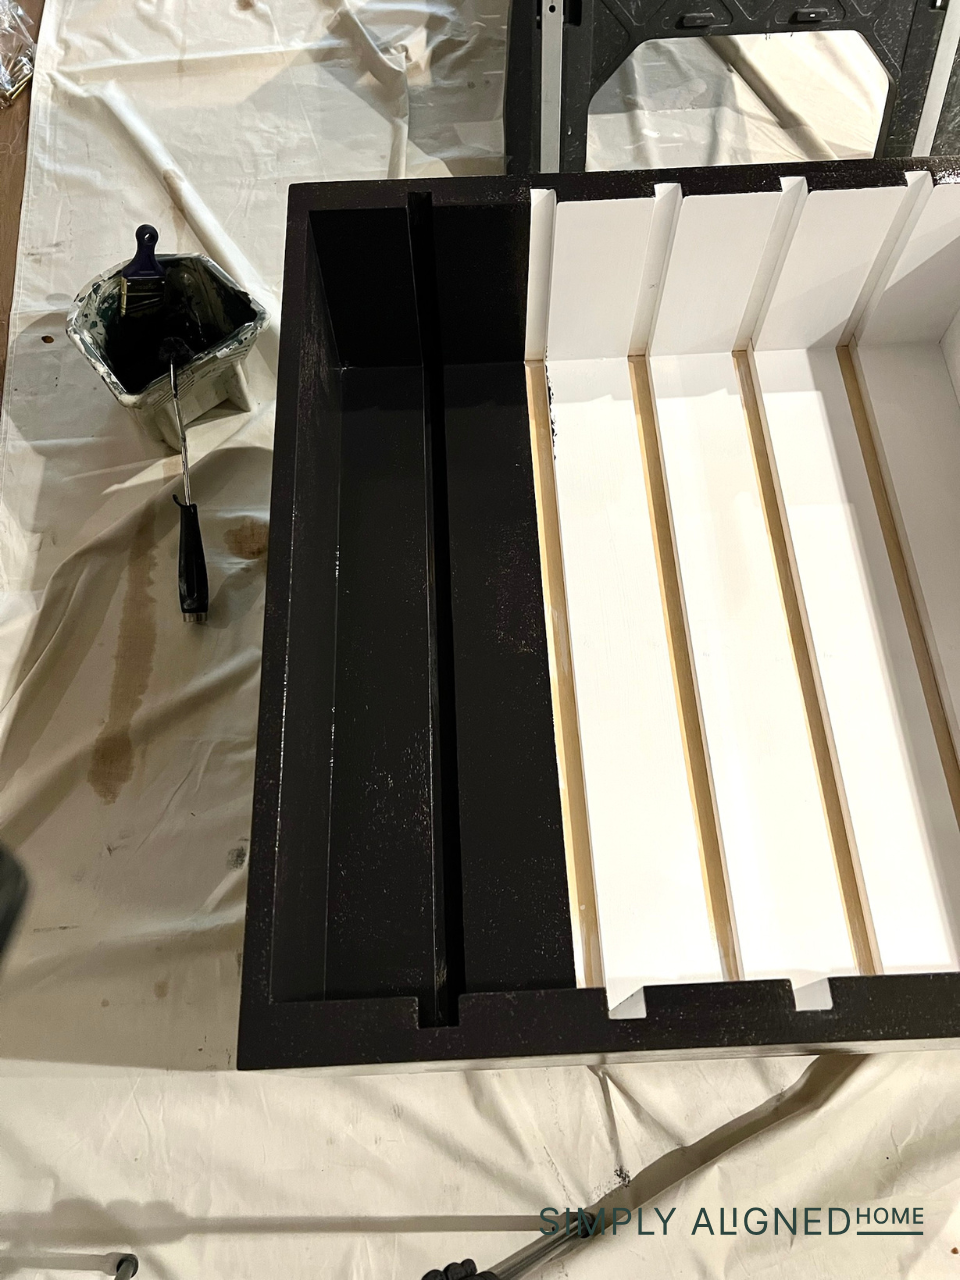
I finished off the bookcase frame with two coats of black paint. Stained wood and black is my favorite combo (and that’s what I planned to do 😉).
Shelves
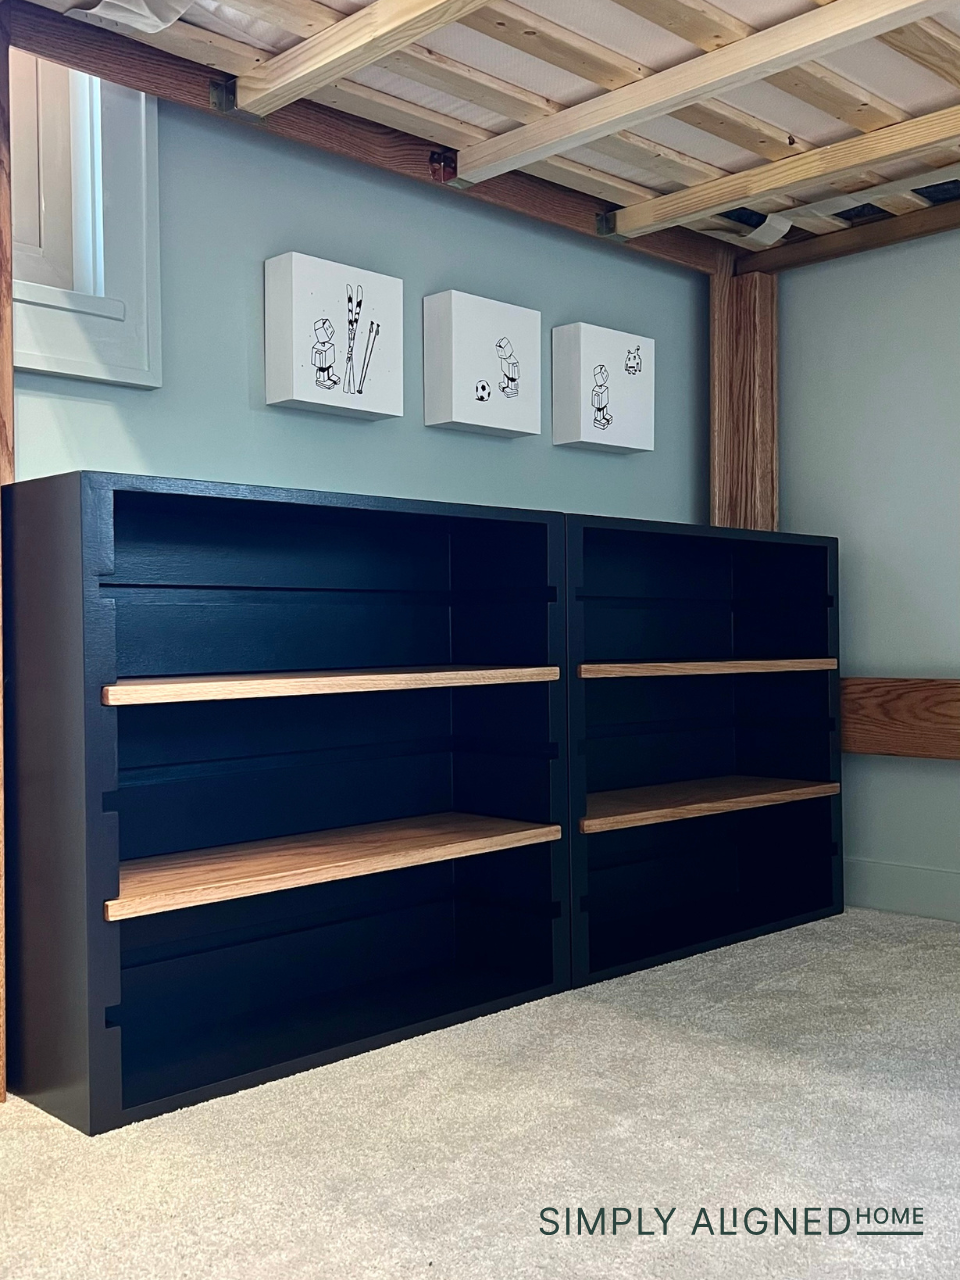
For the shelves, I decided to use red oak boards. I cut the boards down to size so that they would easily slide into the bookcase and hang out the front by about 3/4″. The shelves just slide right in to any of the spaces. I love the flexibility of this adjustable shelving! Now, my son can store whatever he needs in here. I’m super happy with how this turned out!
Next up, I’ll be doing a closet makeover in my son’s room. Stay tuned in my stories! I’ll be using the Ikea Pax System, a tried and true favorite!

**Note: I am not a professional and do not claim to be an expert. Please be sure to always read instructions for all tools and products. Safety is very important and should be your top priority. Wear necessary protection when using tools (eye wear, hearing protection, gloves, etc.) and dust masks when sanding or cutting. Simply Aligned Home is not responsible for any injury or damage. All of my designs are not professionally designed and are for private use only.**
Materials Used
Tools Used