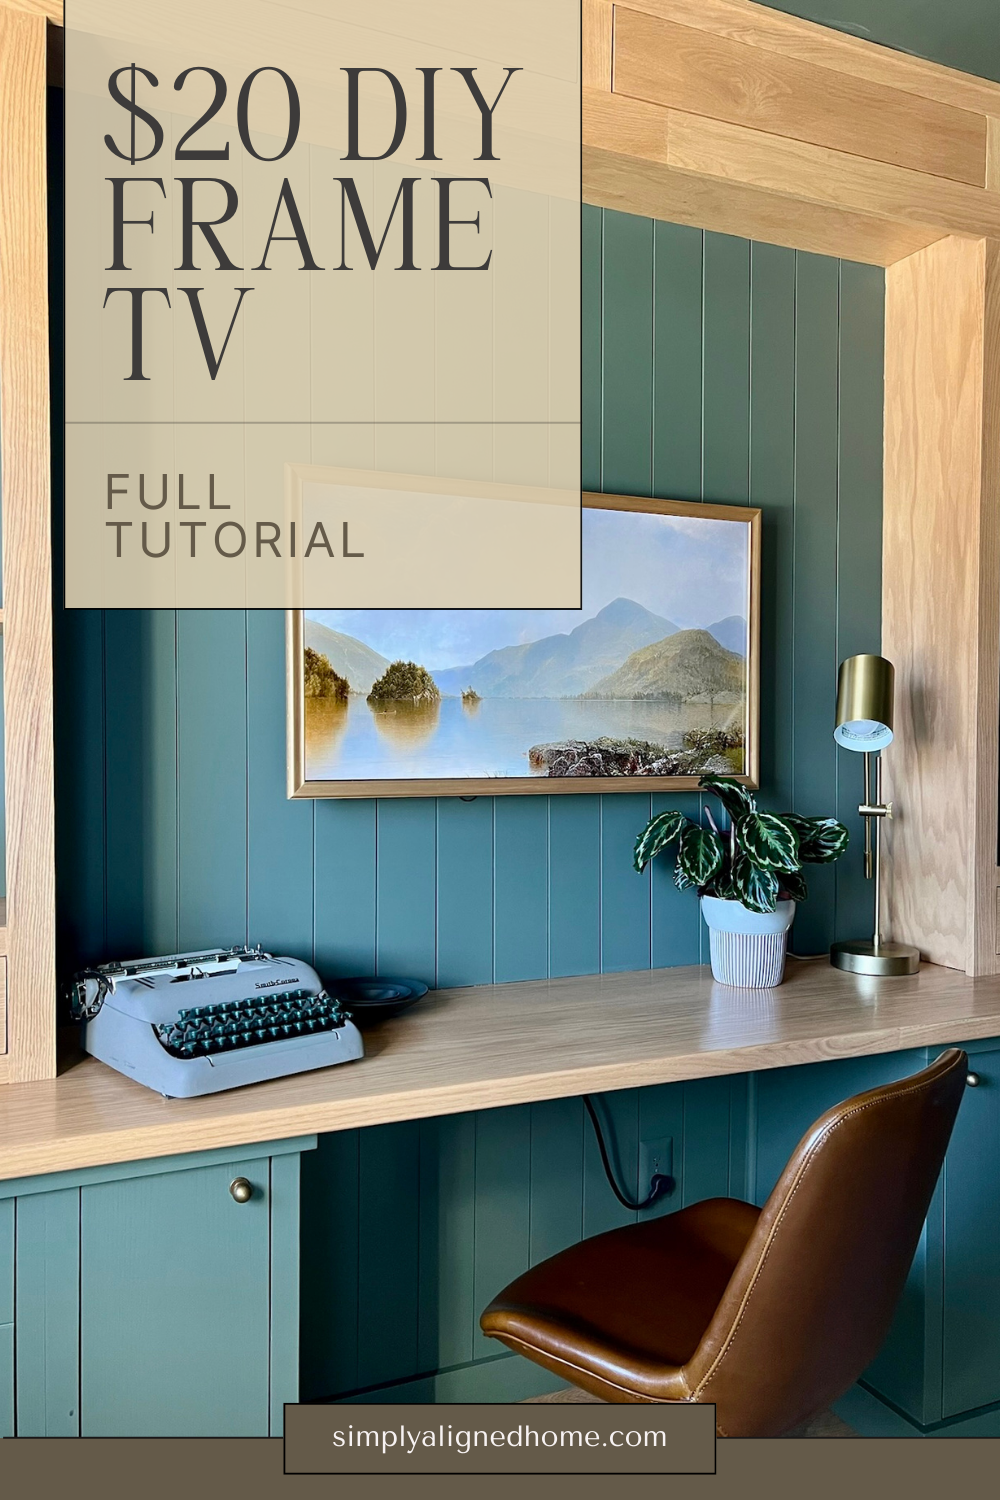
If you’ve ever dreamed of owning a stylish, high-end frame TV, you know that it often comes with a hefty price tag. But what if I told you there’s a quick, affordable, and easy way to make your TV look like a frame TV without the expensive cost? Let me show you how to turn your regular TV into a DIY frame TV!
**This post contains affiliate links to products that I used or recommend. If you purchase something through an affiliate link, I may receive a small percentage of the sale at no extra cost to you. I really appreciate your support!**
My New Approach
In the past, I created a DIY frame for my TV using lattice trim and decorative trim glued to the front. You can see that here in this blog post. While it worked, I wanted to simplify the process this time around.
This time, I decided to use premade decorative trim with a small lip that fits perfectly around my TV. This approach is not only faster but also eliminates the need for power tools, making it an accessible project for anyone. And the best part? You can do it for under $20!
Materials You’ll Need
To make this project as easy as possible, here’s all the materials you’ll need:
Cutting the Pieces for Your Frame
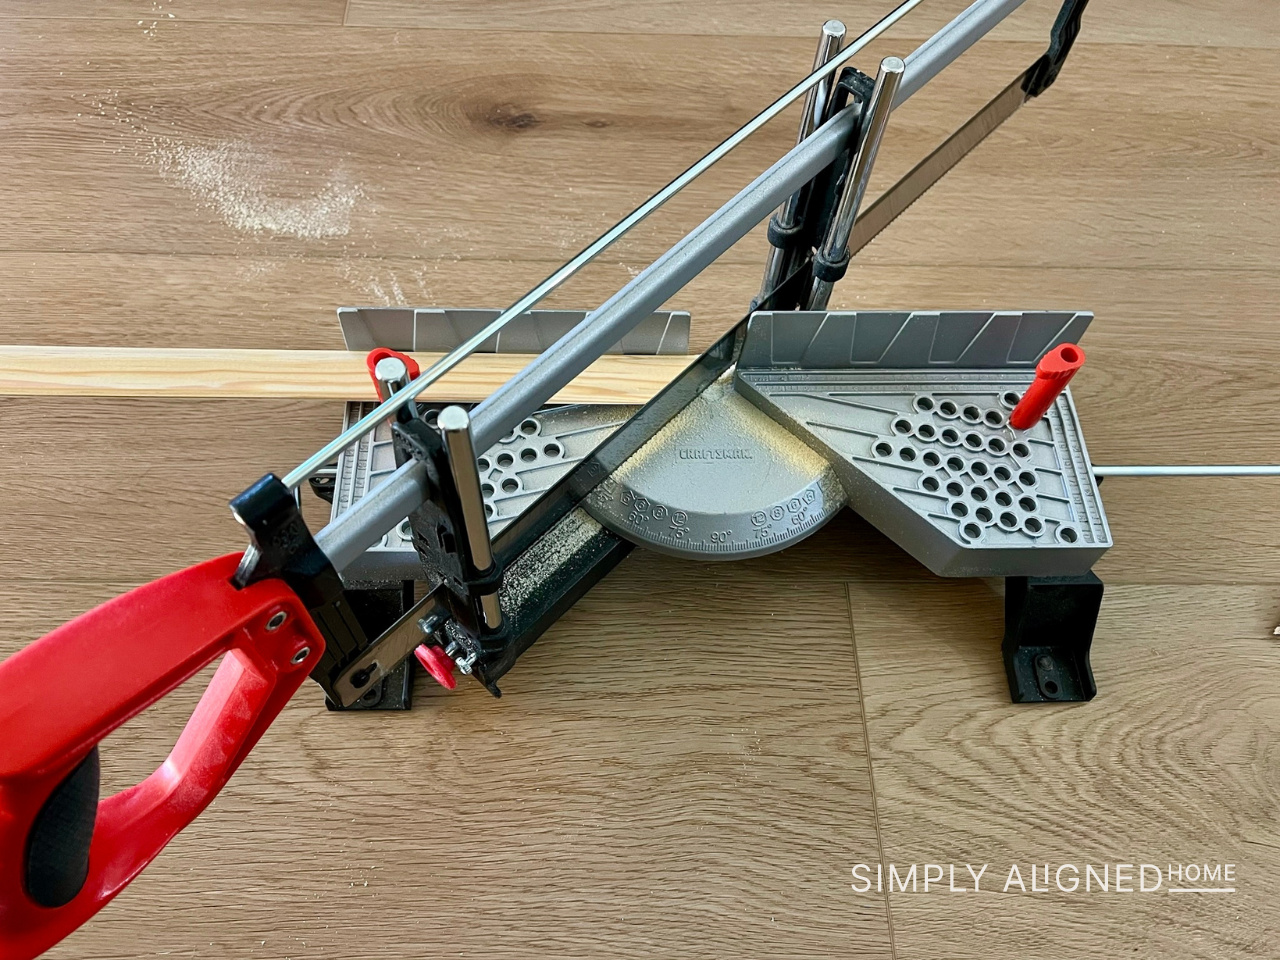
The first step in making your TV frame is cutting the trim pieces to the right size. Here’s how I did it:
I used my hand miter saw to cut one end of each piece at a 45-degree angle. This allows the pieces to fit together seamlessly at the corners, just like a traditional picture frame. A hand miter saw is perfect for cutting small trim pieces!
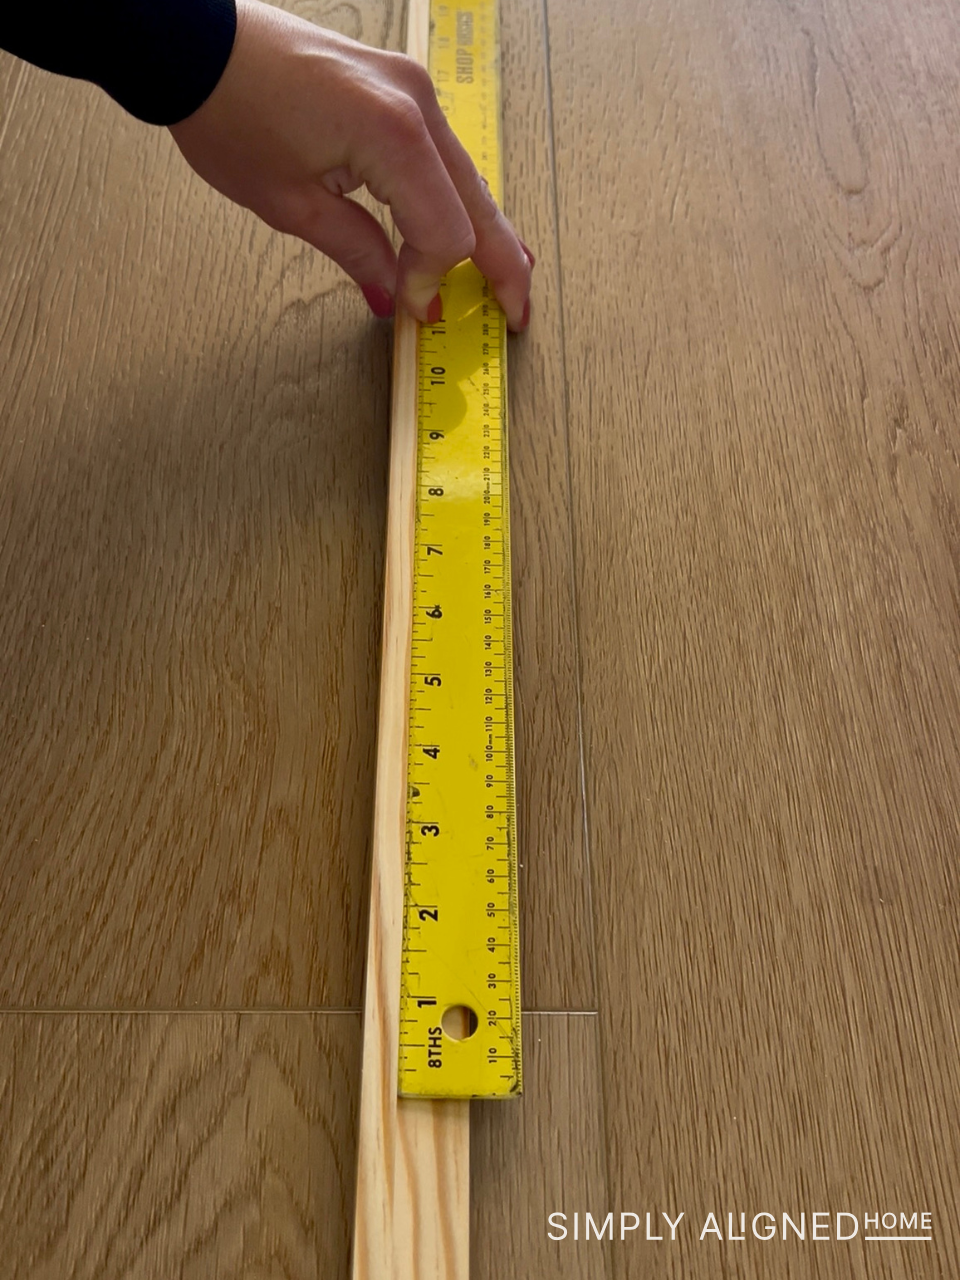
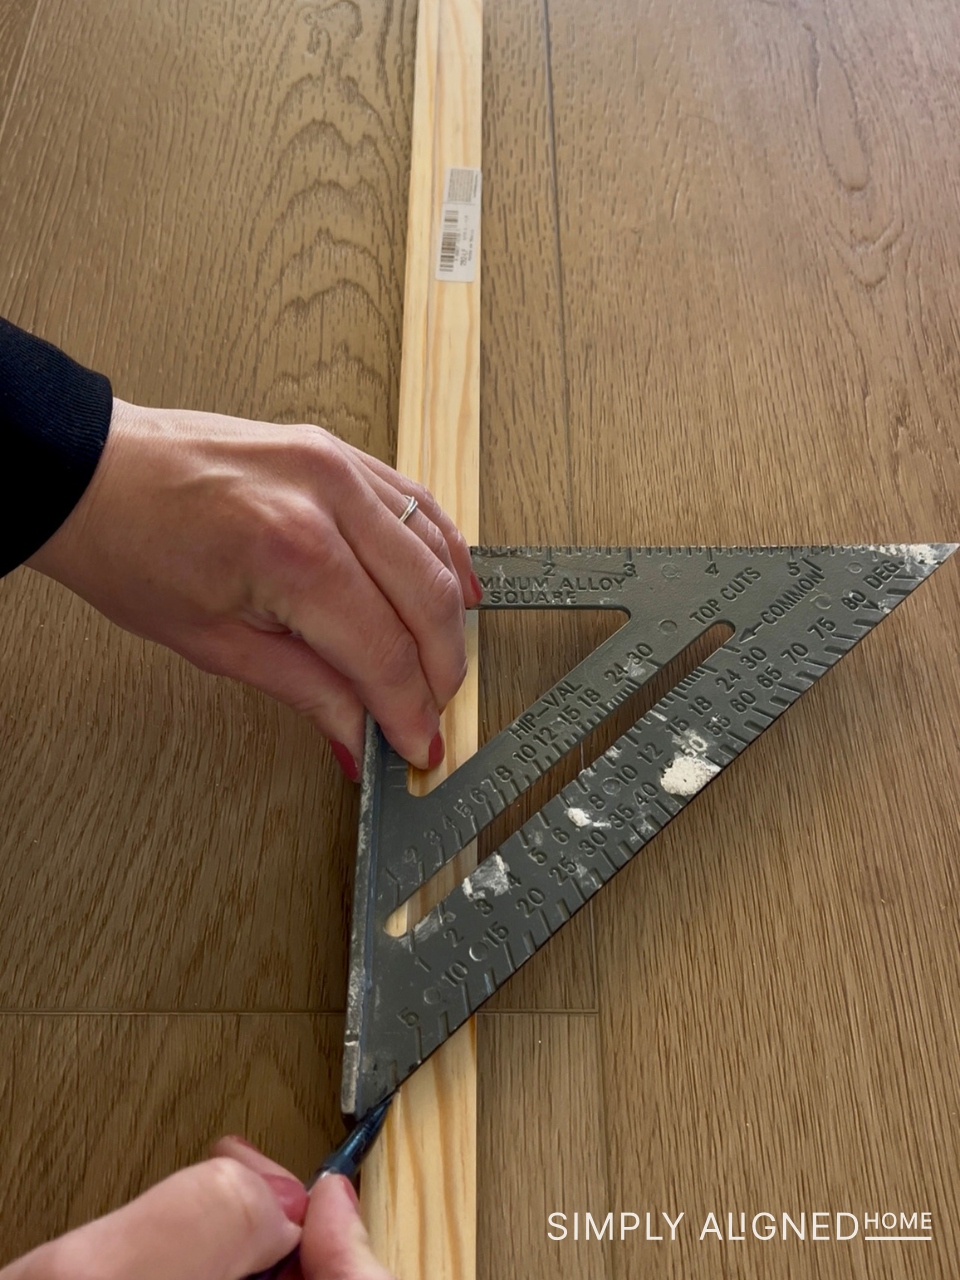
Once the angles are cut, flip the trim over and measure the length of your TV. Using a speed square, mark the spot where you’ll make the next 45-degree cut to ensure precision. Make a mark on the top of the trim where the saw needs to land for this cut.
Assembling the Frame
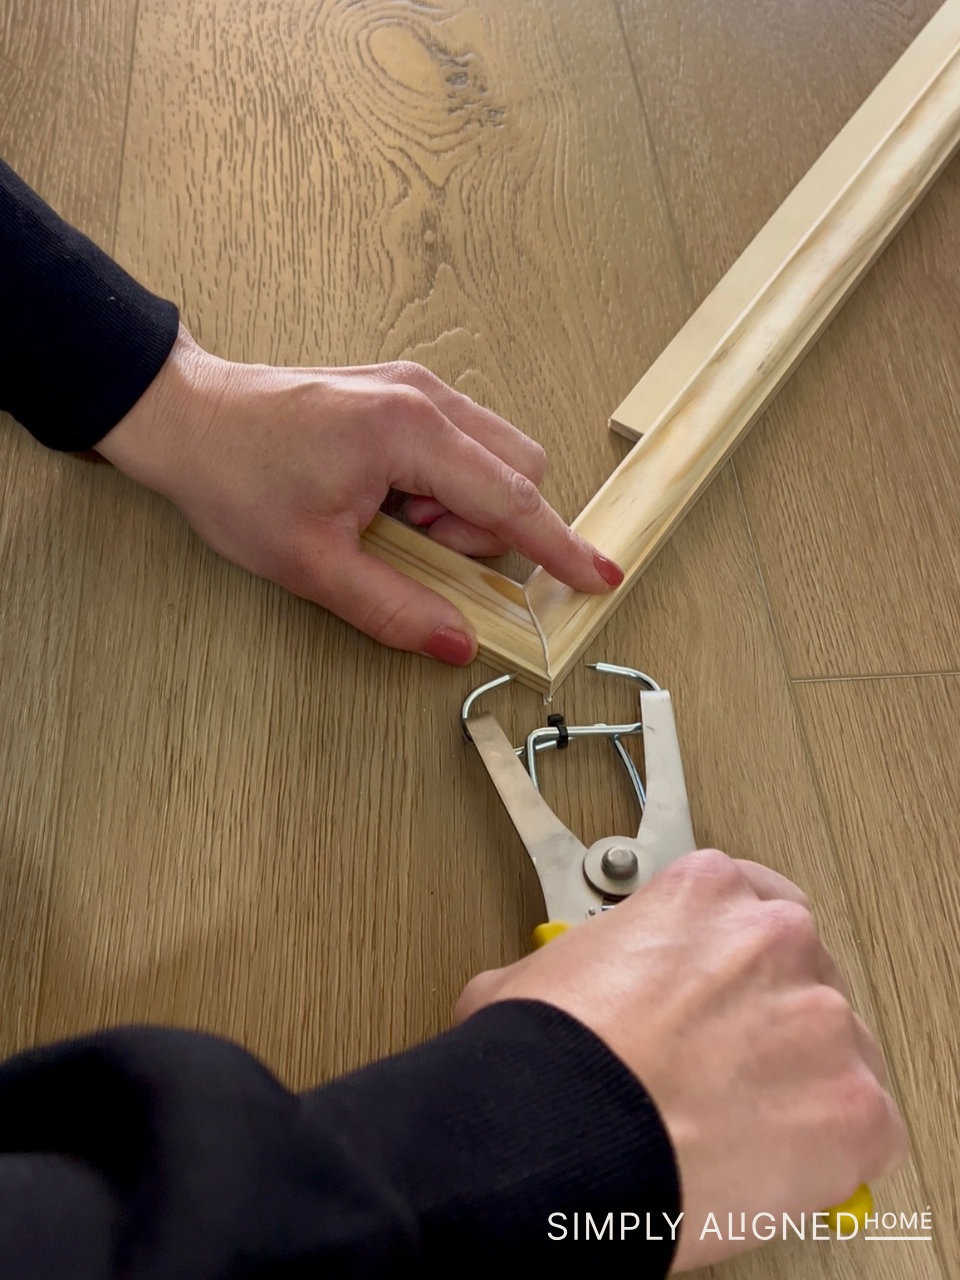
After all the pieces are cut, it’s time to assemble your frame! Use wood glue to assemble the corners of your frame. Make sure to apply the glue evenly for a strong hold.

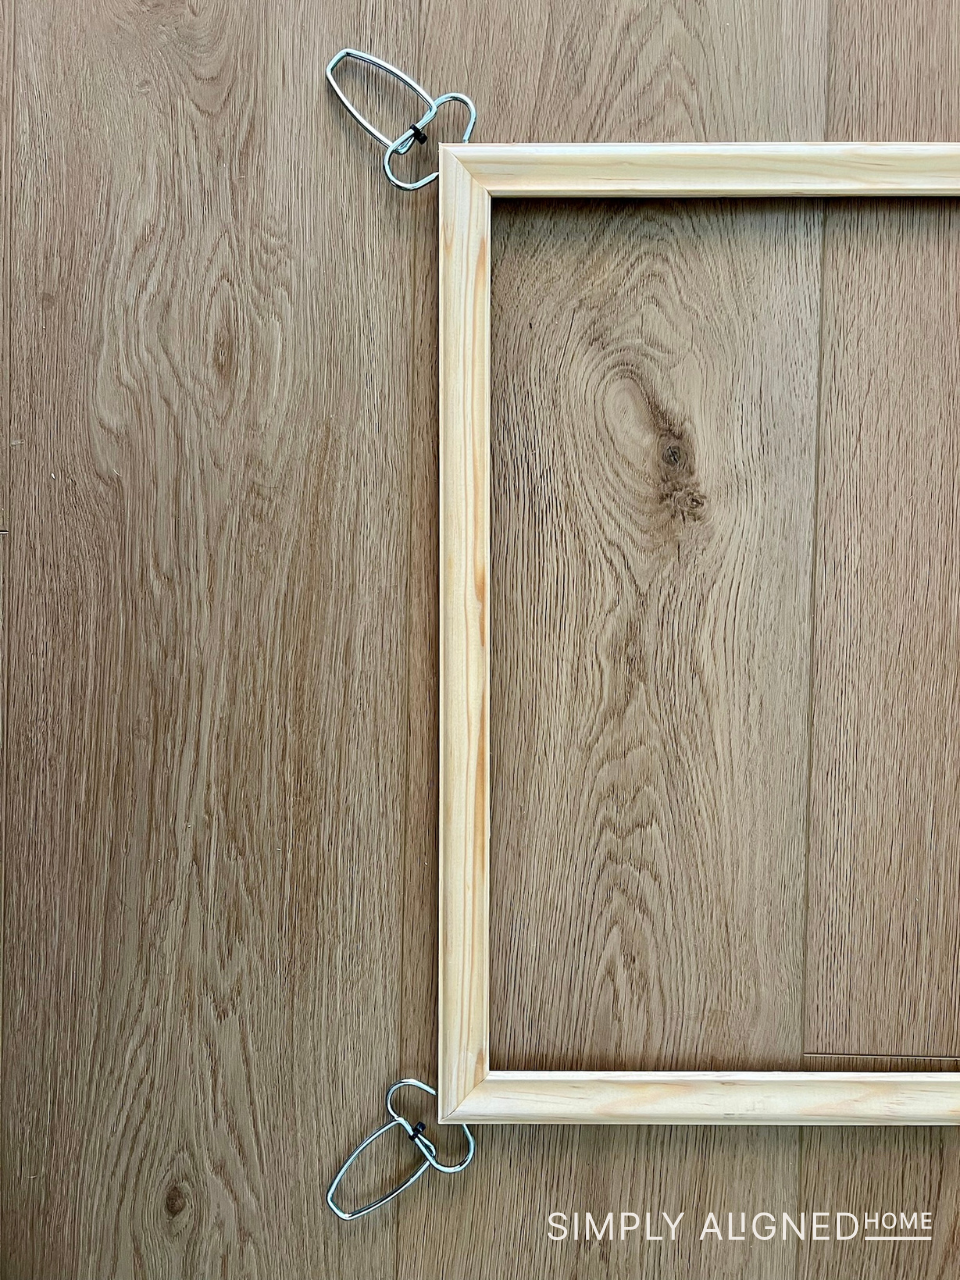
Miter clamps are essential for holding the corners together tightly while the glue dries. These clamps ensure your frame stays in perfect alignment and prevents shifting while the glue sets.
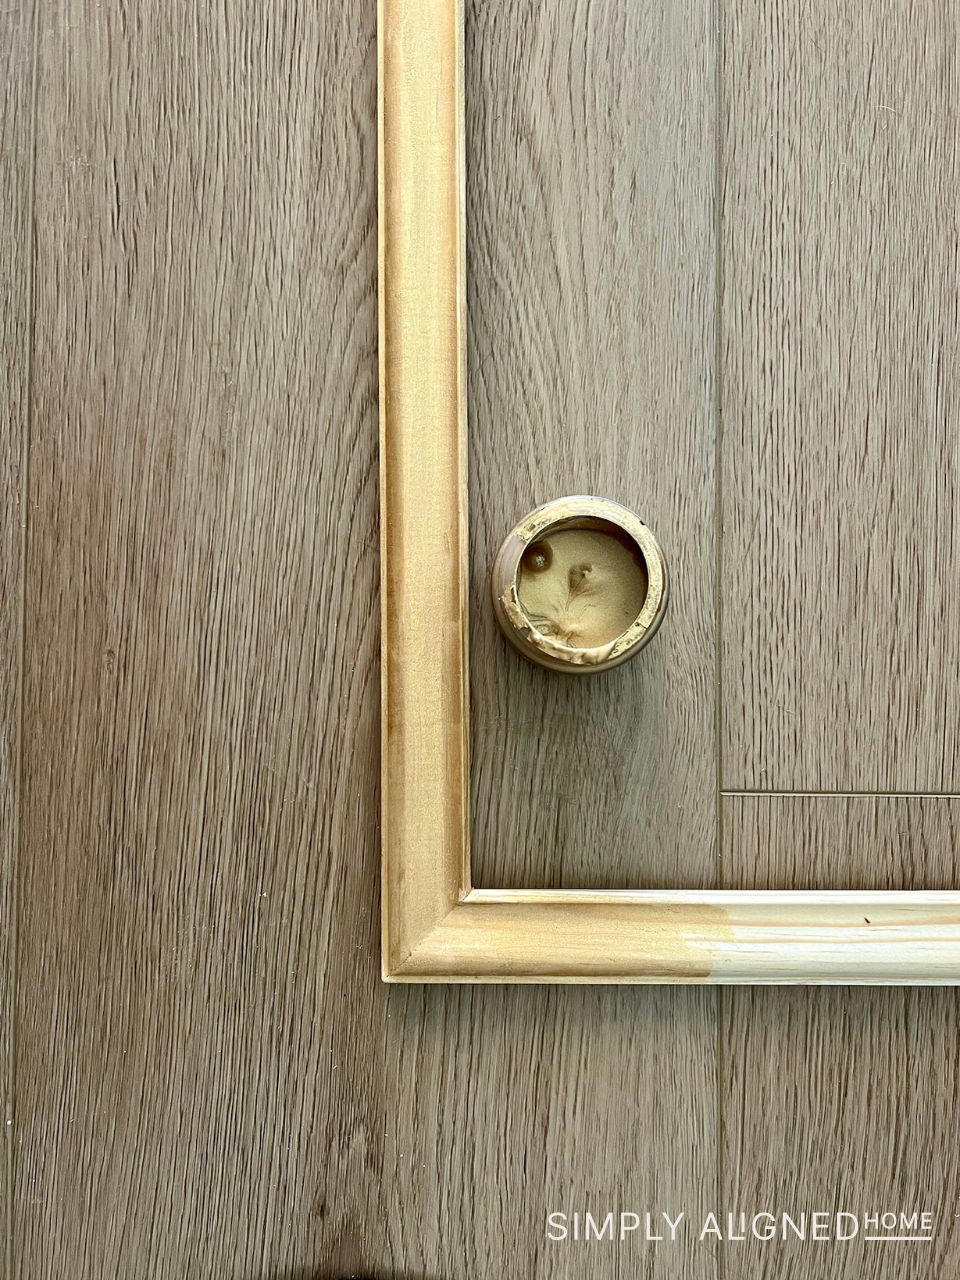
Painting and Finishing Touches
Once the glue has dried and the clamps are removed, I gave the frame a light sanding. I decided to paint my frame gold and applied two coats of paint. Feel free to paint or stain your frame in any color that suits your home decor! This is a great way to personalize the frame and make it blend seamlessly with your living space.
Hanging the Frame on Your TV
Now, the moment of truth – does the frame fit? Luckily, it was a perfect fit! I simply placed the frame around my TV, and it snugly stayed in place. However, if you find that your frame doesn’t fit perfectly, you can easily add adhesive bumper pads to the trim to create a more secure fit.
To make sure the frame stays in place, I added a couple of pieces of double-sided tape on the back of the frame. This prevents the frame from slipping off, while still allowing me to remove it when needed. If the frame covers the TV’s remote sensor, you can drill a small hole where the sensor is located to ensure your remote still works or use an IR extender.
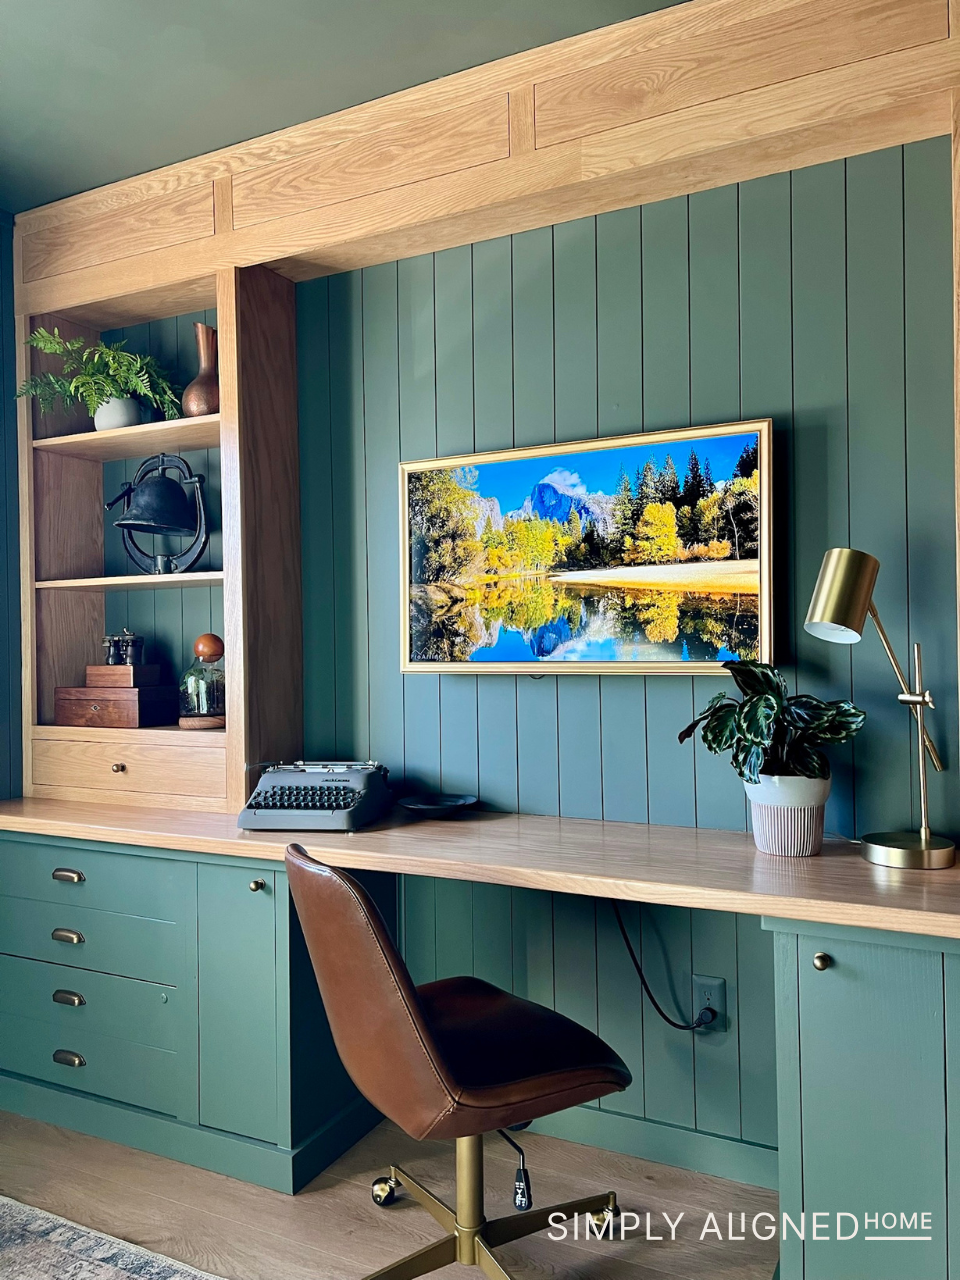
While I admit I was tempted to splurge on a fancy frame TV, this DIY project solves that problem for under $20. Not only did I get a beautiful frame for my TV, but I also saved a lot of money and learned a new skill in the process!
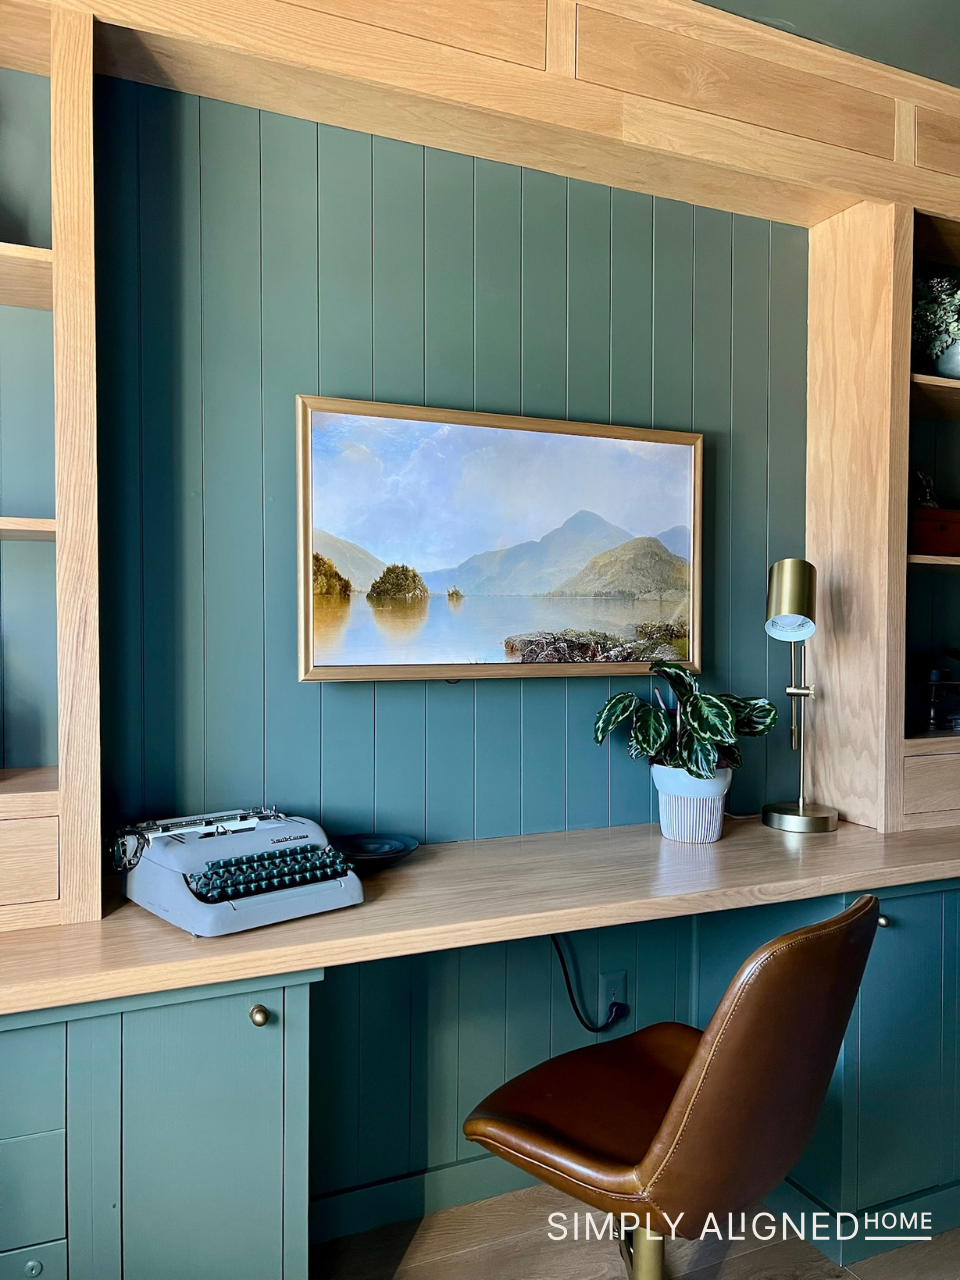
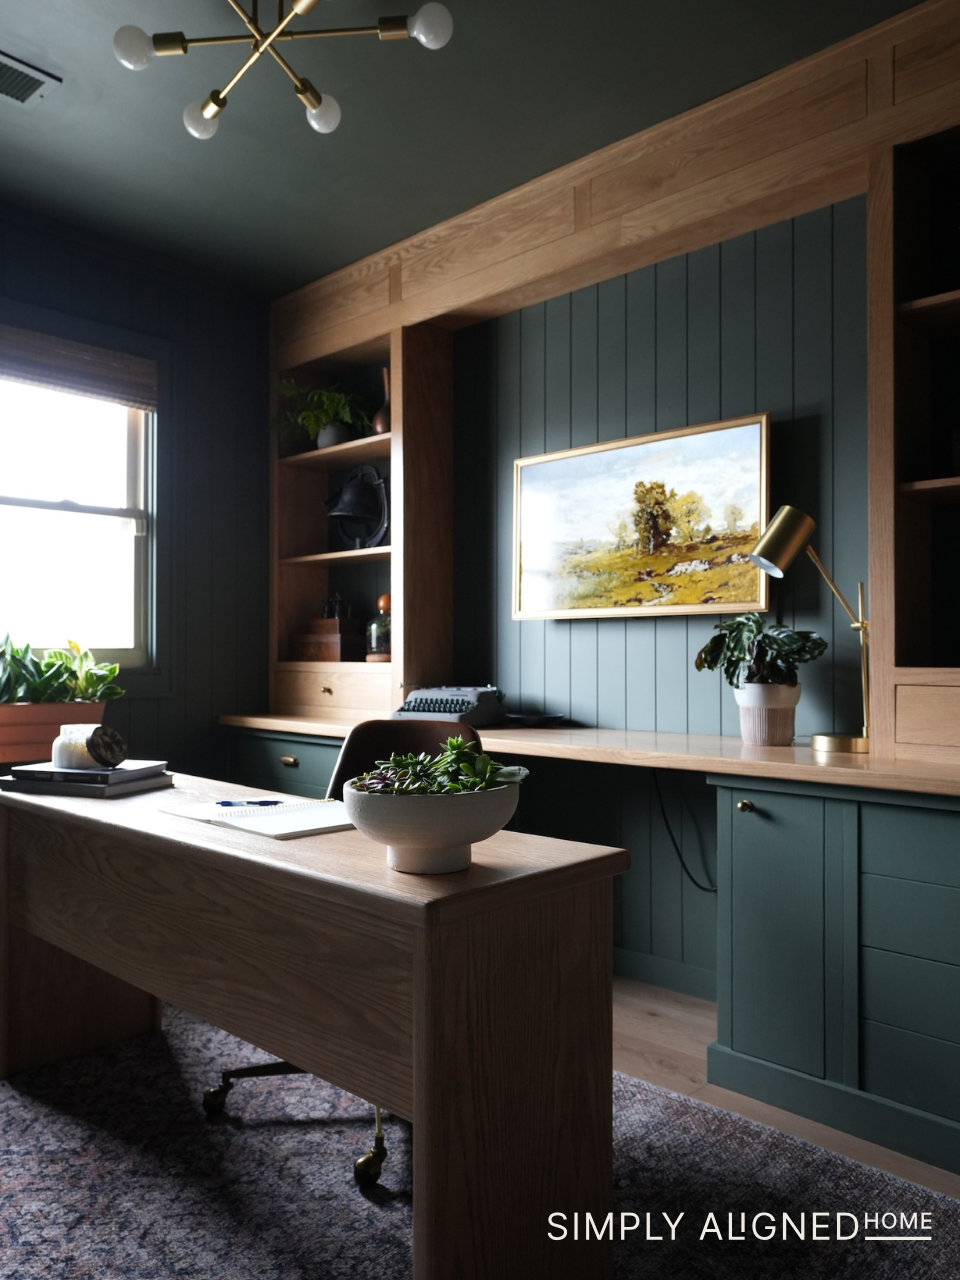
And don’t forget, YouTube offers a ton of artwork videos you can display on your TV, turning your screen into a dynamic piece of art whenever you’re not watching shows or movies.

Shop my home office!
**Note: I am not a professional and do not claim to be an expert. Please be sure to always read instructions for all tools and products. Safety is very important and should be your top priority. Wear necessary protection when using tools (eye wear, hearing protection, gloves, etc.) and dust masks when sanding or cutting. Simply Aligned Home is not responsible for any injury or damage. All of my designs are not professionally designed and are for private use only.**