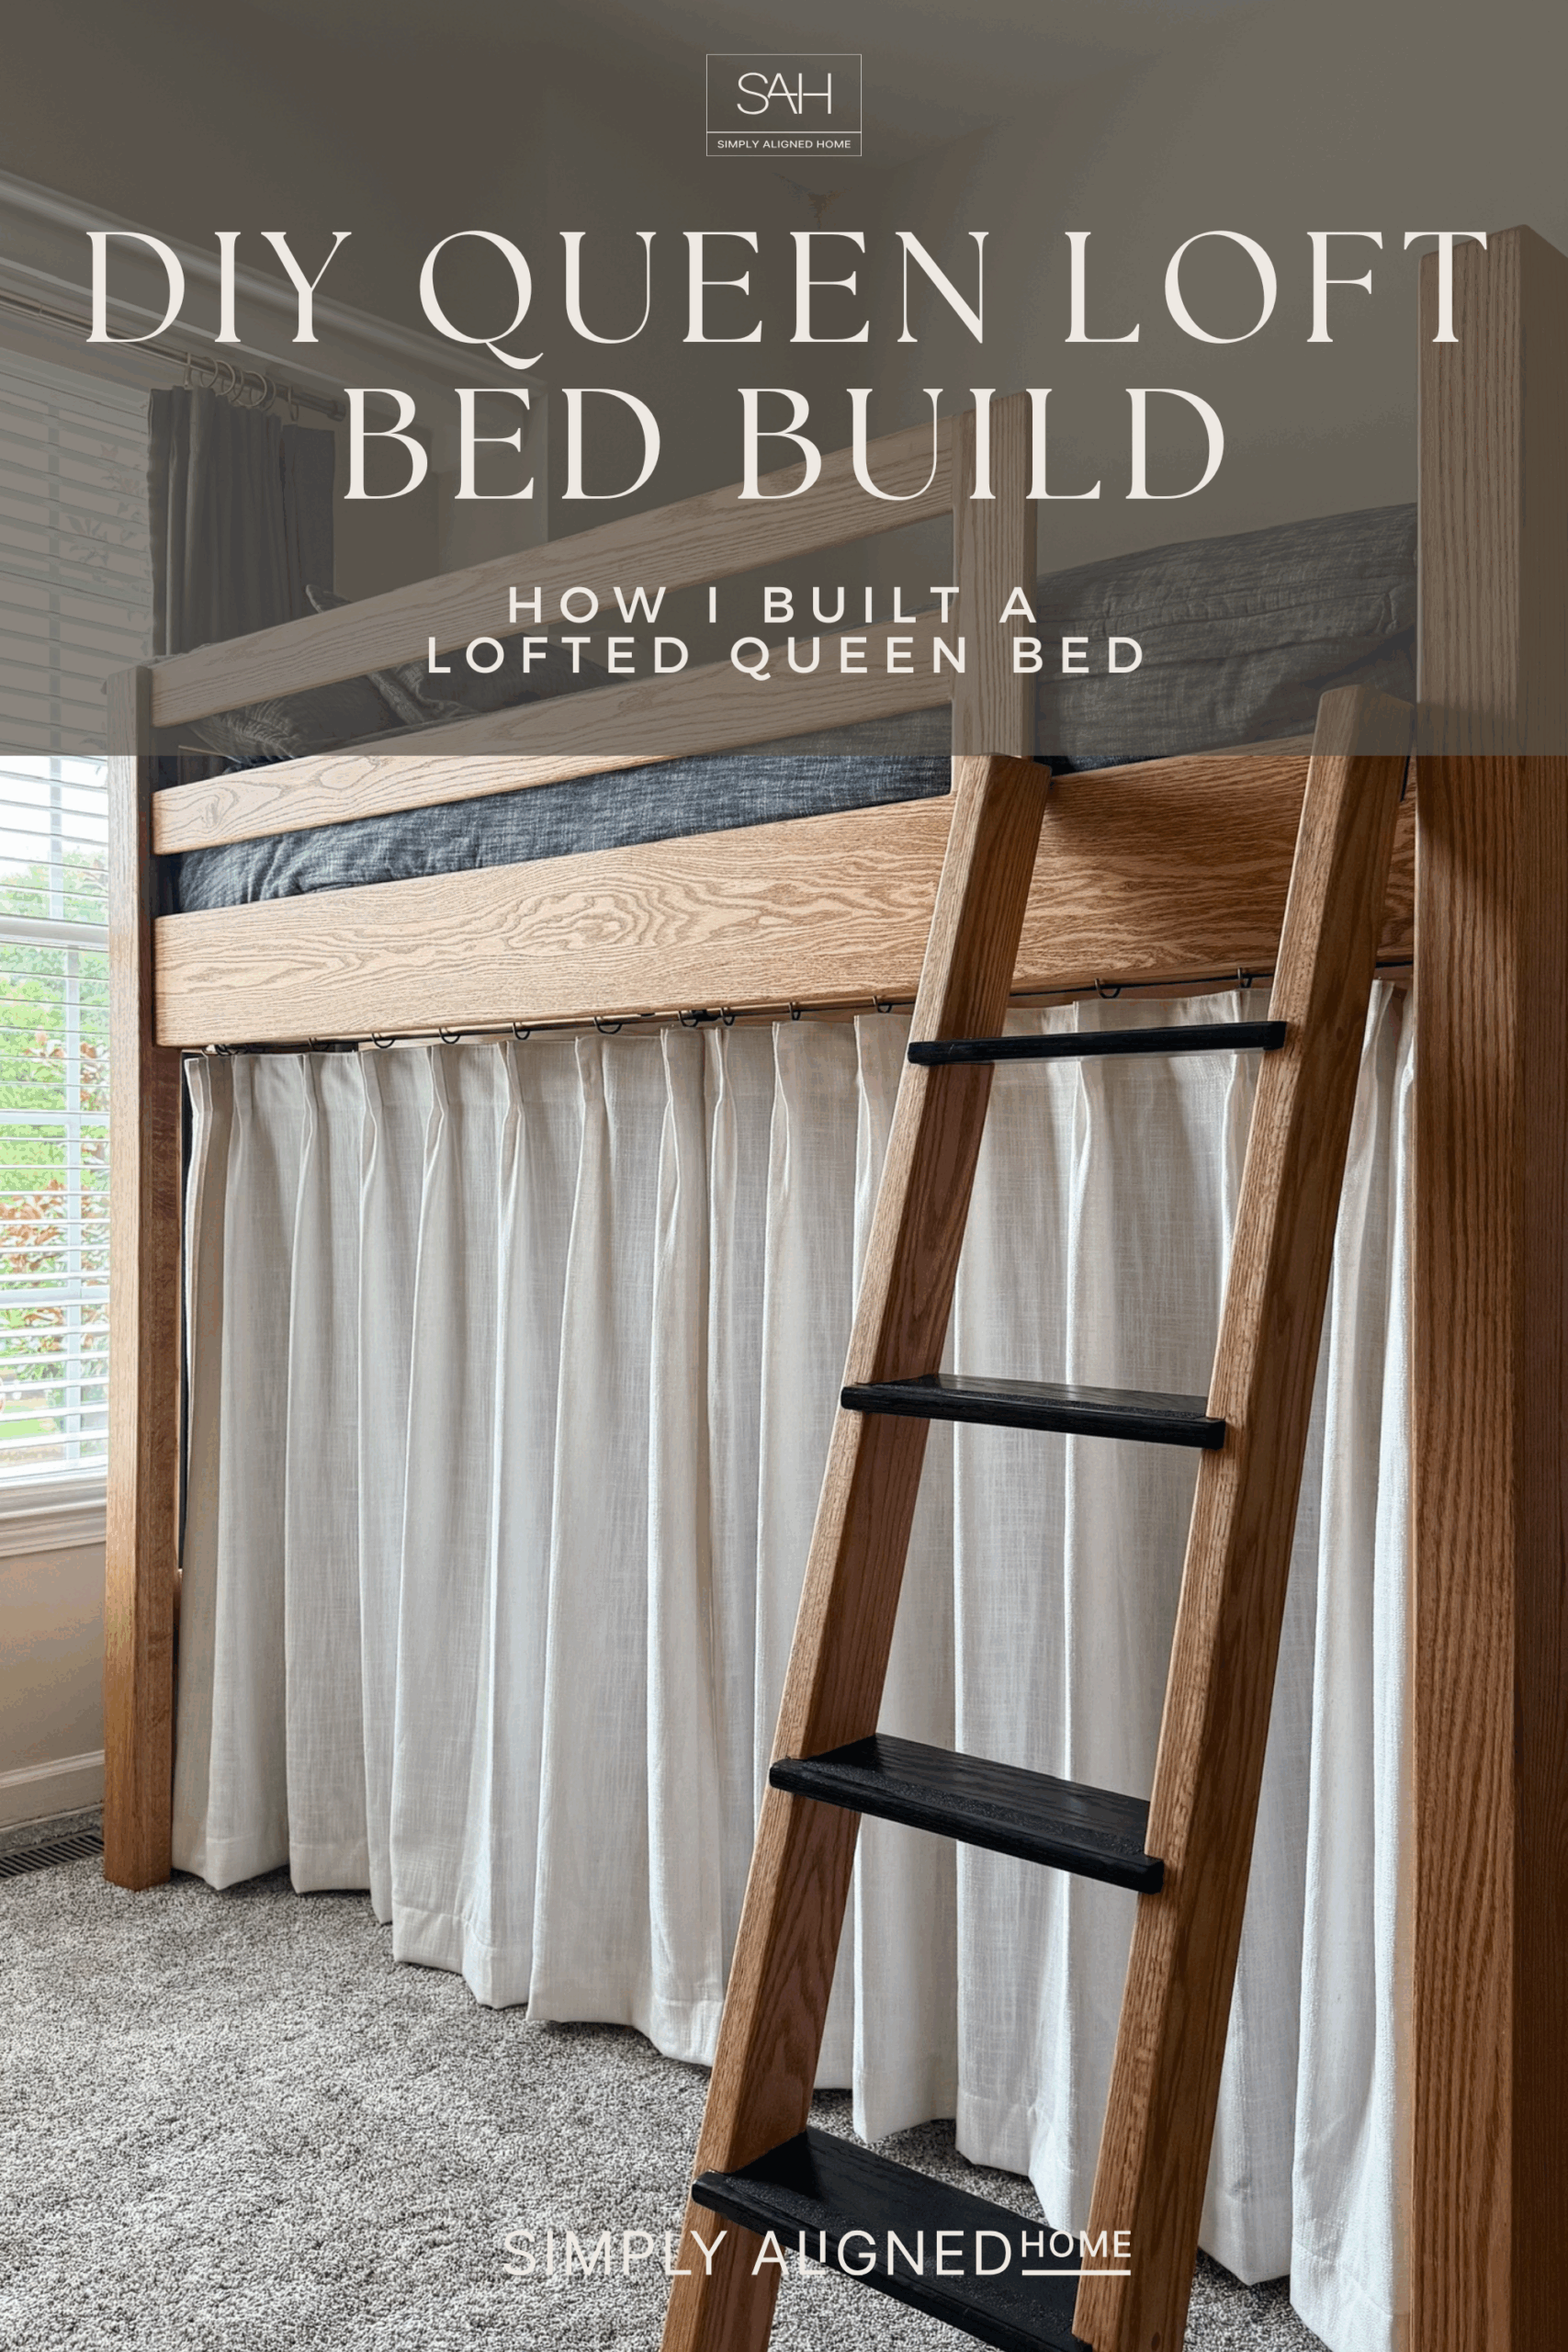
When we lived in Colorado, I built my son a queen loft bed completely from scratch. It’s one of the biggest builds I’ve ever taken on, and I loved the process of designing, building, and finishing it. When we moved, we were able to take the bed with us — which made me extra thankful I designed it to come apart easily!
**This post contains affiliate links to products that I used or recommend. If you purchase something through an affiliate link, I may receive a small percentage of the sale at no extra cost to you. I really appreciate your support!**
Step 1: Planning and Cutting the Lumber
For this loft bed project, I chose to work with solid red oak. It’s one of my favorite hardwoods to build with. Red oak is strong, durable, and beautiful once finished. Plus, I never mind having red oak scraps left over for smaller projects later on.
If you aren’t shopping at a lumber yard for your larger builds, you should! Not only do you have access to higher-quality wood, but you’ll often save money compared to buying from the big box stores.
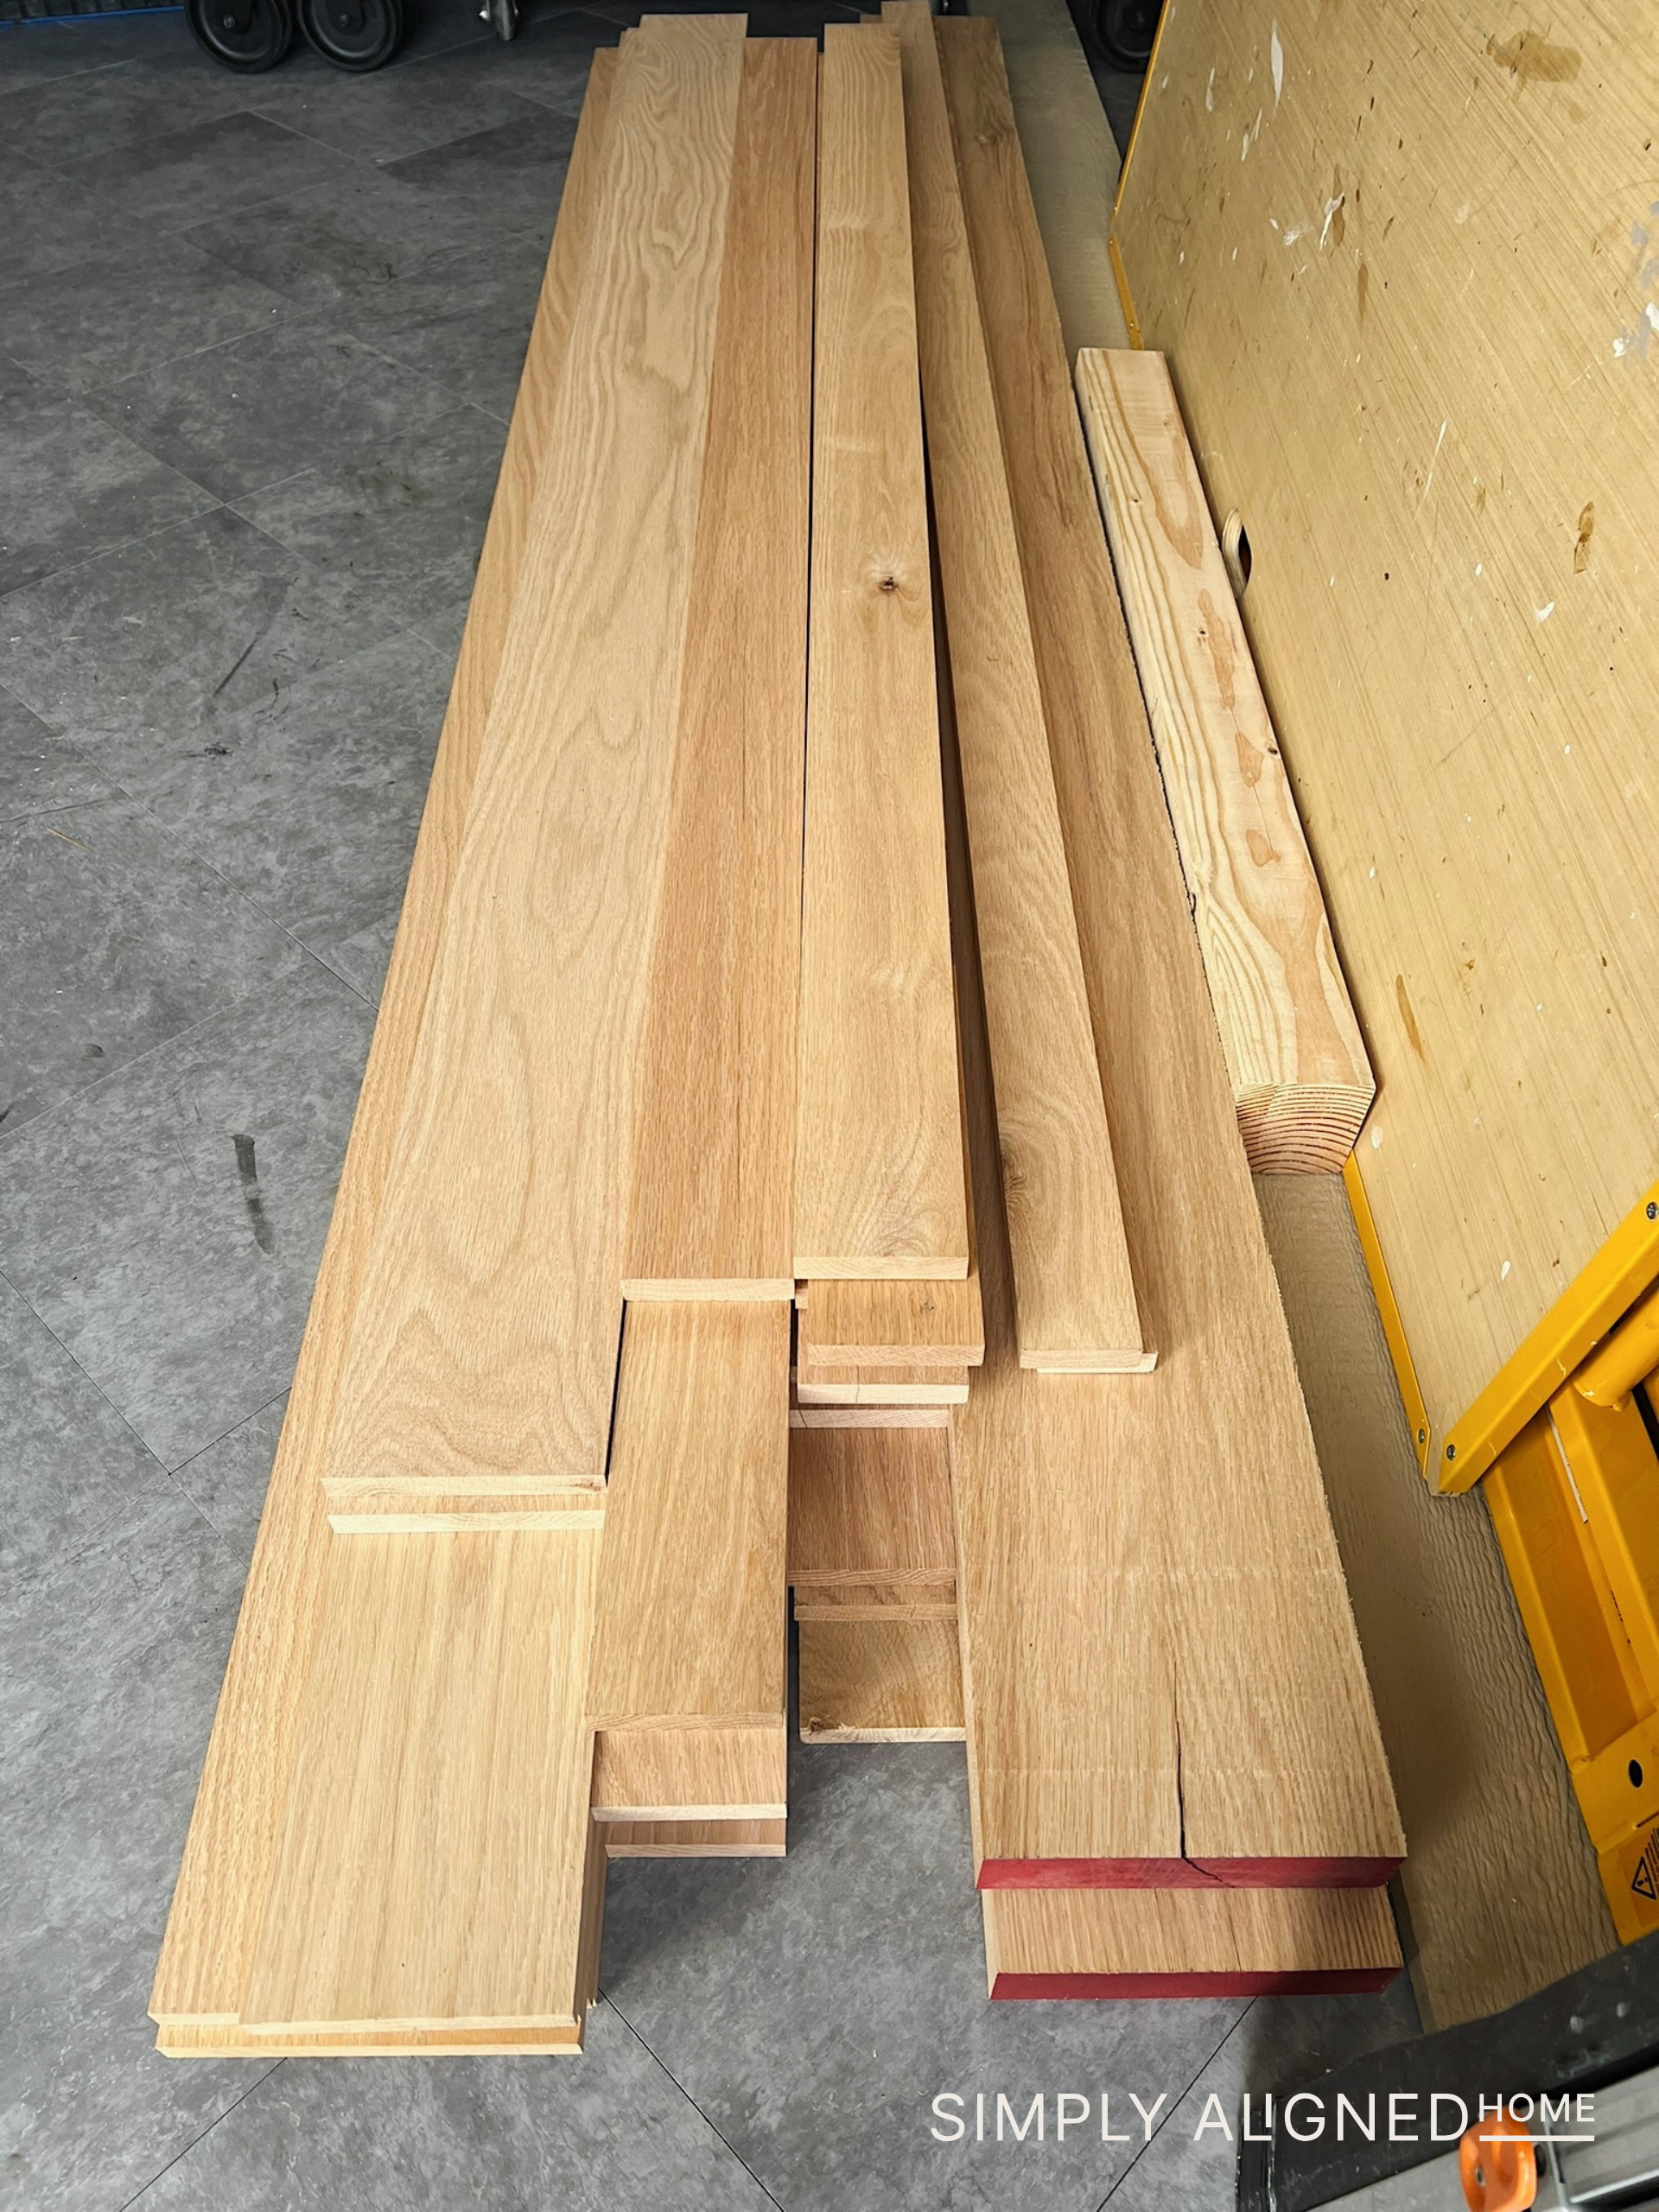
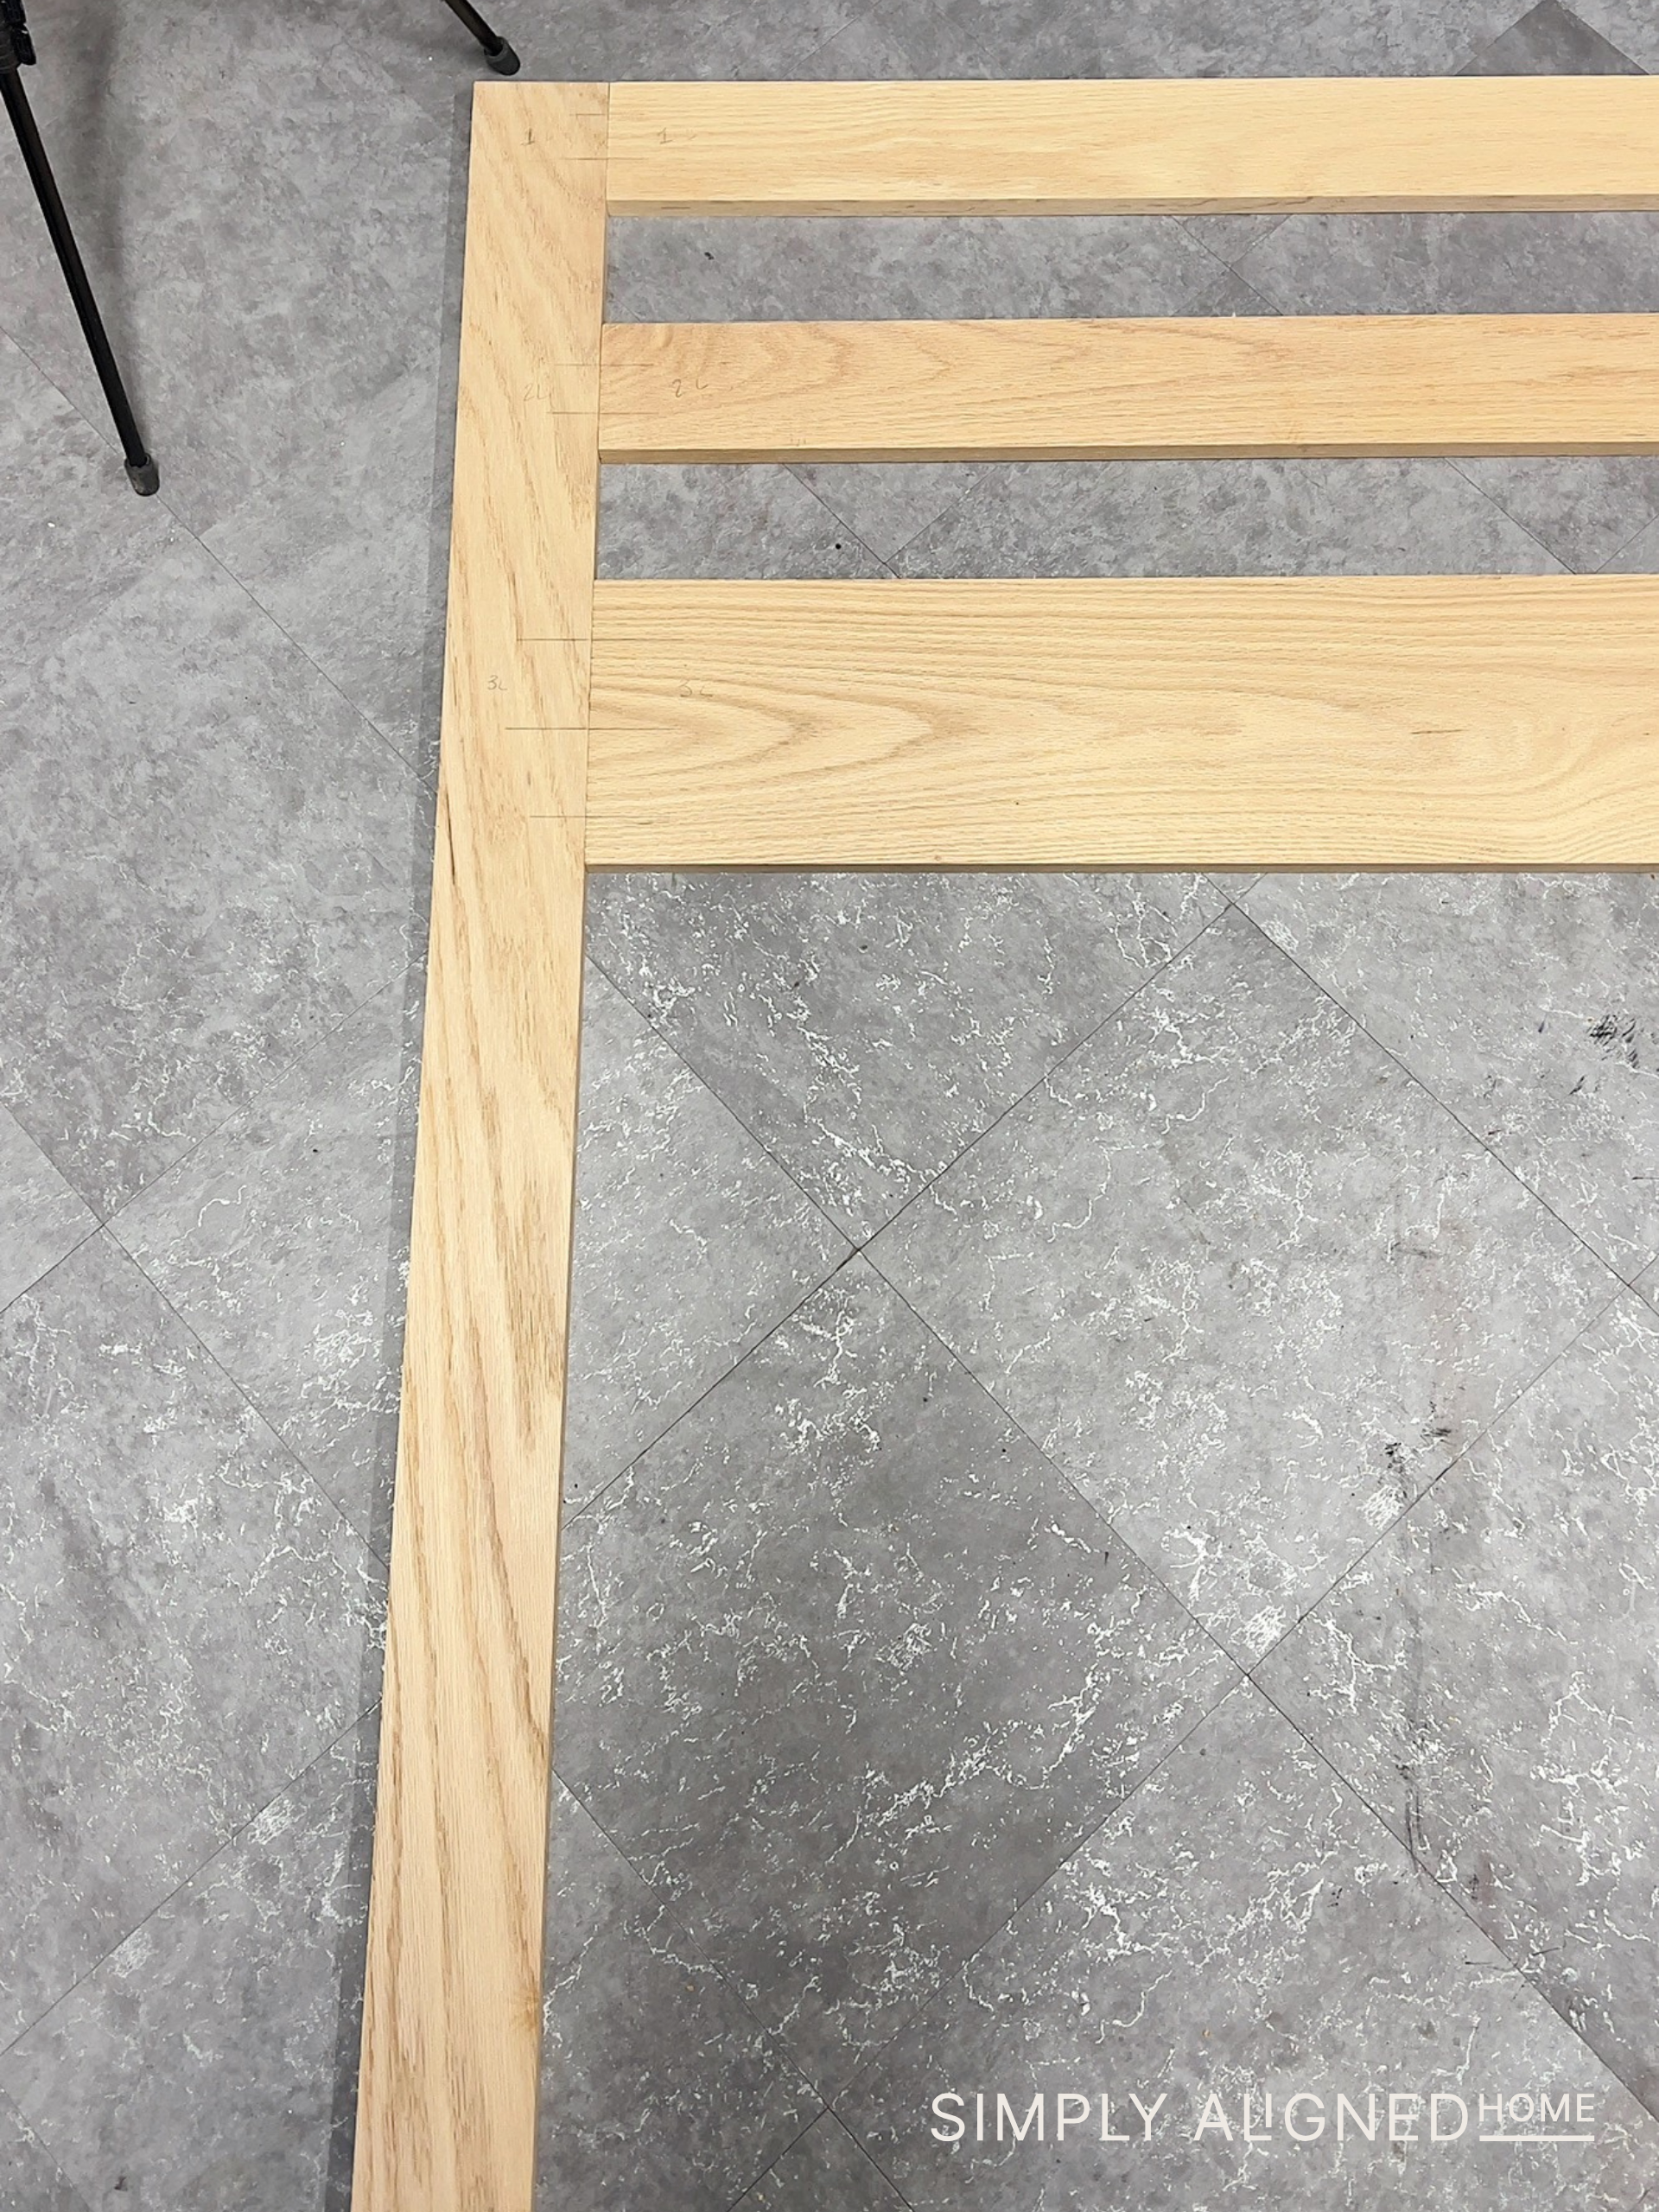
Once I brought all the wood home (and got a great workout hauling it into the garage), I cut everything down to size on my miter saw. Before assembling, I always like to do a quick sanding on every piece. It makes assembly smoother and ensures I’m not fighting with rough edges.
I laid everything out to double-check measurements and make sure I hadn’t missed a single cut.
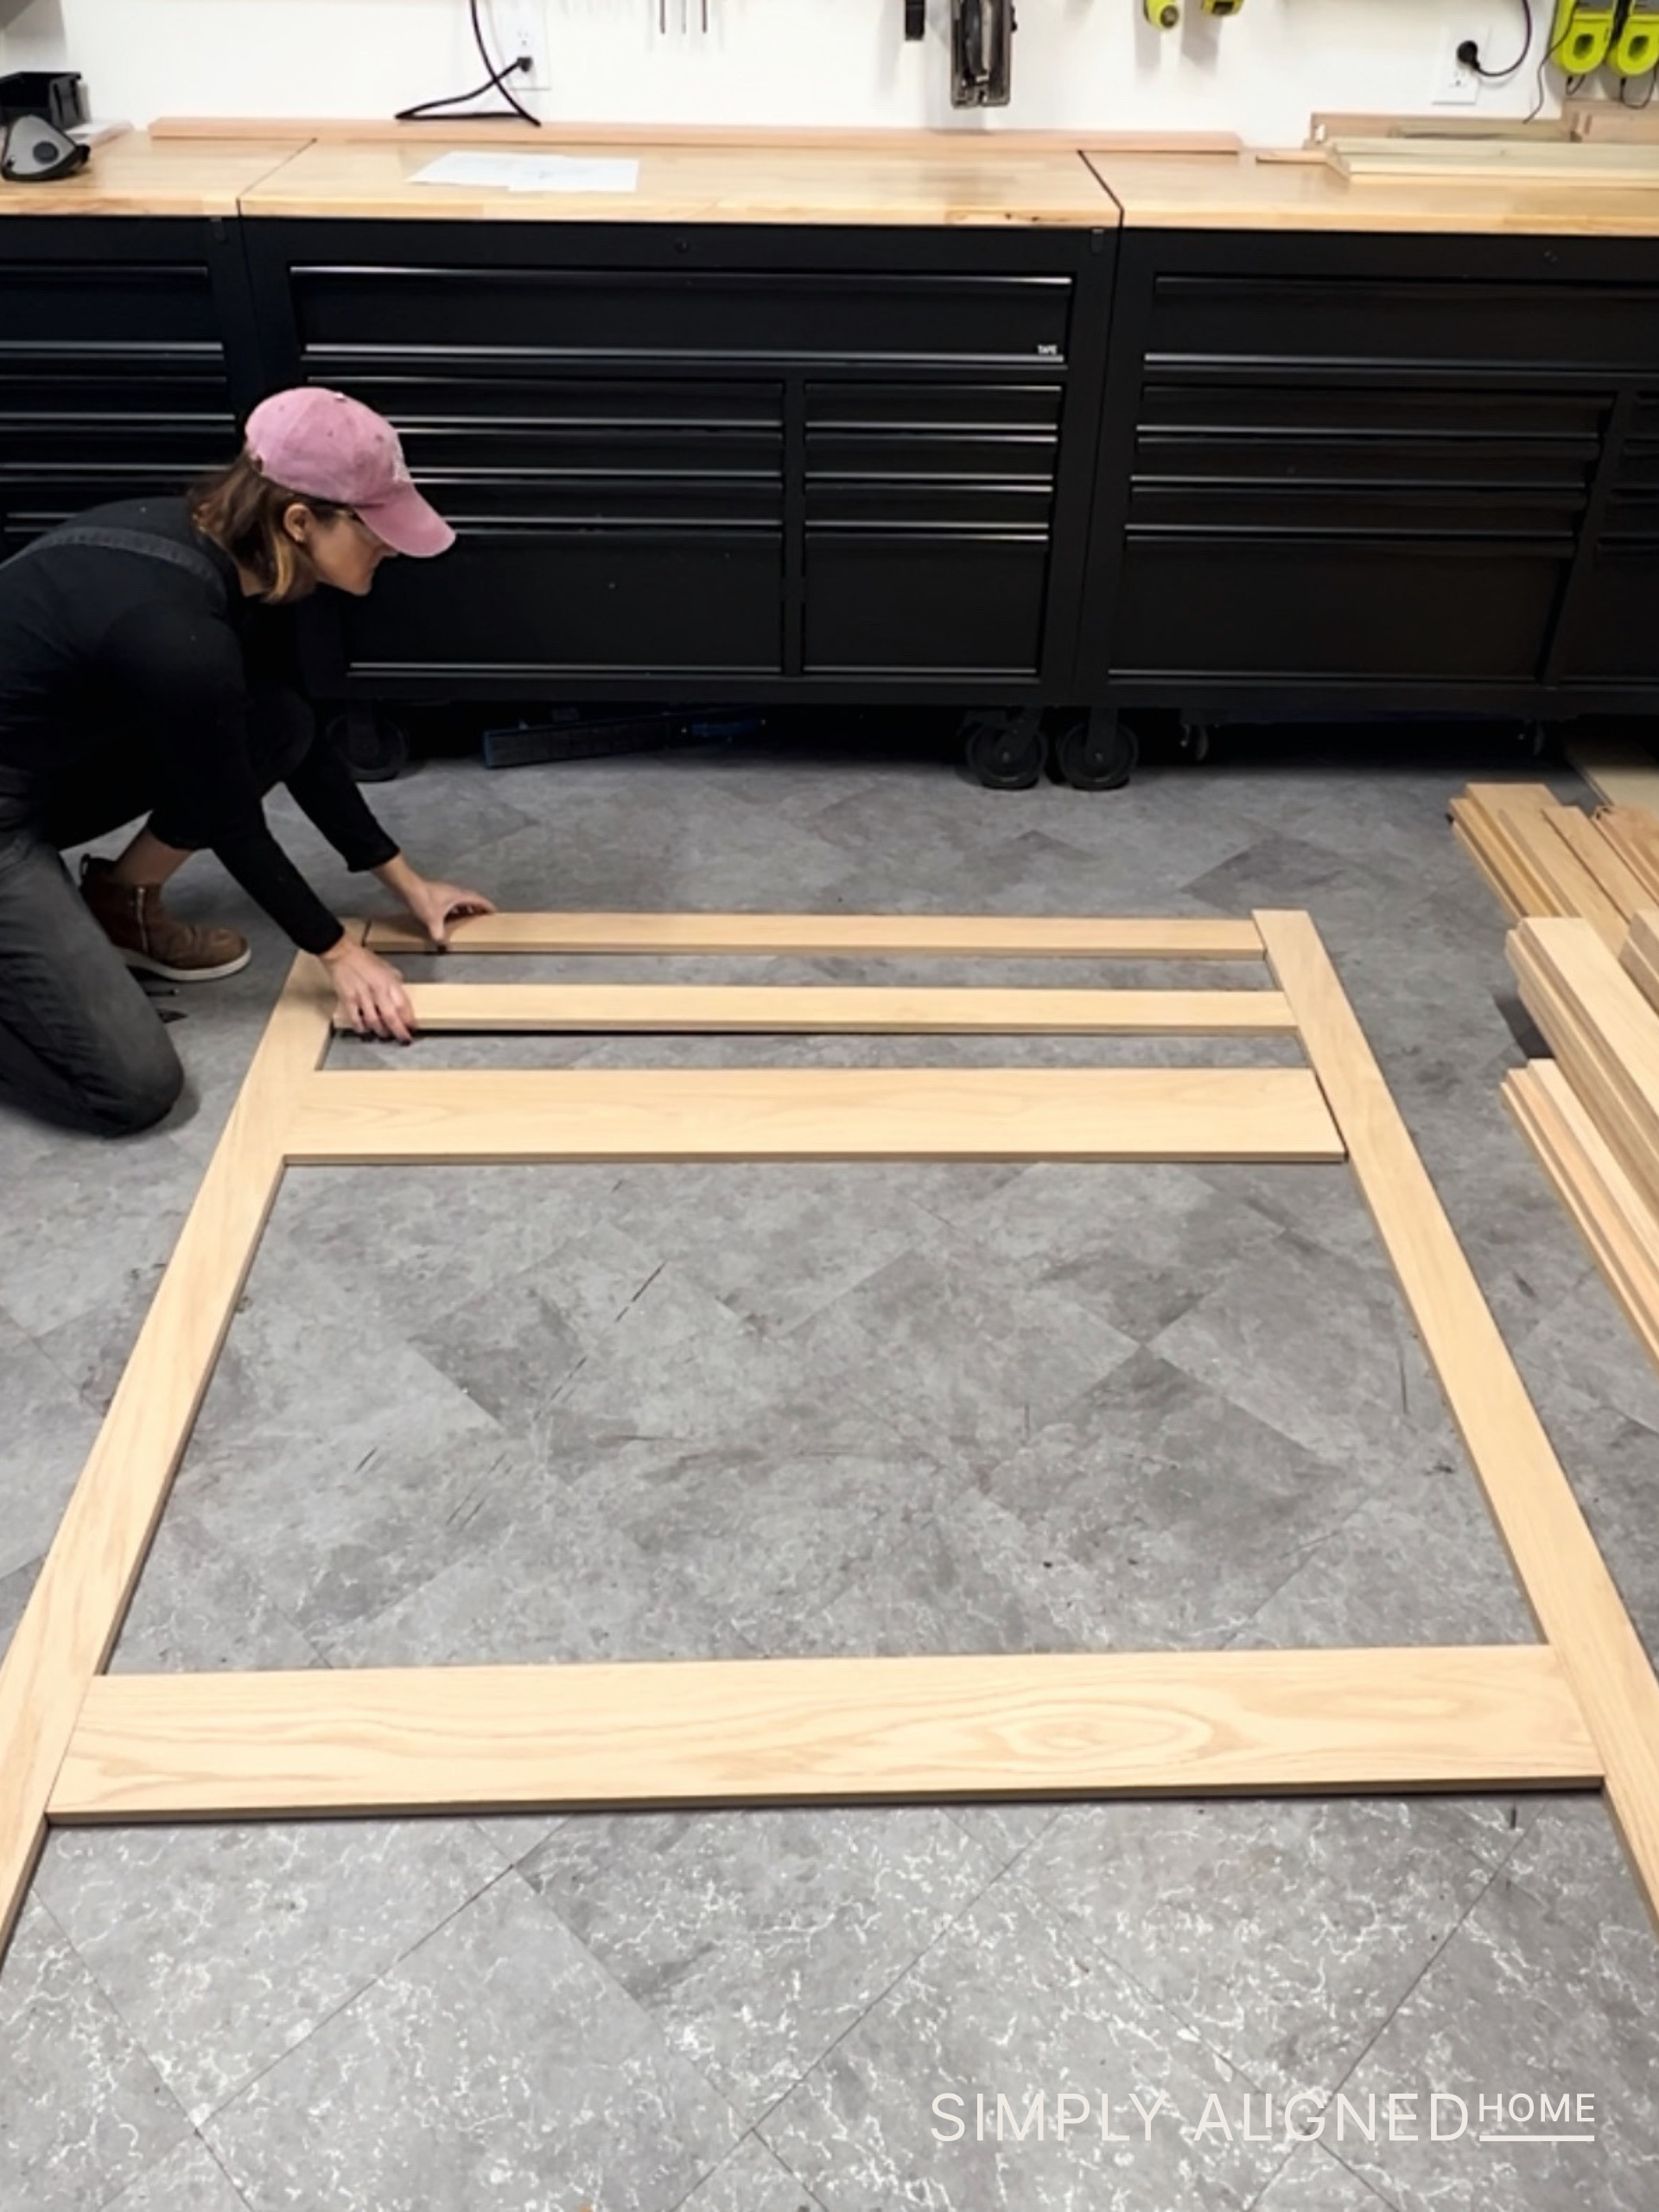
Step 2: Joinery with Dowels and Glue
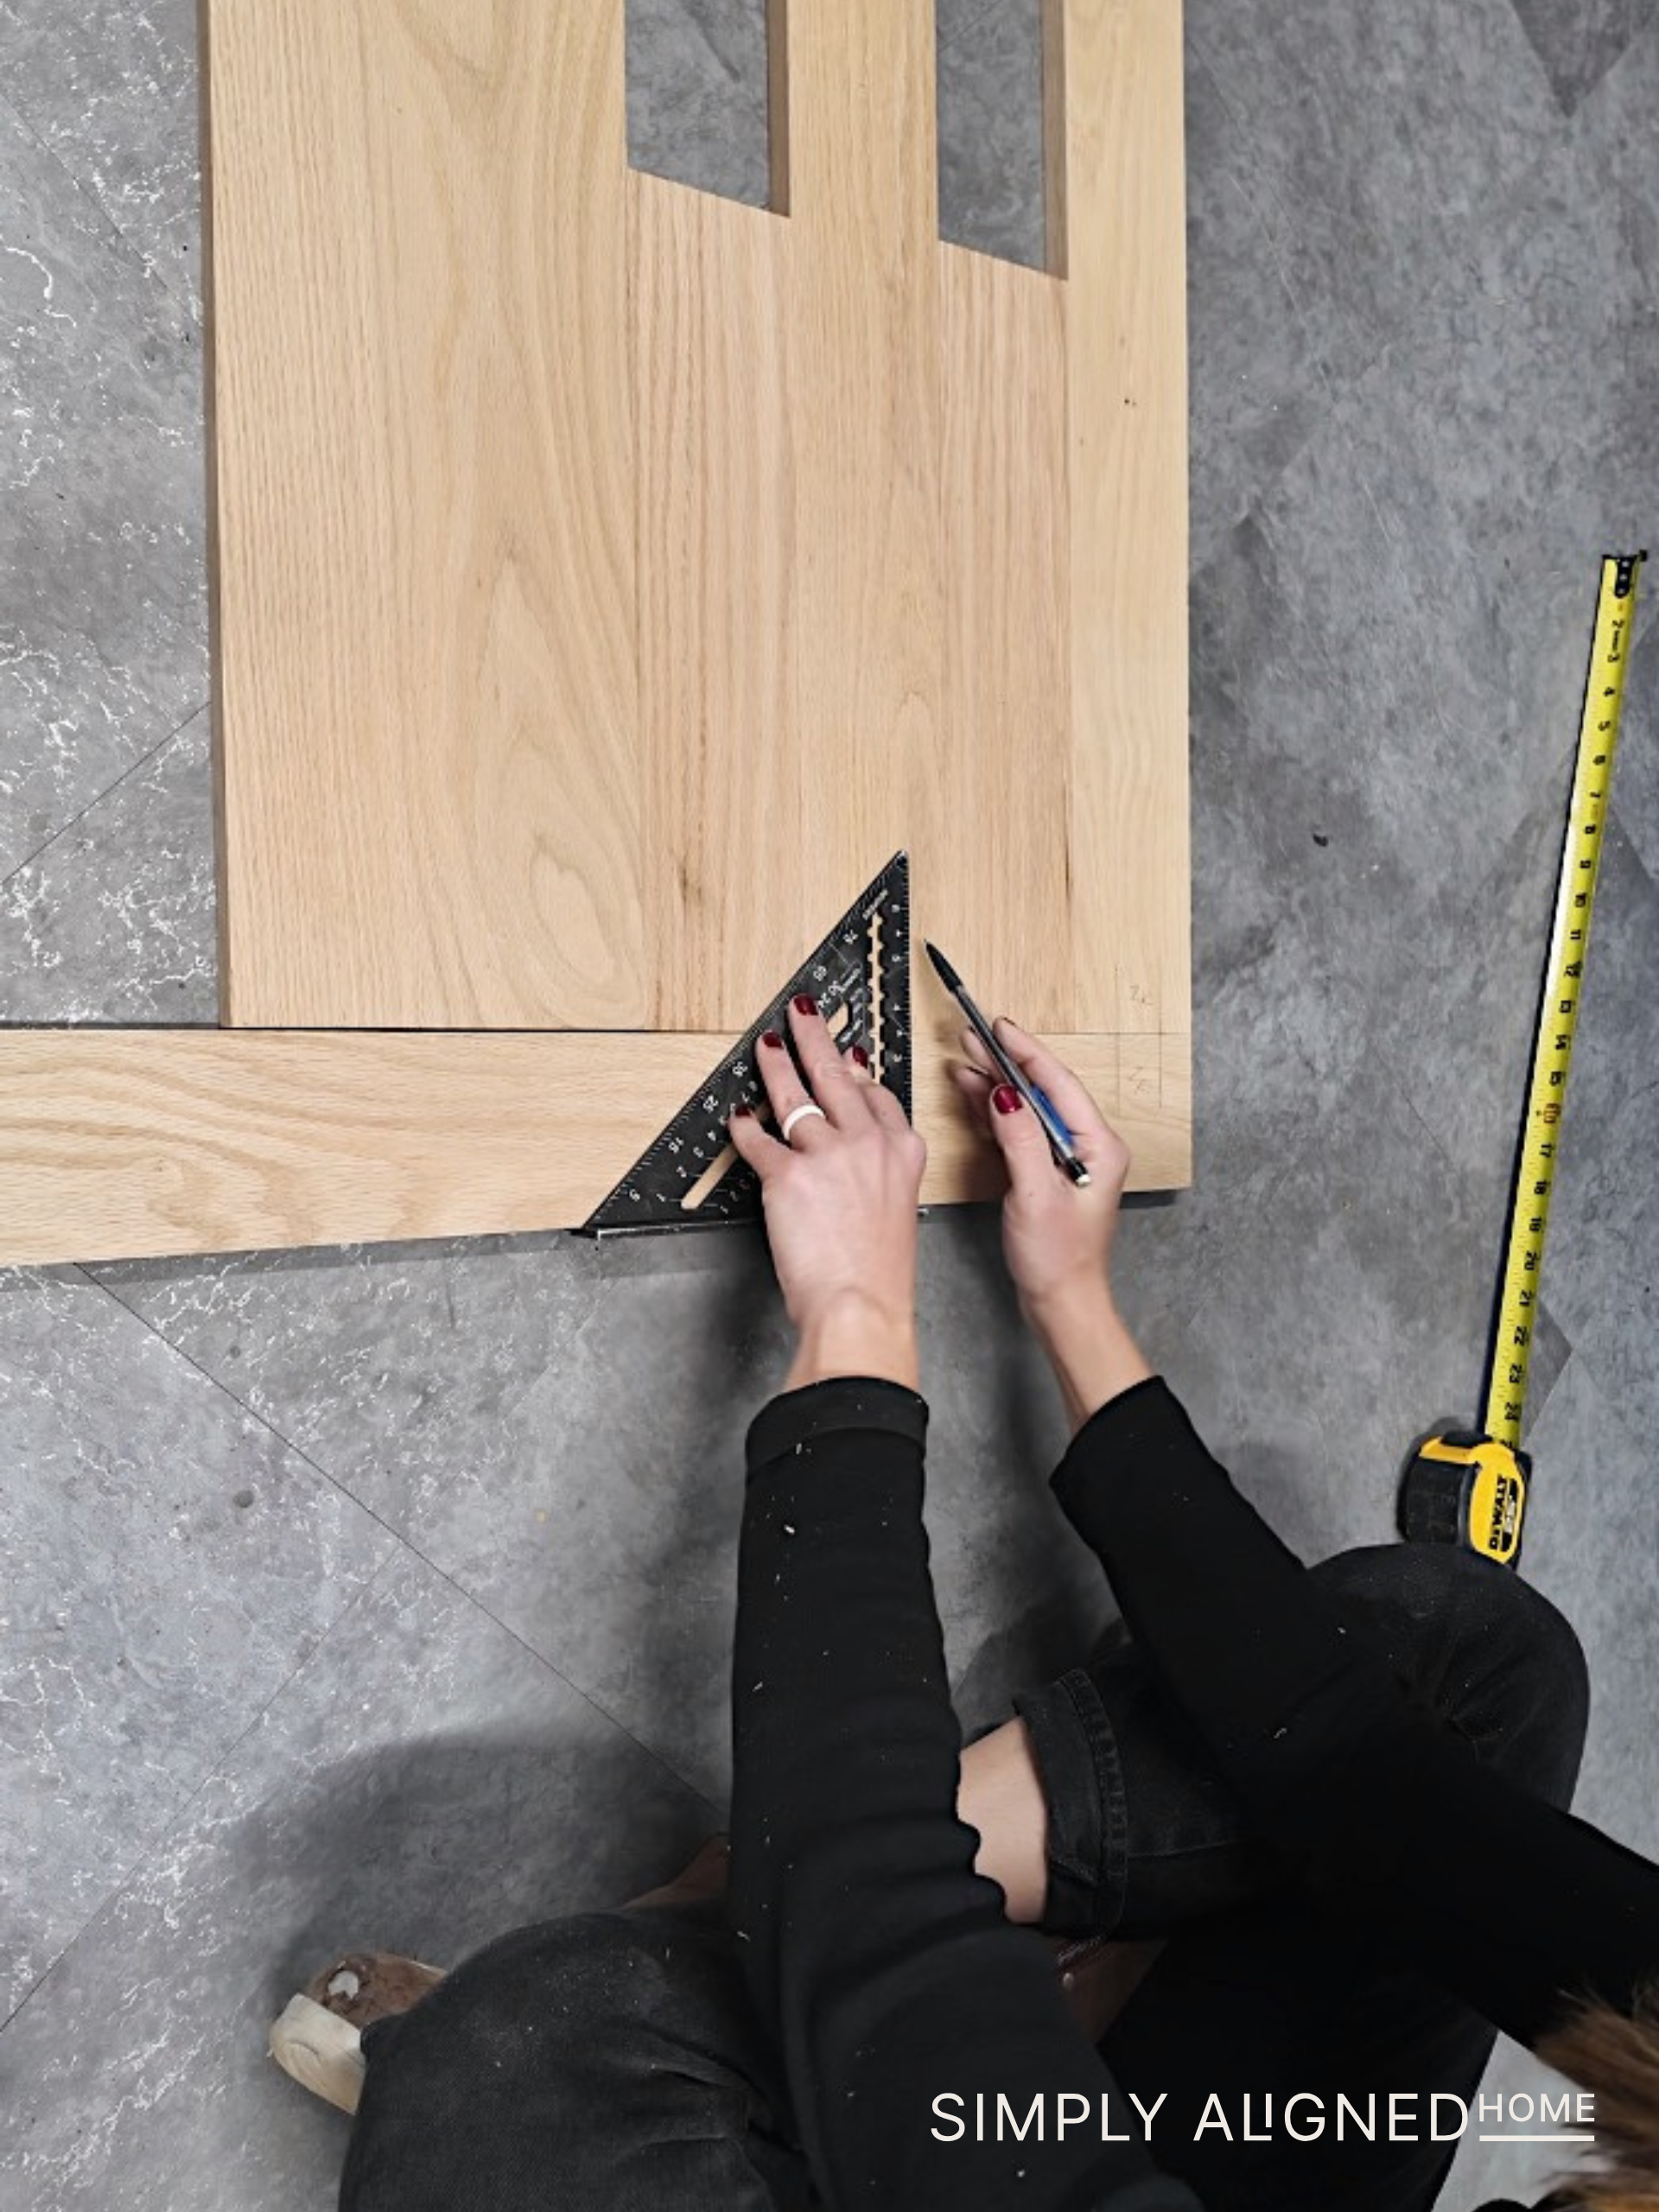
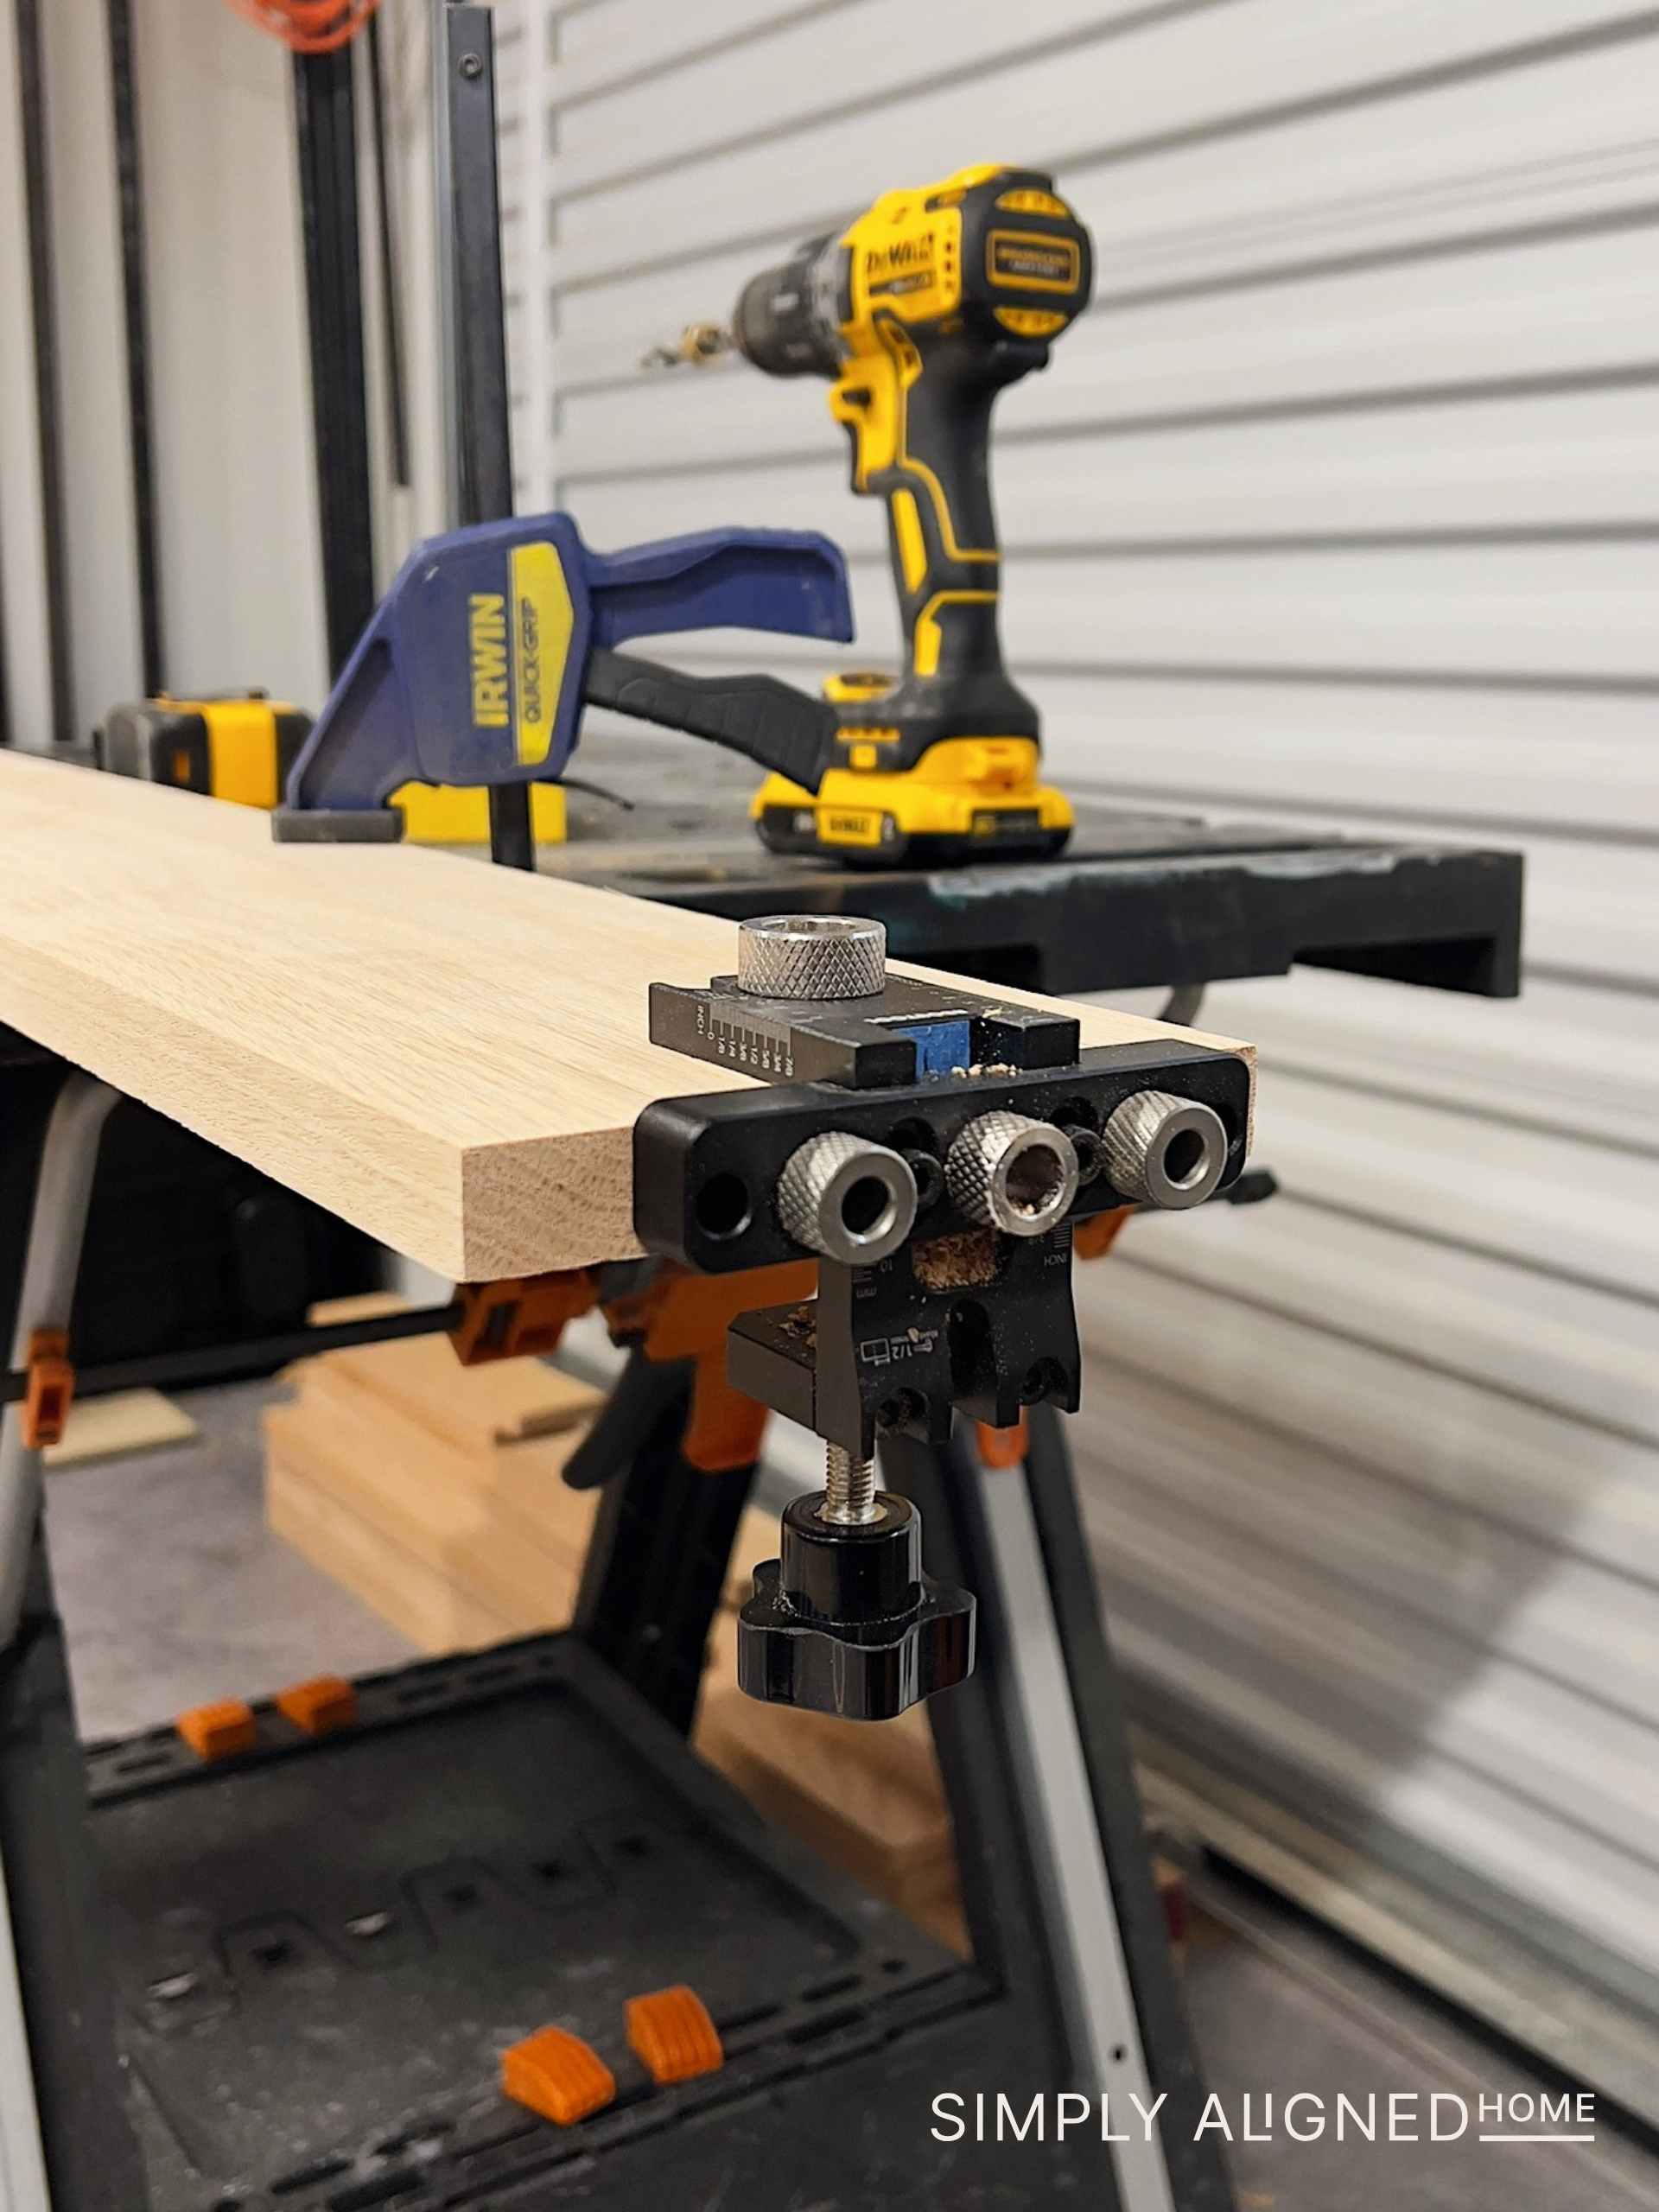
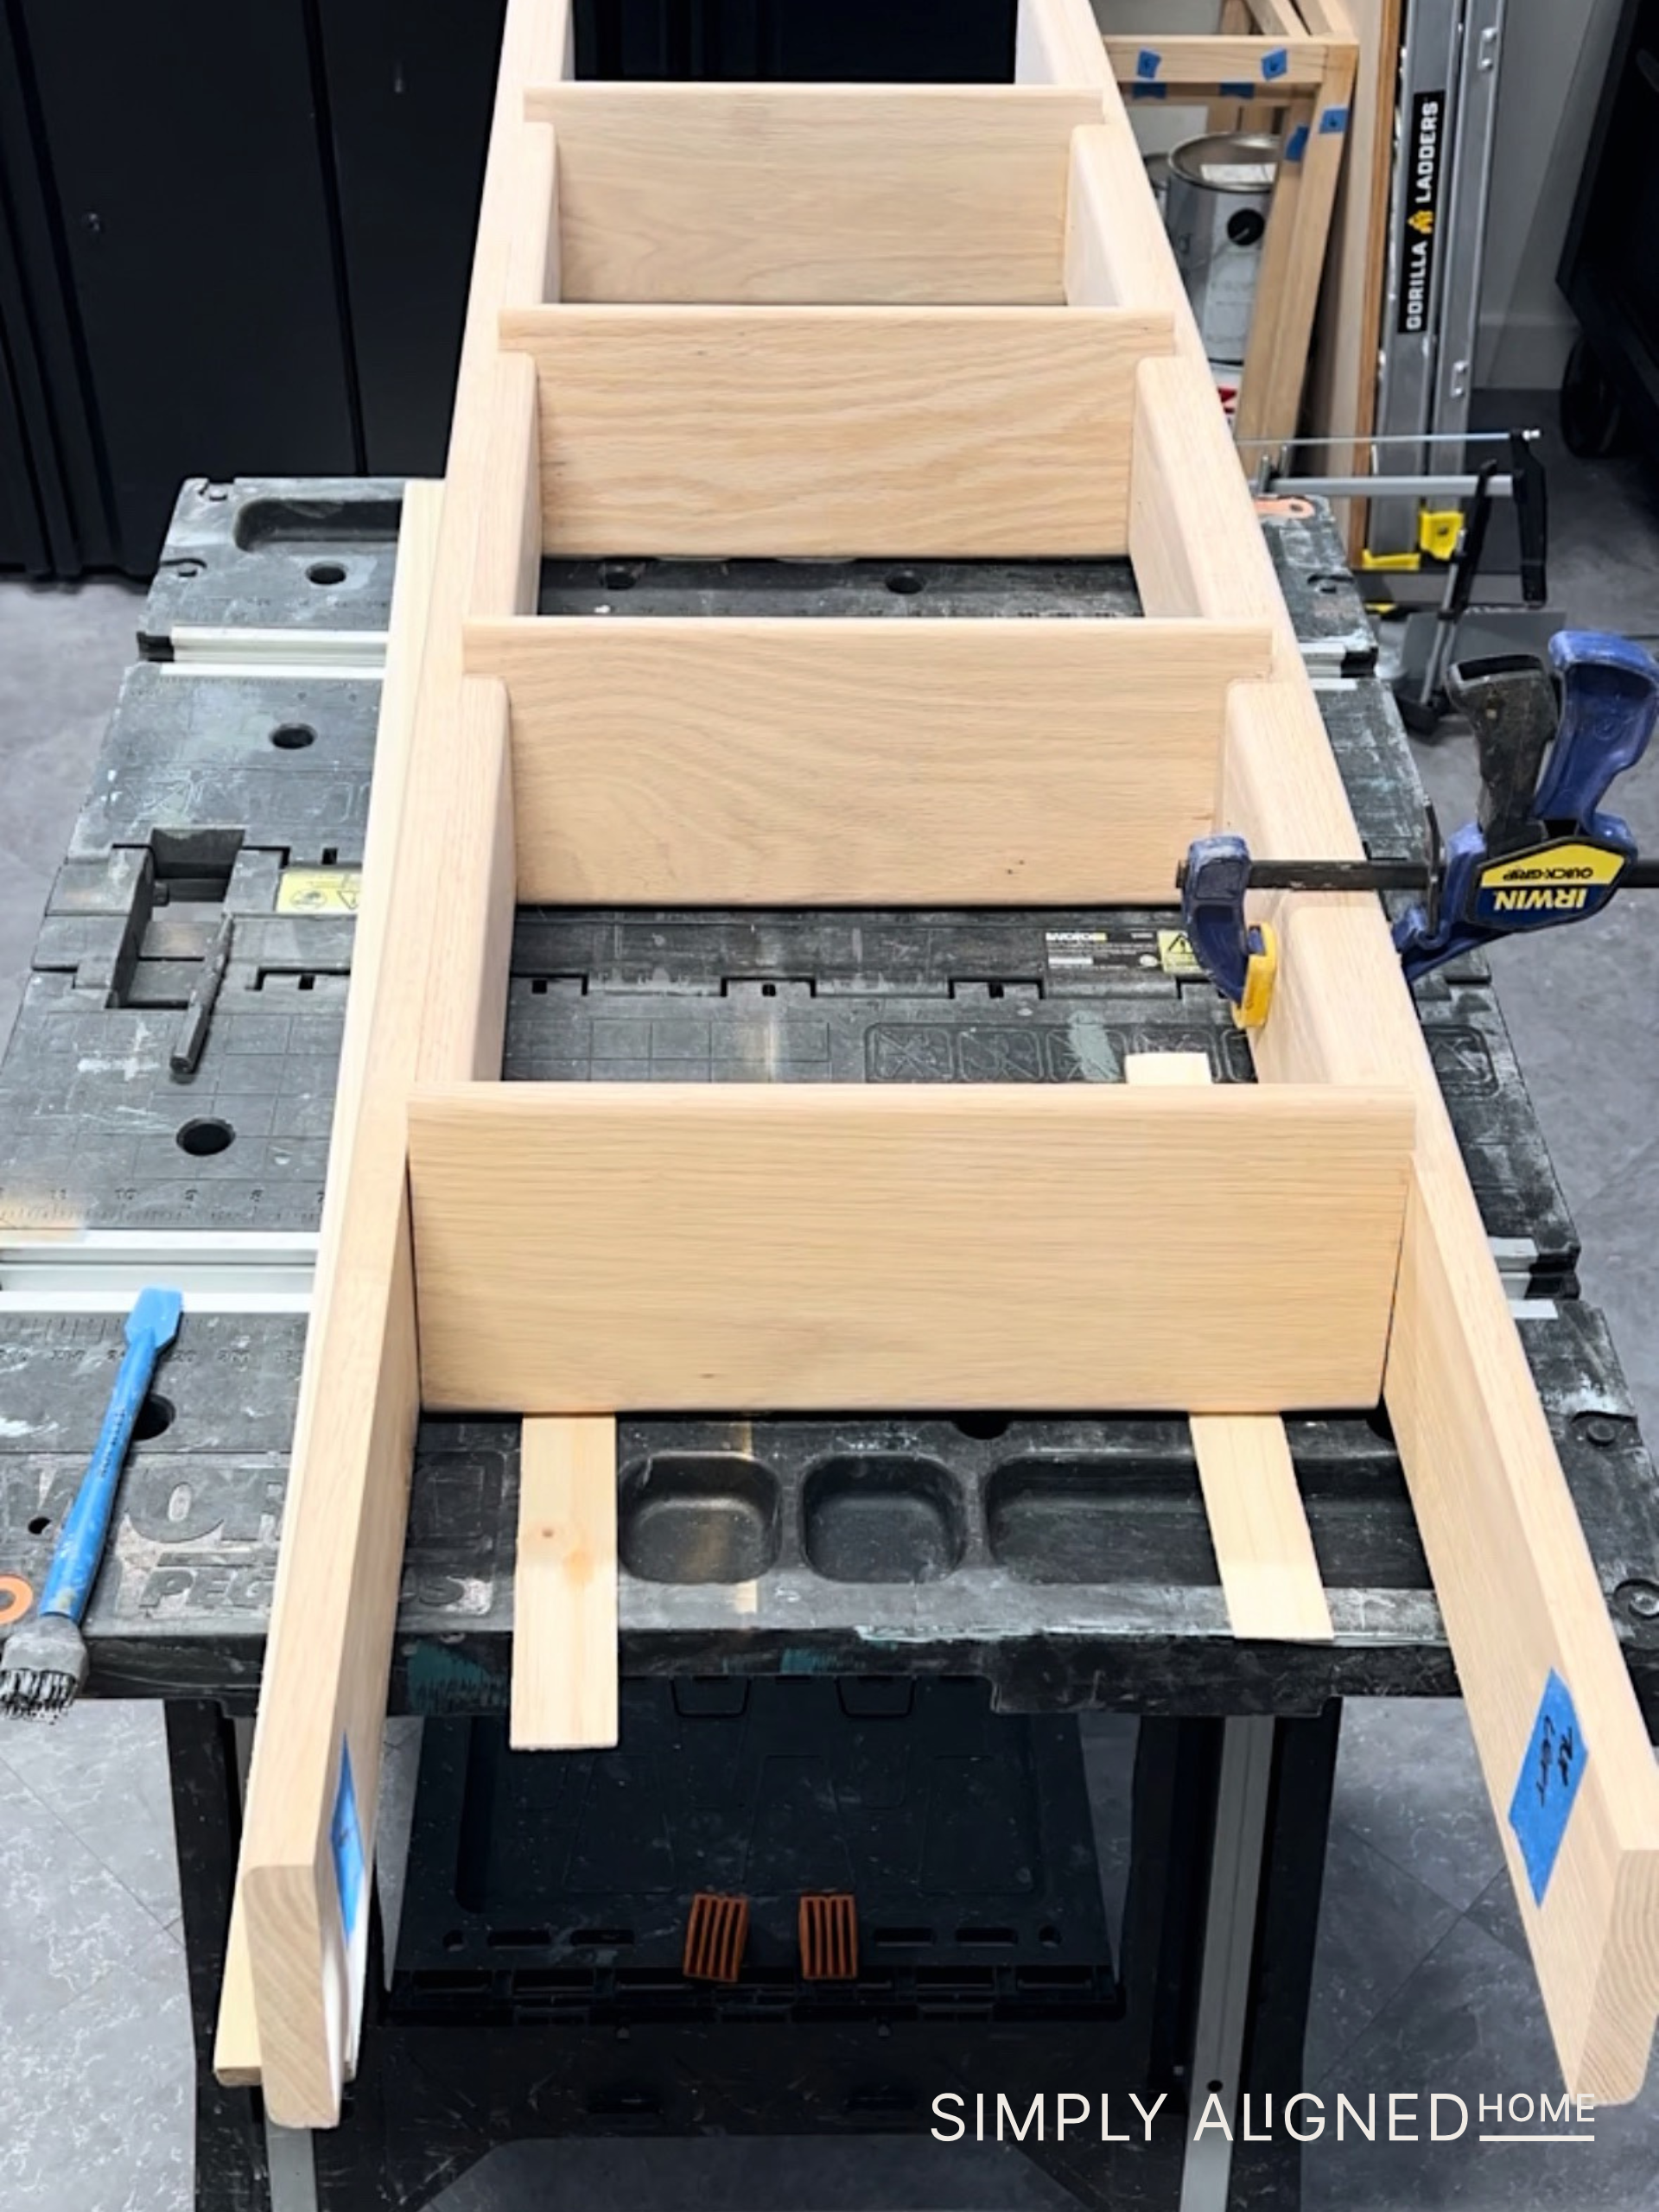
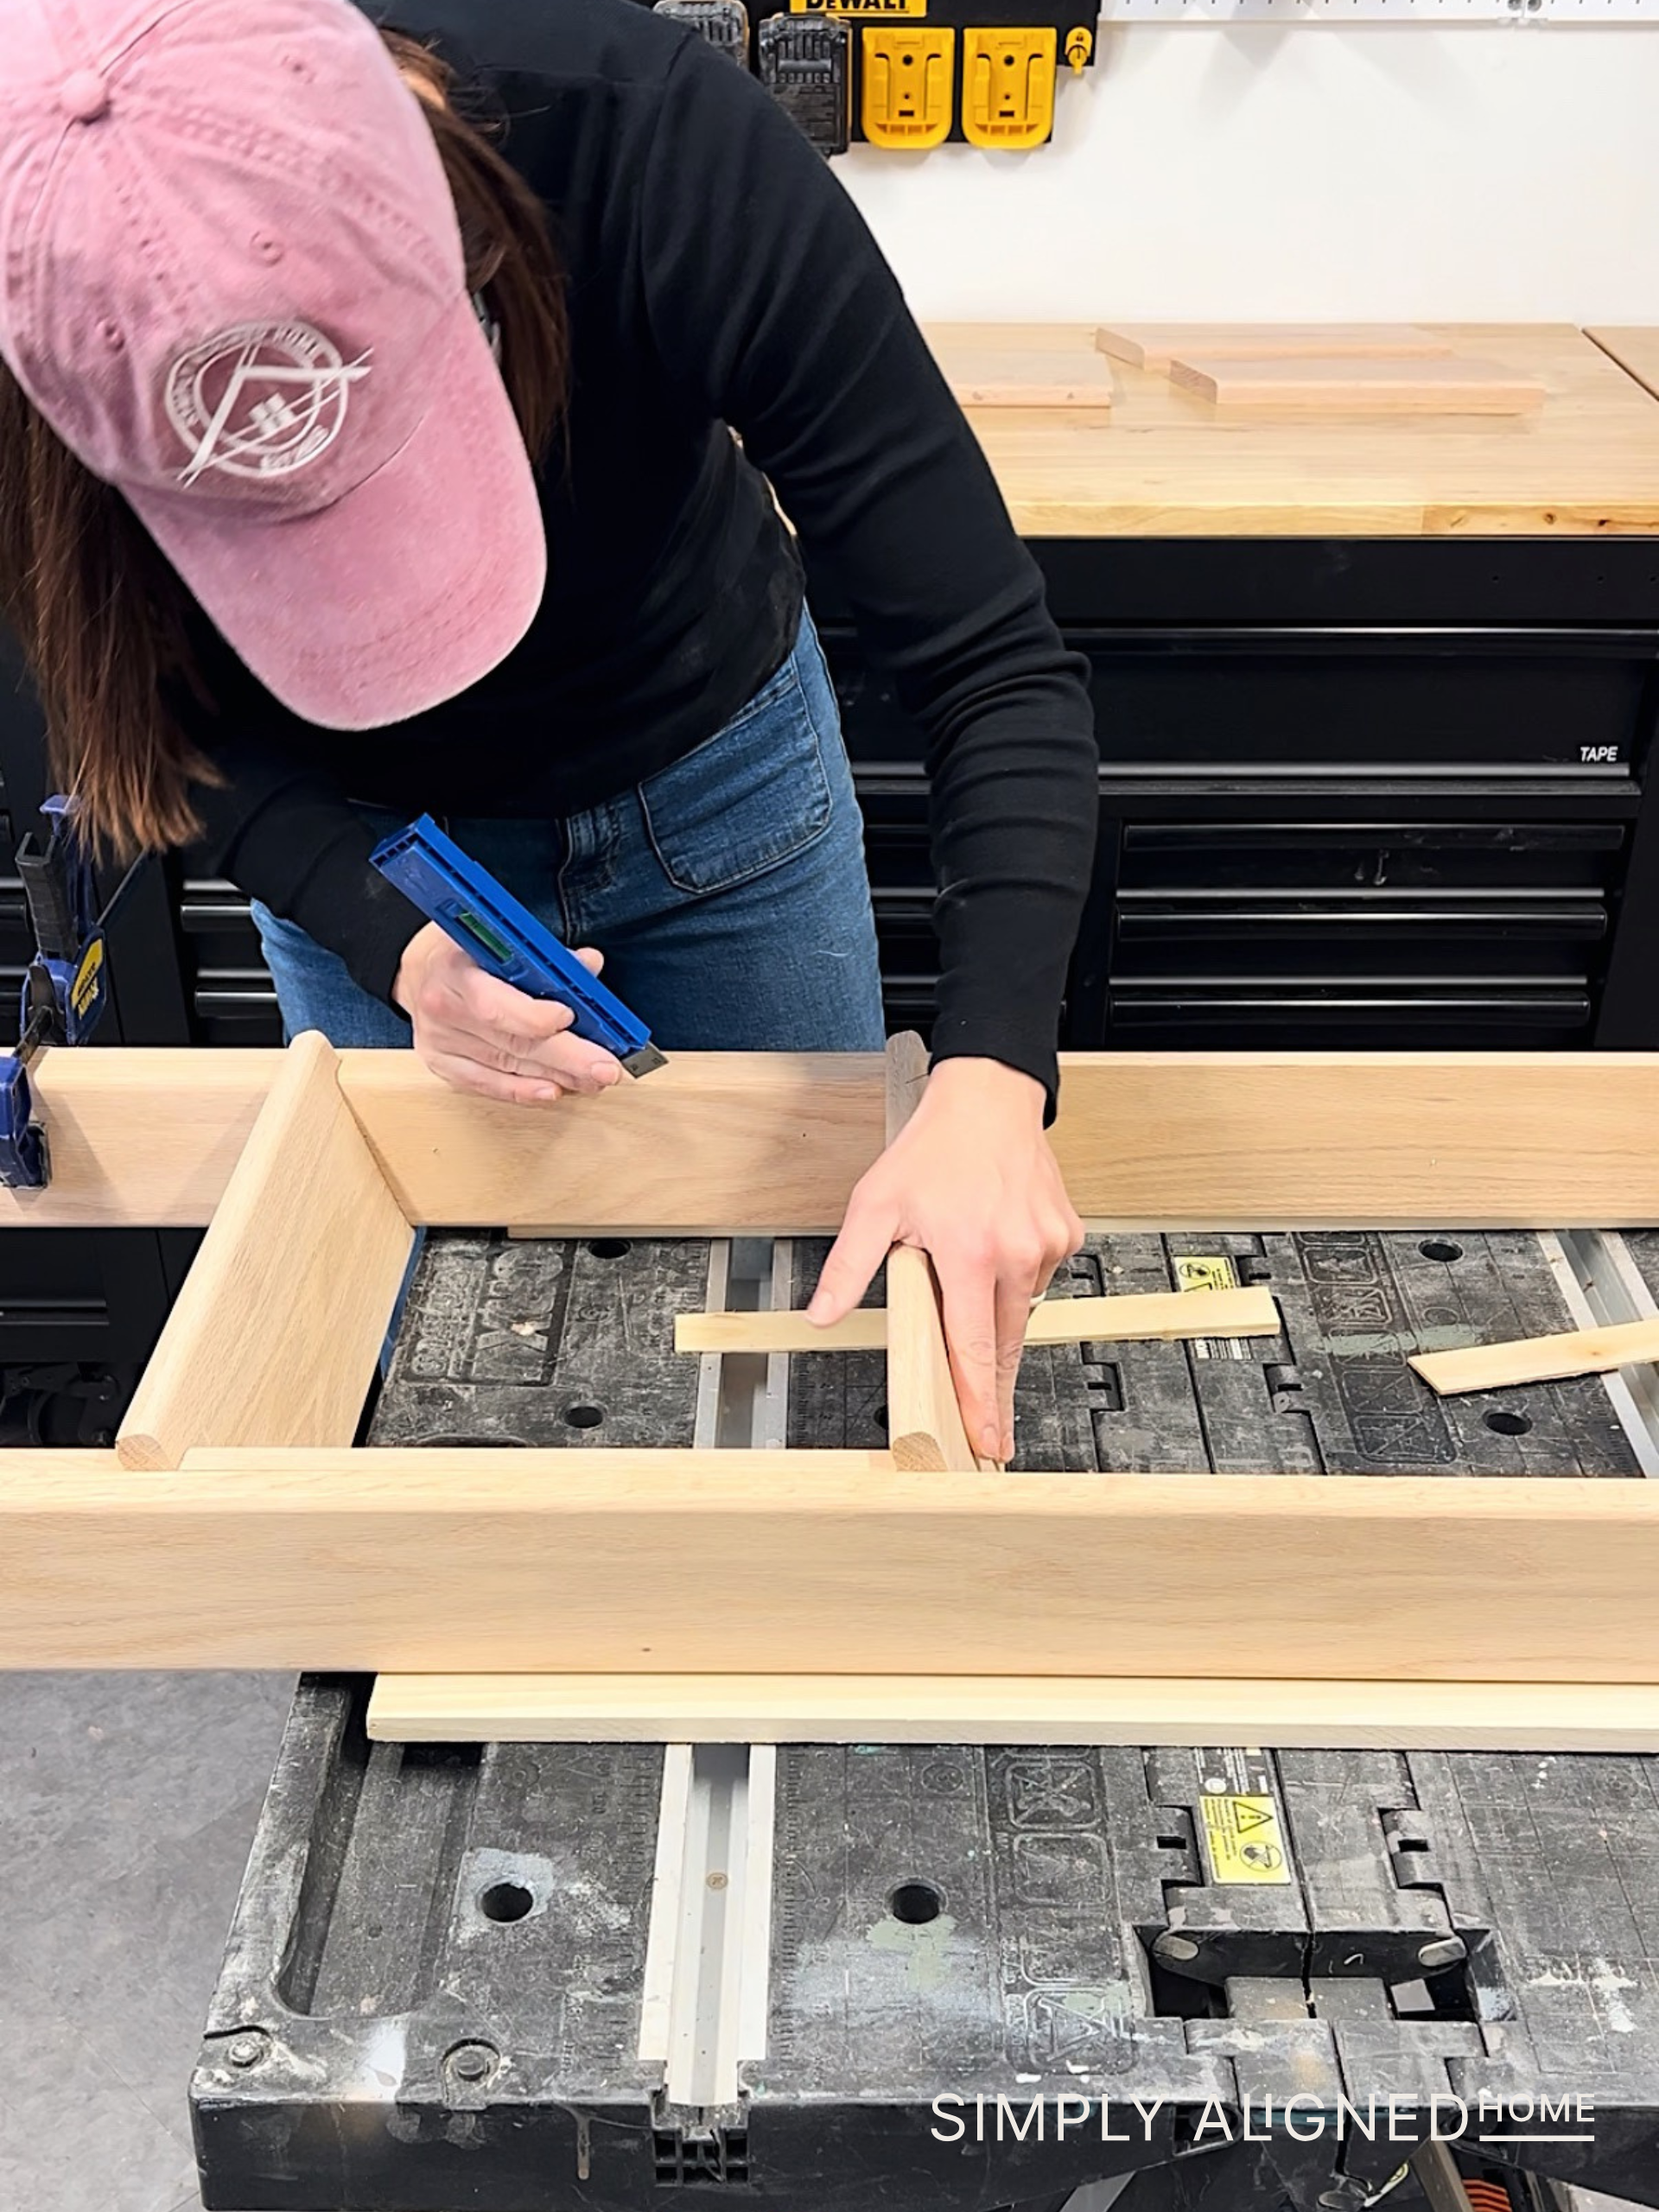
I decided to use dowel pins and wood glue to assemble the main panels. I used my engineering square to mark all the dowel hole placements, and my favorite doweling jig to drill them. I’ve tried so many jigs over the years, and I keep coming back to this one. Since it’s made of metal, it doesn’t bend or shift when tightened down, which makes alignment so much easier.
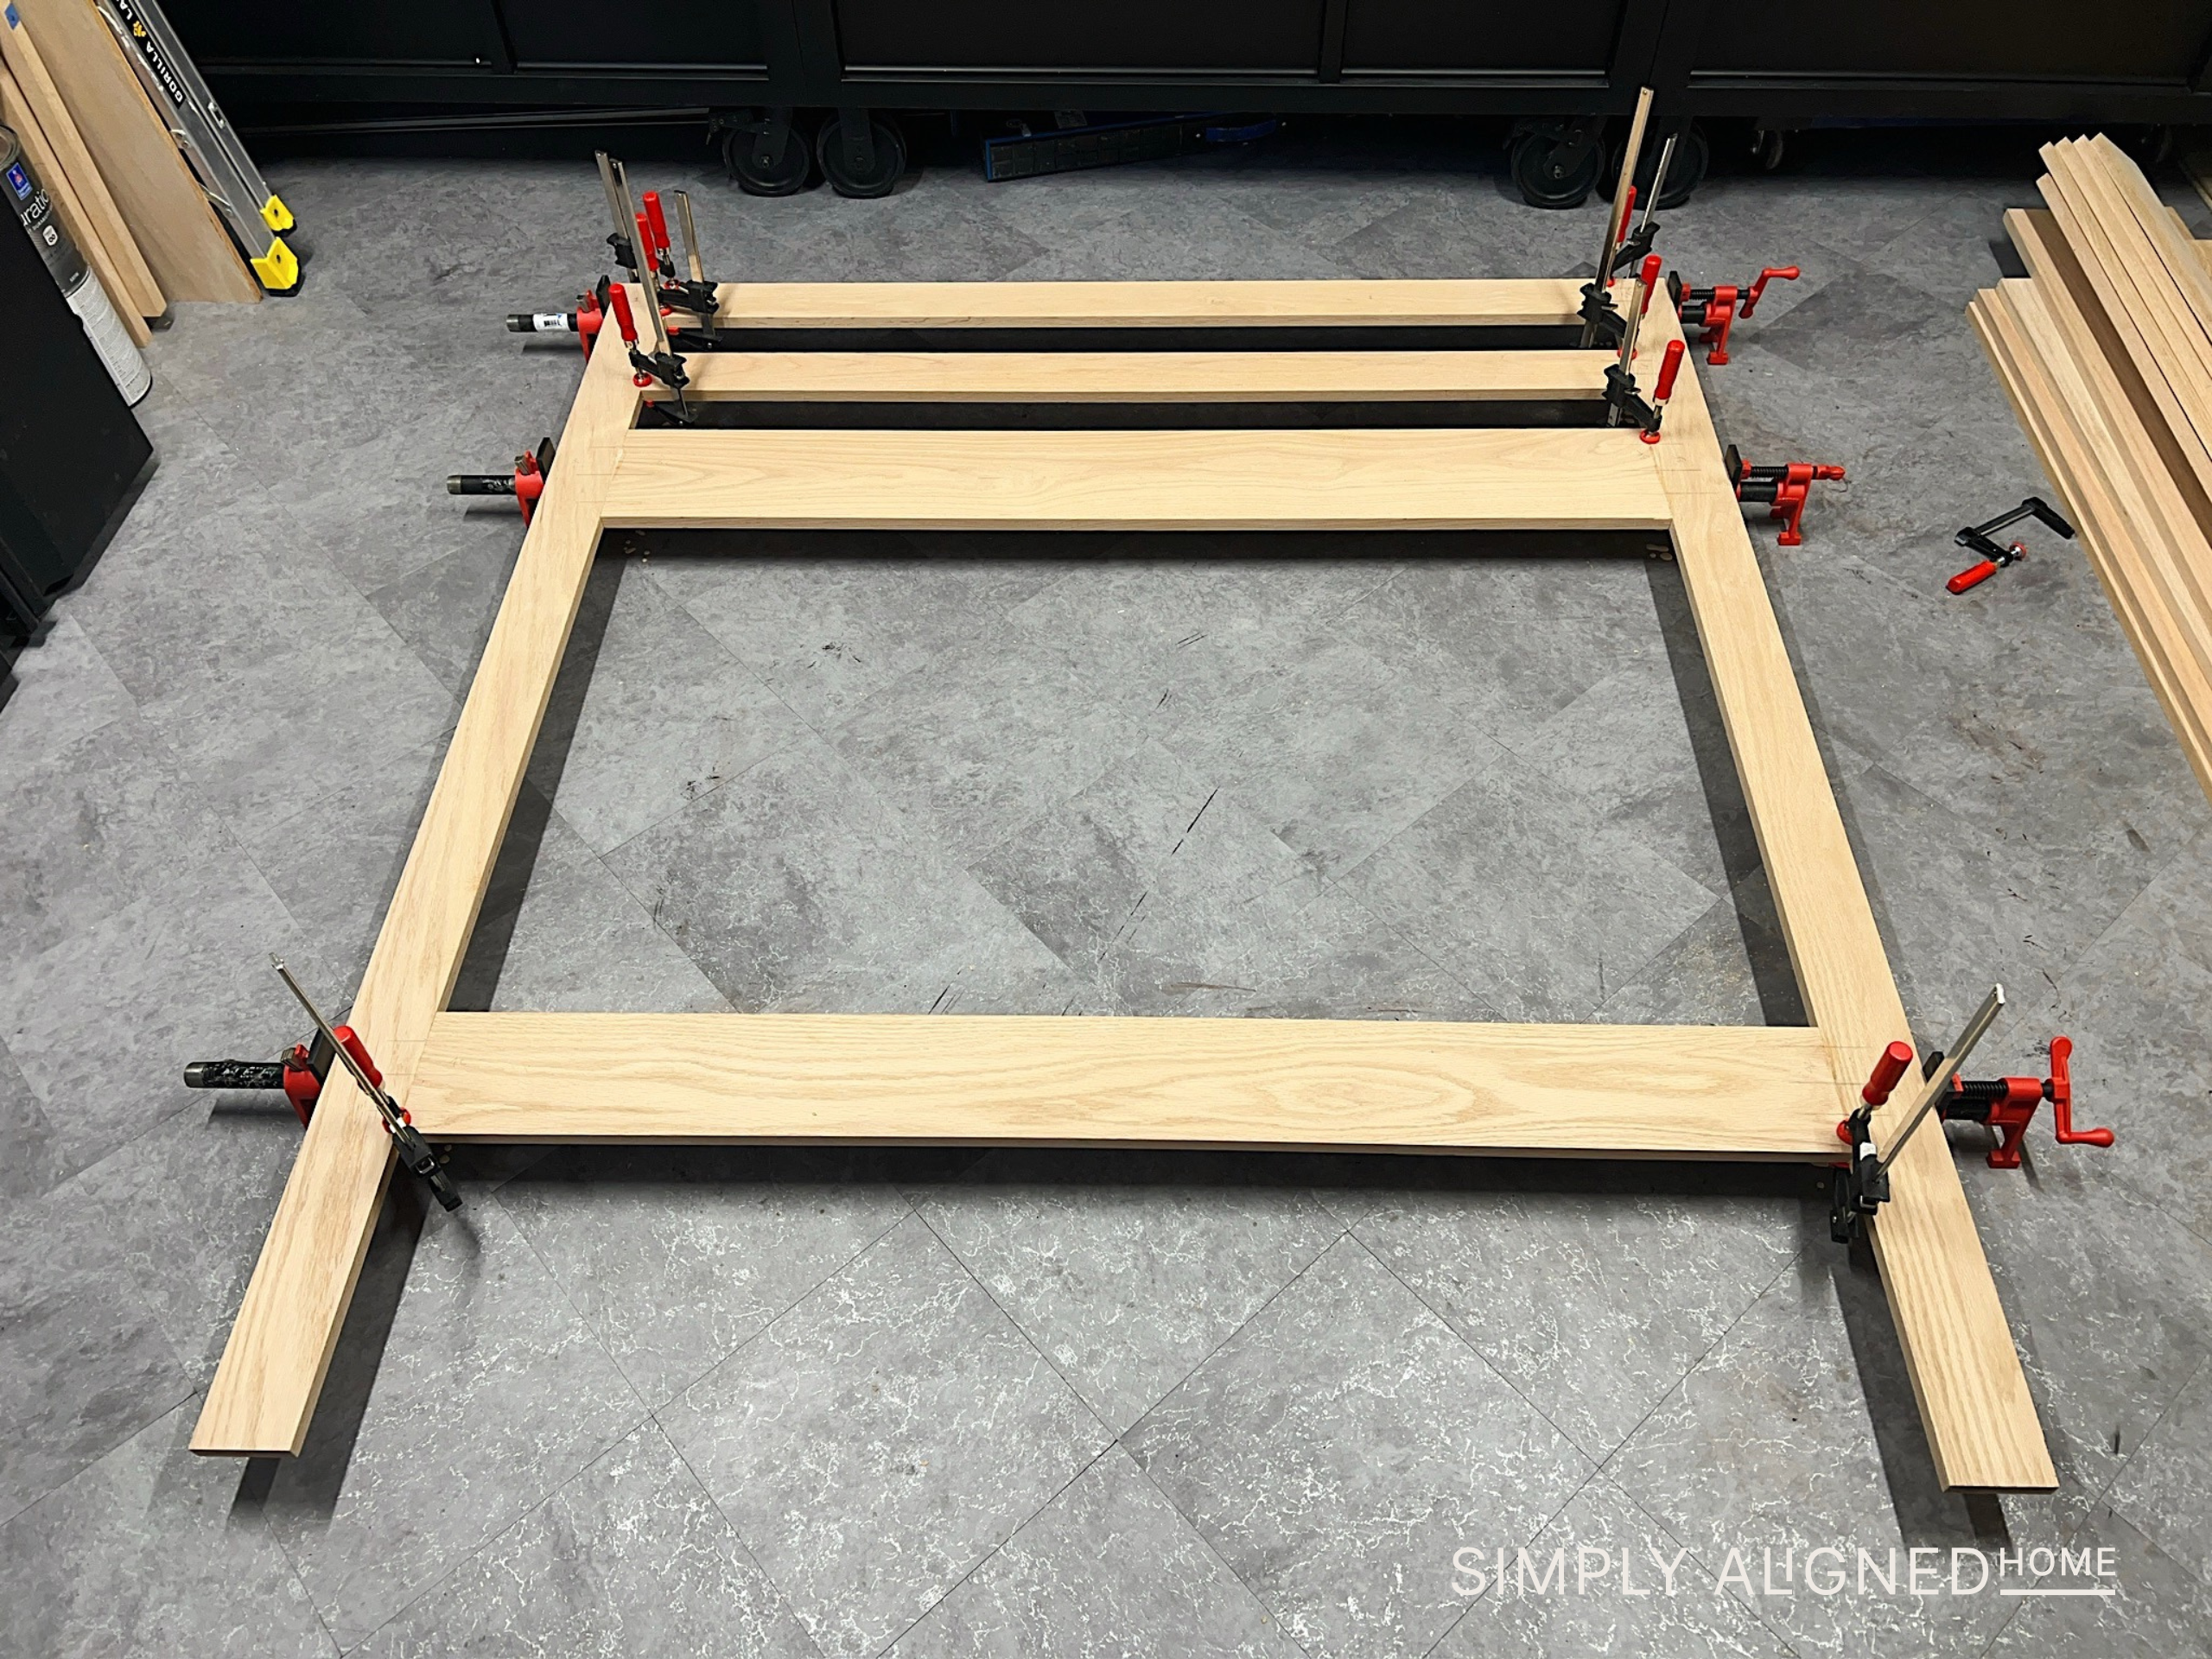
The glue-up is always the most nerve-wracking part! You only have so much working time before glue starts to set, and you can never have too many clamps. I glued both sides at once, clamped them securely, and let everything sit overnight before moving on.
These are all my favorite wood working tools:
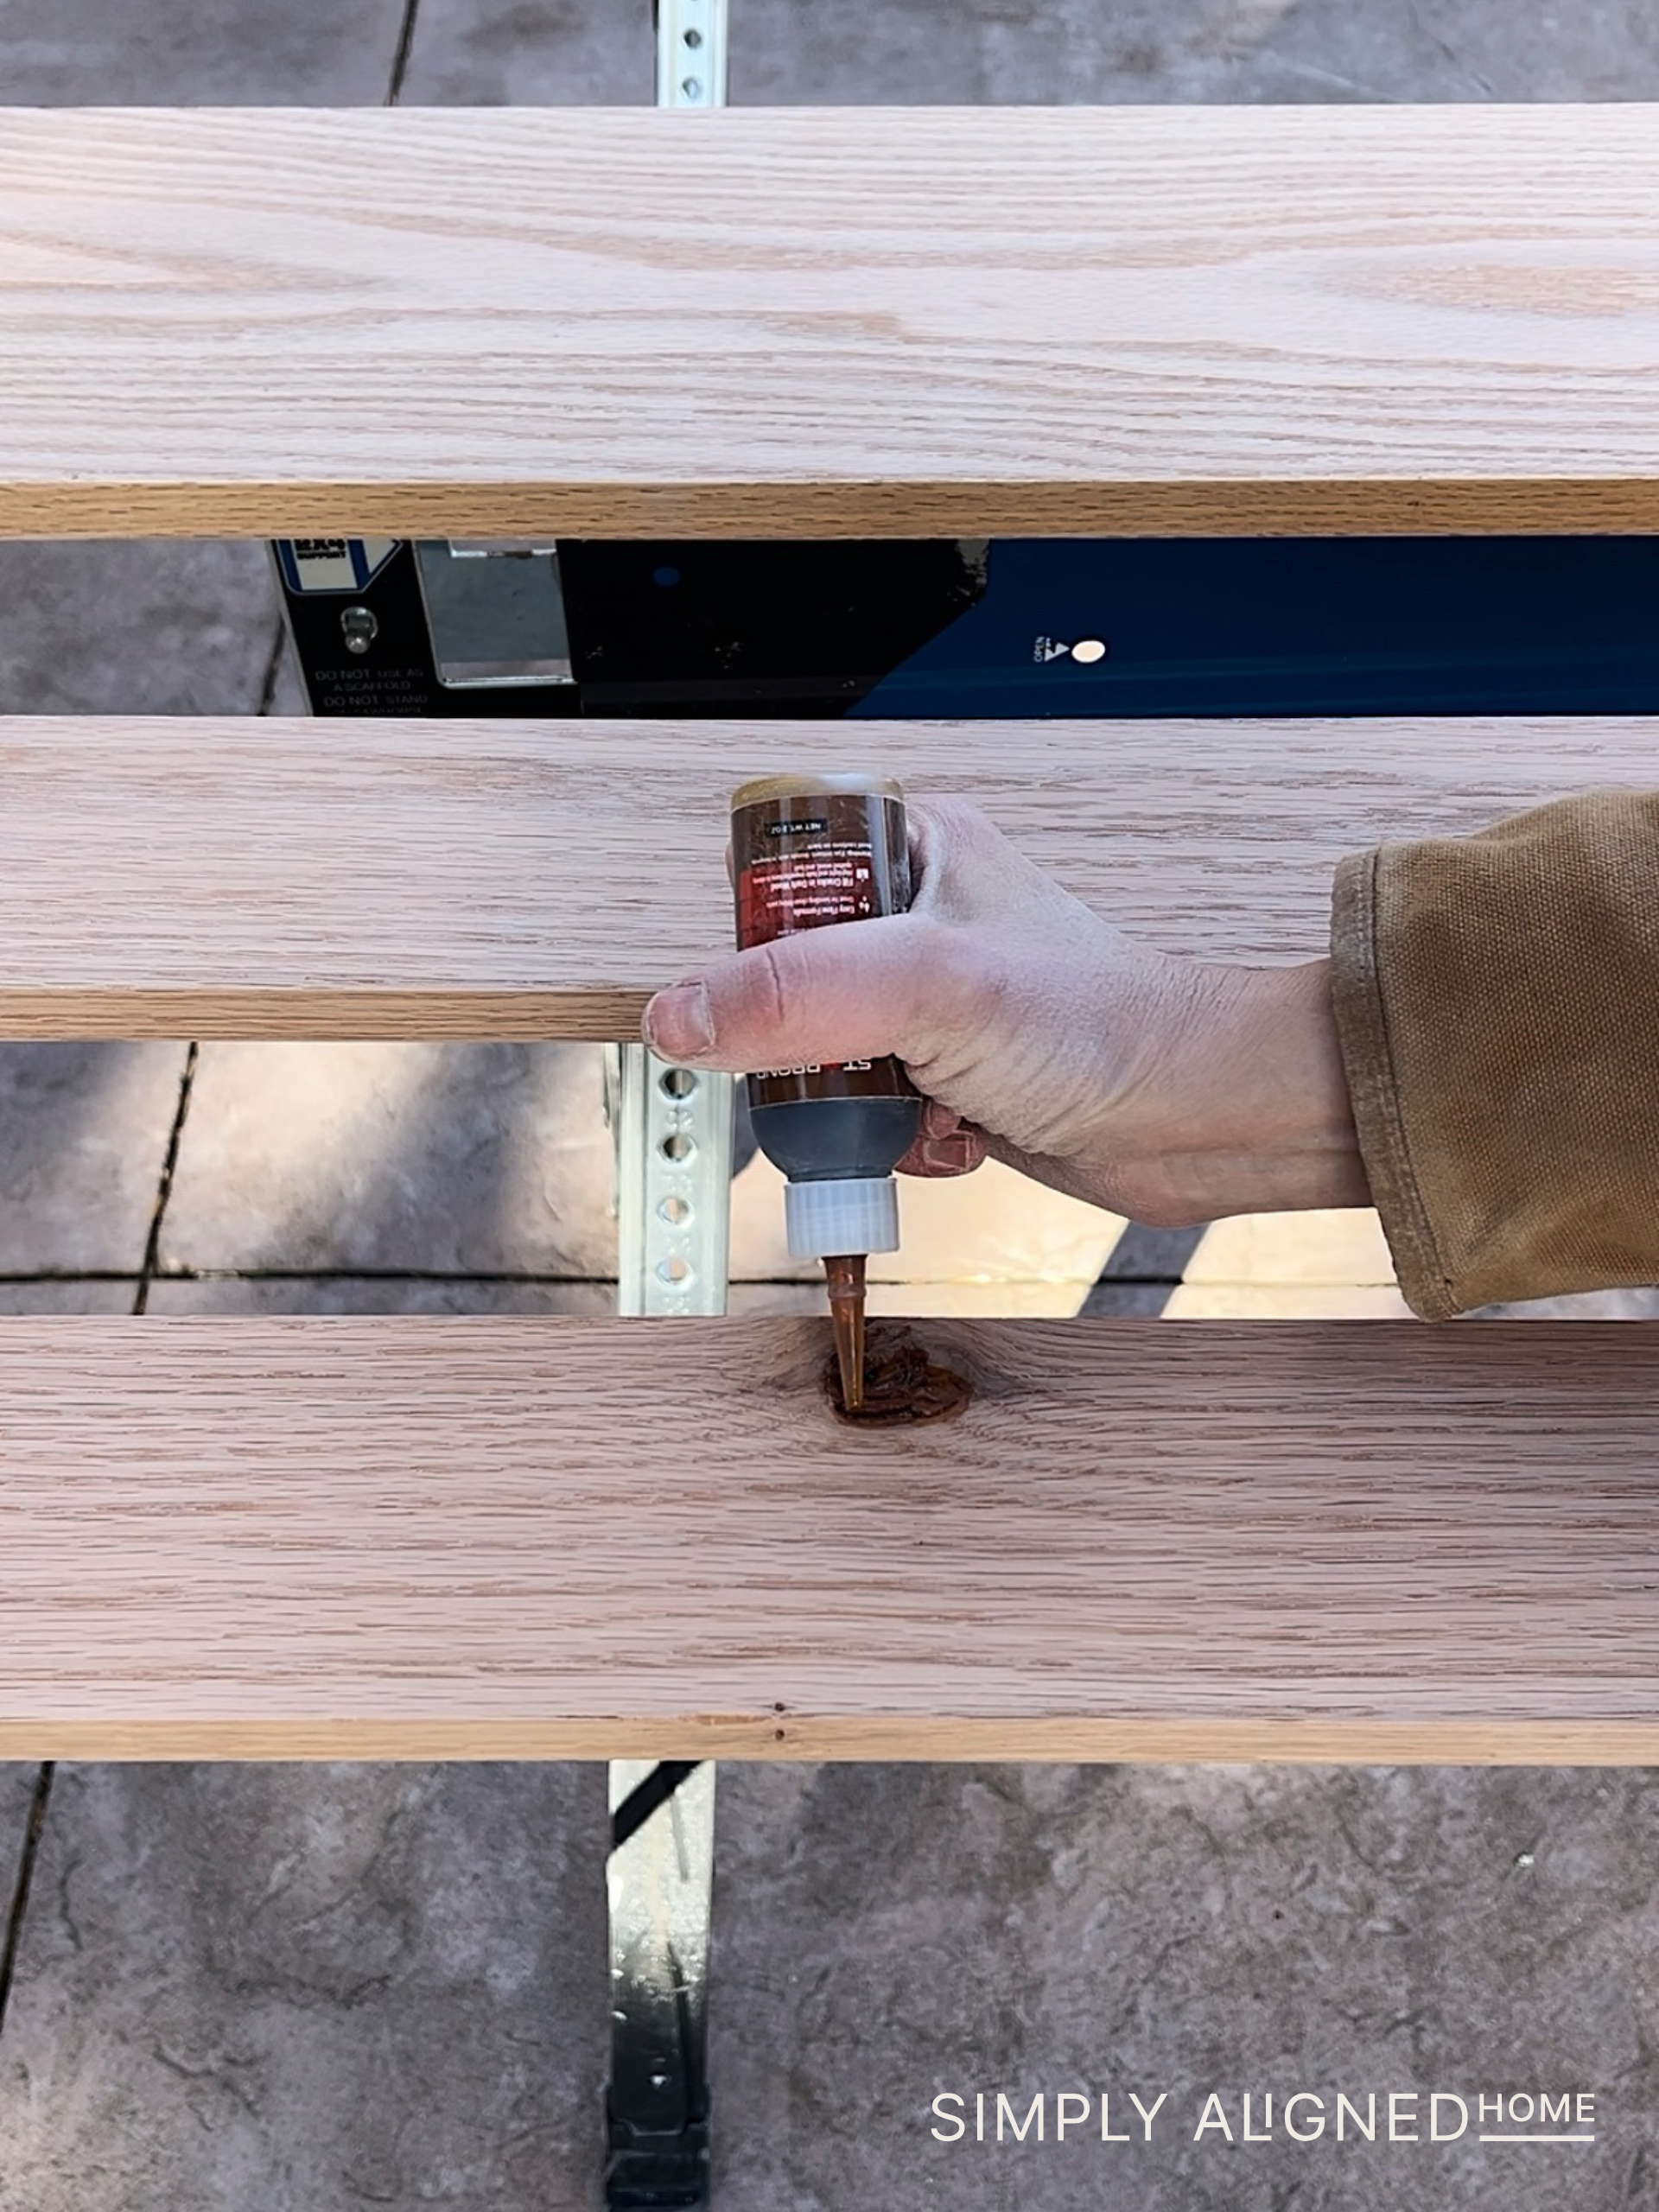
Step 3: Sanding and Filling Knots
After the glue cured, I sanded everything smooth with my orbital sander and removed any dried glue. I also had a few small knots in the oak, so I filled them with Starbond adhesives. This process is quick: apply the glue, spray with accelerator, and it dries in seconds.
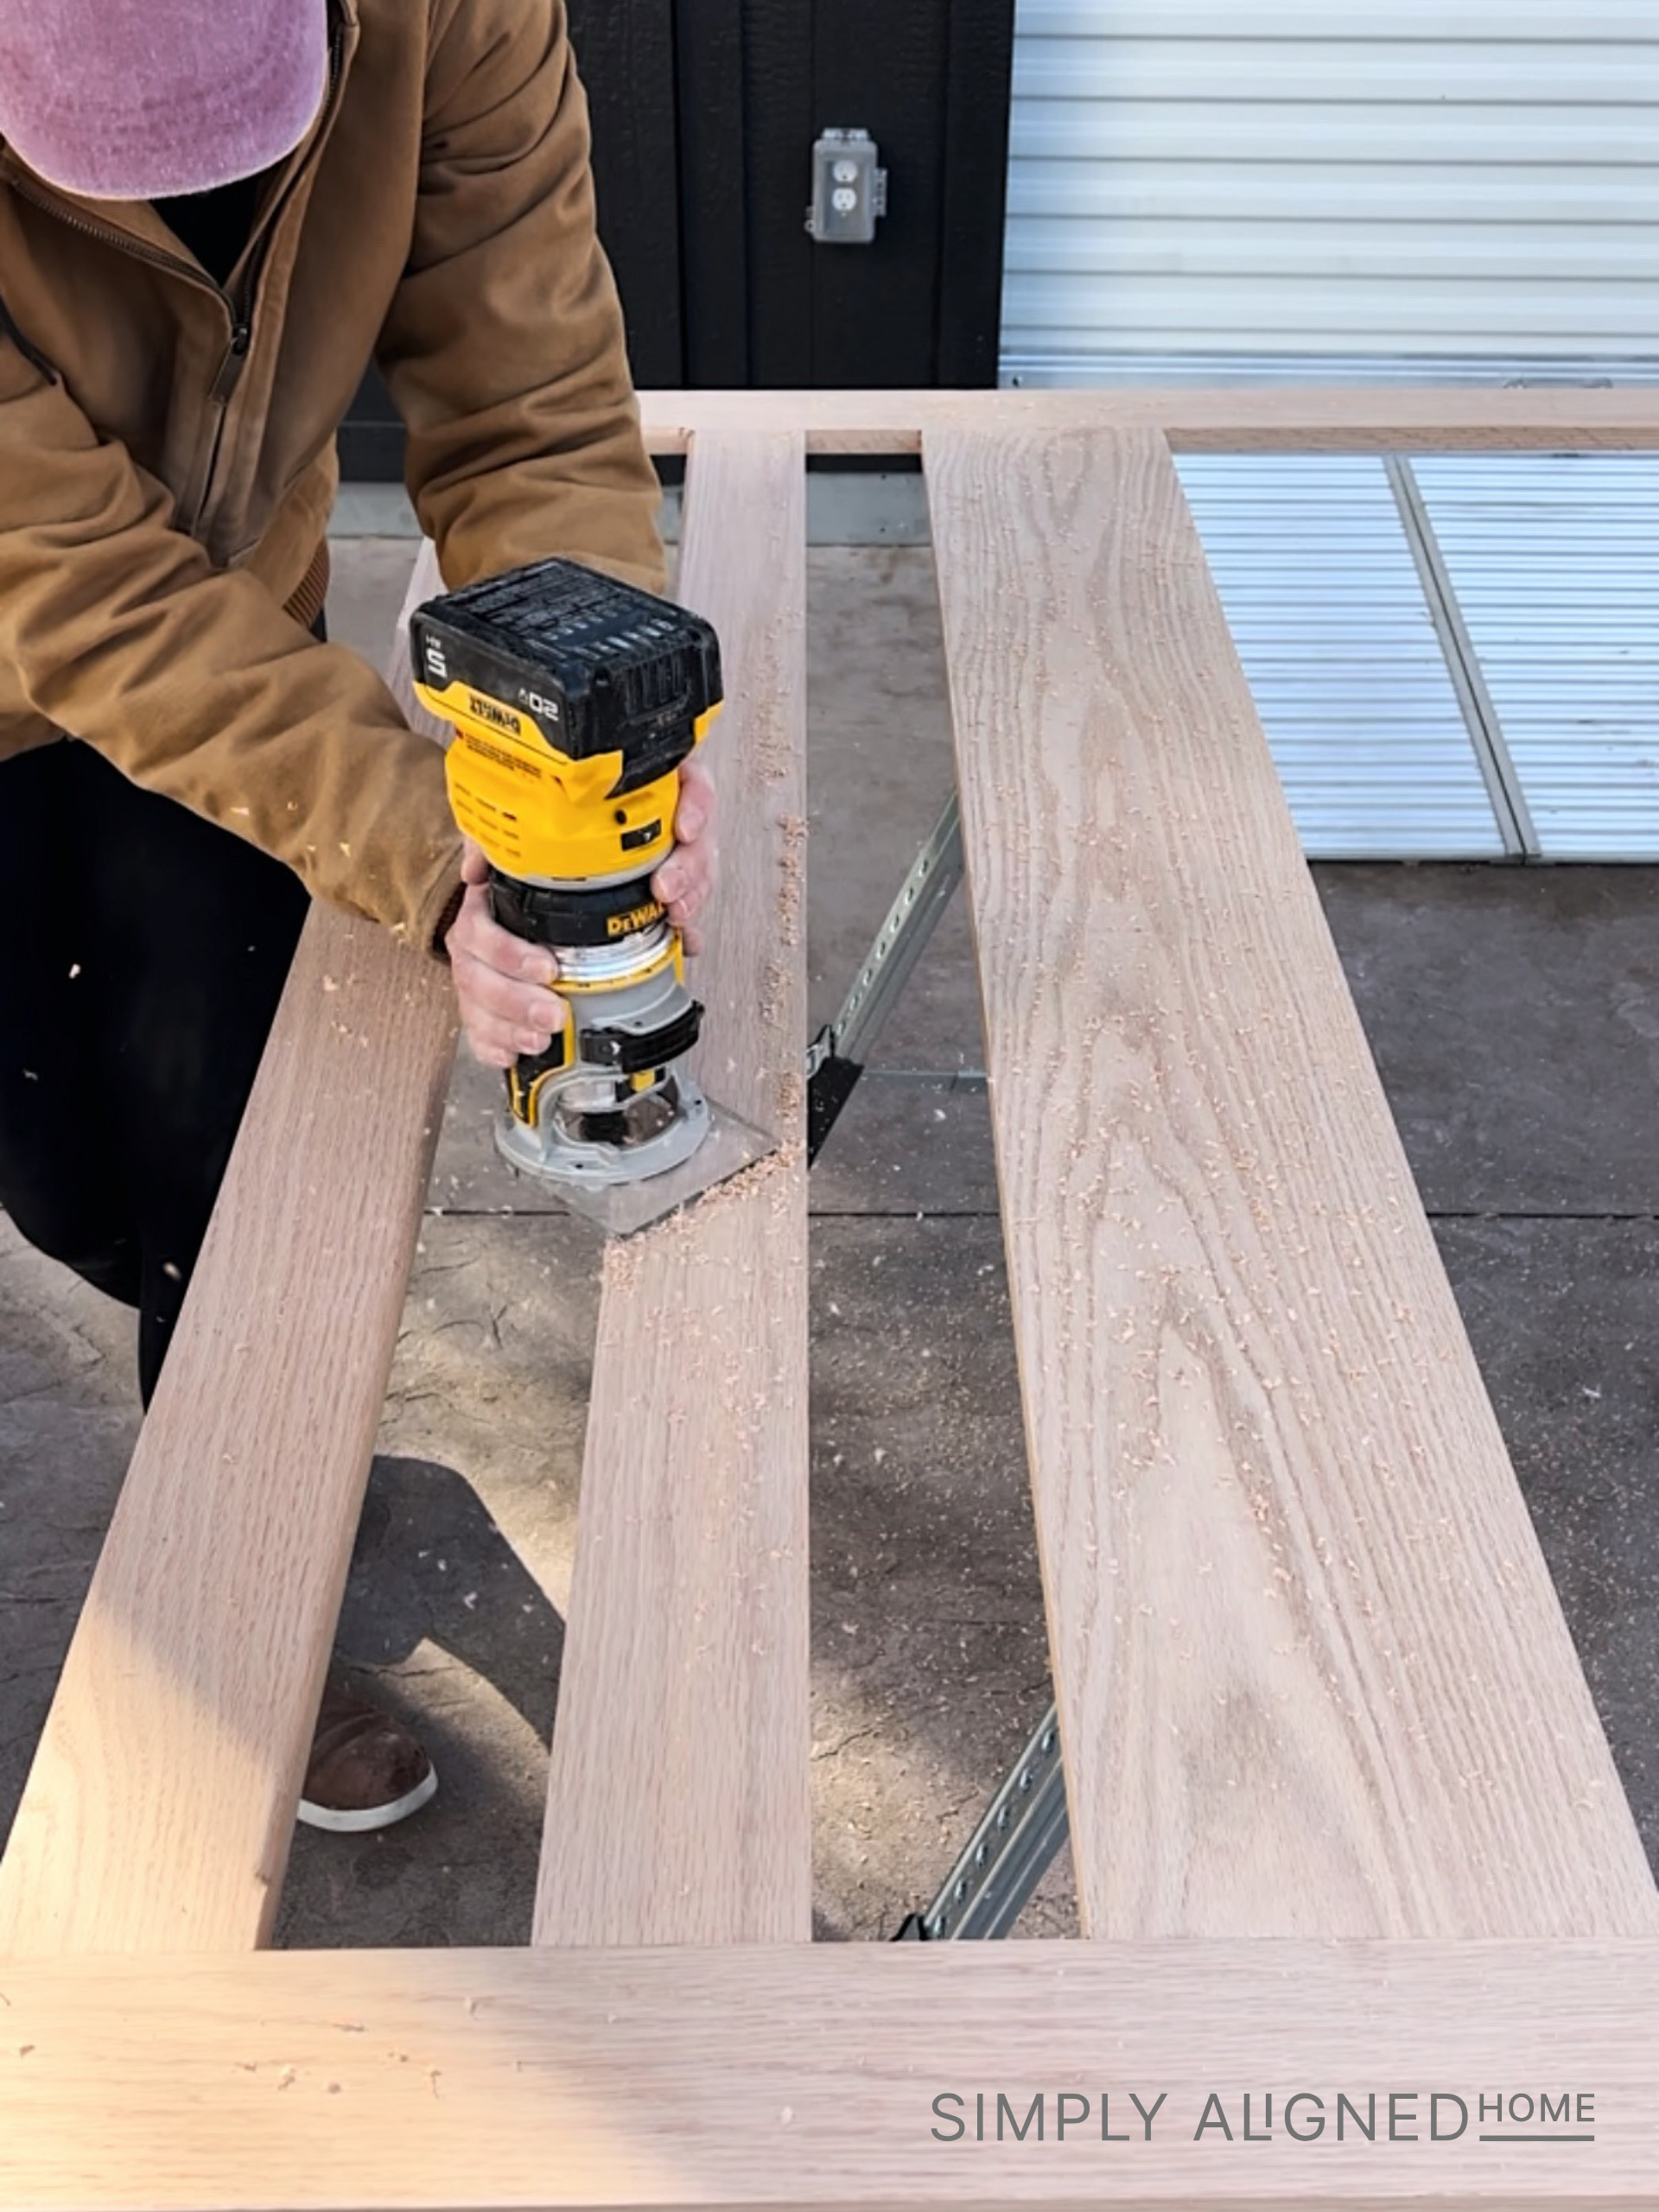
I also wanted to make sure there weren’t any sharp edges since this bed is for my son. To soften the corners, I used my router to round over every edge. If you’re looking to elevate your woodworking, a router is one of the best tools you can invest in.
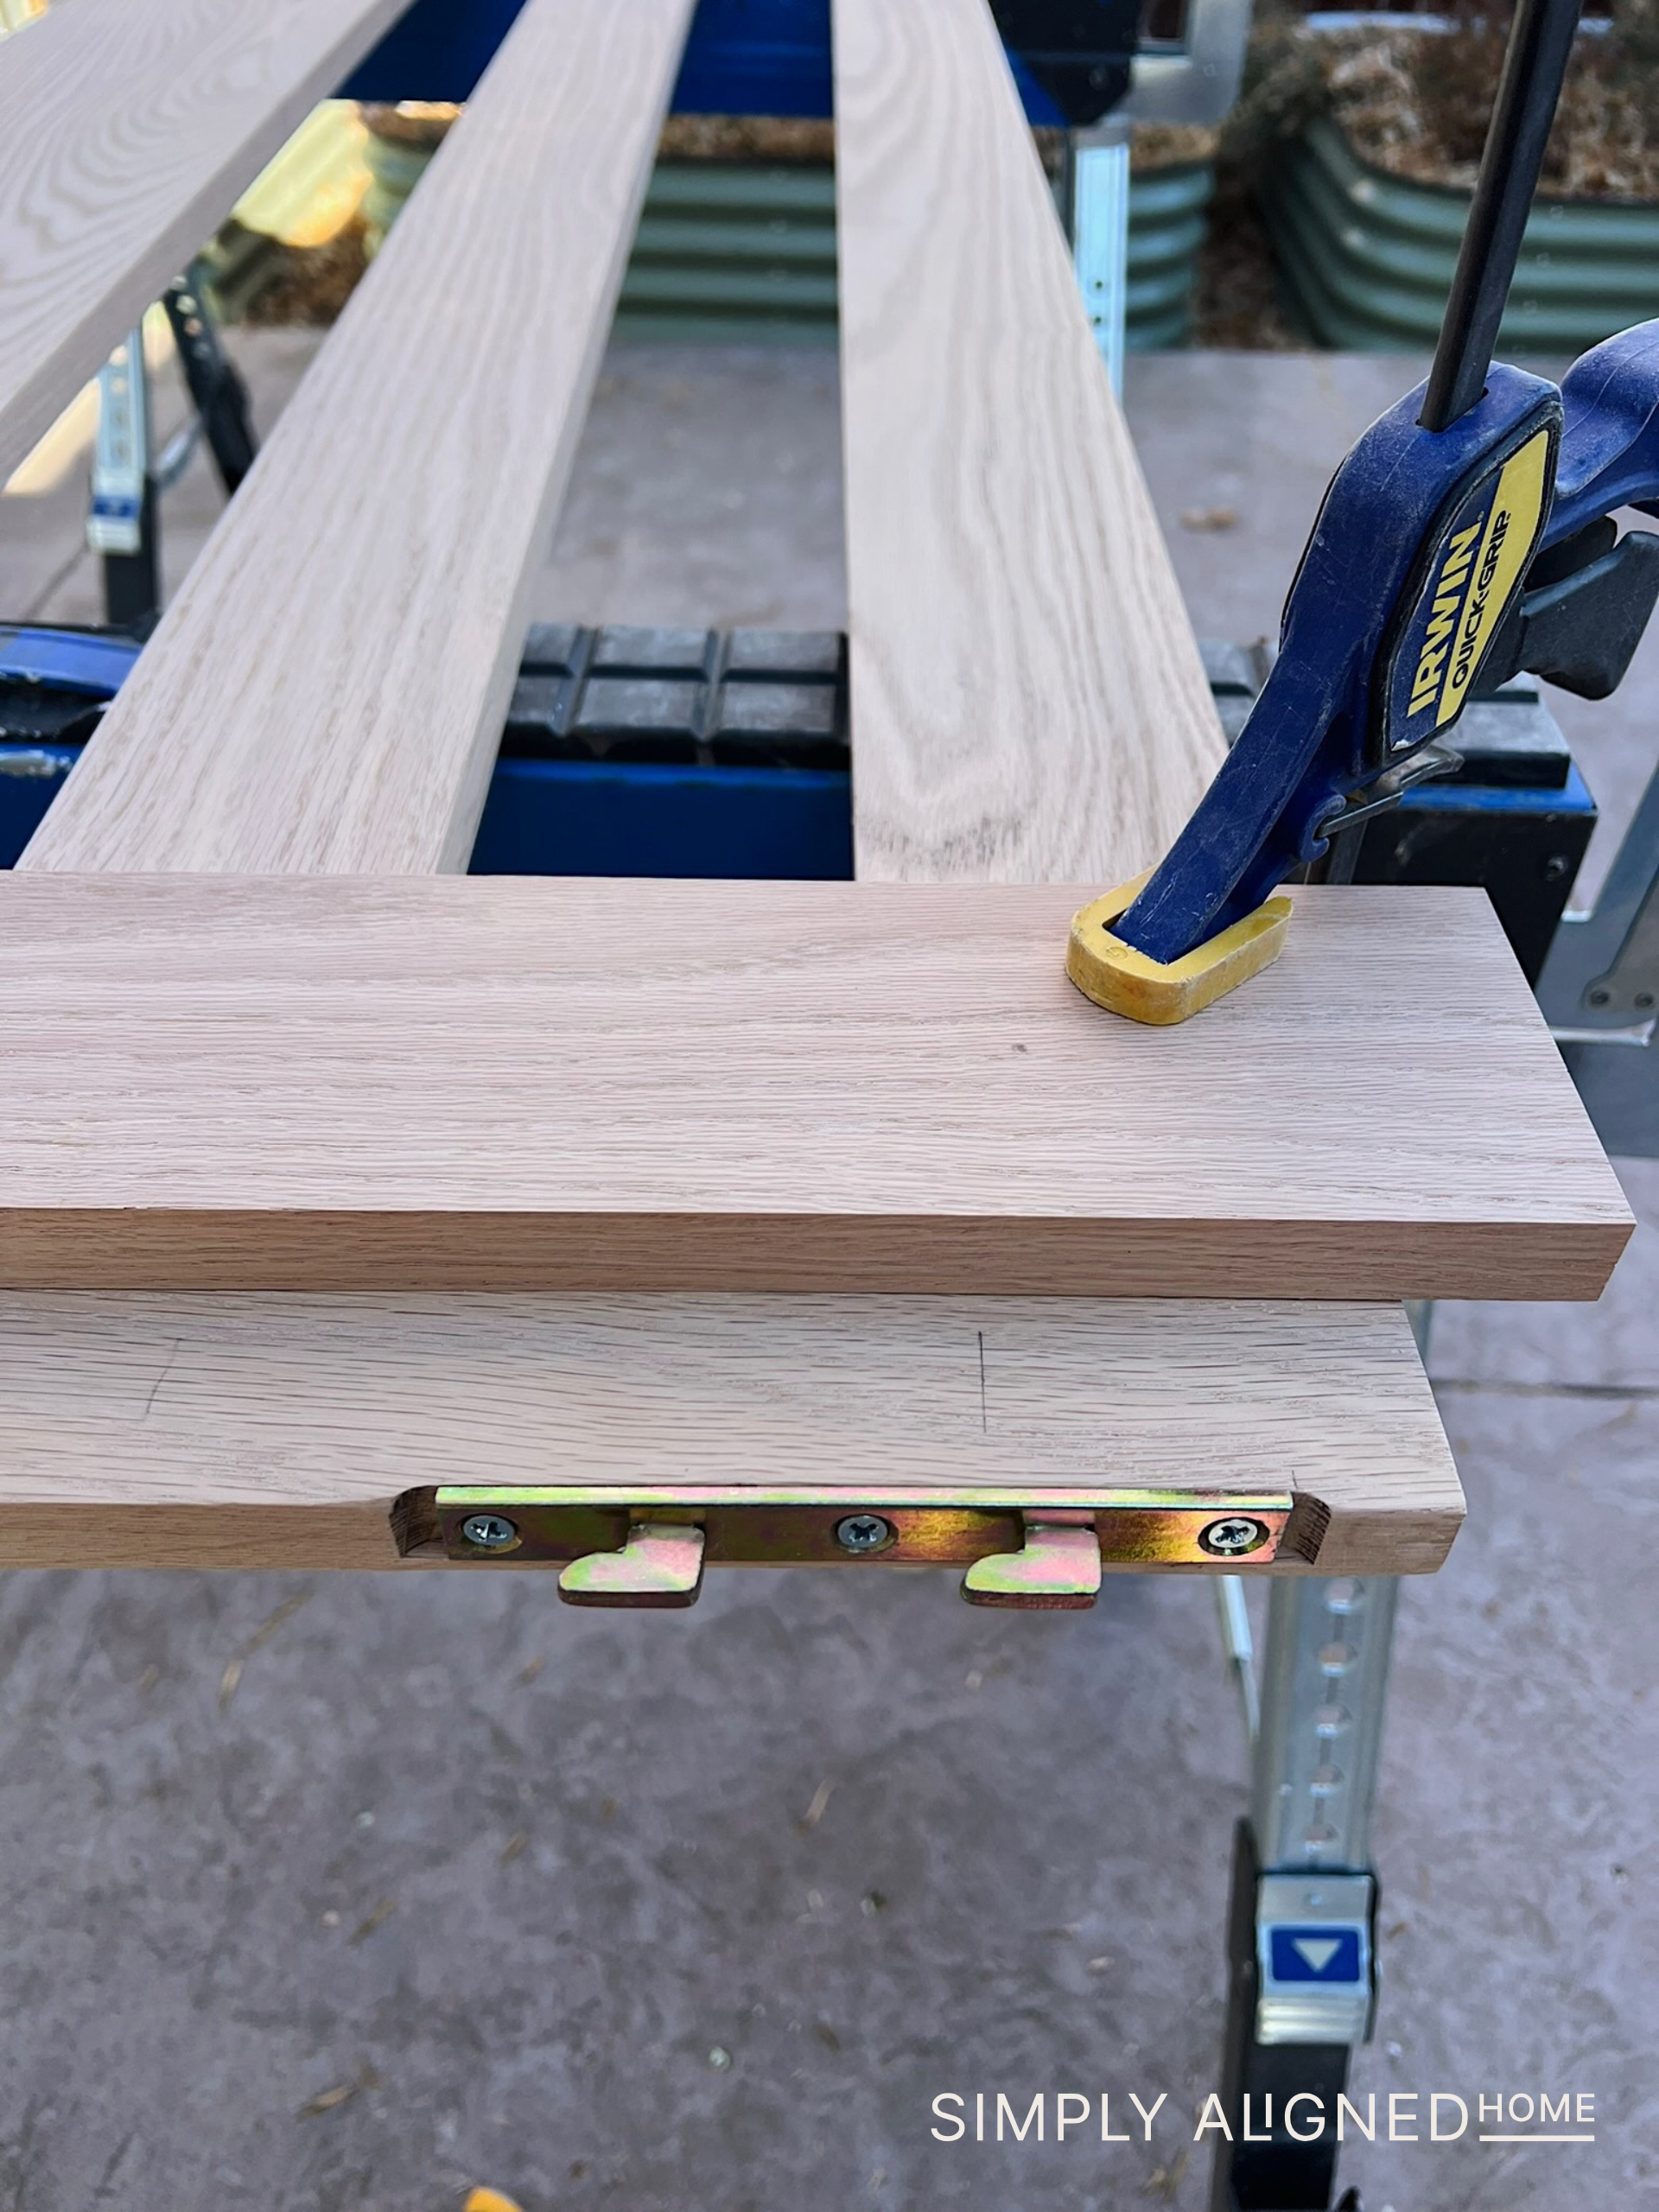
Step 4: Hardware Installation
I wanted the bed to be sturdy, but also easy to take apart if we ever needed to move it (which we did!). At first, I considered visible hardware, but I decided to challenge myself by installing hidden hardware instead.
This hardware uses interlocking hooks that latch into place. It required me to carefully recess them with my router, which was more challenging than I expected, but it was worth the effort. The end result is clean, strong, and removable.
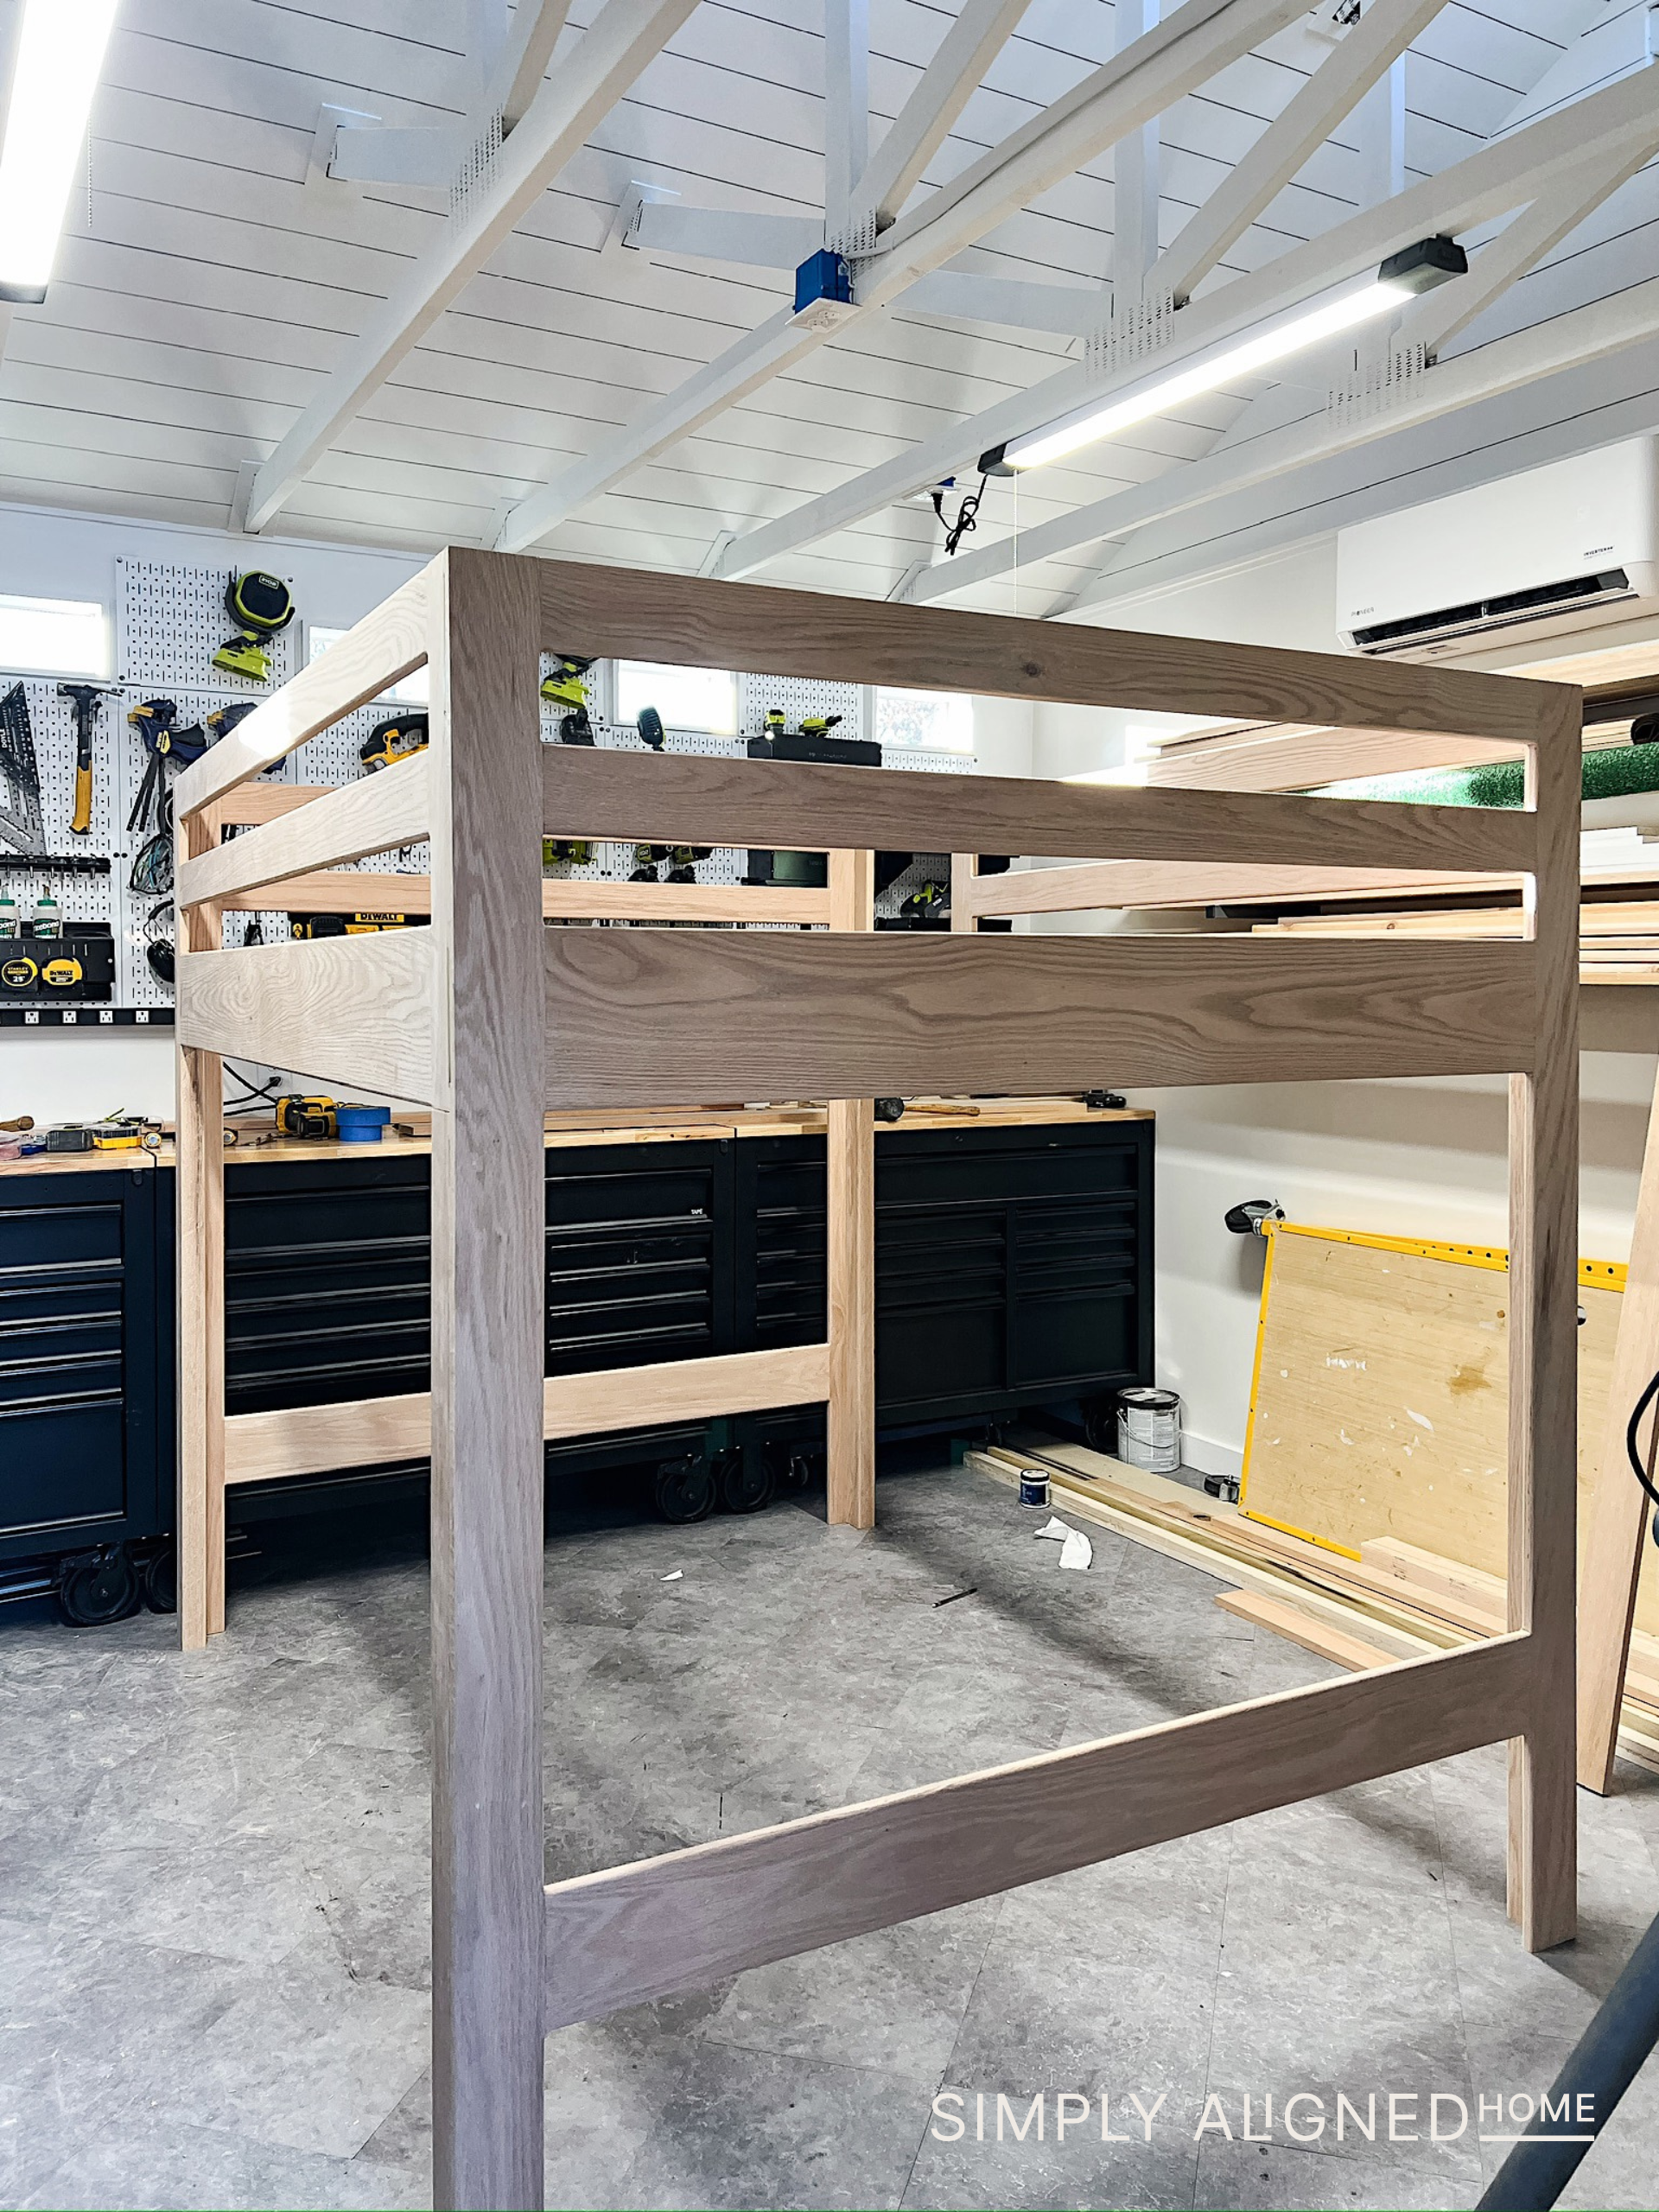
Before I finished off the bed, I fully assembled it to ensure that everything fit together correctly (it totally did!).
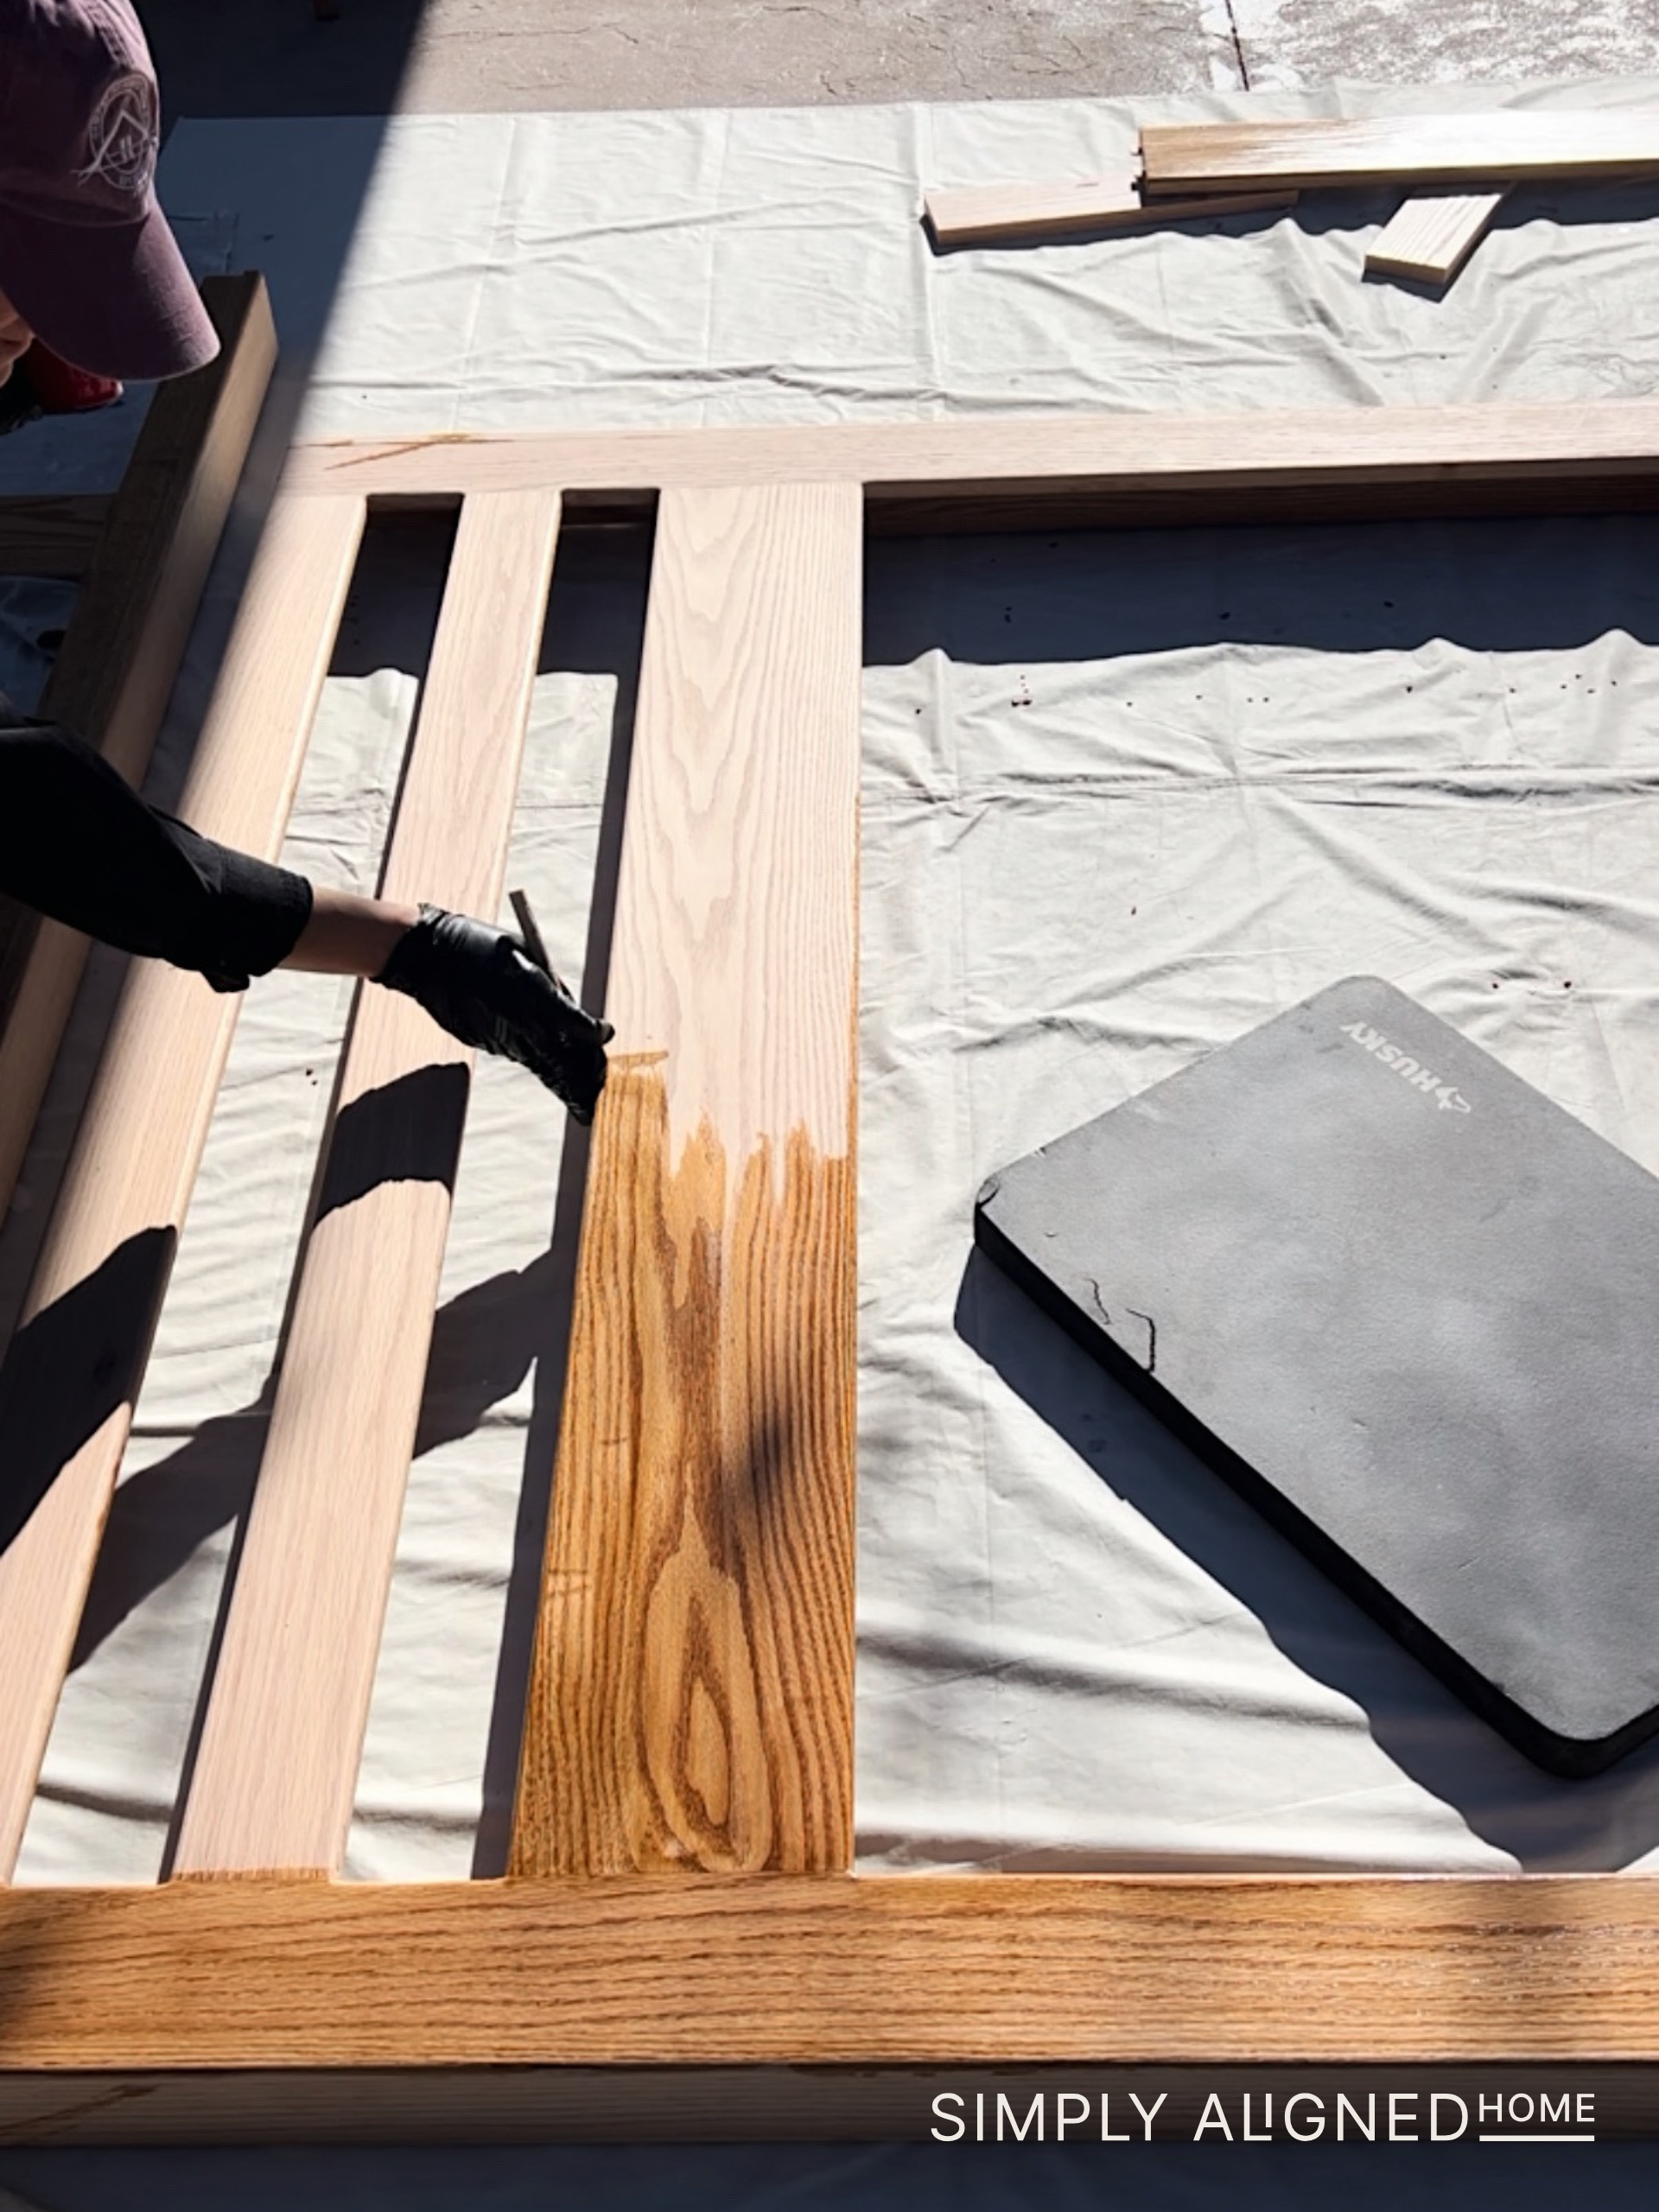
Step 5: Finishing with Danish Oil
Once I ensured that the bed went together smoothly, I finished the pieces off with Watco Danish Oil. I love this finish for red oak because it soaks in beautifully, enhances the grain, and gives the wood a warm, natural look.
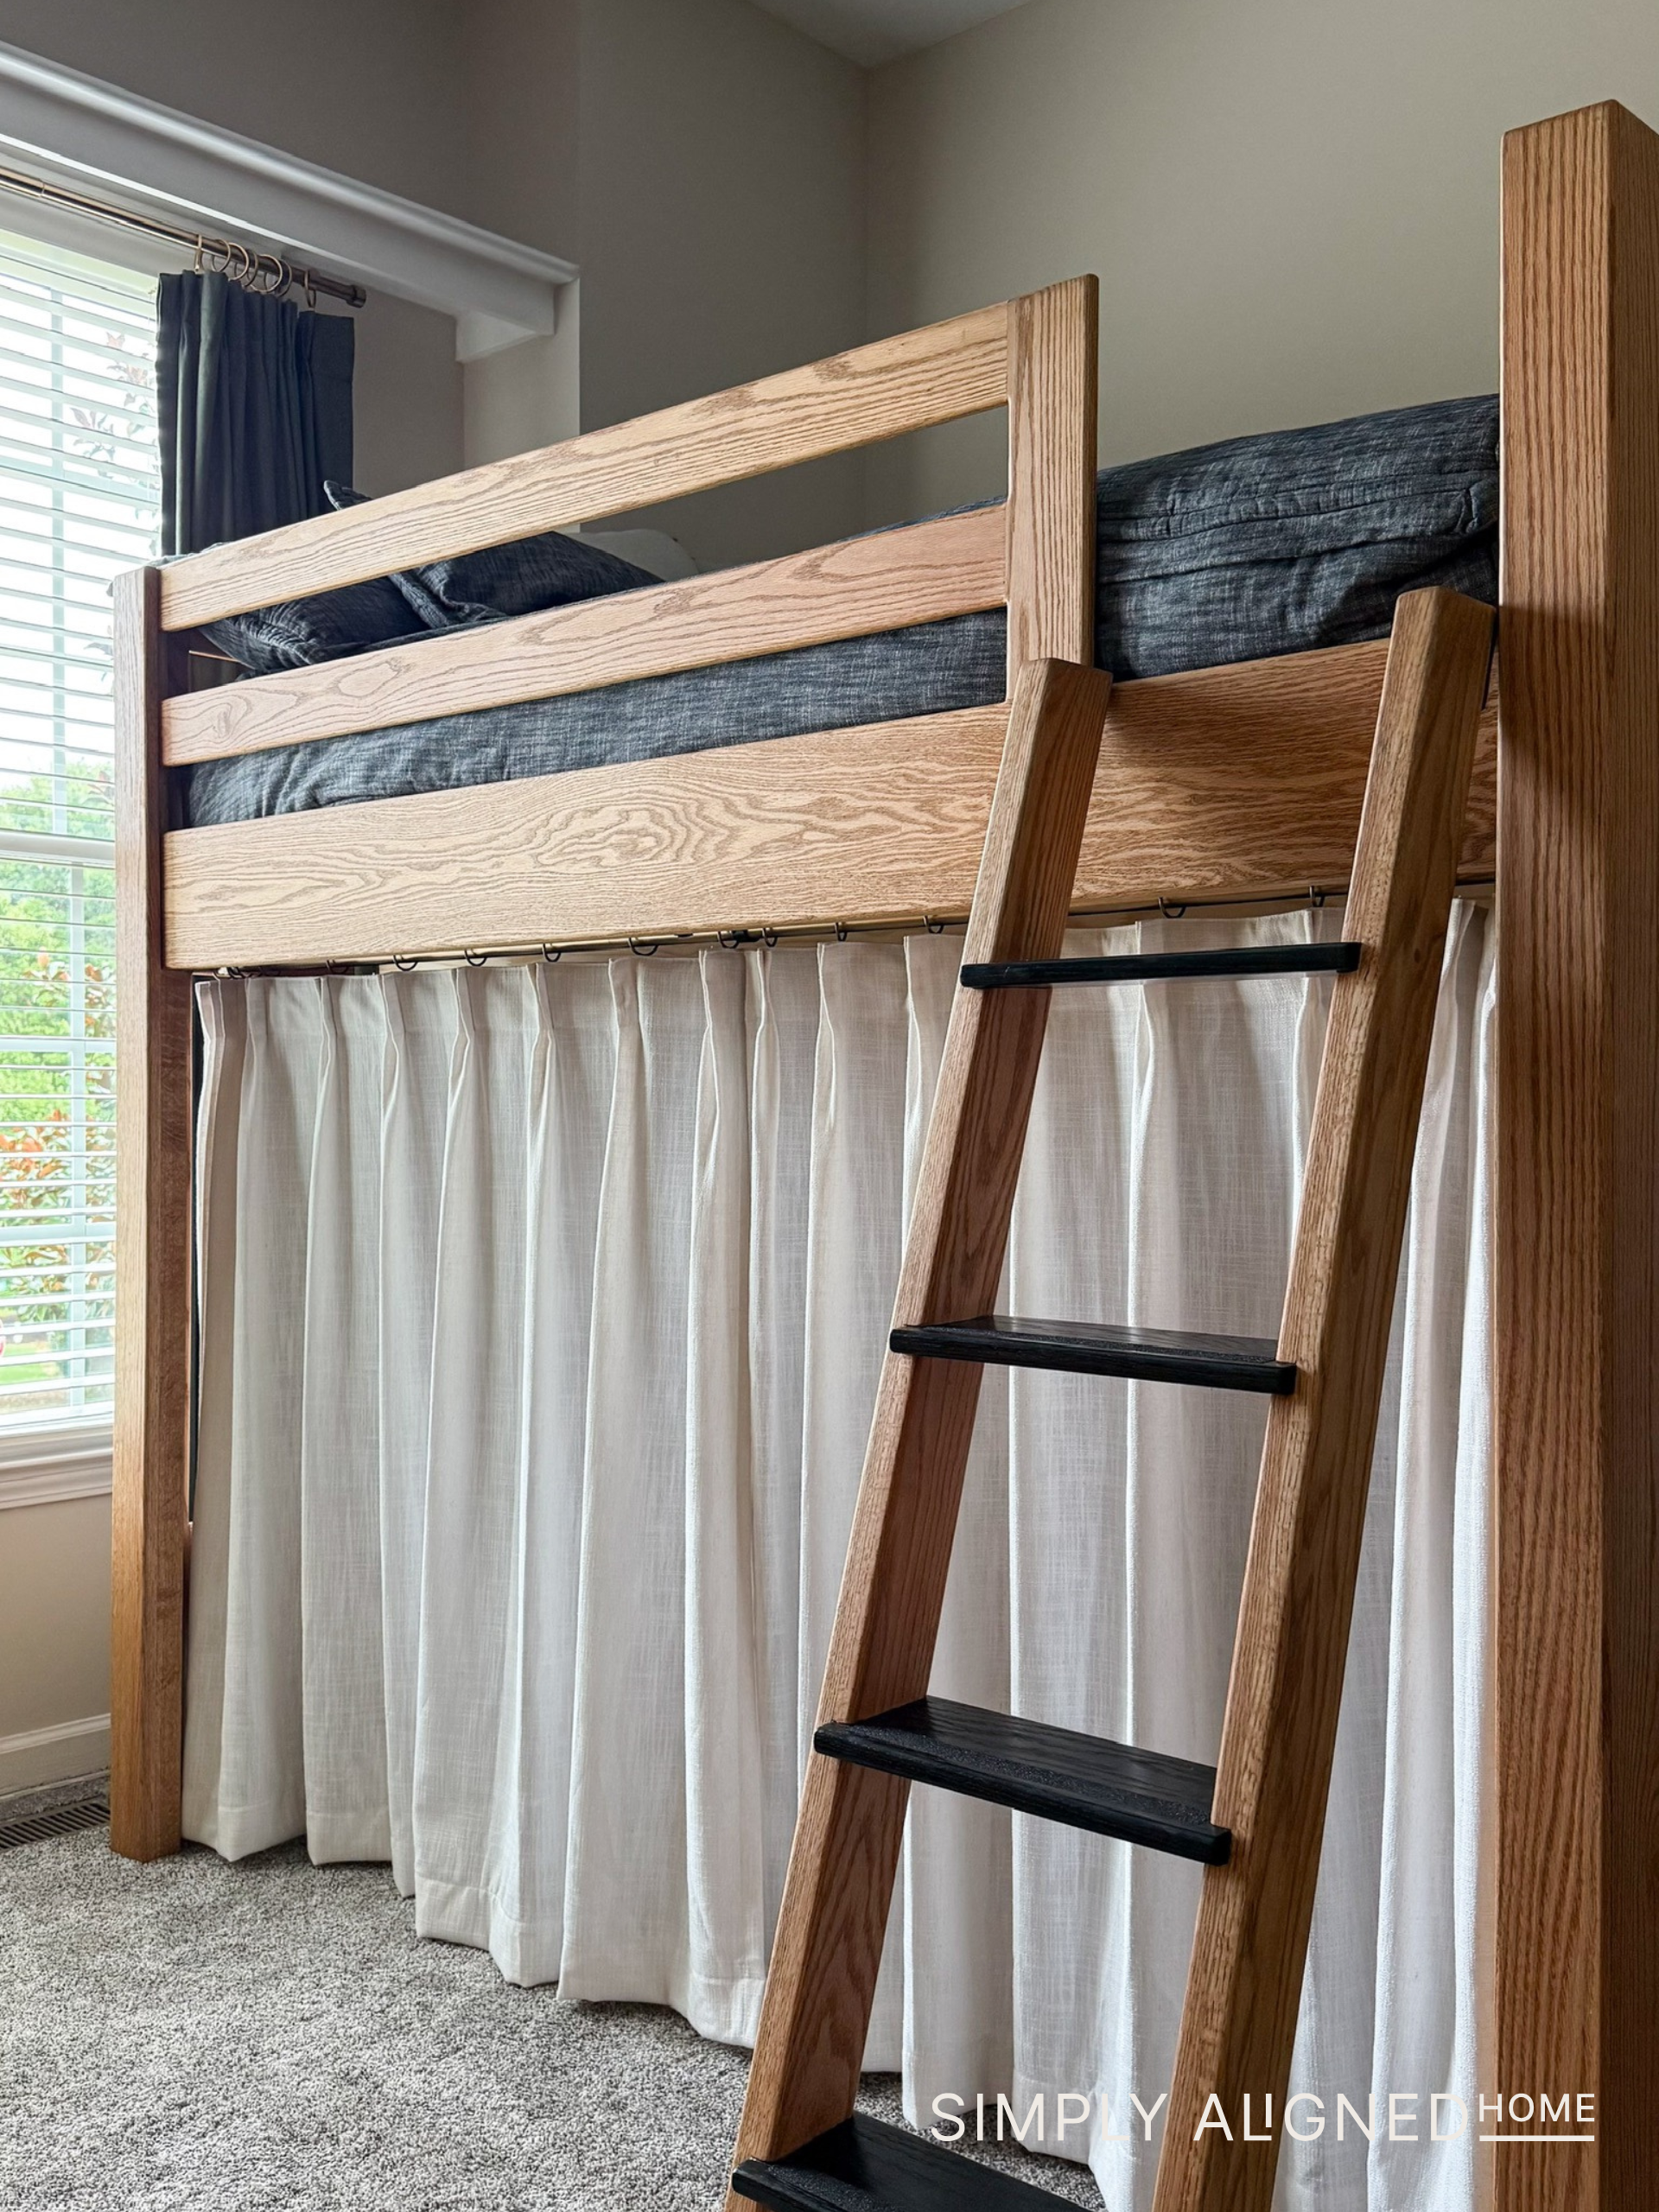
Step 6: Building the Ladder
The final piece of the build was the ladder. I cut all my pieces and used a simple method to figure out the angles: I leaned a board against the bed, leveled it, and marked my cut line.
Before assembly, I routed the edges that would be harder to reach later. I wanted the ladder to look like it had inset steps, so I installed spacers between each step. Not only does this add a custom look, but it also makes the steps more structurally sound. I assembled the ladder with wood glue and brad nails.
This queen loft bed turned out better than I could have hoped!
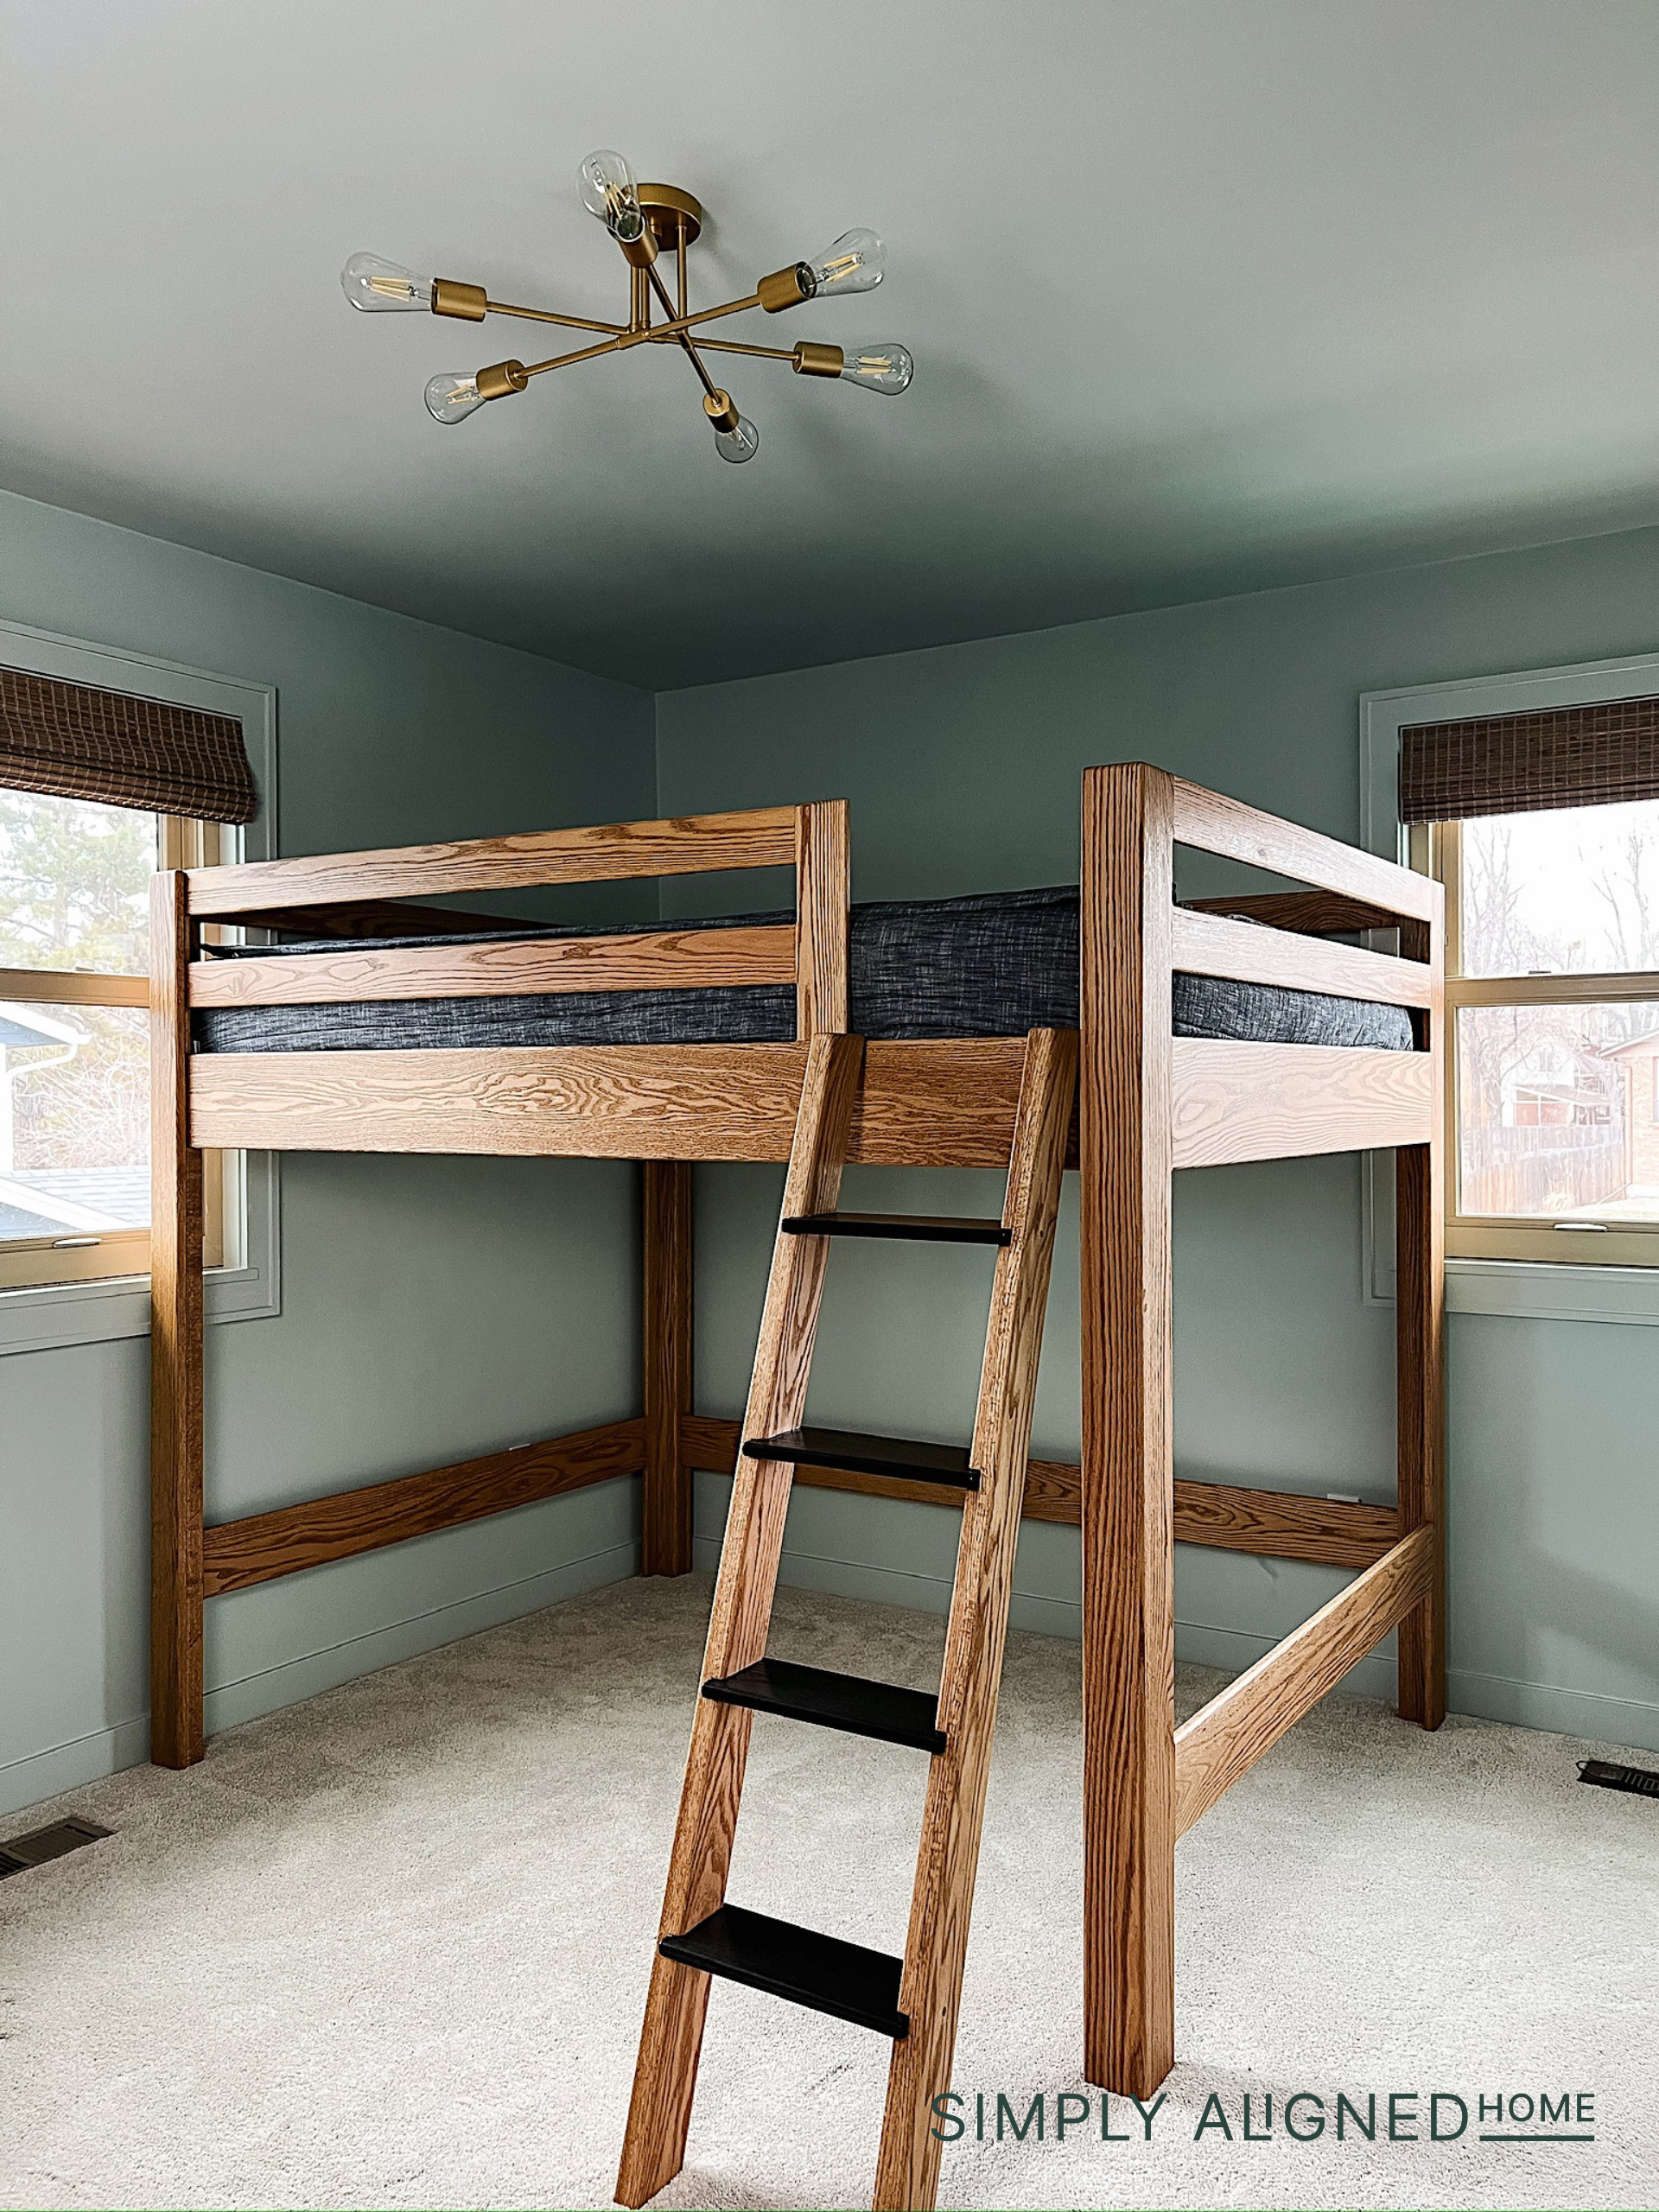
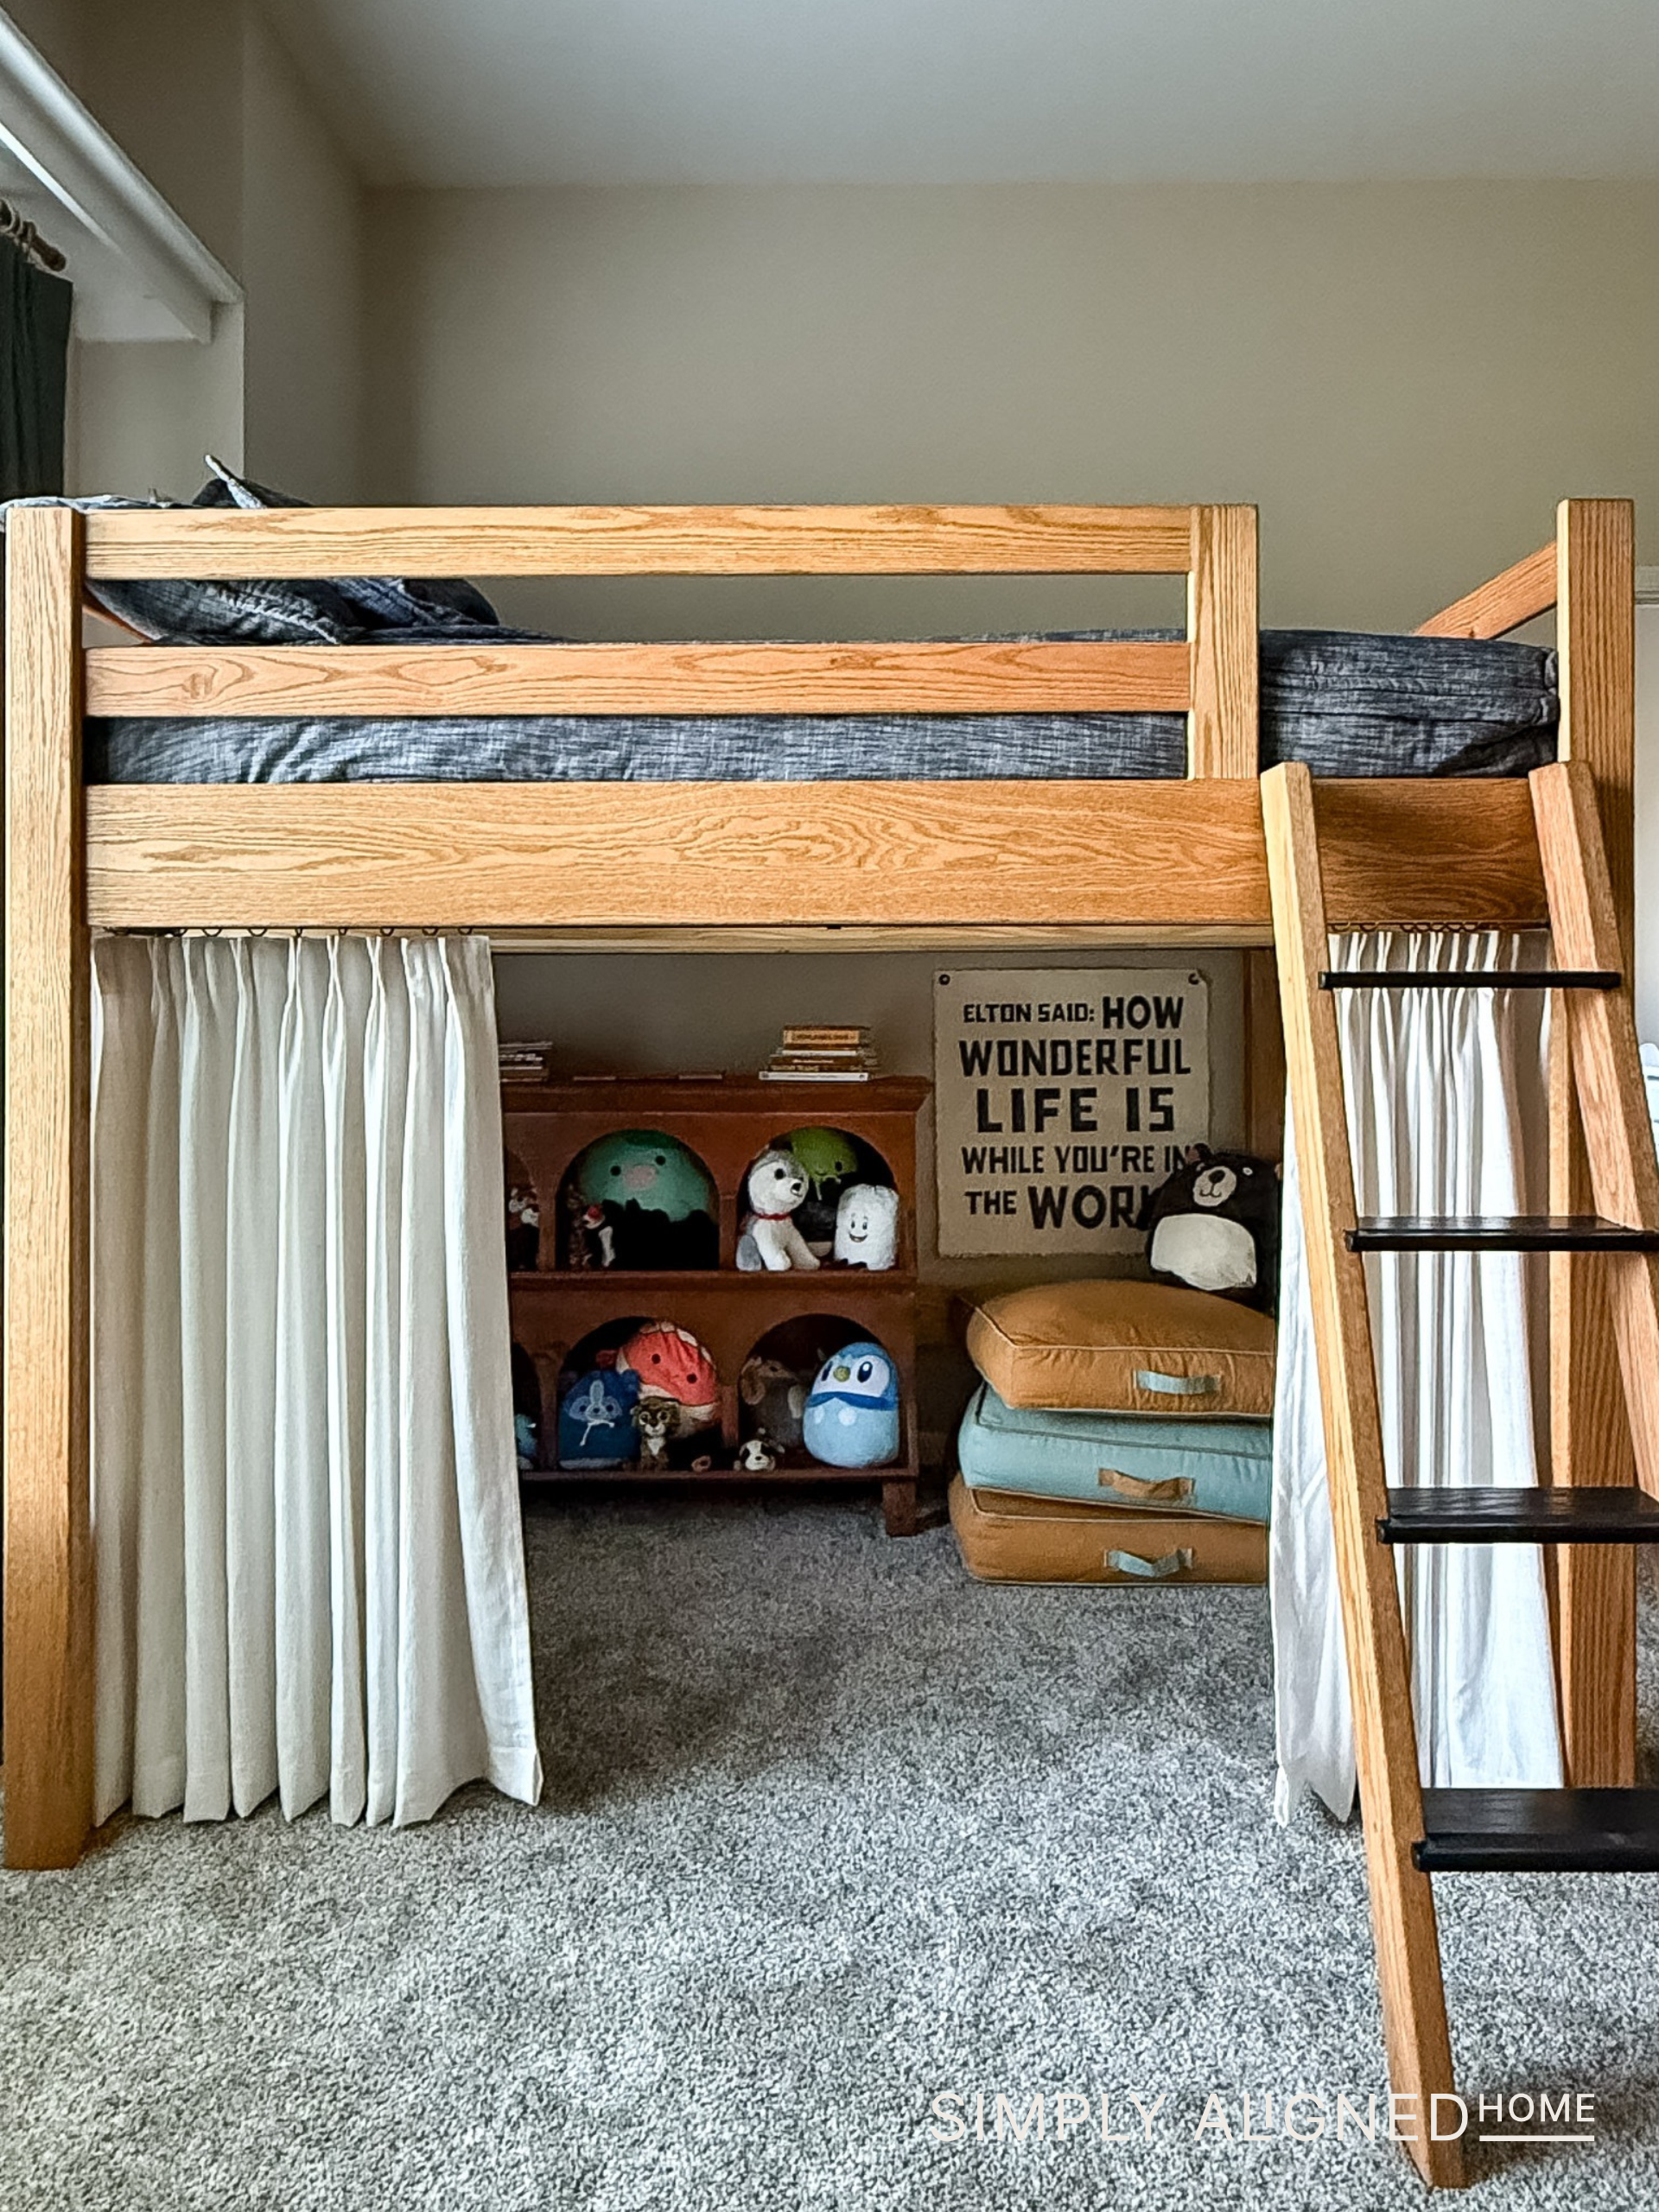
Most importantly, my son loves this loft bed, and that makes every step worth it.

**Note: I am not a professional and do not claim to be an expert. Please be sure to always read instructions for all tools and products. Safety is very important and should be your top priority. Wear necessary protection when using tools (eye wear, hearing protection, gloves, etc.) and dust masks when sanding or cutting. Simply Aligned Home is not responsible for any injury or damage. All of my designs are not professionally designed and are for private use only.**
Tools & Materials Used