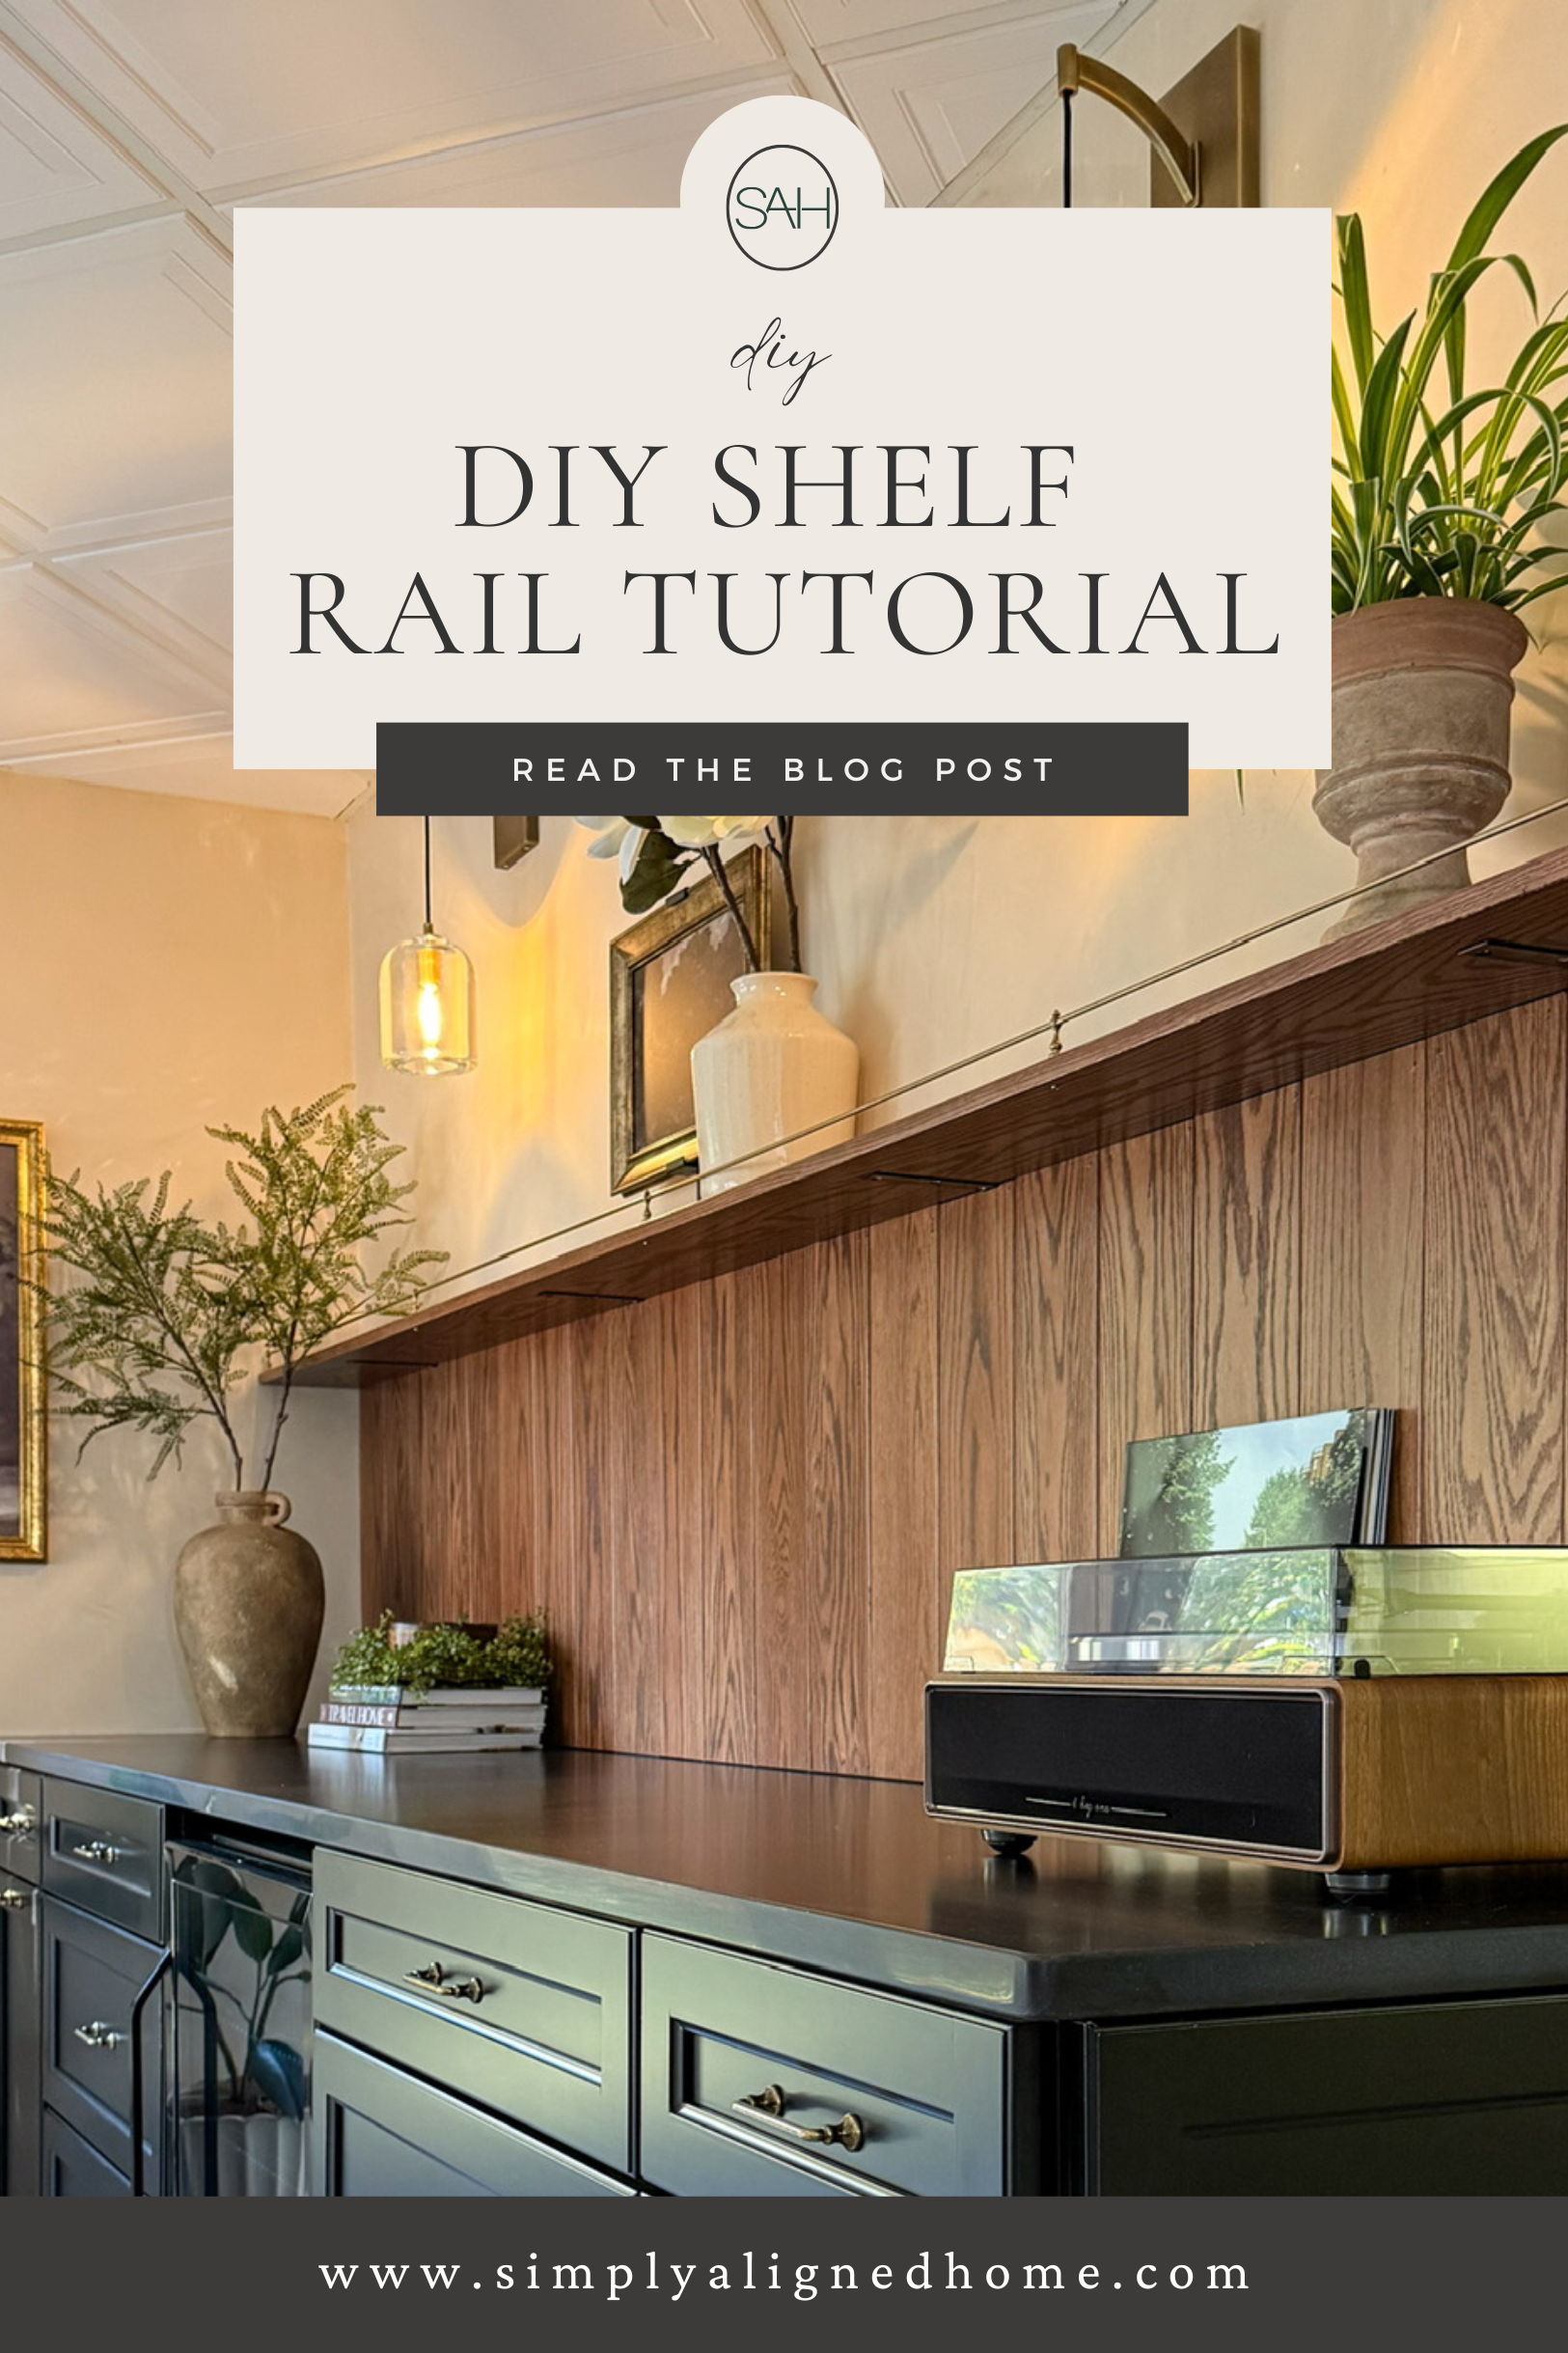
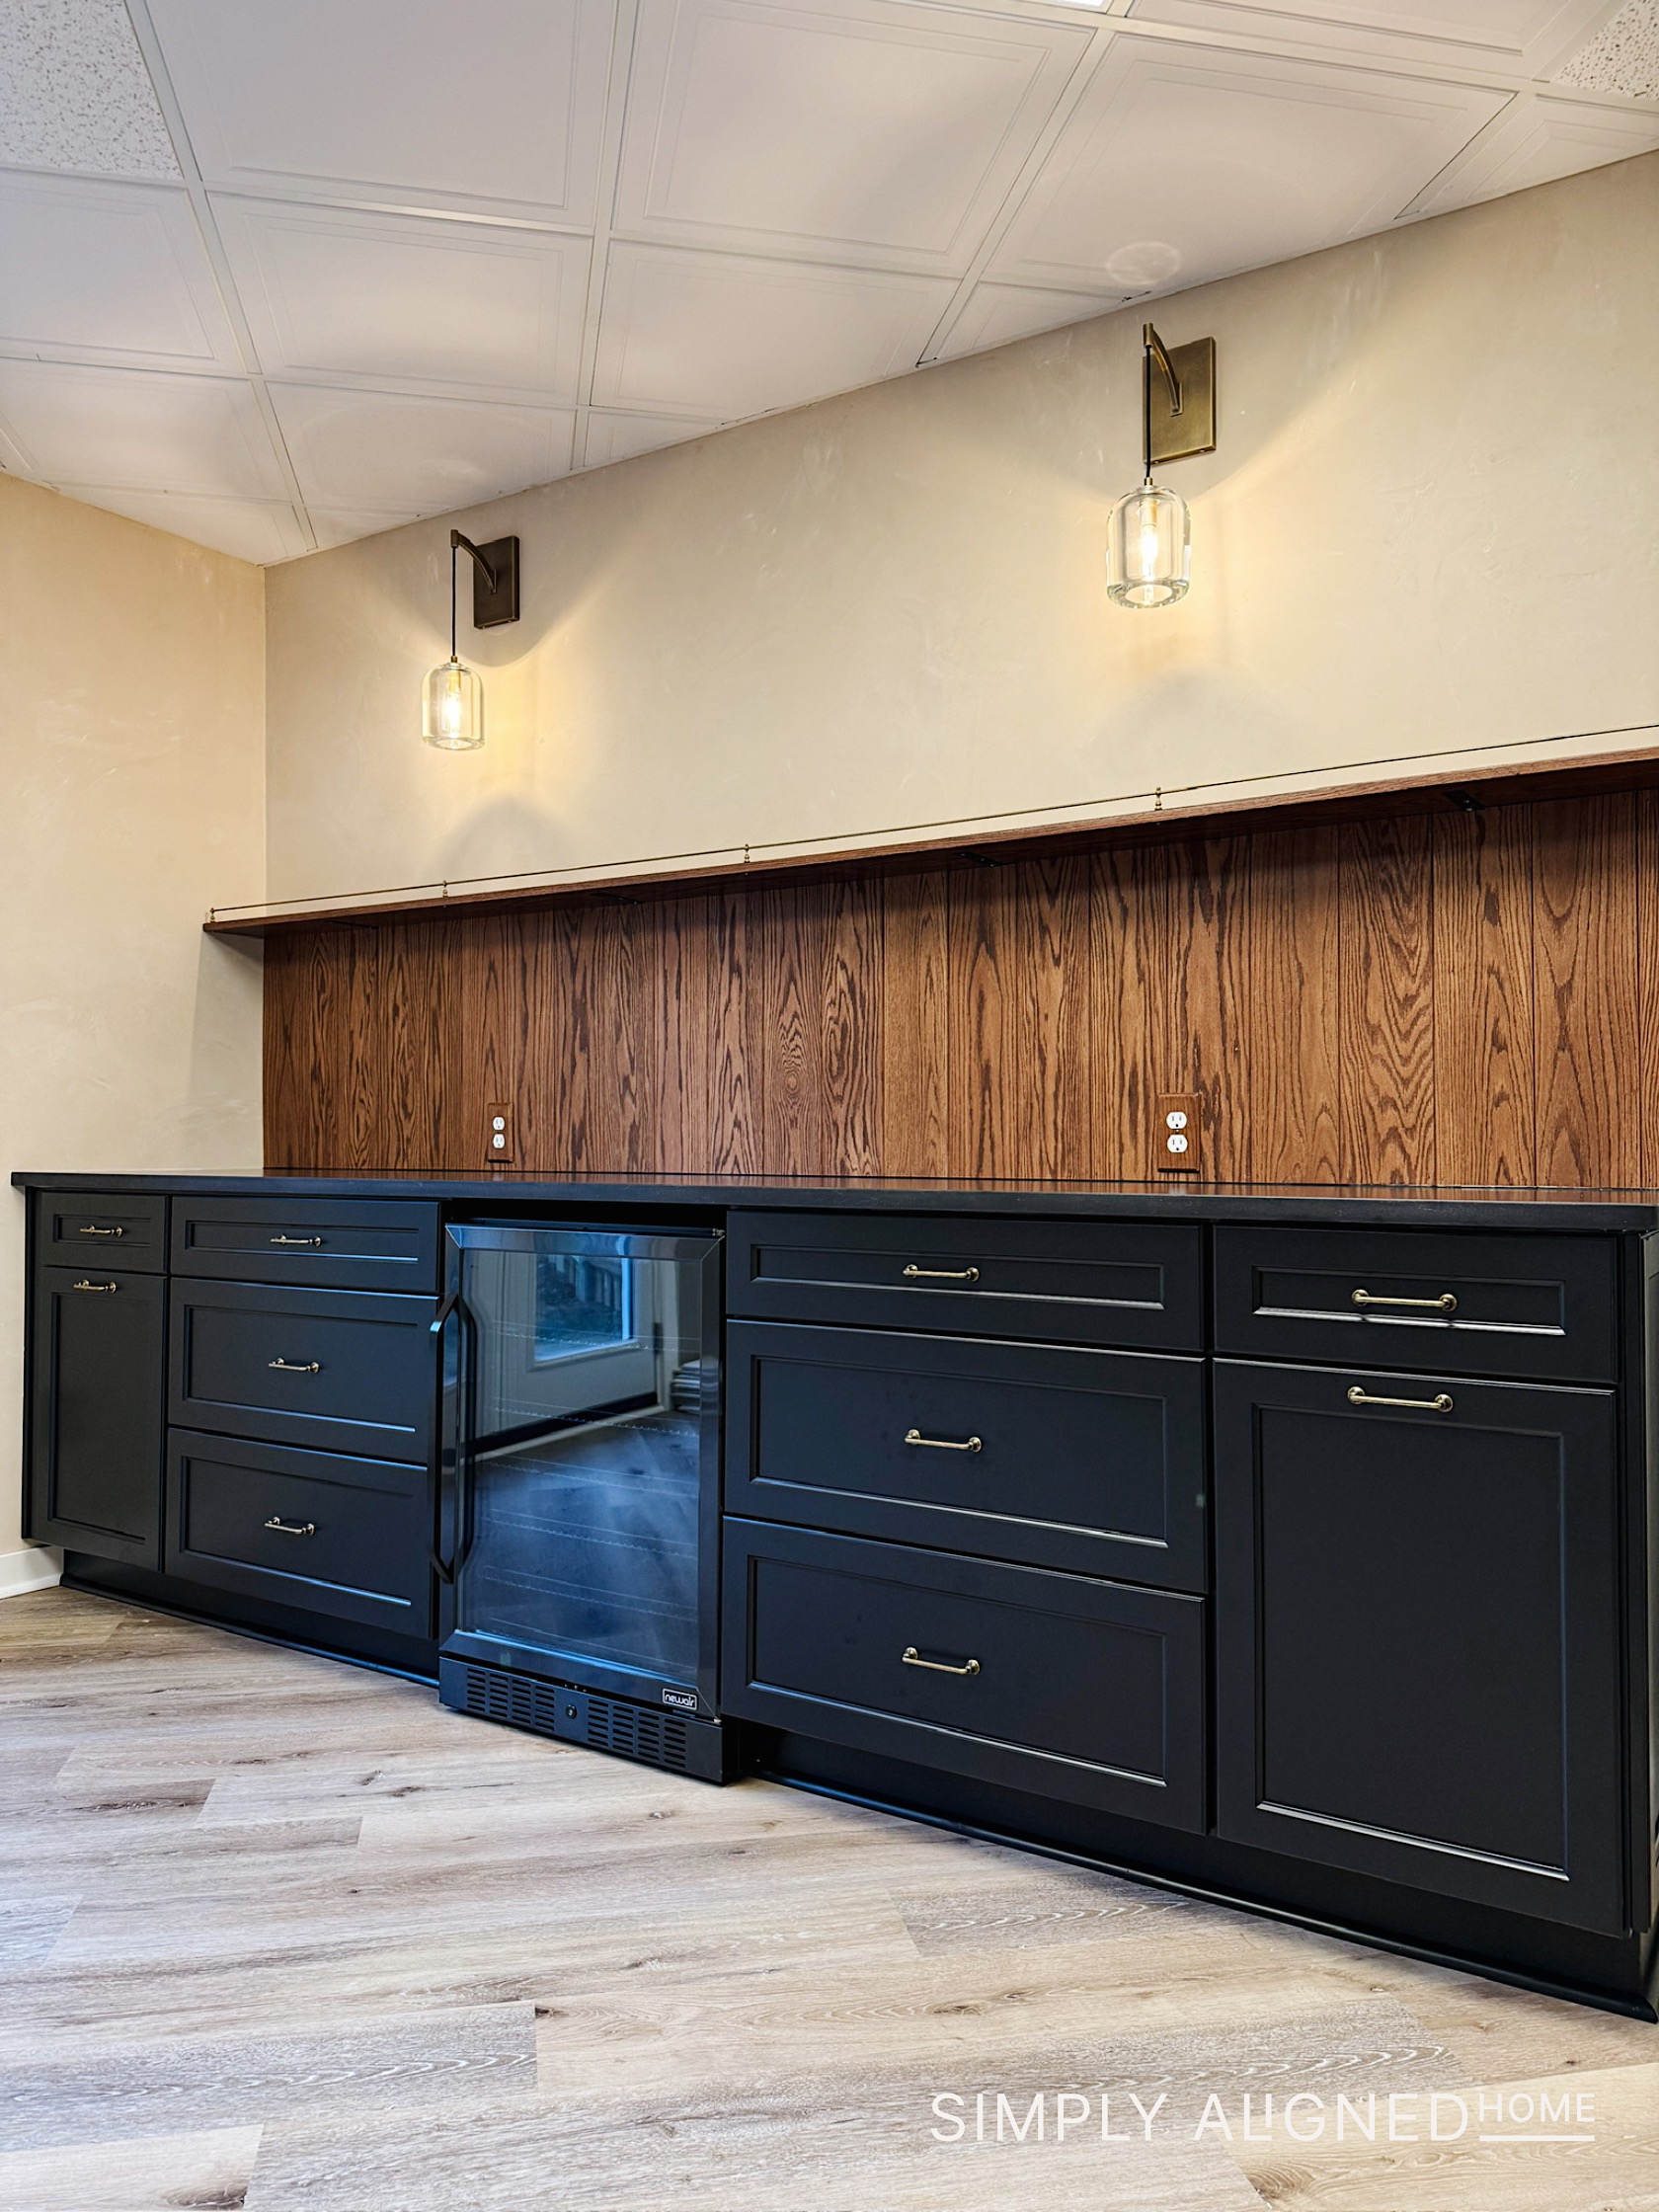
Sometimes the smallest details make the biggest difference…like this little shelf rail I added to our basement bar area. It’s one of those projects that completely finishes off a space!
This project is simple, customizable and such an affordable way to elevate a basic shelf. Here’s how I made it.
**This post contains affiliate links to products that I used or recommend. If you purchase something through an affiliate link, I may receive a small percentage of the sale at no extra cost to you. I really appreciate your support!**
Gather + Prep the Materials
I started with a simple steel rod and affordable shelf posts that I found online. Since I wanted everything to look cohesive, I spray painted both the rod and the posts the same warm gold tone. You could easily match your existing hardware or go bold with black or brass…whatever works with your space!
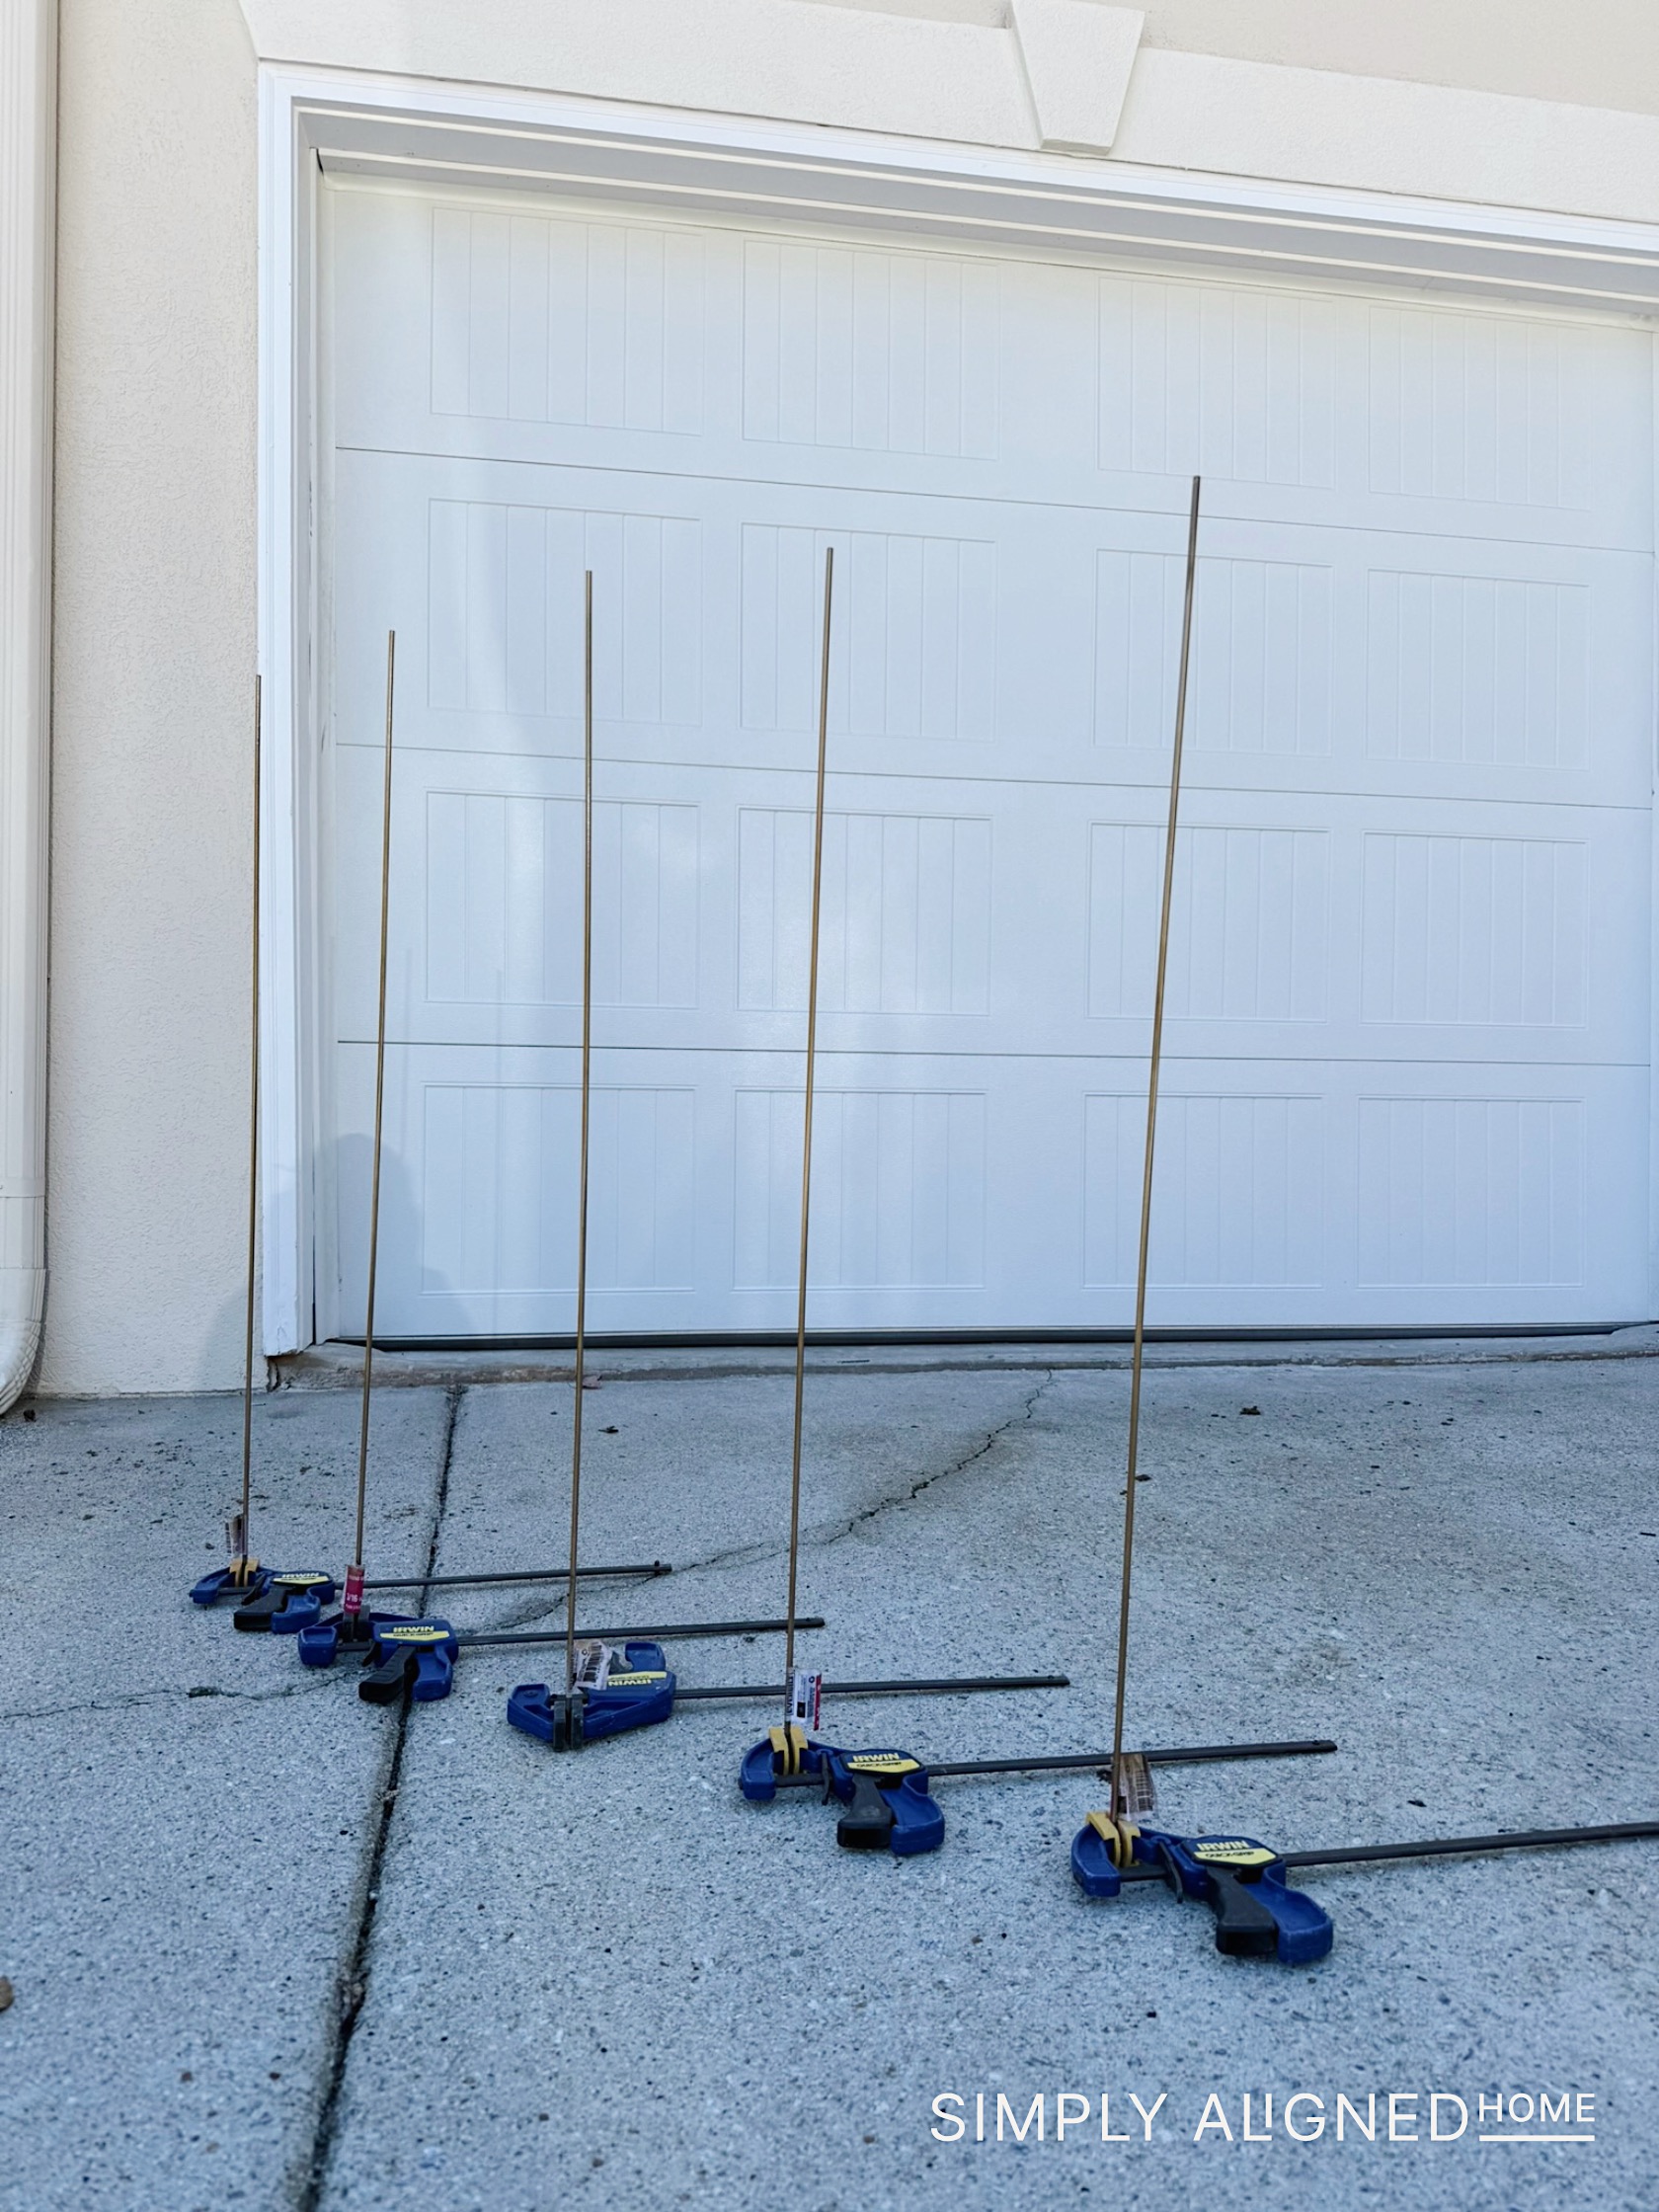
Be sure to let the paint fully cure before assembling so it holds up well over time.
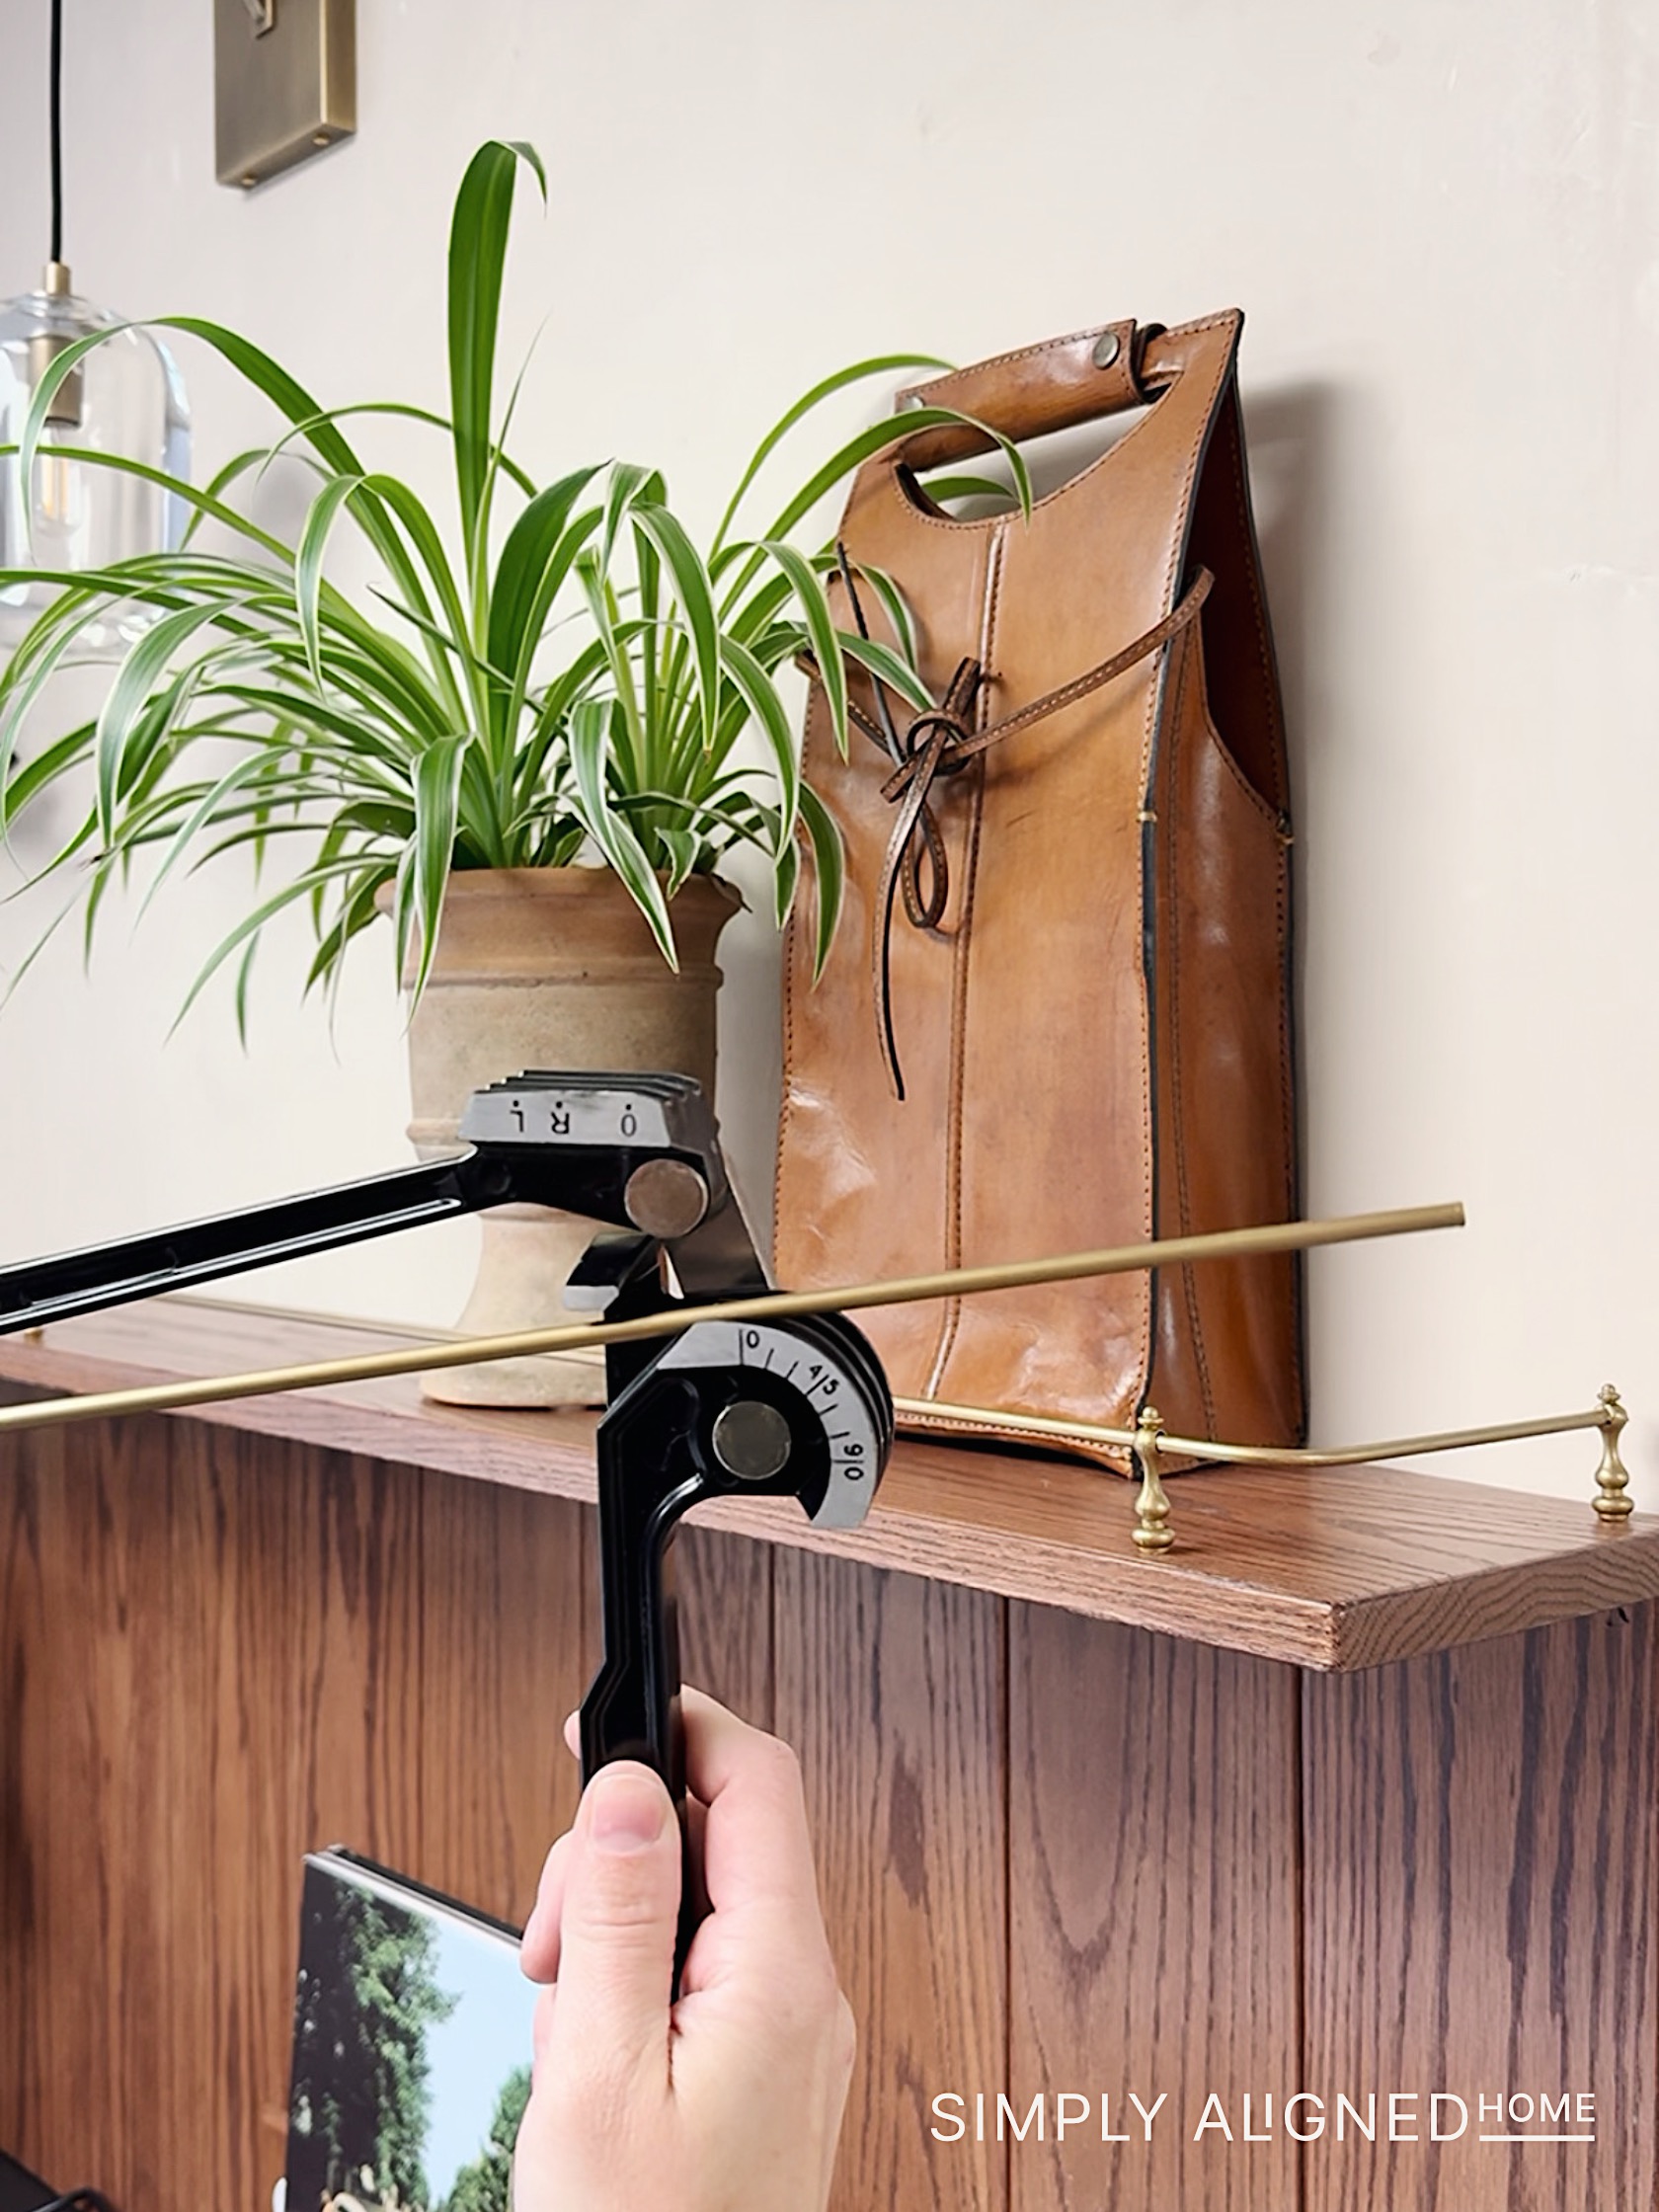
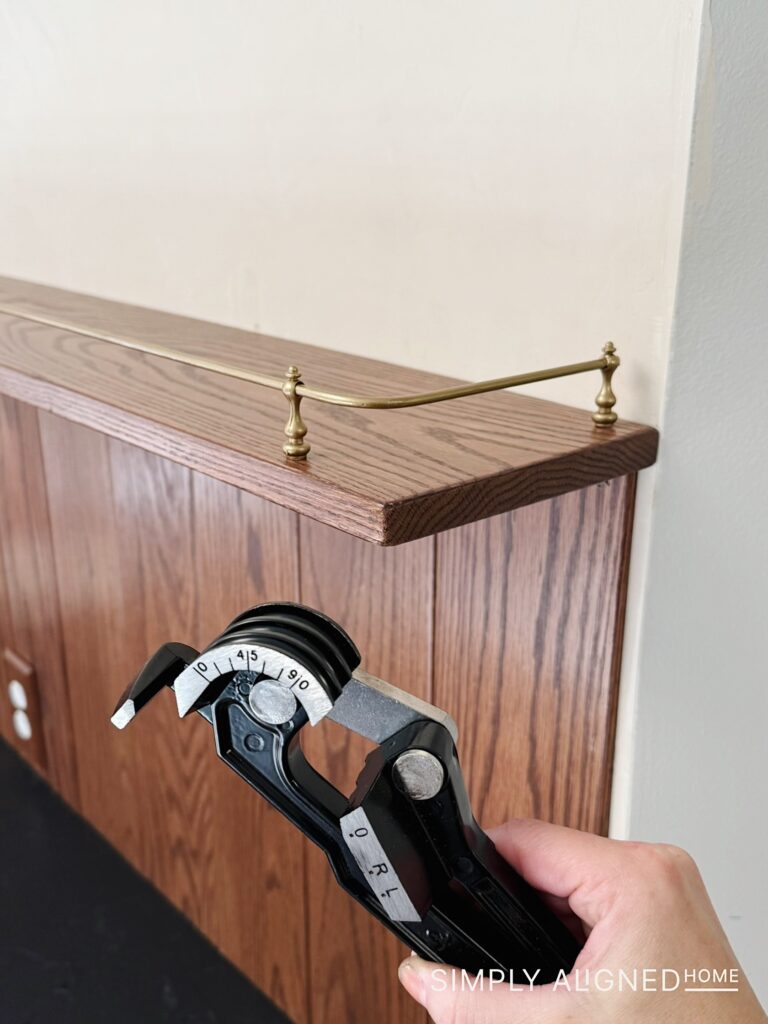
Bend + Cut the Rod to Fit
I purchased shelf posts that simply had thru holes…not holes that support a corner.
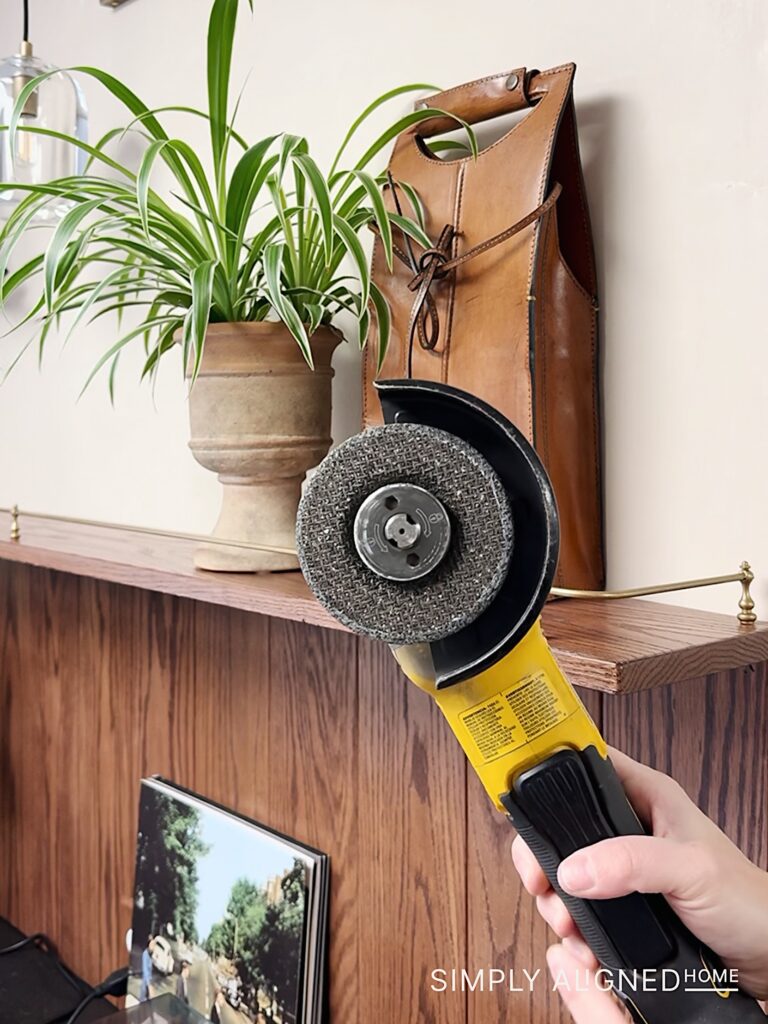
My shelf needed one corner piece. Instead of purchasing a new post, I decided to bend the rod around the corner. Using a tube bender, I shaped the steel rod to a clean 90-degree angle. Once it was bent, I cut it down to length using a cutoff wheel.
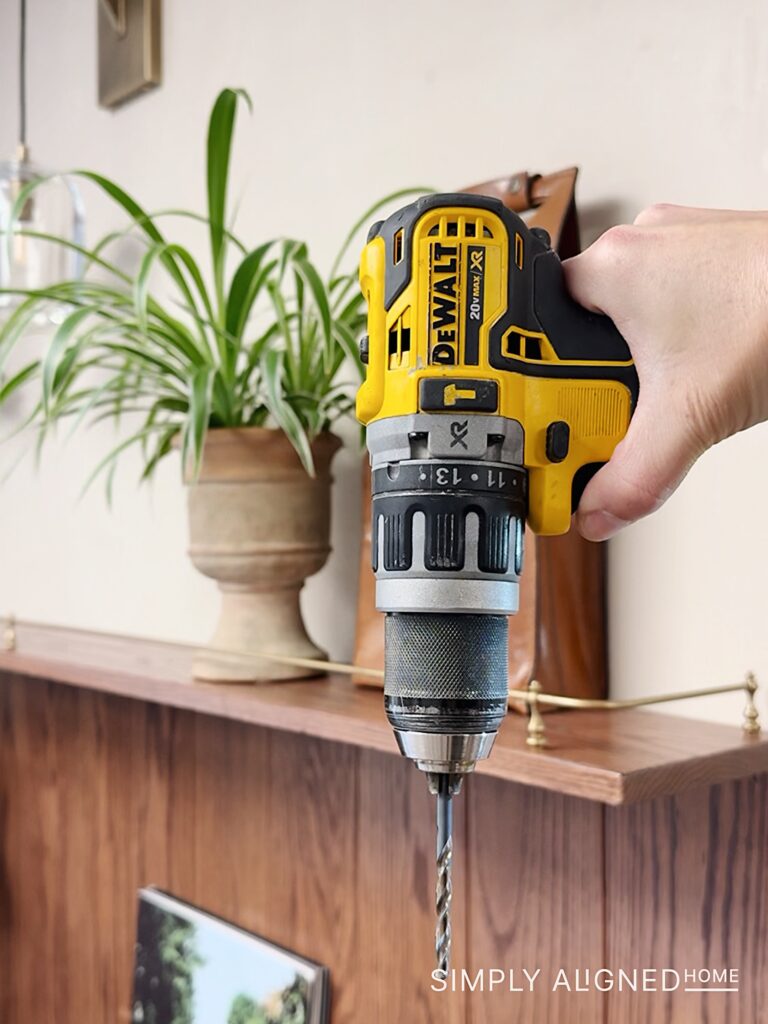
Drill Holes for the Posts
Once I had my rods cut to length, I marked where I wanted the posts to sit and drilled holes straight through the wood shelf. Keeping them evenly spaced makes everything look intentional and polished.
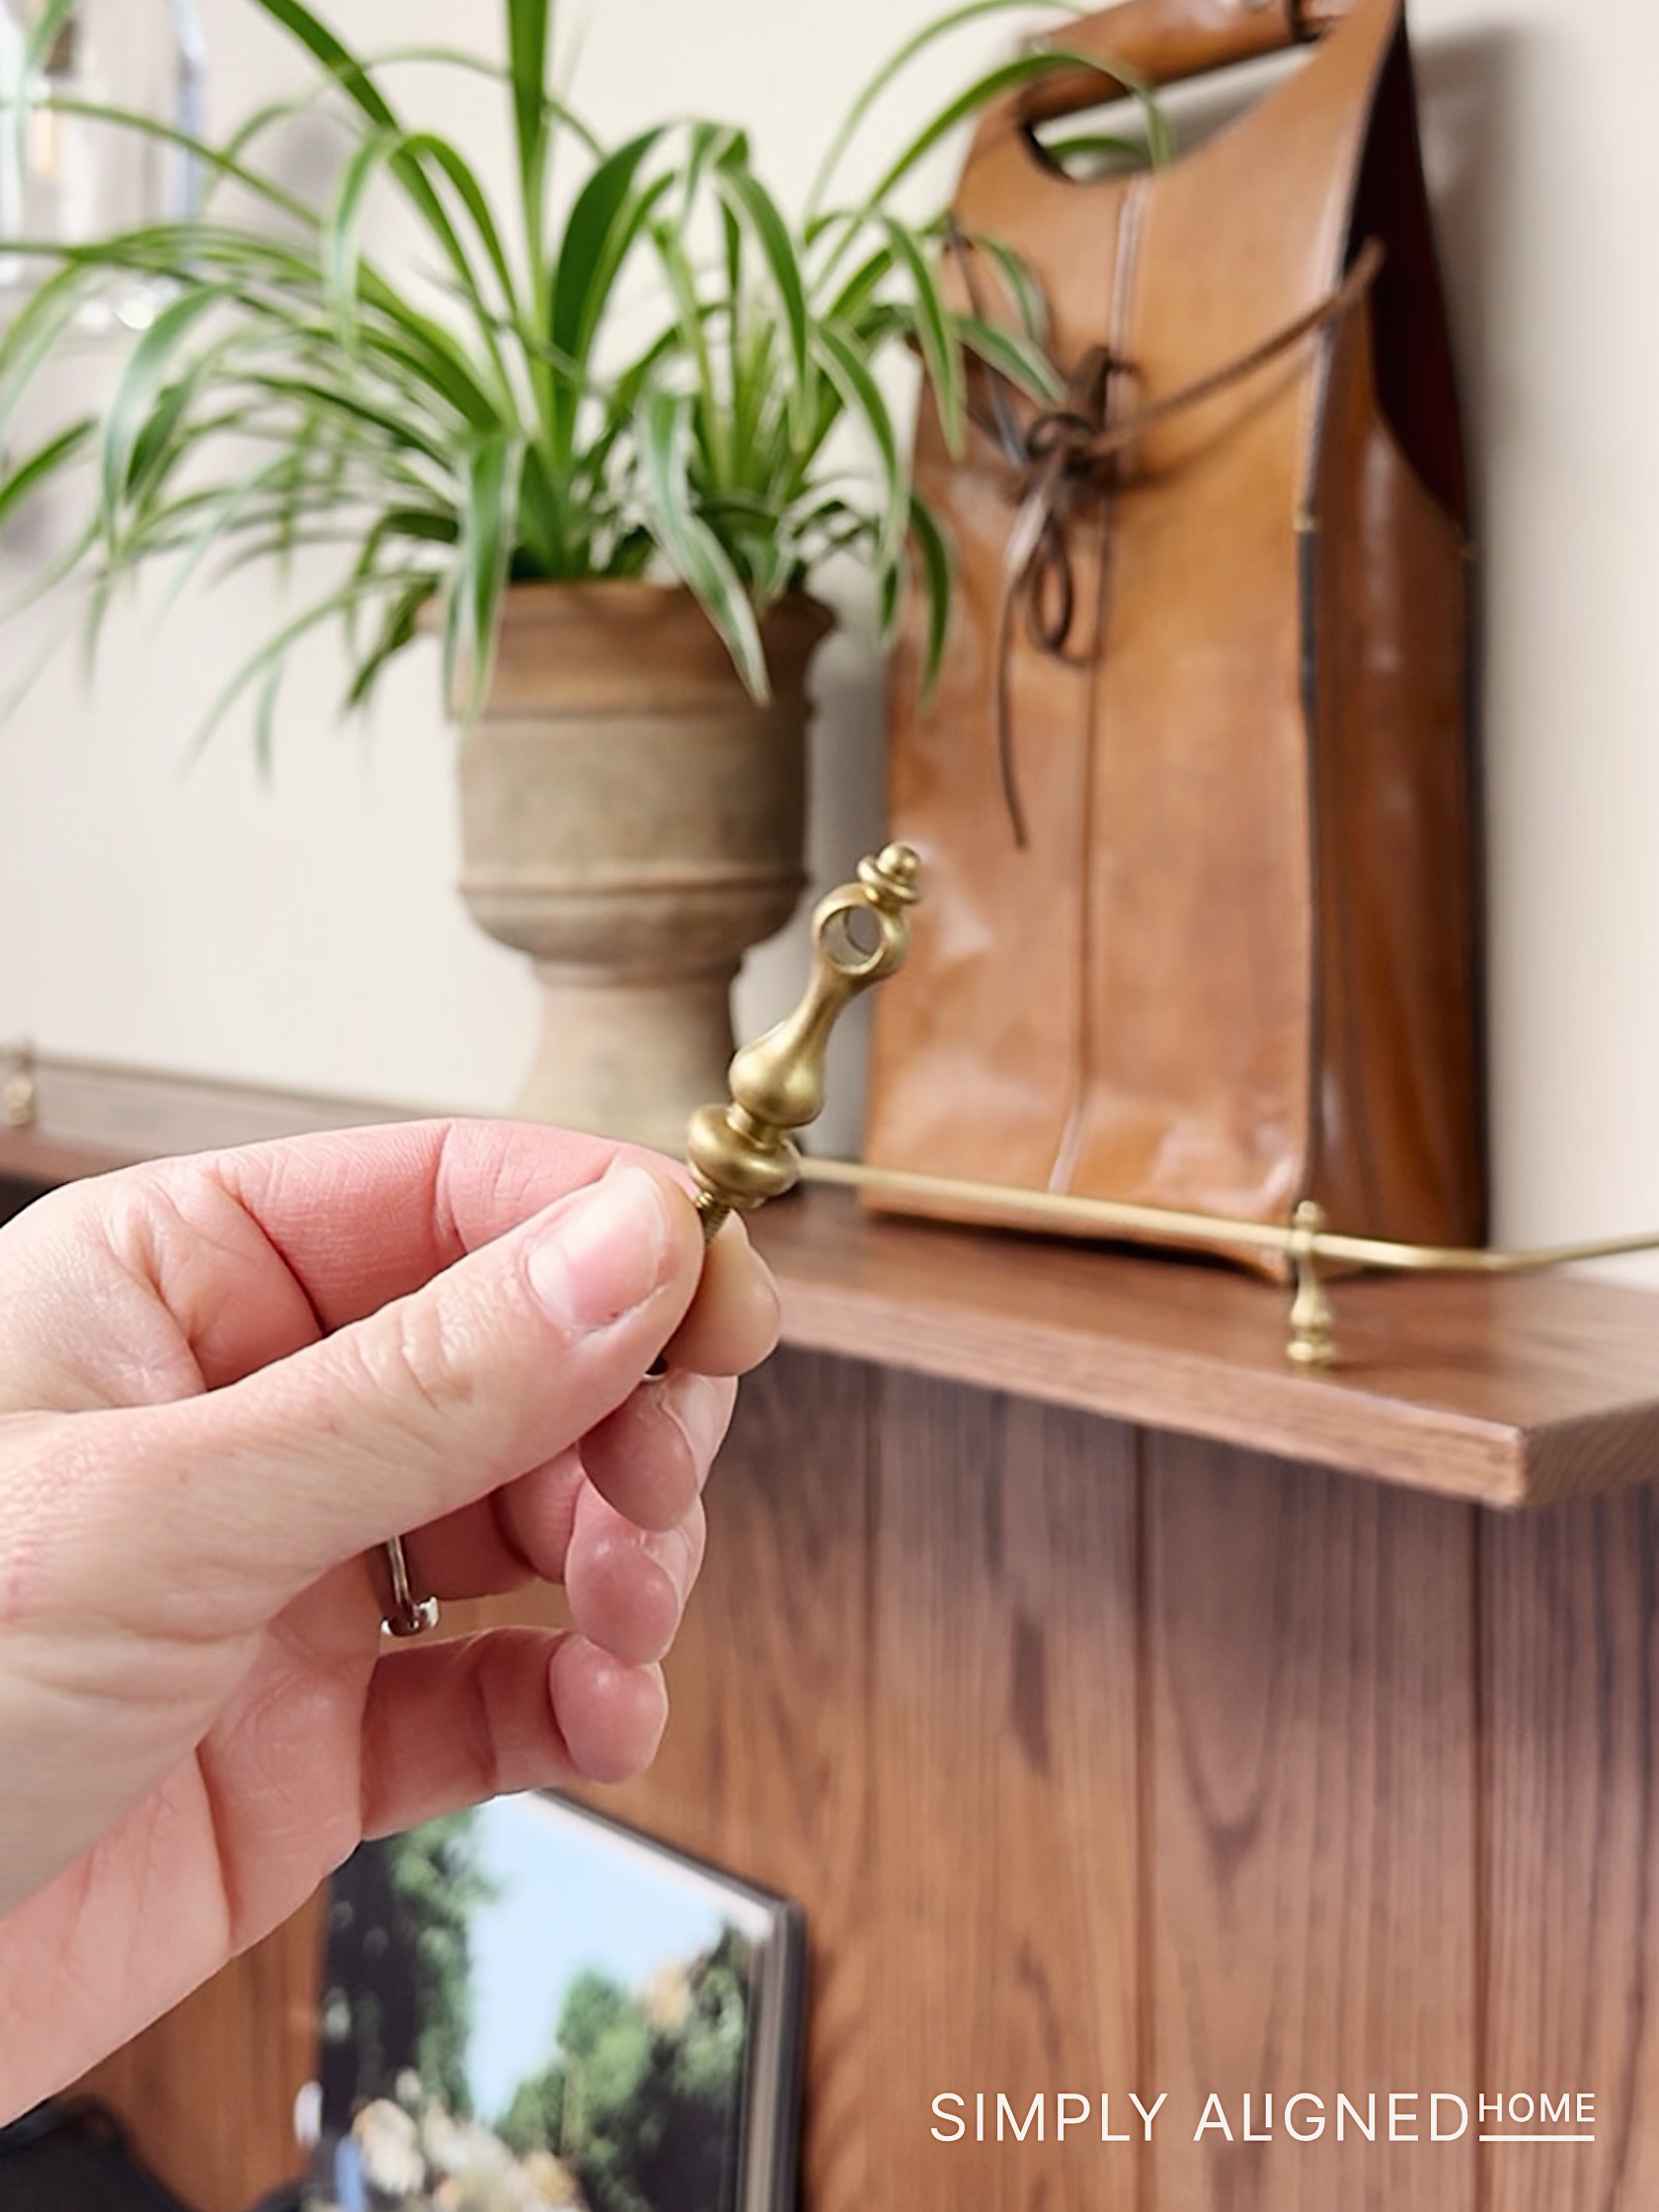
Install the Posts + Rail
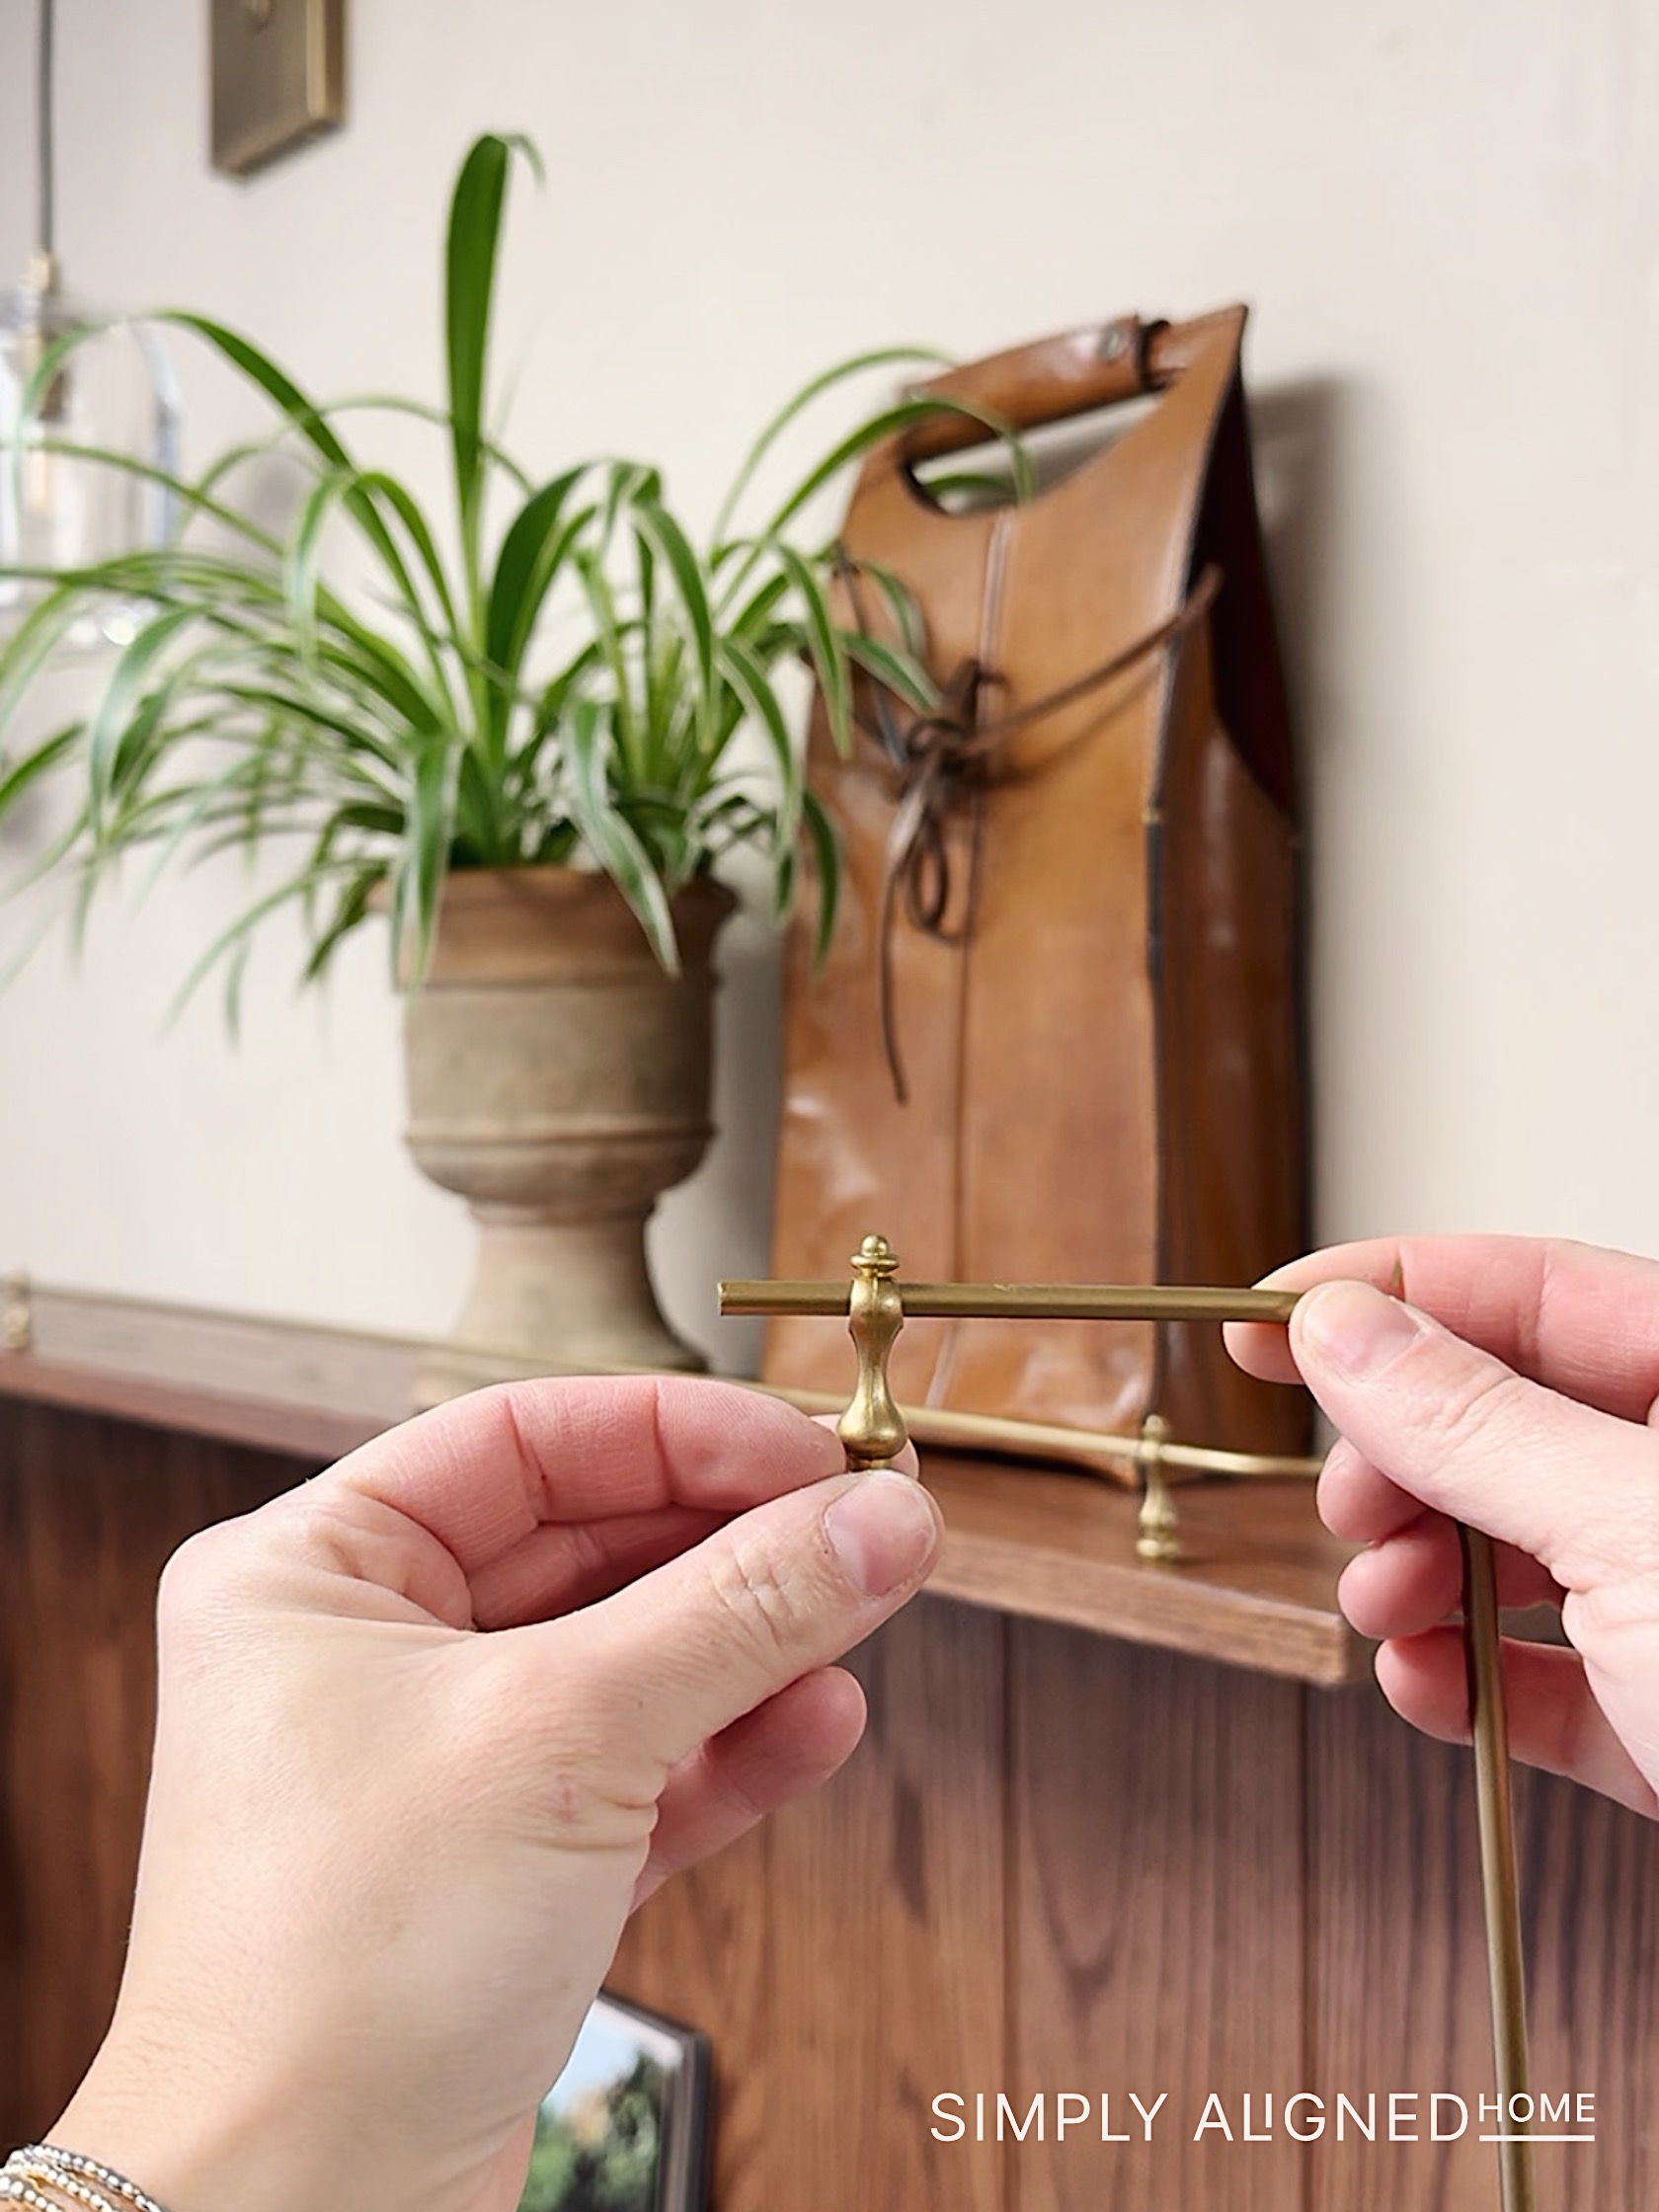
I lightly secured the shelf posts first…just tight enough to hold them in place but still allow a little wiggle room.
Once the rail was positioned, I went back and fully tightened everything down.
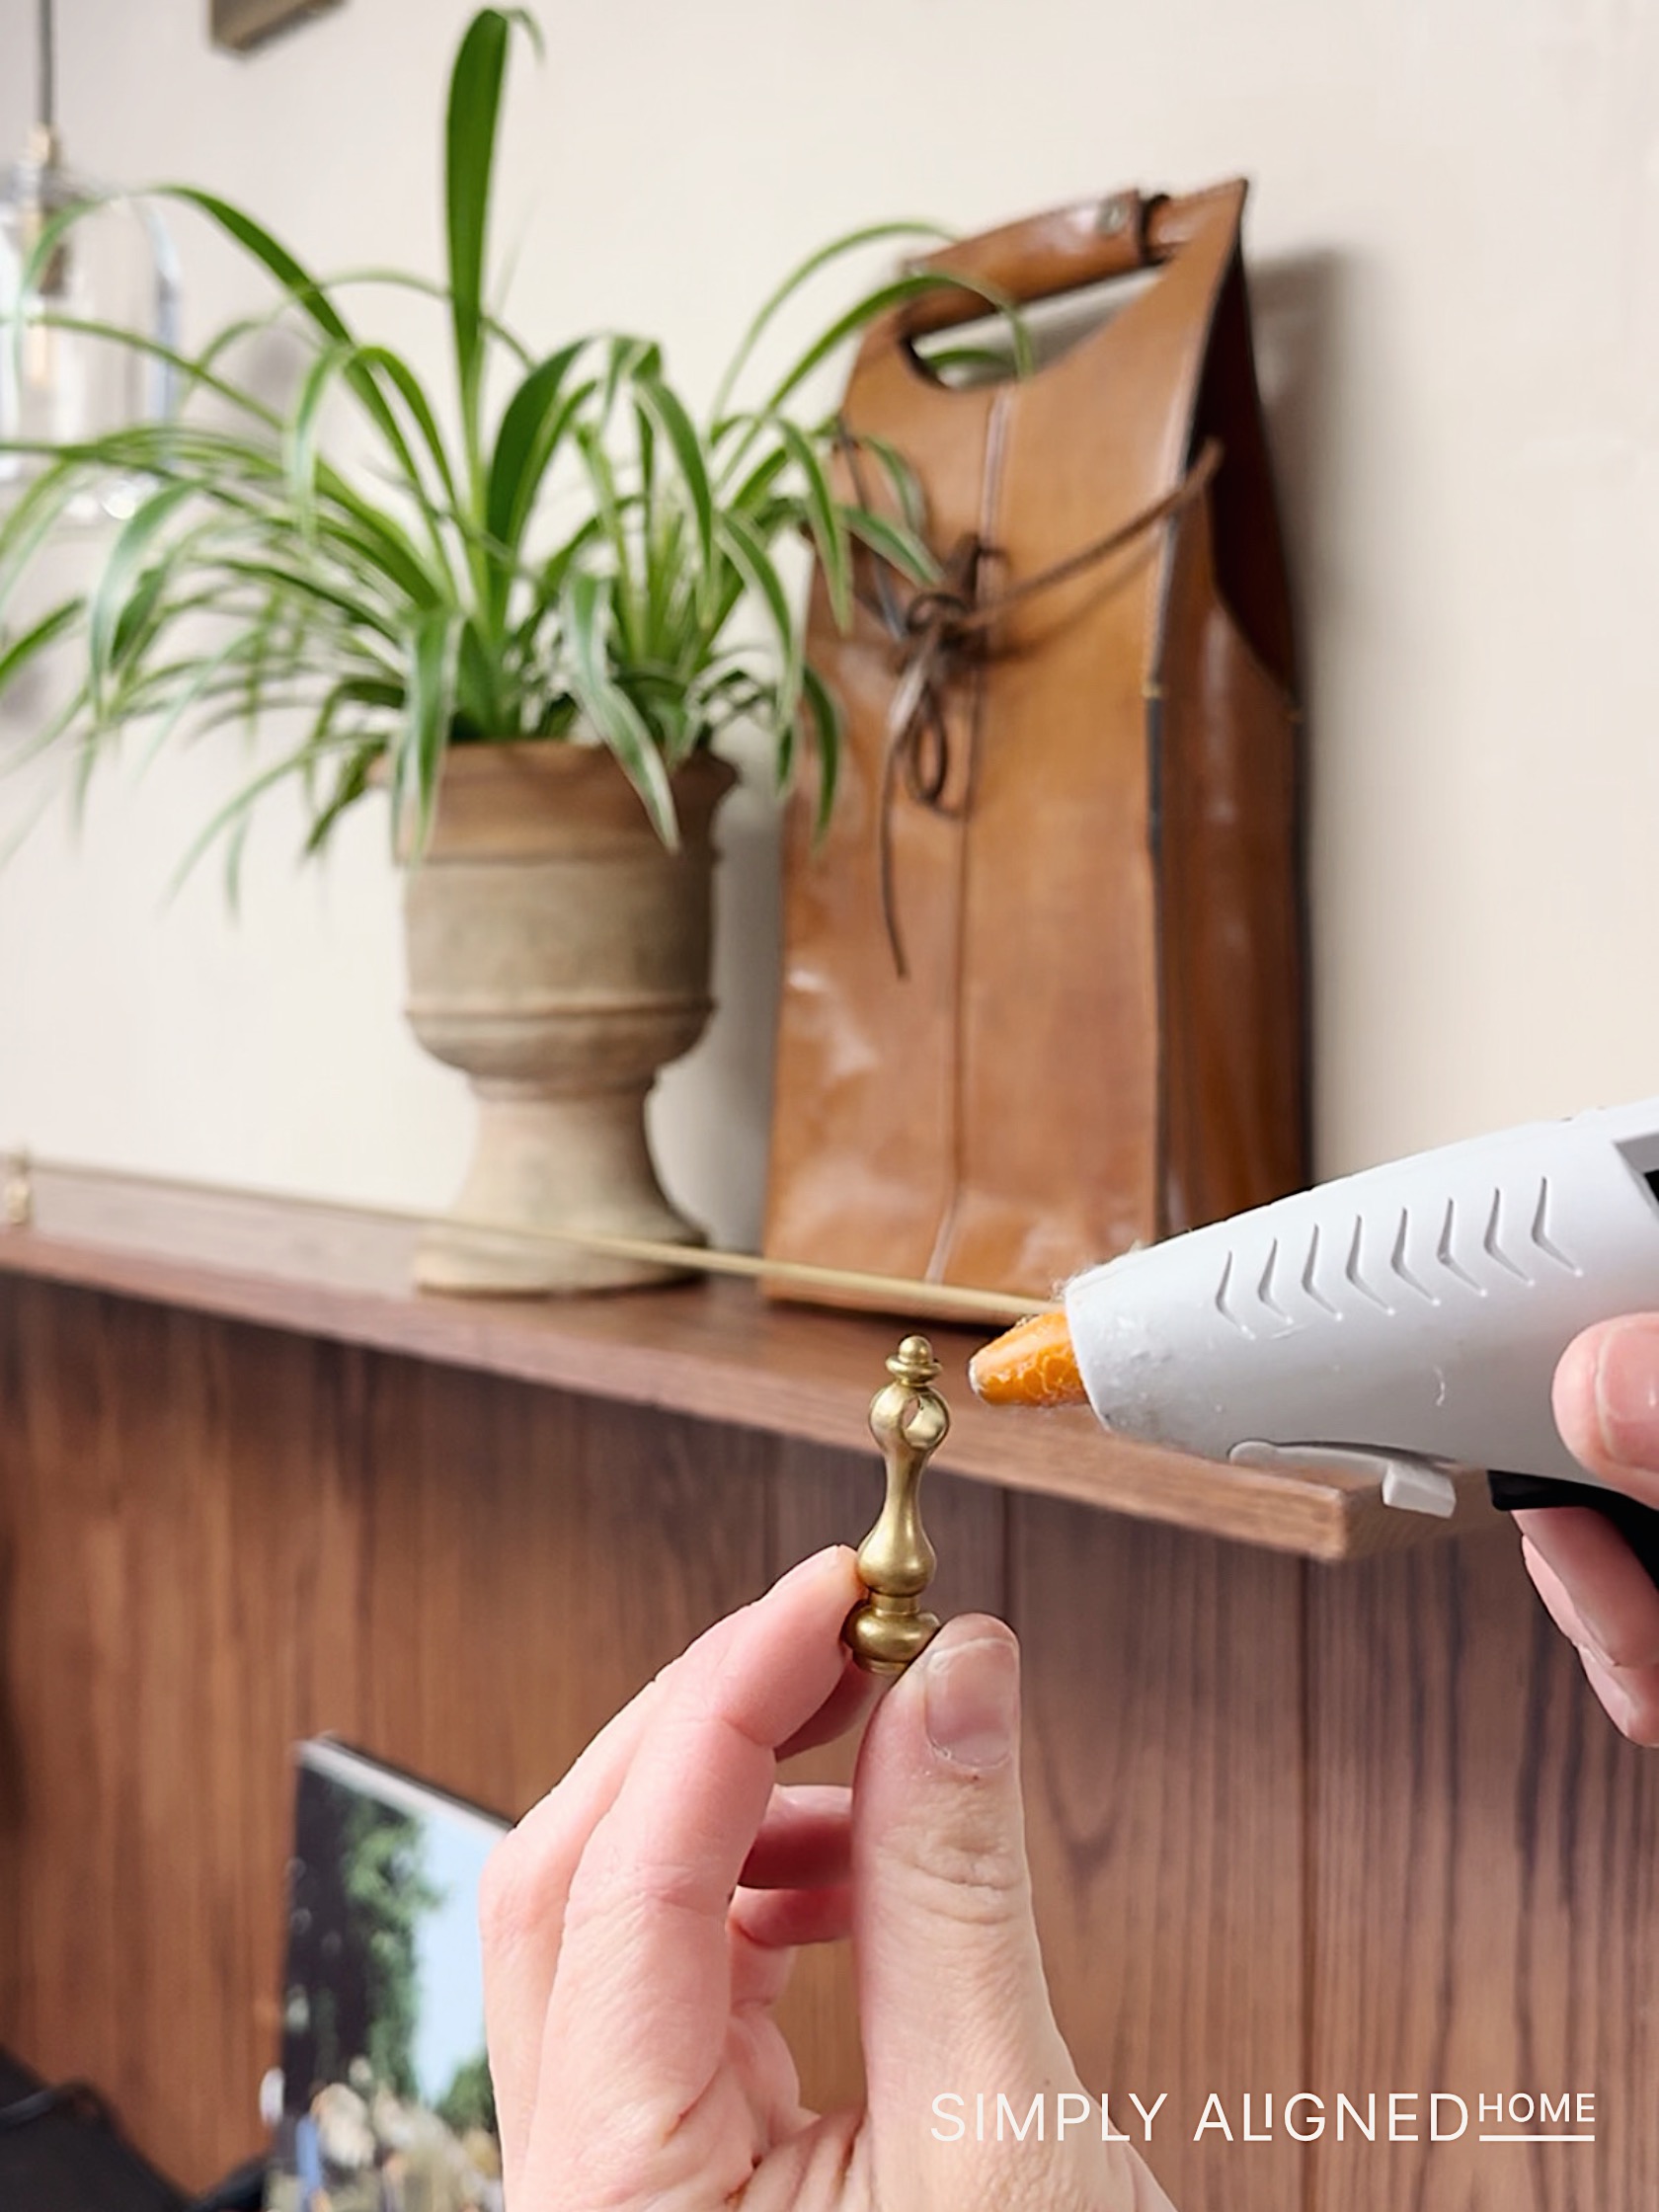
To help hold the rod securely inside the posts, I added the tiniest amount of hot glue before sliding the rod into place. Simple, but effective.
A Quick Note on Durability
Since these steel rod rails are so small, they do have a little flex to them. I would recommend this setup in a low-traffic spot, like a display shelf or bar area, rather than somewhere with high traffic or where kids will pull on or lean against.
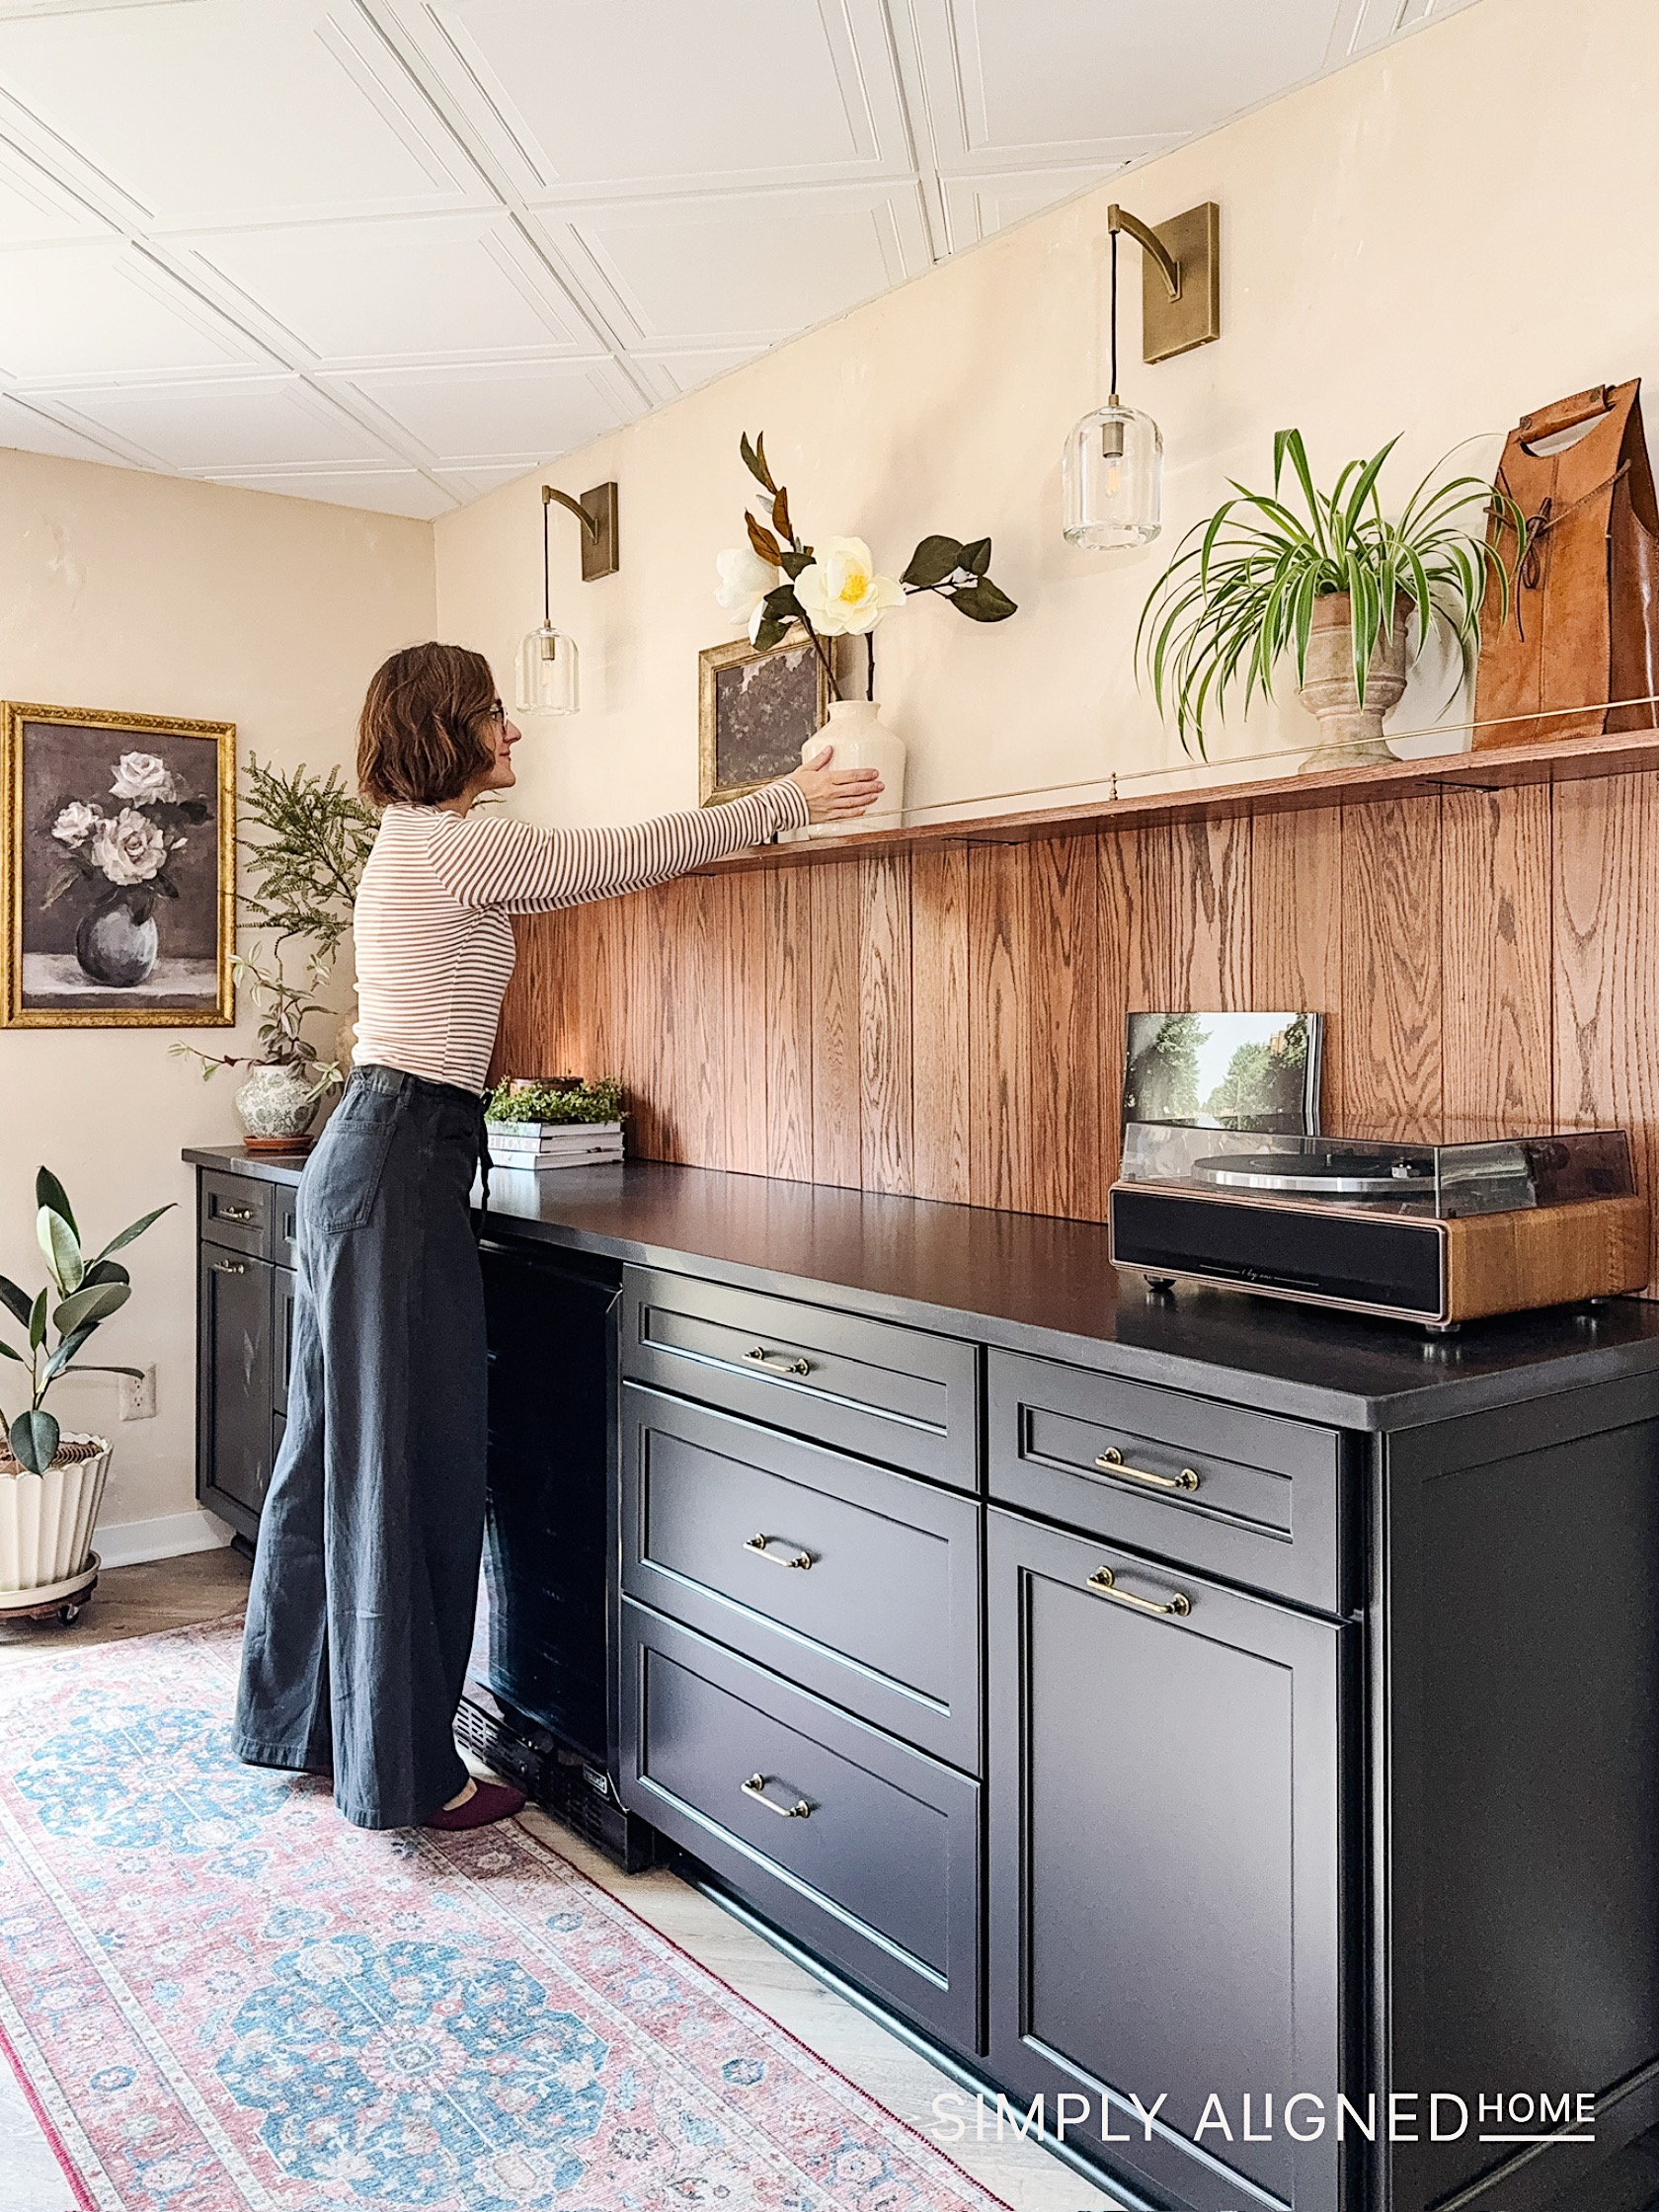
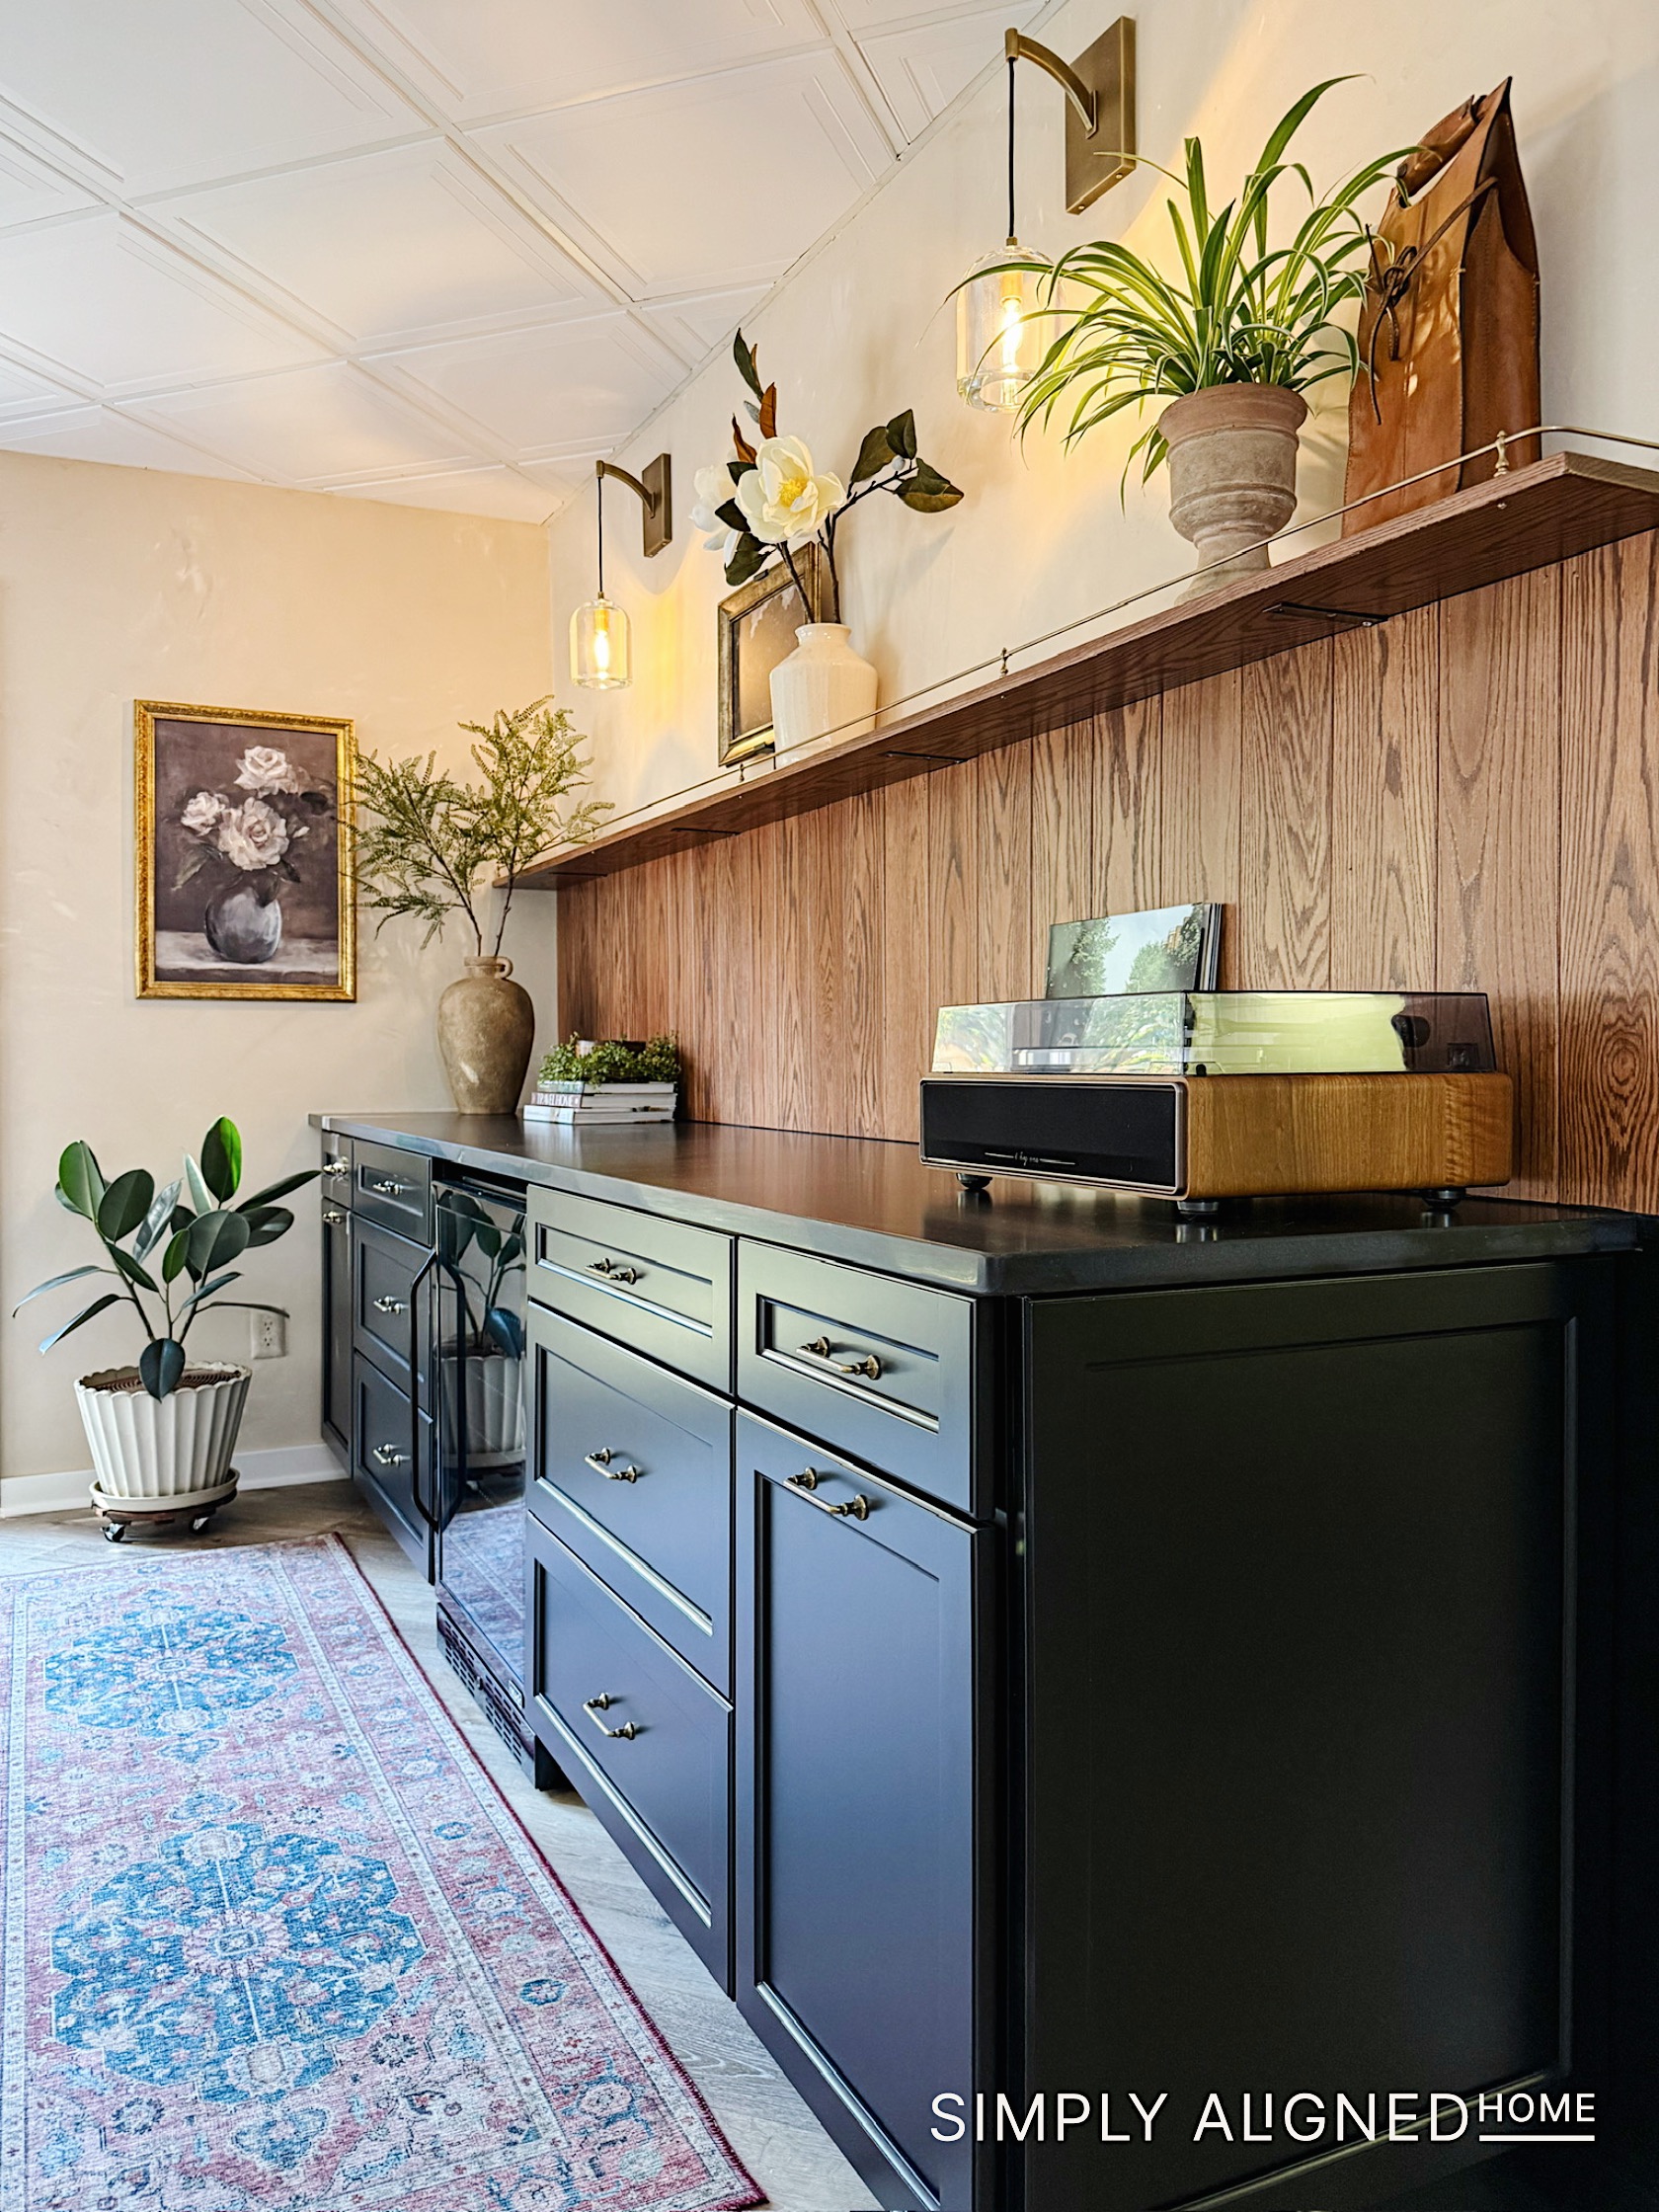
The Finished Look
This tiny upgrade makes the entire bar feel more custom and intentional. I love when a simple DIY project adds both style and function…and this one definitely did!
If you try something similar, I’d love to see it! It’s such an easy way to add that “custom built-in” feel to a space.
More projects from this area are coming soon…you know I can’t leave a space alone for long!

**Note: I am not a professional and do not claim to be an expert. Please be sure to always read instructions for all tools and products. Safety is very important and should be your top priority. Wear necessary protection when using tools (eye wear, hearing protection, gloves, etc.) and dust masks when sanding or cutting. Simply Aligned Home is not responsible for any injury or damage. All of my designs are not professionally designed and are for private use only.**
Materials Used
- Steel Rods (length based on your shelf)
- Shelf Rail Posts
- Spray Paint
Tools Used
- Spray Paint Attachment
- Tube Bender
- Cutoff Wheel
- Drill + Drill Bit
- Hot Glue Gun (optional, but helpful)
- Screw Driver