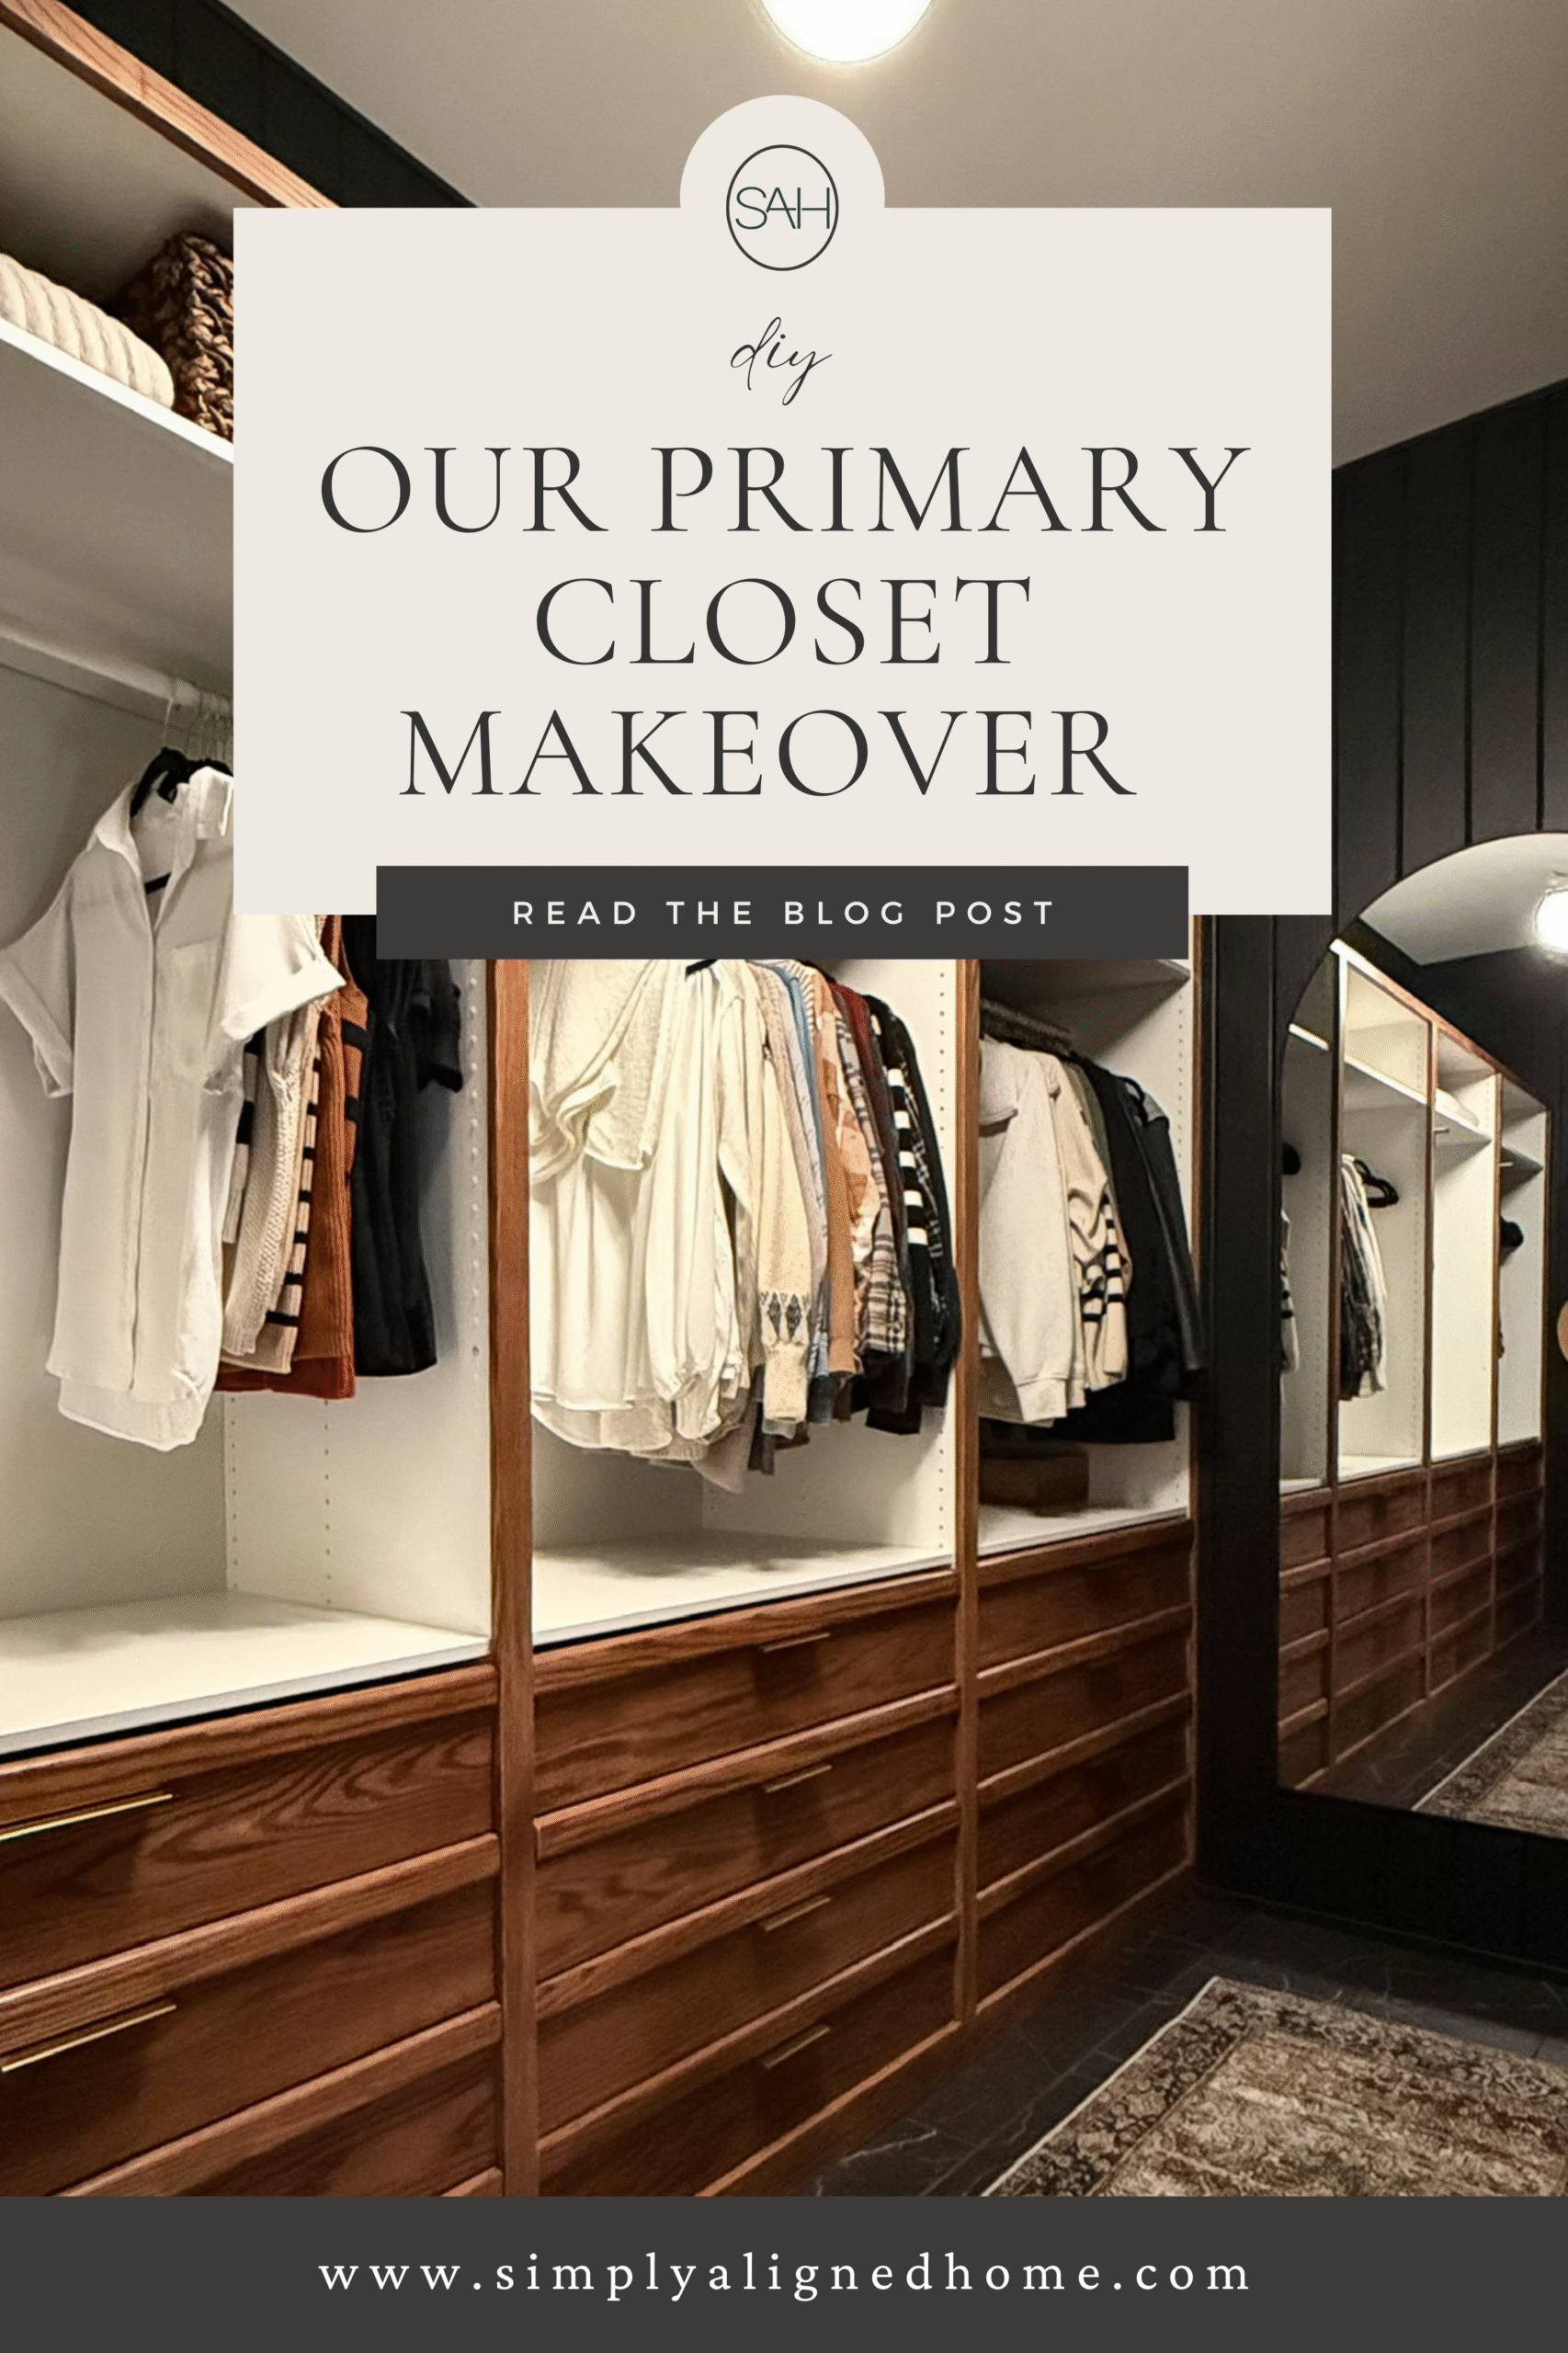
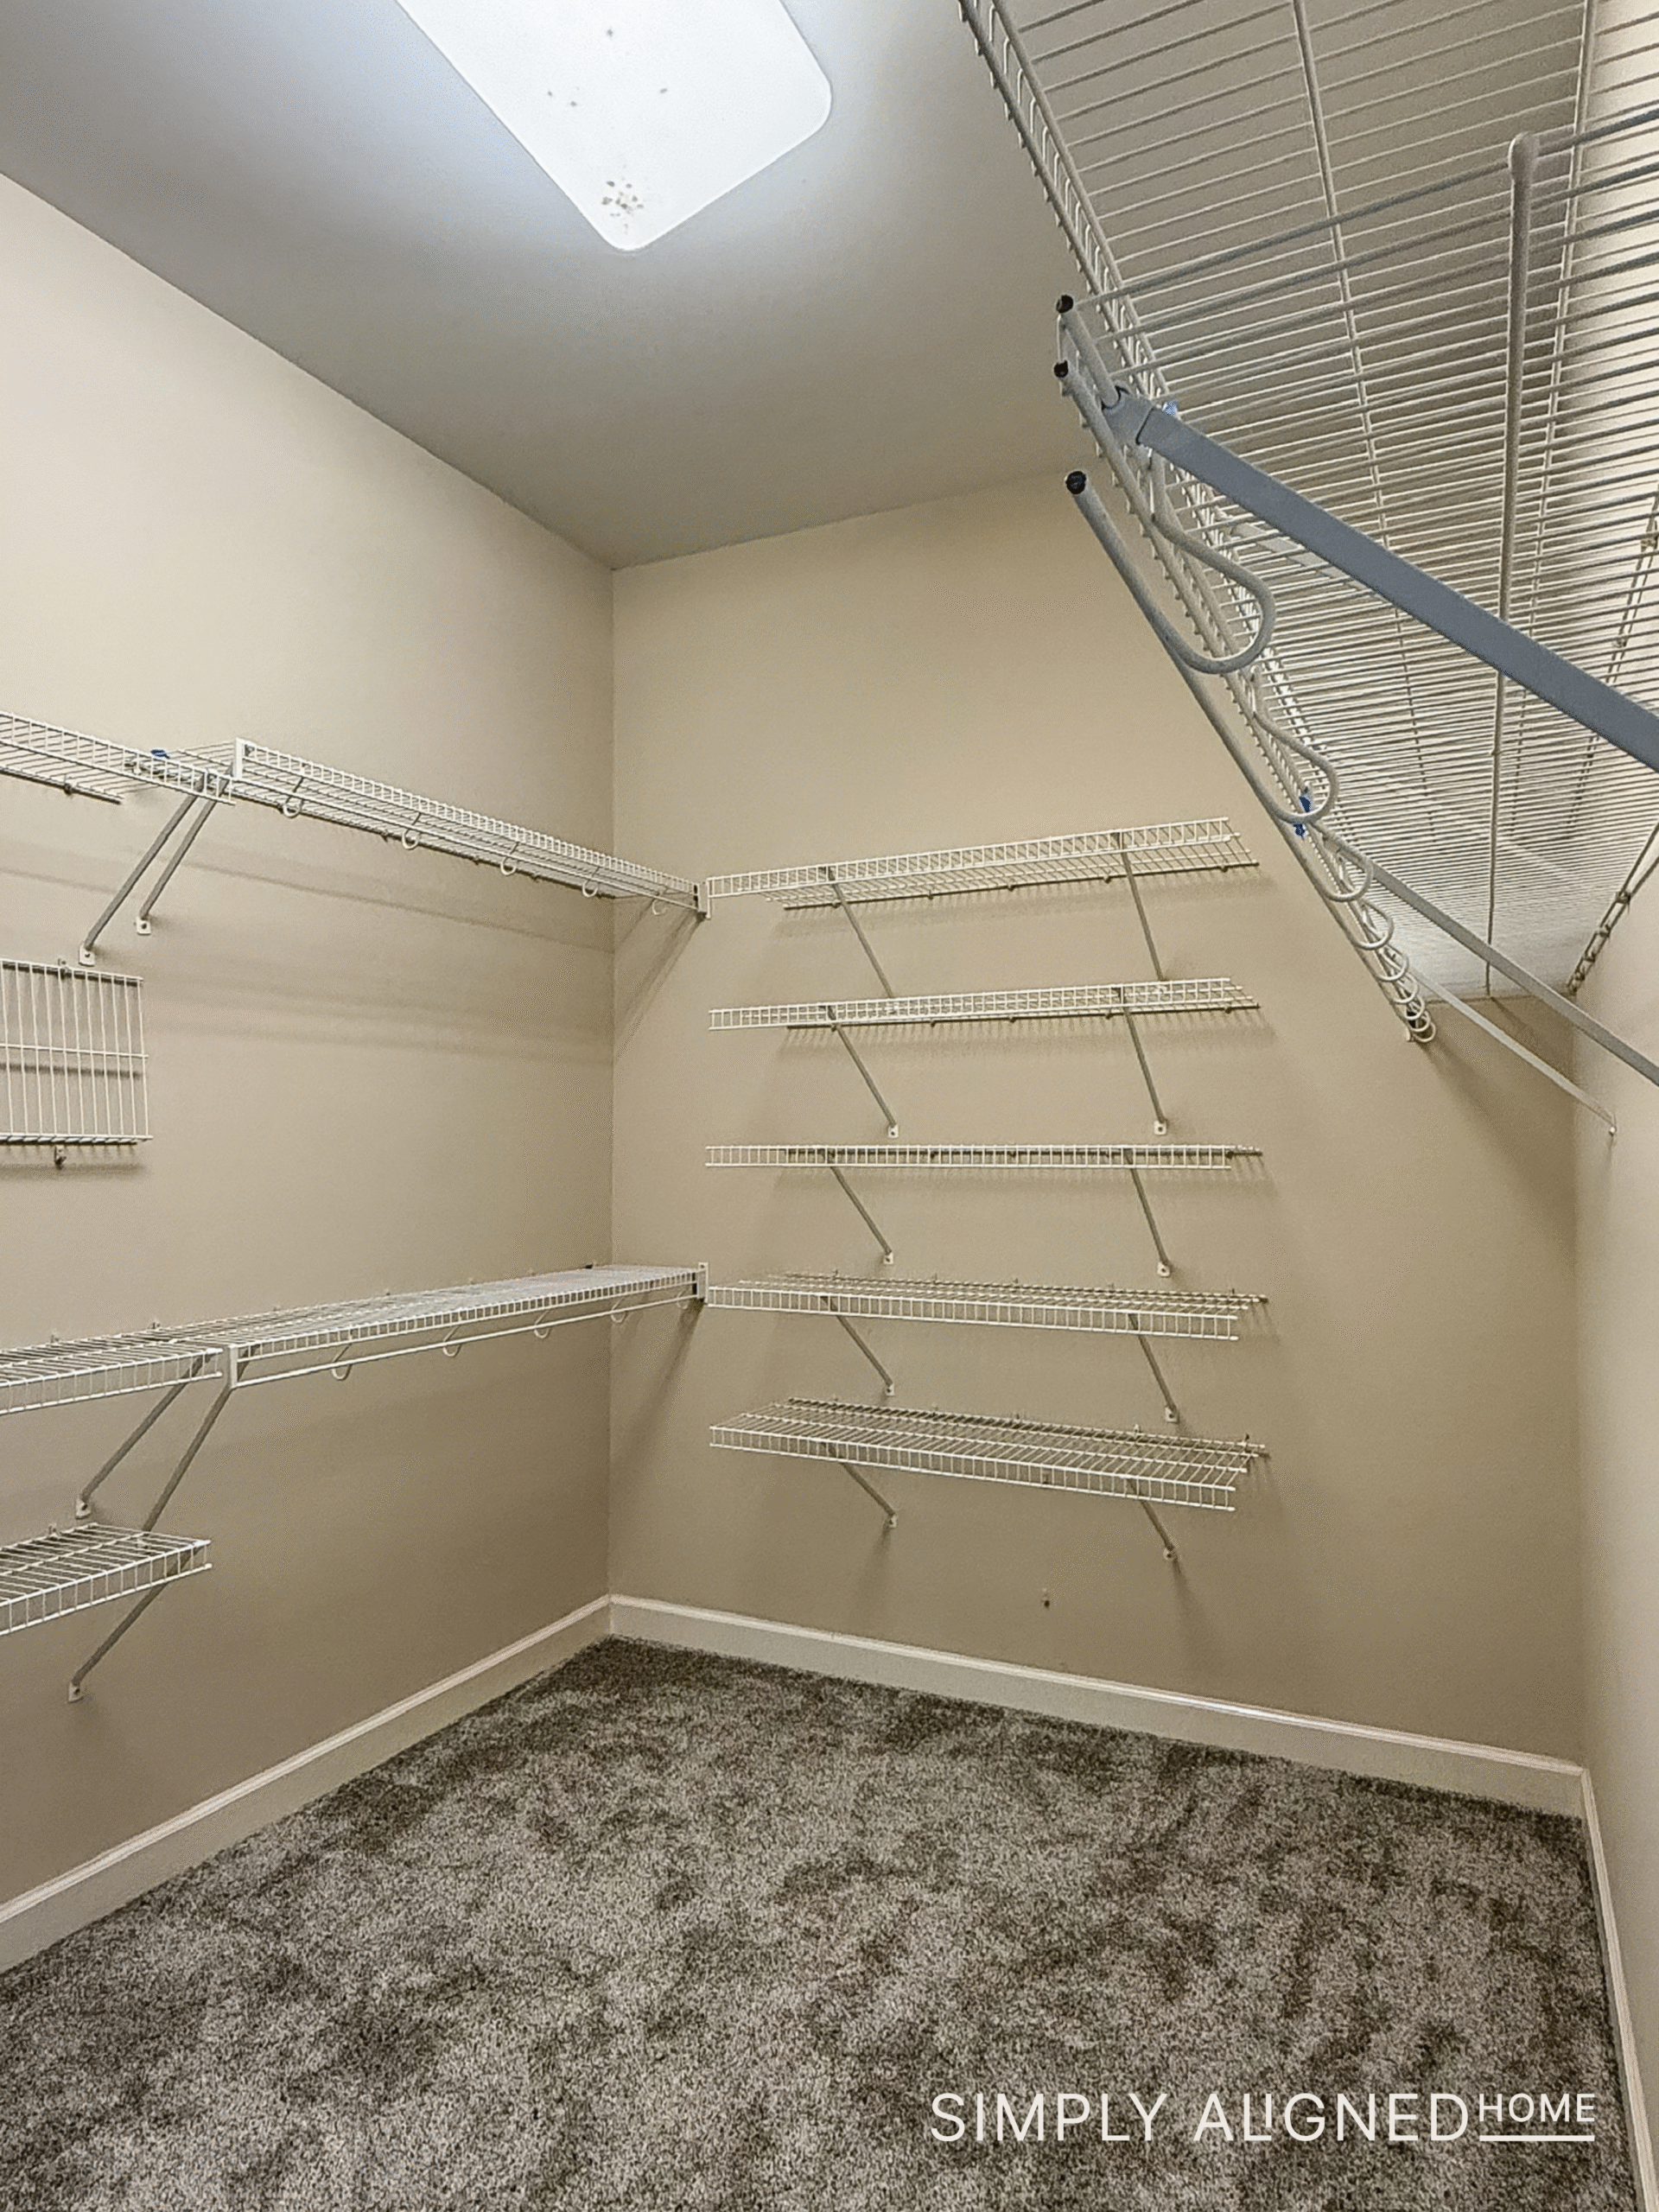
When we moved into our new home, I took one look at our primary closet and knew there was no way I was unpacking a single box in there. The wire shelving was literally pulling away from the wall and nothing about the space felt like it belonged in a home we were planning to put so much love into. So instead of settling, I grabbed my tools and started tearing it out…and just like that, our closet renovation began, using the Ikea Pax System!
**This post contains affiliate links to products that I used or recommend. If you purchase something through an affiliate link, I may receive a small percentage of the sale at no extra cost to you. I really appreciate your support!**
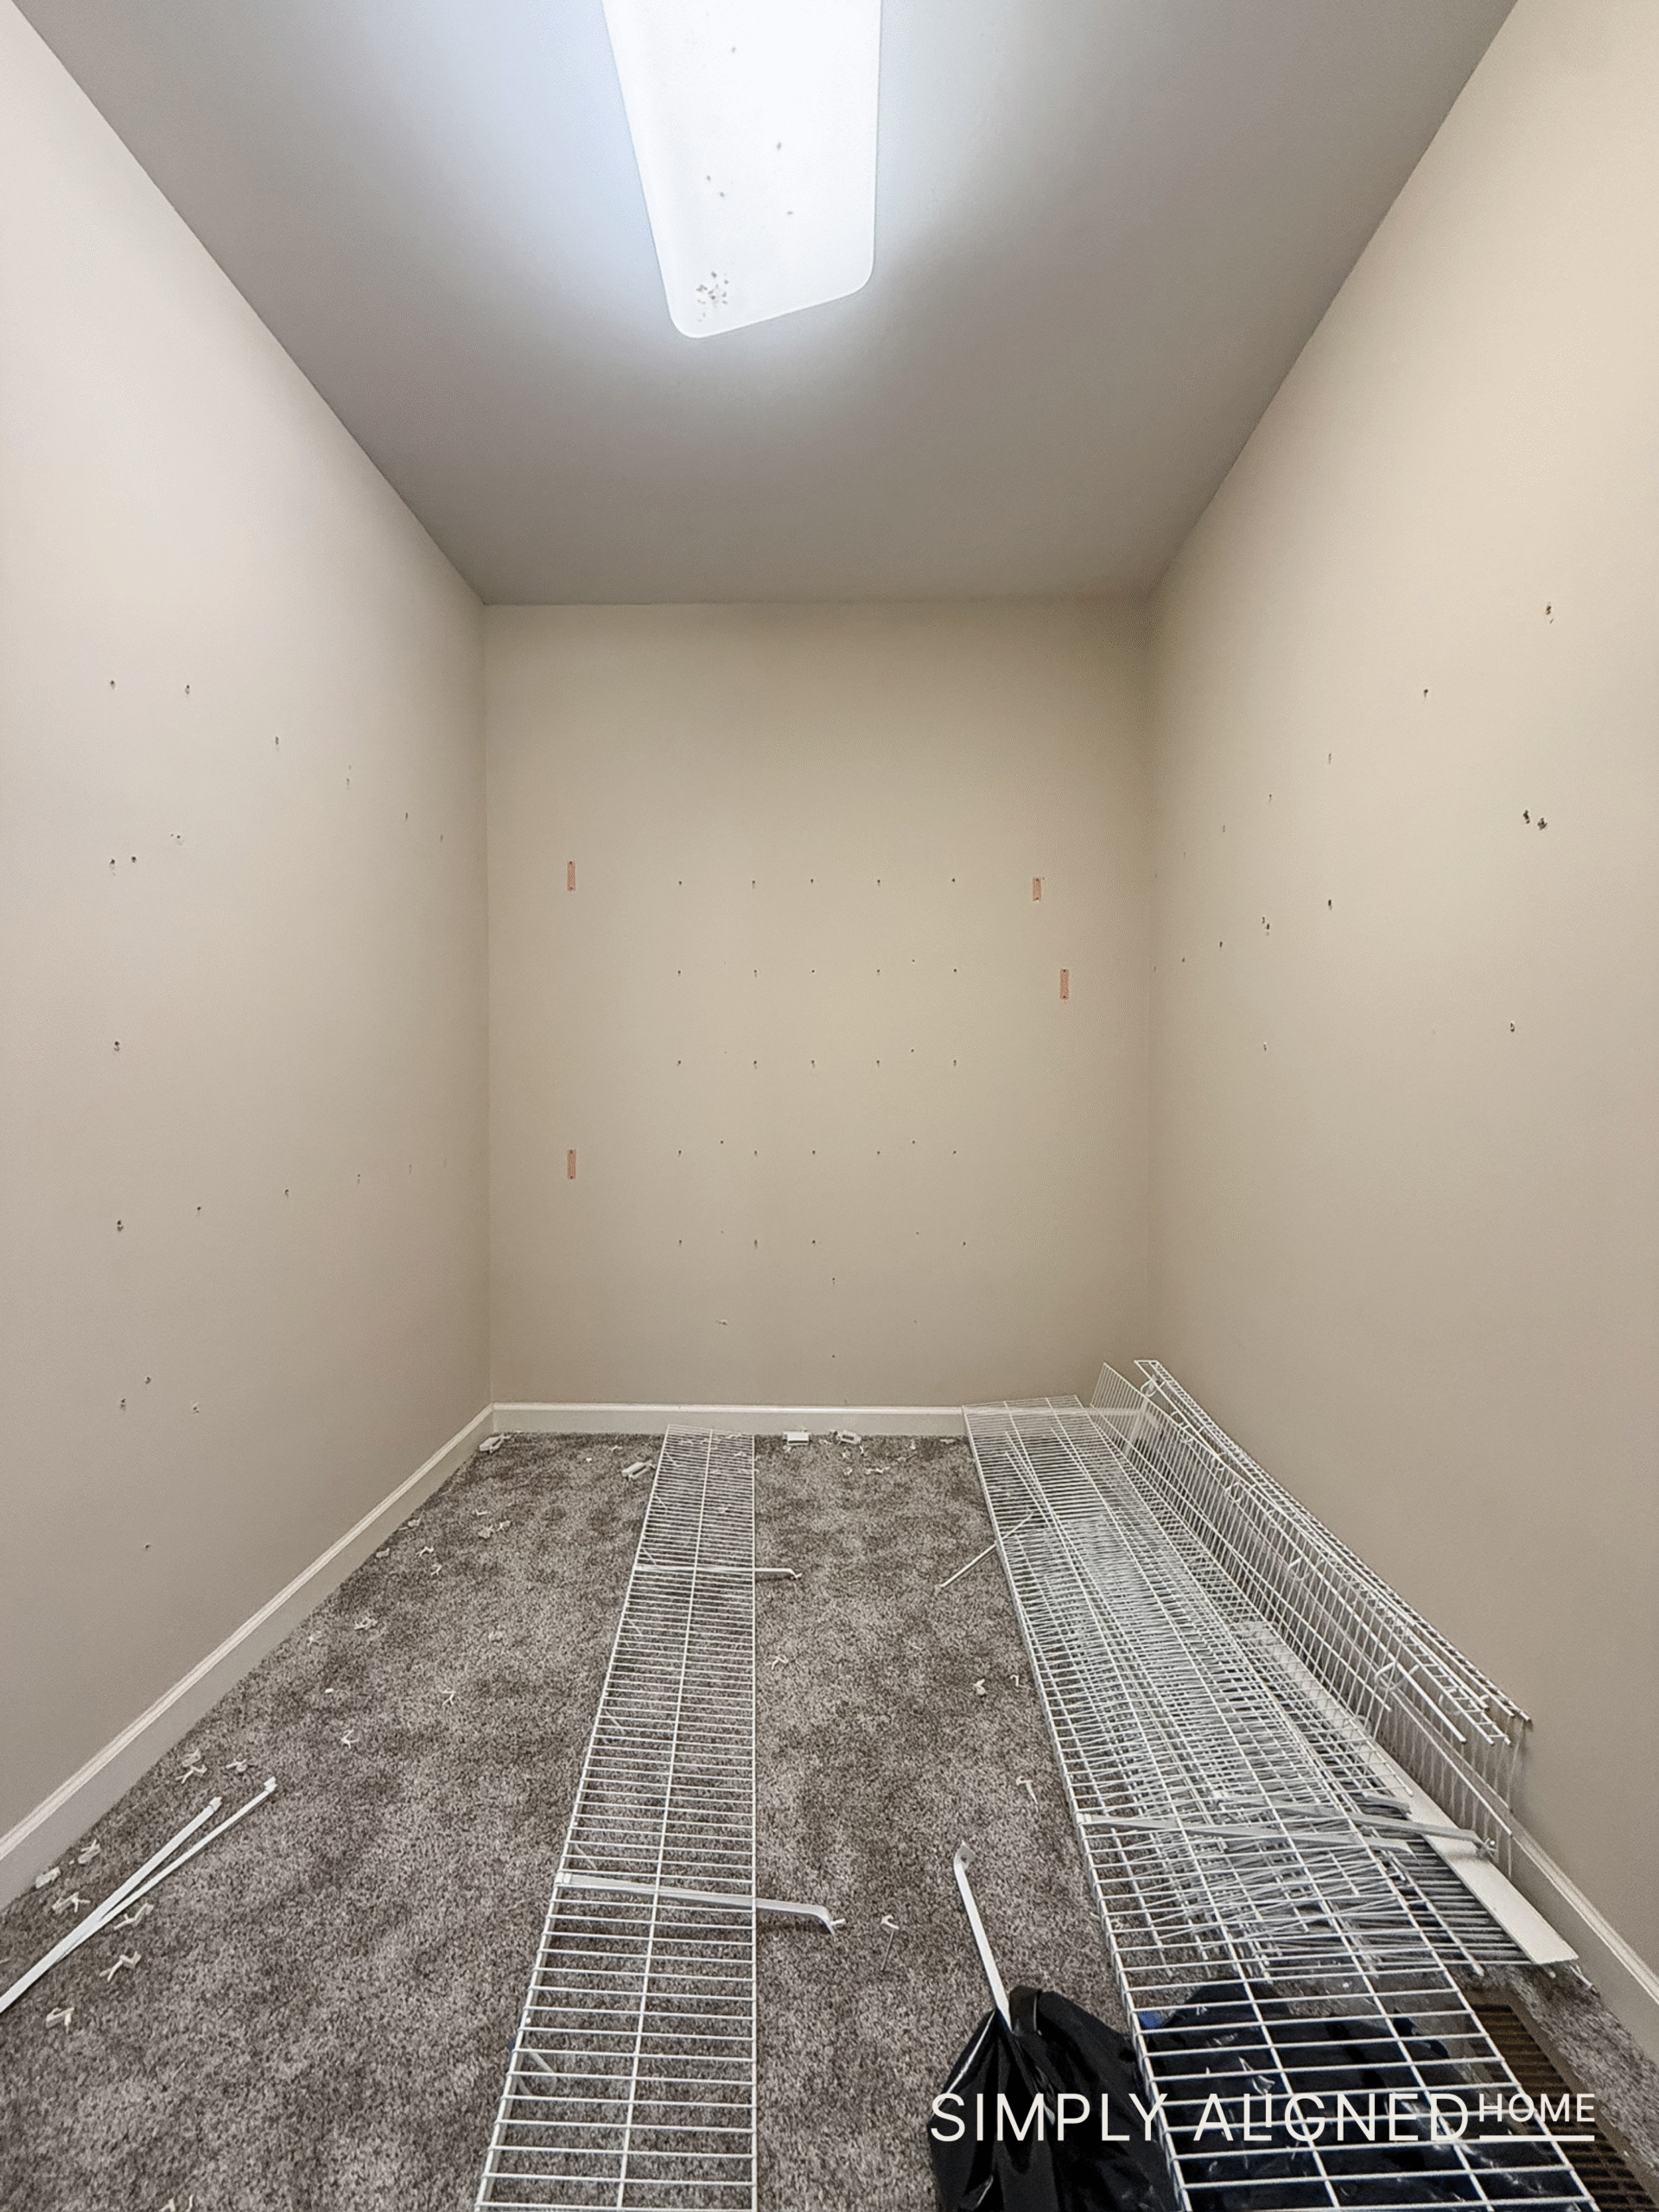
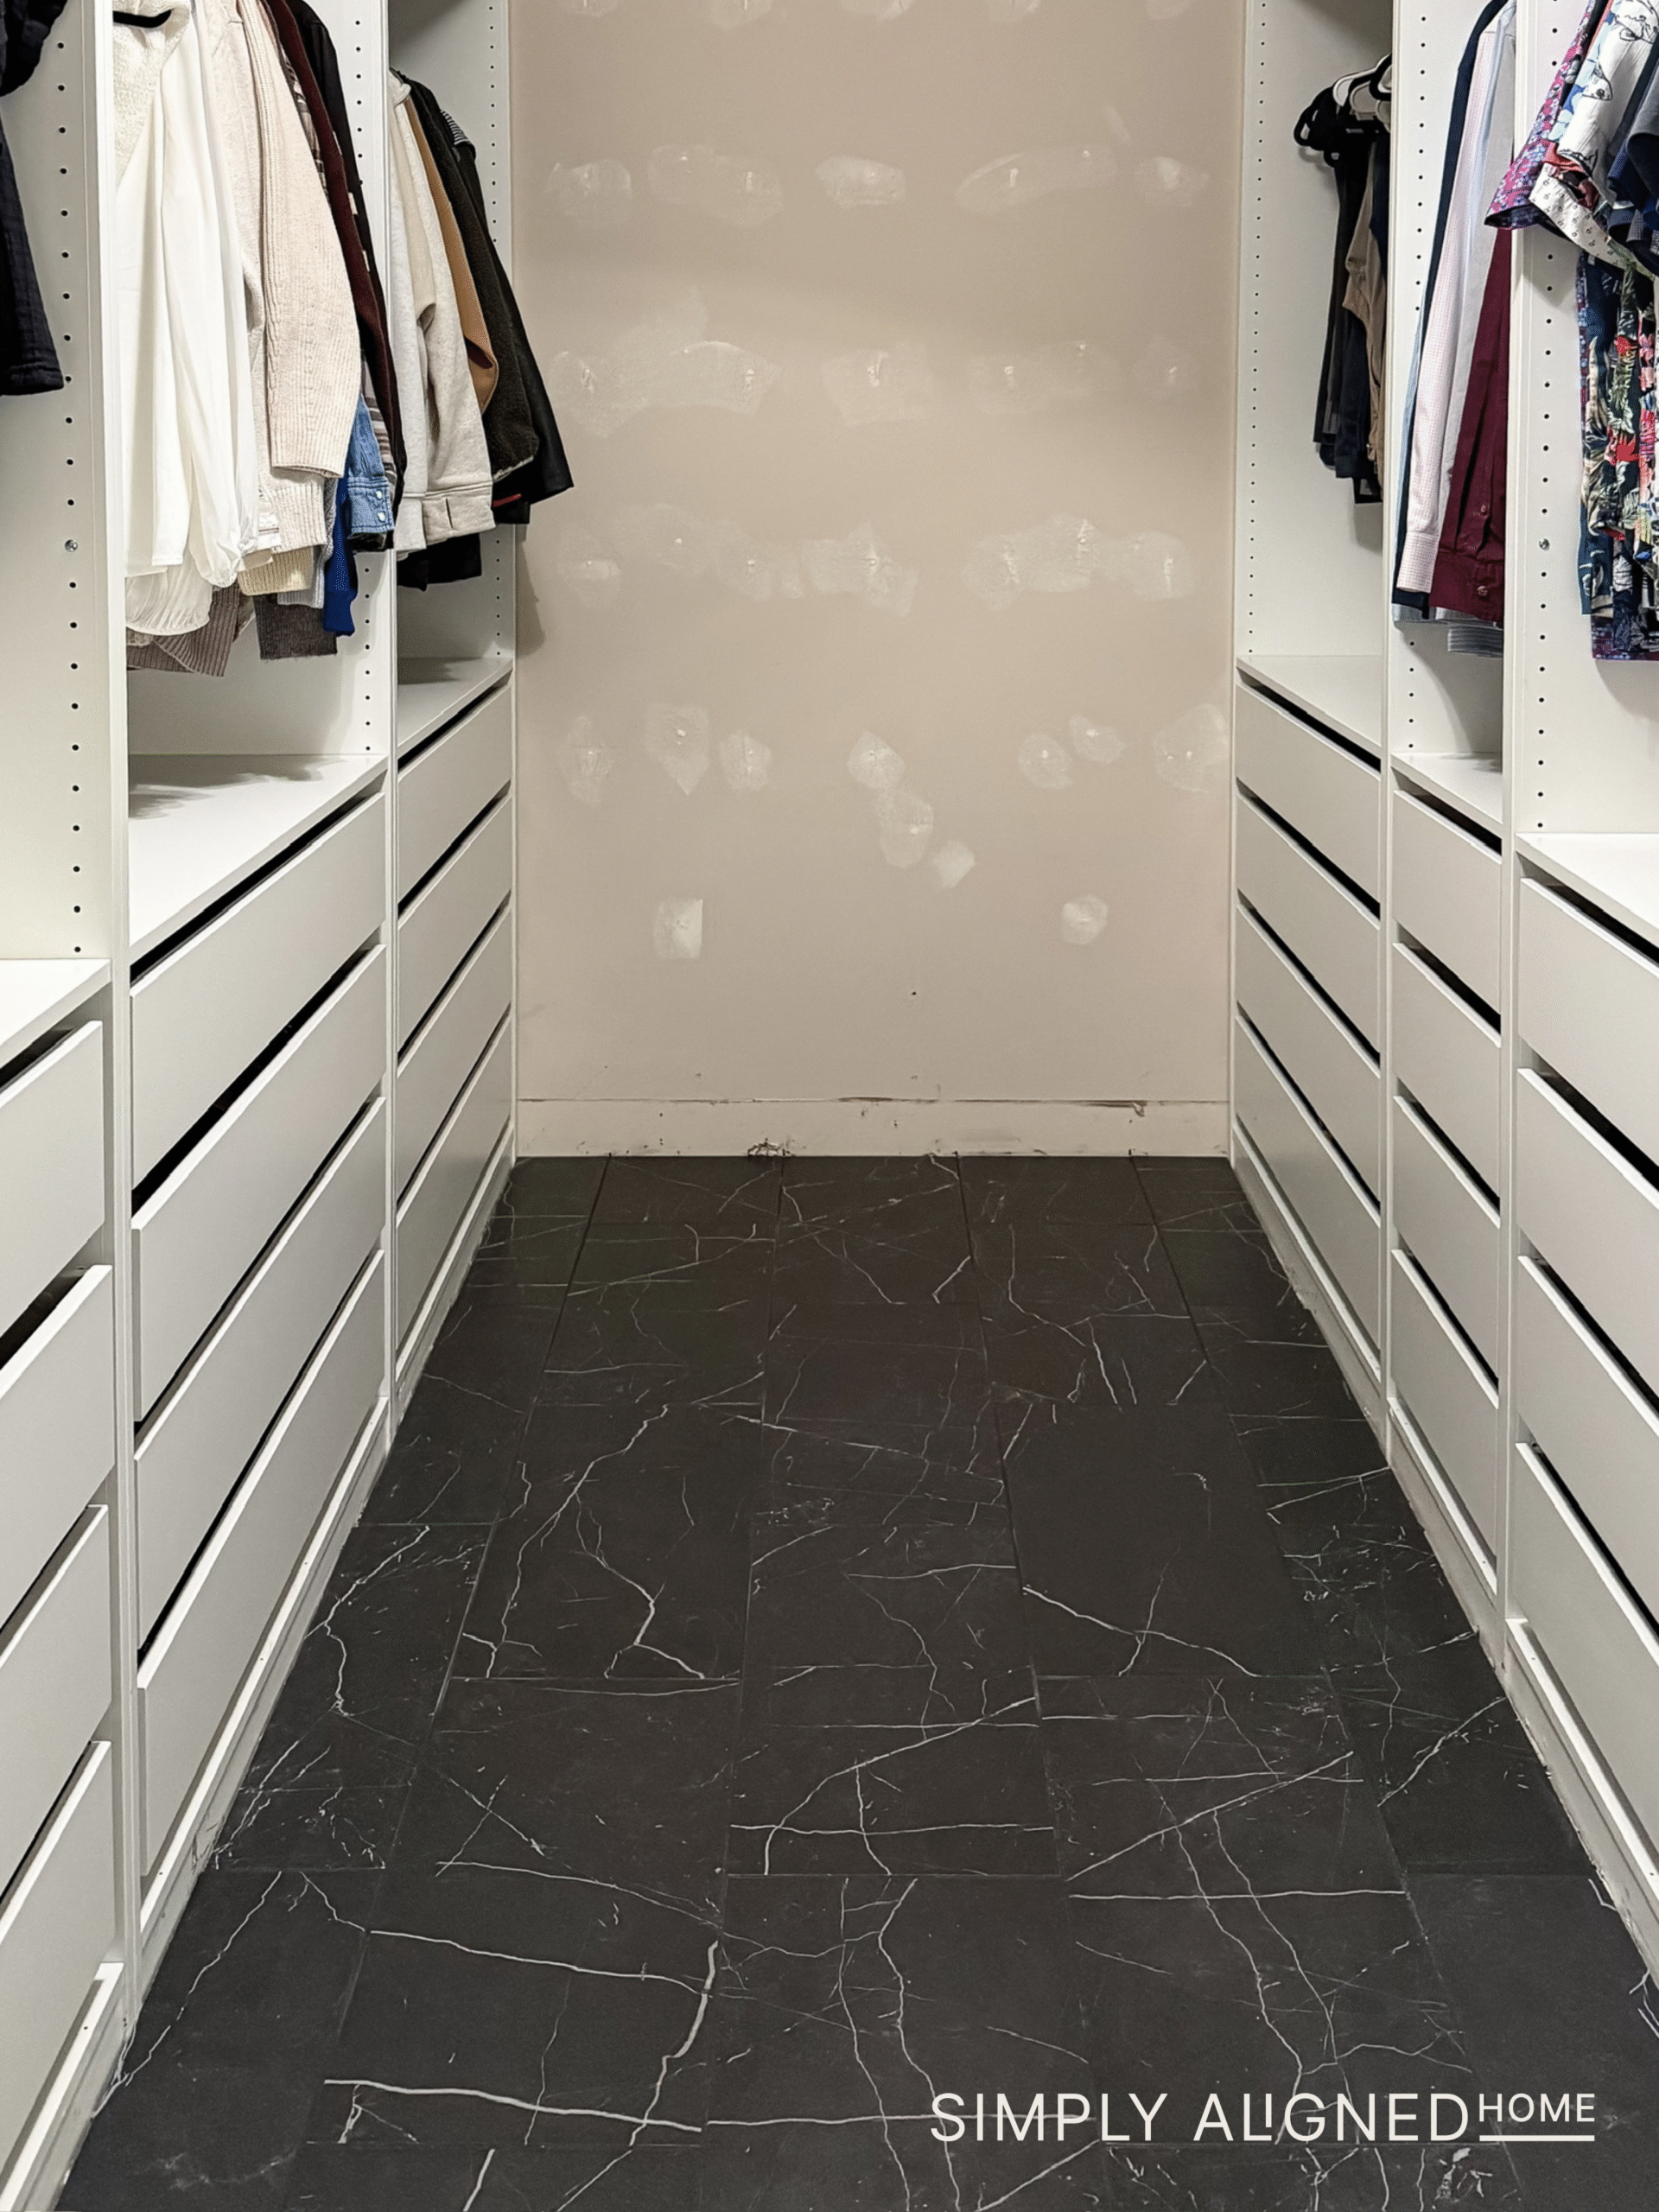
Starting With a Clean Slate
The first step was removing all of the old wire shelving. Once everything was stripped back to the walls, I decided to go a step further and pull out the carpet too. It instantly changed how the room felt. Suddenly, I had a blank slate to design from and a solid subfloor to build on. That clean foundation made it so much easier to imagine what the space could be…not just a place to store clothes, but something that felt intentional, organized, and truly part of our home.
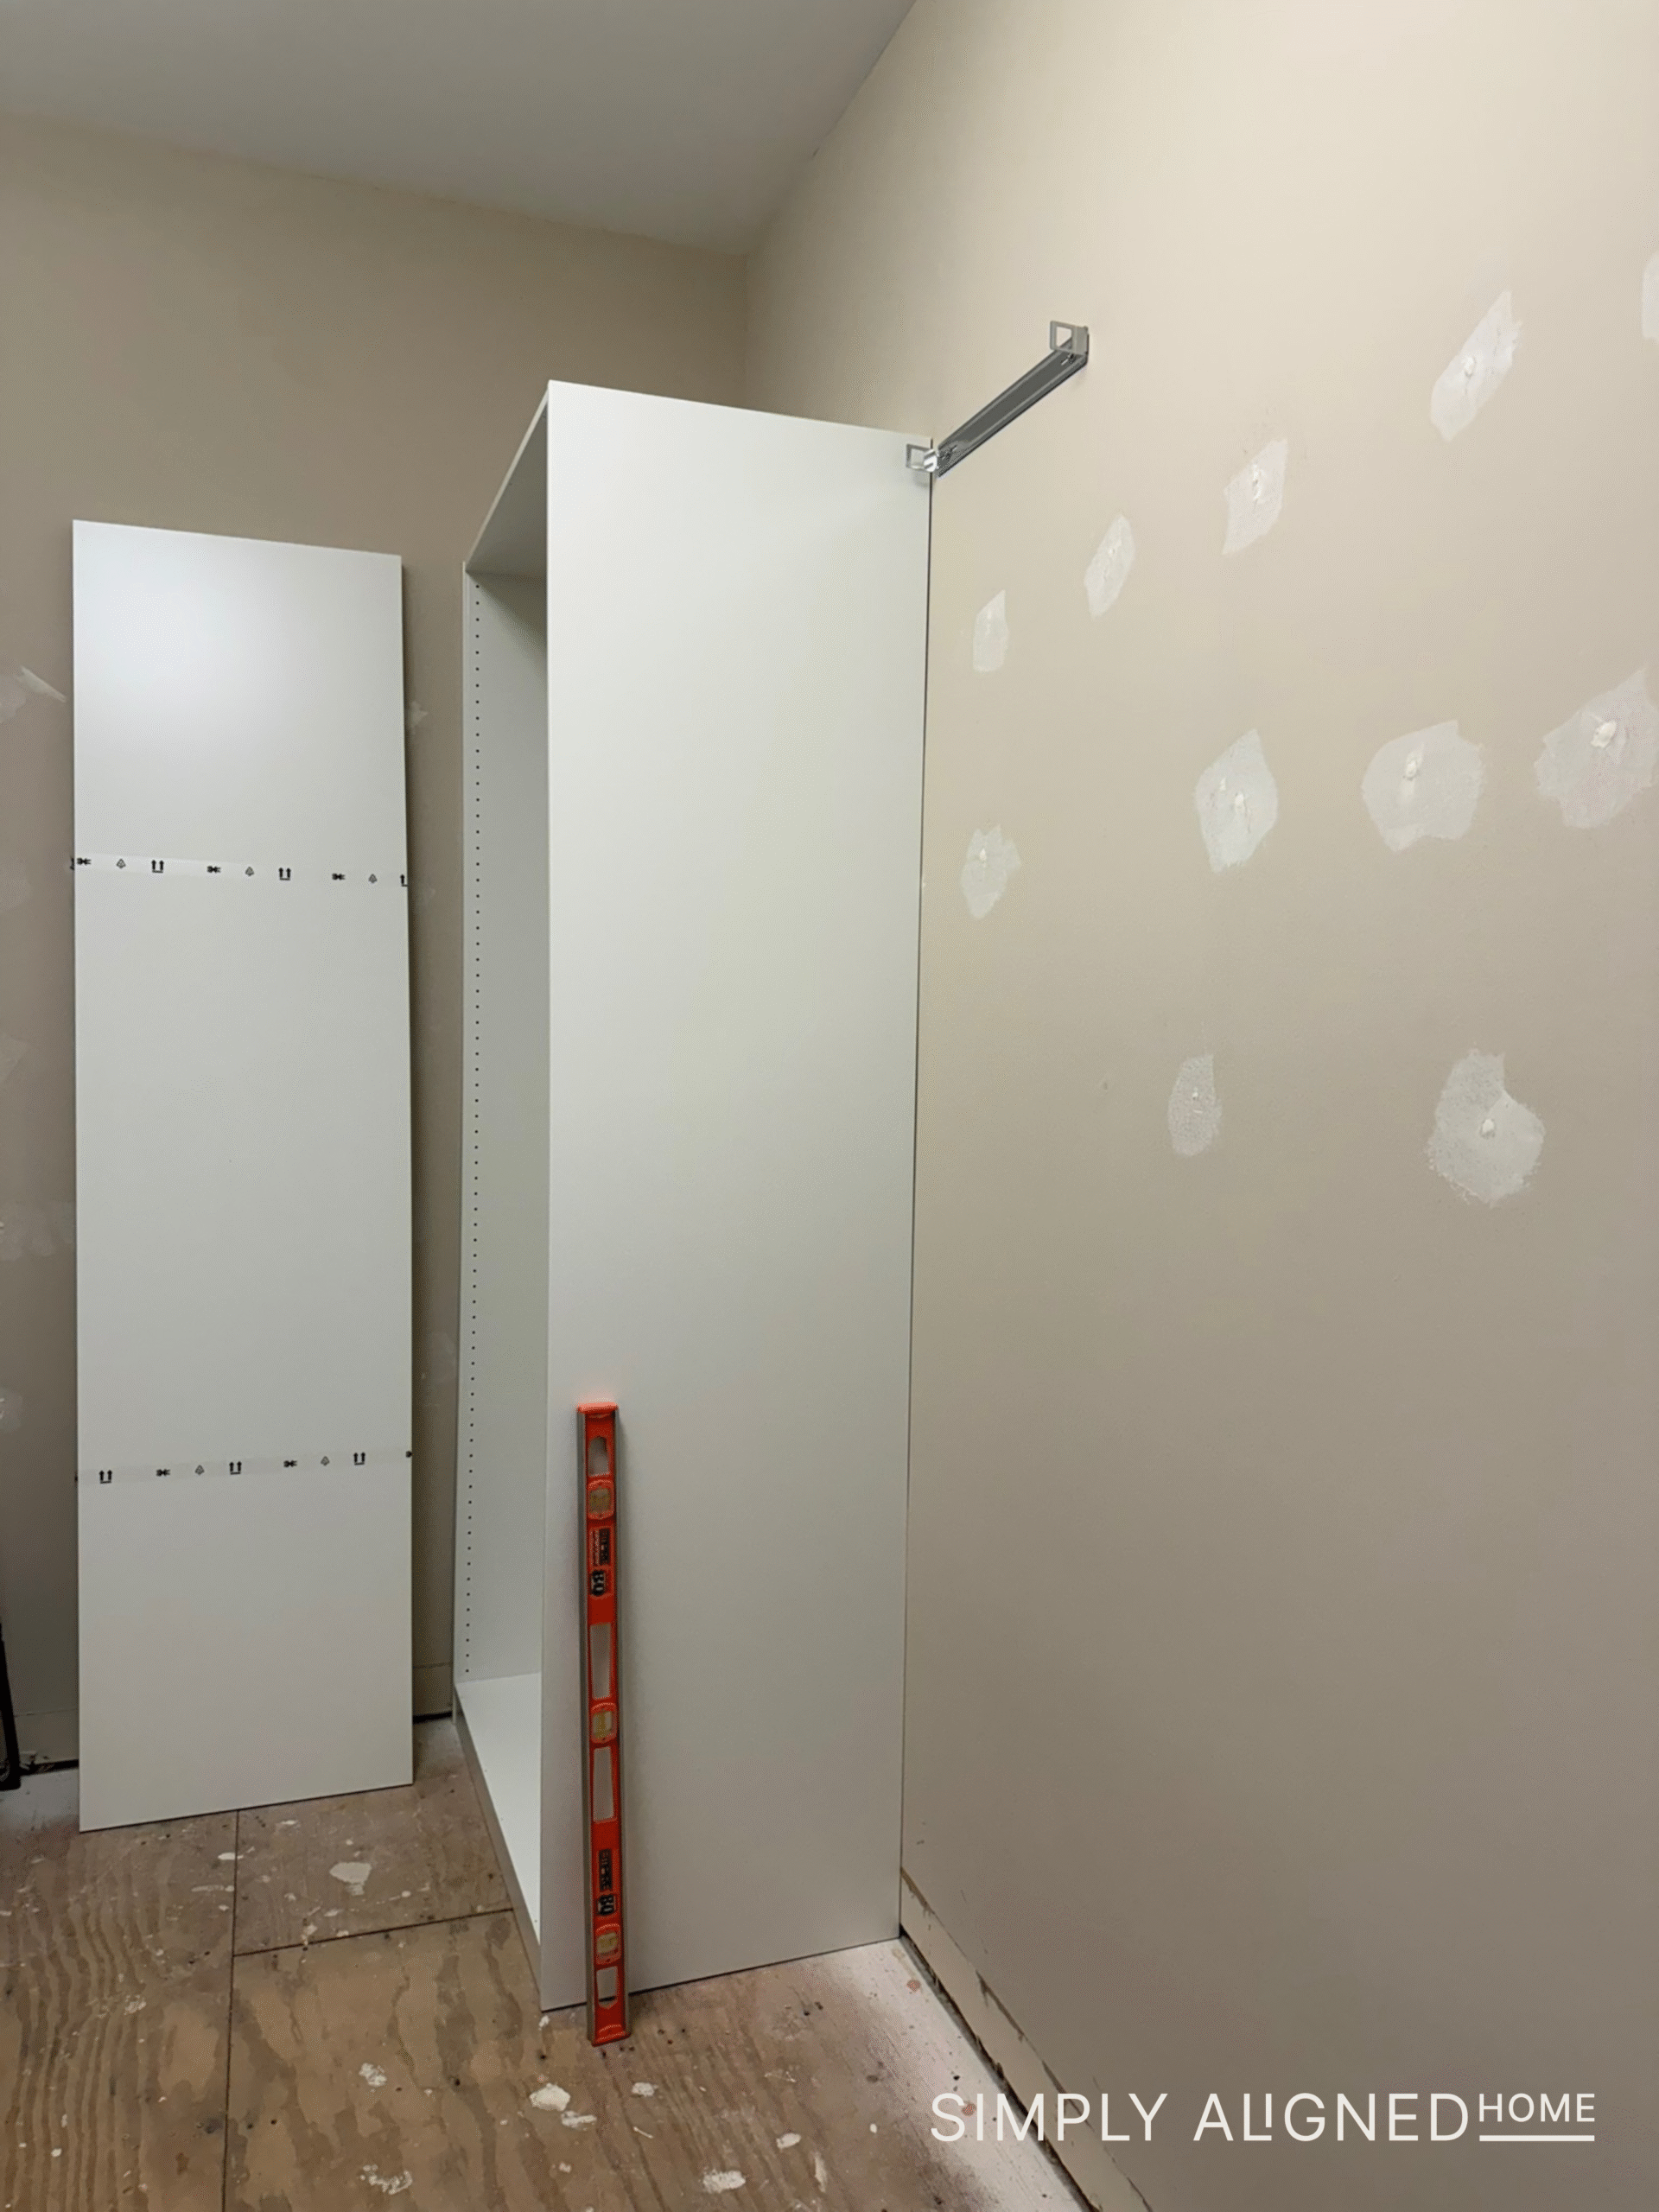
Building the Closet System
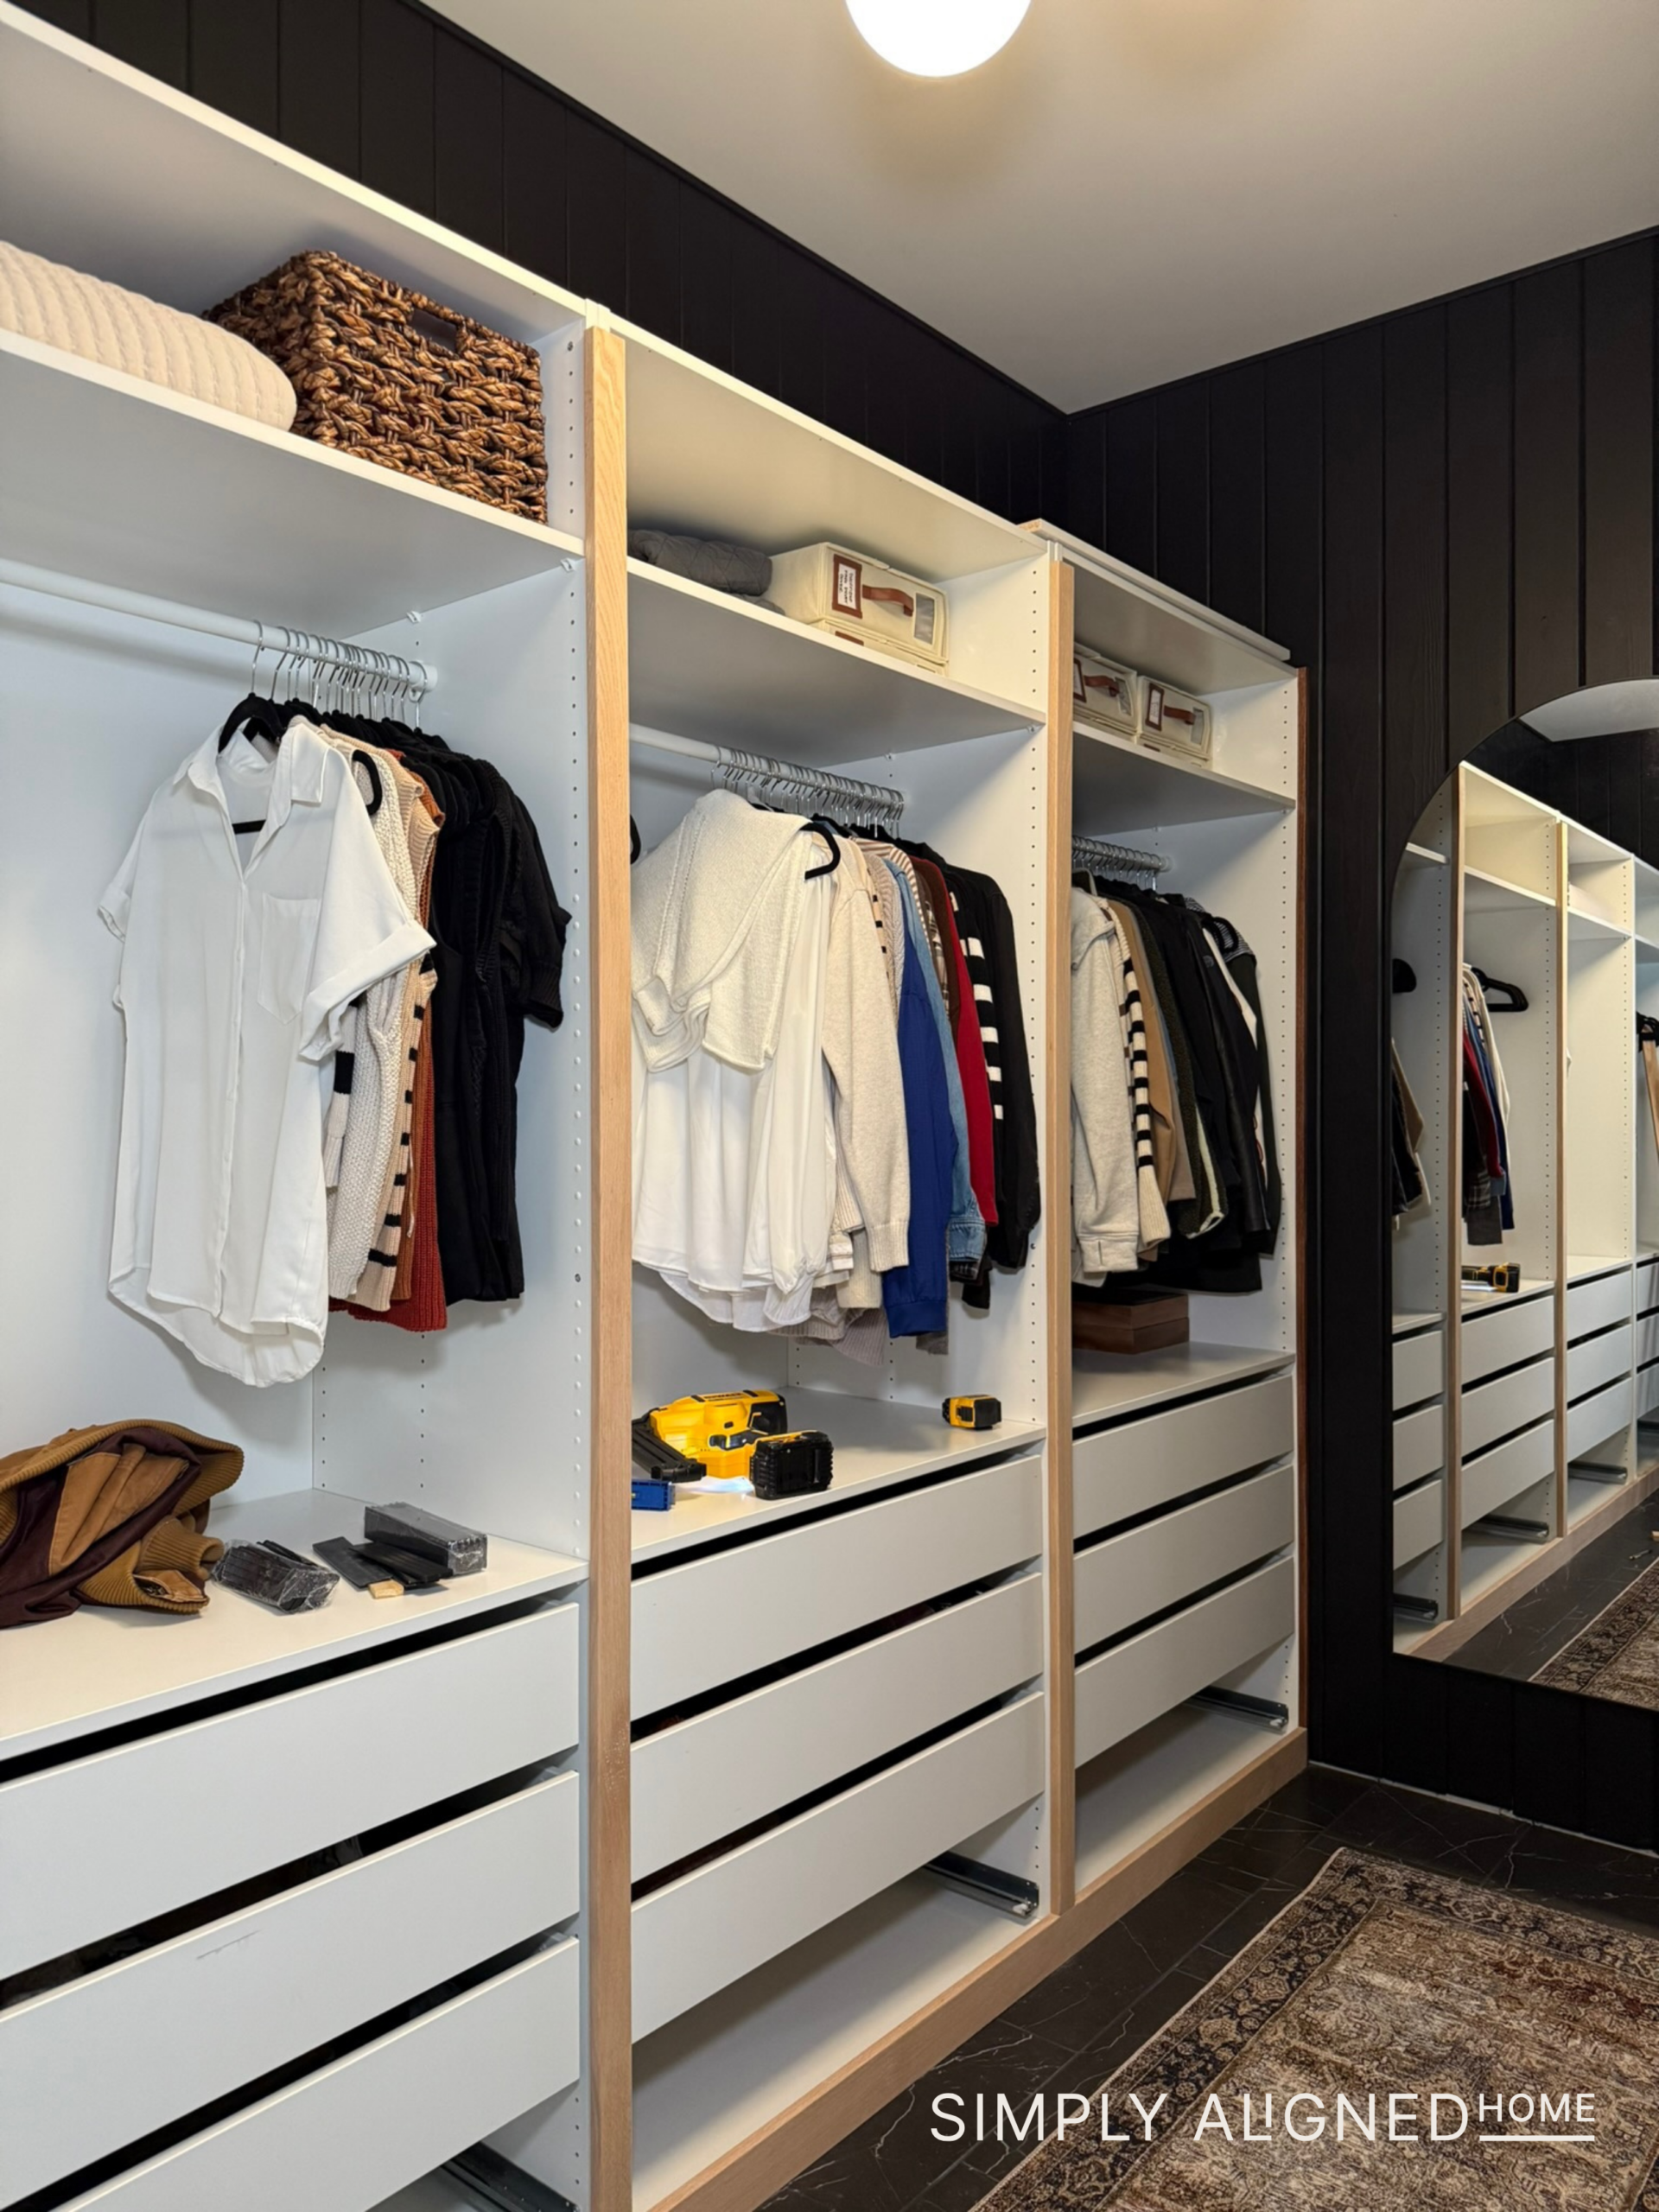
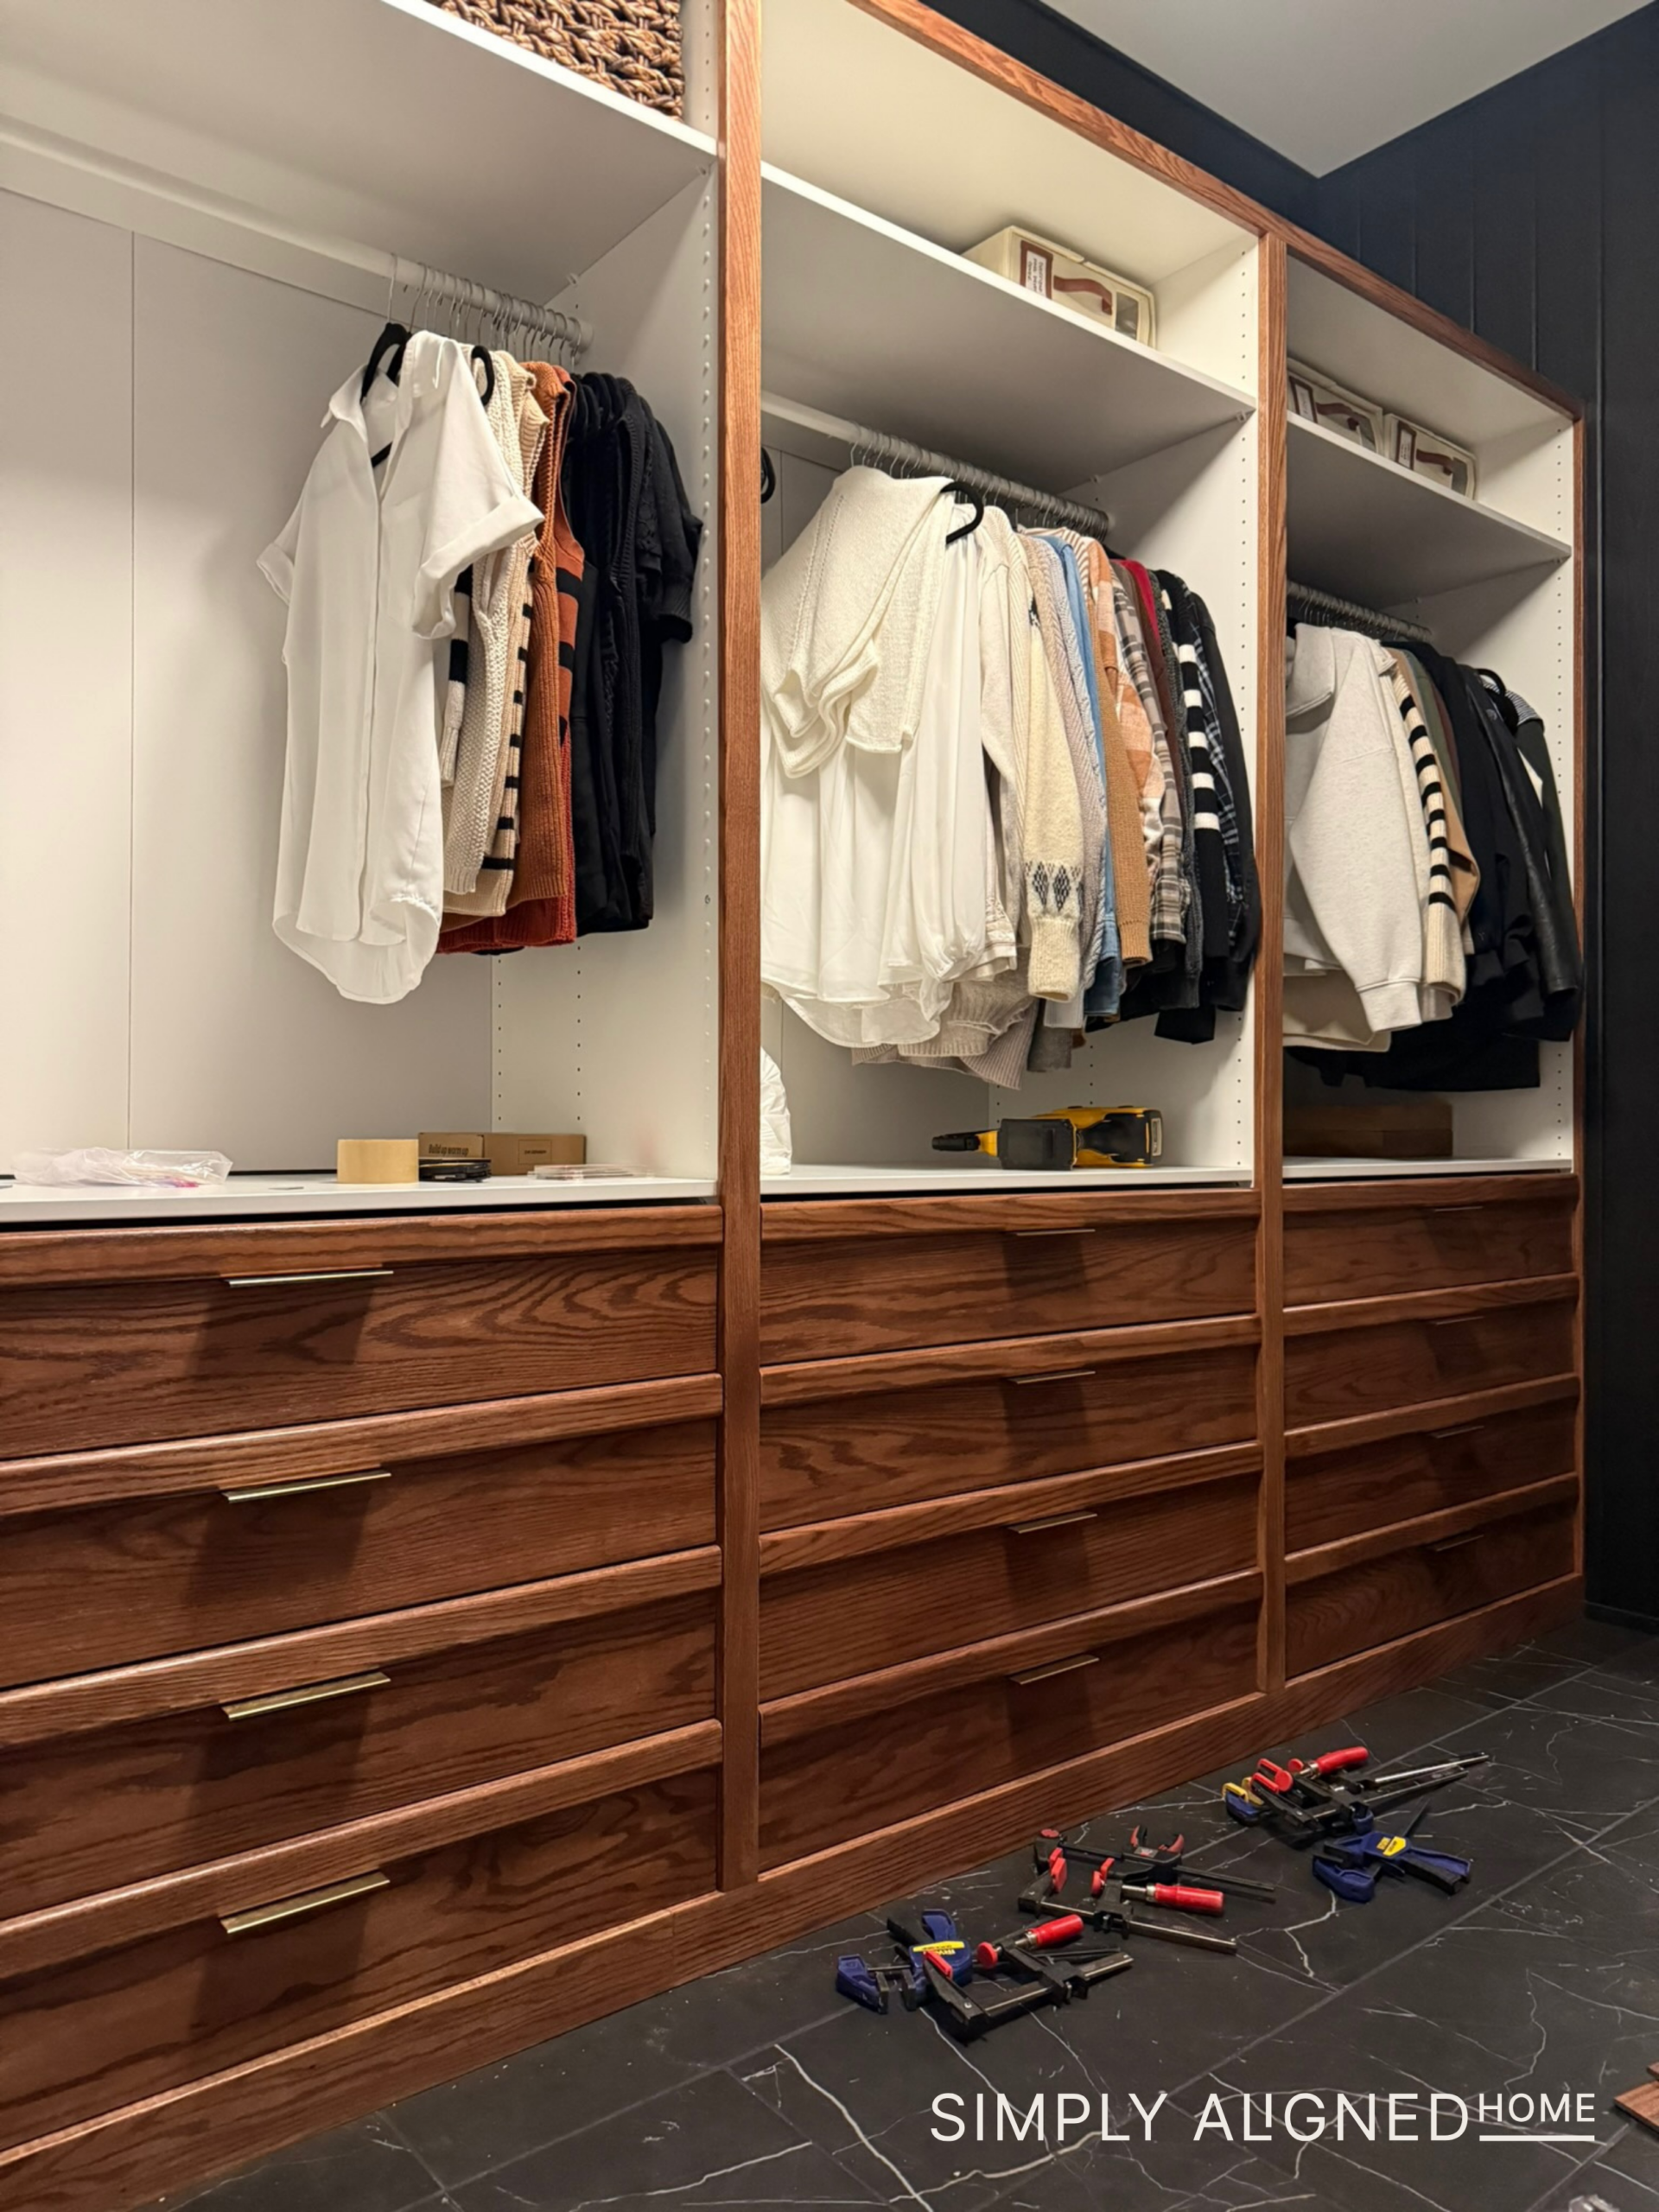
For storage, I chose to use the IKEA Pax System that I’ve used before and absolutely love. The flexibility of these units is hard to beat…you can mix and match drawers, shelves, hanging space, and accessories to create something that fits your exact needs. You can scroll through here to see all the pieces I used from the system.
I assembled and installed all of the Ikea Pax units myself, carefully lining everything up and adding plenty of drawers so every little thing has a place. And then…life happened.
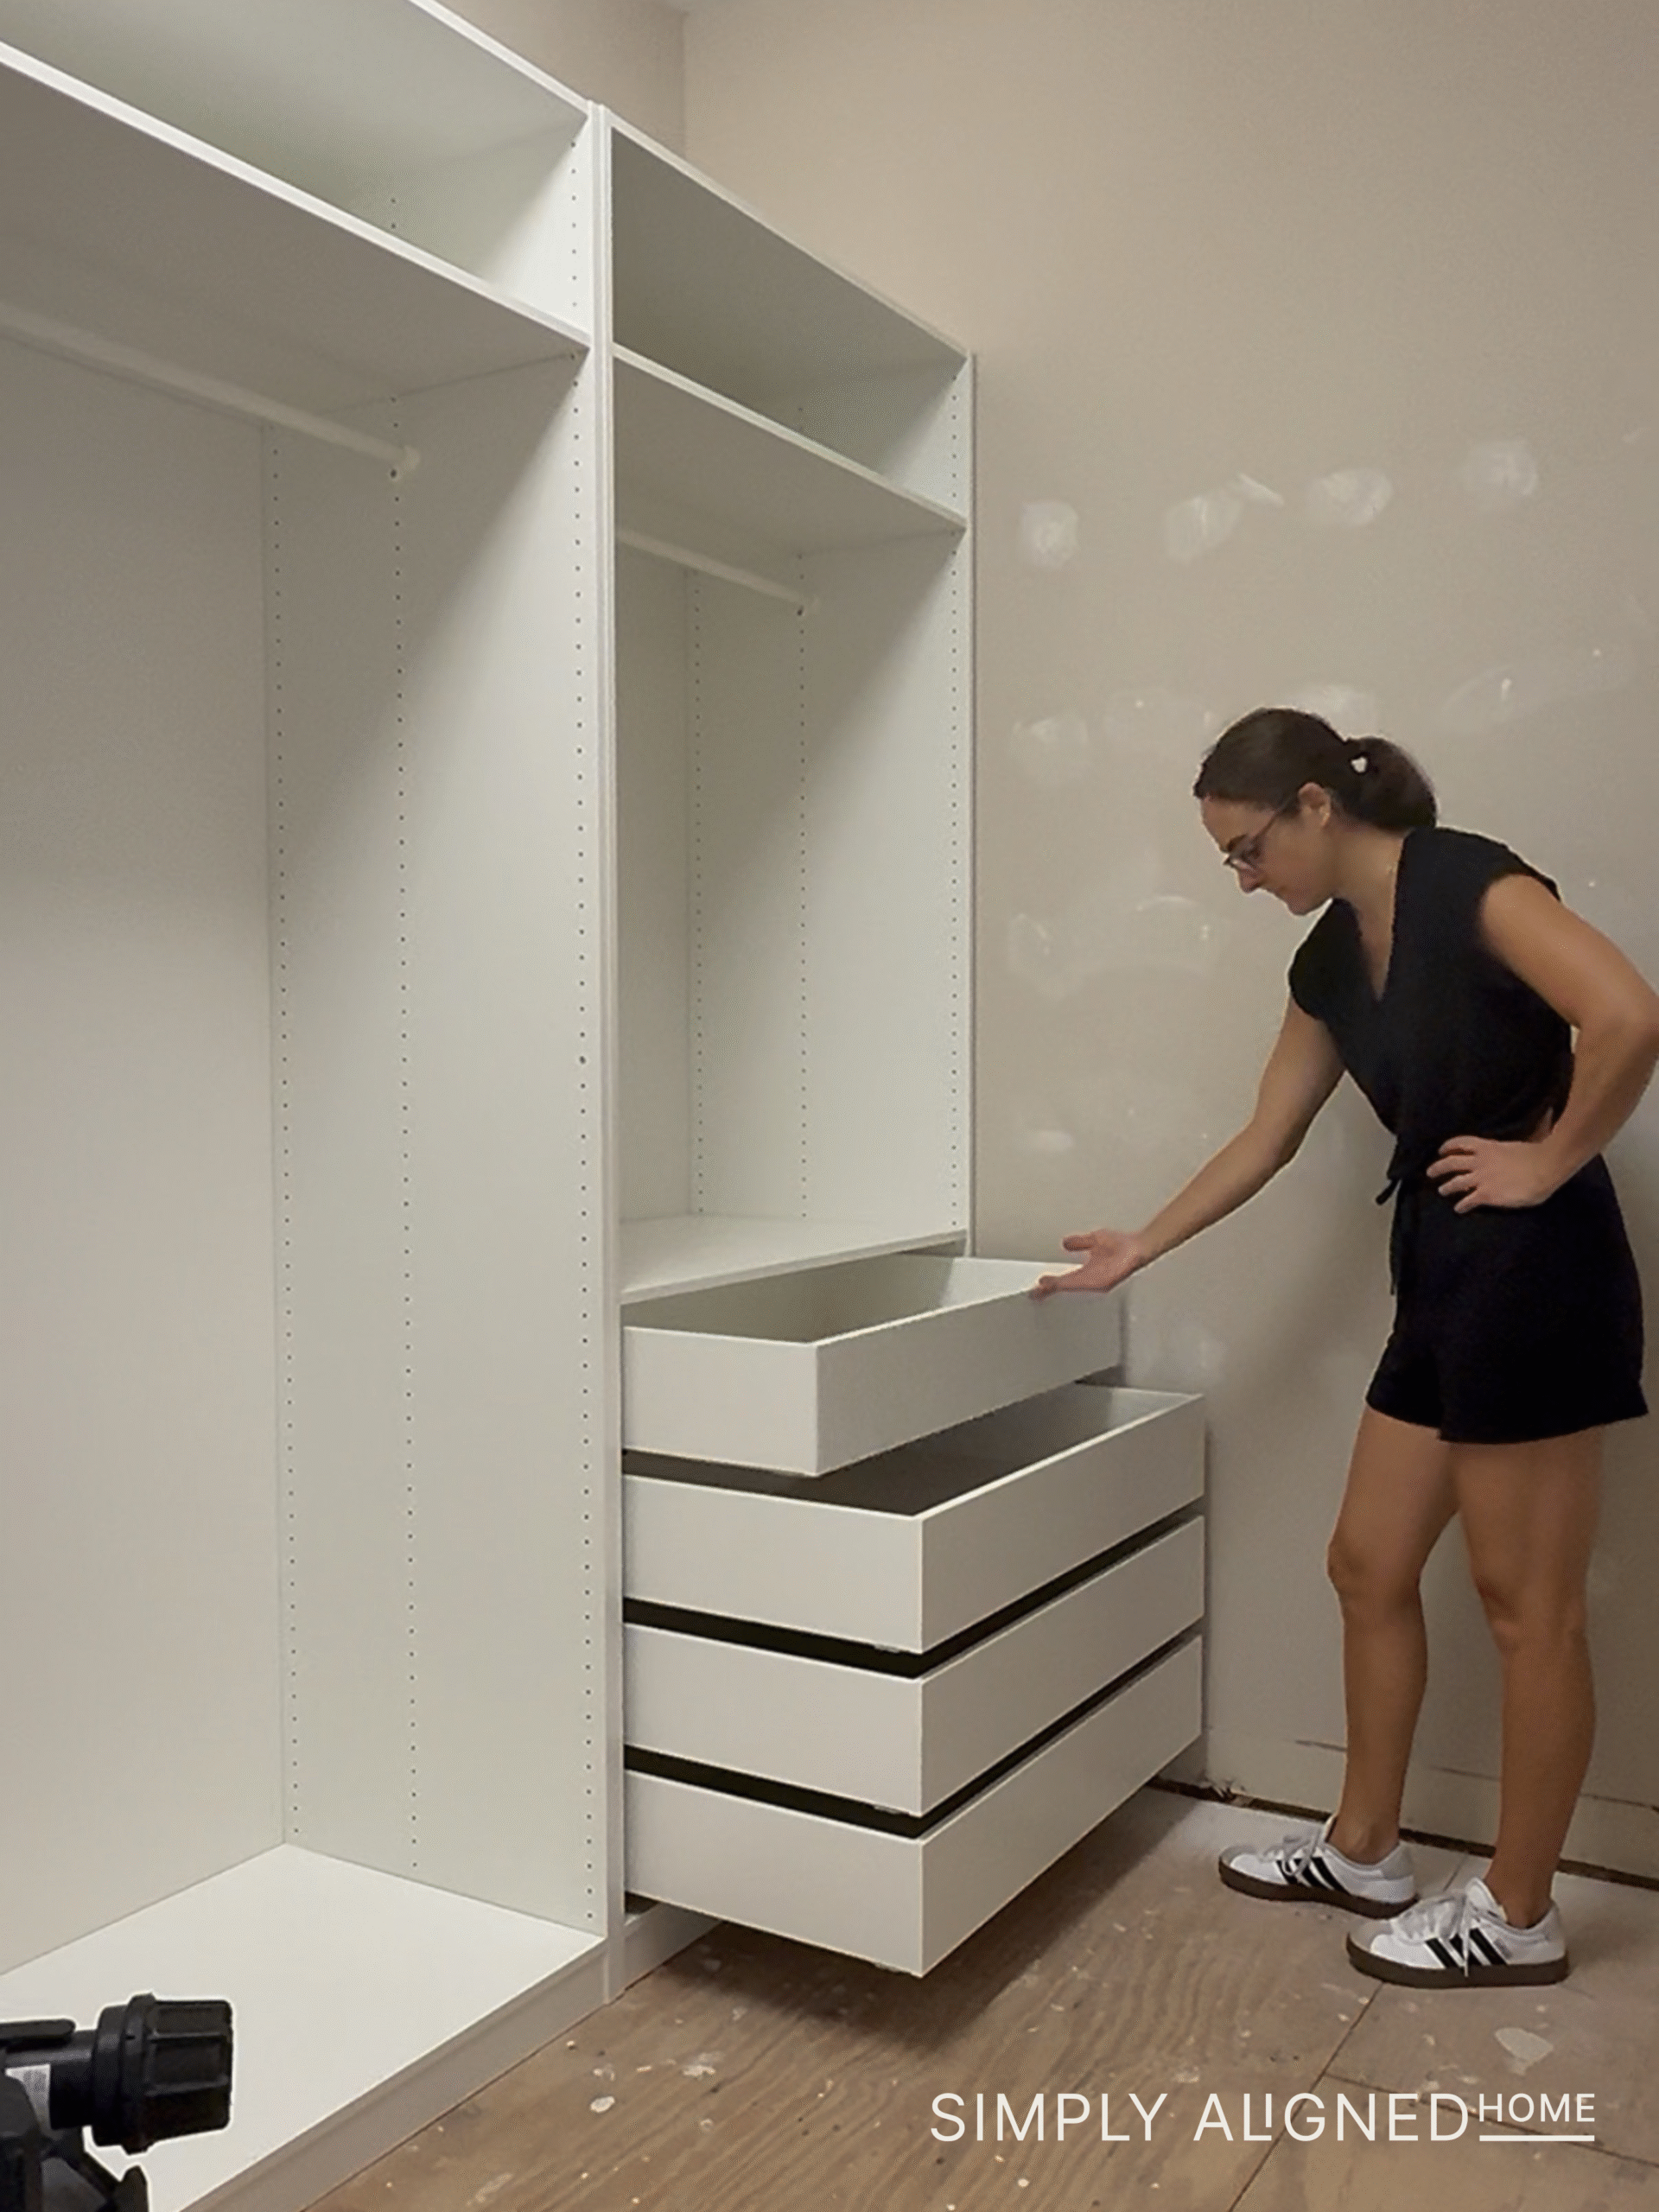
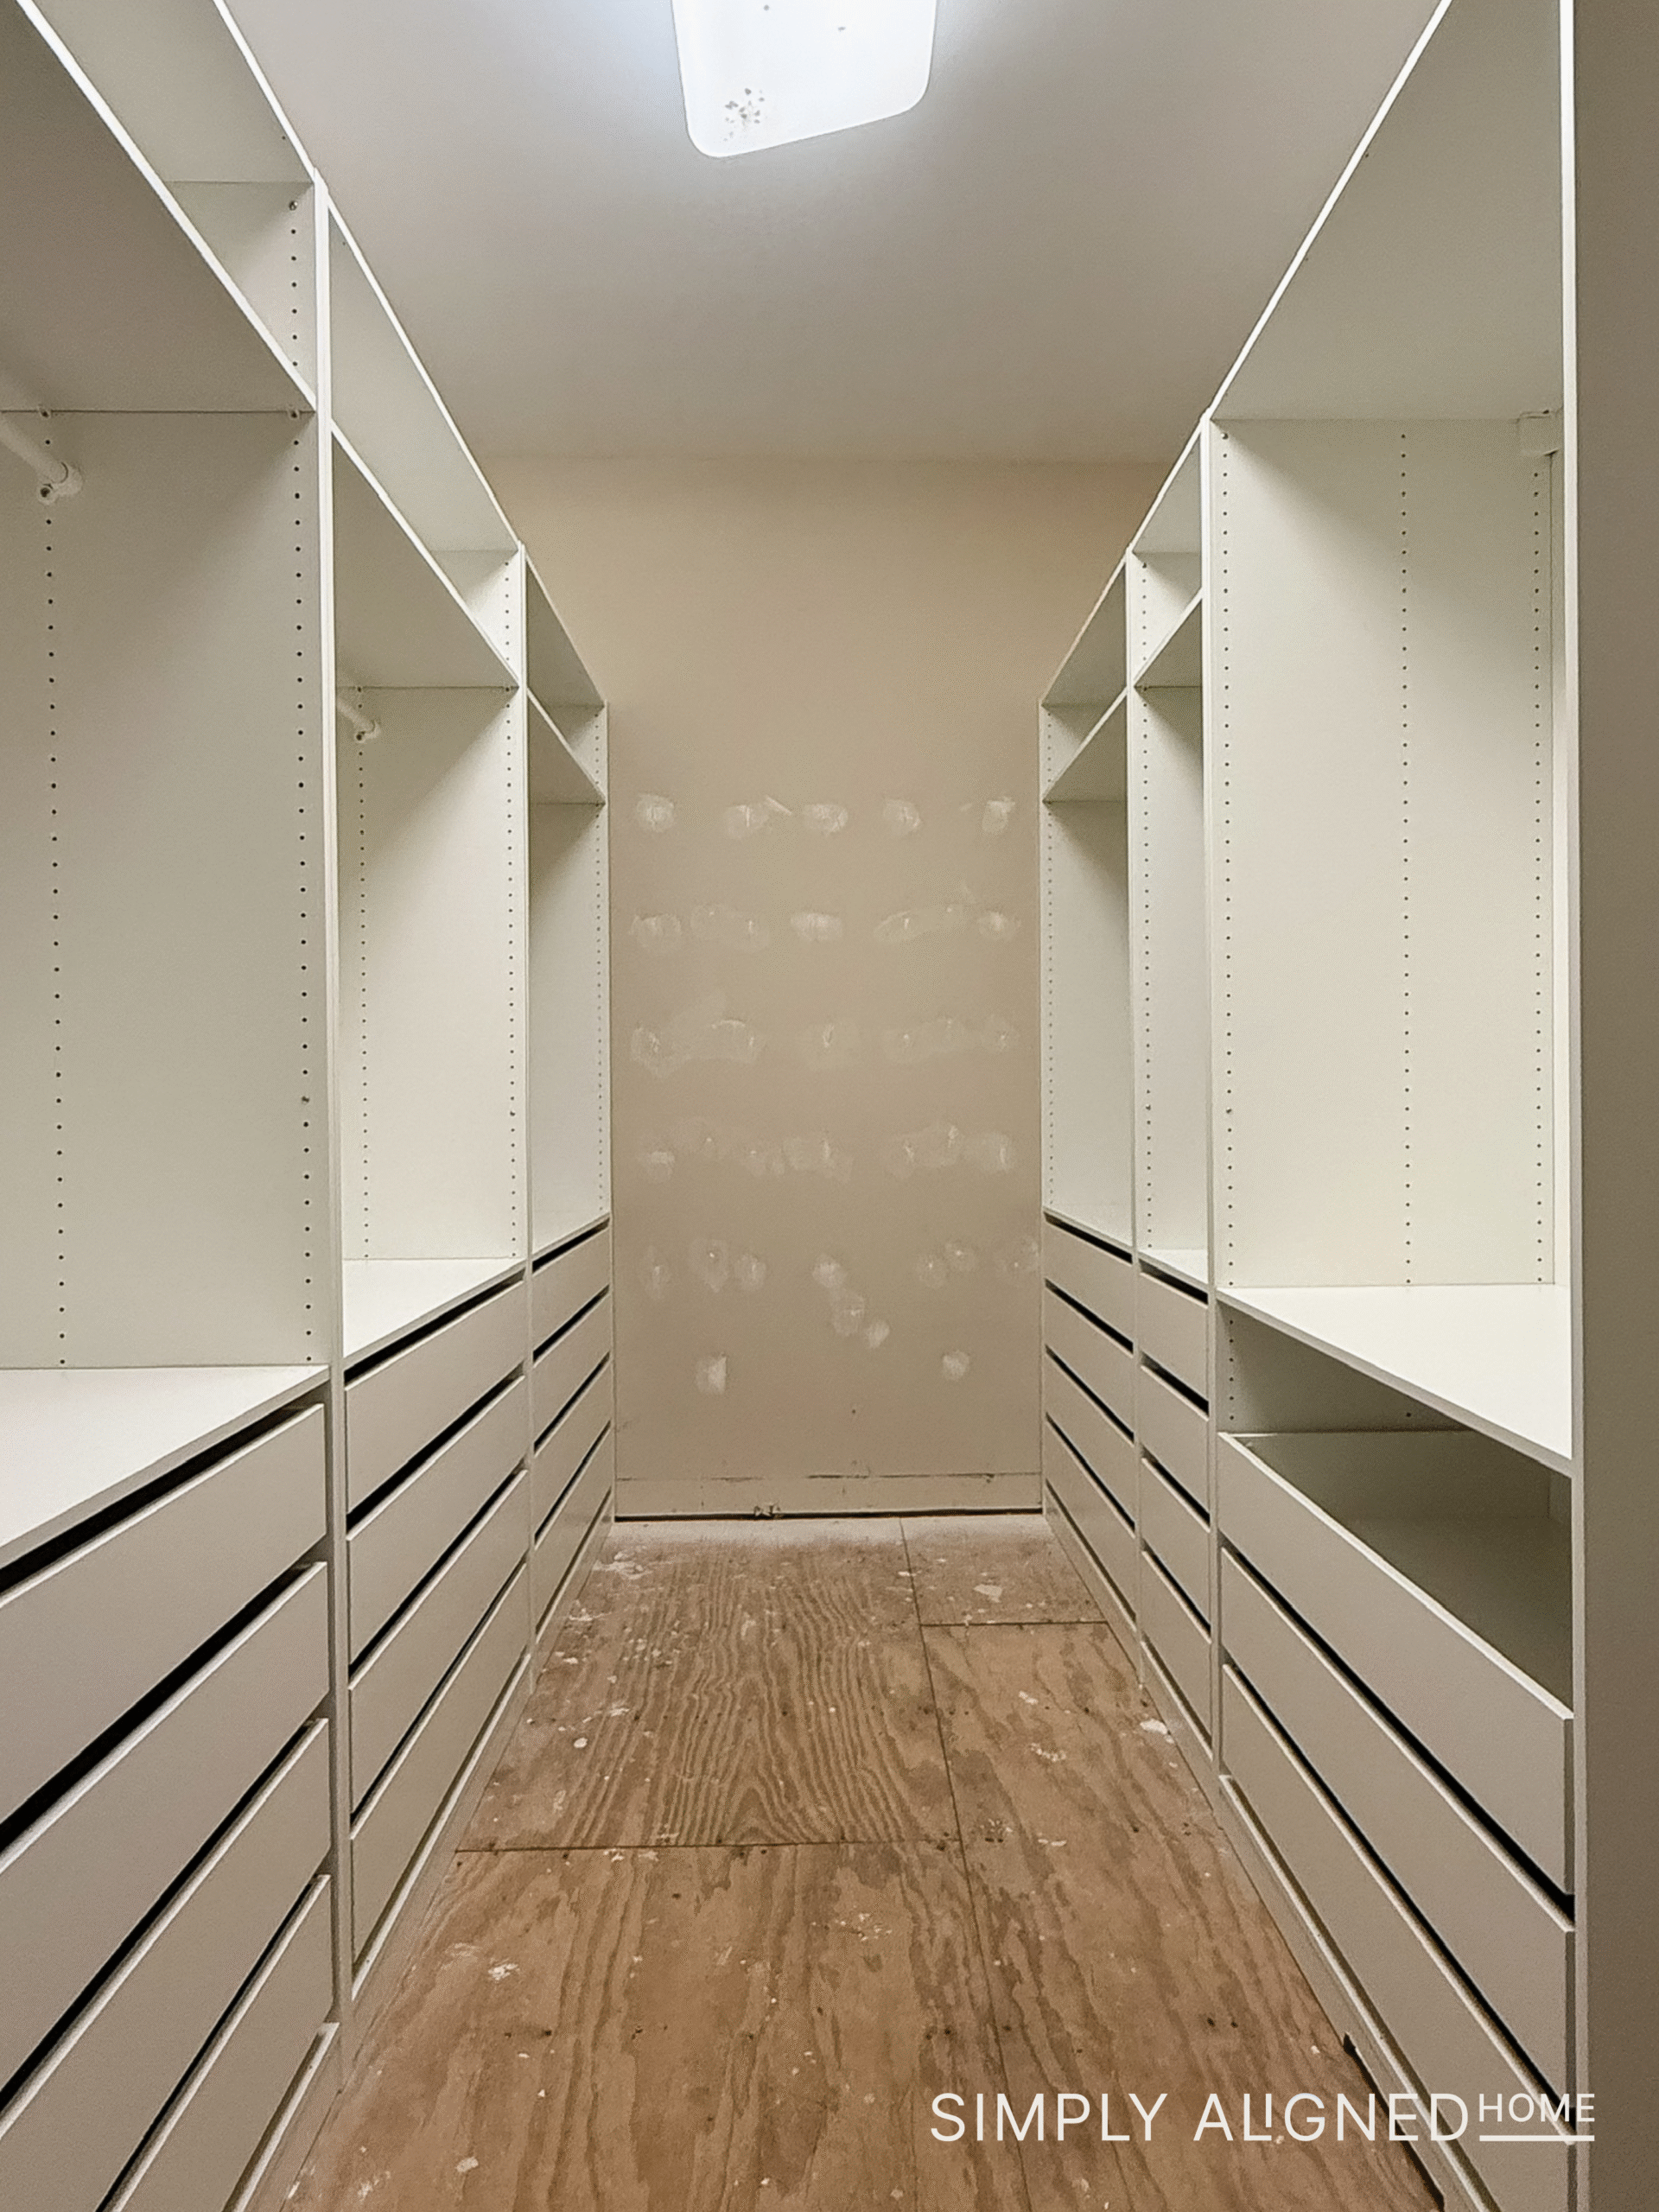
We ended up living with the unfinished closet, bare subfloor and all, for almost four months. Not glamorous, but sometimes that’s just part of a big DIY renovations.
Why Tile Was the Right Choice
When it was finally time to move on to flooring, I knew I wanted tile in this space. You can’t lay tile directly over a plywood subfloor because wood naturally expands and contracts, which can eventually crack the tile. So the first step was installing a cement backer board to create a stable, moisture-resistant base.
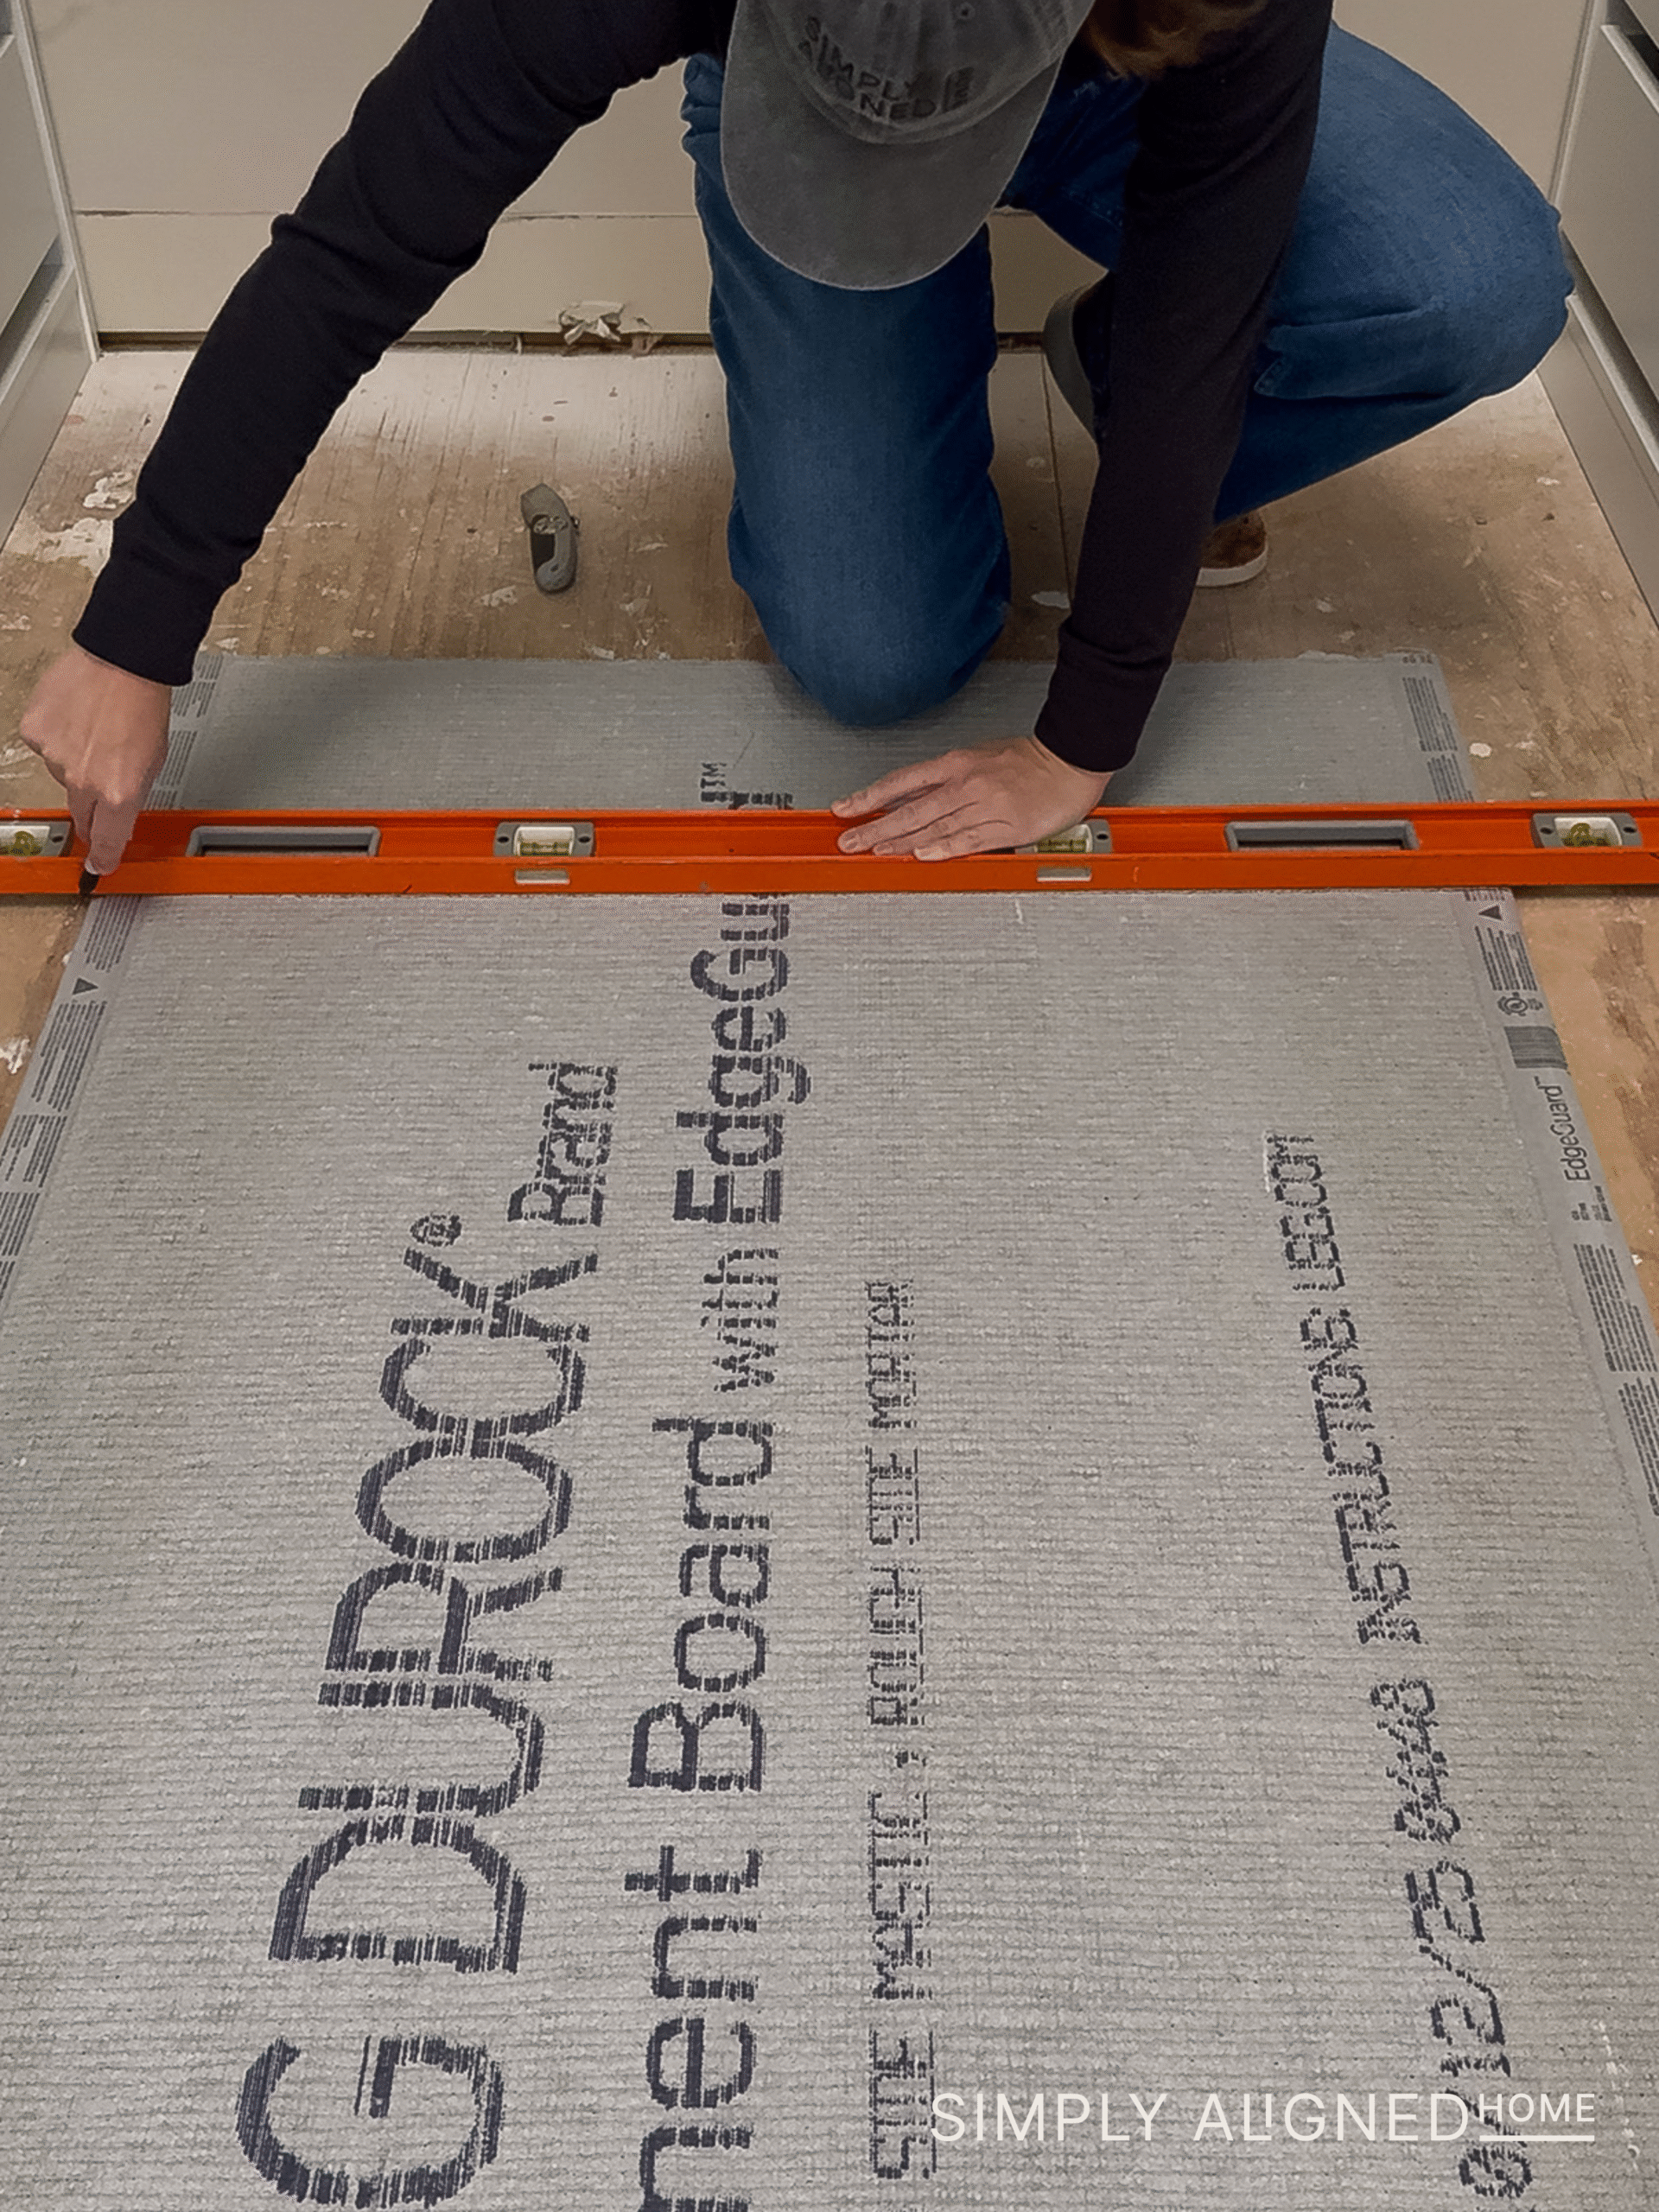
I started by dry-fitting all of the panels so I could make sure everything lined up before securing them. Once the cuts were done, I mixed up mortar and spread it evenly over the subfloor. Each panel was pressed into place and secured with screws, then all of the seams were taped and filled to create a smooth, solid surface.
That extra layer might not be the most exciting part of a renovation, but it’s what makes everything else last.
Laying the Tile
With the prep work done, it was finally time for tile.
This time around, I dry-fit all of the tiles first before mixing any mortar. It helped me visualize the layout and made the actual install go more smoothly. I also used leveling spacers while setting each tile…they’re such a game-changer for keeping everything aligned and flush so you don’t end up with uneven edges.
One of the biggest reasons I chose tile for this closet is because we have dogs, and I eventually want to eliminate as much carpet in our home as possible. Since this closet sits right off our primary bathroom, which already has tile, it also made sense to continue that flooring instead of introducing something new.
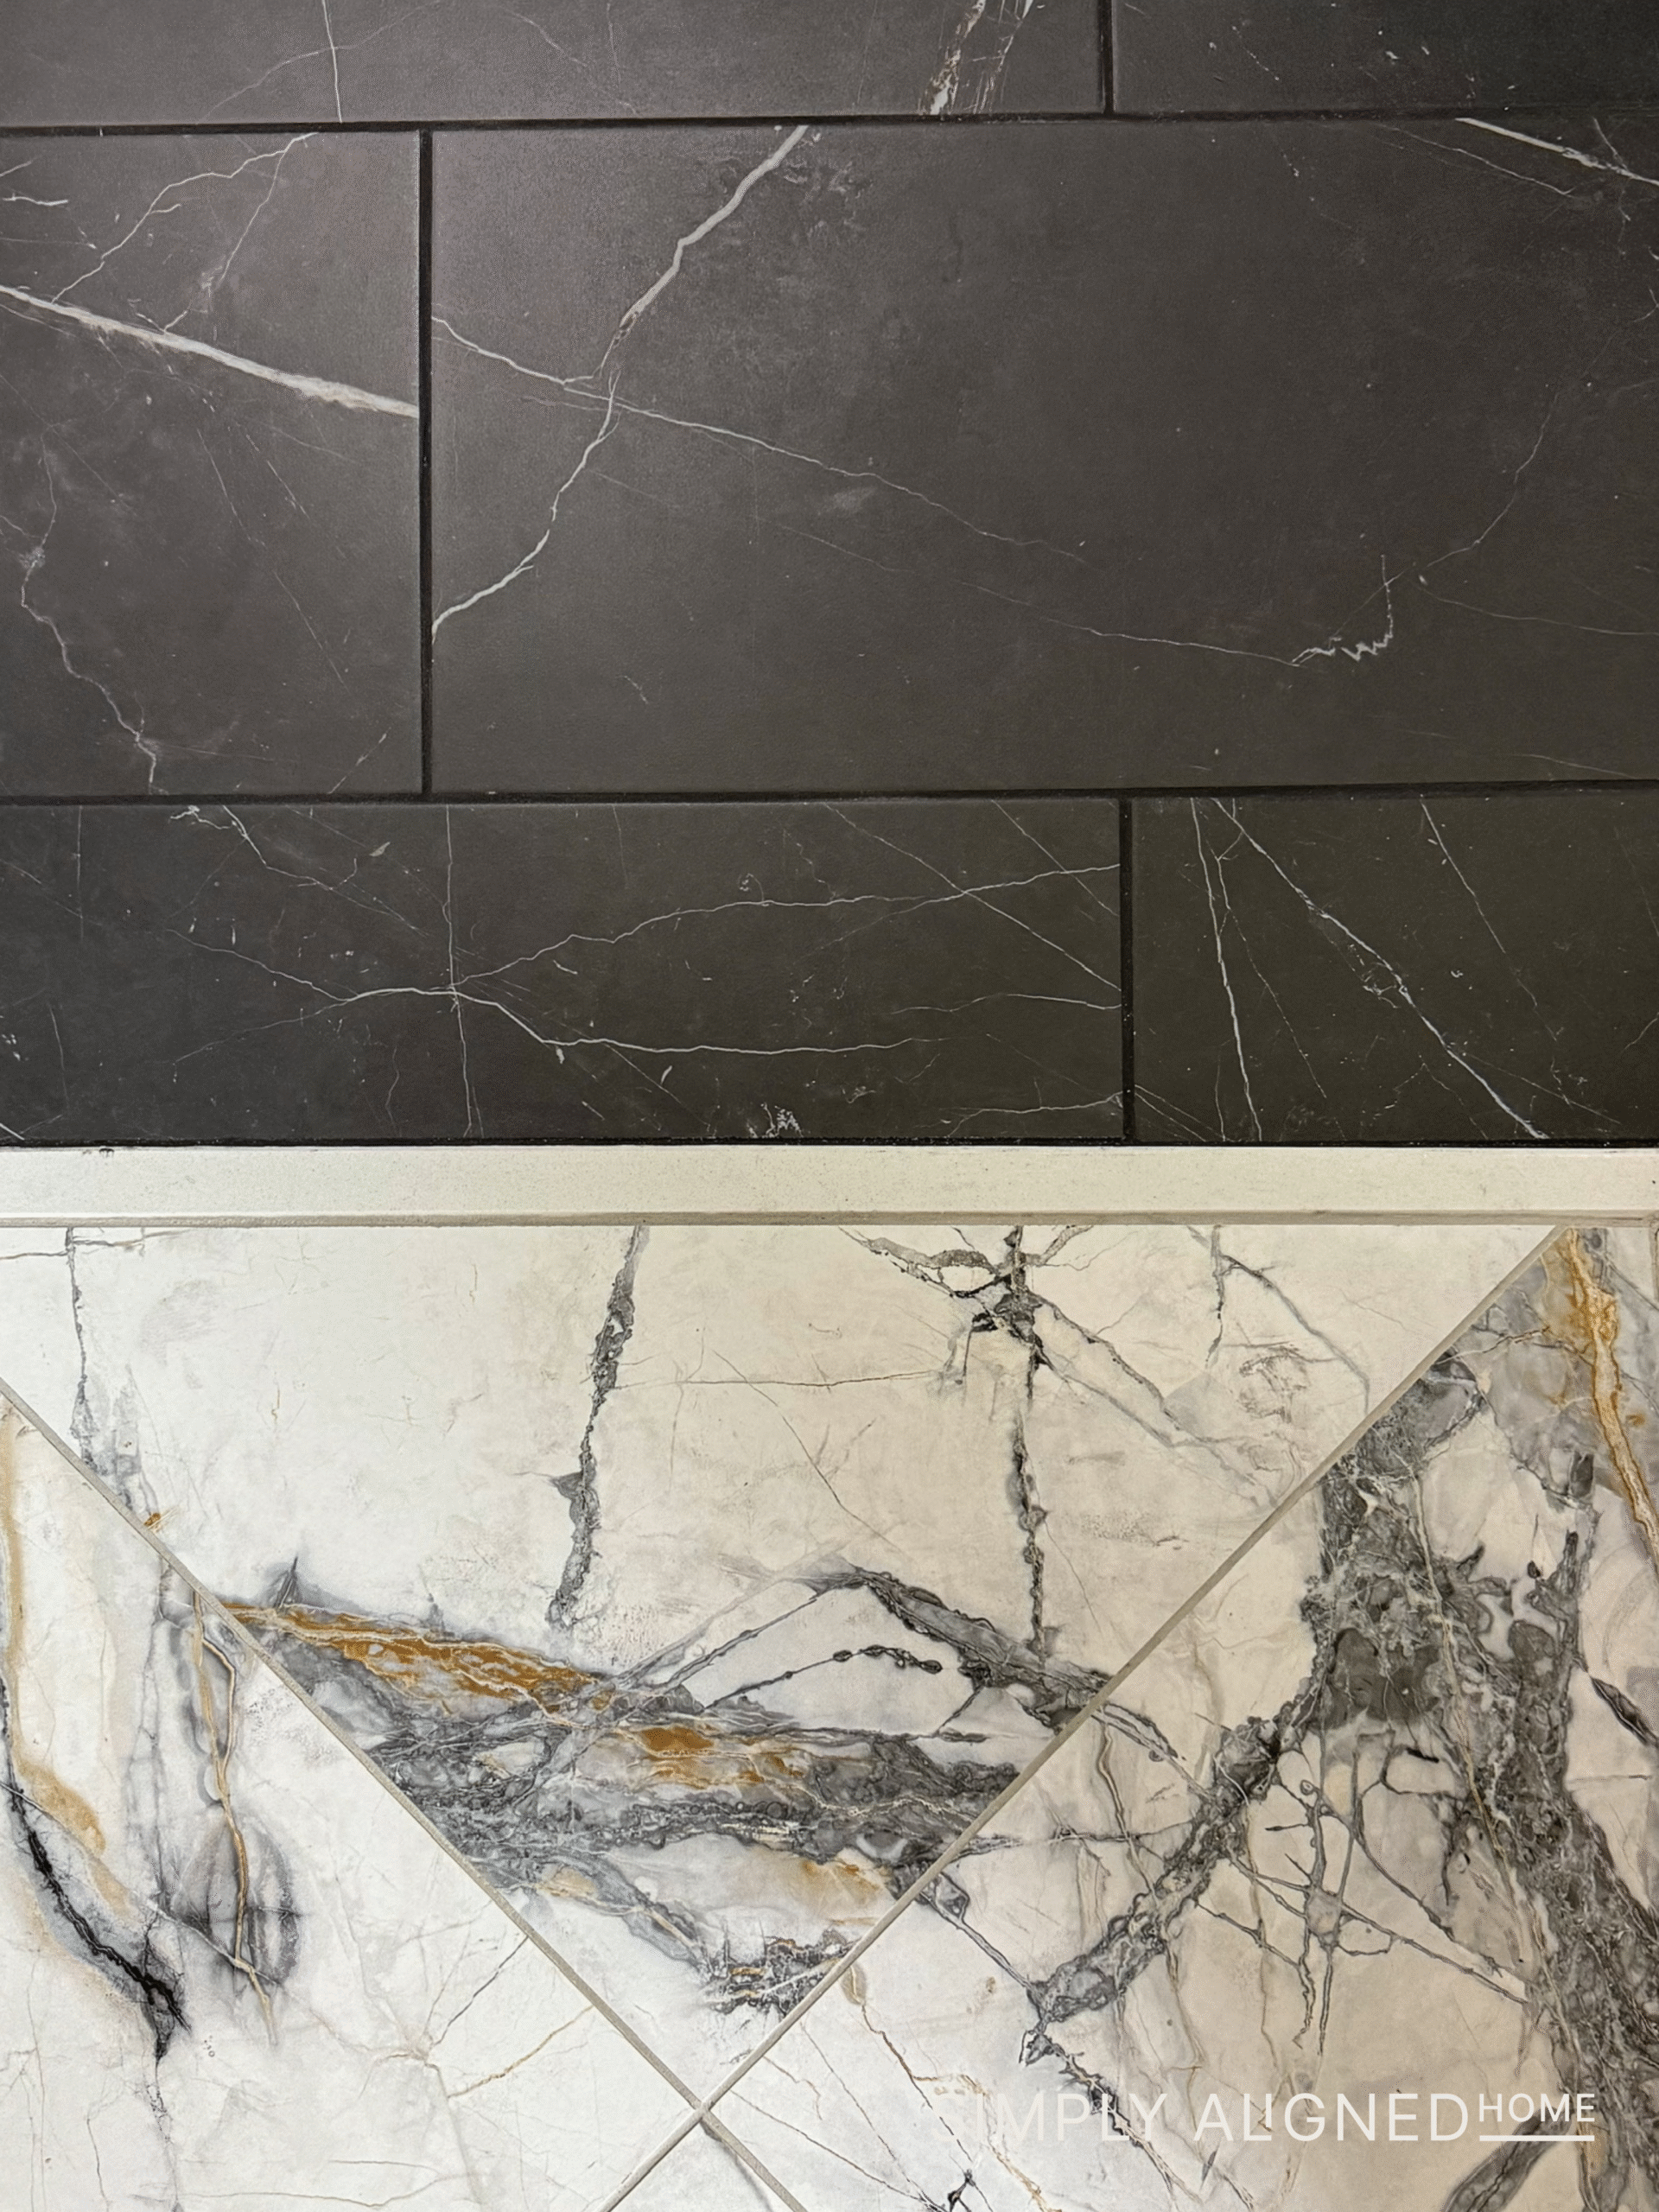
Setting tile is still hard work, even when you’re prepared. It’s physical, messy, and exhausting…but incredibly satisfying once you start to see the floor come together. I went with a charcoal-colored grout for a softer contrast, and once it was all cleaned up, the transformation was immediate.
Finishing the Floor + A Change of Plans
While I was tiling, I was also sampling stain for the tongue and groove pine boards I planned to use on the walls. I tried different variations to avoid that blotchy look pine is so known for. If you’ve ever stained pine, you know it’s not forgiving.
After too many test swatches, I finally admitted defeat. Pine can be horrible to stain evenly, so instead of fighting it, I pivoted. I grabbed a black paint I already had on hand and rolled it onto all of the boards.

Once the boards were dry, I started installing them with my brad nailer. When installing tongue and groove, I angle the nails into the groove so they’re hidden once the next board locks in. That way the fasteners are invisible, but everything is still securely attached to the wall.
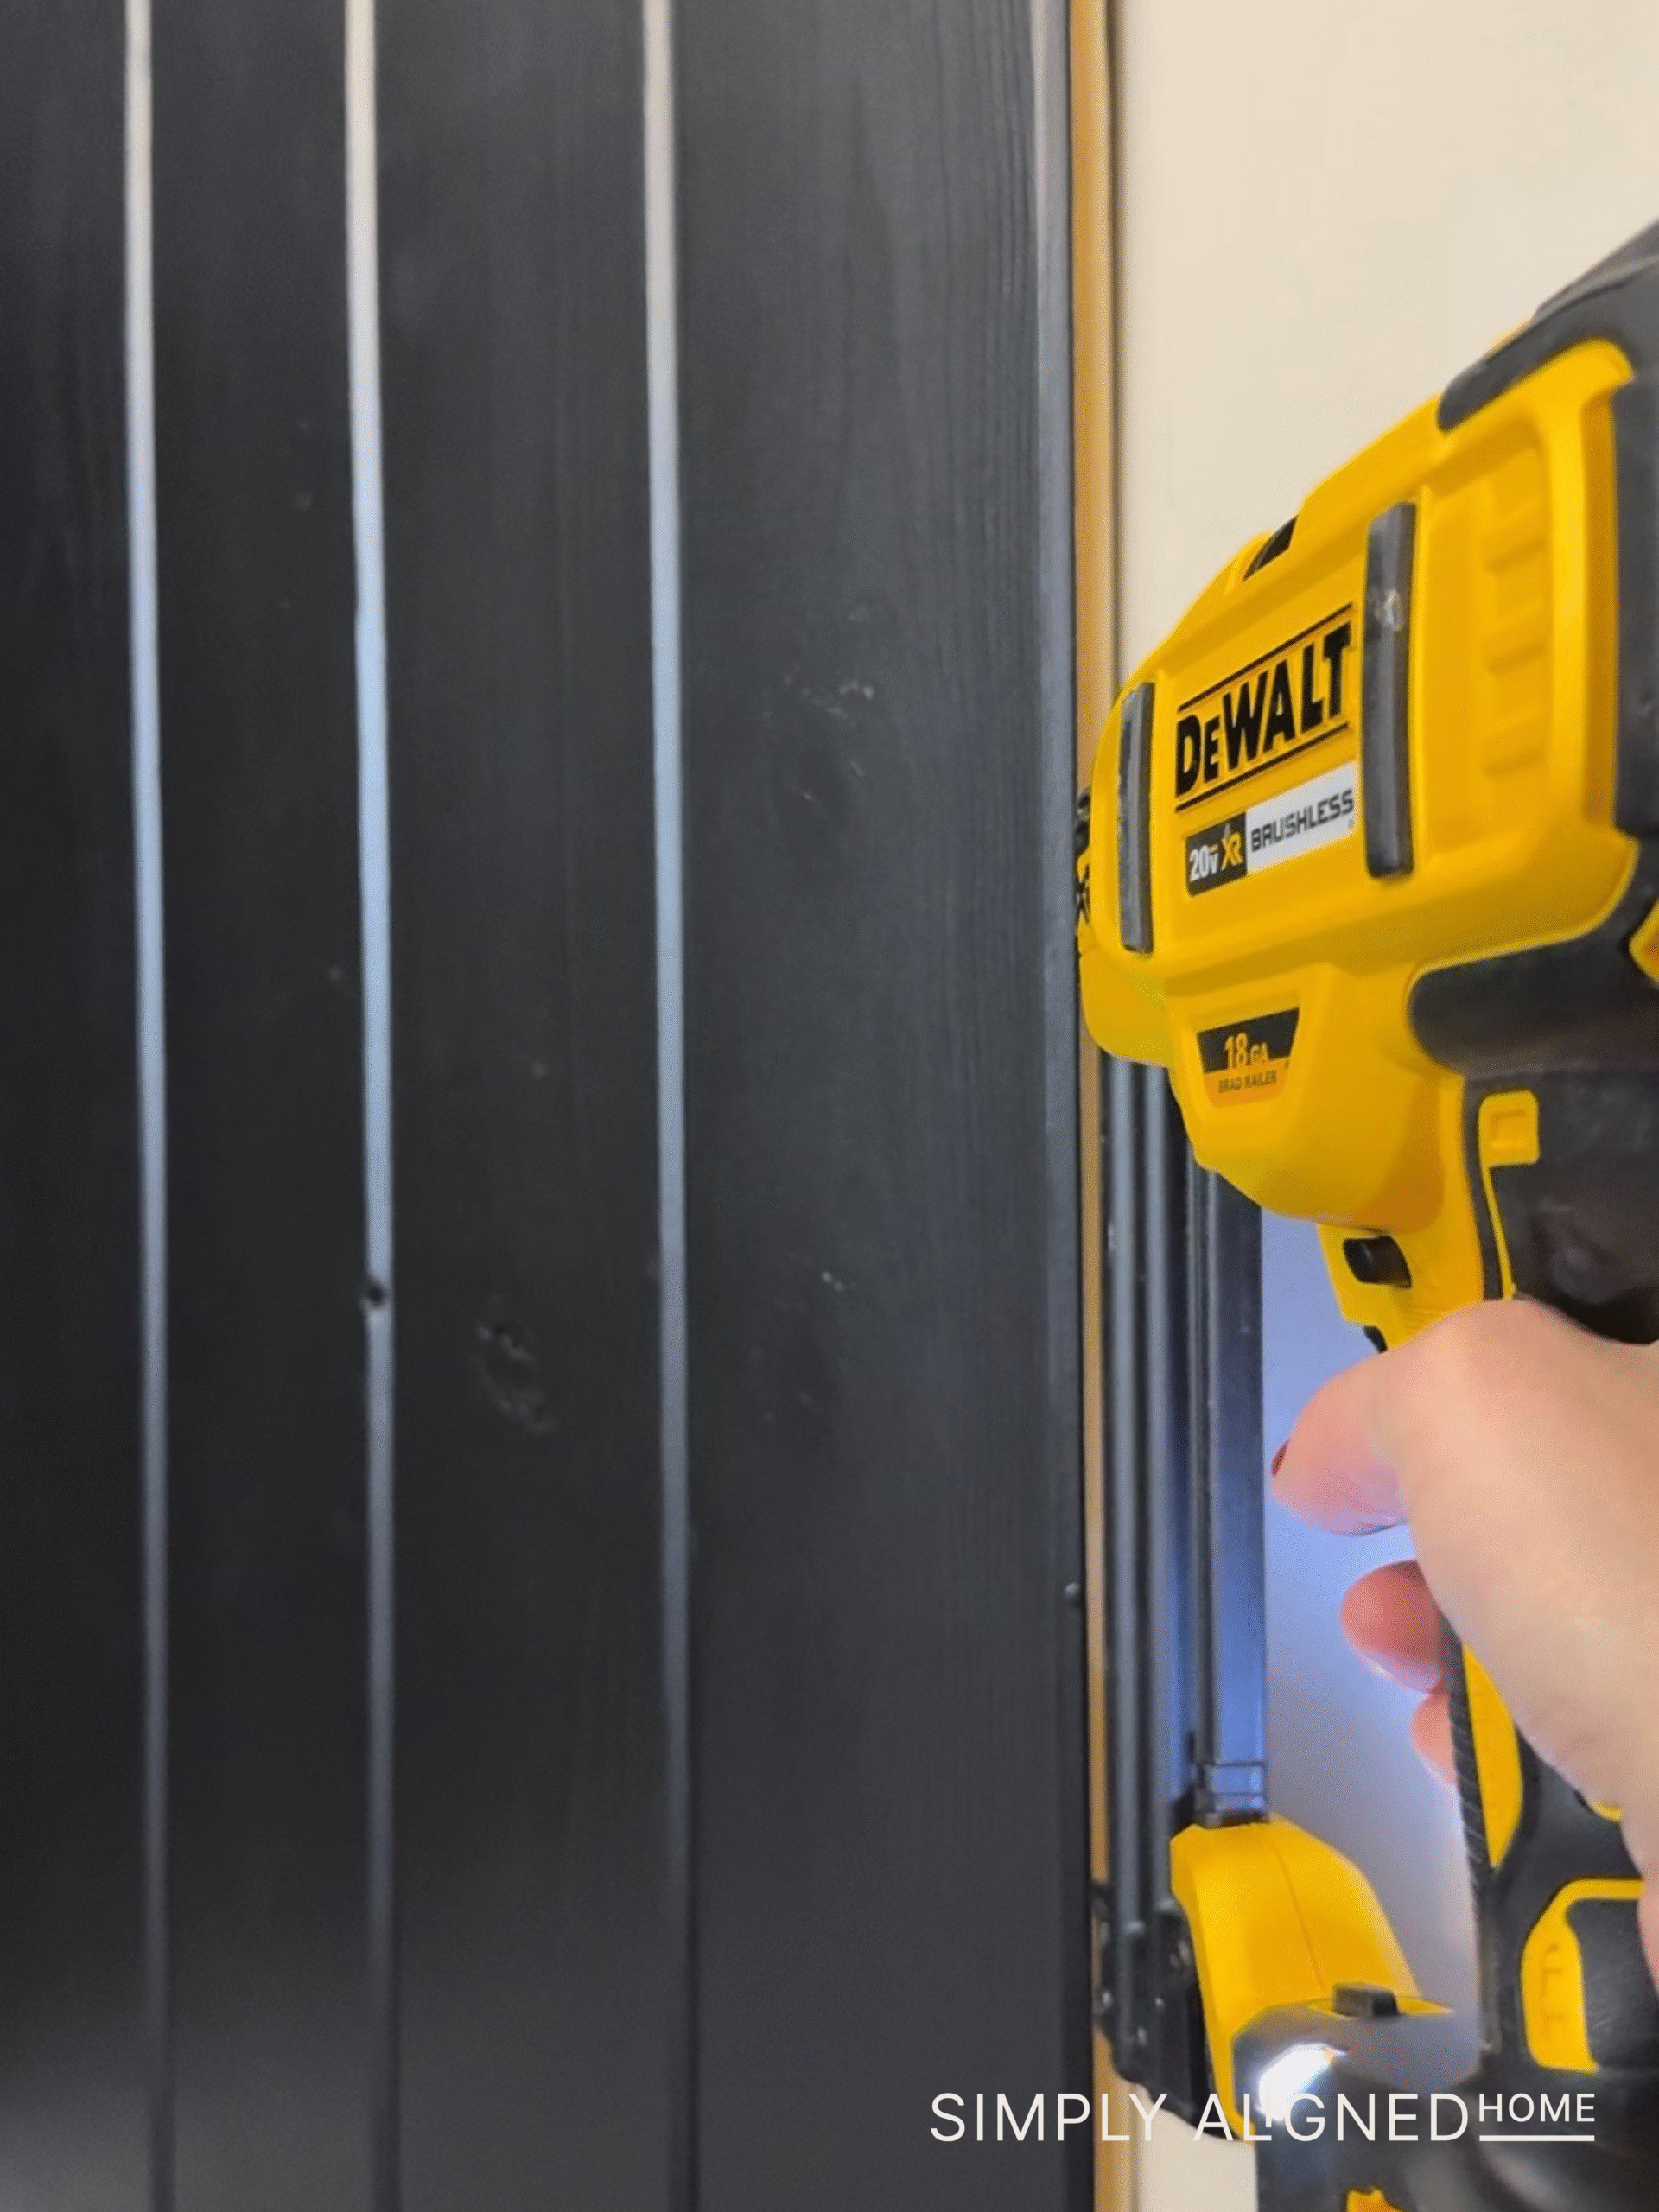
One lesson I learned the hard way? Paint the tongues before installing. I ended up having to go back and paint all the seams by hand where raw wood was peeking through. From now on, I’ll always pre-paint those edges.
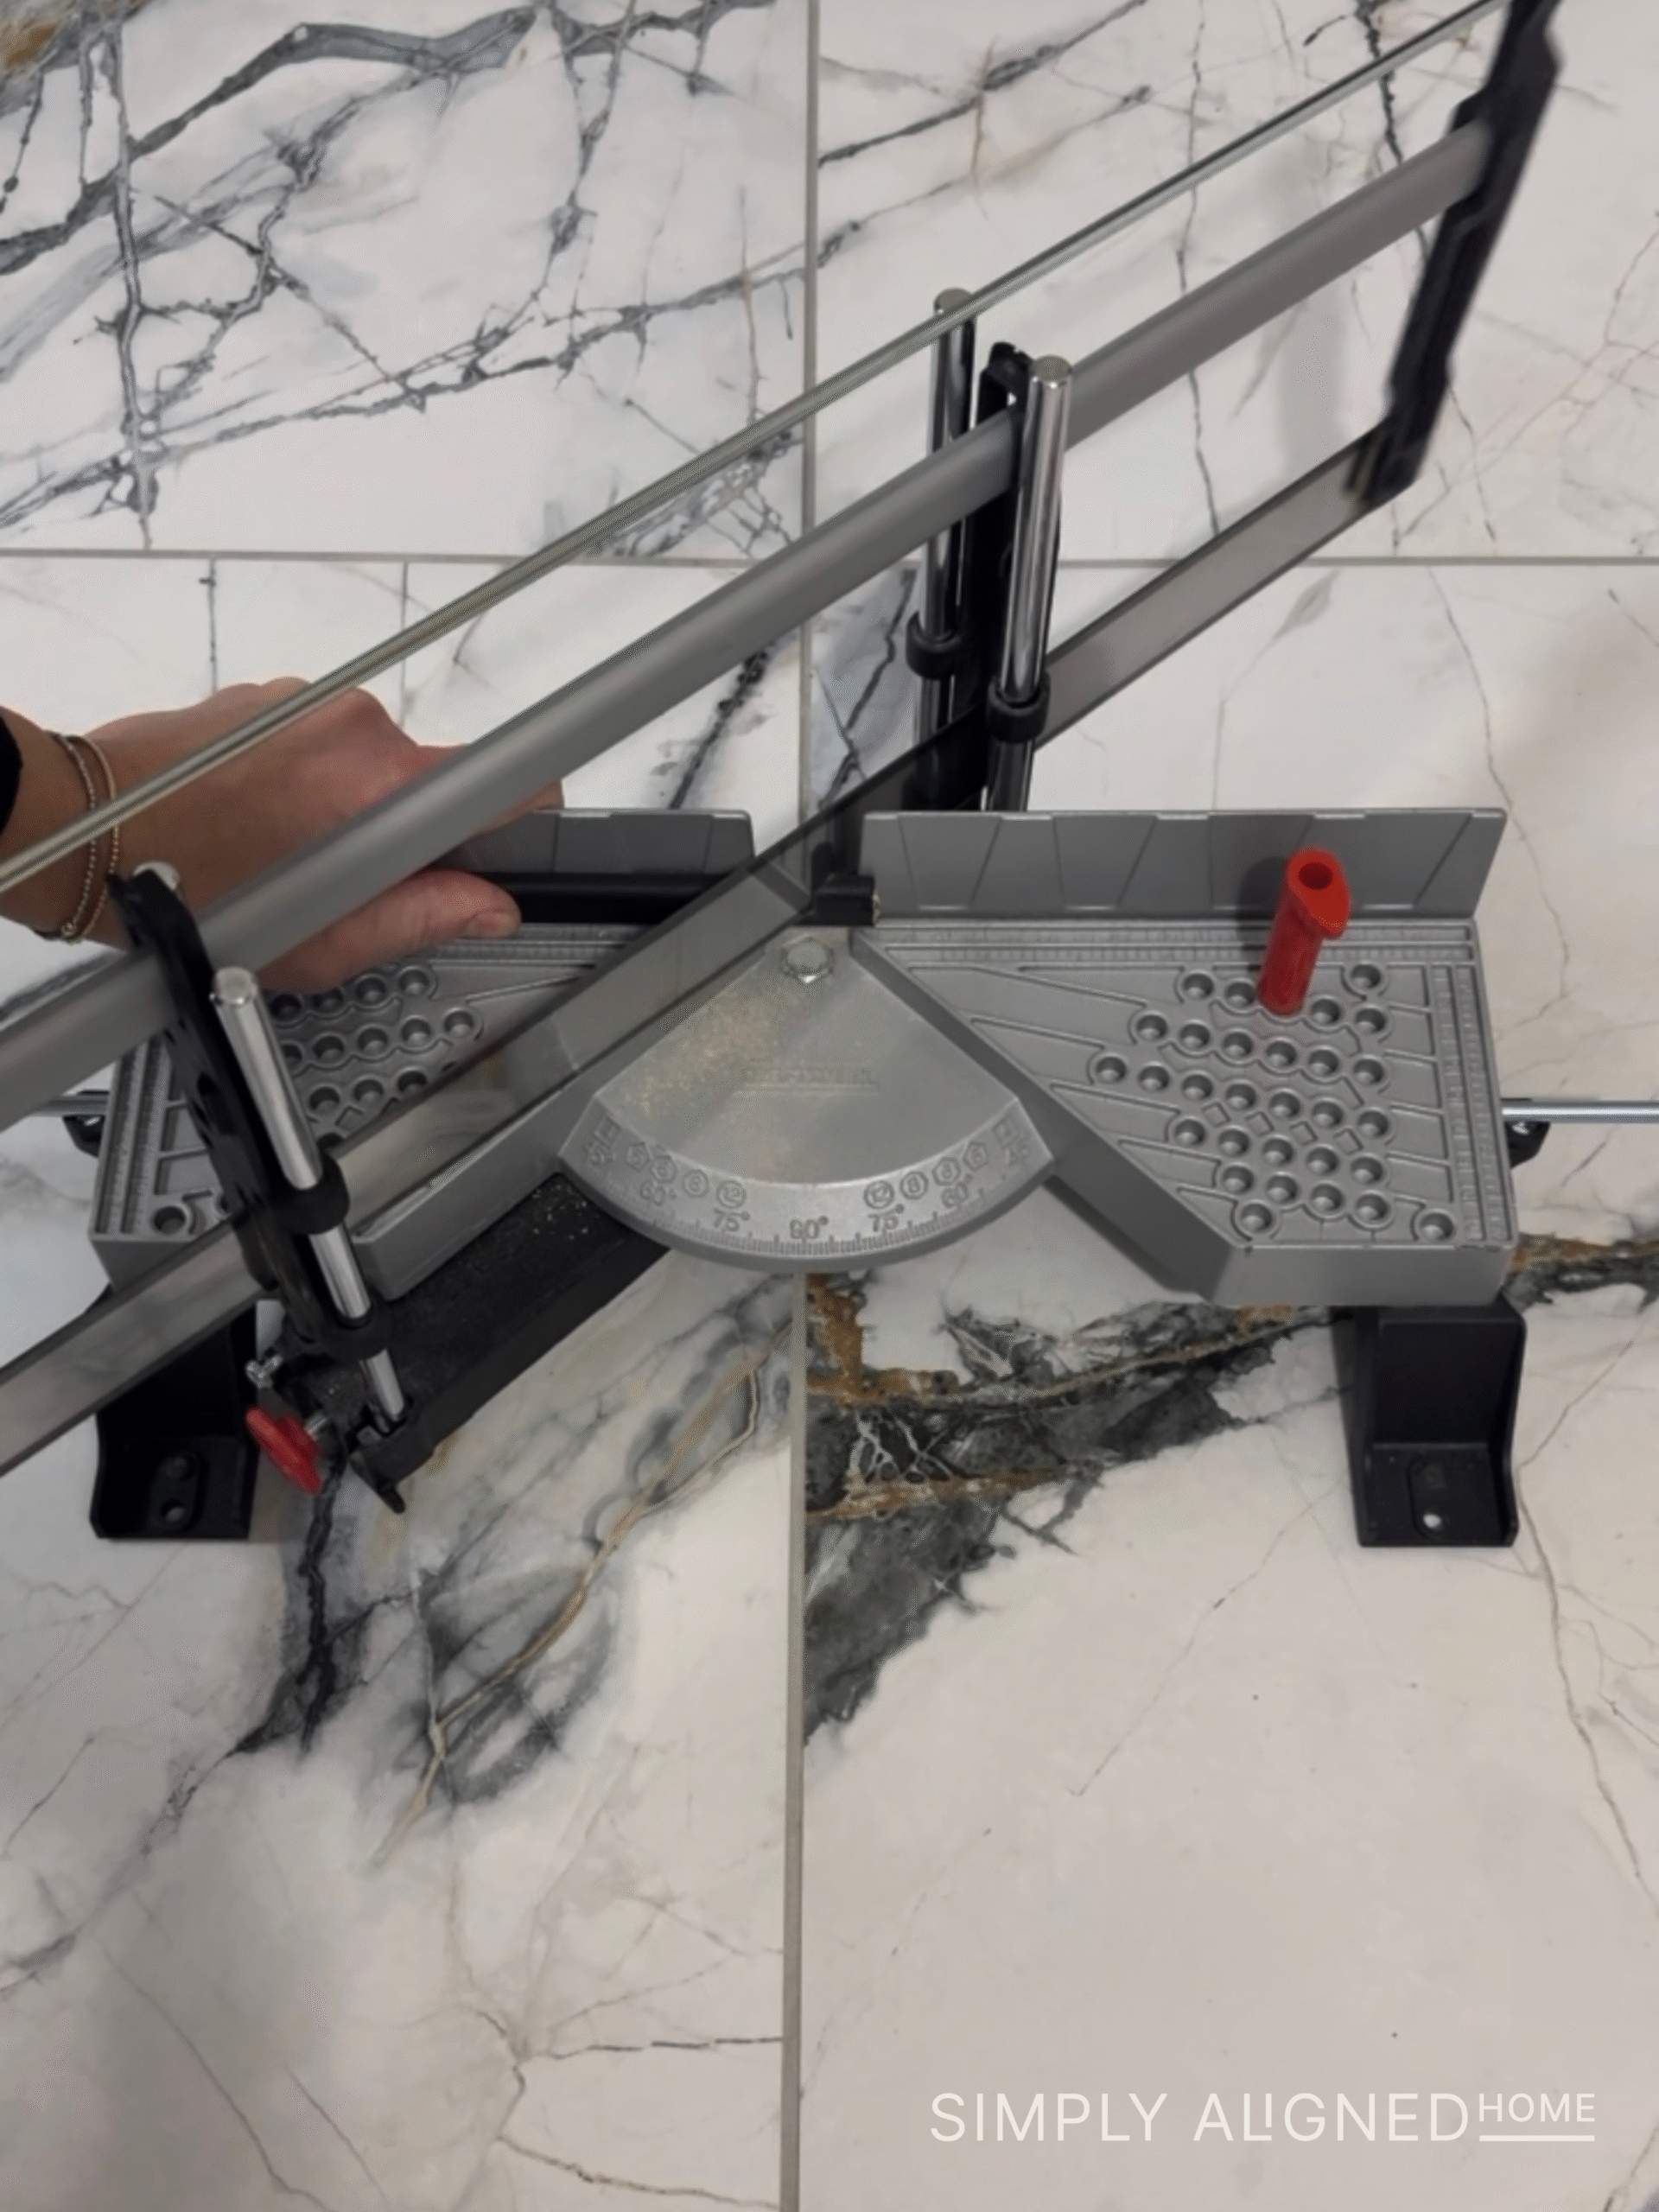
Trim, Panels + Making It Look Built-In
I picked up small trim pieces and painted them black to match the wall boards. For cutting the smaller pieces, I used a compact trim saw and secured everything with a pin nailer.
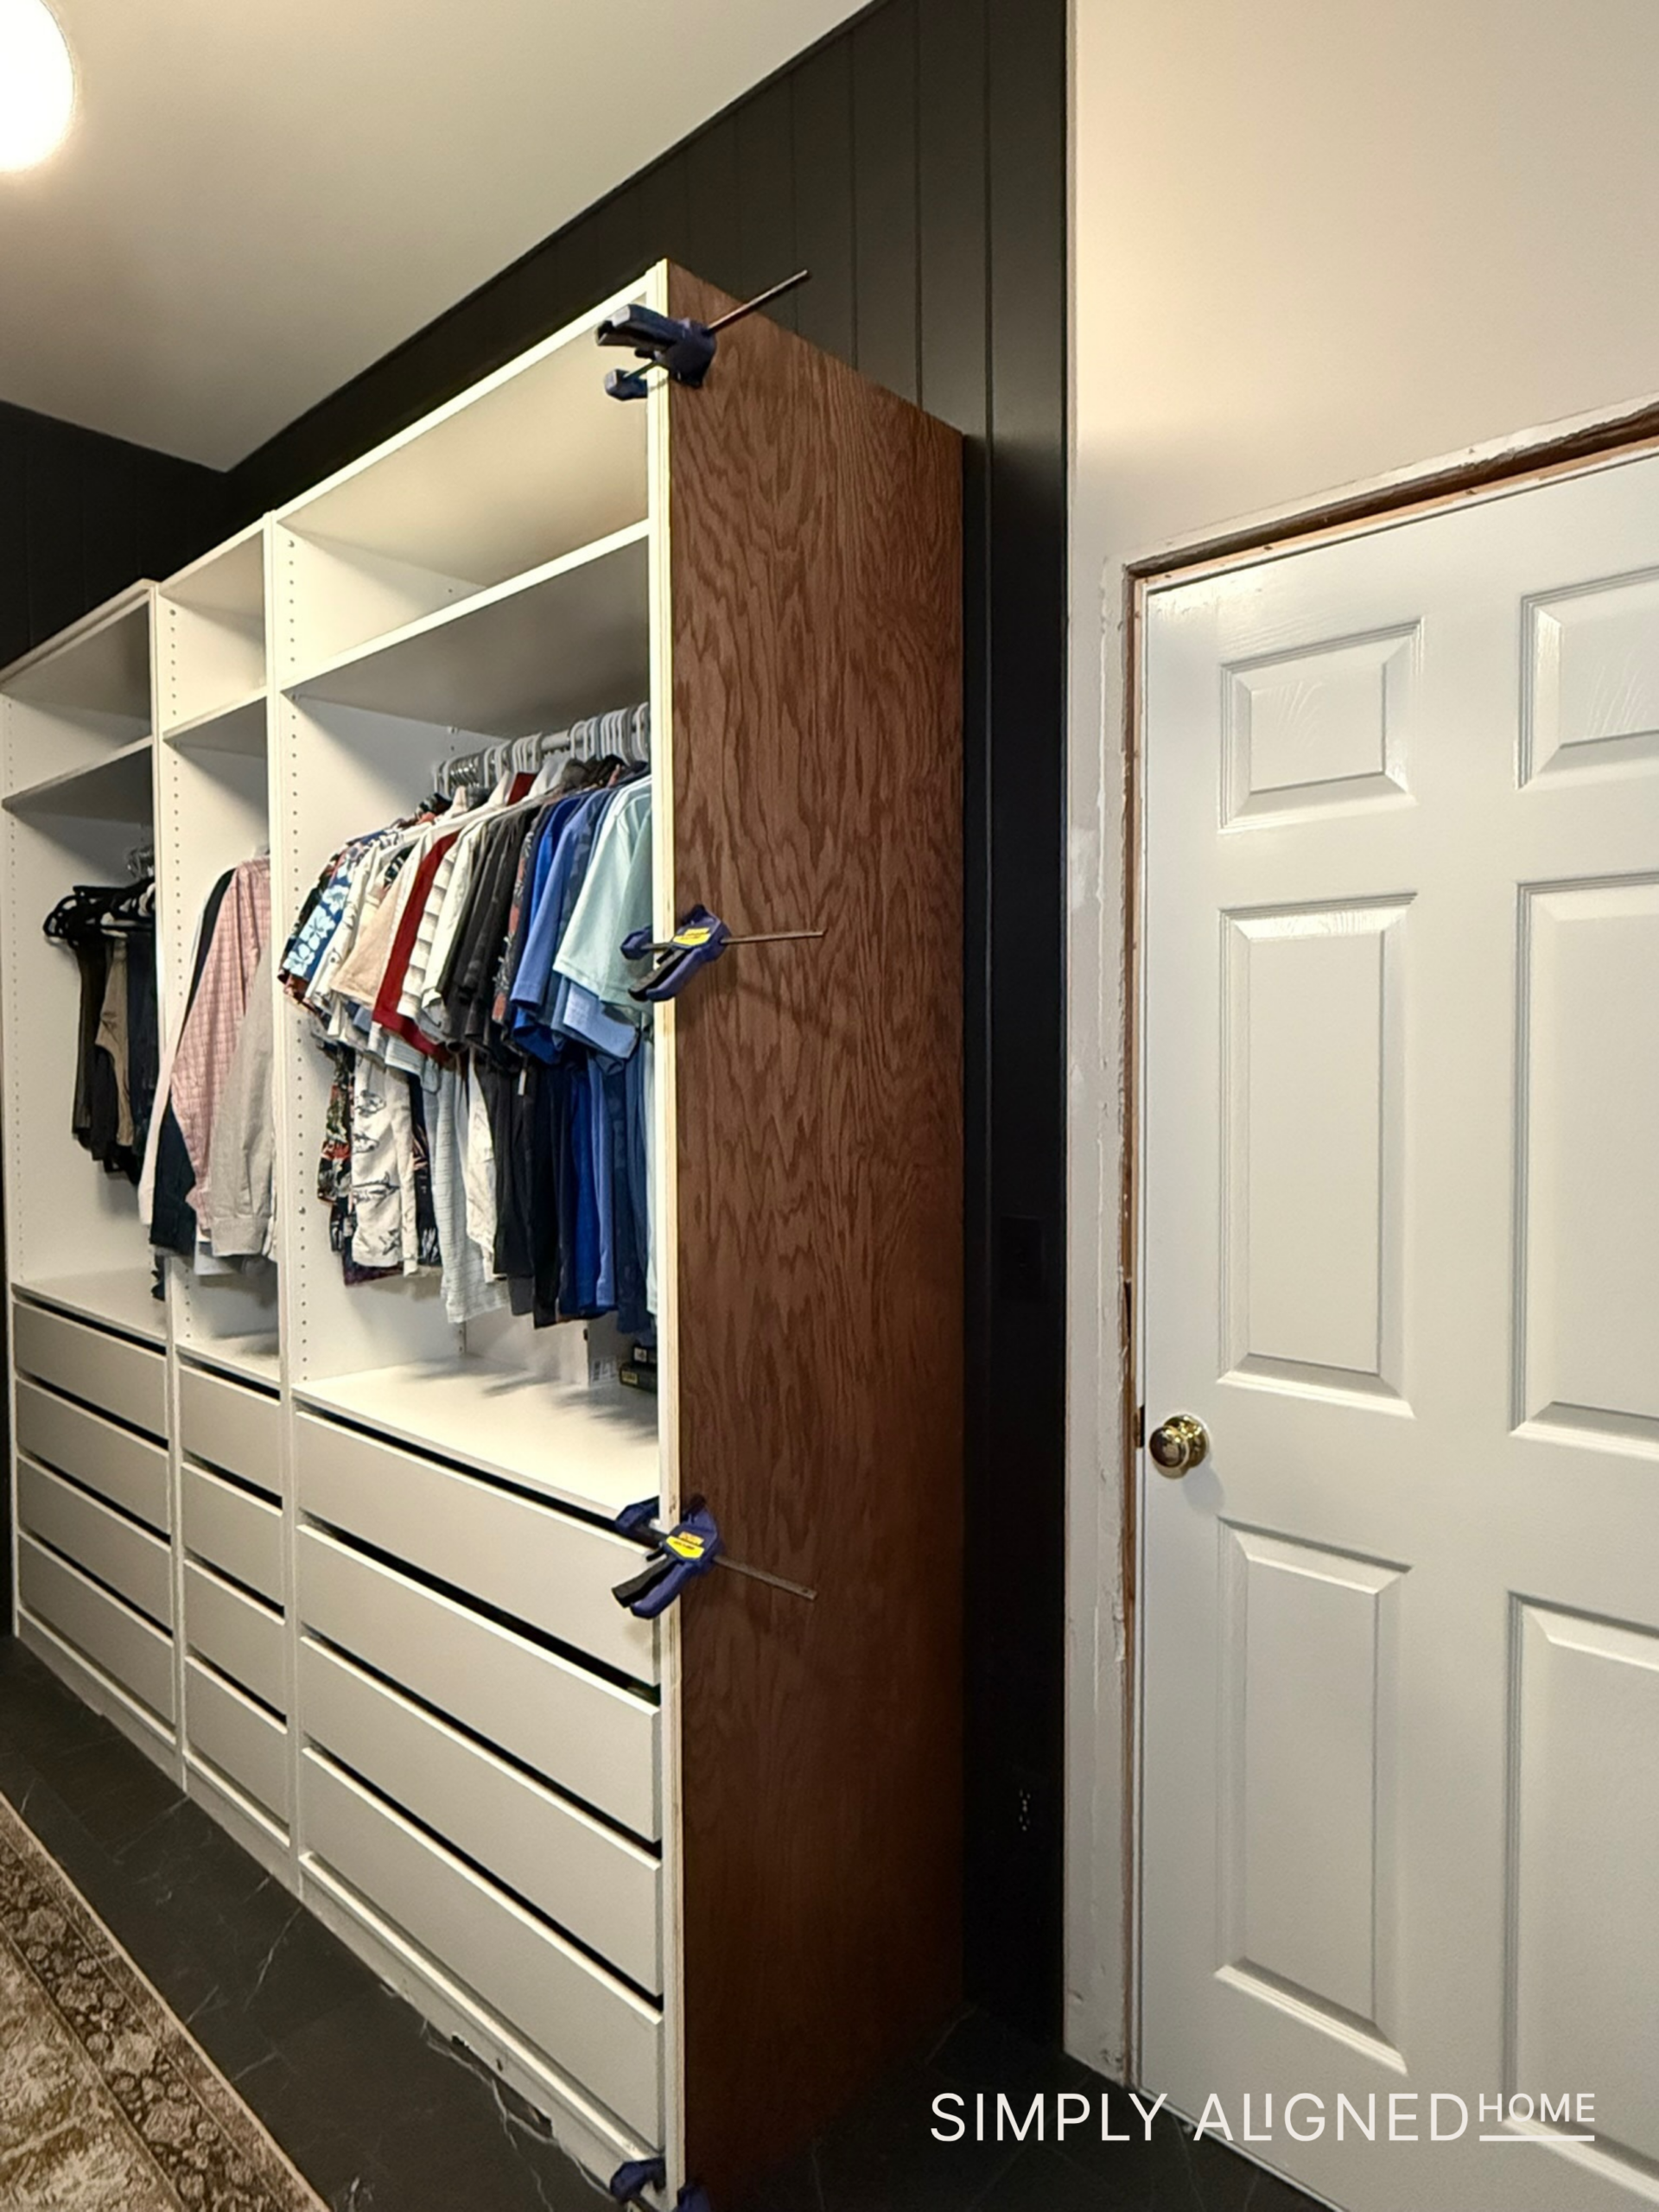
Next, I attached stained pieces of 3/4″ plywood to the sides of the PAX units using caulk, clamps, and my brad nailer. Wrapping the units is what starts to make them feel custom instead of modular. Then I trimmed out the faces with red oak boards as well!
Once all of the face frame boards were installed, it was time to patch seams and fill nail holes.
When working with stained wood, I always use Minwax Natural Wood Filler. I press a small amount into each nail hole and sand it before it fully dries. That leaves a thin layer of real wood dust over the filler so it stains much closer to the surrounding wood.
For sanding, I used my SurfPrep sander attached to my shop vac. Anytime you connect a sander to a shop vac, there’s significantly less dust which makes a huge difference when you’re working inside your home.
Once all of the wood filler was sanded smooth, I applied wood stain and two coats of poly.

Rethinking the Drawer Faces
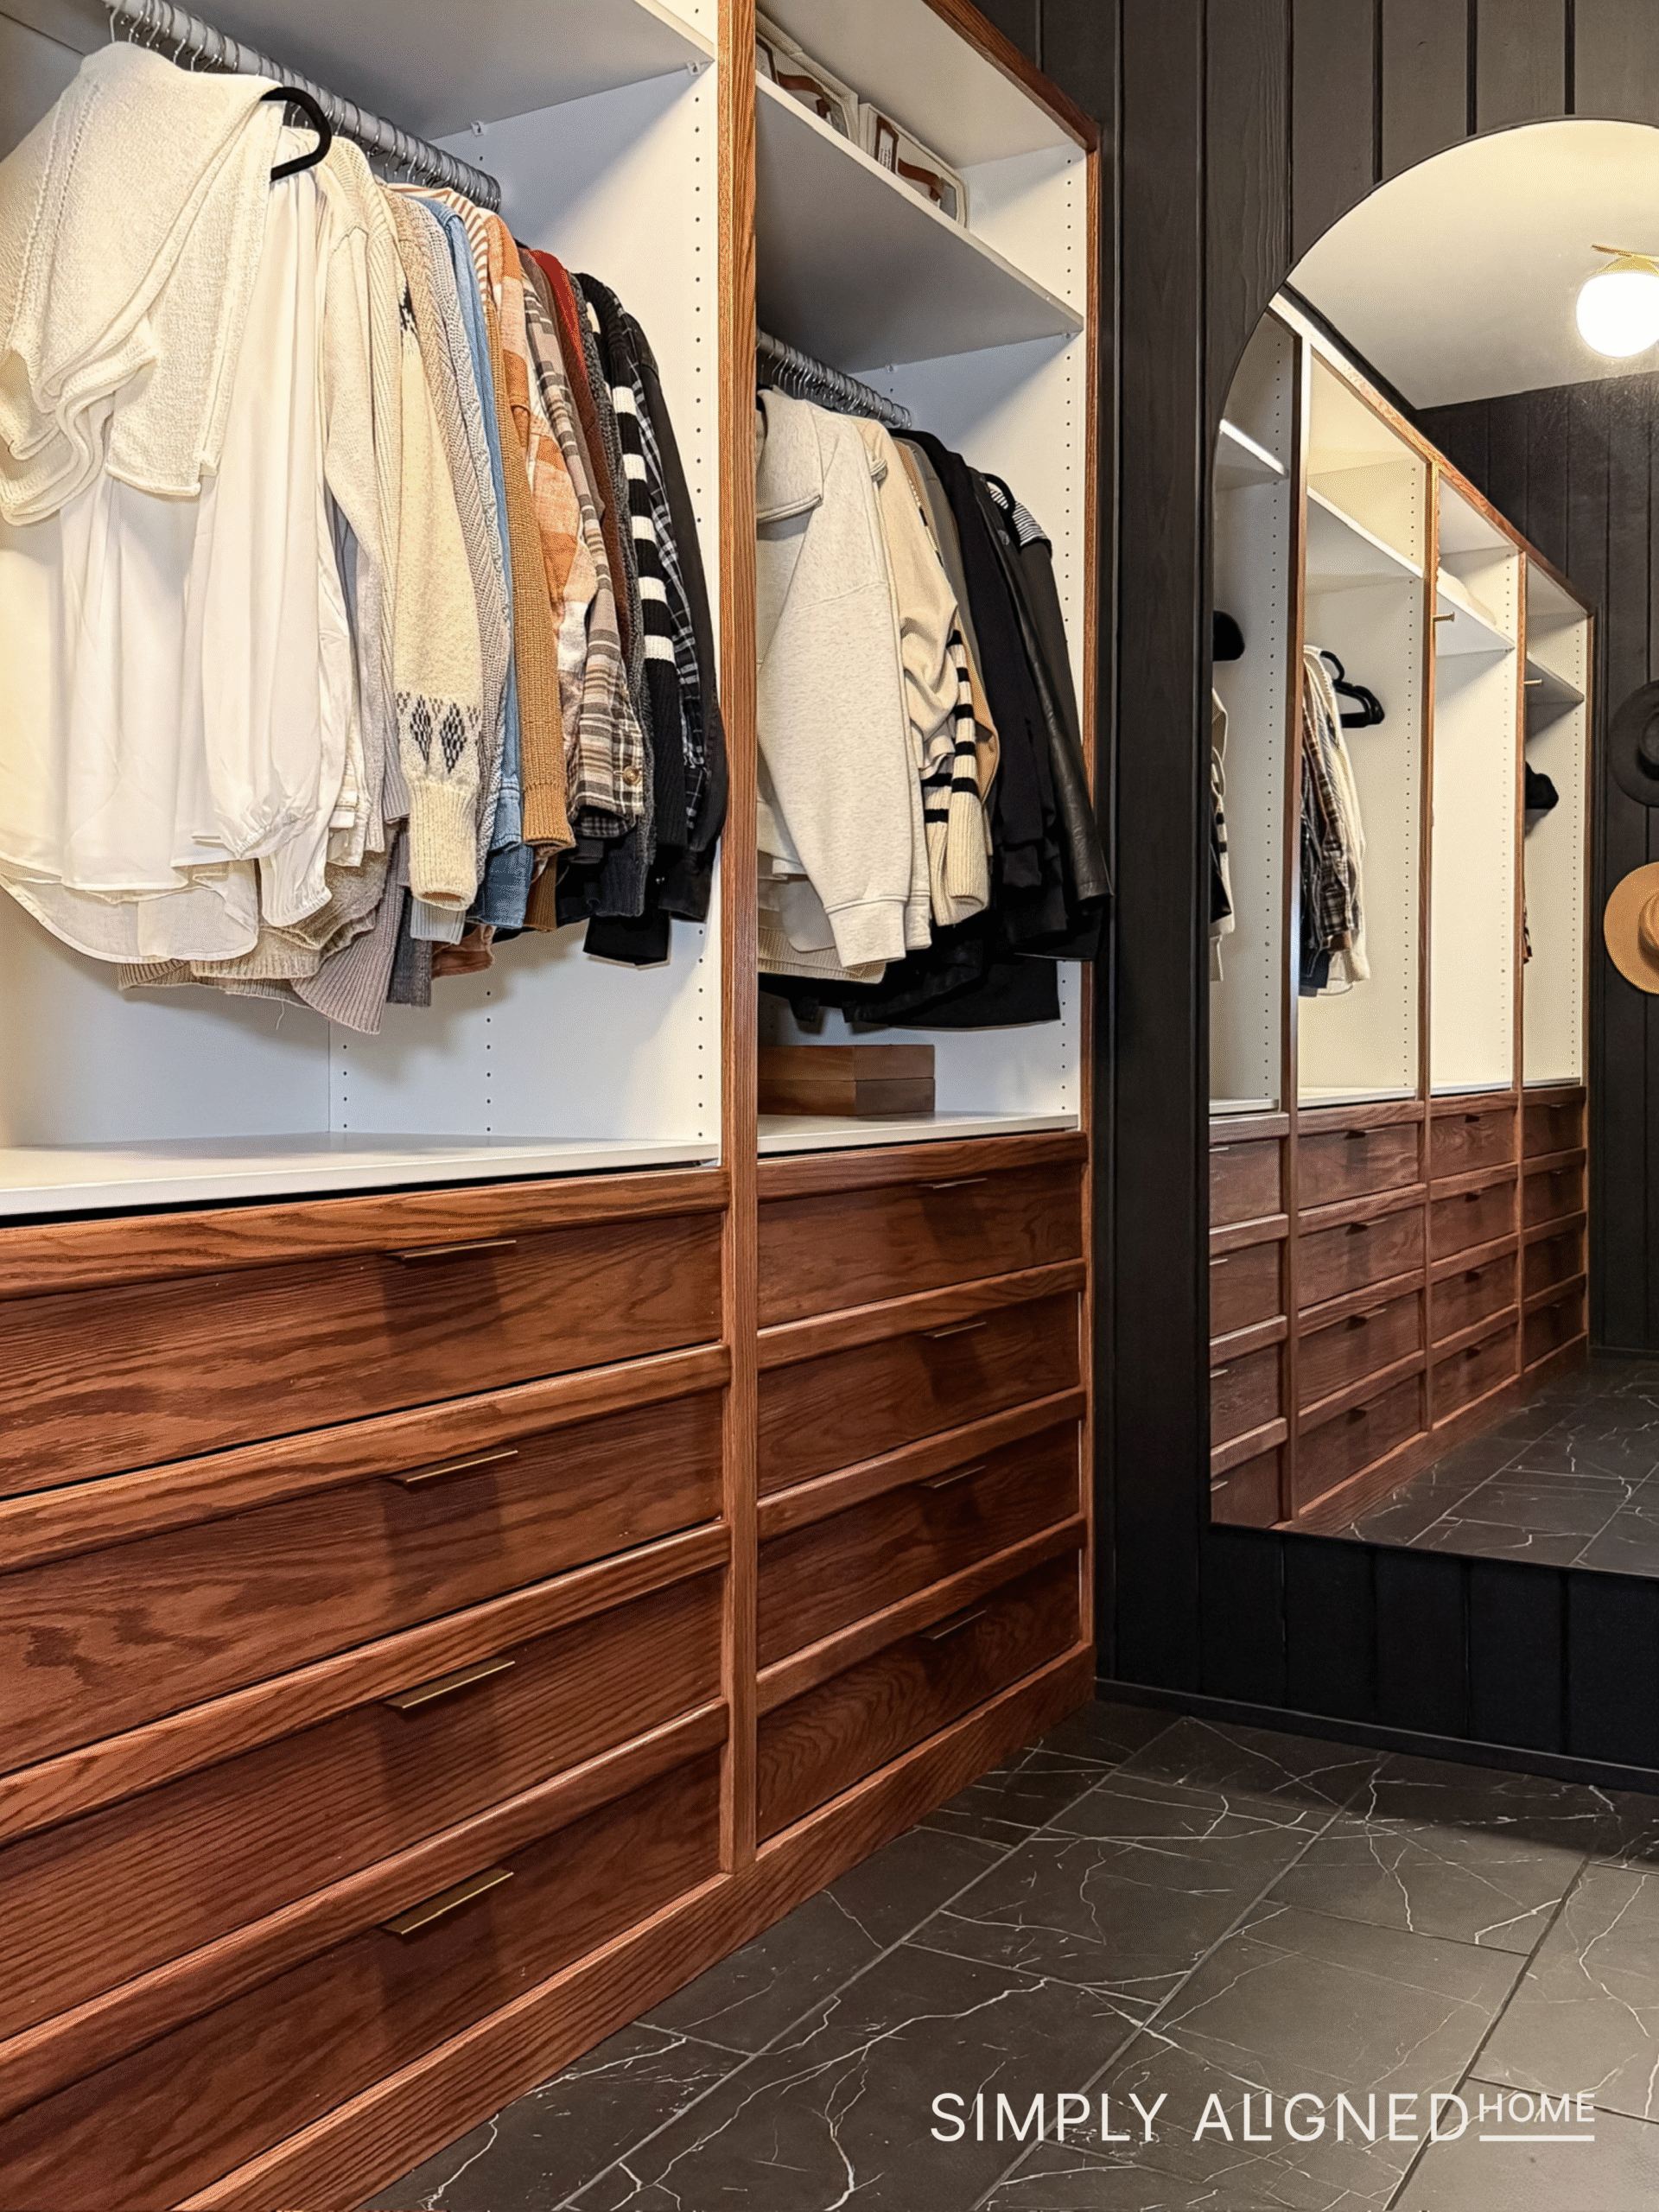
I don’t often fully plan my projects before I begin. Instead, I like to think one or two steps ahead so I know what’s coming next, what I need to purchase, and what design direction I want to take. At this point, I started thinking about the drawers. I wanted to cover the existing faces and eliminate the little gaps. I also knew I wanted to bring some warmth into the space.
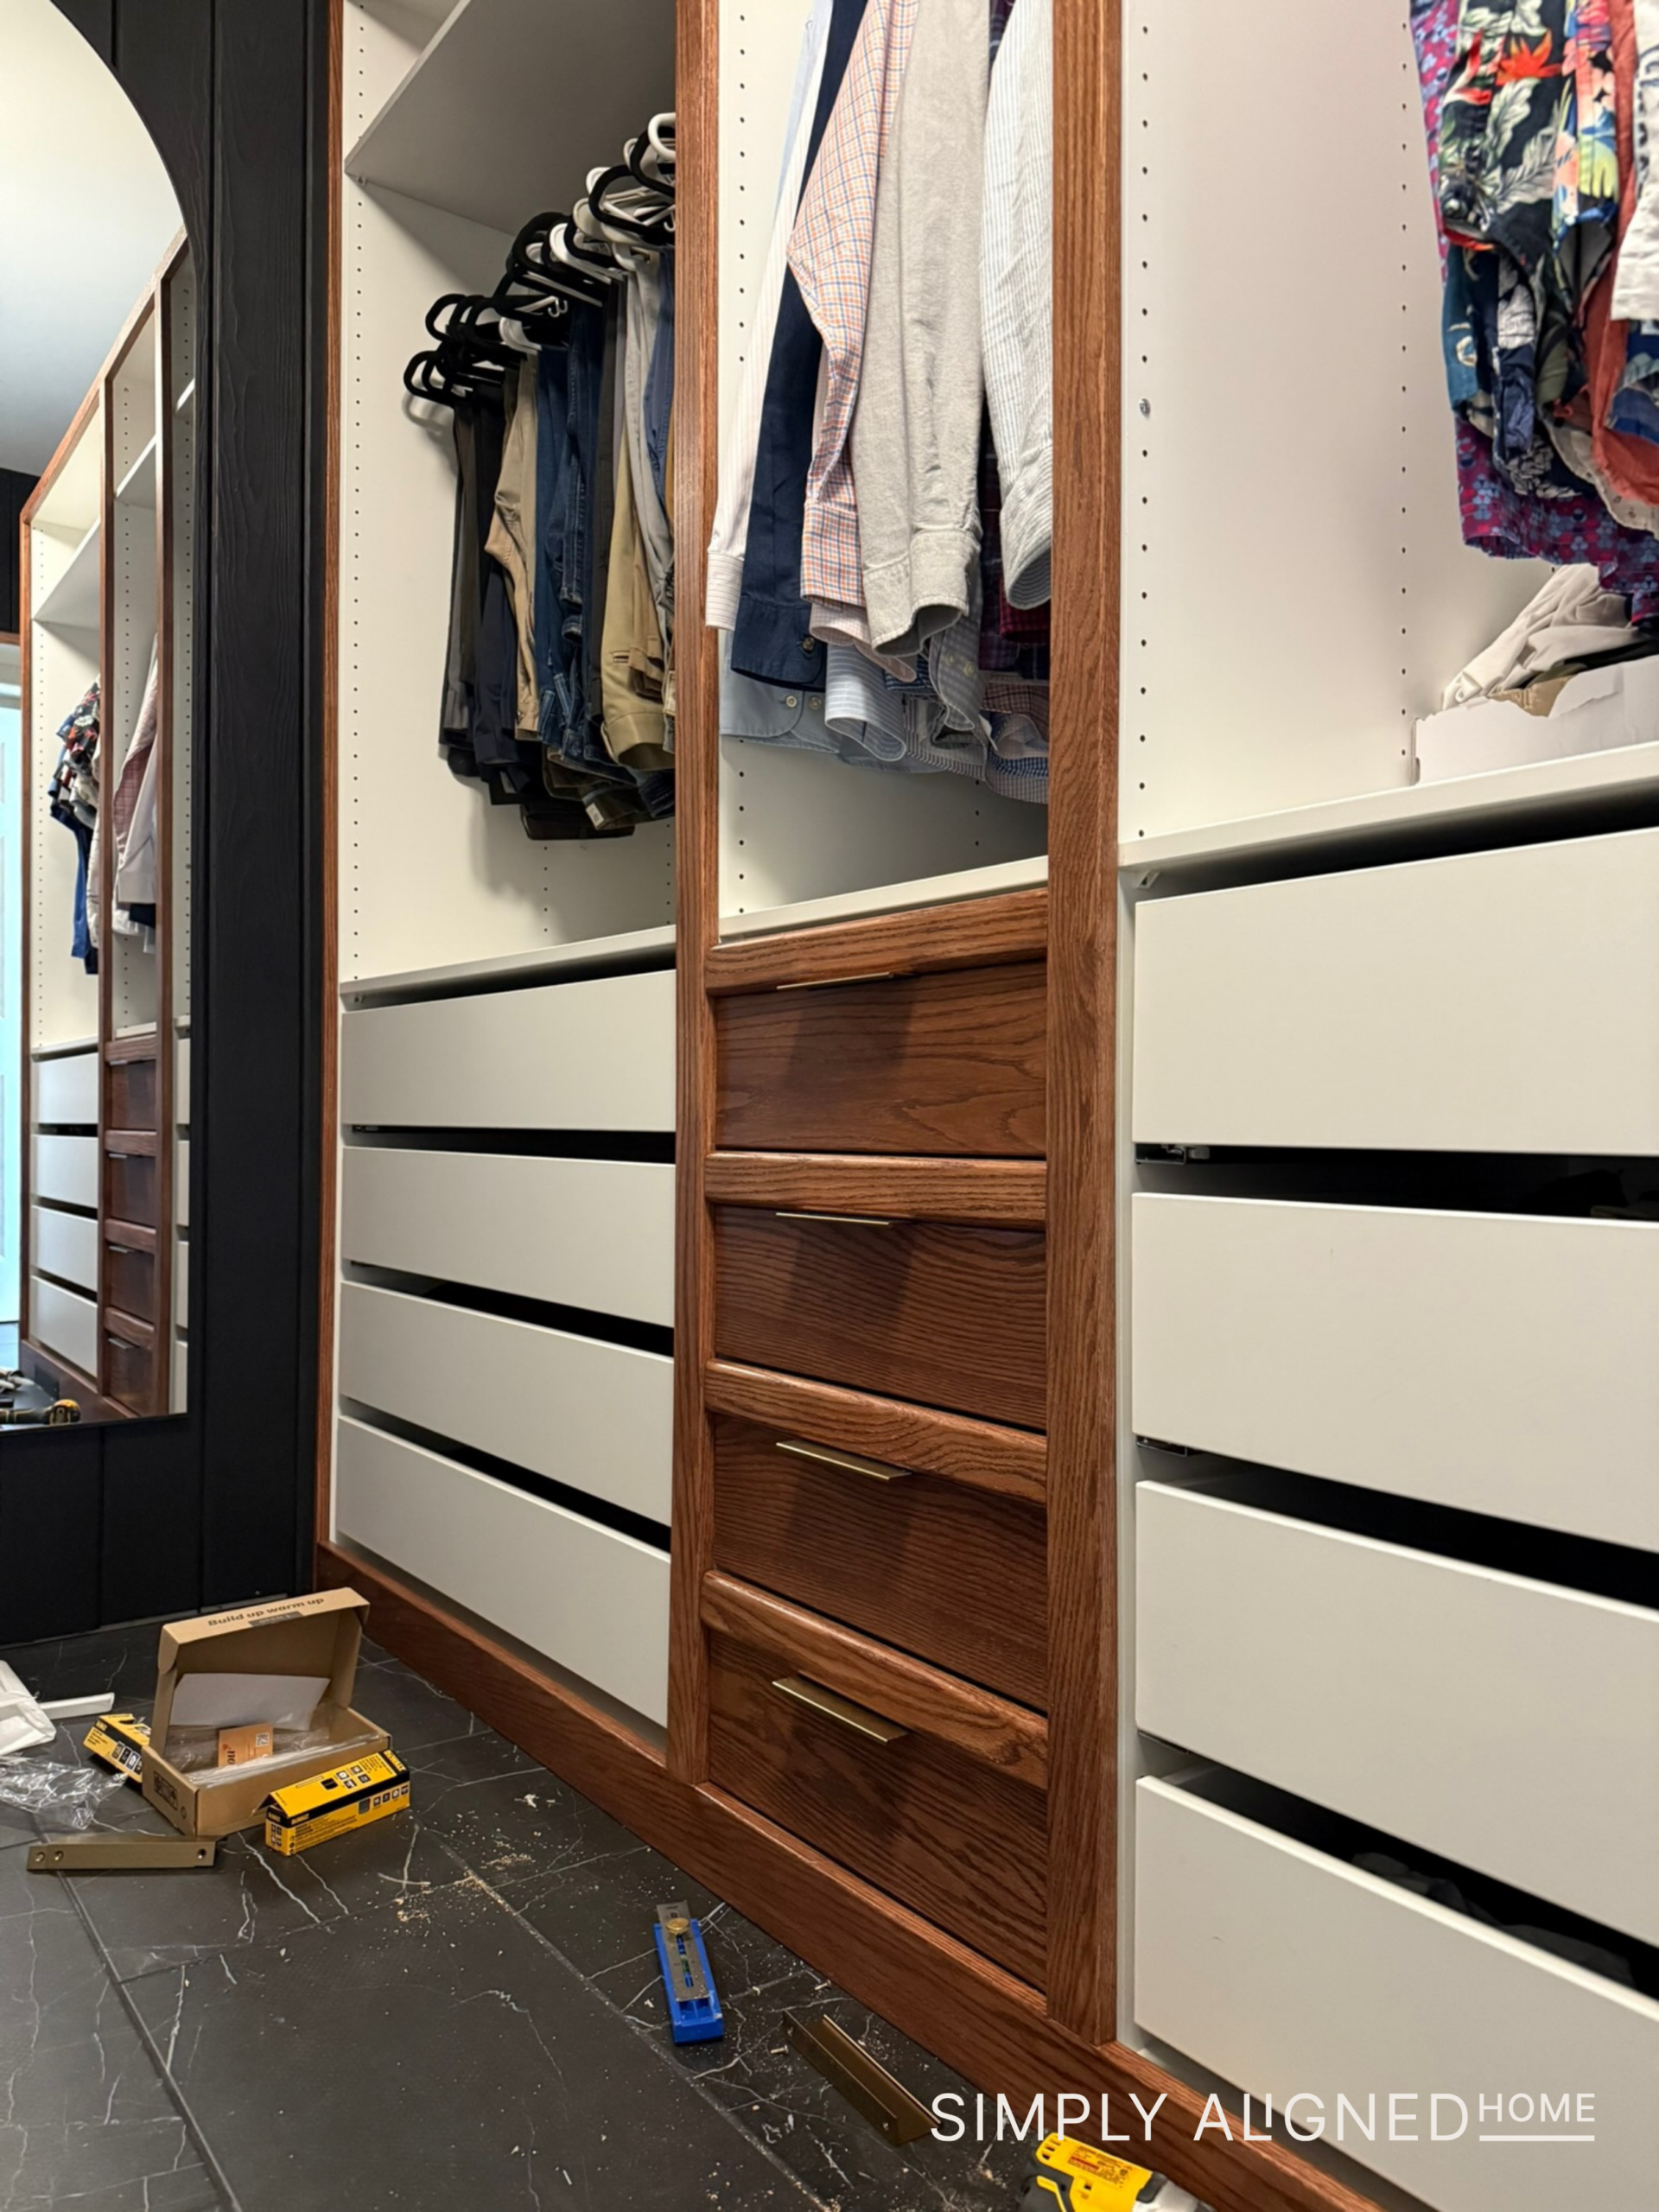
My first thought was plywood trimmed out in wood. But then I remembered I had leftover boards from my basement backsplash project, and I realized they might be perfect! They weren’t quite the full height of the drawer fronts, though. The drawers are slightly taller, so I needed to add an additional strip to fill the gap and incorporate the pull into that design.
Originally, I planned to do black drawer fronts with a brass pull. I mocked it up… and I didn’t love it. It felt a little cheap. I bought several trim options to test different ways to bridge the height difference. One version had a chunkier custom overhang for the pull, but it stuck out too far and felt too heavy. The slimmer top detail felt much more balanced and refined.
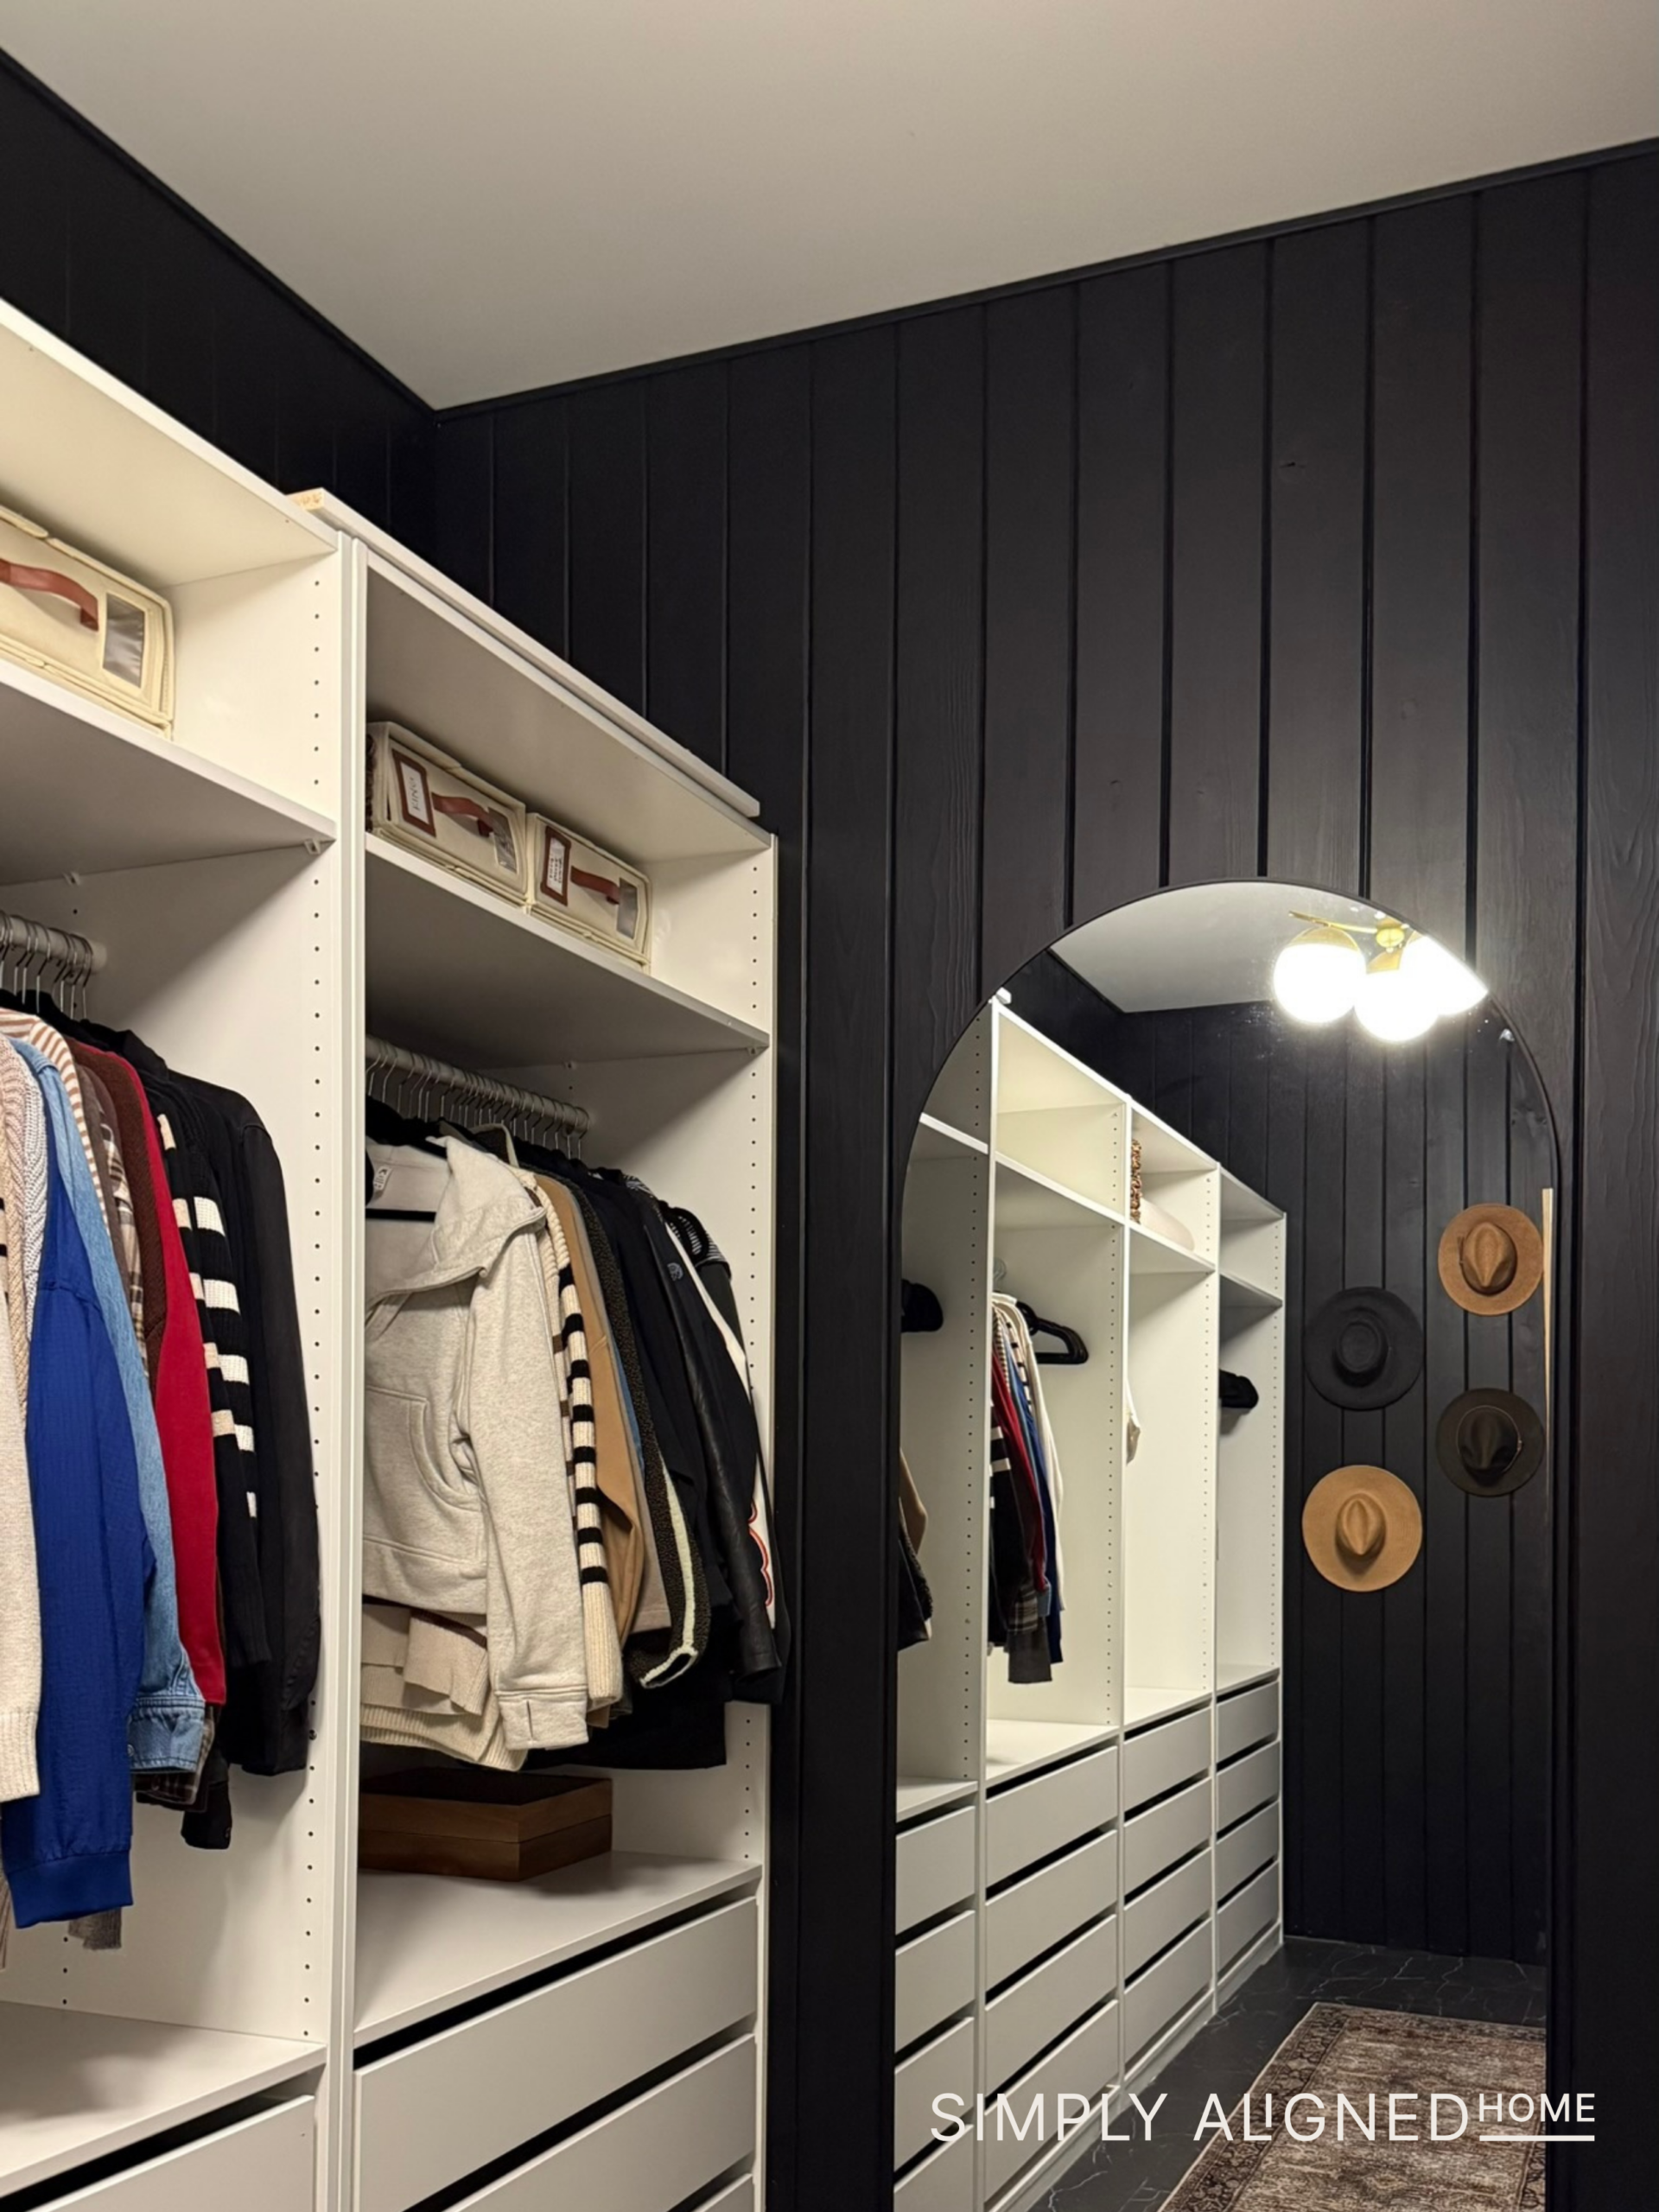
And there you have it! I love using the Ikea Pax System. I’ve used it in all of our homes and in all of our closets. I love how user friendly and affordable it is…and I can customize it to fit my style.
And just like that, this closet went from falling wire shelves to a space that feels custom and completely ours! It didn’t happen all at once. It came together step by step. You don’t need a perfect plan to create a space you love. You just need to start!

**Note: I am not a professional and do not claim to be an expert. Please be sure to always read instructions for all tools and products. Safety is very important and should be your top priority. Wear necessary protection when using tools (eye wear, hearing protection, gloves, etc.) and dust masks when sanding or cutting. Simply Aligned Home is not responsible for any injury or damage. All of my designs are not professionally designed and are for private use only.**
Tools & Materials Used