
DIY kitchen renovation is officially underway. I am SO excited for this project! I put together a design for this space…I truly love it and can’t wait to bring it to life. I decided to tackle this renovation in sections to keep it manageable. The first section is the pantry!
**This post contains affiliate links to products that I used or recommend. If you purchase something through an affiliate link, I may receive a small percentage of the sale at no extra cost to you. I really appreciate your support!**
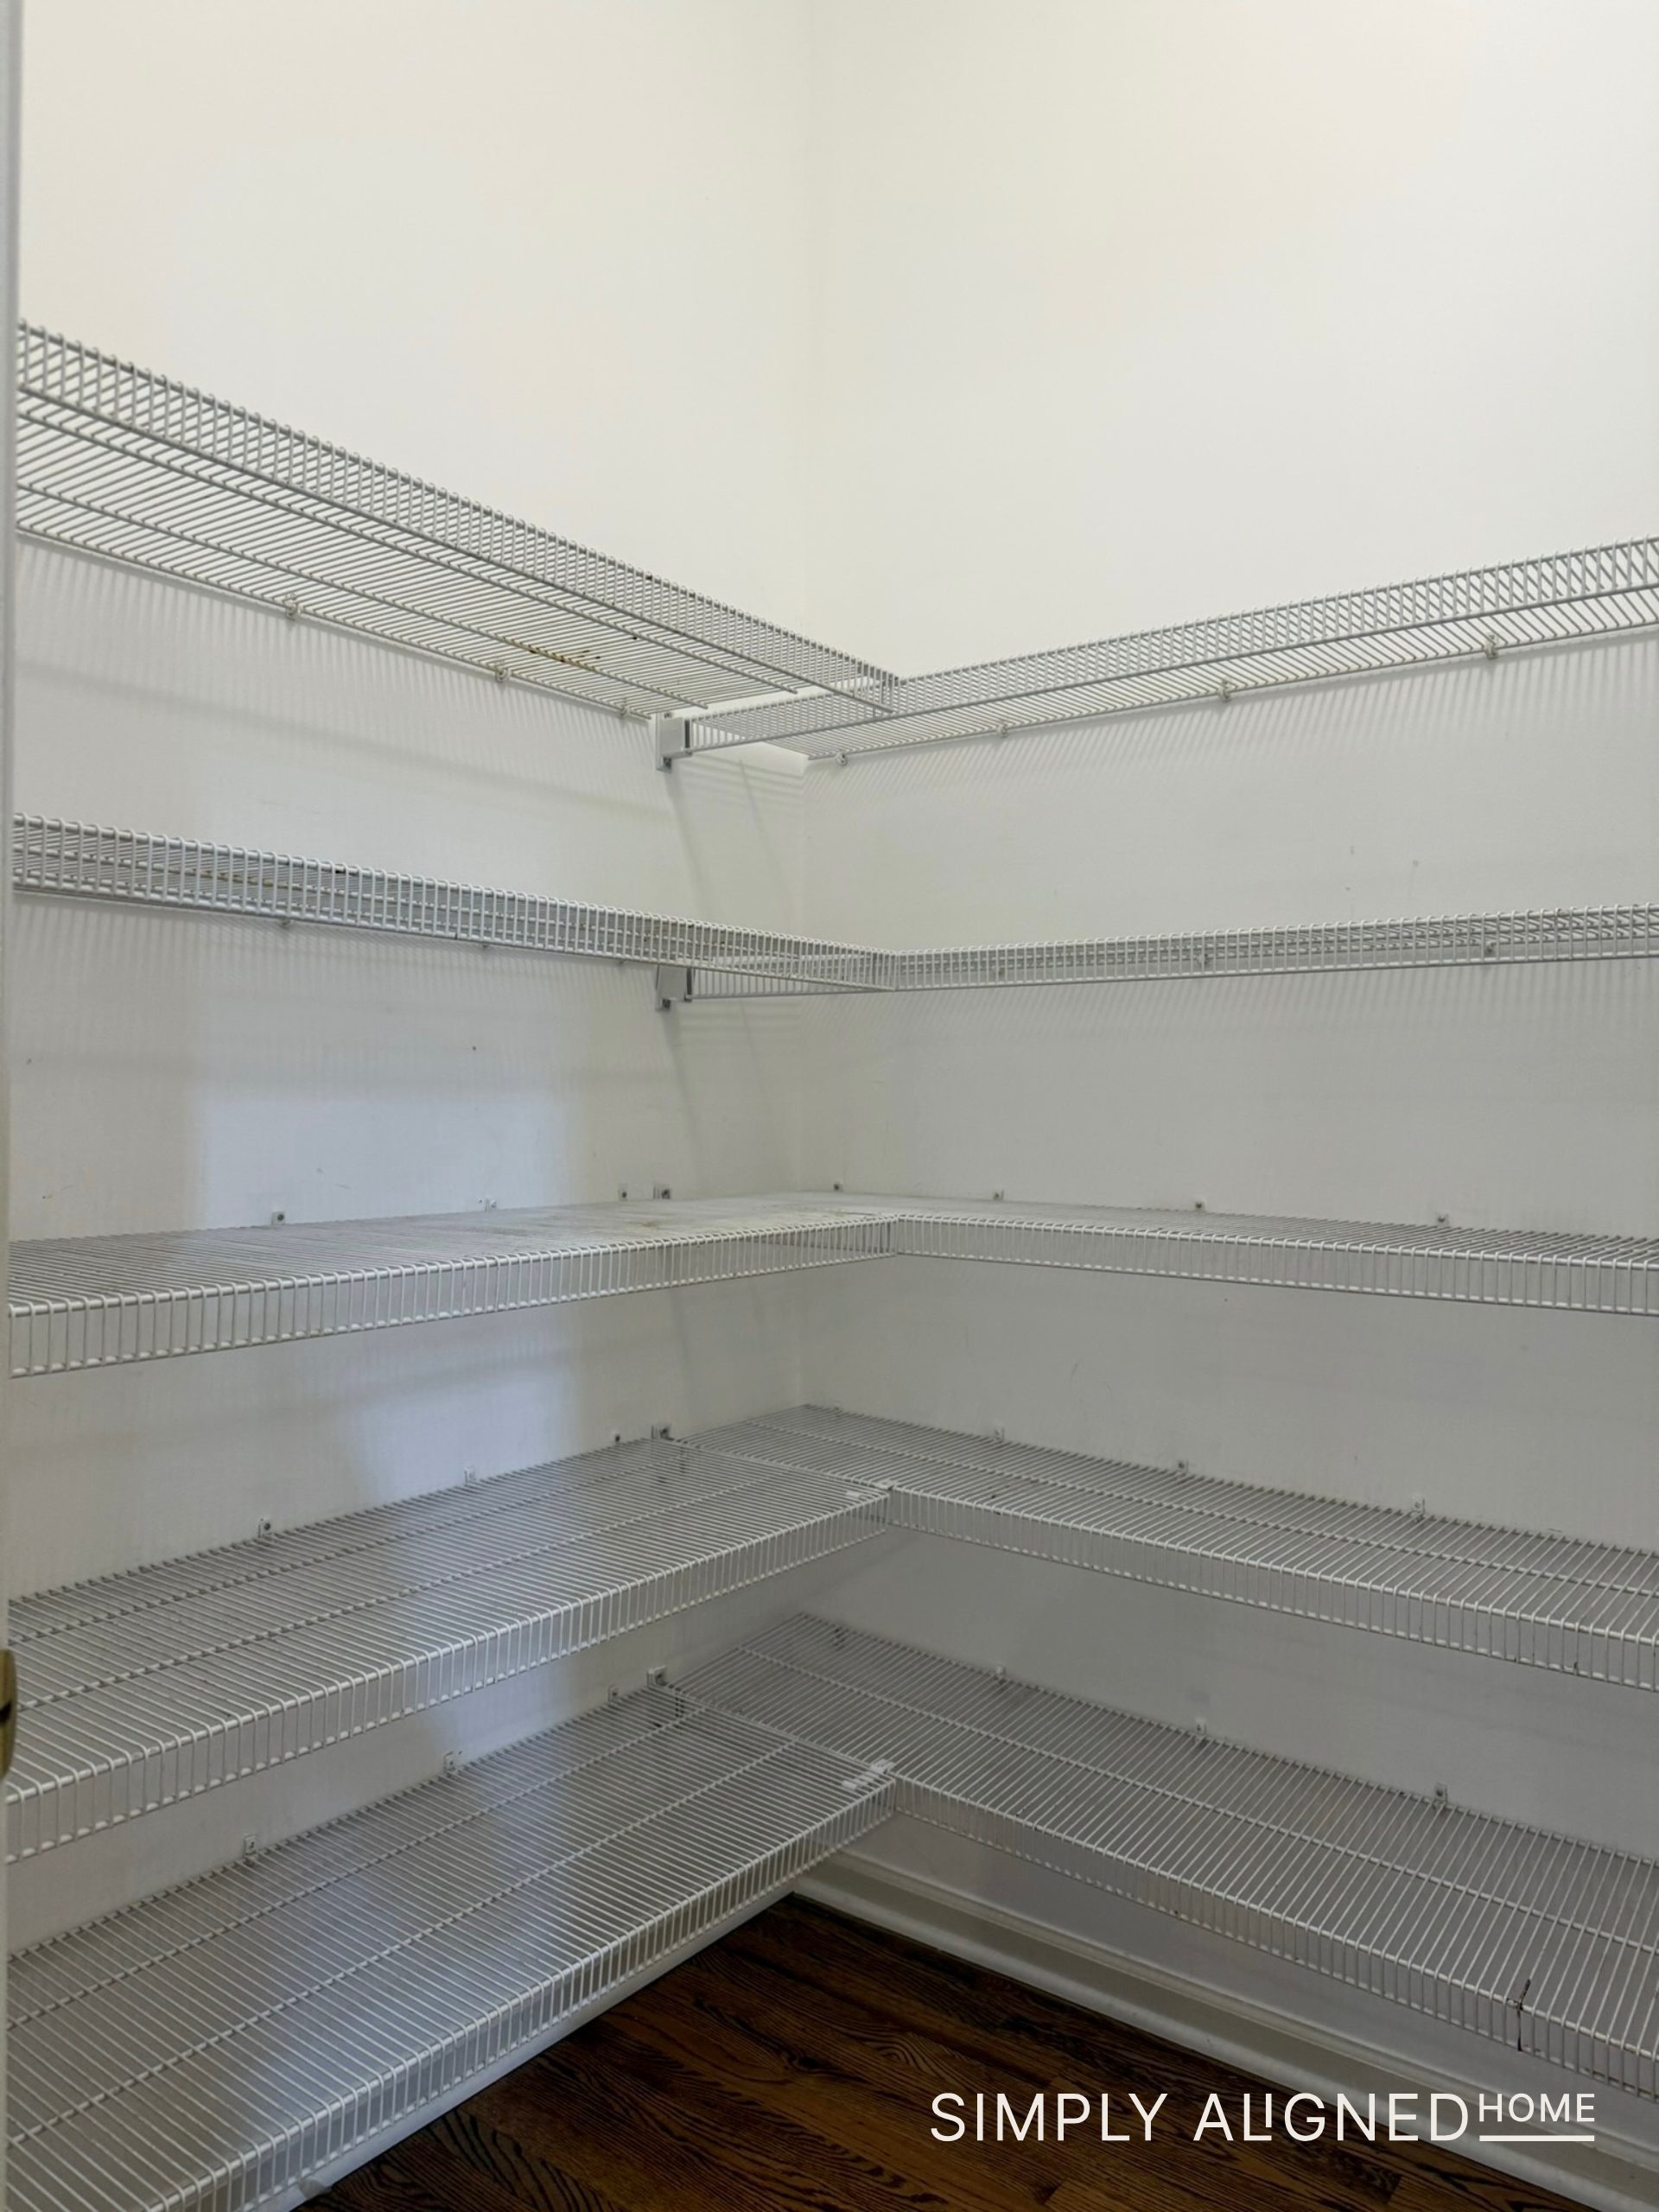
Demo & Wire Shelving Removal
I don’t think I will ever be sad to see wire shelving go. This pantry had the standard builder-grade setup: lots of wire shelving. I originally took down a few upper cabinets in our kitchen with the intention of modifying them to fit inside the pantry. But as soon as I started cutting into them, I realized it was going to be more trouble than it was worth.
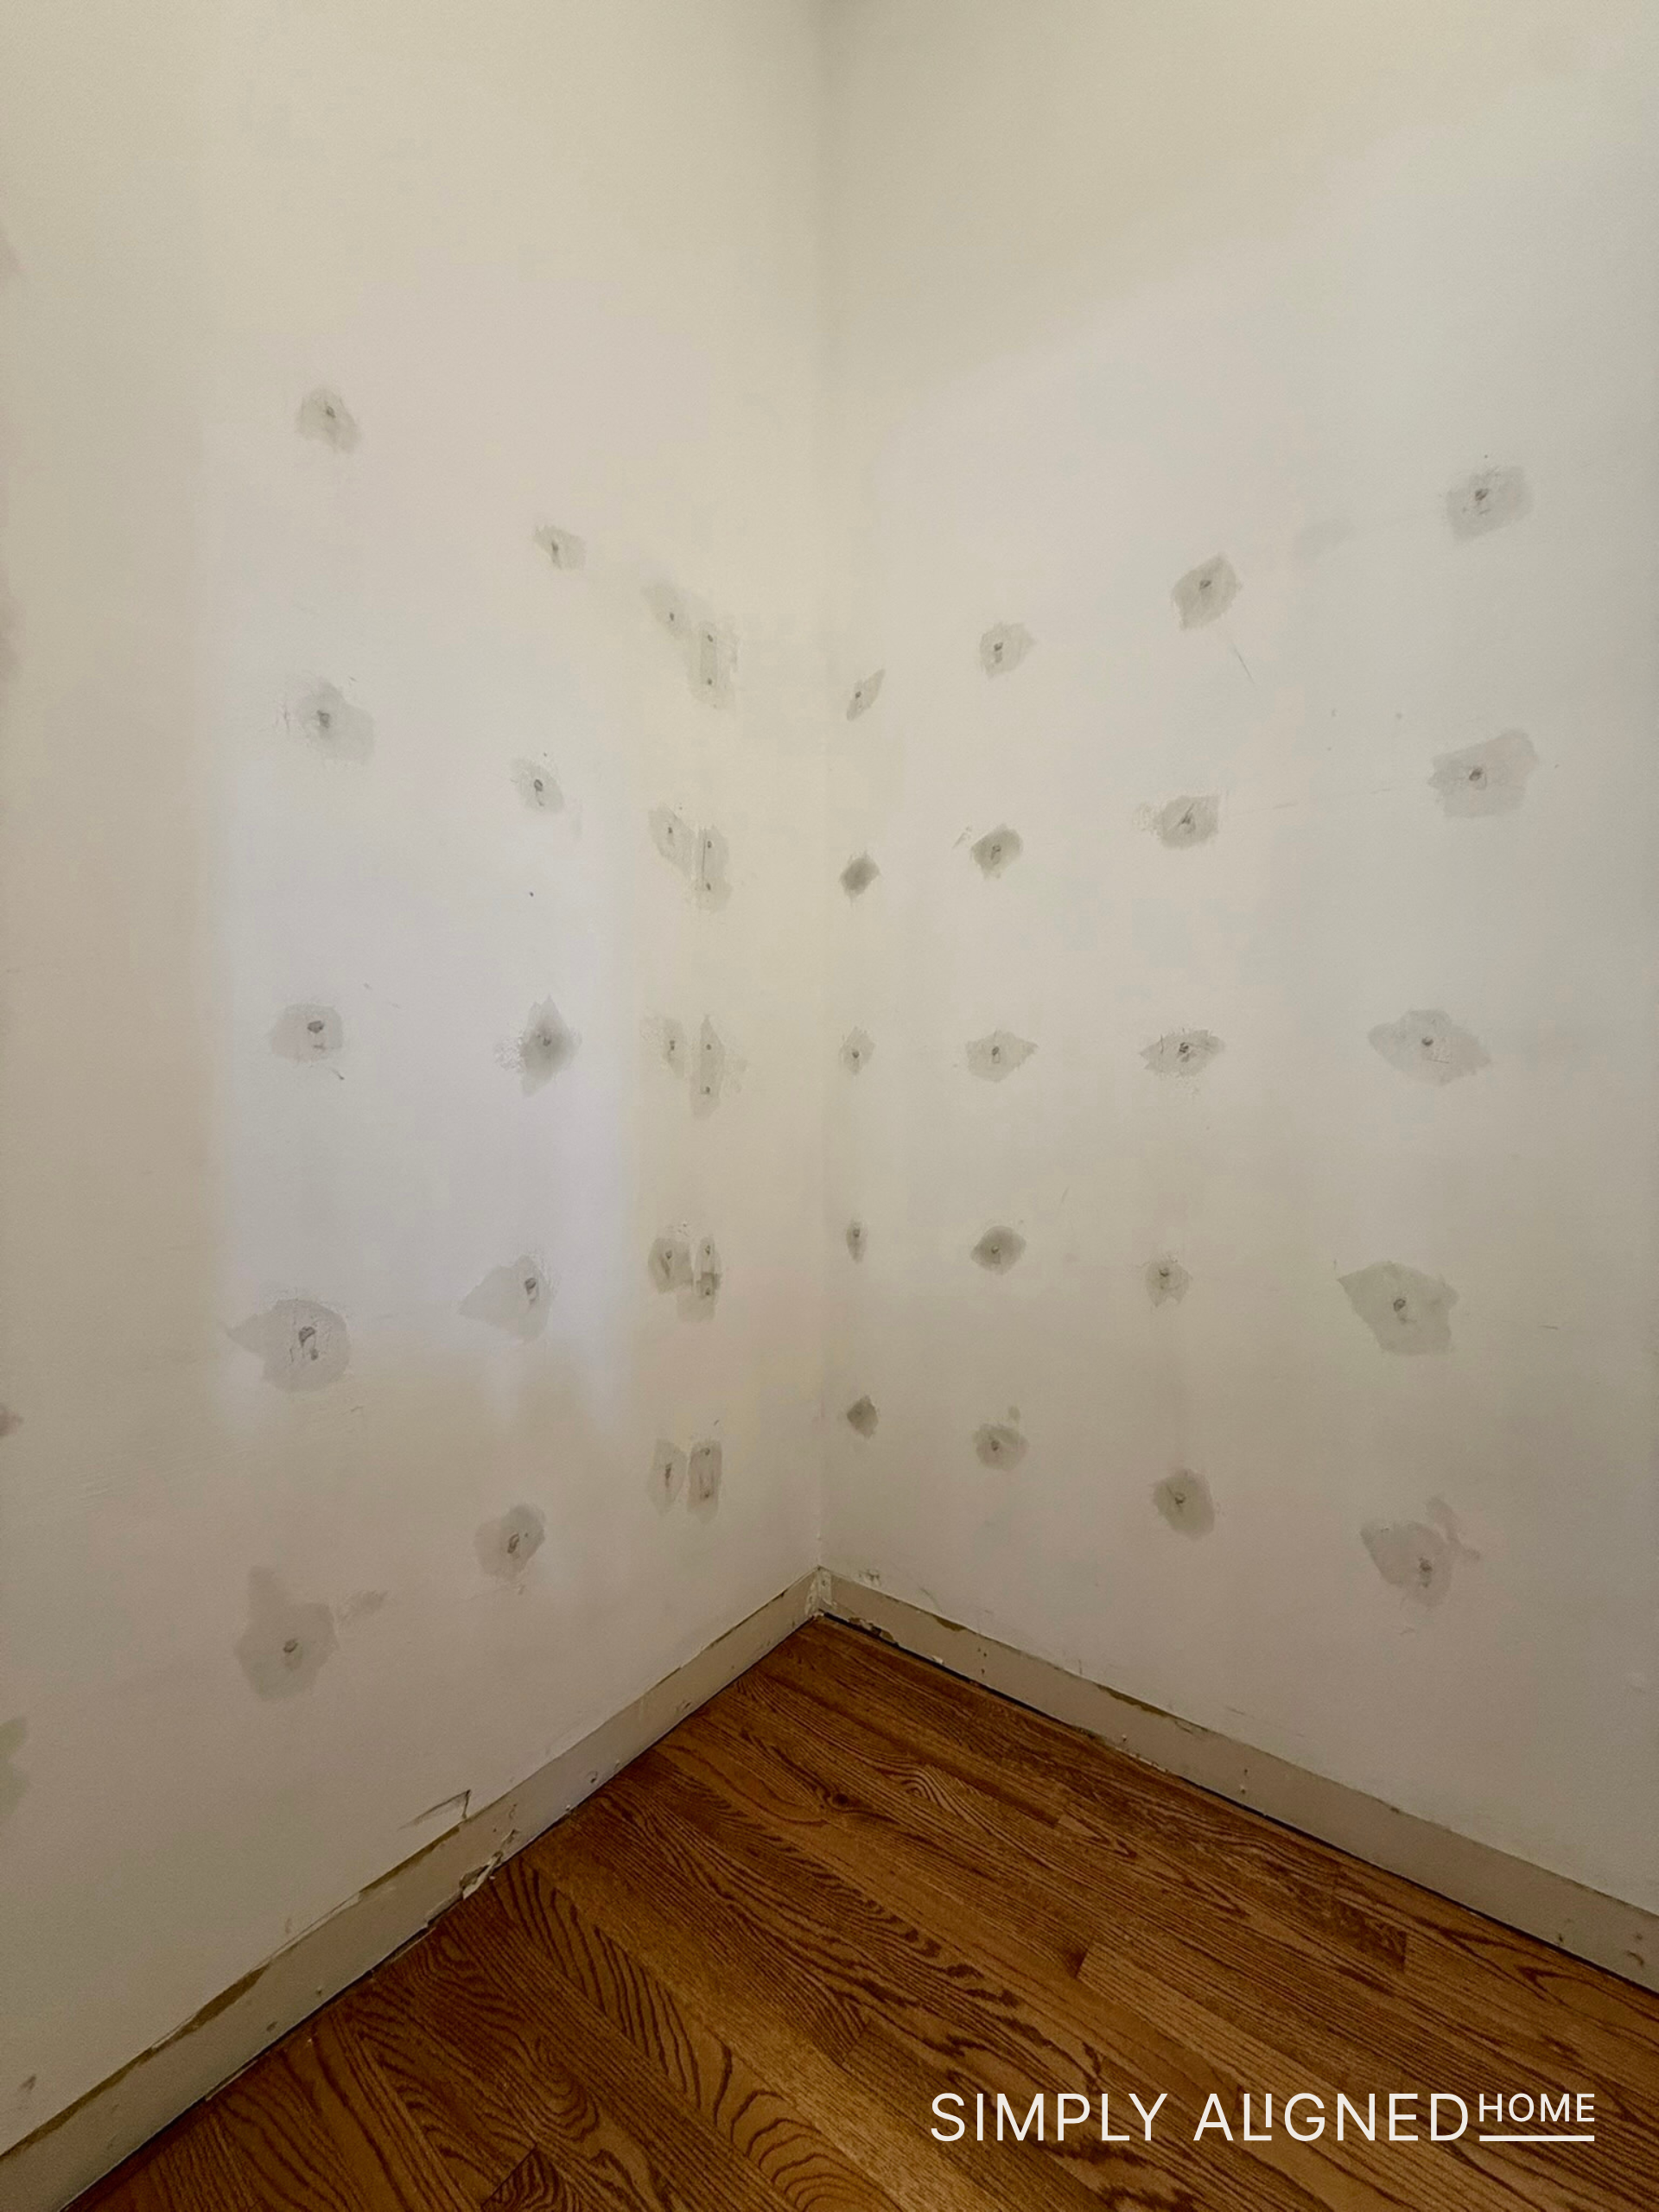
So…I pivoted. And that meant building new cabinet boxes from scratch!
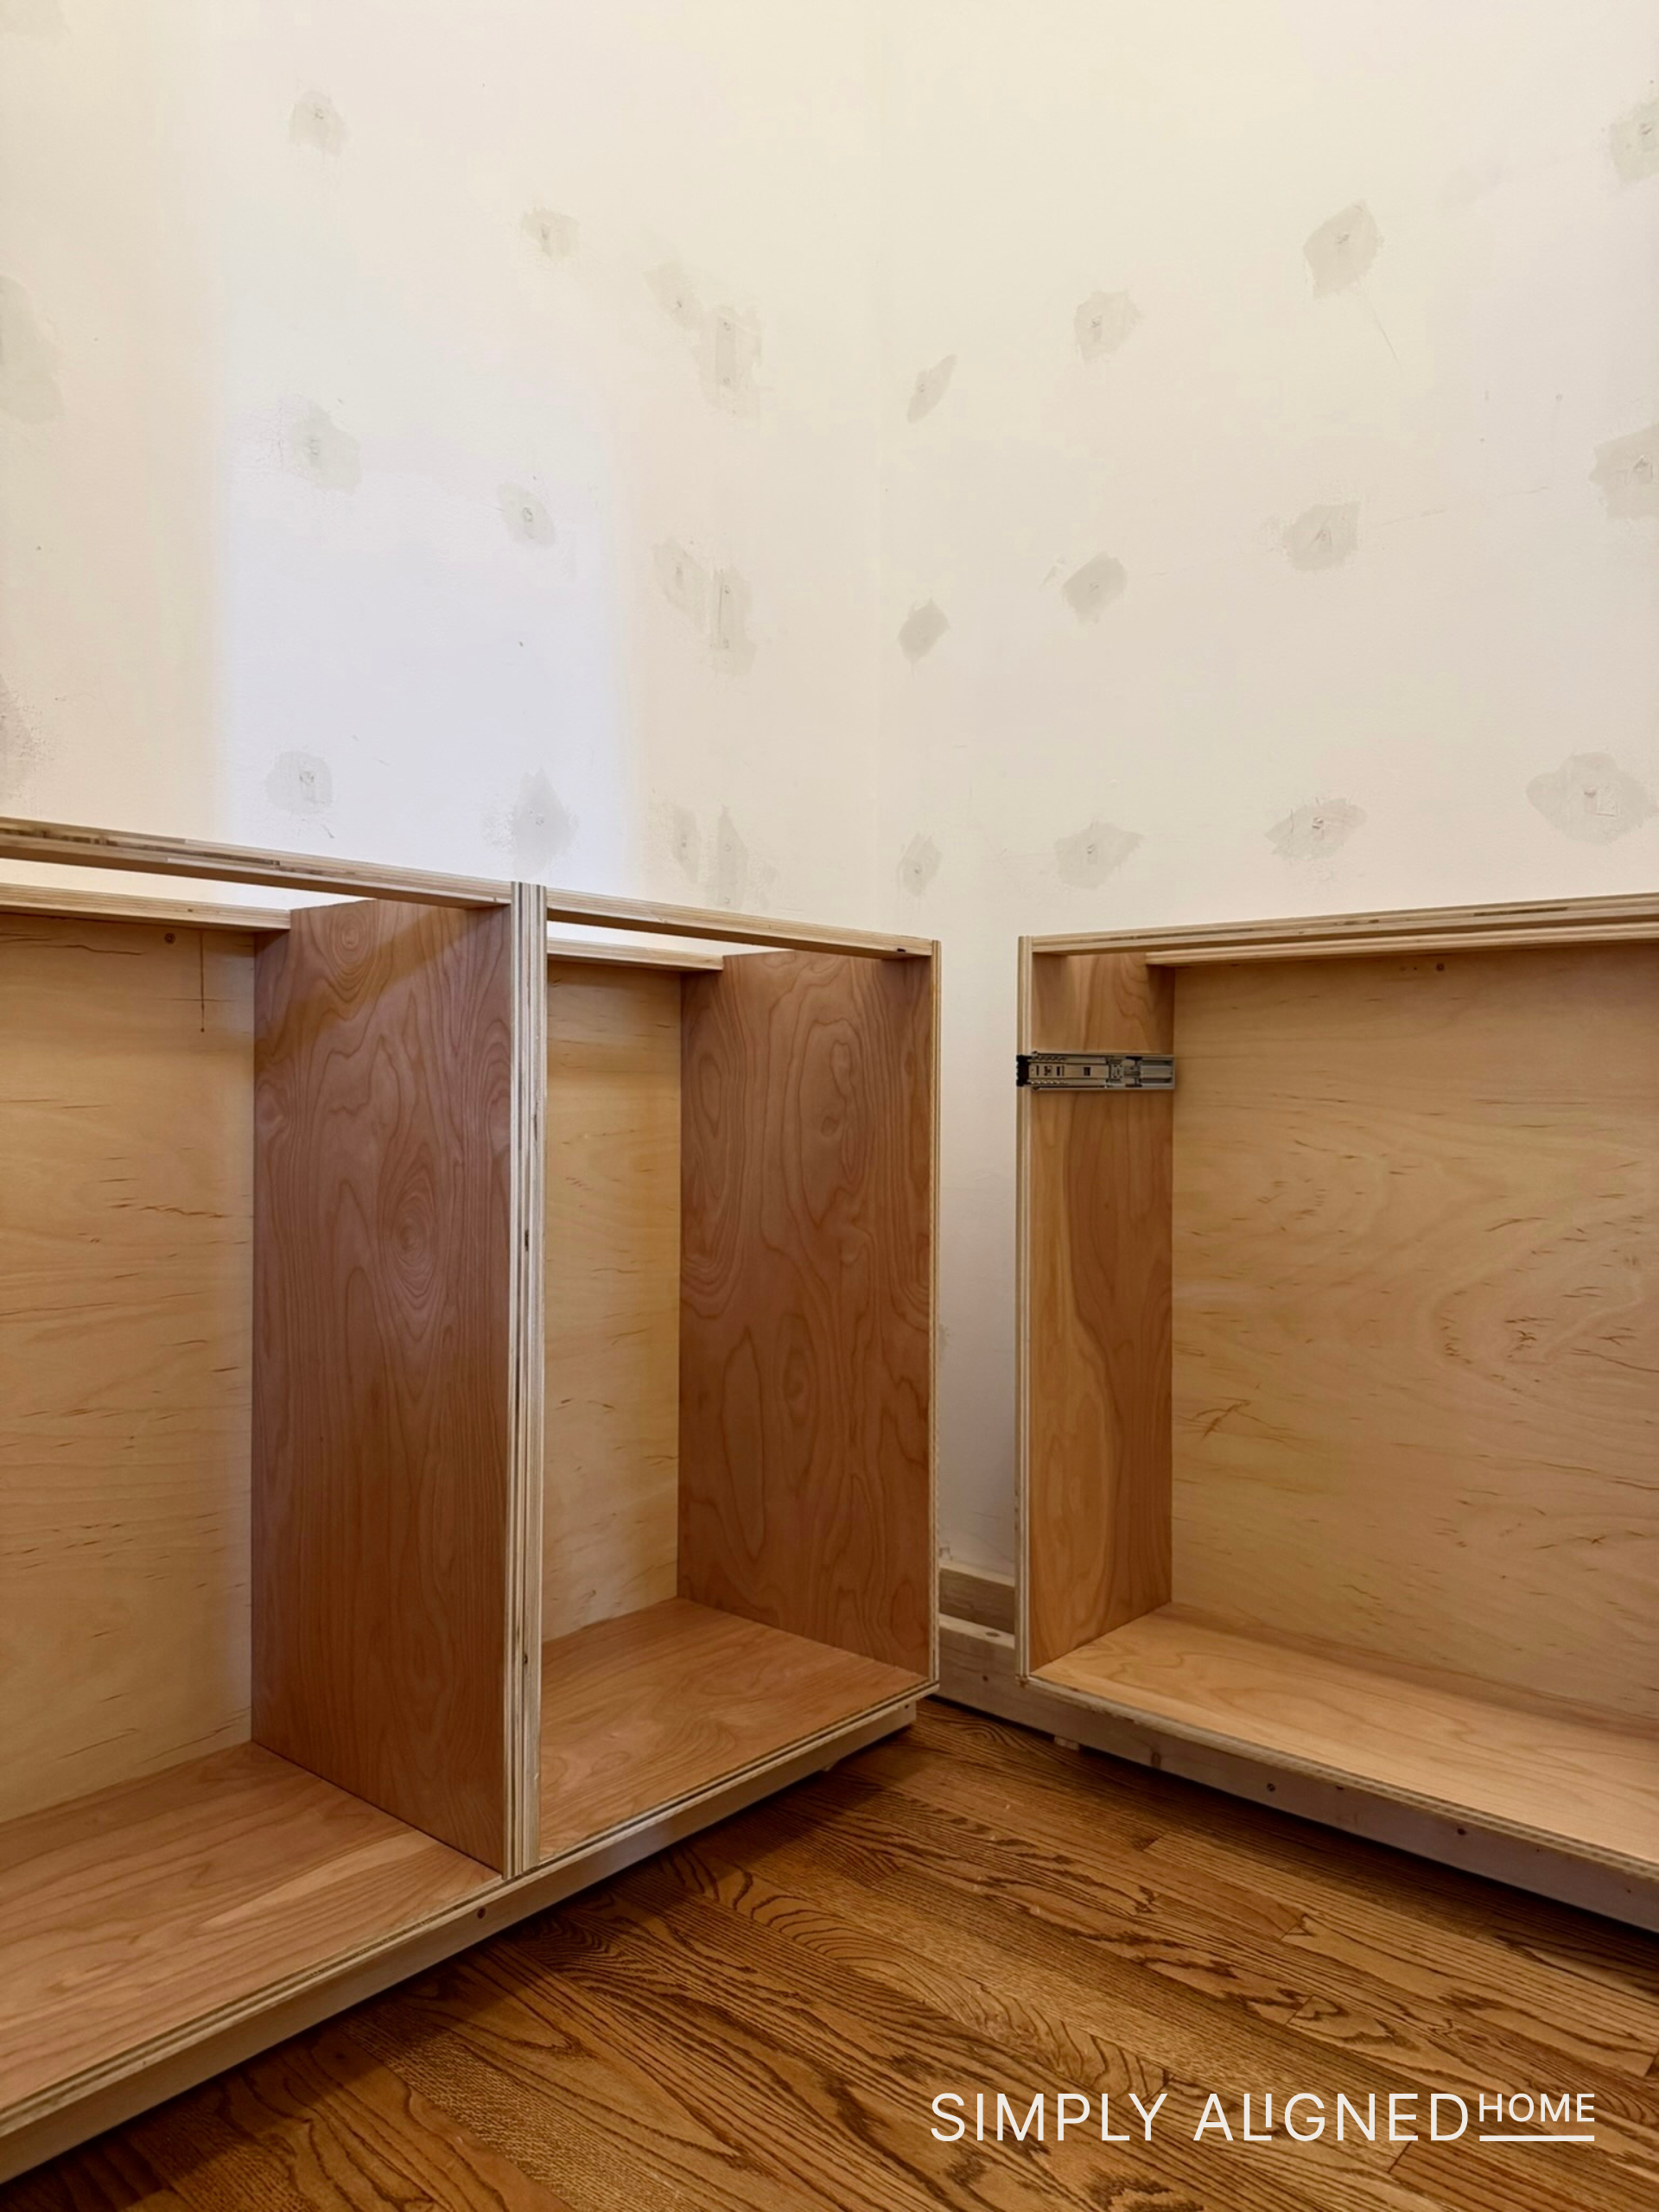
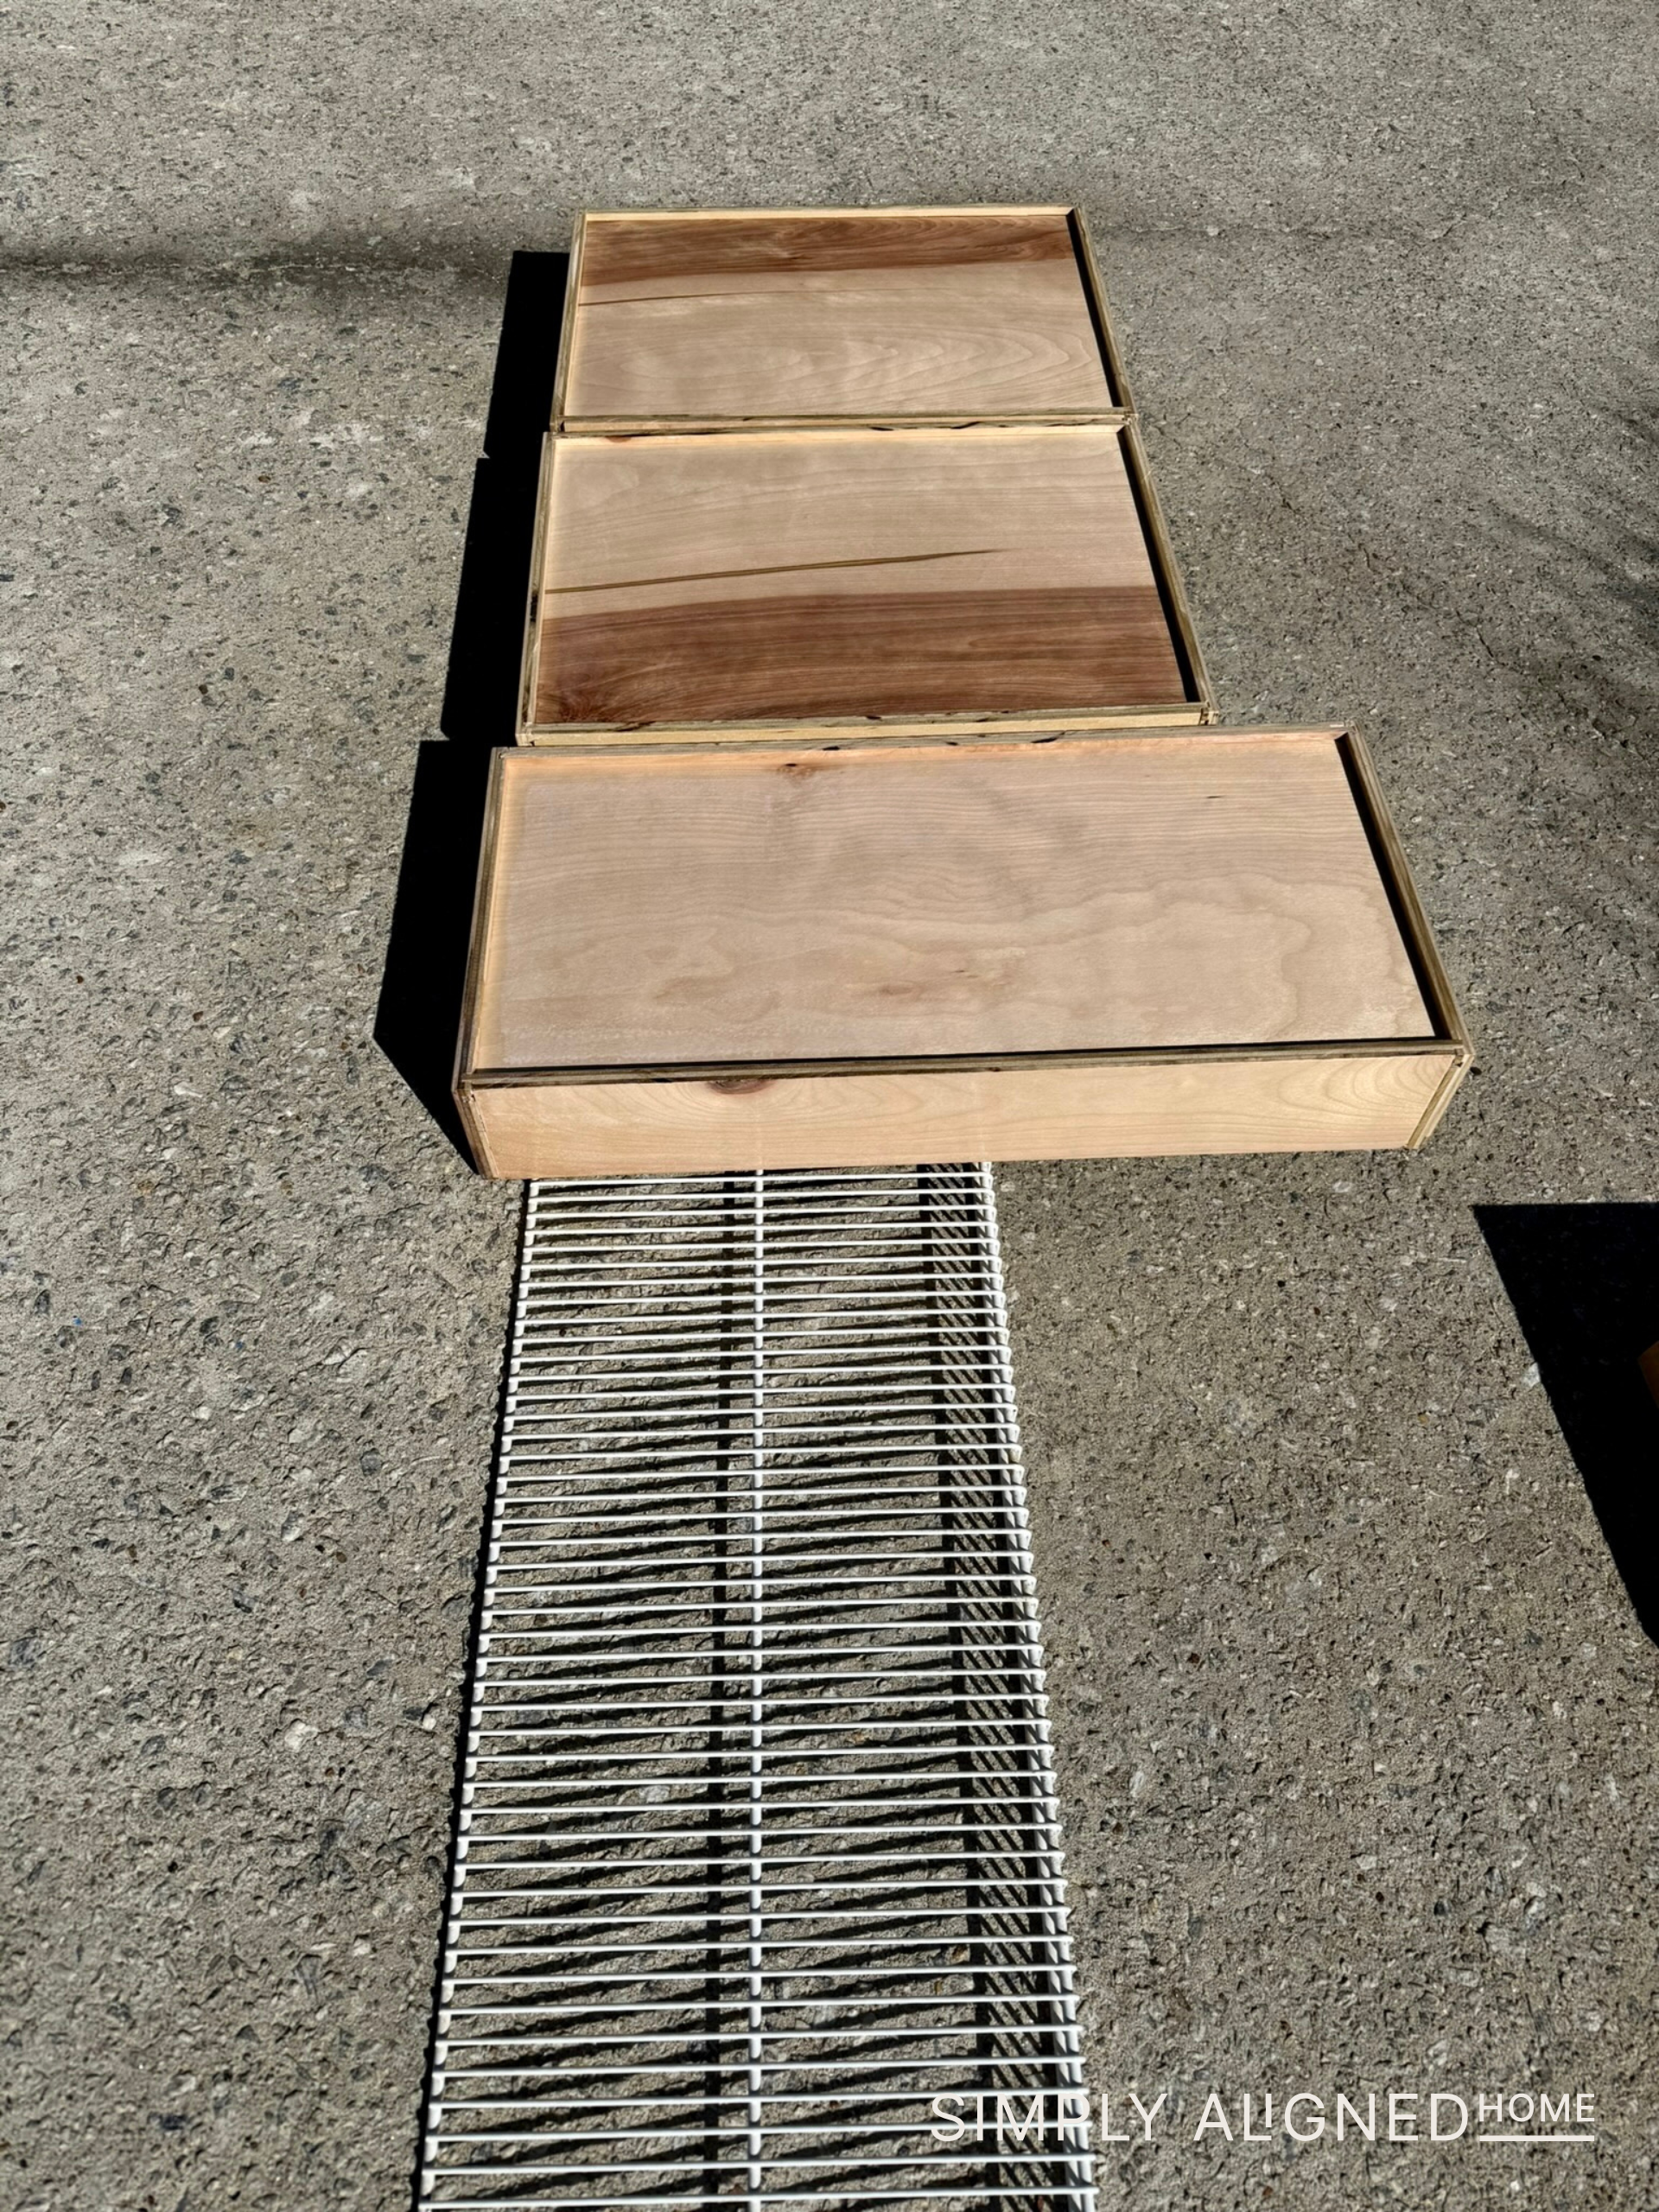
Building the Cabinet Boxes
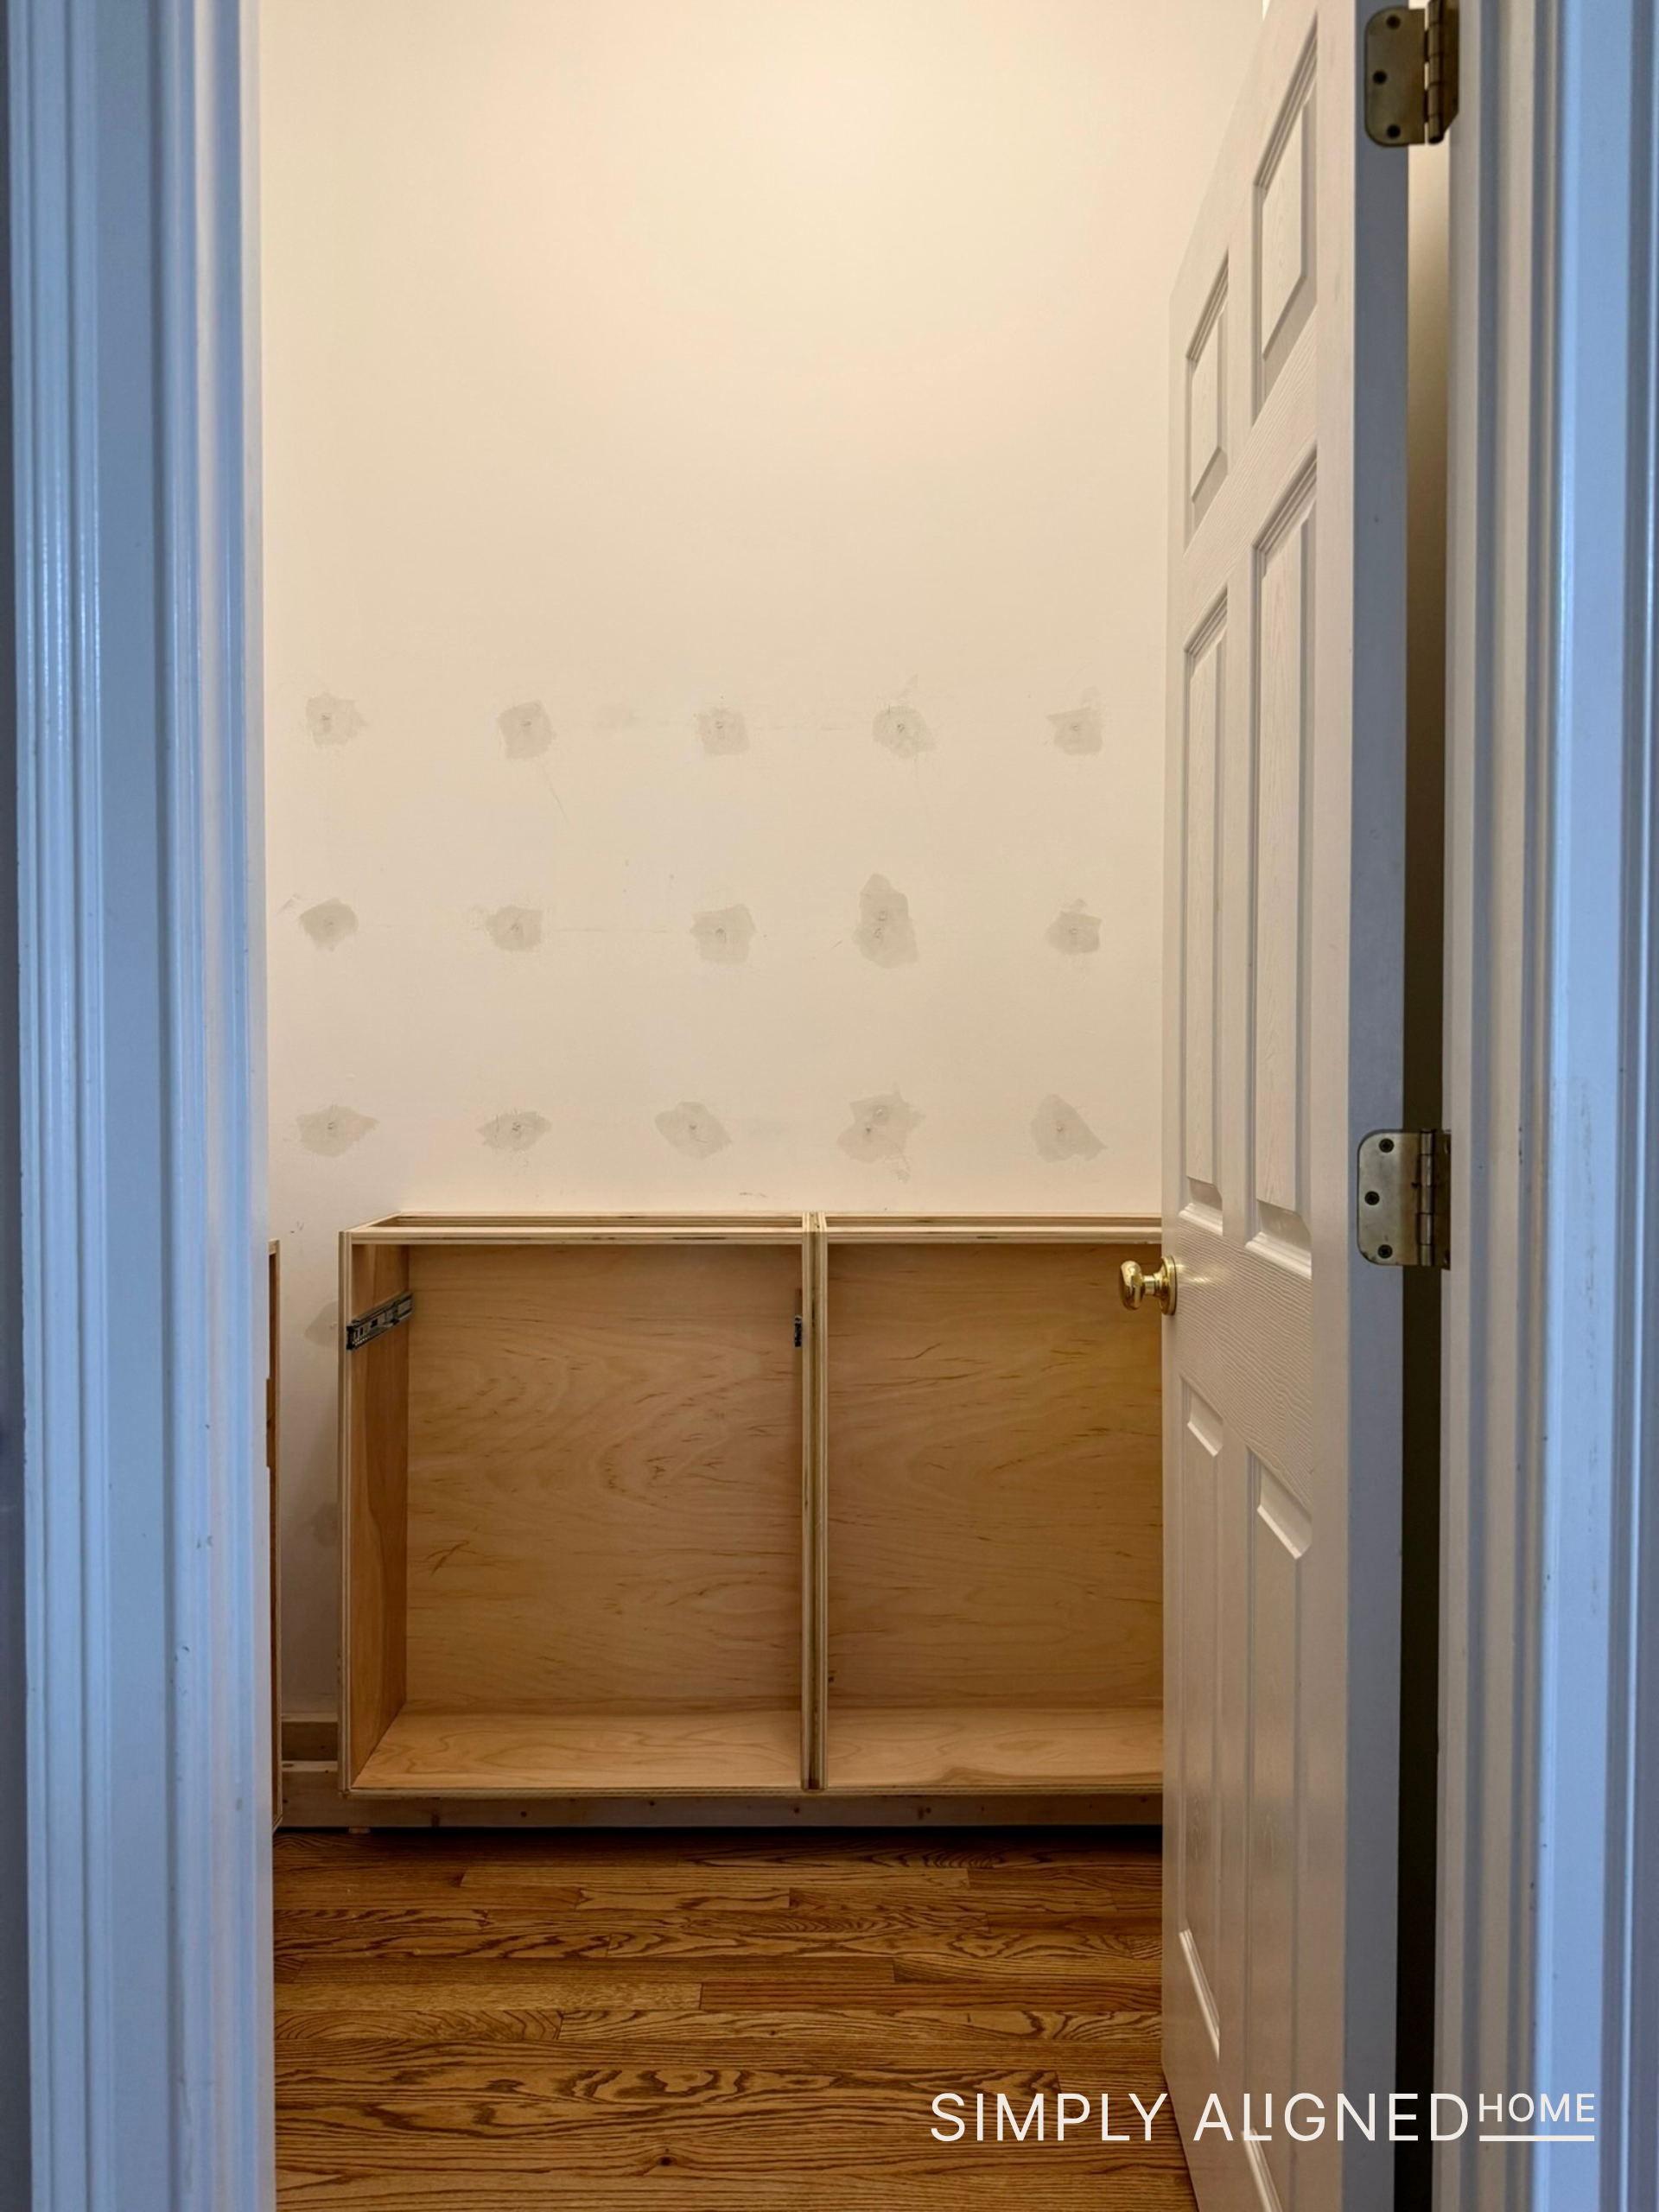
Since space in this pantry is limited, I decided it would be easiest to build one large cabinet box for each wall instead of several smaller ones. Cabinets can be built so many different ways, but for this layout, one larger unit made the most sense.
To make assembly easier, I notched out the bottom panel with my router so the side panels could sit directly into it. This makes everything line up more cleanly and adds strength to the box.
For assembly, I used the following:
- Wood glue
- Trim screws
- Pocket screws for the stretchers
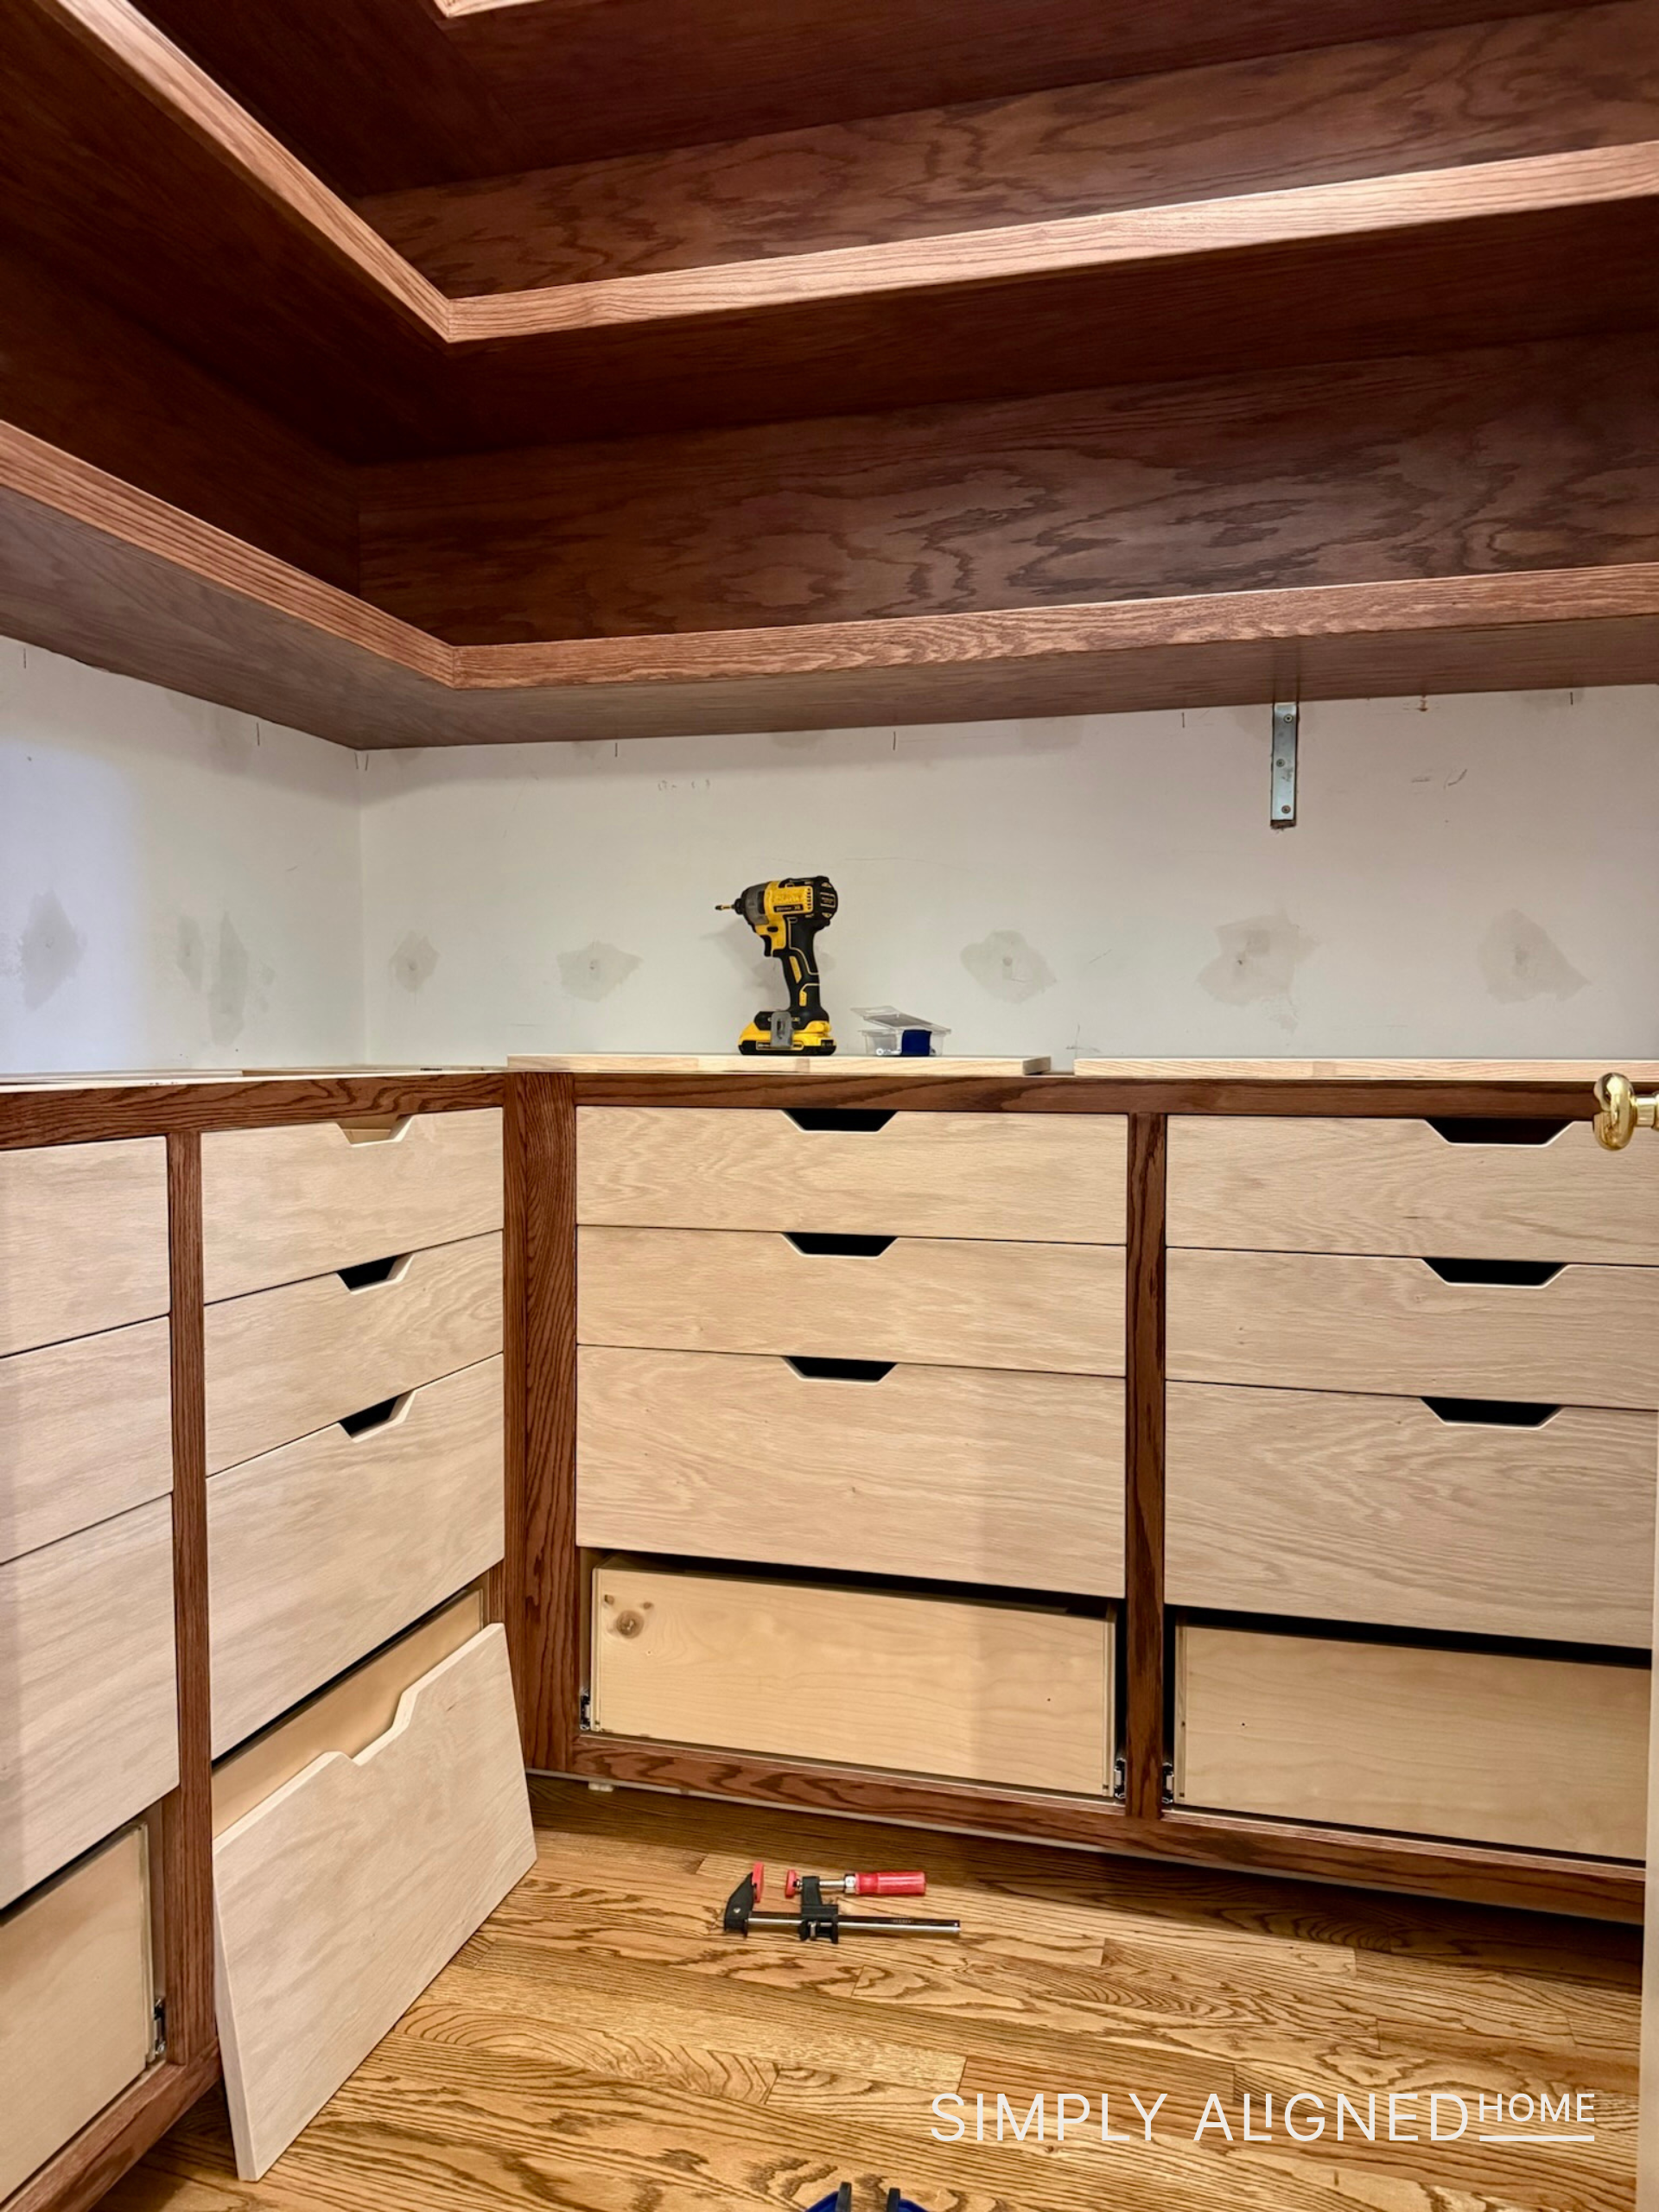
I assembled everything directly in the kitchen so I wouldn’t have to move heavy boxes very far once they were built. Especially with the larger cabinet, I waited to install the back panel until it was inside the pantry…there’s no way I would have been able to maneuver it otherwise!
Building Drawers
Once the cabinet boxes were assembled, I started working through drawer dimensions. I decided to make a test drawer to ensure that my dimensions were correct.
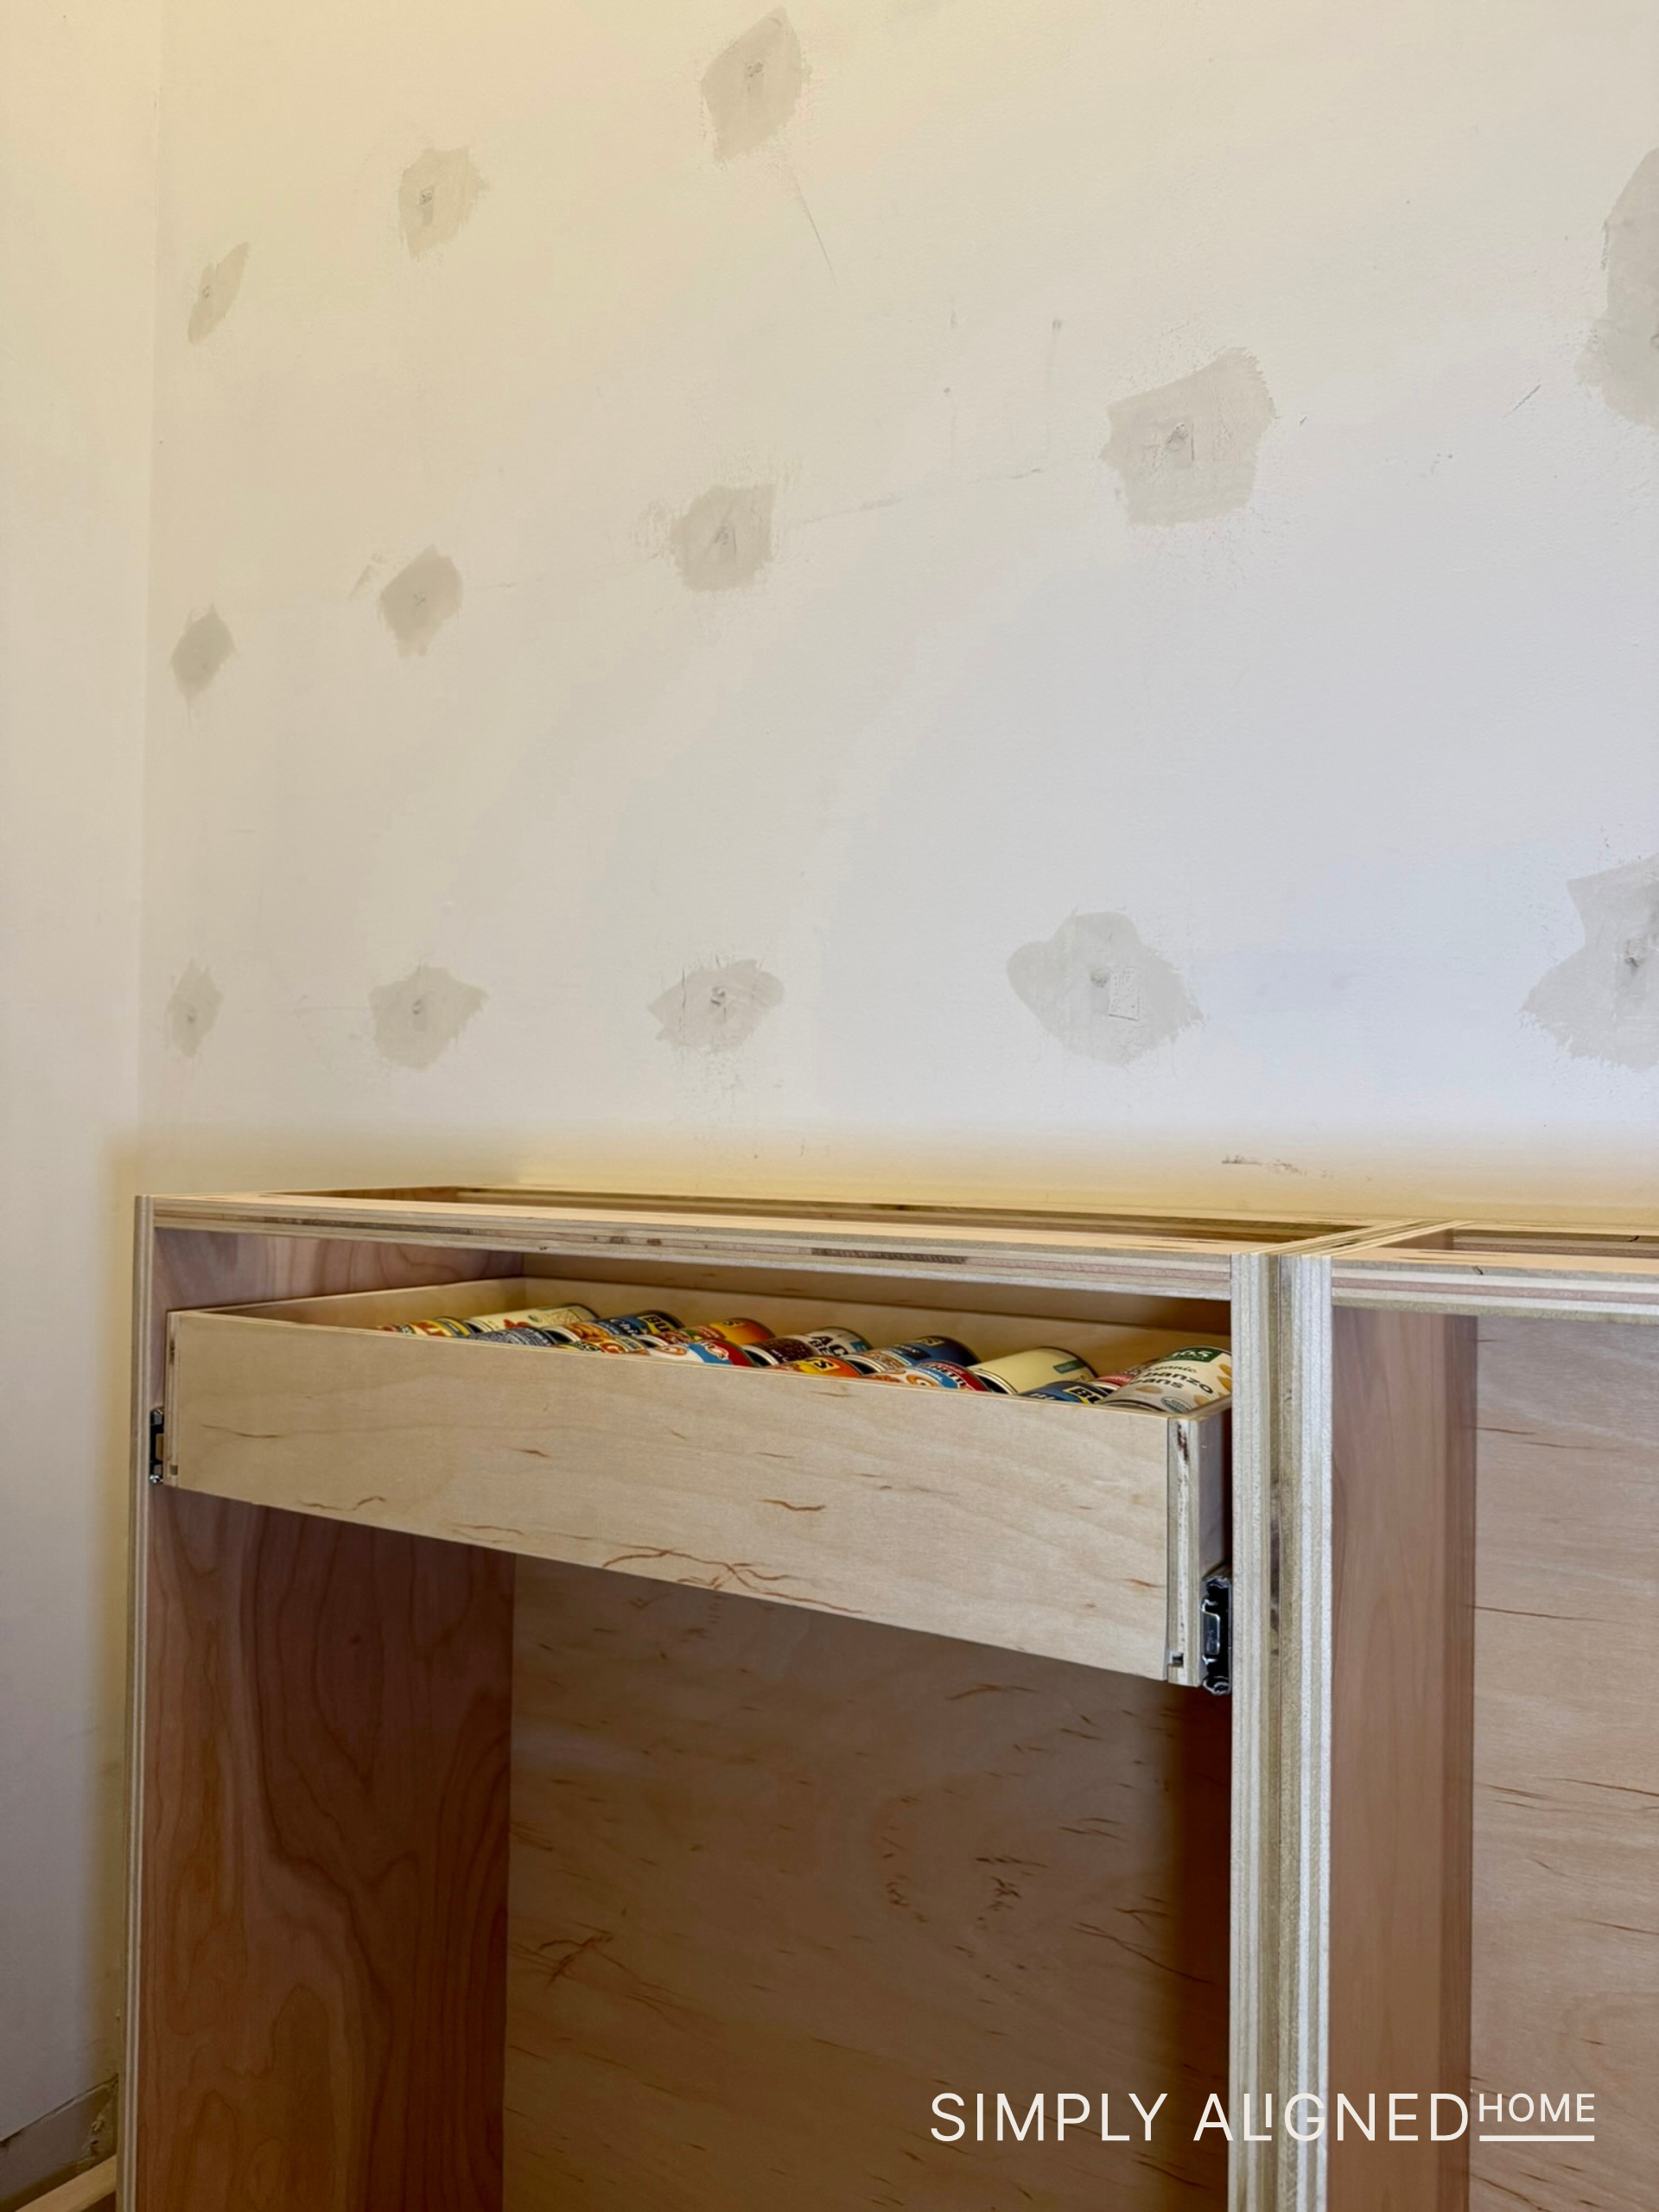
The first drawer I tested was a “can” drawer, and it worked! That’s always a good feeling.
The Quarter–Quarter–Quarter Drawer Method
For these drawers, I used what I call the “quarter, quarter, quarter” technique which is based on table saw setup:
- ¼” dado stack blade
- Raised ¼” high
- Fence set ¼” from the blade
The side pieces (½” plywood) get a groove inset ¼” from the edge.
The front and back panels have the groove cut directly on the edge.
The bottom panel is ¼” plywood and slides perfectly into place.
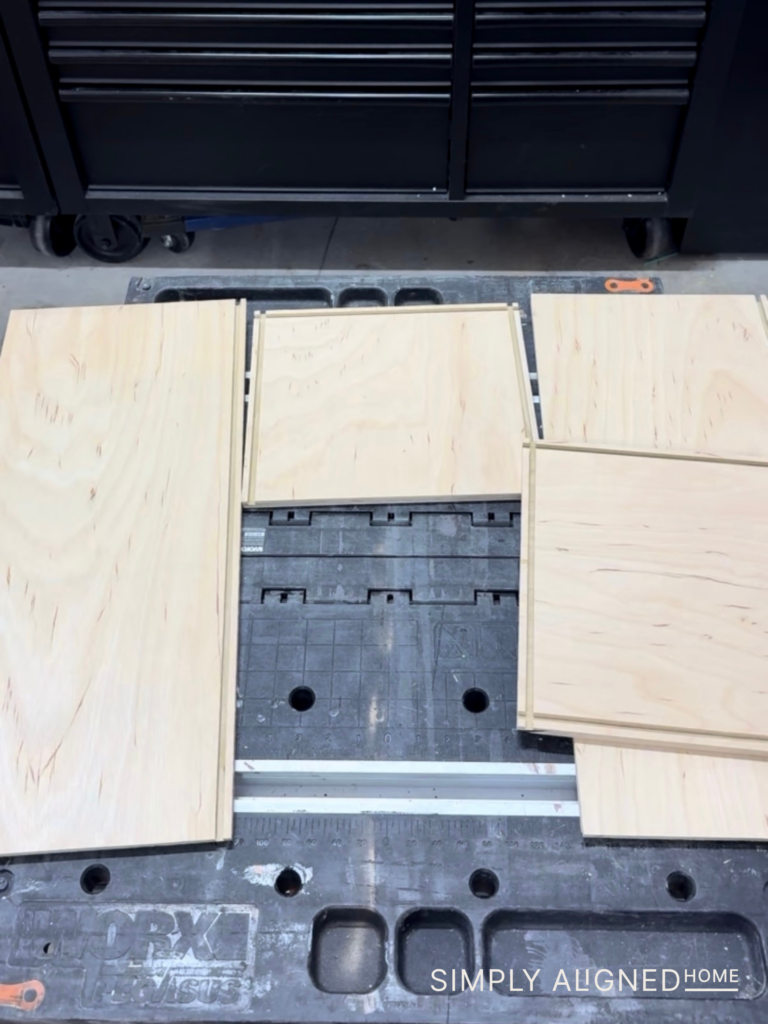
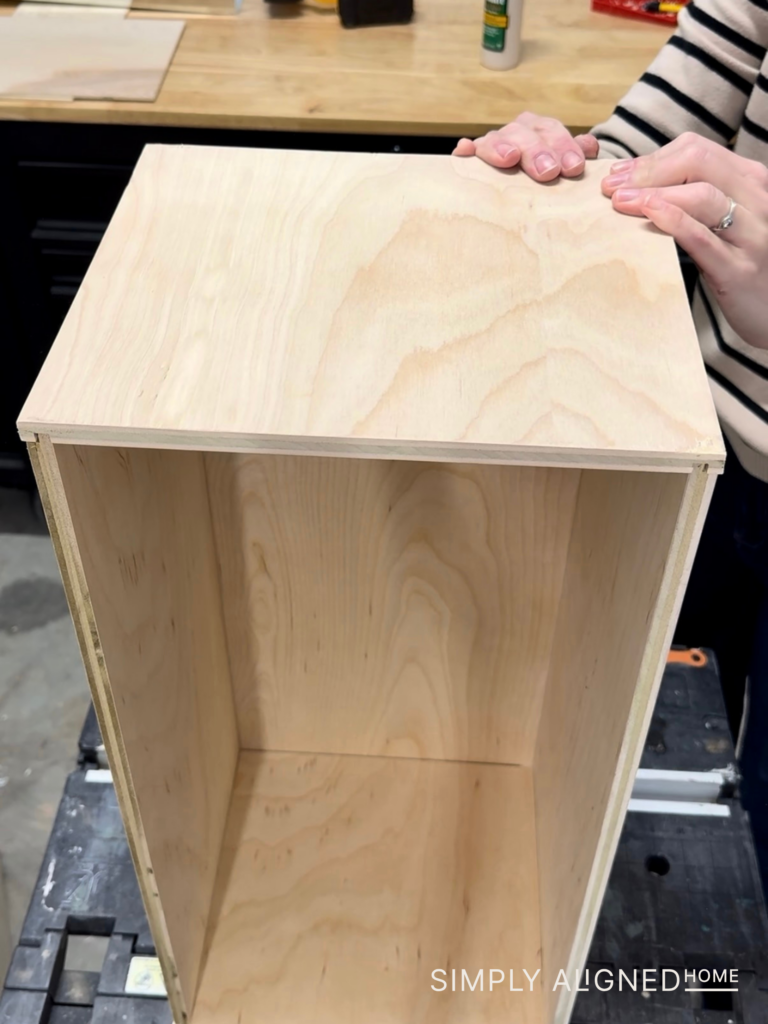
Everything fits together cleanly, and once glued and secured with brad nails, they become incredibly sturdy drawer boxes.
Sealing + Slide Installation
After all the drawer boxes were built, I applied two coats of poly with a light sanding between coats. This protects the plywood and makes the drawers more durable long term.
Installing drawer slides can feel intimidating, but a few simple tricks make it manageable:
- Attach the slide to the drawer box first on a flat surface.
- Clamp a level straight edge inside the cabinet where the bottom of the drawer will sit.
- Set the cabinet-side slide on the straight edge and secure it to the cabinet box.
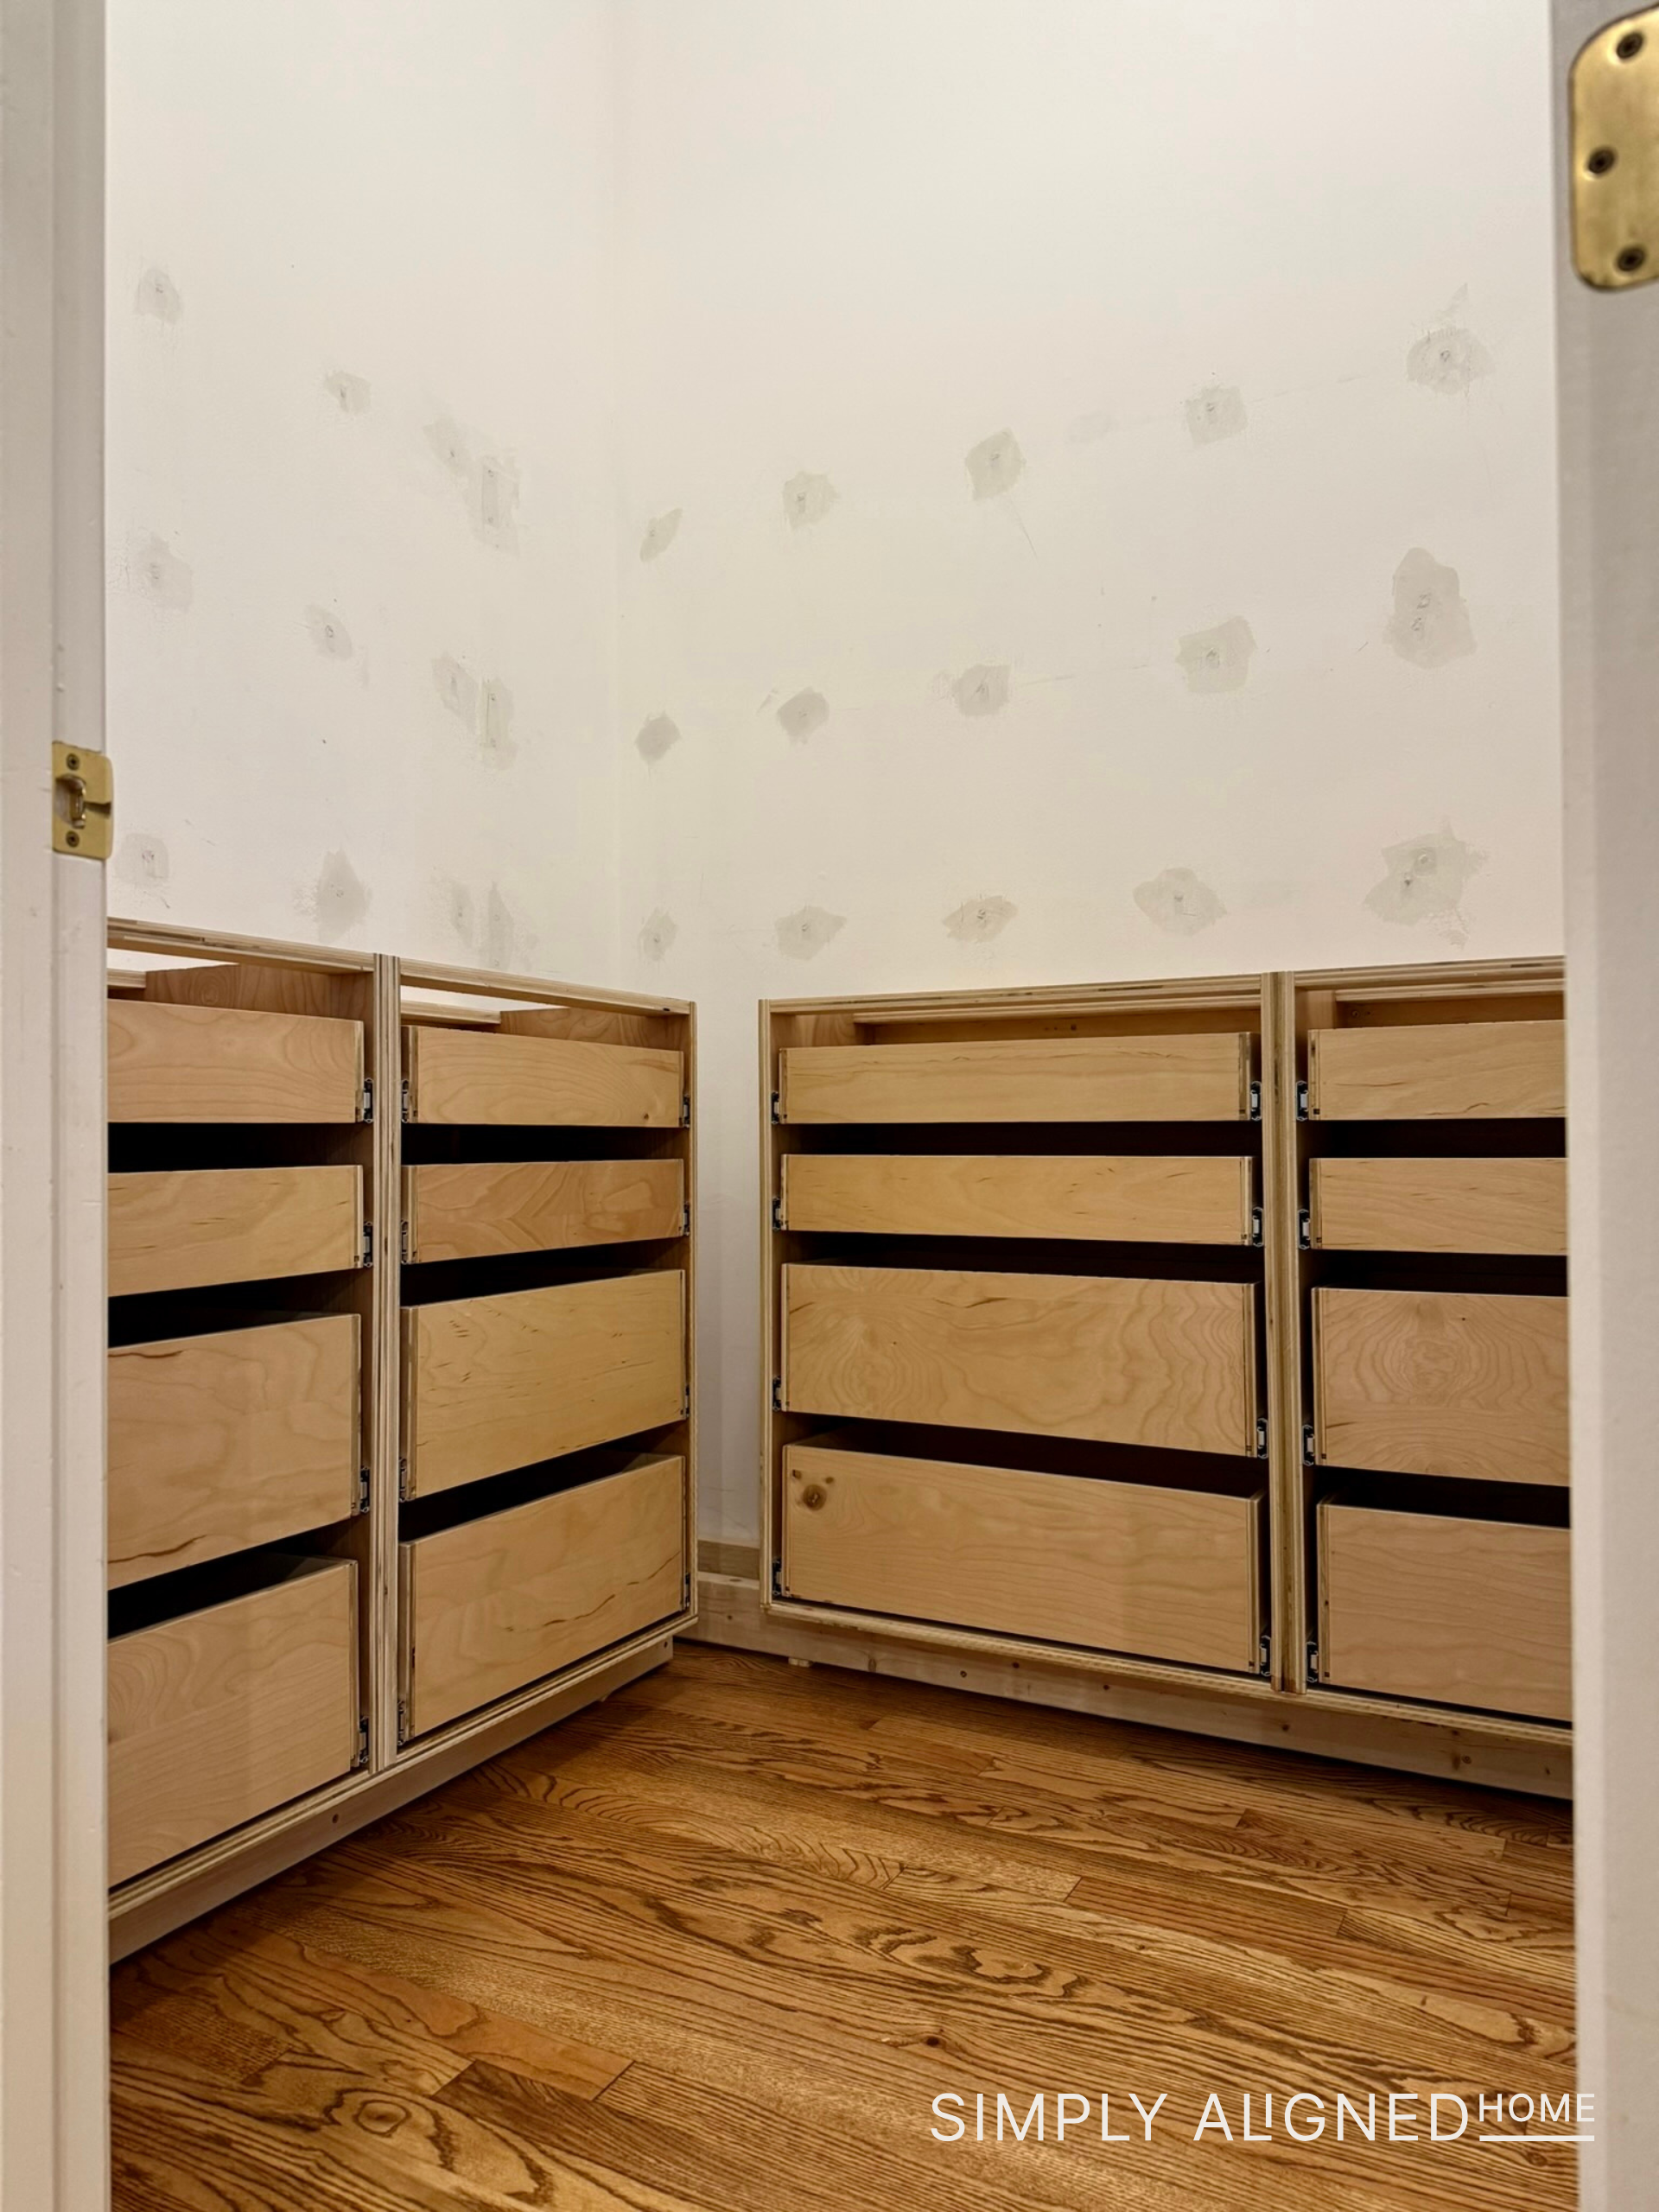
It removes the guesswork and keeps everything aligned!
Adding Floating Shelves
Before finishing out the cabinets, I wanted to install floating shelves above. This is something I’ve done before in our wet bar, and I love both the look and the function. For these shelves, I built a frame and then wrapped it in plywood.
The first step was cutting horizontal strips out of the drywall where each shelf would sit. I used a level to make sure every line was perfectly straight before cutting.
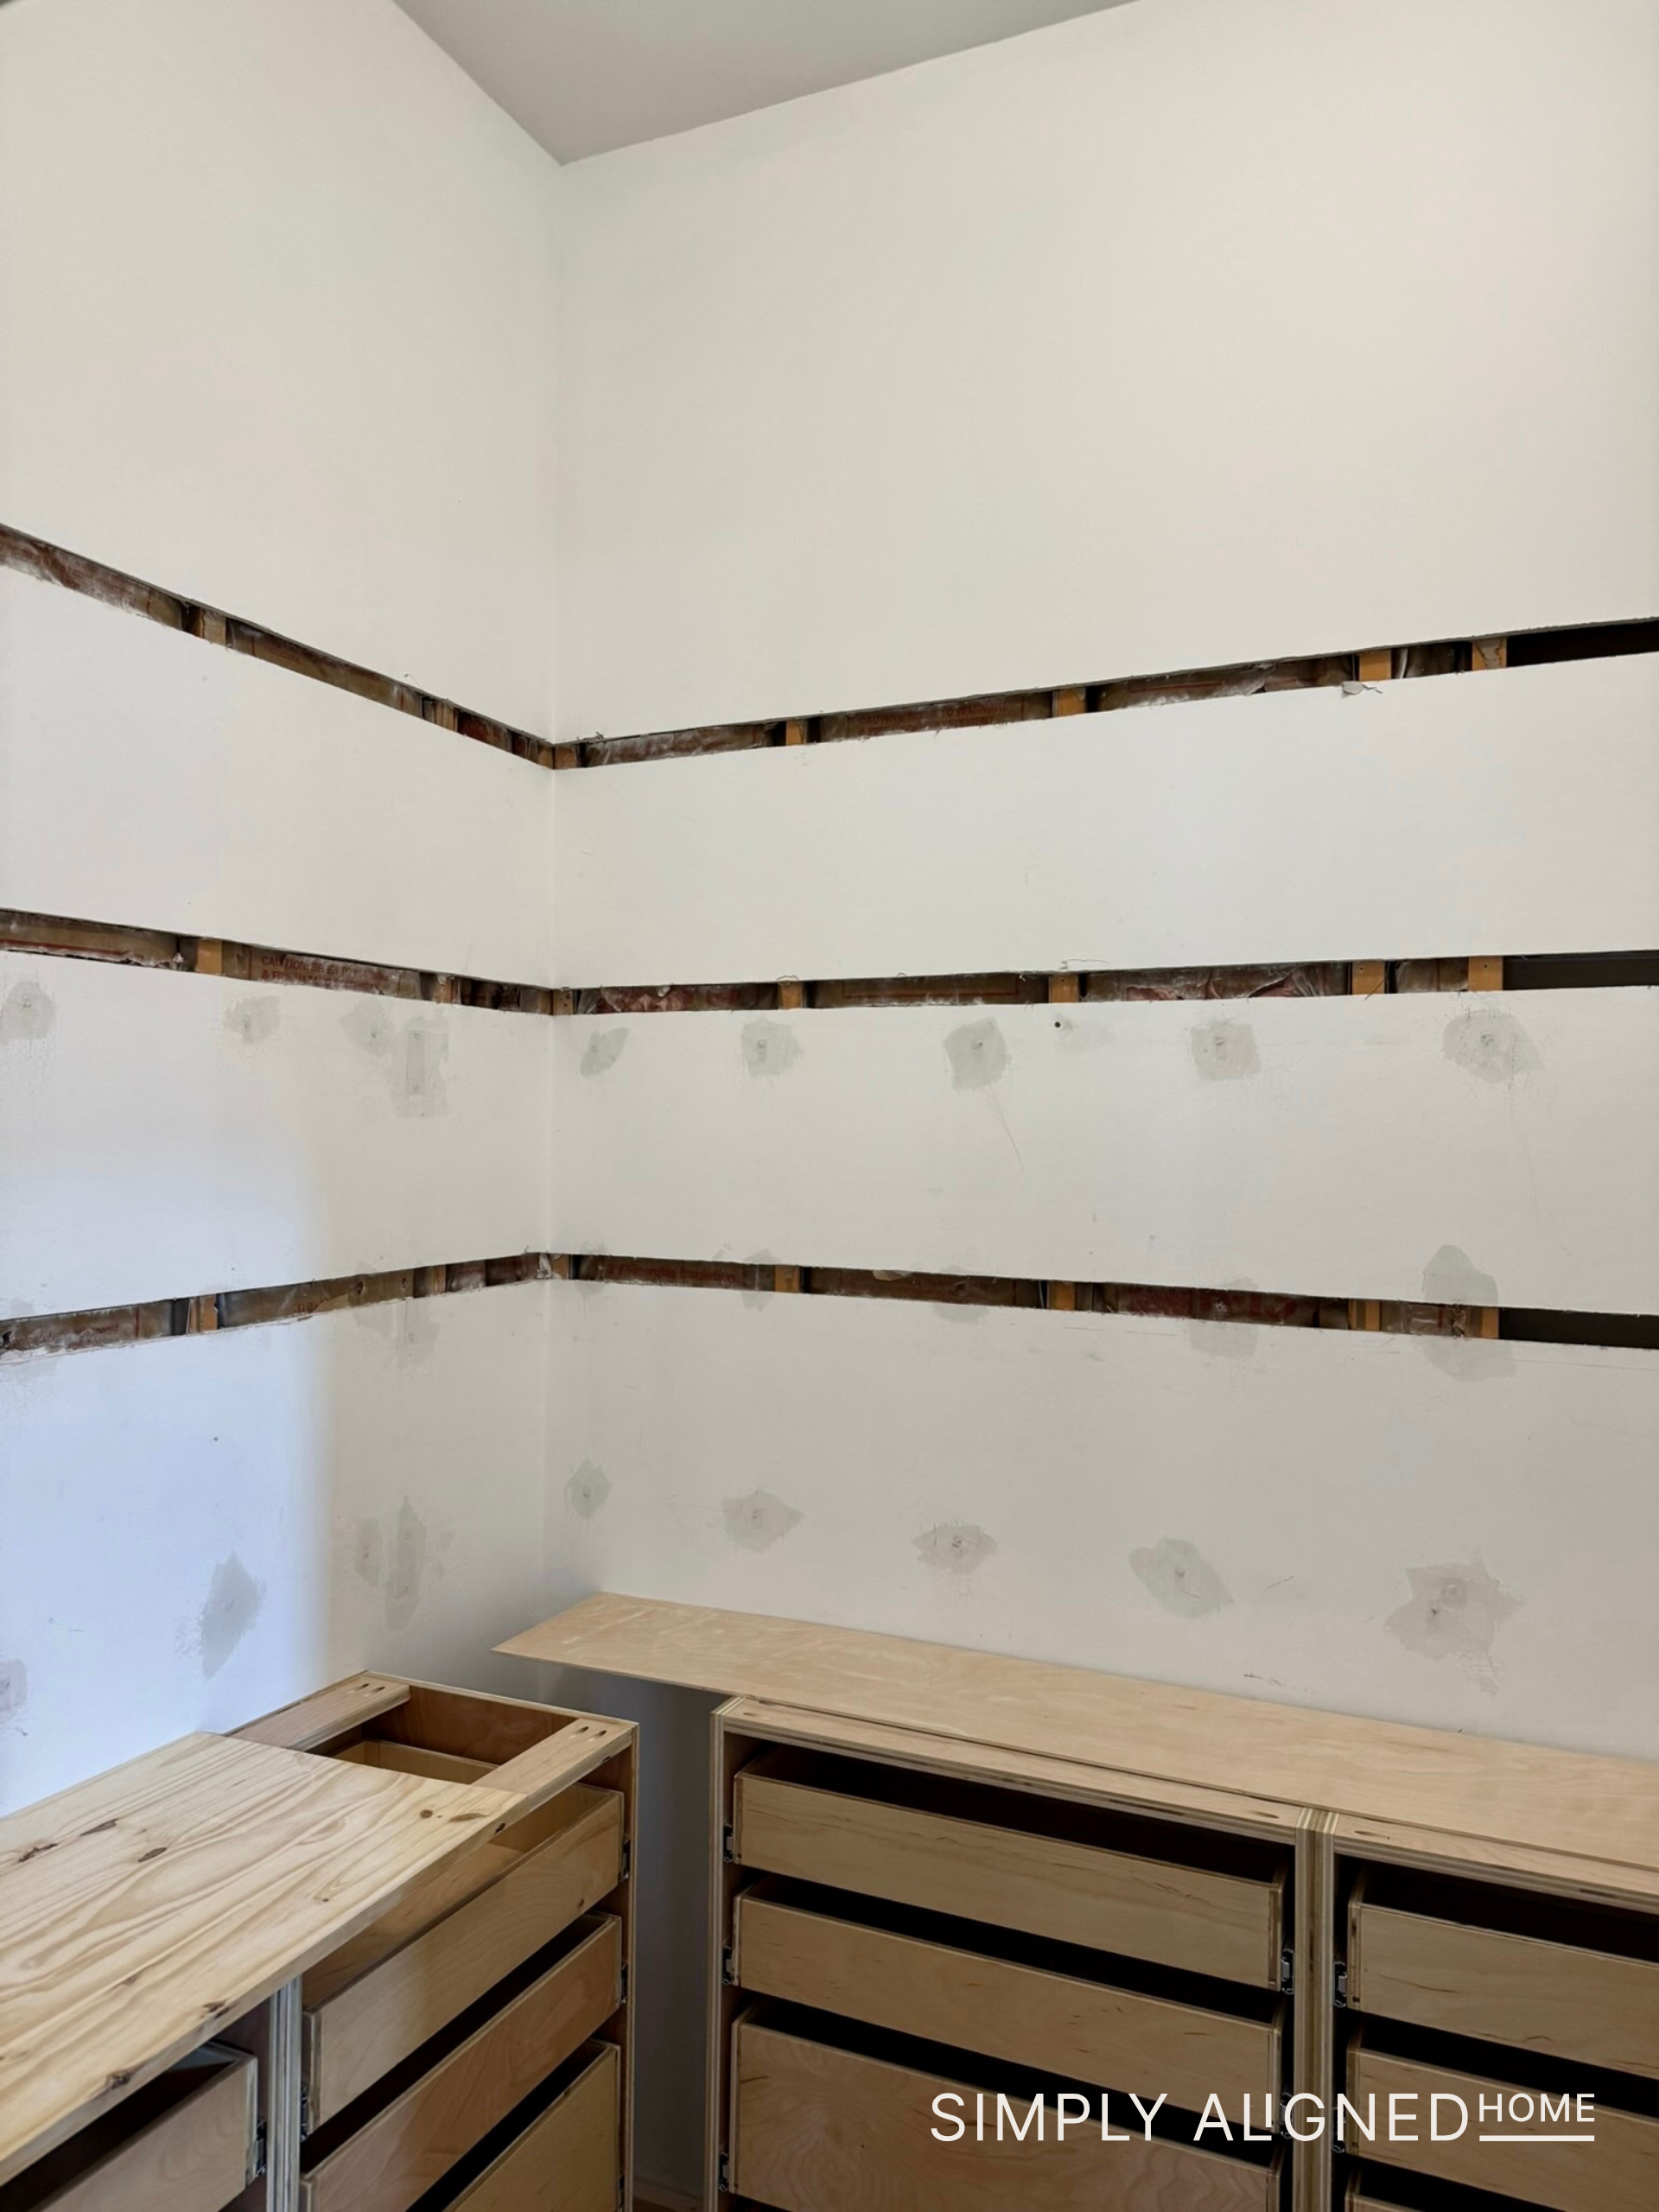
I got a lot of questions about why I remove drywall for this…and the reason is simple: Drywall is soft. If you install shelf supports directly over drywall, there’s a good chance it will shift over time…especially if the shelves are holding weight or being pulled on (which definitely happens with kids around). By removing the drywall, I’m able to anchor the supports directly into the studs for a much stronger, more secure install.
Building + Installing the Shelf Supports
Once the drywall was removed, I assembled the shelf supports using wood glue and screws. I used a countersink bit so the screw heads would sit flush within the wood, keeping everything clean and easy to wrap later.
After that, I installed each support into the wall:
- Leveled it carefully
- Secured it into the studs

For the longer spans, I added a center bracket for extra support. That meant removing a bit more drywall, but it’s absolutely worth it for the added strength.
Staining the Shelves
Before installing the shelf panels, I wanted to stain everything. I tested several stain combinations and didn’t love any of them. Instead of forcing something I wasn’t excited about, I pivoted (again) and used a leftover wood stain from my closet project, and I’m so glad I did! It tied everything together so nicely.
I stained and sealed all of the plywood pieces before installing them. If you’ve ever stained large panels, you know it can be tricky. It’s easy to see overlap marks so I worked in sections and smoothed everything out as I went.
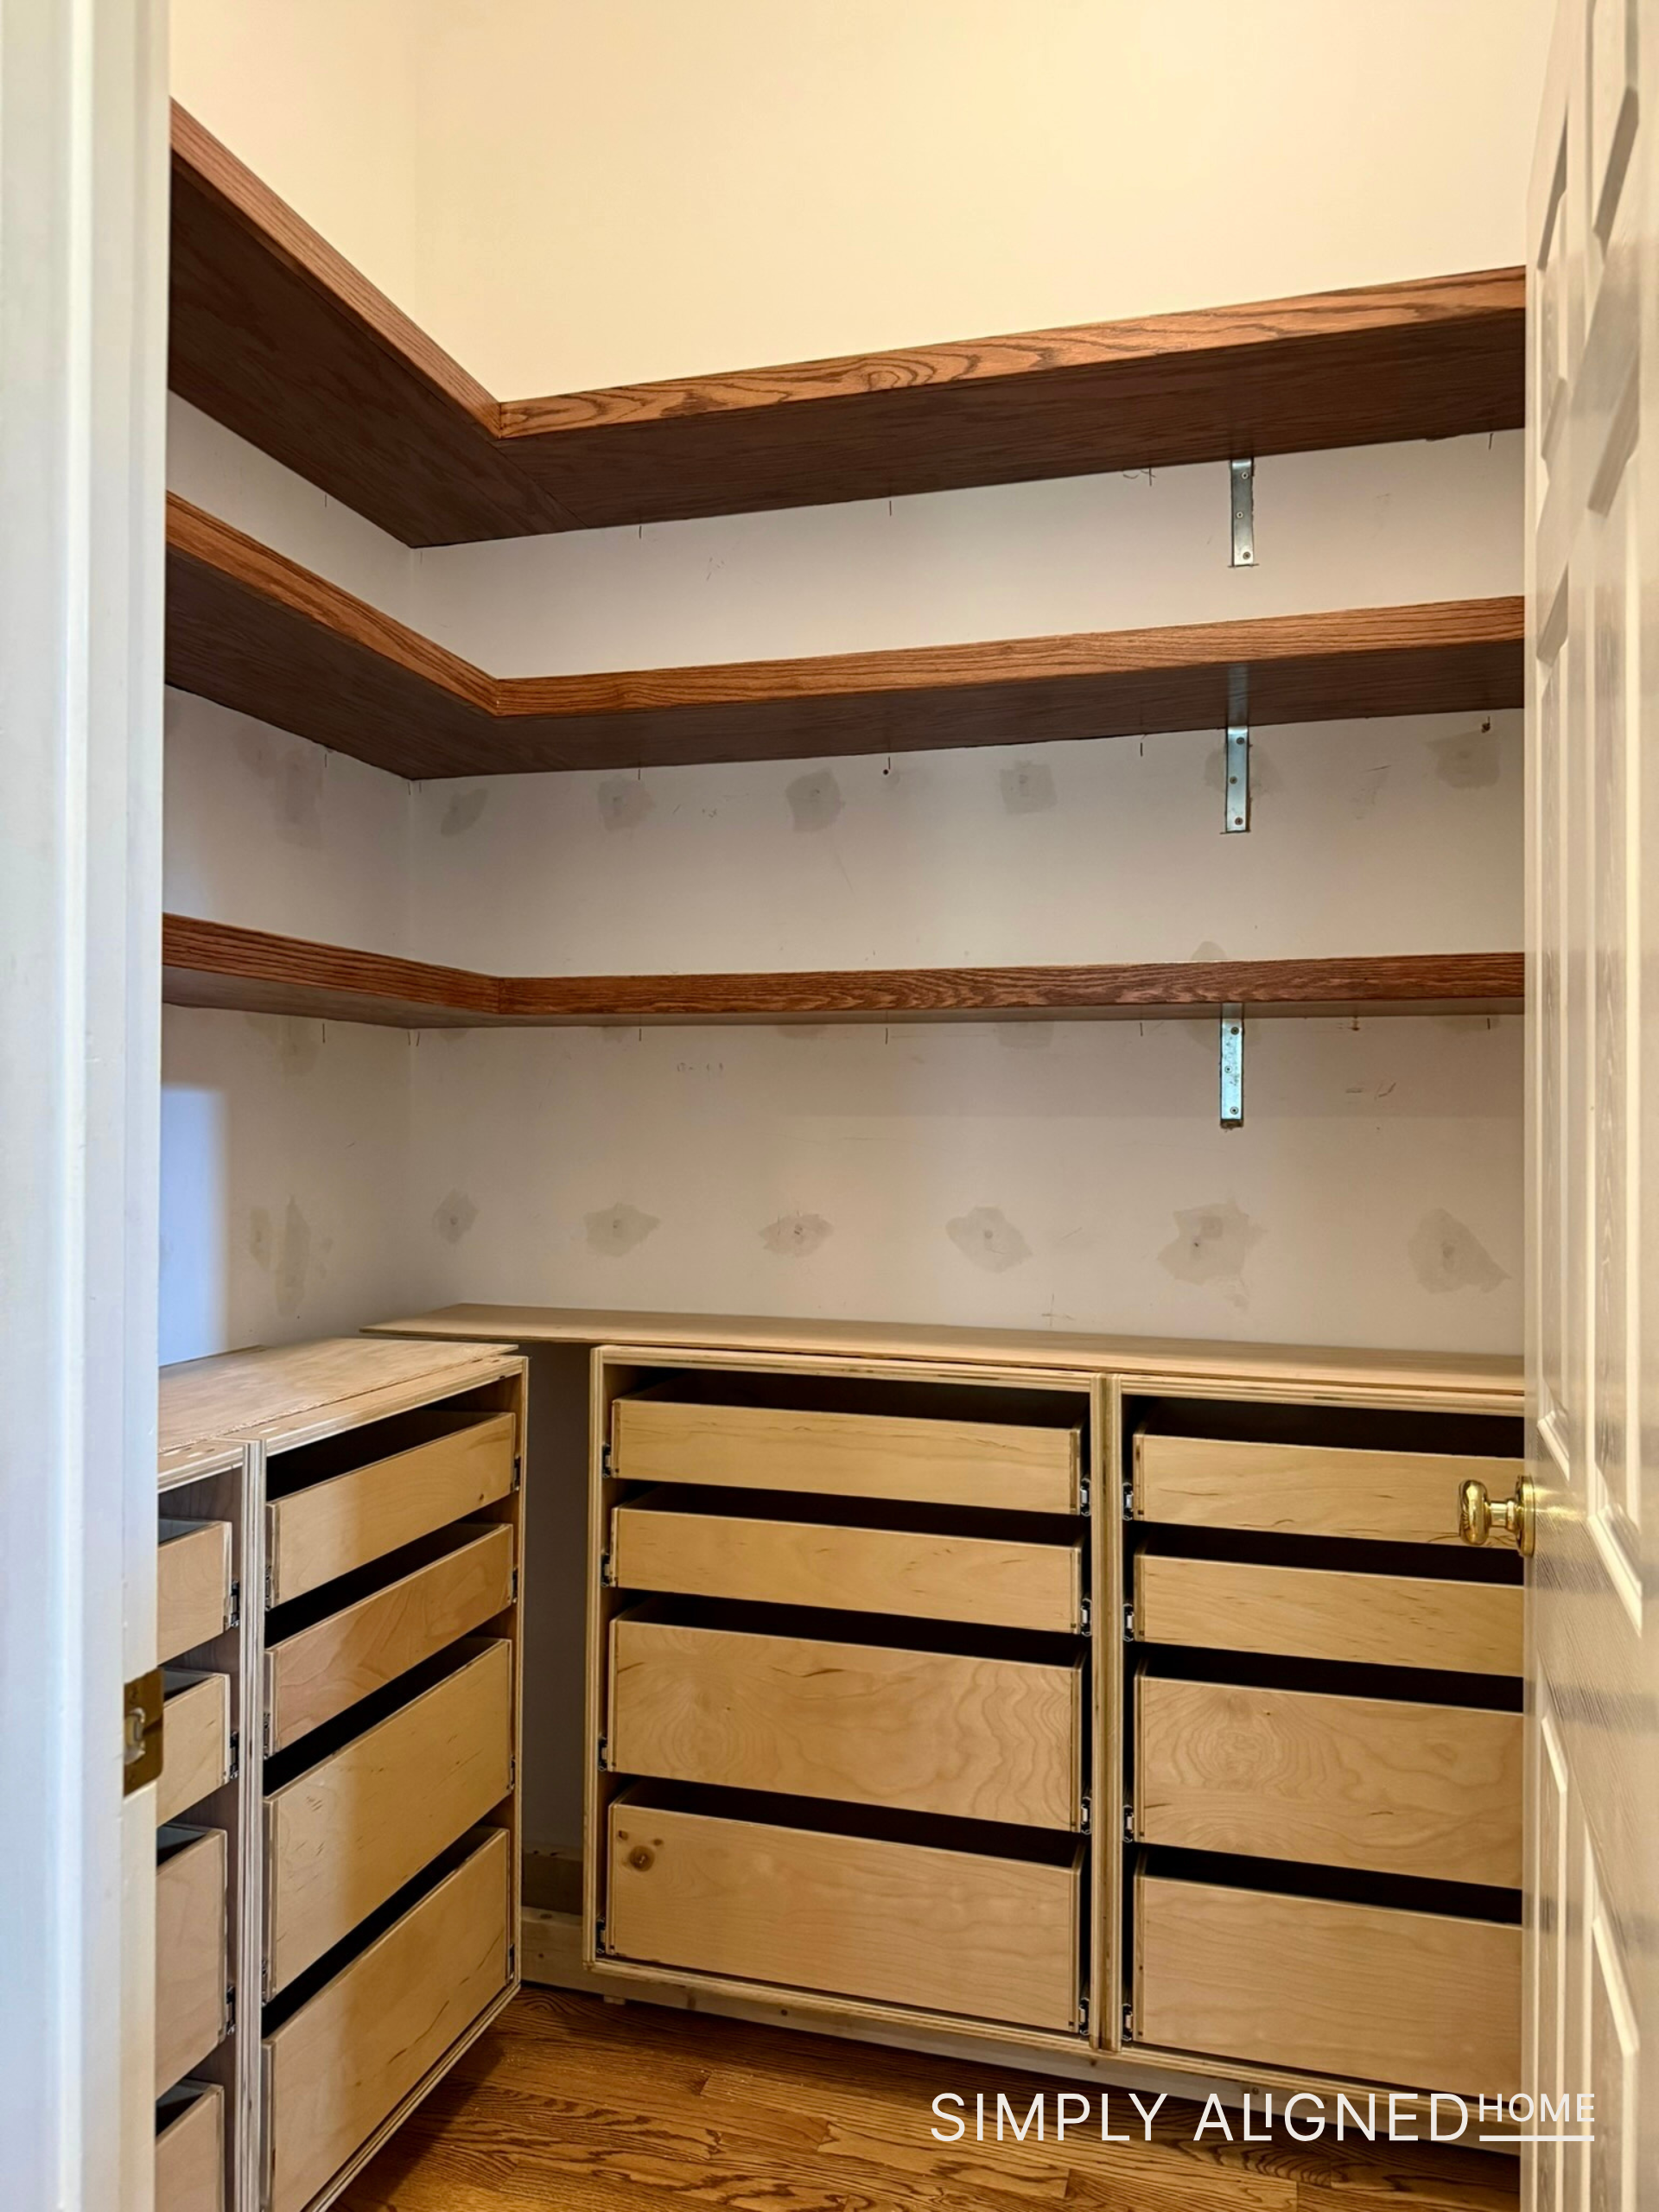
Wrapping the Shelves
Once the sealer was dry, I started wrapping the shelves with the plywood.
For the shelf construction:
- ½” plywood on the top
- ¼” plywood on the underside
I used mending plates in the corners to keep everything level, and secured the panels with wood glue and brad nails.
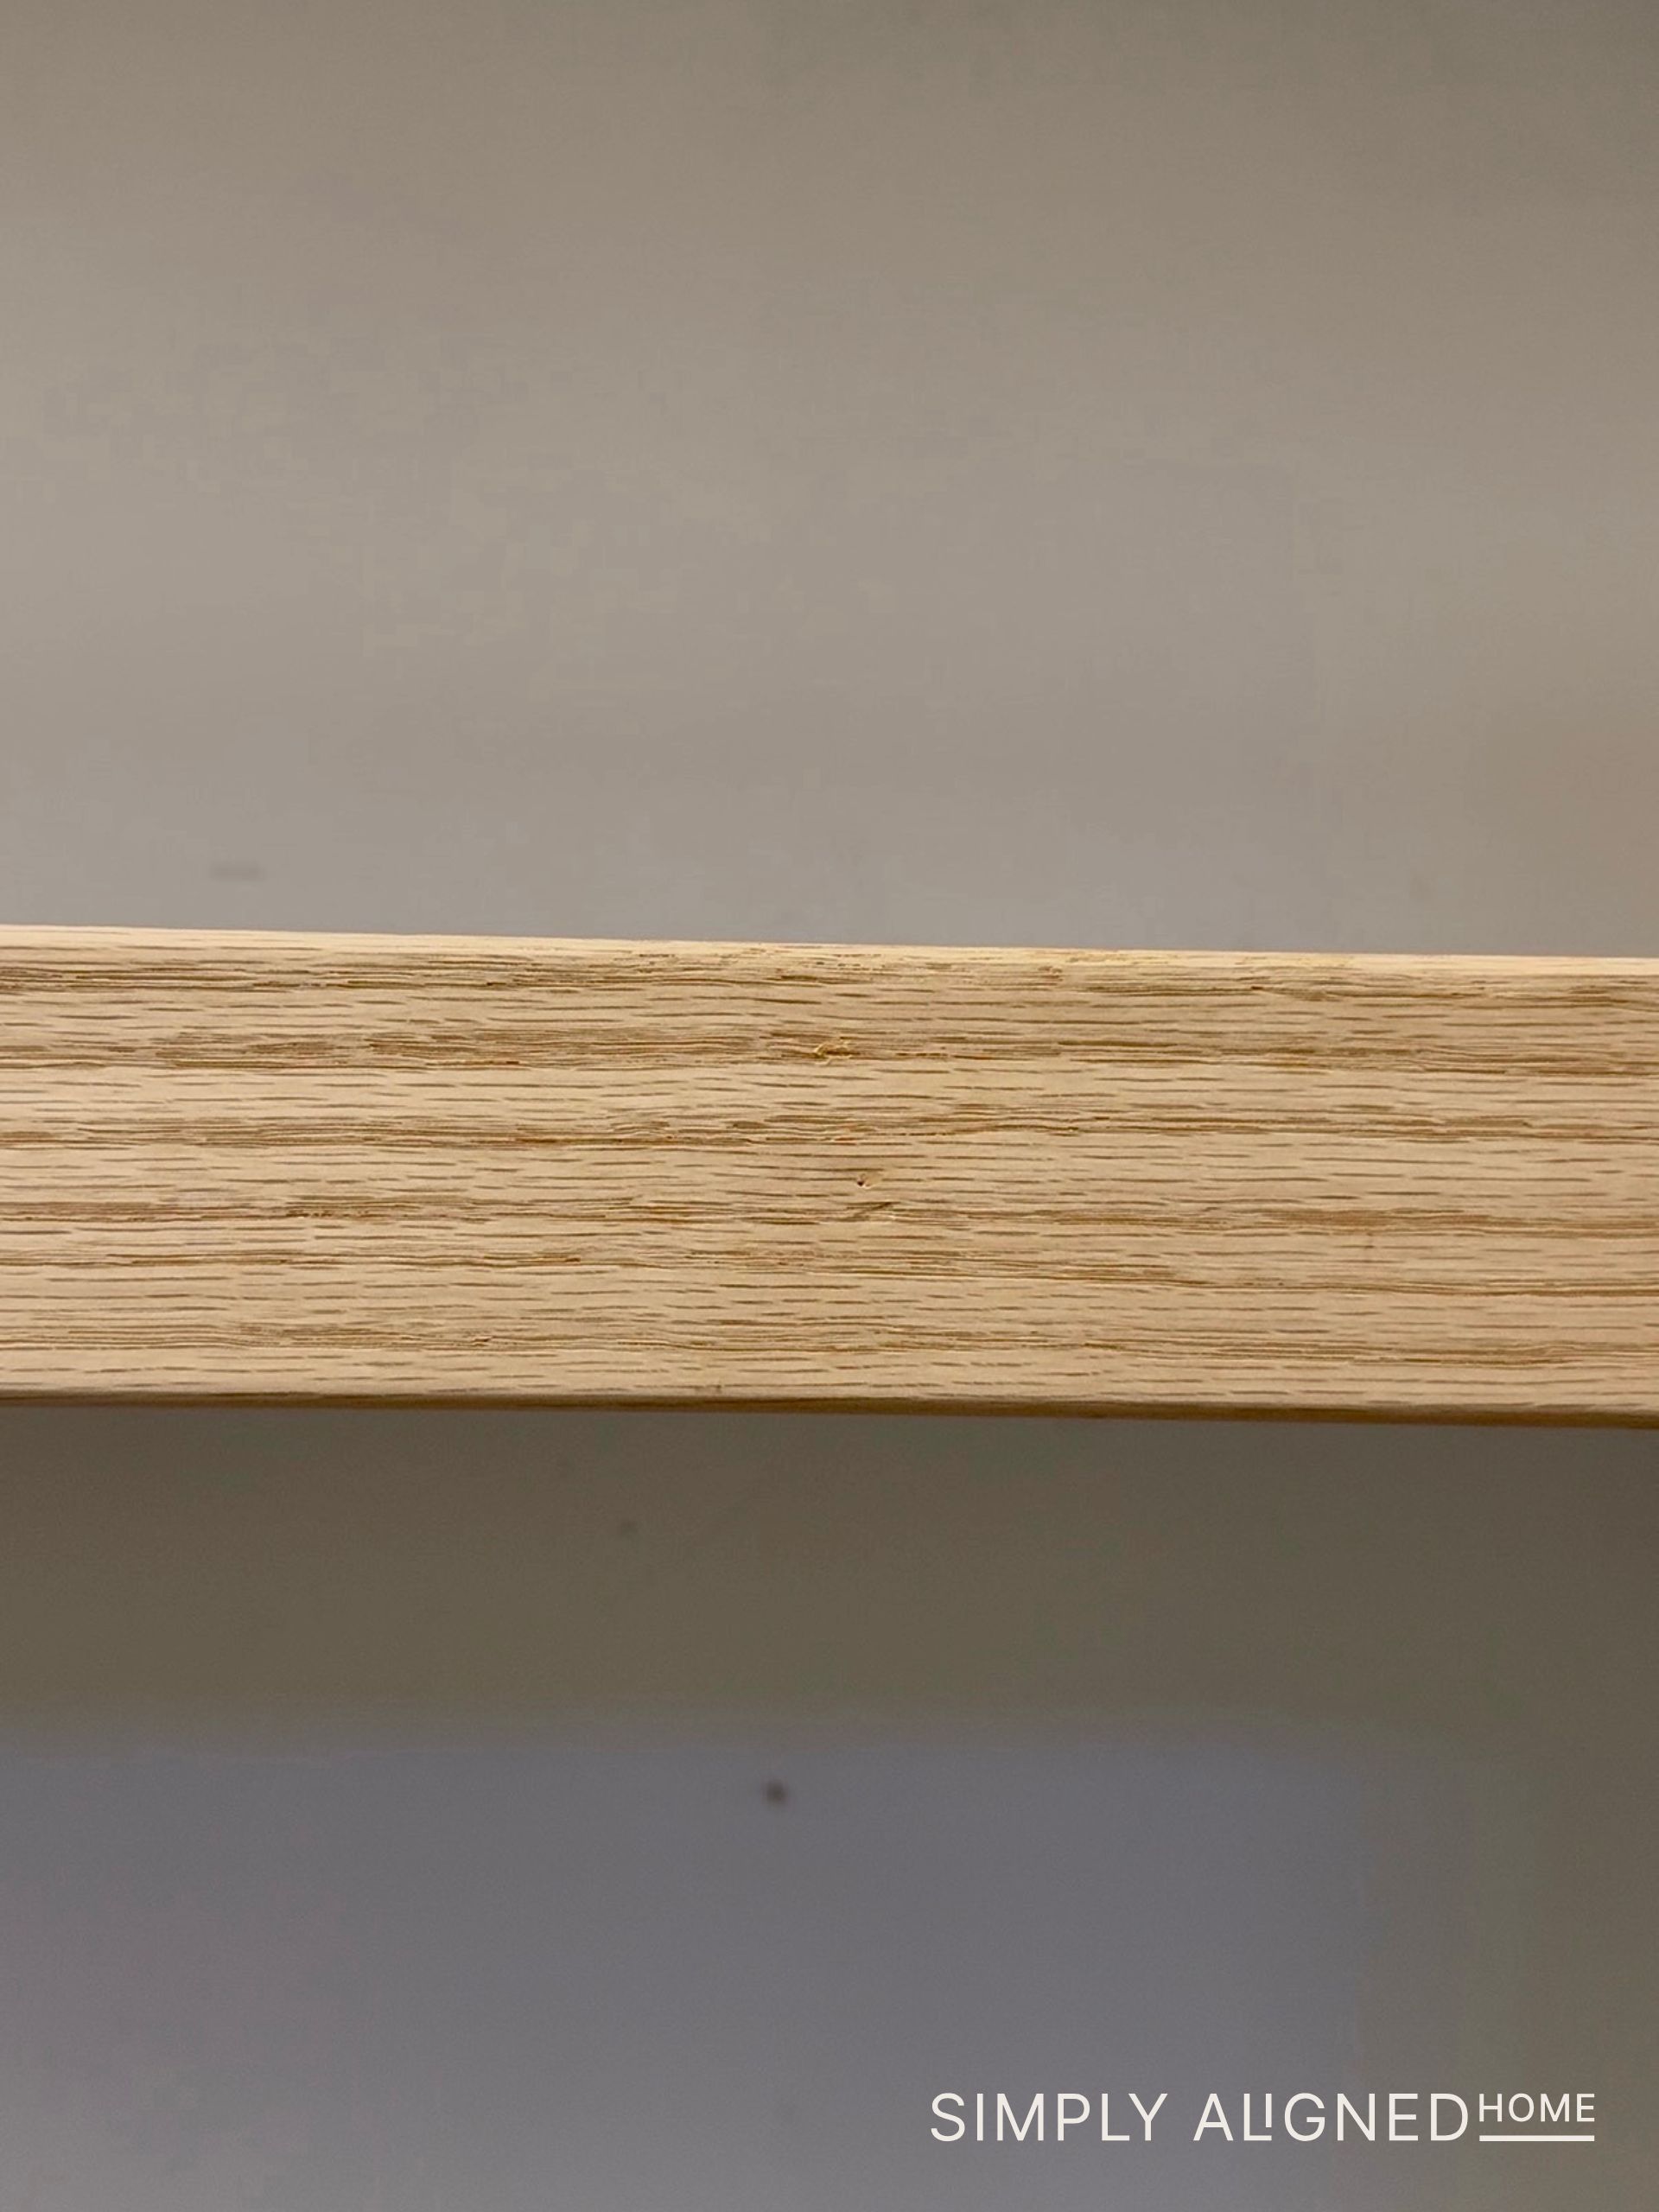
To finish the front edge, I used red oak boards ripped down to 2″.
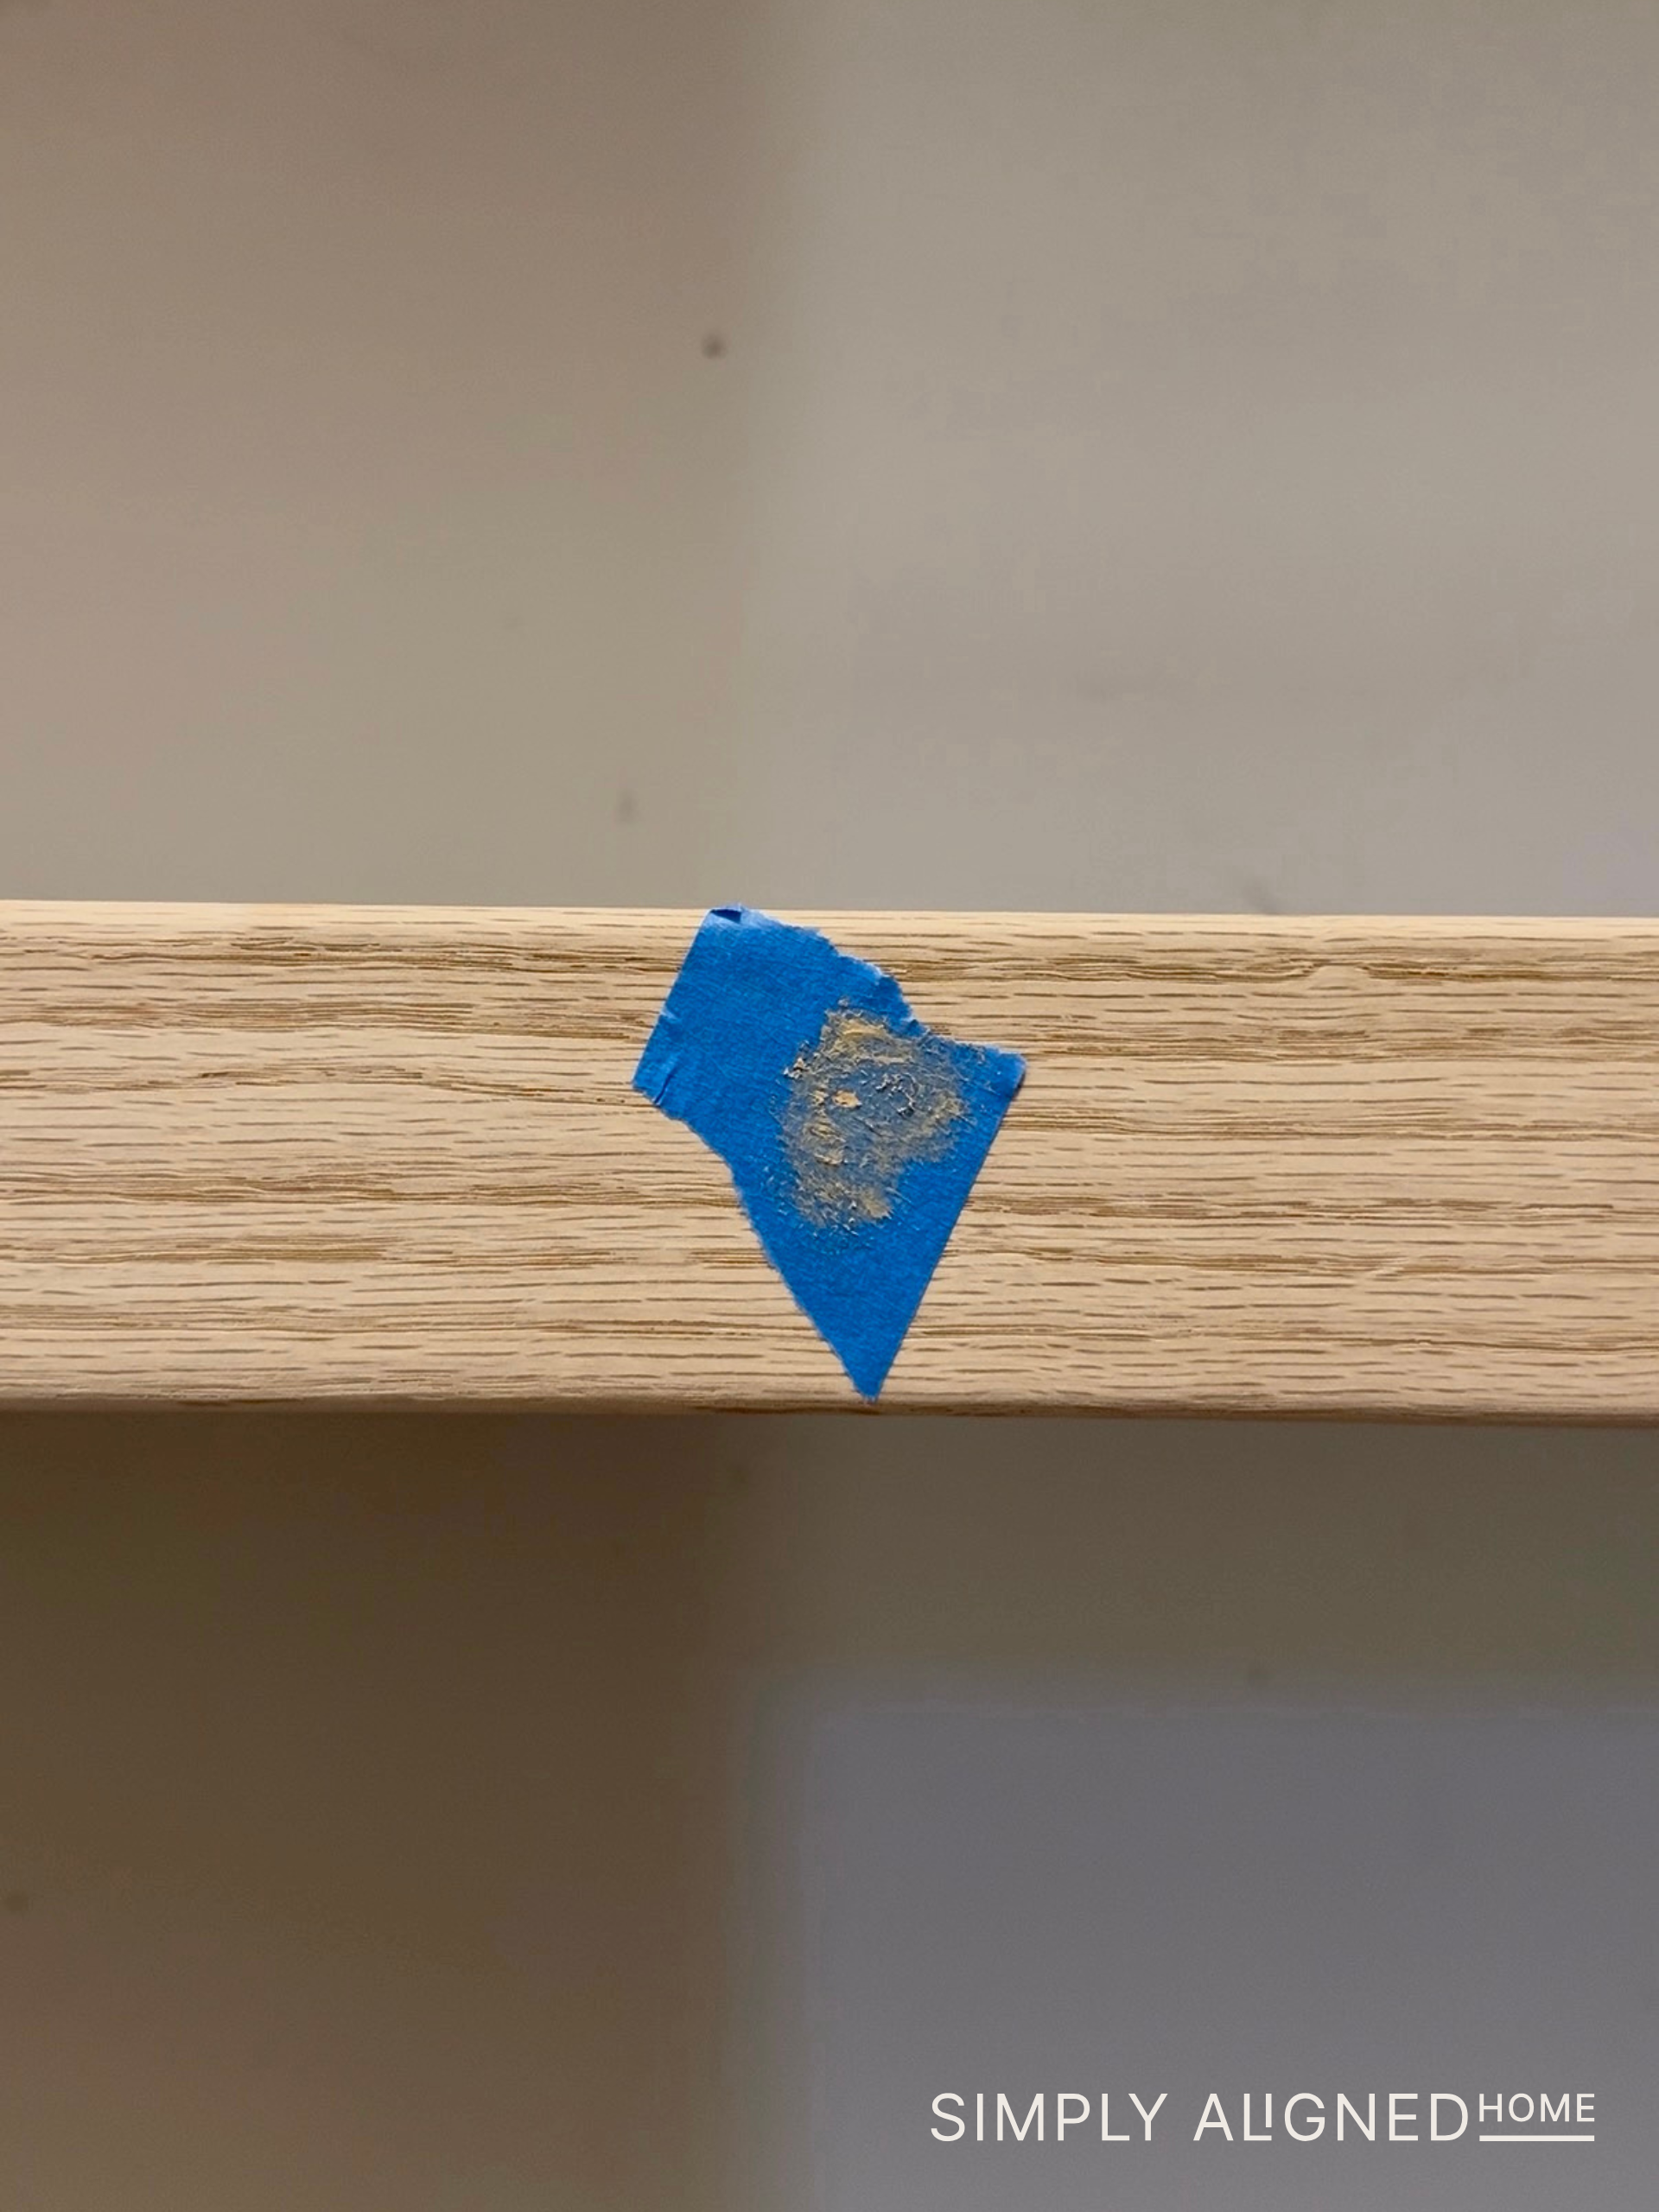
I also tried a wood filler trick here:
- Place tape where your nails will go
- Nail through the tape
- Add wood filler to hole on top of tape
- Remove the tape
This leaves only a tiny hole of wood filler and it worked so well. You can barely see where the nails were.
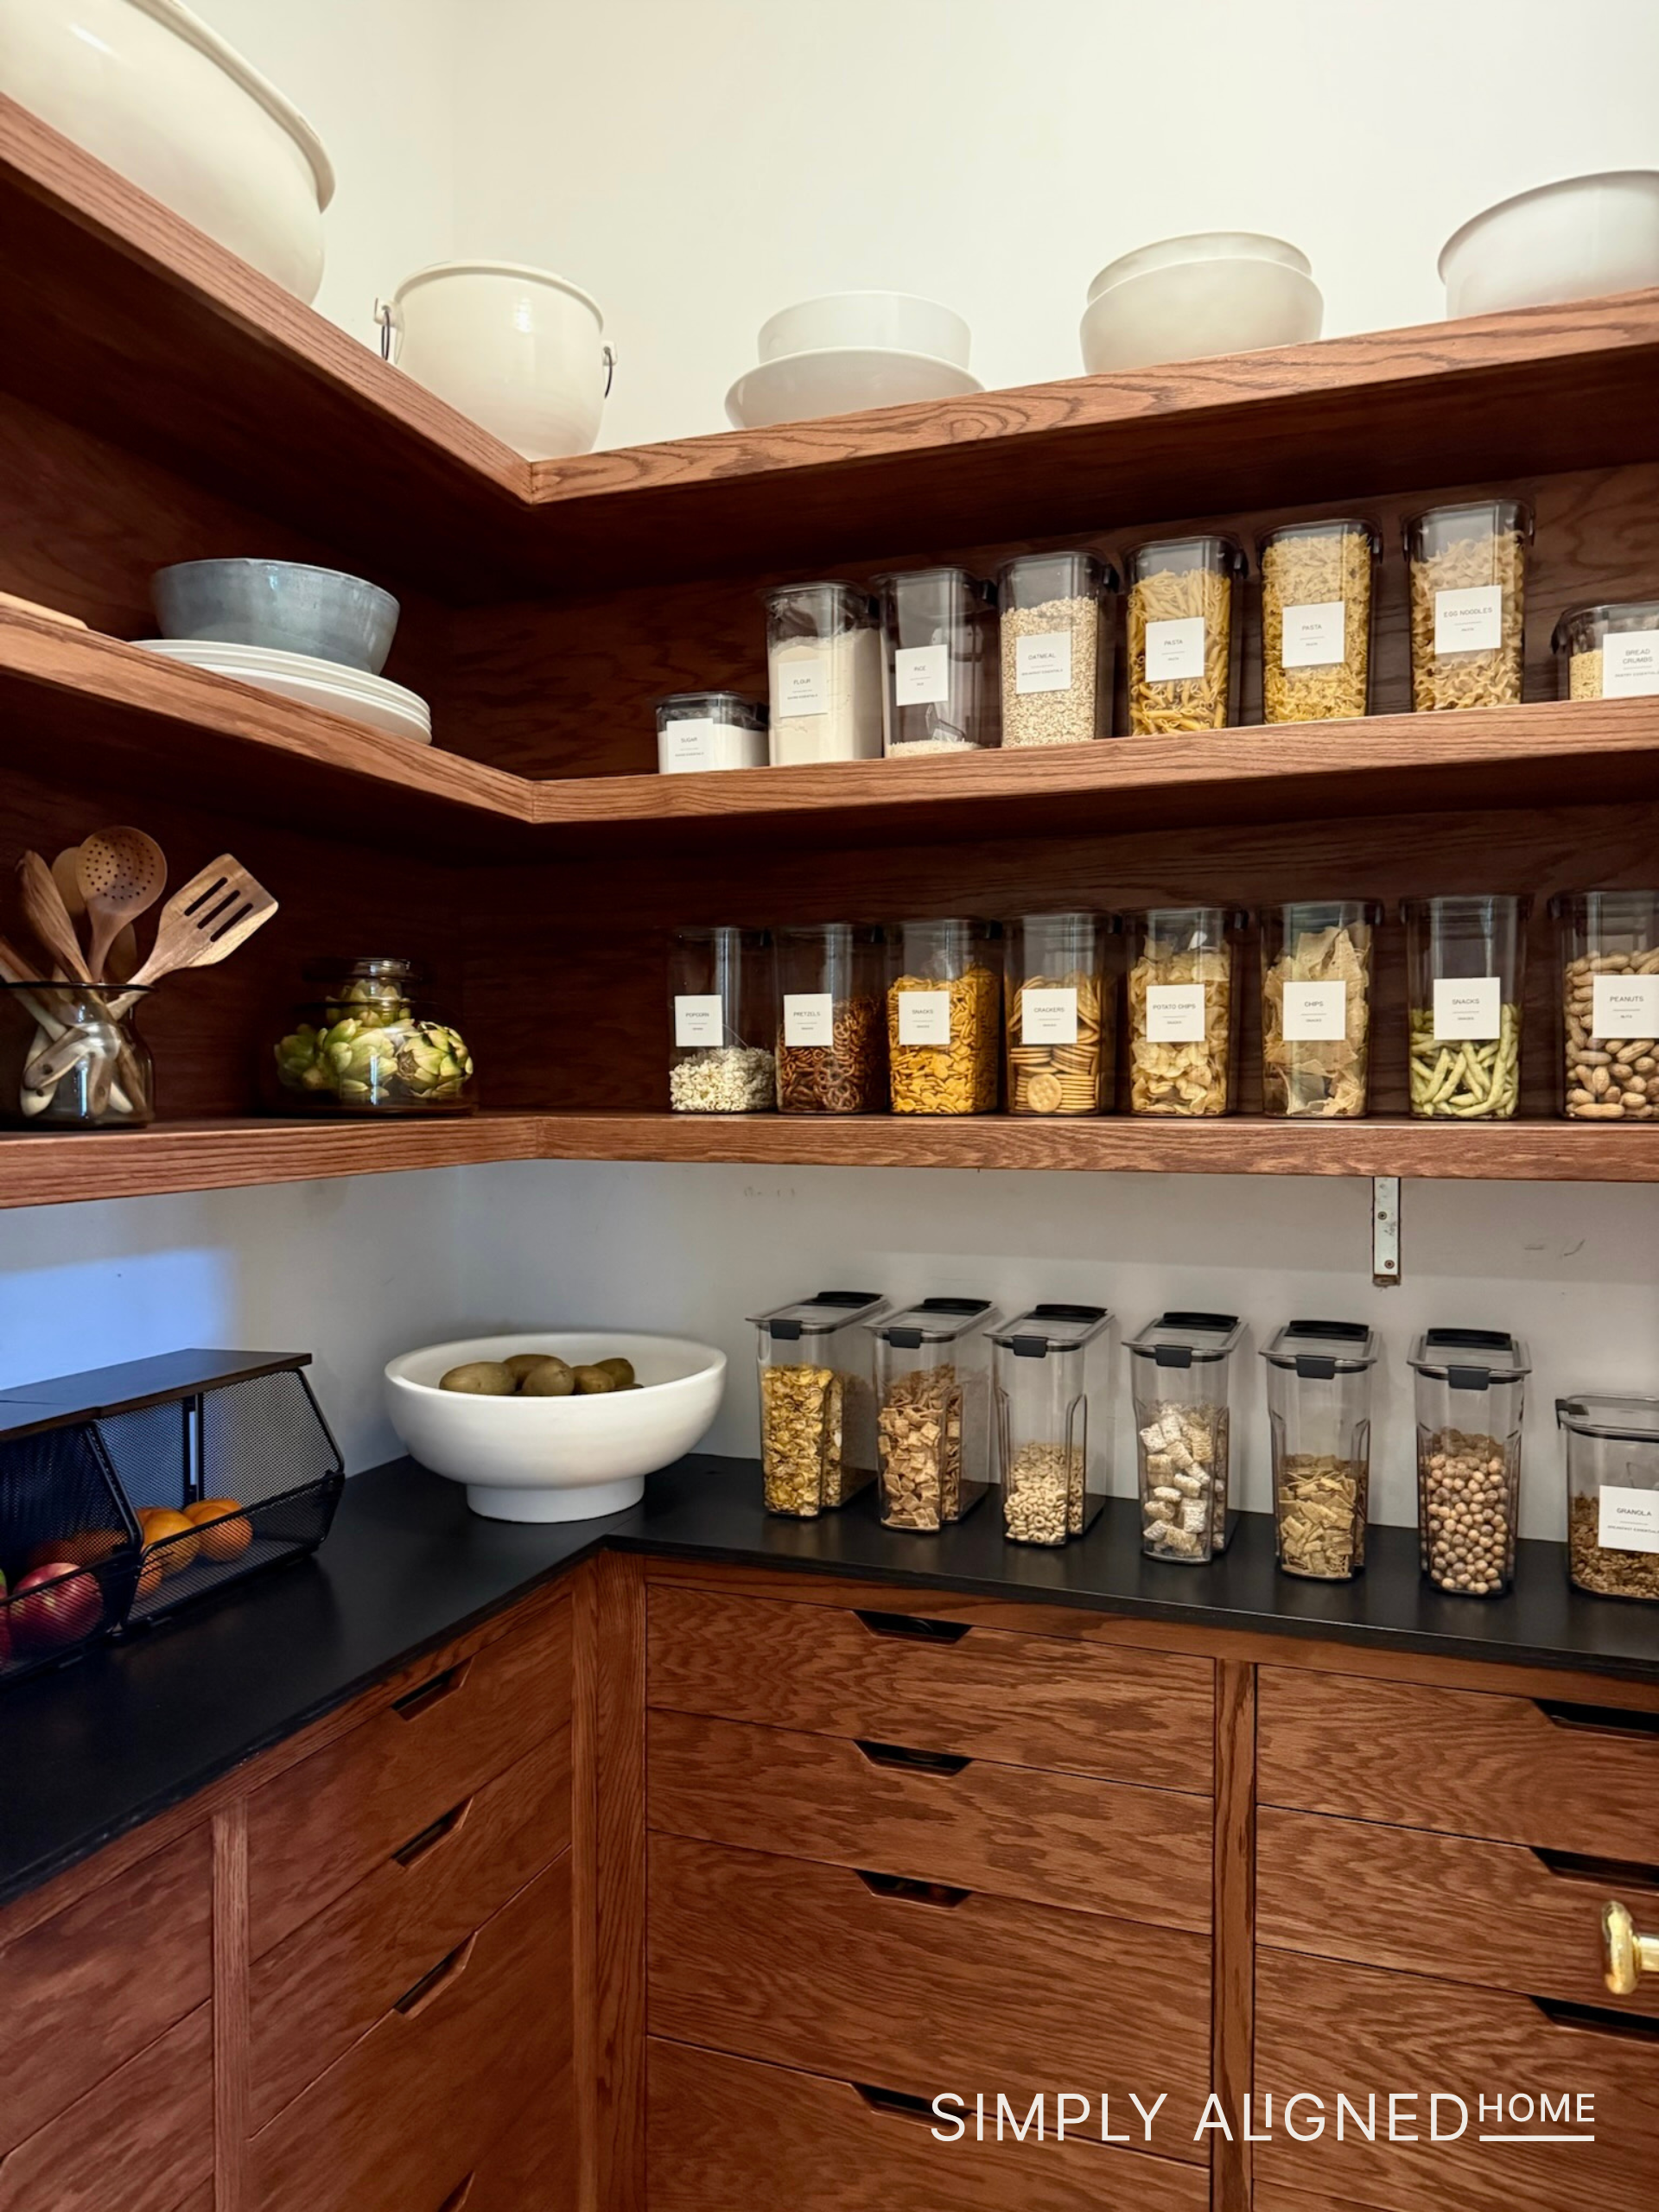
I stained and sealed the front boards to match, and then decided to carry that same wood tone onto the back wall as a backsplash for the shelves. That detail made a big difference and really warmed up the space.
Building the Face Frames
With the shelves complete, it was time to move back to the cabinets! I built face frames using pocket screws, which is a great method for this. It’s simple, strong, and keeps everything aligned.
To assemble:
- Wood glue
- Clamp to hold pieces in place
- Pocket screws to secure
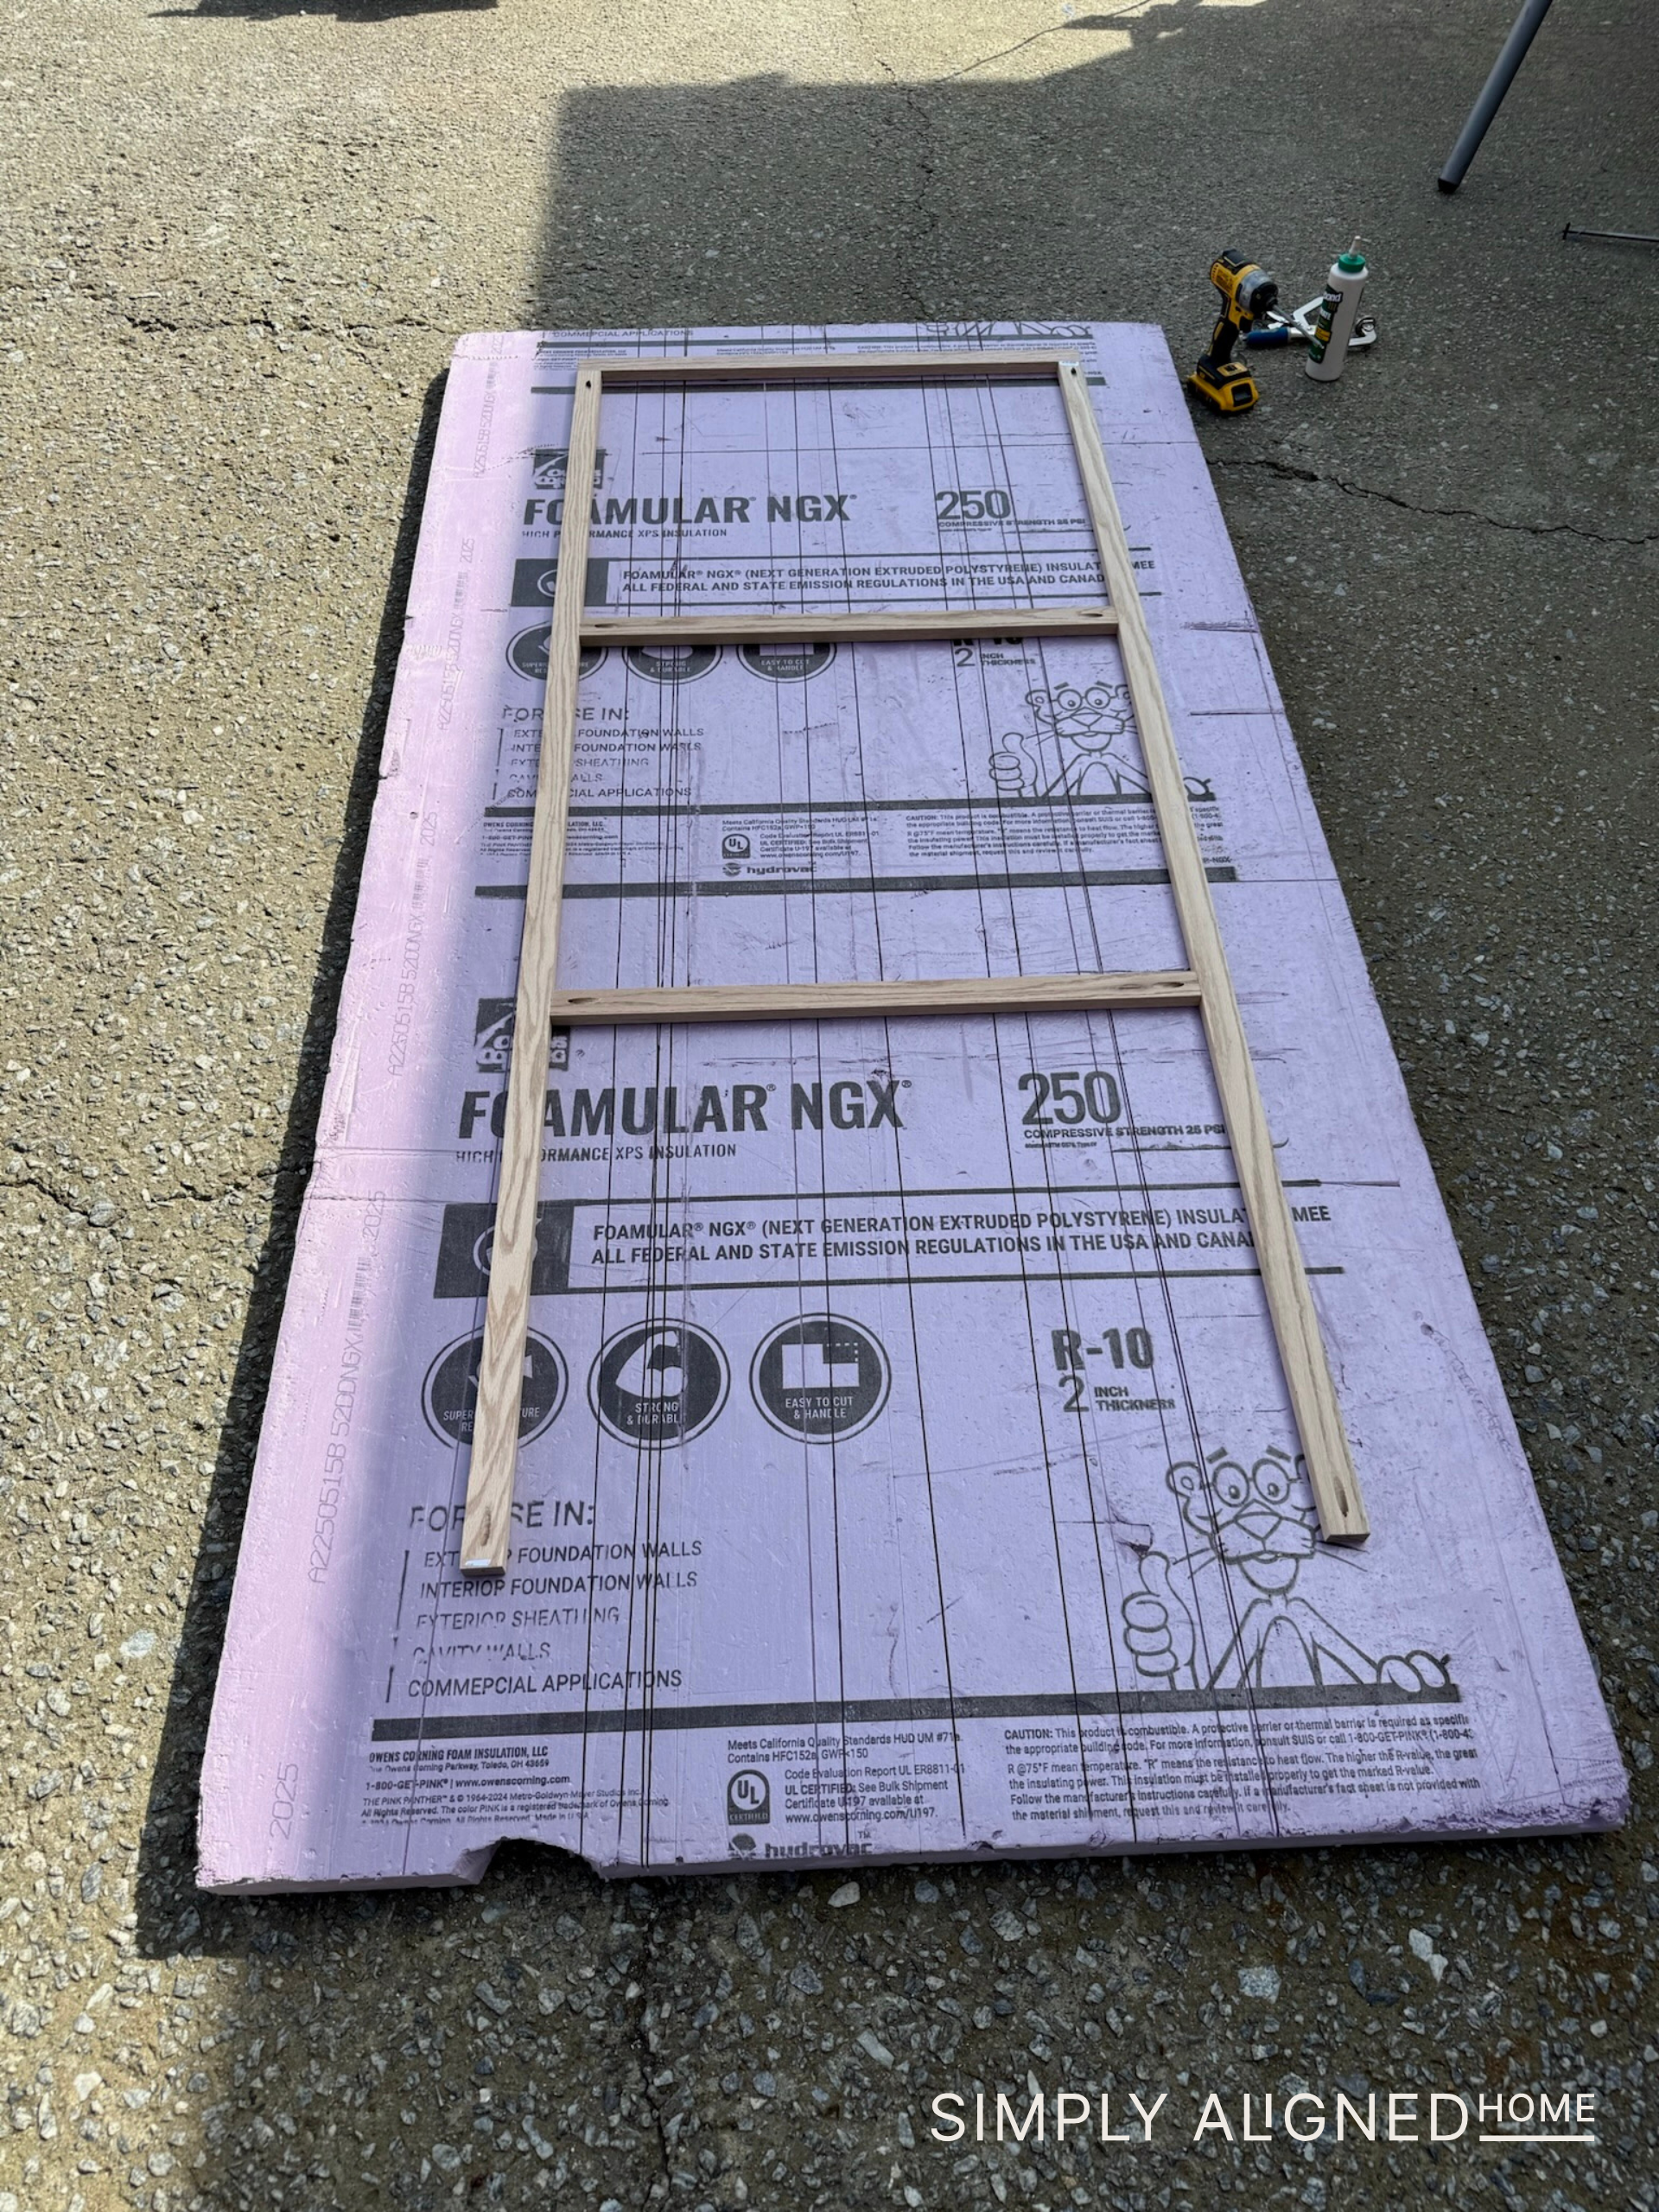
Since I don’t have a large work table to assemble the larger face frame, I used an insulation board as a flat work surface. Once everything was assembled, I attached the full face frame to the cabinet using my brad nailer.
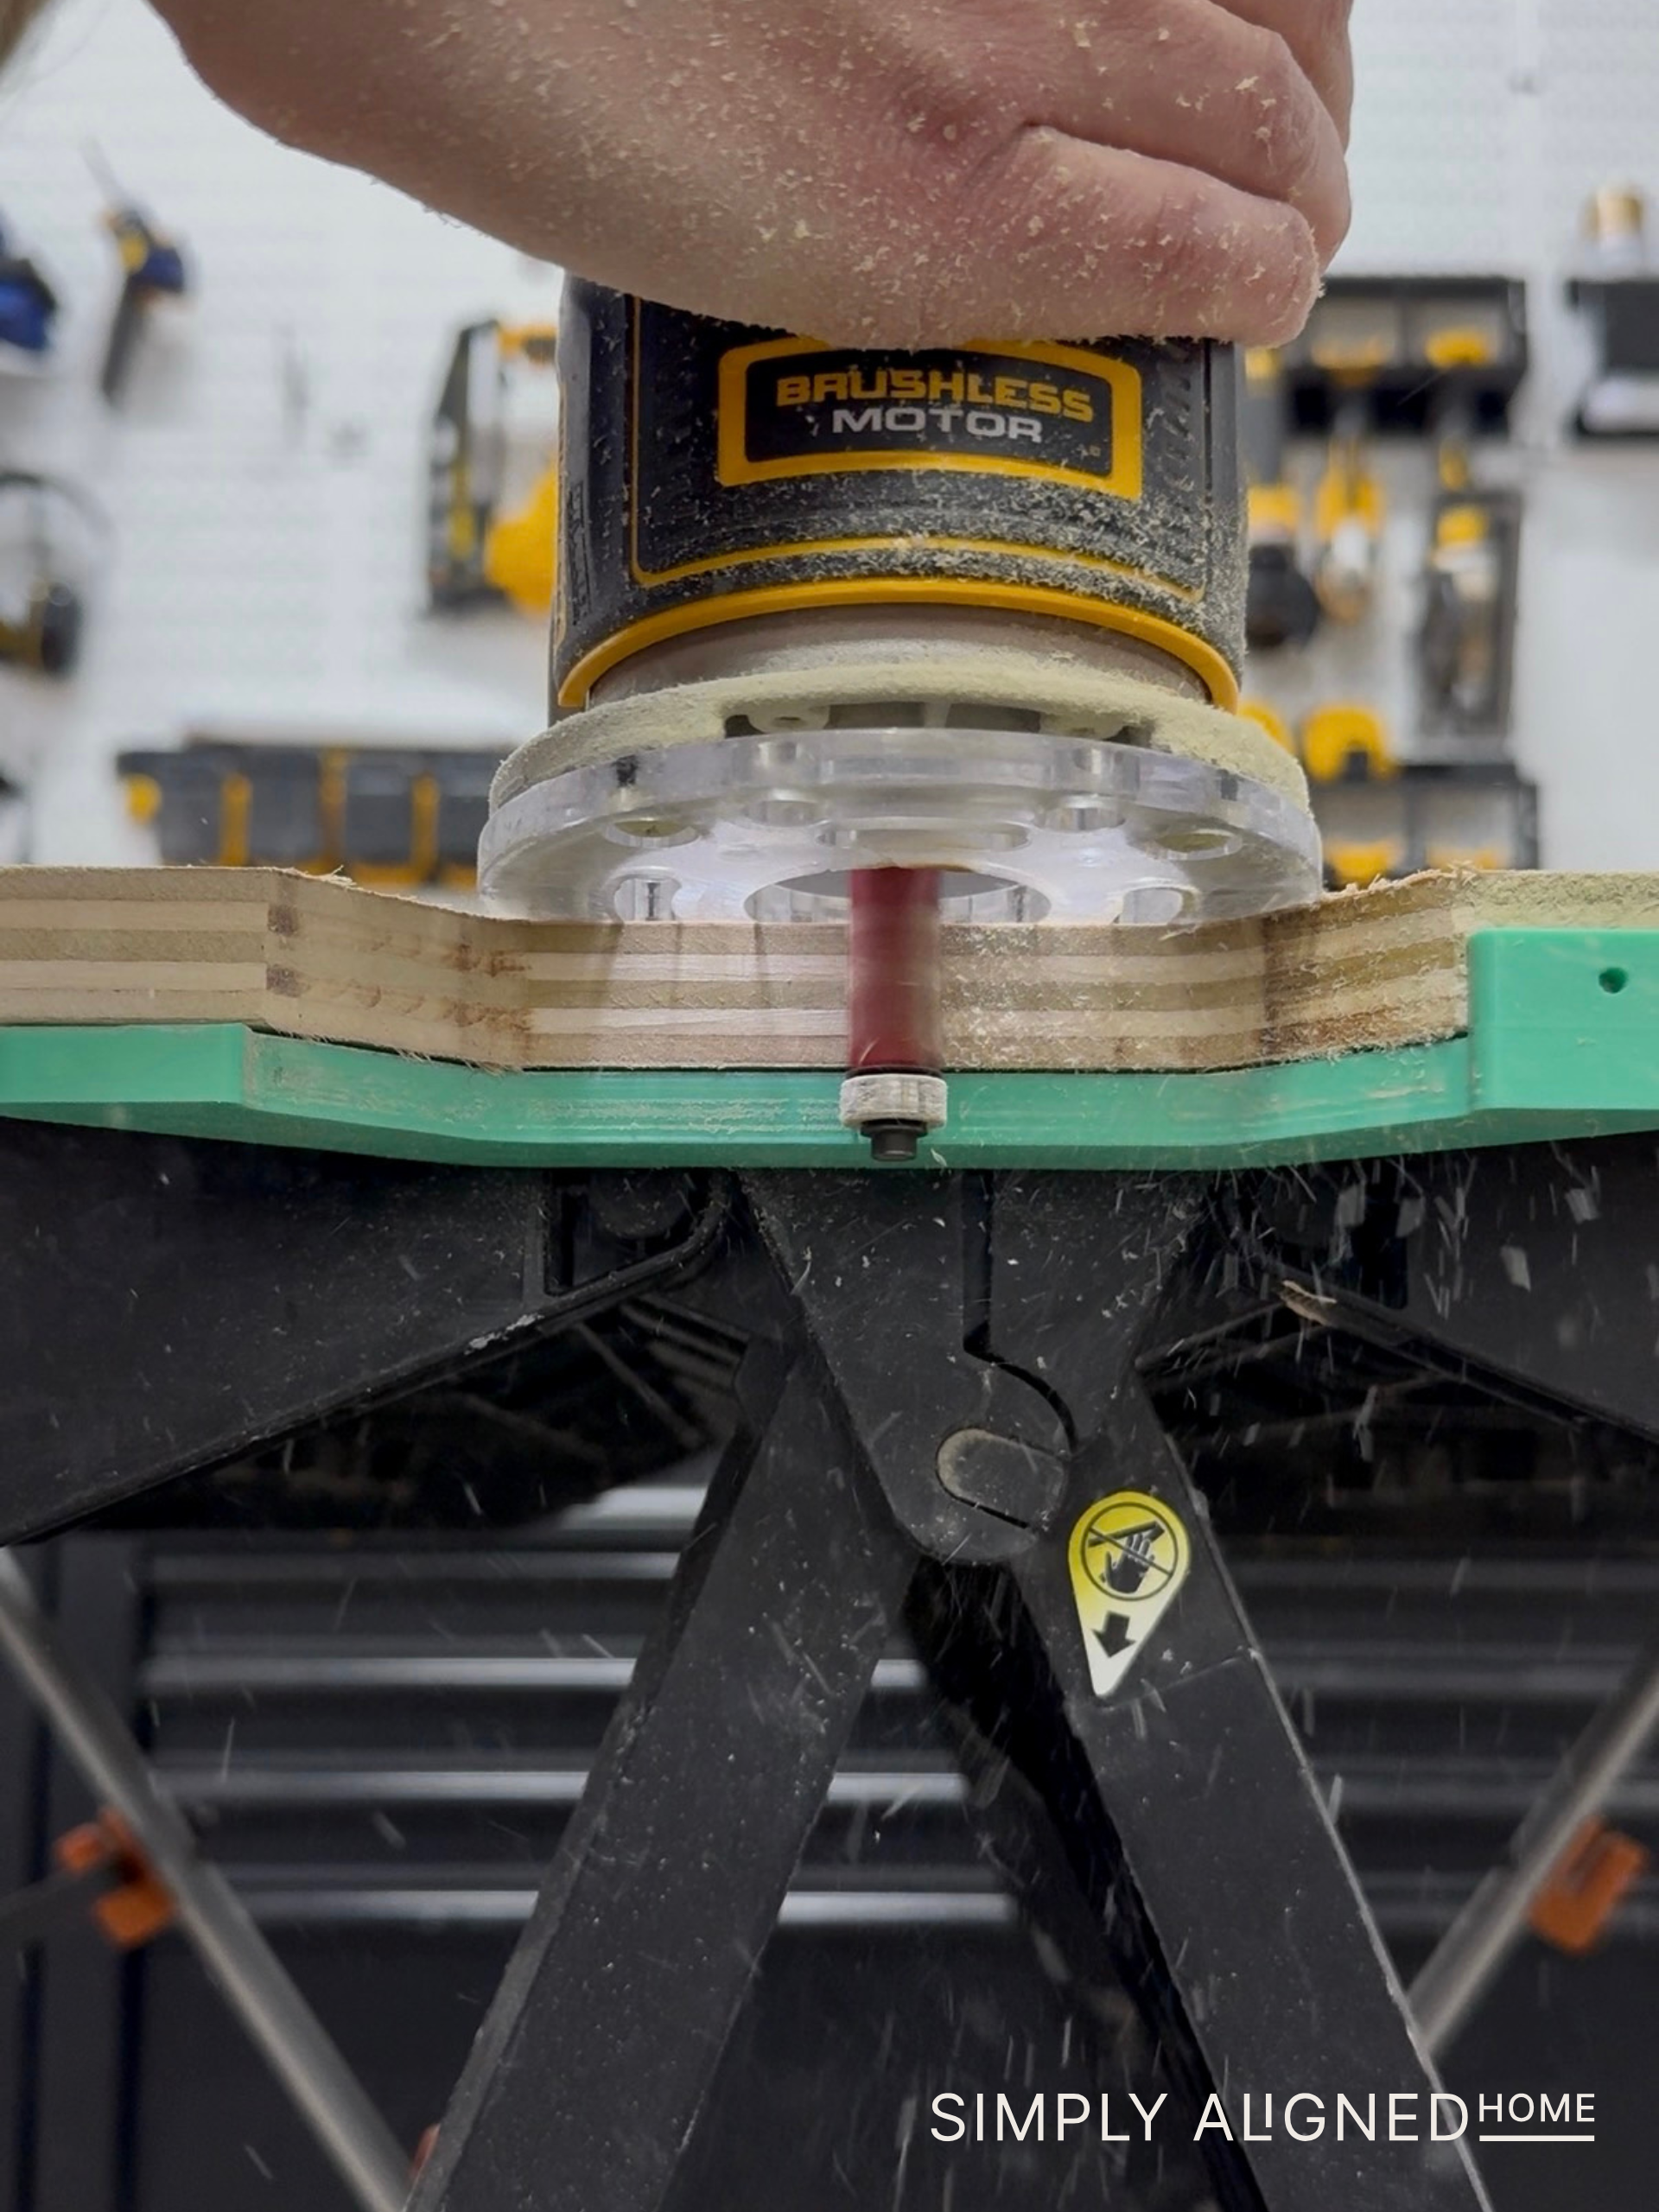
Custom Drawer Fronts + Routed Pulls
For the drawer fronts, I wanted something clean and minimal, especially since this pantry is a tighter space. I didn’t want hardware sticking out. So instead, I went with routed pull notches.
My son actually 3D printed a template for me, which made this process so much easier. After testing it out on a scrap piece, I knew it was the direction I wanted to go.
This was my first time using a router template, and honestly, it felt way more complicated in my head than it actually was.
Here’s the process:
- Trace the cut onto the drawer front
- Use a jigsaw to remove most of the material
- Attach the template with double-sided tape
- Use a flush trim bit and router to make the final cut
The bearing on the bit follows the template, giving you a perfectly clean, consistent cut every time.

After routing, I added edge banding to all the drawer fronts and they turned out so good.
To install the drawer fronts evenly, I designed spacers and had my husband 3D print them. This made alignment so much easier and more consistent across all the drawers.
I stained and sealed the drawer fronts to match the shelves, but they didn’t look quite as rich as the face frames. So I tinted my final coat of poly slightly darker to help everything blend better and that did the trick.
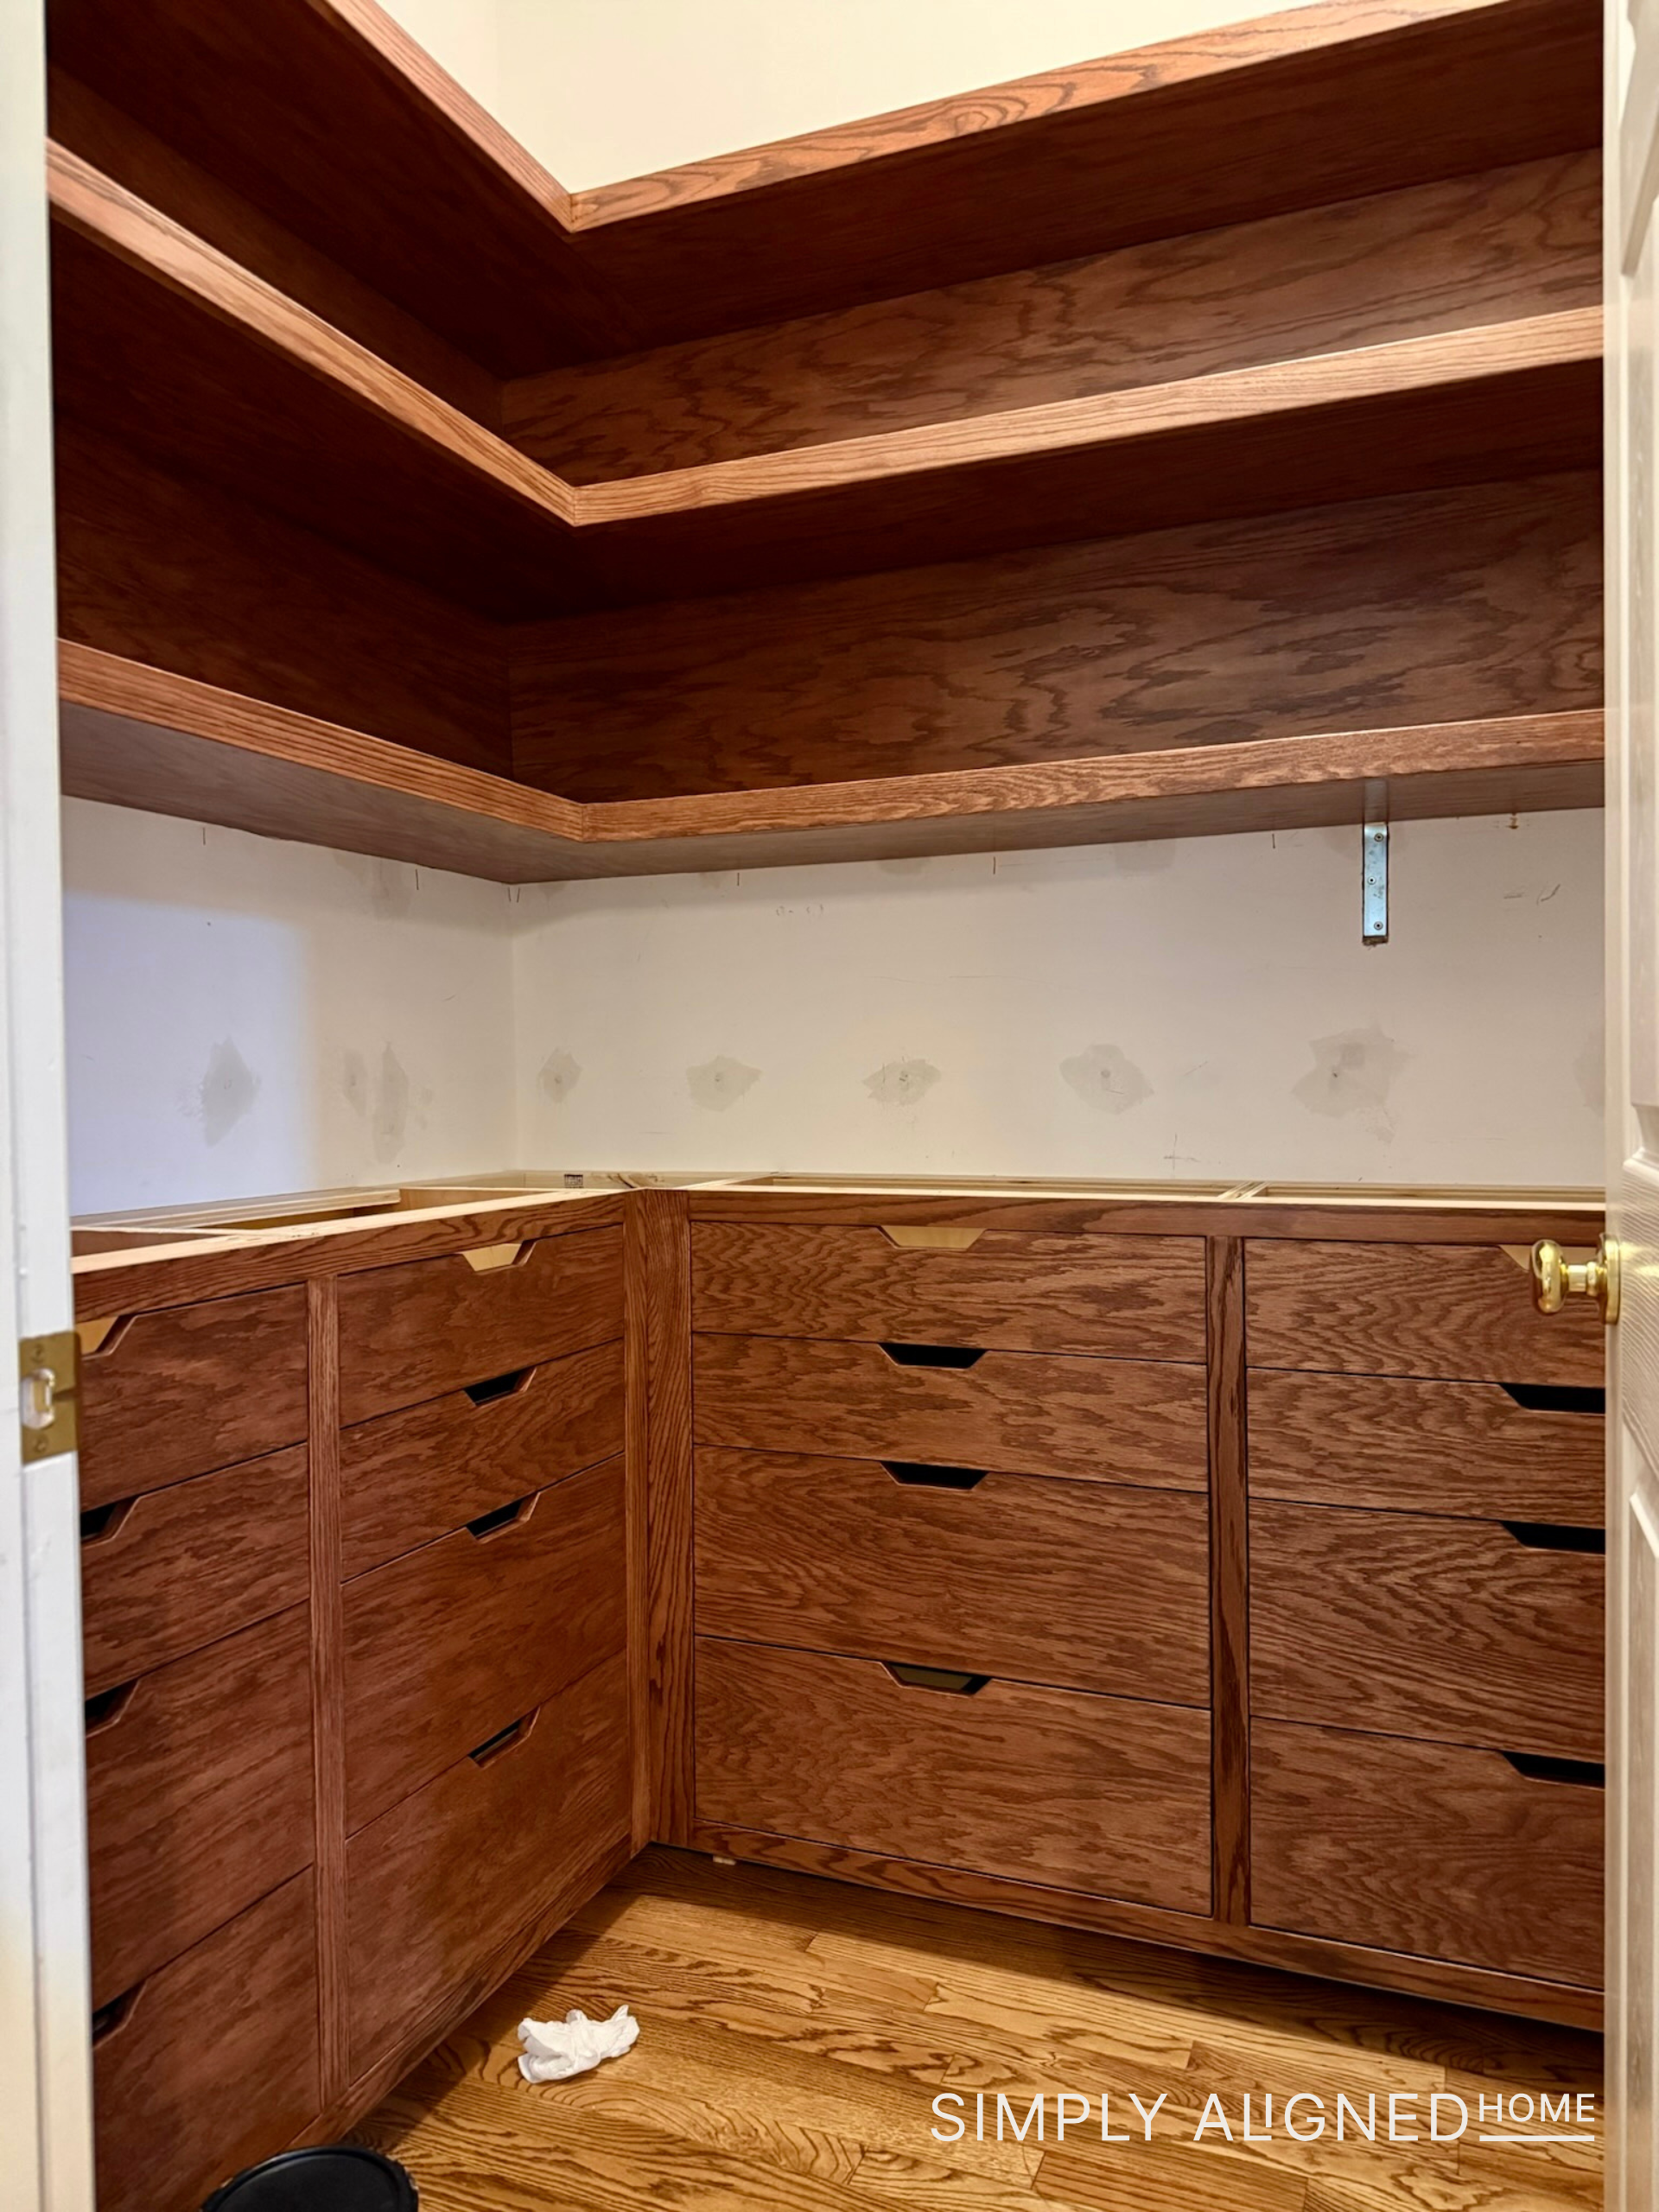
Temporary Countertops
I’ll be purchasing countertops for the pantry at the same time I order them for the full kitchen. I also plan to add a backsplash then. But in the meantime, I still wanted this space to feel finished.
So I installed plywood sheets as a temporary countertop and painted them black to give them a more intentional look.
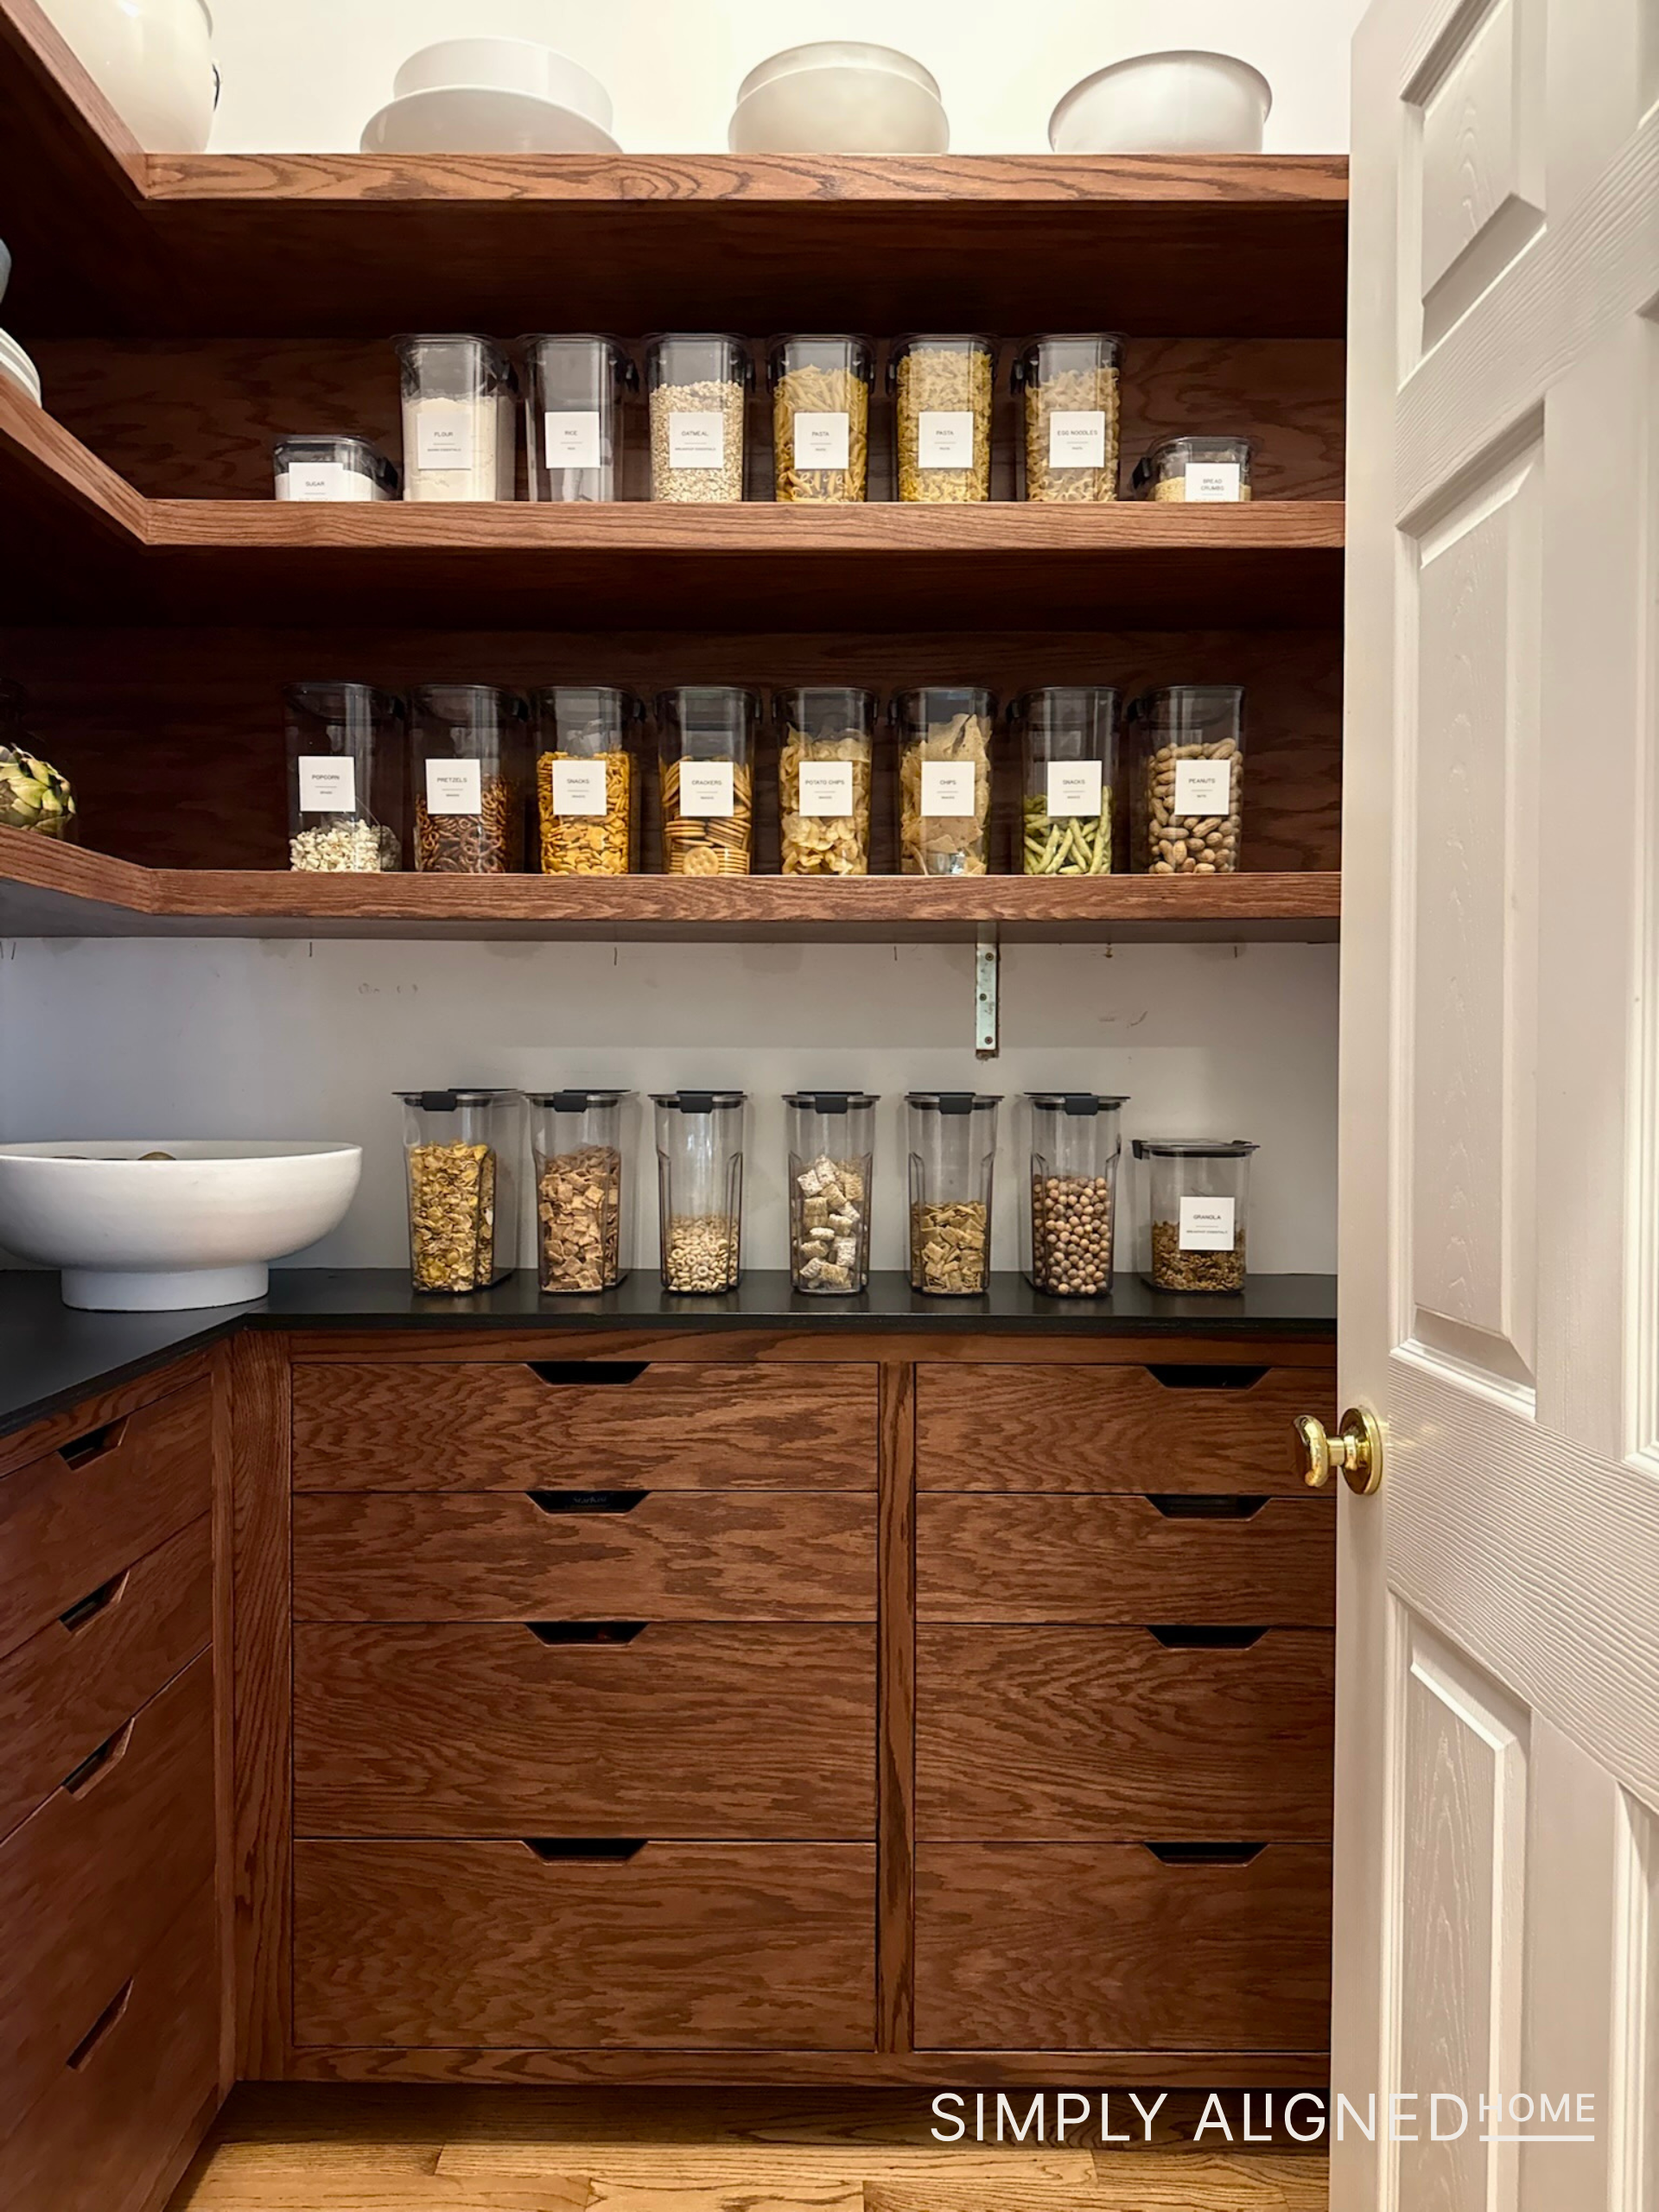
Temporary or not…it still needs to match the vibe!
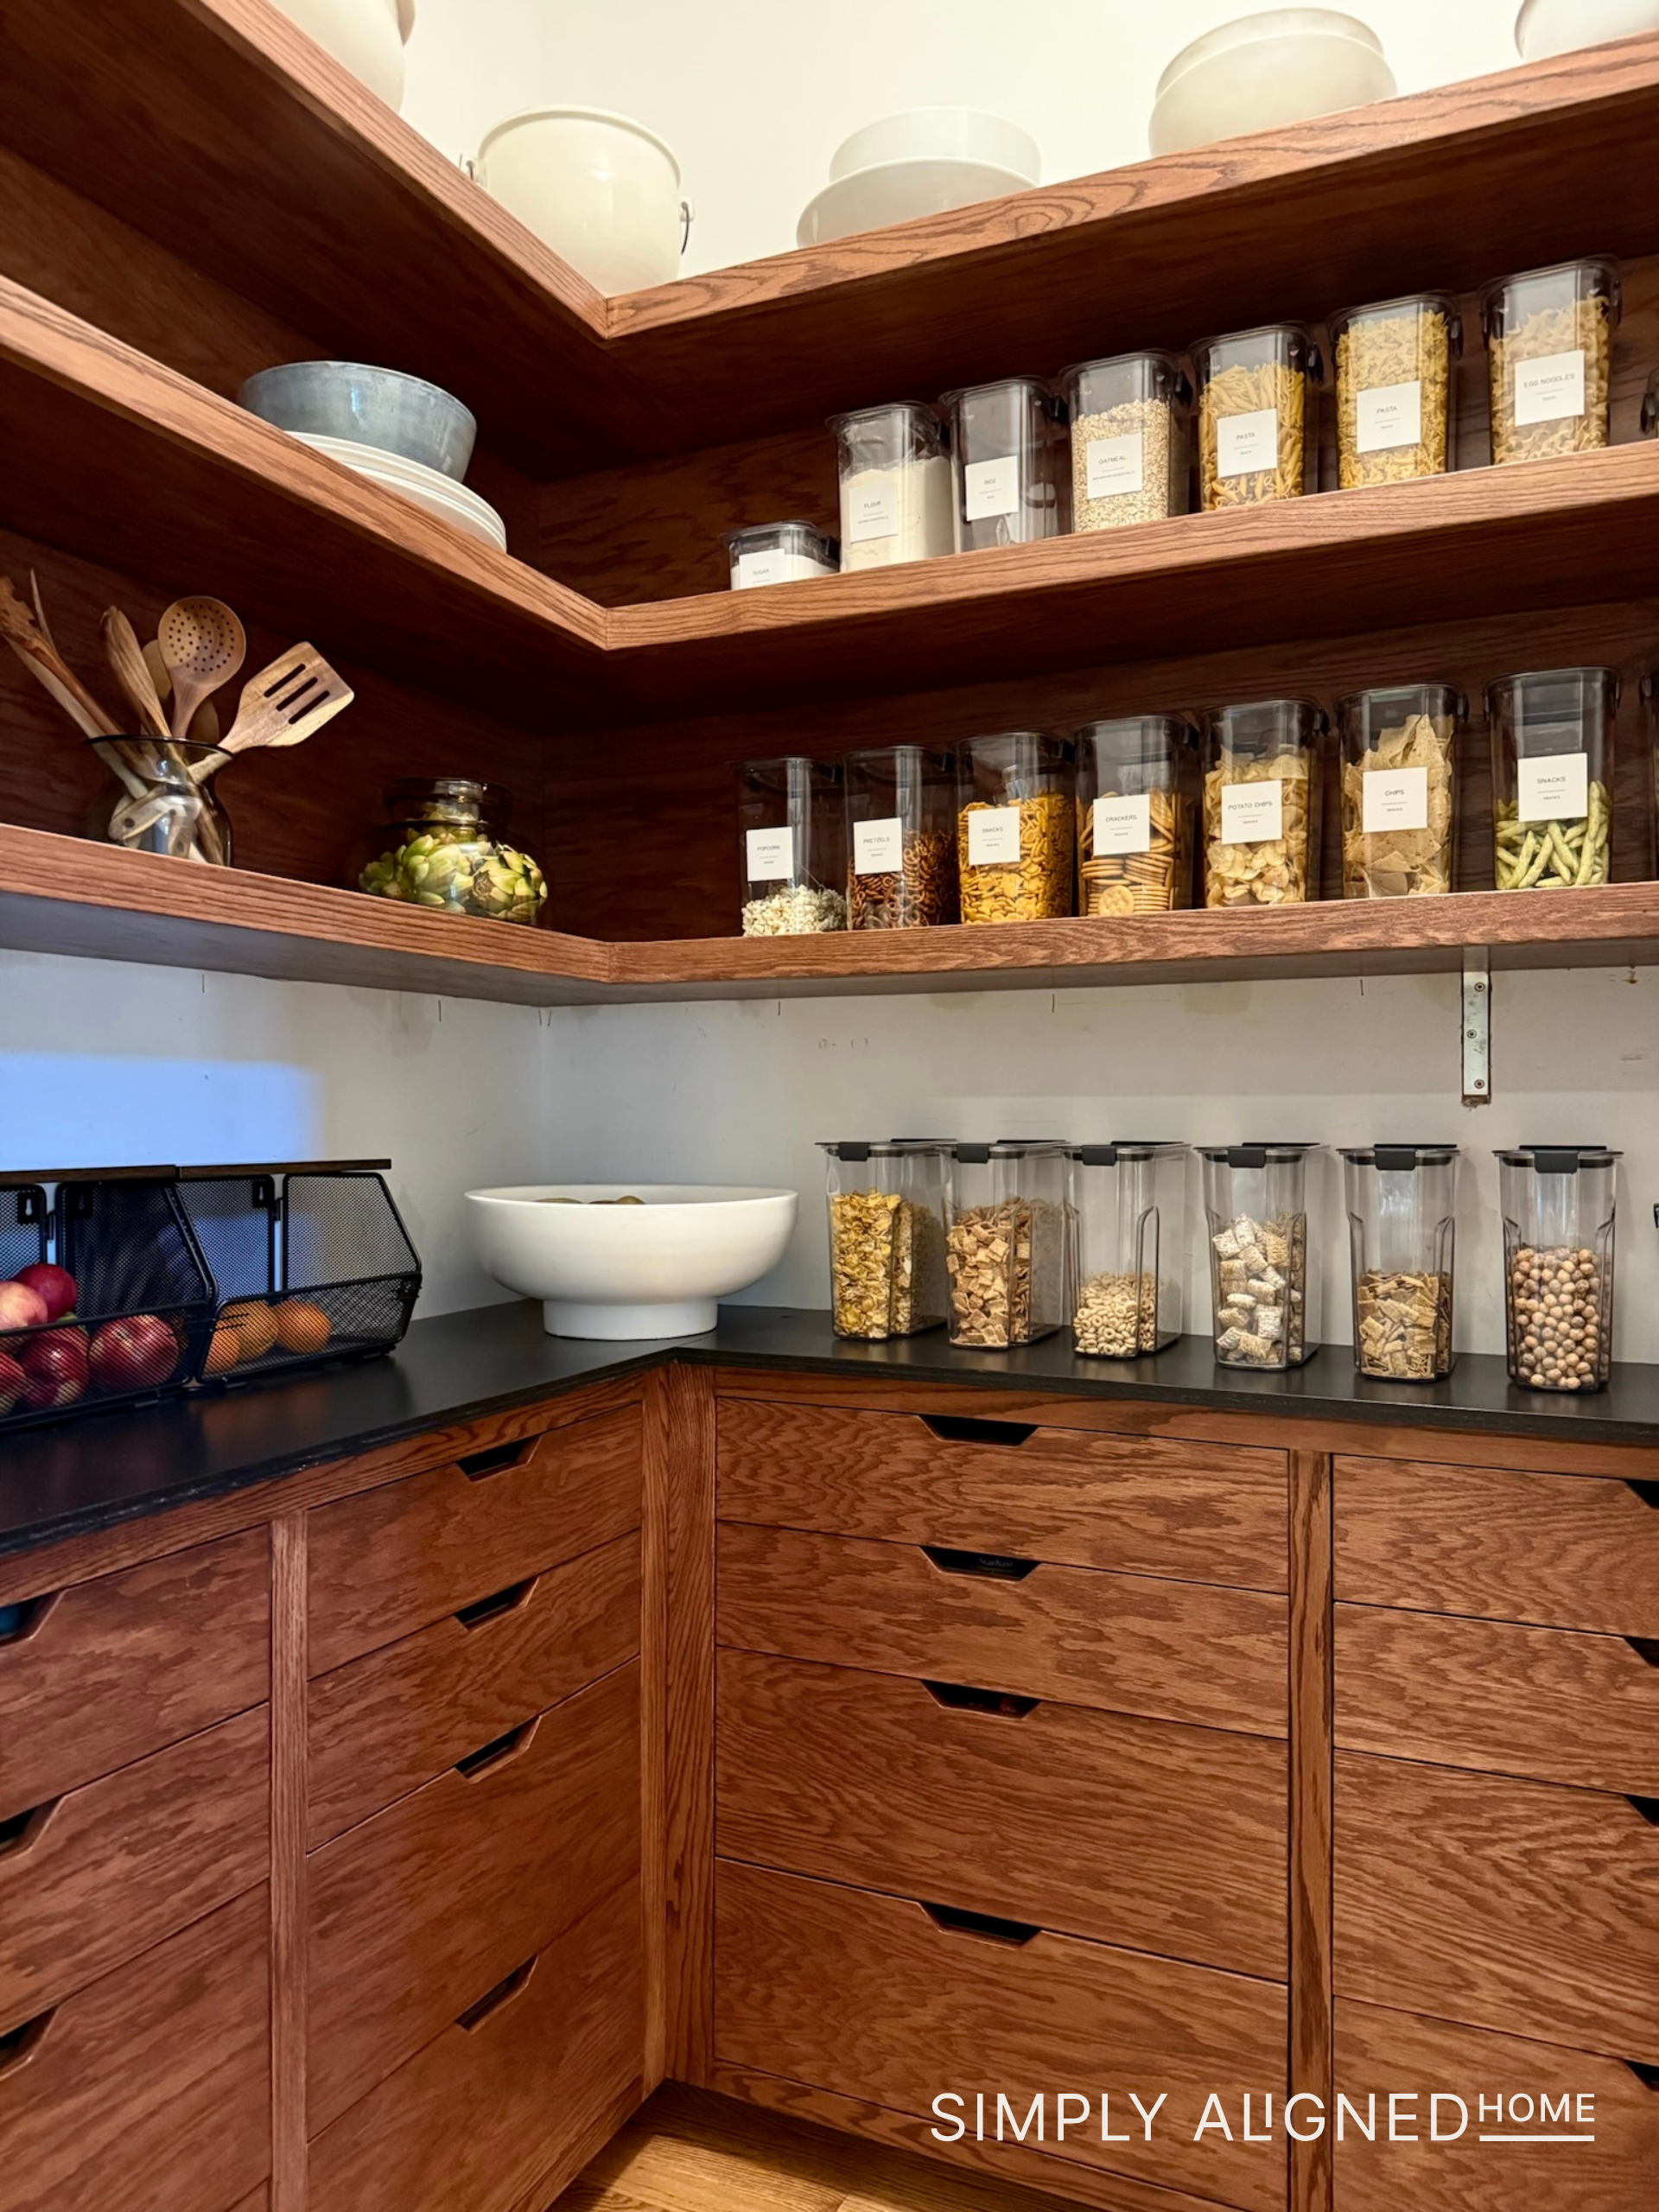
And there you have it! My new pantry. Even though it’s not 100% done, it feels like a completely new space that is way more functional for us.

**Note: I am not a professional and do not claim to be an expert. Please be sure to always read instructions for all tools and products. Safety is very important and should be your top priority. Wear necessary protection when using tools (eye wear, hearing protection, gloves, etc.) and dust masks when sanding or cutting. Simply Aligned Home is not responsible for any injury or damage. All of my designs are not professionally designed and are for private use only.**
Tools & Materials Used
Fantastic!
Thank you!!