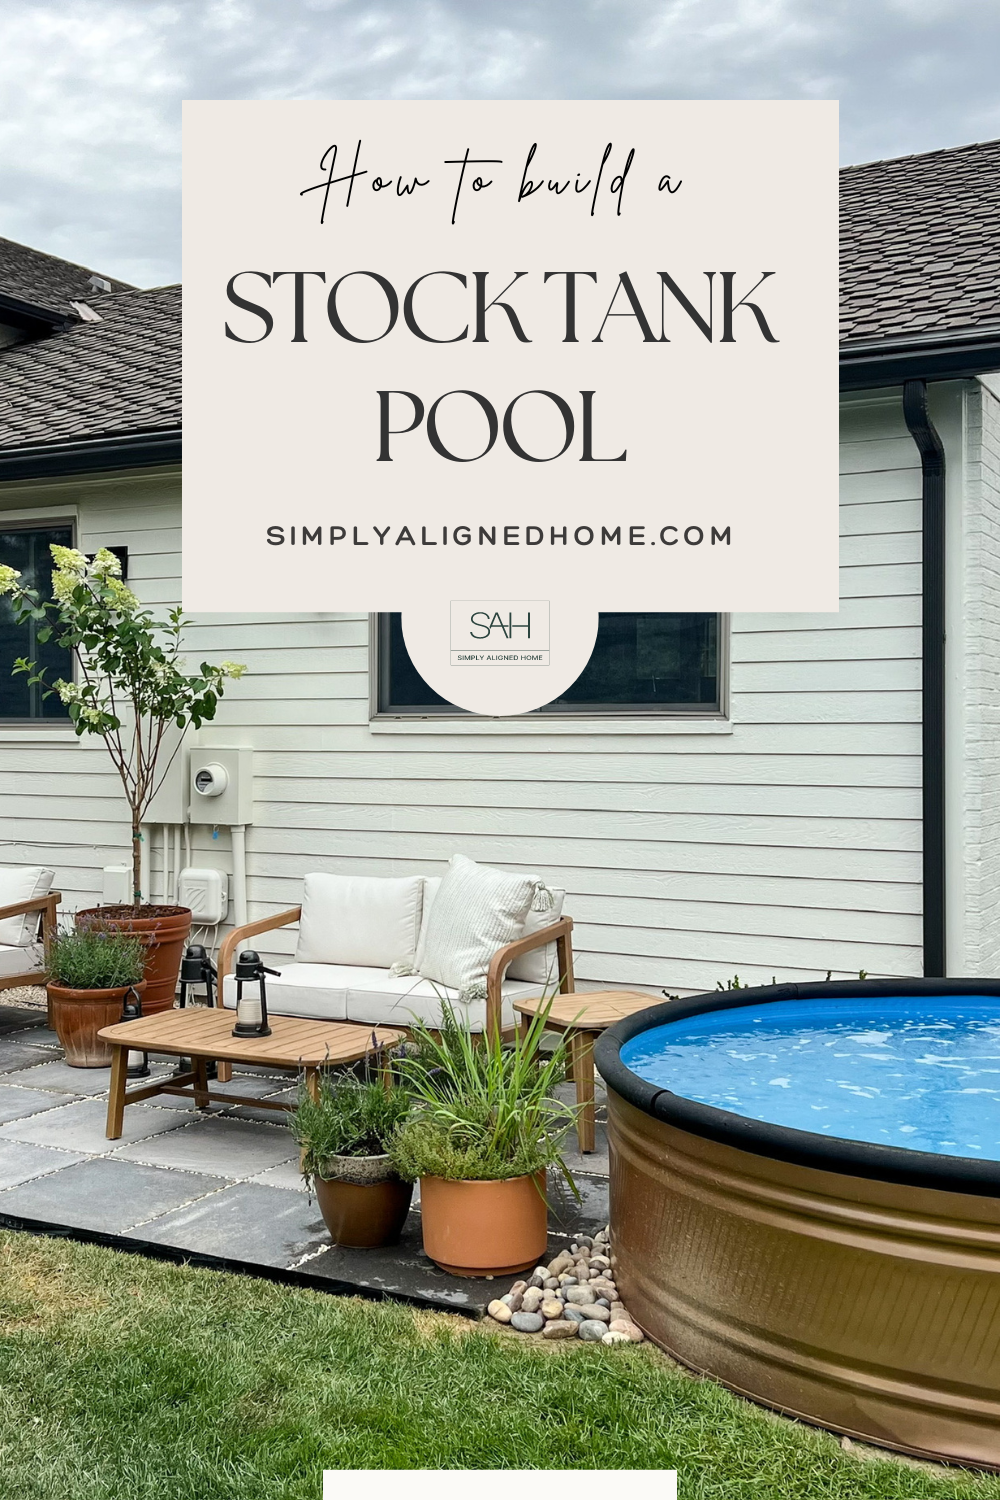
Last year, I decided to install a DIY stock tank pool in our backyard. In this post, I’ll share how I installed the tank as well as what I’ve learned since having the pool.
Let me start by saying that there are stock tank pool companies that will do a complete install in certain parts of the country. It takes all of the guesswork out of installing one! Unfortunately, this is not a service that is offered in my area, so I did lots of research on how to install one myself.
**This post contains affiliate links to products that I used or recommend. If you purchase something through an affiliate link, I may receive a small percentage of the sale at no extra cost to you. I really appreciate your support!**
What is a Stock Tank Pool?
A stock tank pool is a plunge pool made out of a livestock watering tank. It’s an easy and affordable way to beat the heat in the summertime! Stock tank pools can be as elaborate or simple as you would like. I’ve see people add water features, heaters, paint them fun colors…the possibilities are endless!
Select the Stock Tank
There are several different sizes and types of stock tank pools. While there are poly tank options, I decided to go with a galvanized tank. The most common size for a stock tank pool is 8′ diameter. You can also get a 10′ galvanized tank with a bottom. When I was looking for slightly larger tanks, I did find that you can purchase bottomless tanks that are larger and deeper than those with bottoms. The biggest issue with purchasing a larger tank is transporting it.
We settled on an 8′ stock tank from our local supply store. We rented a trailer, secured it to the trailer and brought it home!
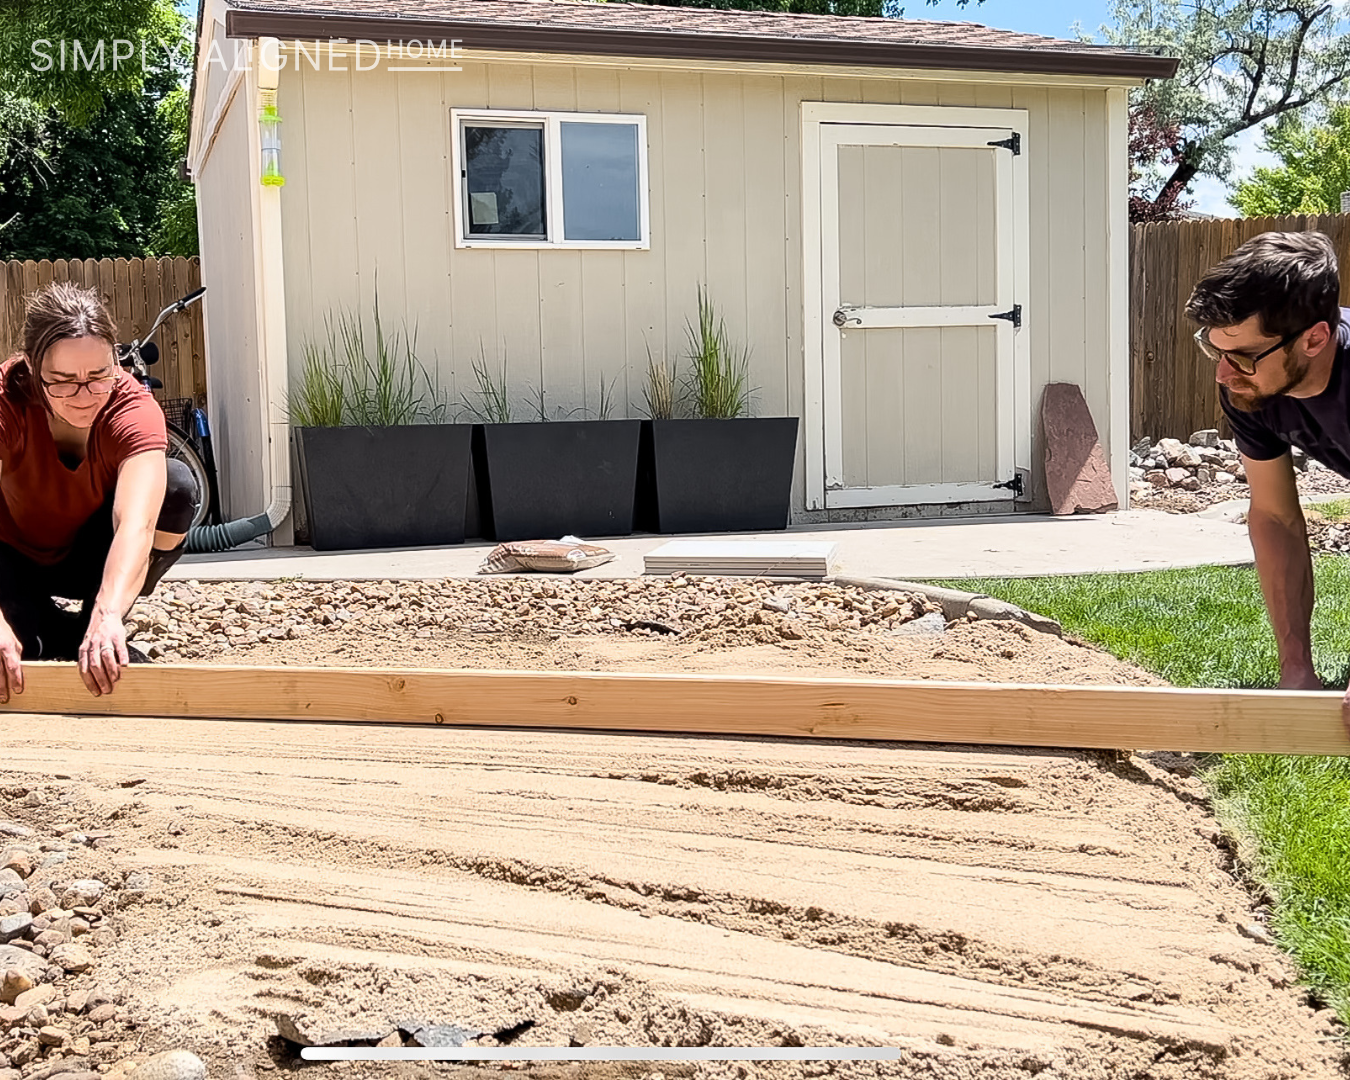
Prepare the Surface
We picked a fairly level spot in our backyard that was full of rocks for our stock tank pool to sit on. We then added sand and leveled the area.
One thing to consider when selecting the location of your stock tank pool is your climate. We live in a fairly cool area, so we placed our stock tank in a spot that gets full sun. Since it cools off here at night, the water stays nice and refreshing! If you live in a hot climate, you might want to consider putting it in an area that gets a little shade…while avoiding placing it directly under a tree that will drop lots of leaves.
I have seen people bury their stock tank pools. I will say that I have also seen comments stating that they tend to get more bugs in the pool if it is buried. If the tank is buried, there would need to be access to the inlet and outlet valves on the outside of the tank.
Paint the Outside of the Stock Tank
Some people paint the inside of their stock tank pool and after much research, I decided to skip that step. While some do have success painting the inside, the paint tends to chip. If the paint chips, you have to fully remove the paint, prep the surface and start over.
Even though I didn’t paint the inside, I did paint the outside of tank! I started by thoroughly cleaning the tank with soap and water. Once it was clean and dry, I applied two coats of a durable spray primer. If you are going to use spray cans like I did, do yourself a favor and buy this spray paint handle attachment!
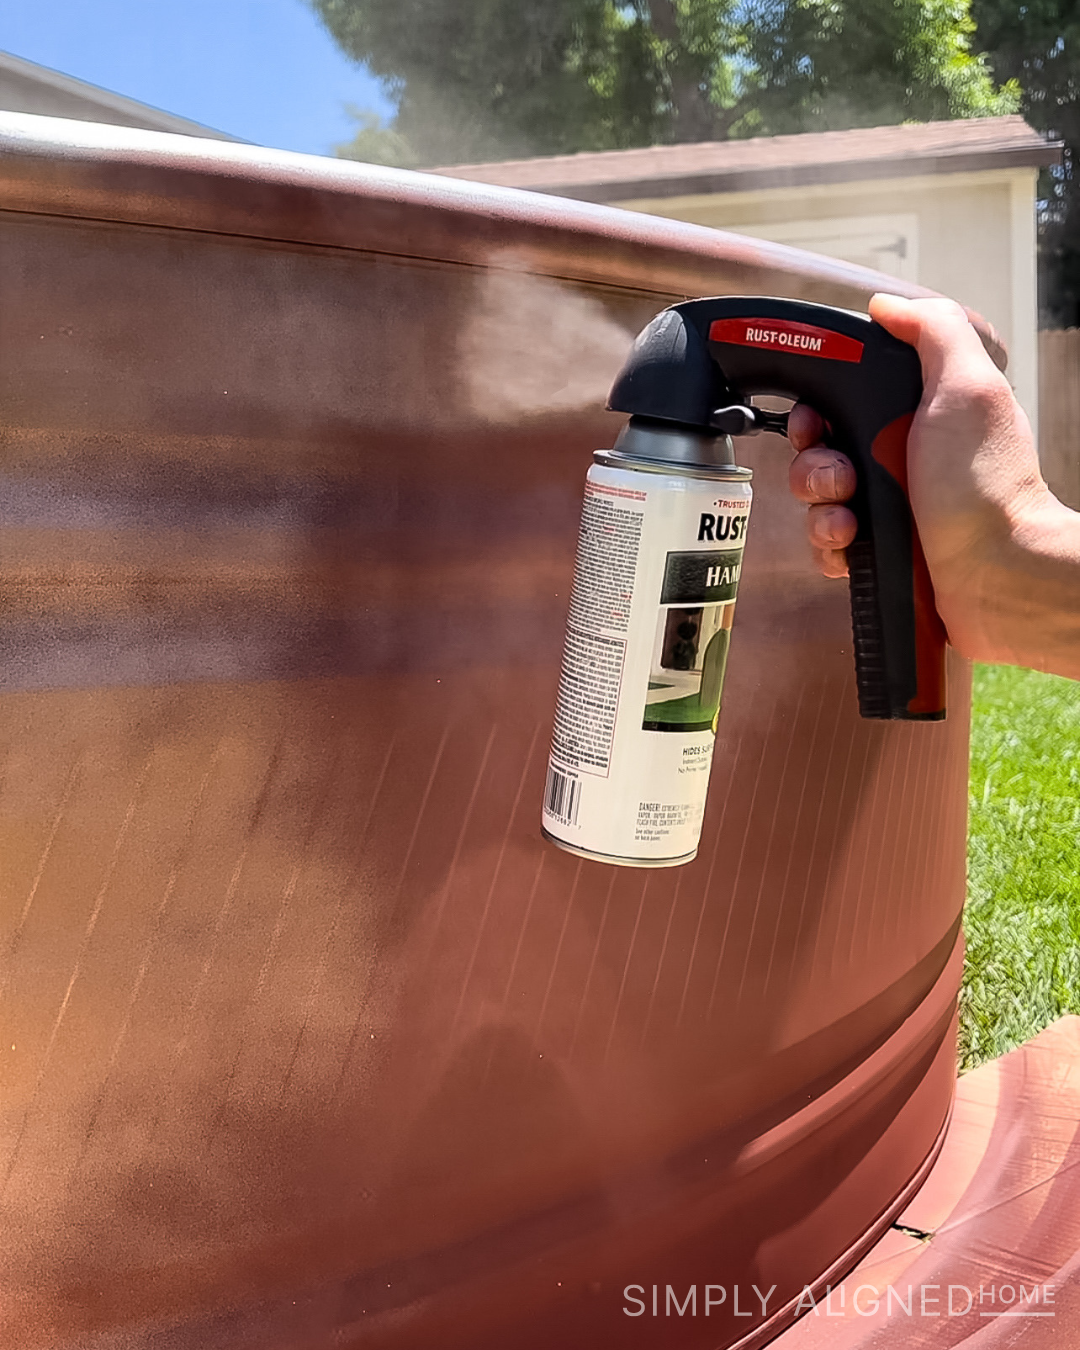
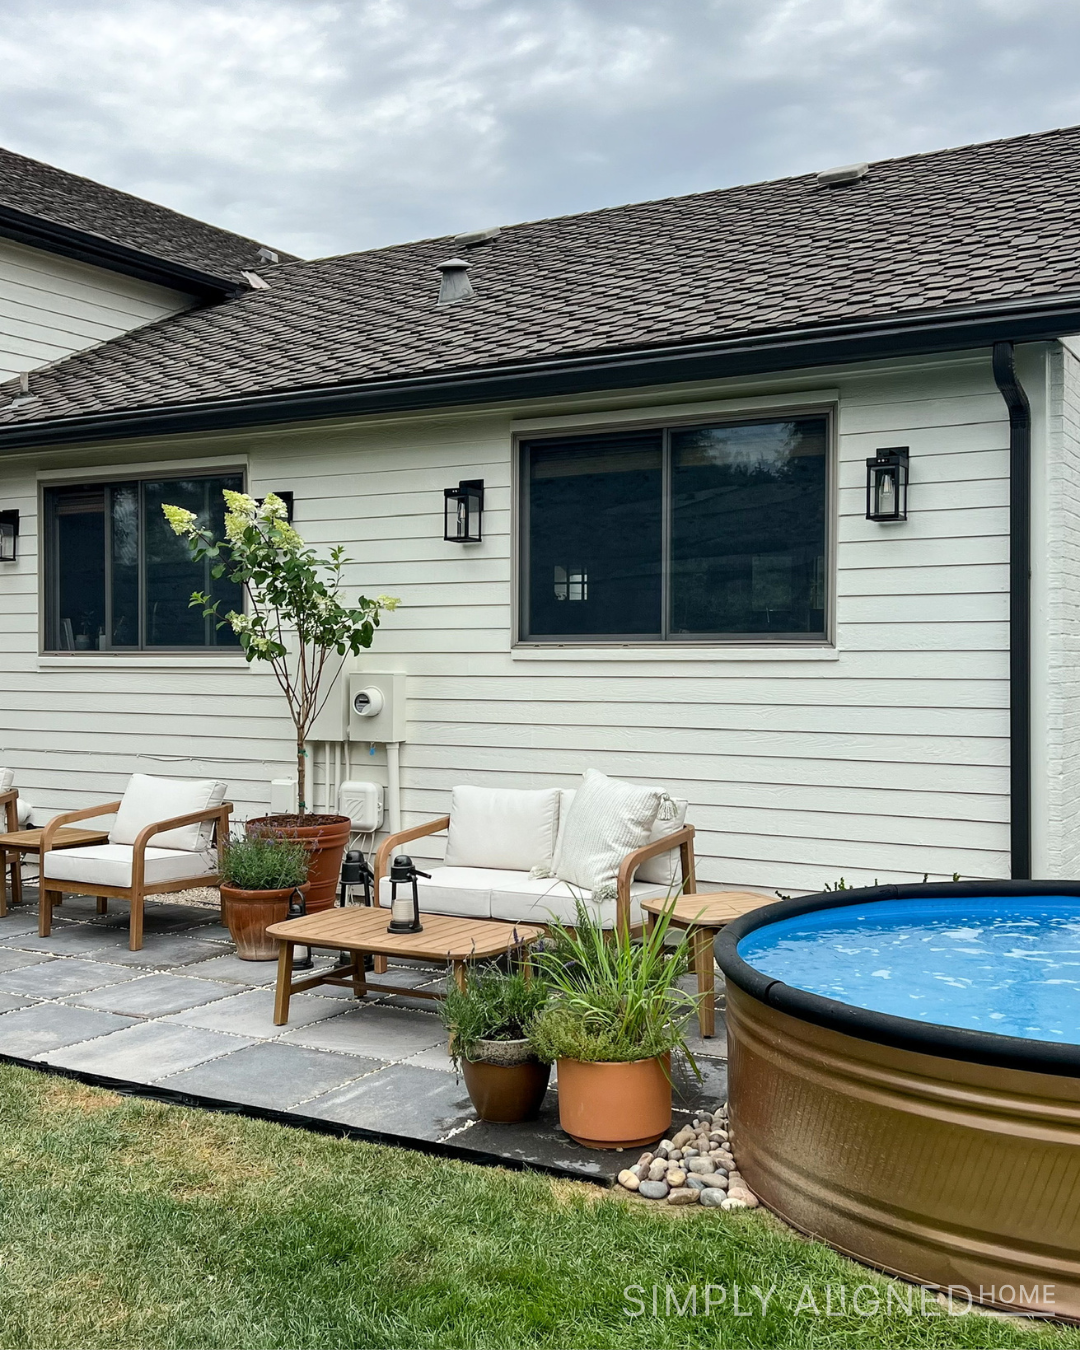
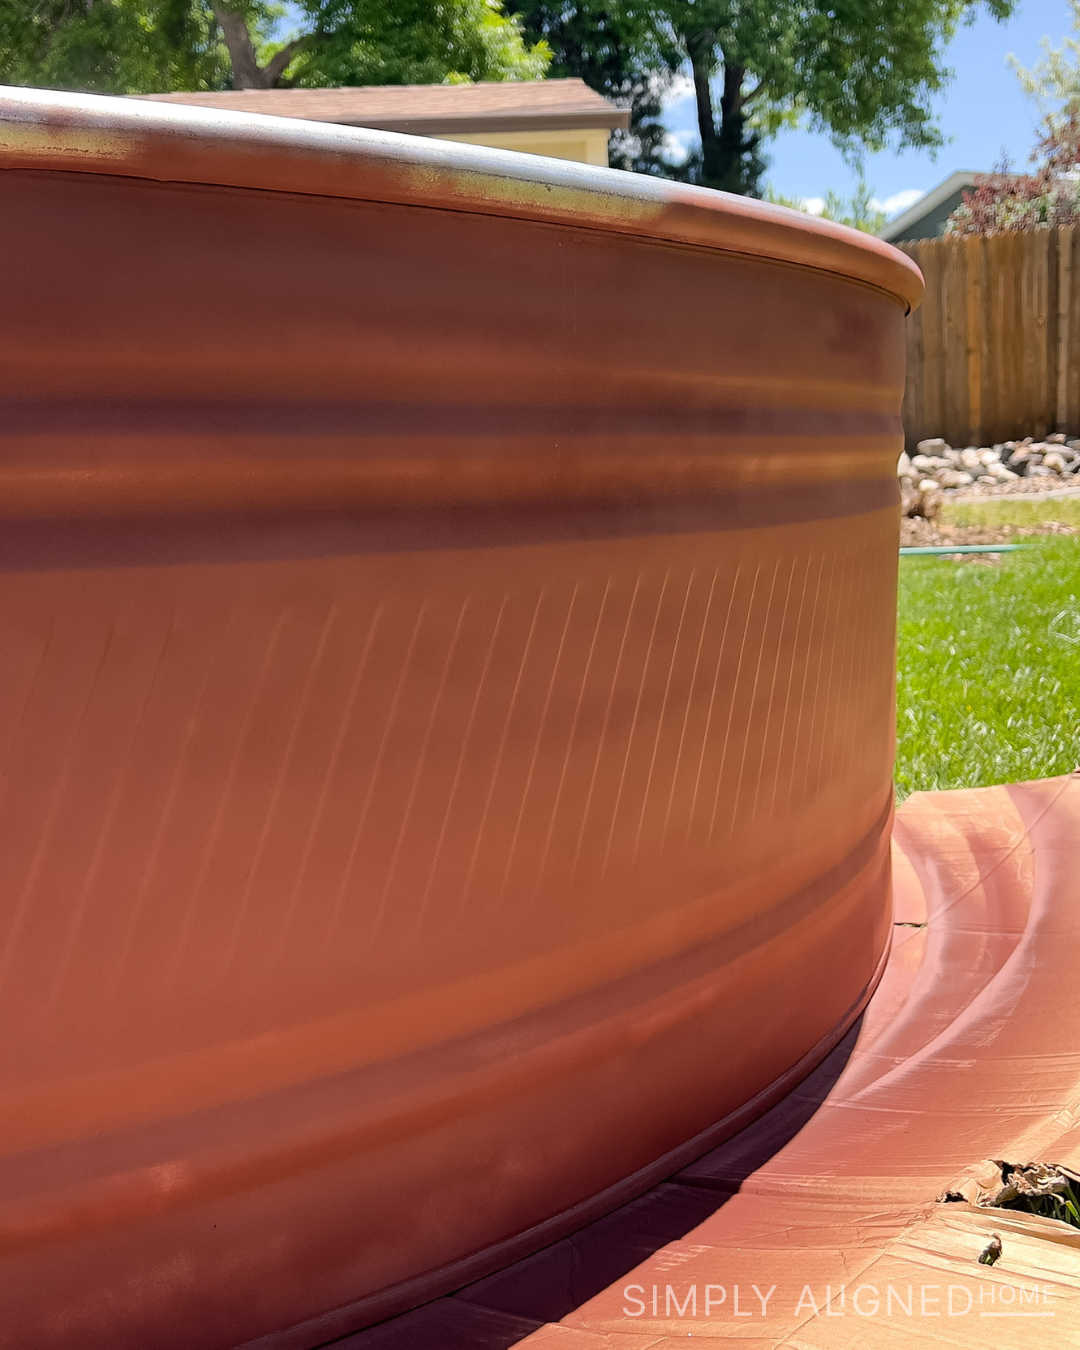
I finished off the exterior of the stock tank pool with two coats of a copper paint. I absolutely love the finished color!
Set the Stock Tank Pool
After the paint dried on the tank and the surface was ready for tank installation, we set the tank in place. It’s not going anywhere once there is water in it, so we made sure we liked the location of the tank before we filled it.
Drill Holes in the Stock Tank Pool
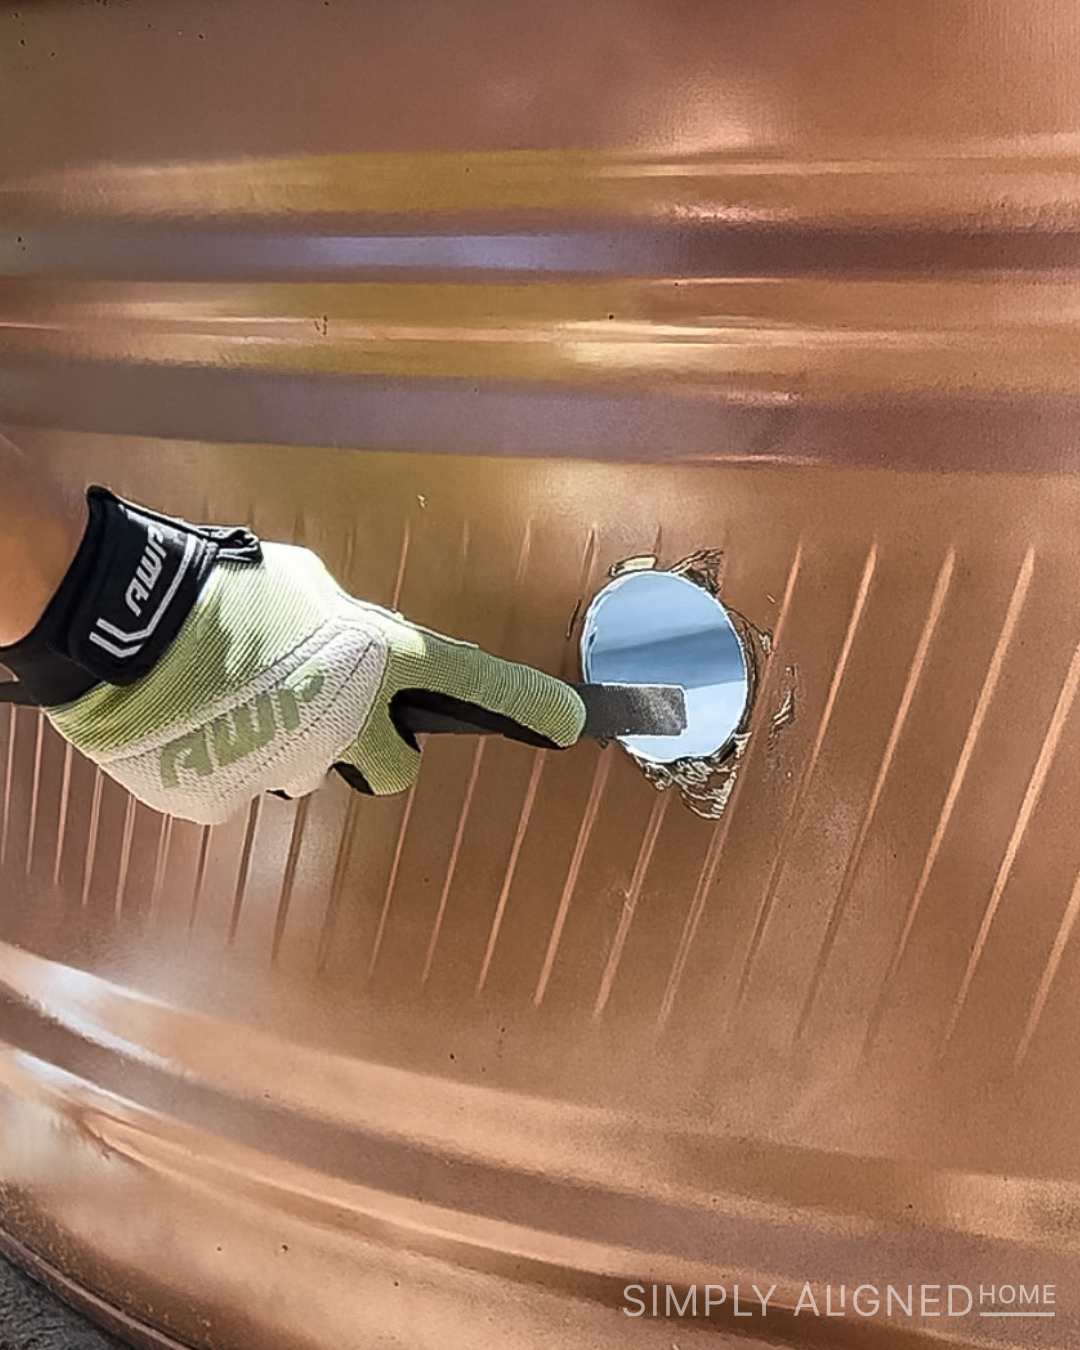
Two holes are required in order to add a pump to the stock tank pool. There should be one inlet and one outlet. The location of the holes will be dictated by the pump manufacturer and available flat spot locations on the tank itself.
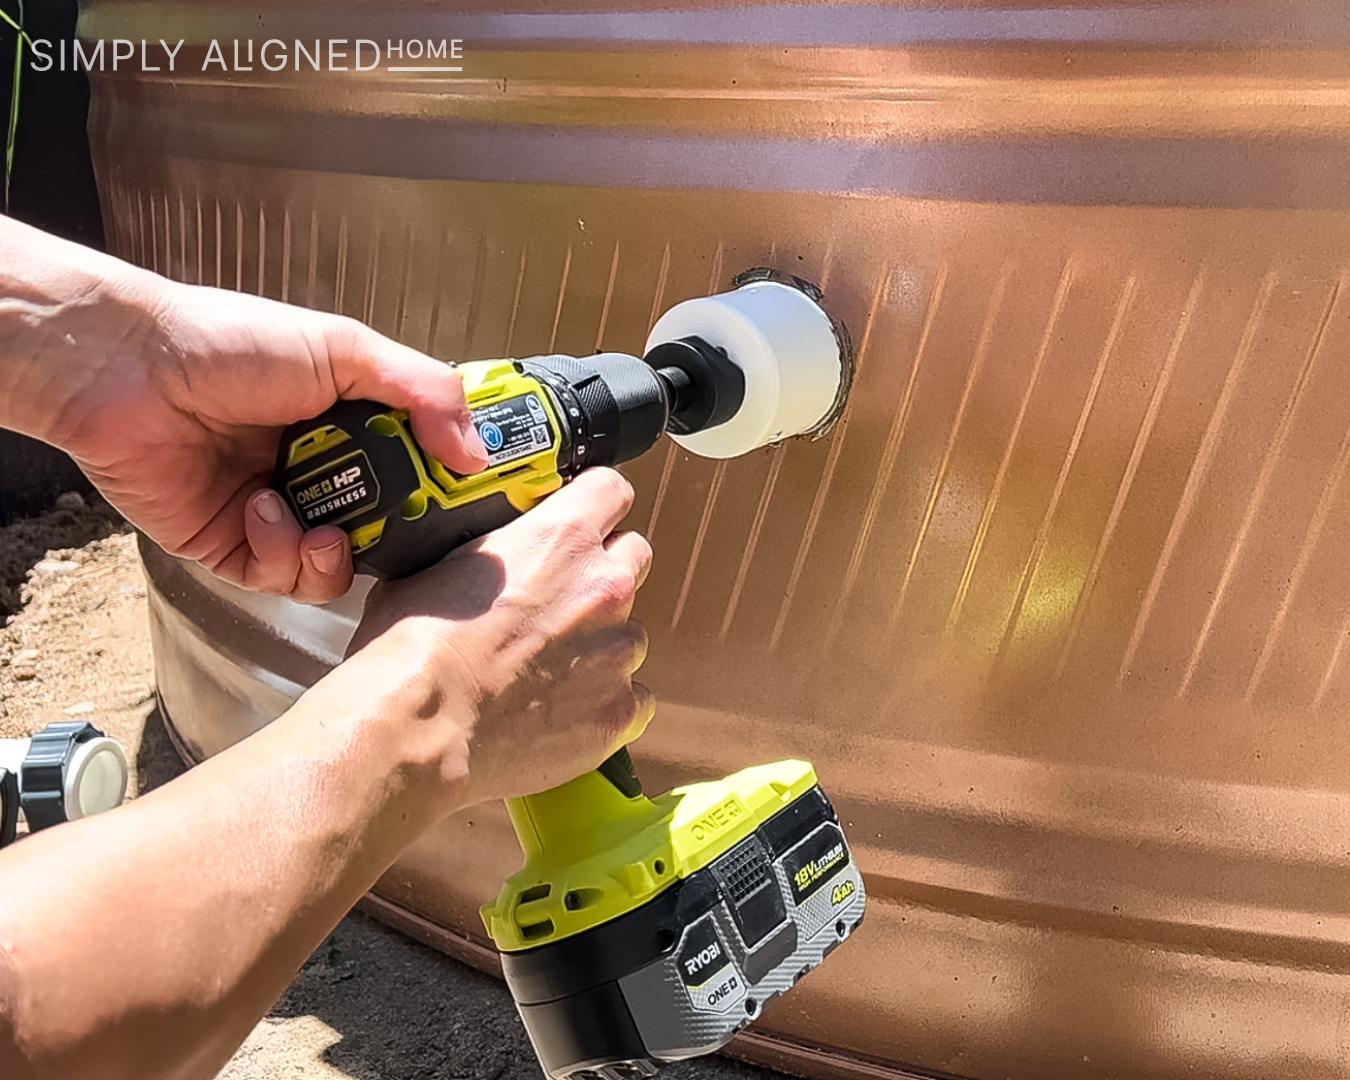
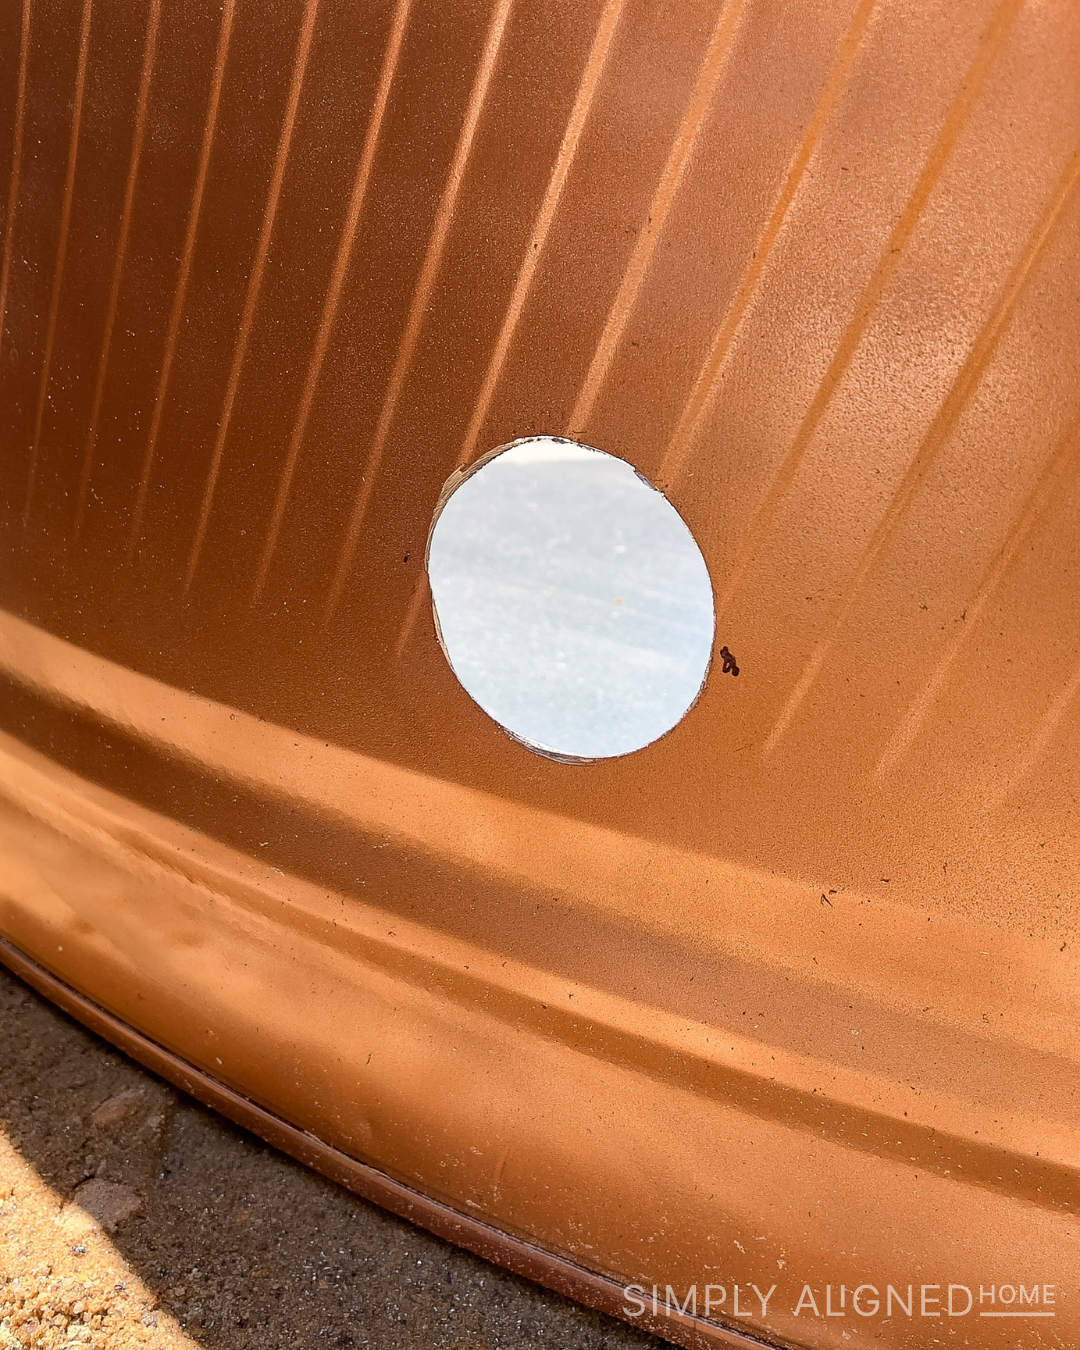
I drilled the tank outlet hole using a hole saw meant for metal as close to the bottom of the tank as possible. I then drilled the tank inlet hole higher than the outlet. The hole saw left rough edges on the tank, so I lightly smoothed them with a metal file.
Adding a Liner to the Stock Tank Pool
The first year of having our stock tank pool, we chose to not use a liner. It actually worked and looked great! We never had any rust issues. I have even heard of people using the galvanized stock tank without a liner or coating for several years!
Unfortunately, when we went to set the stock tank pool back up this year, we discovered that we had two small pinholes in the bottom of the tank. Instead of trying to find a way to patch the holes, we decided to install a liner.
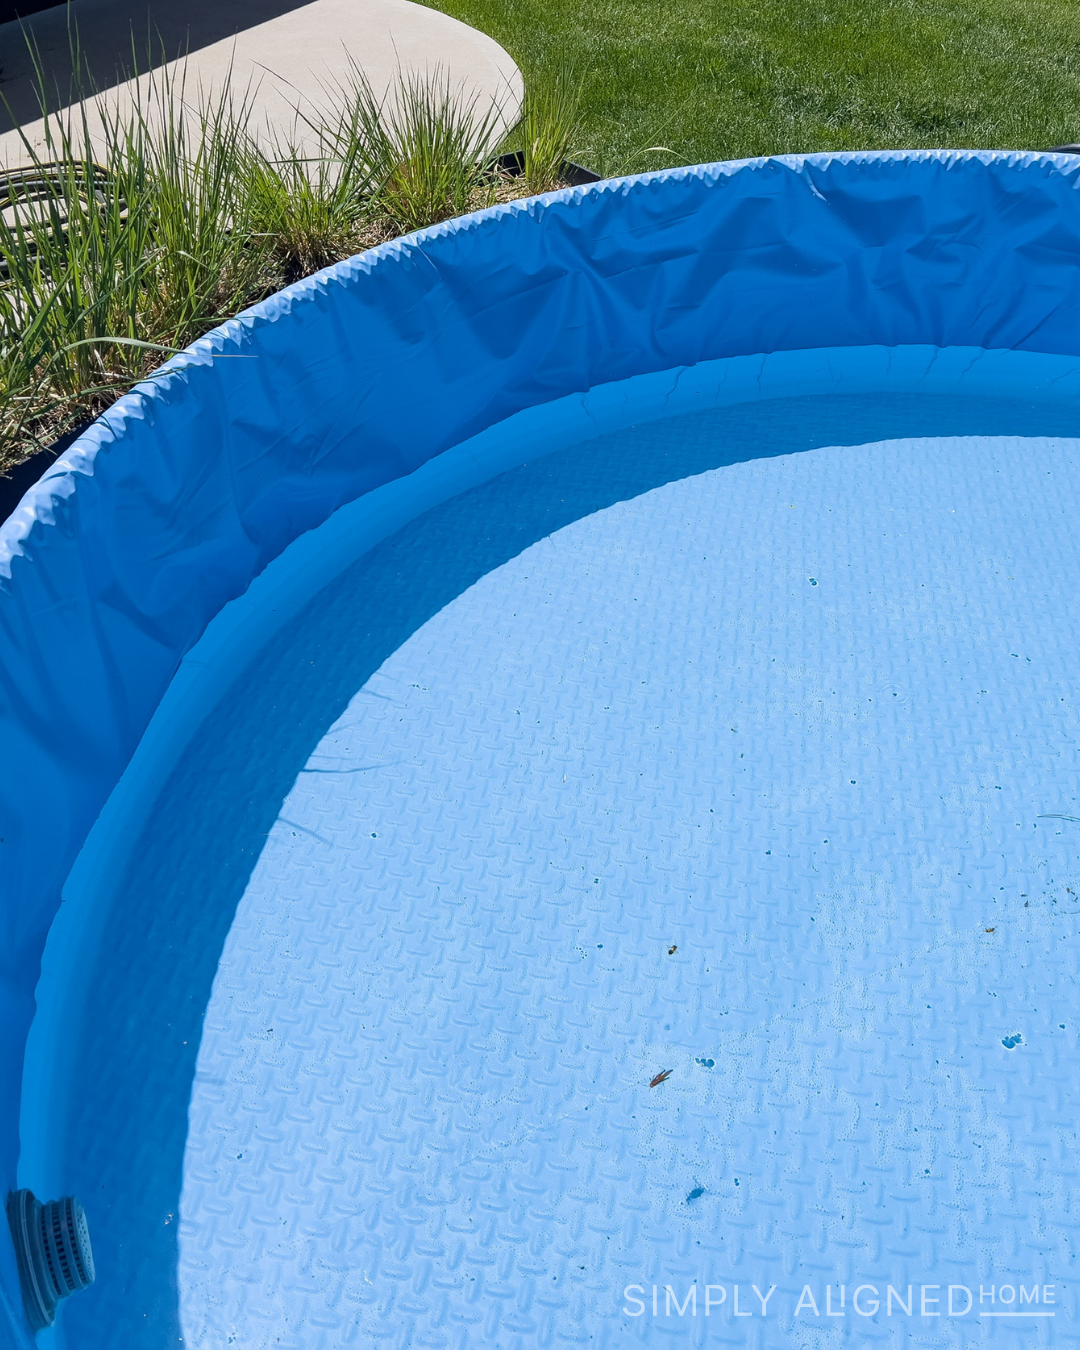
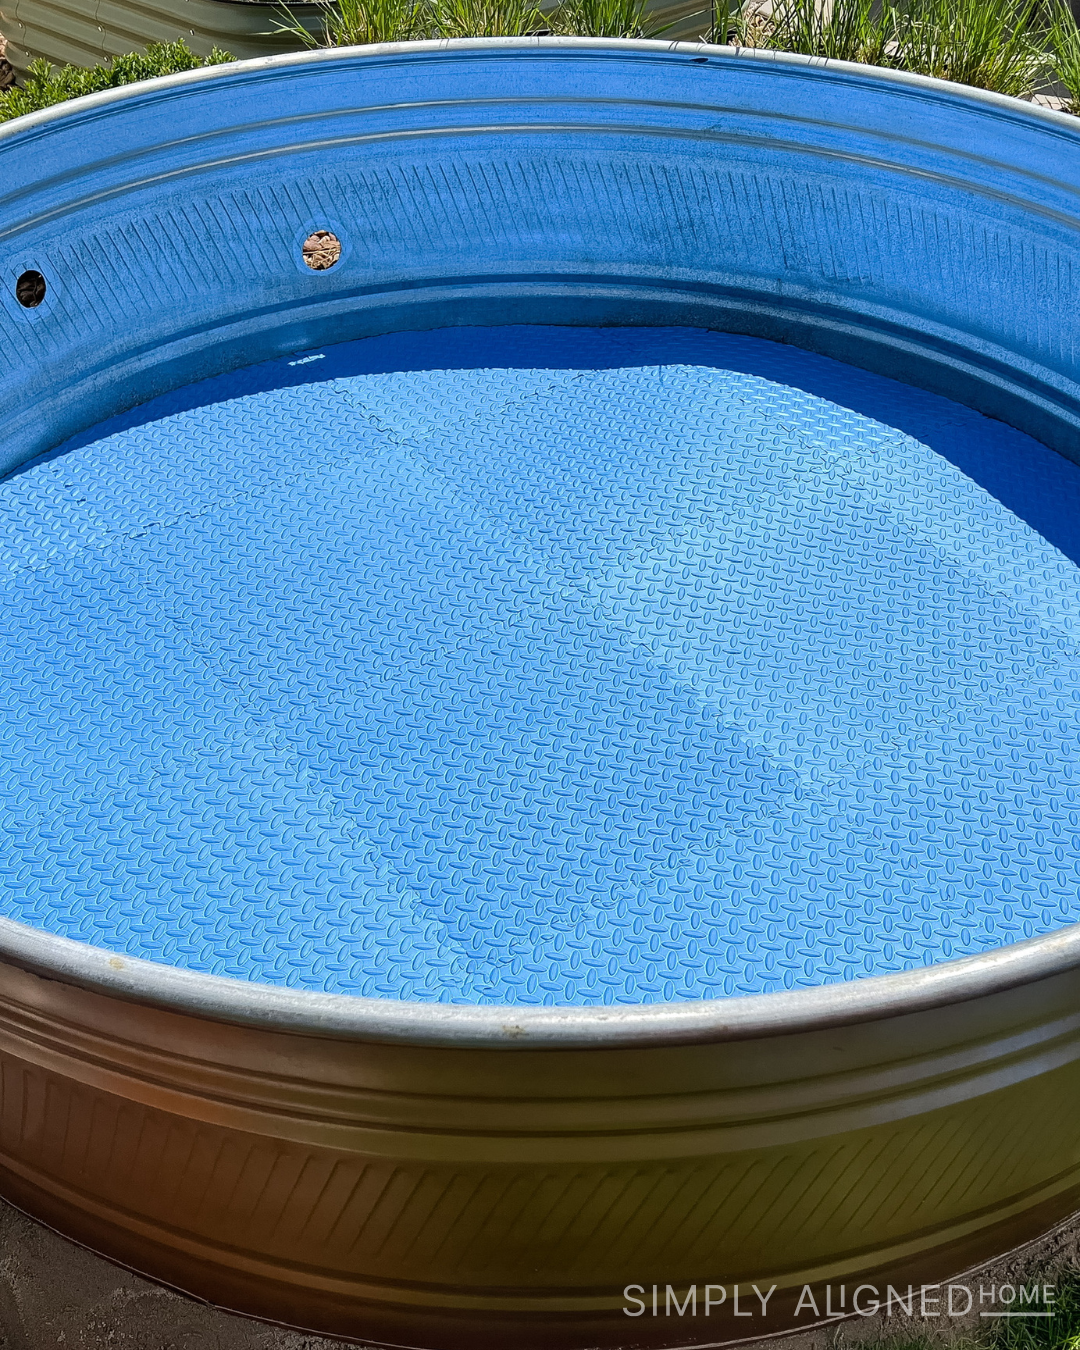
Before I installed the liner, I added a little cushion to the bottom with floor mats. I placed as many full mats in the tank as I could before I started cutting out the perimeter. I made a template and used it to cut the remaining pieces.
As soon as the mats were in place, I started installing the liner. The liner I purchased was labeled as an 8′ round pool liner, but it is a little big for our pool. I did my best to smooth out the liner as I filled the stock tank with water, however, there are still a few wrinkles. I might change it out next year to one that fits better.
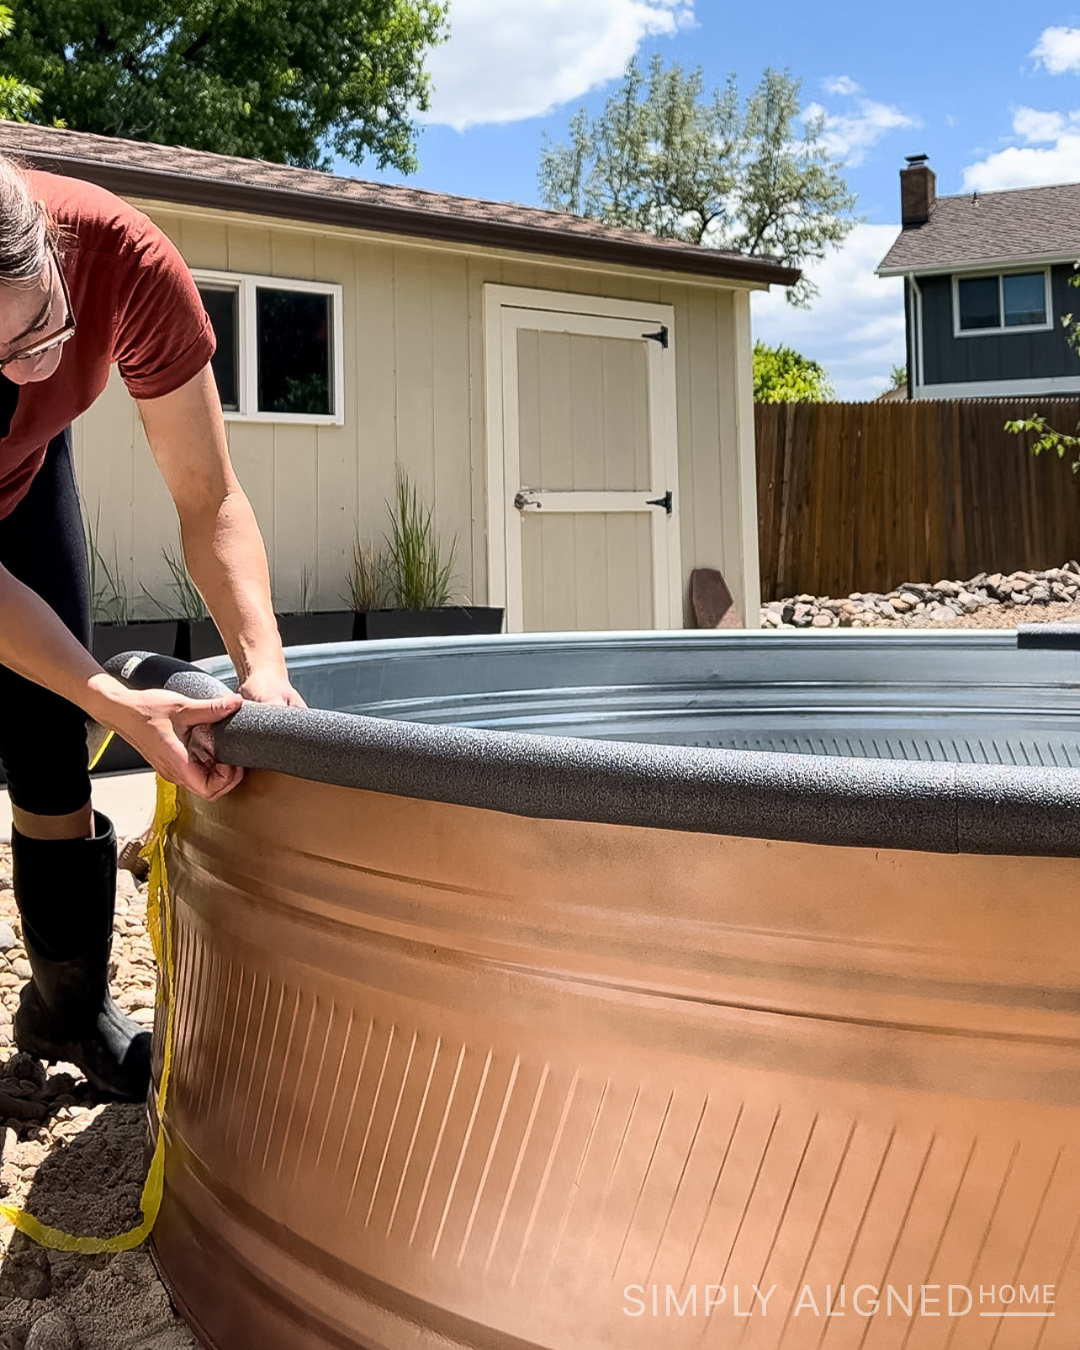
In order to keep the liner in place, I secured a ratchet strap around the outside lip of the pool. I then cut the additional material off and added pipe insulation to the top edge of the tank.
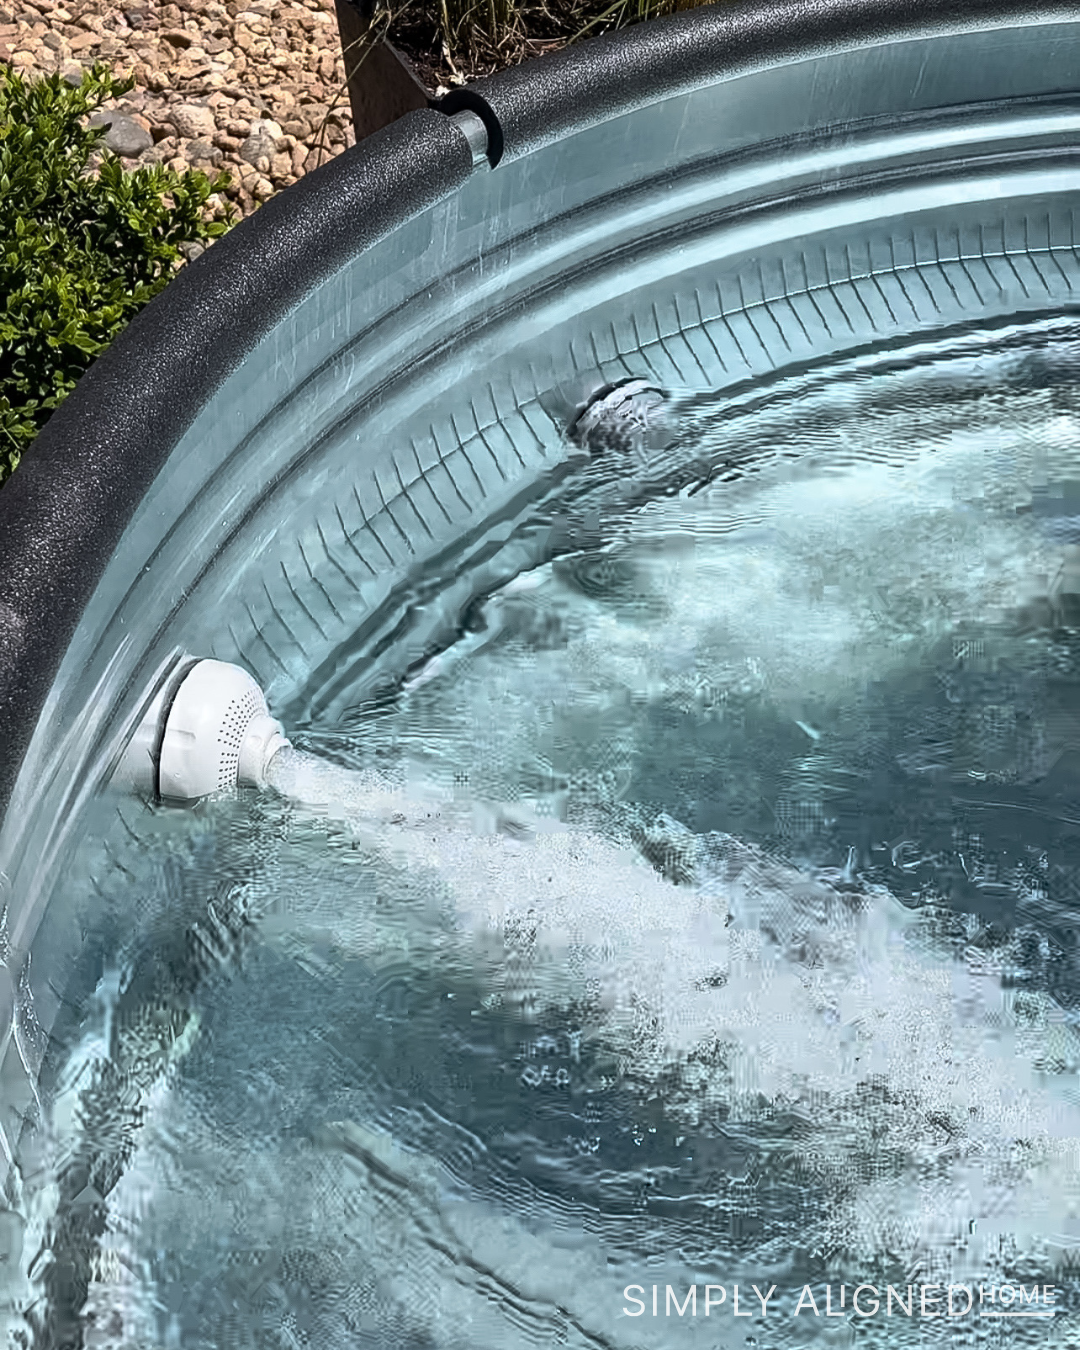
Install the Stock Tank Pool Pump
With the liner, I installed the inlet and outlet fittings on the tank as the water was filling. I cut the holes in the liner when the water was 1-2″ below the opening. This ensured that the liner was in the correct place before installing the fittings. If you aren’t using a liner, the fittings should be installed prior to filling the tank.
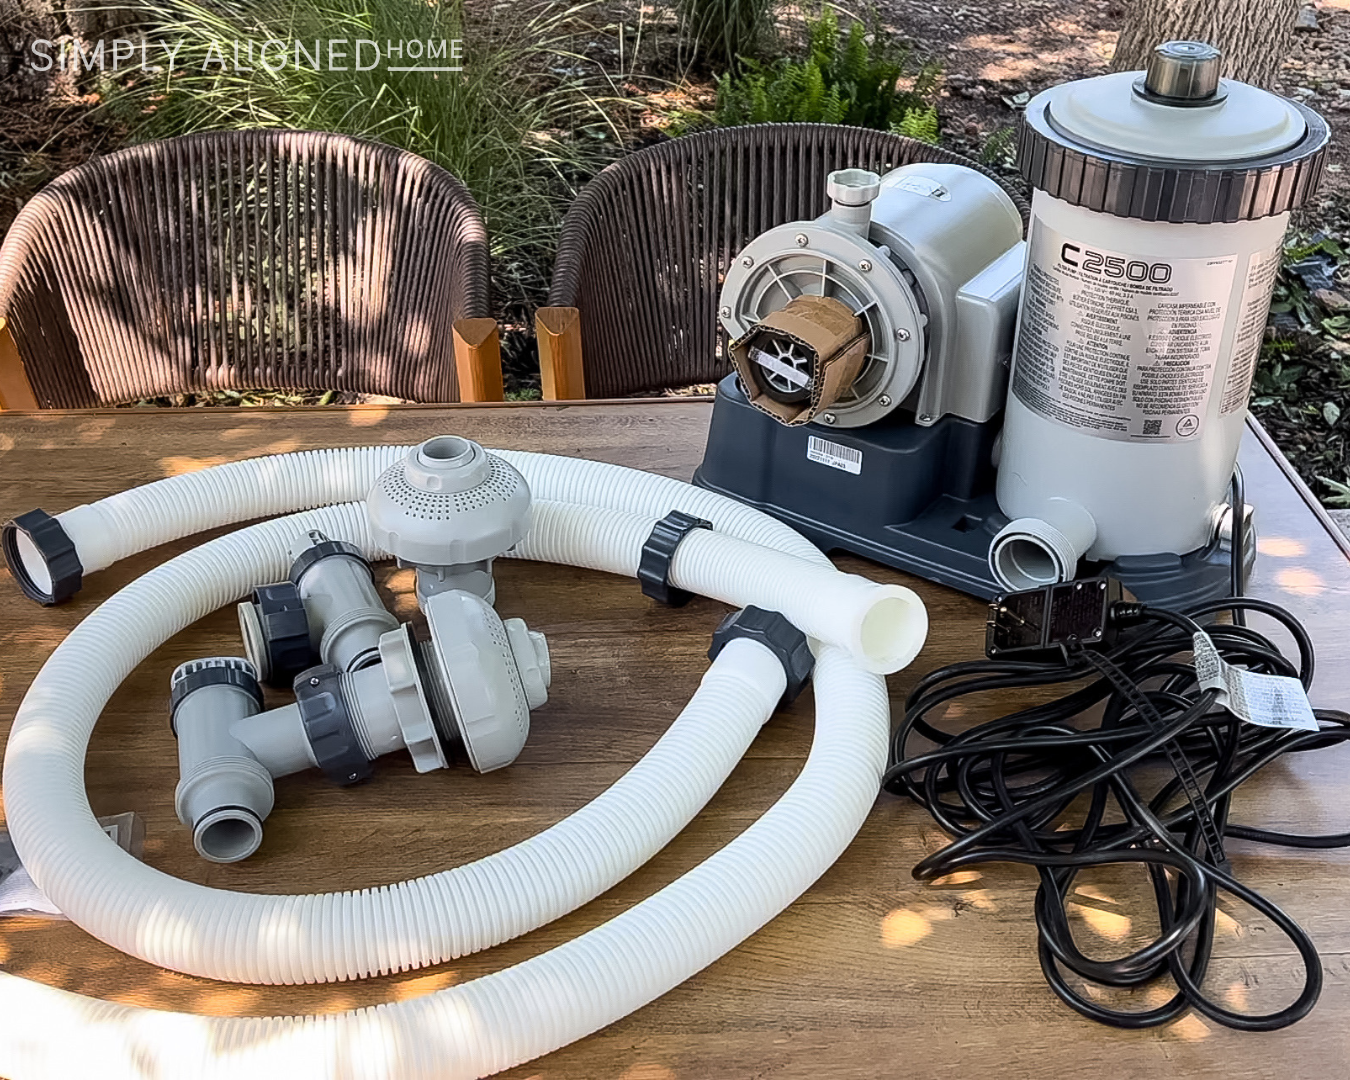
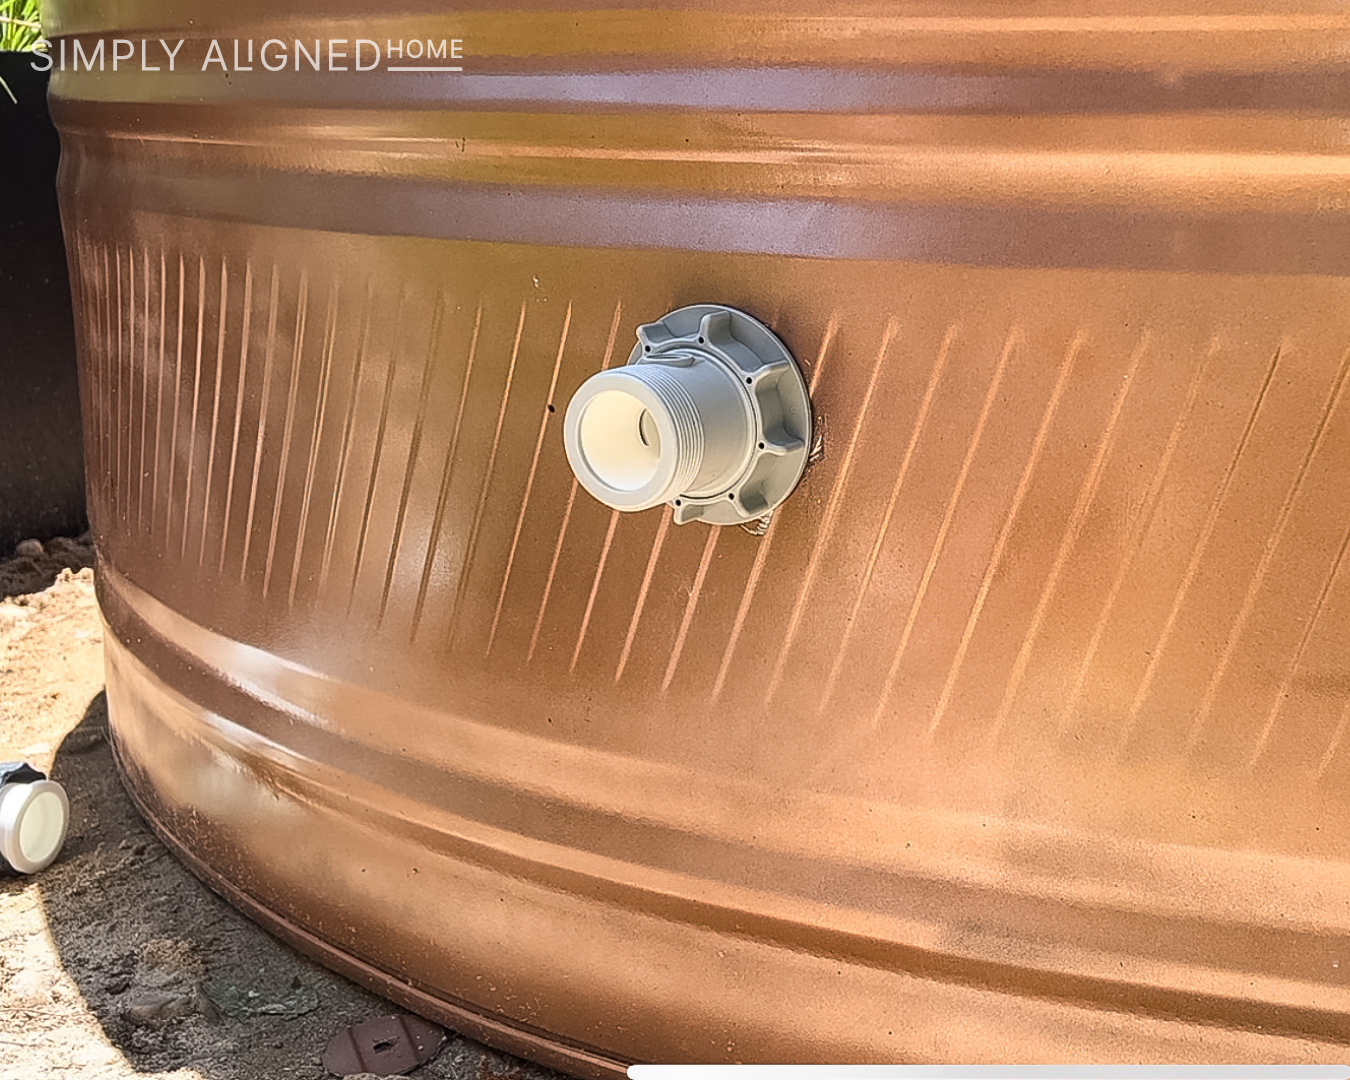
The trick to installing the fittings is to use plenty of sealer! I applied a bead of sealer to both sides of the gasket and another bead around the fittings once they were installed.

Chemicals Used in the Stock Tank Pool
I try to keep the chemicals that I use in the stock tank pool to a minimum. The main thing that I use are chlorine tablets. I keep one to two 1″ chlorine tablets in a floater. The only other chemical that I use is a weekly treatment.
How to Clean the Stock Tank Pool
The stock tank pump and filter along with the chlorine tablets do an excellent job of keeping the pool clean! It is important to regularly check and replace the filter. There is an indicator on the top of my filter housing that shows if it needs to be replaced, which is super helpful!
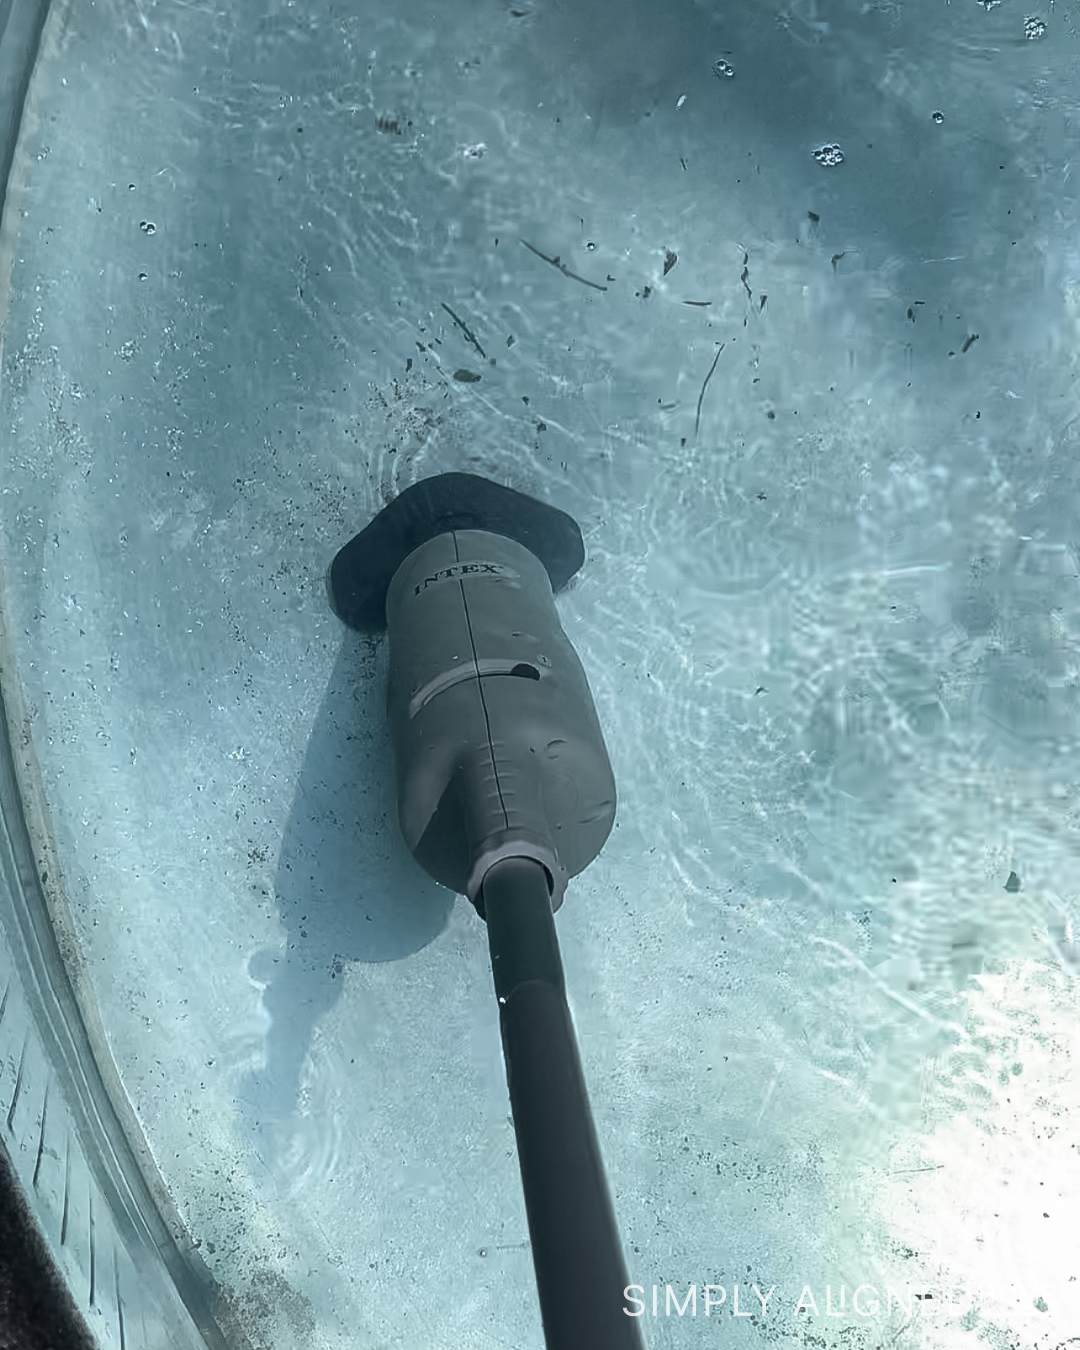
I have two other items that I use to keep my pool clean…a net and a vacuum. I regularly use the pool net to clean out leaves or bugs that have made their way into the pool. I occasionally have to use my rechargeable vacuum to clean the floor of the tank.
Winterizing the Stock Tank Pool
It is possible to keep the stock tank pool open year round. This will depend on the climate and equipment on the tank. I decided it would be easiest for us to winterize our tank instead of trying to keep it full over the winter.
In order to winterize the tank, I disconnected the pump, emptied all of the water, rinsed the tank and stored it upside down. If you do use chlorine tablets, you might want to remove the floater a week before you empty the tank. Chlorinated water could potentially kill your grass or plants when emptying the stock tank.
This year, I will probably remove the liner from the tank and store both the liner and floor mats indoors.
Temperature of the Stock Tank Pool
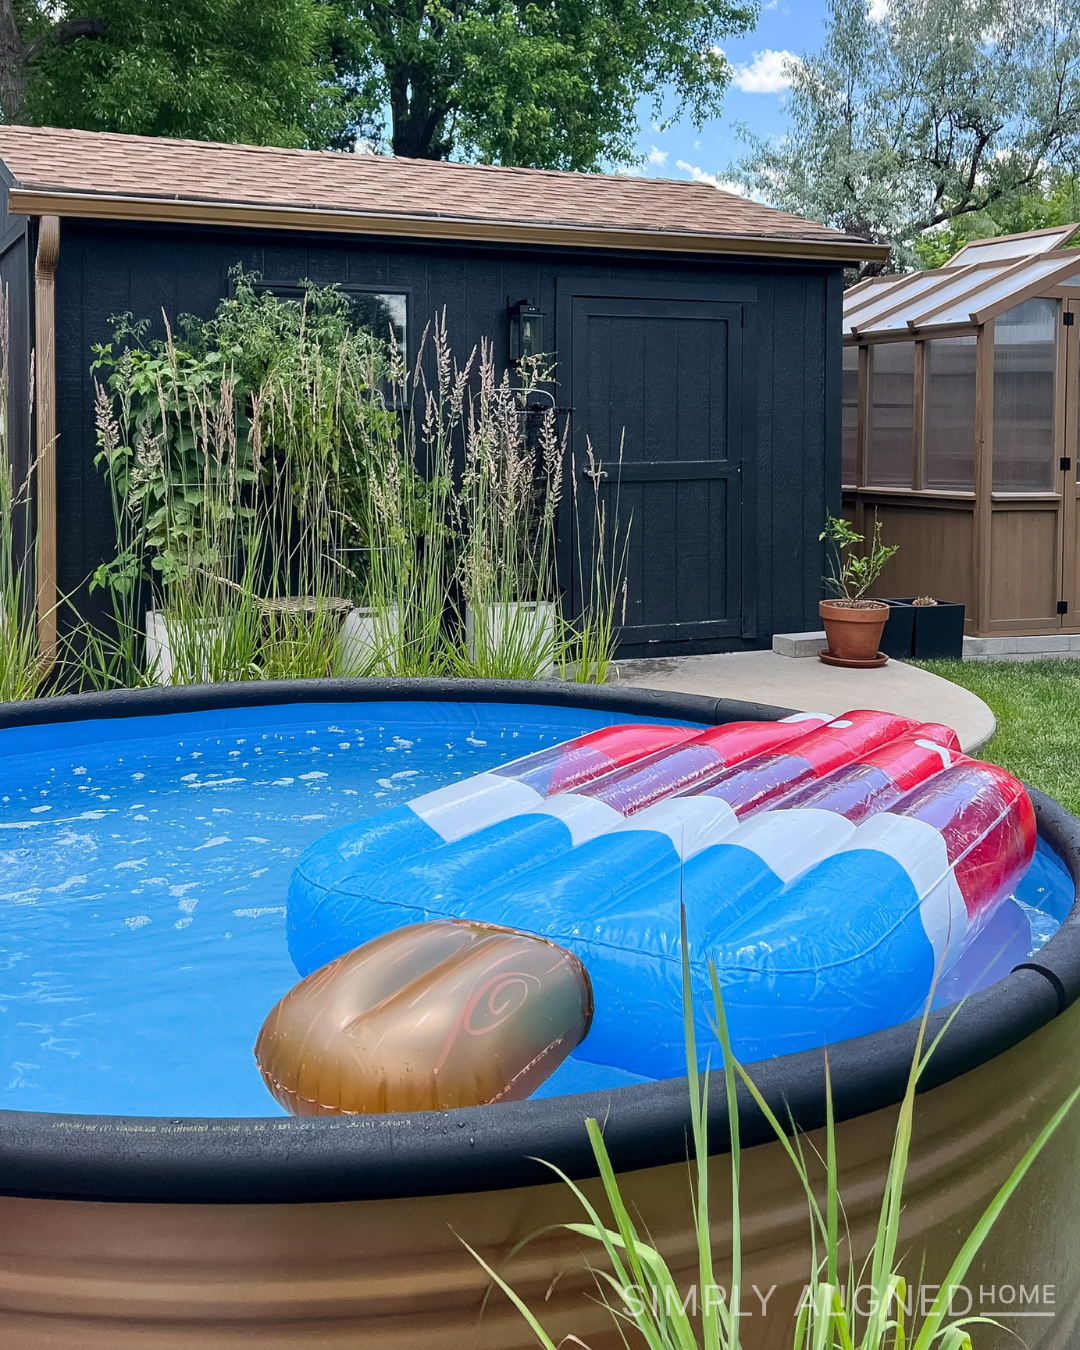
The temperature of the water in our stock tank pool stays surprisingly crisp and refreshing. My boys often complain that the water is too cold. We have considered adding a heater to our stock tank, but I haven’t quite made the jump. I think that the temperature of the water in the pool will depend largely on the climate and location of the stock tank (sun vs. shade).
Cost of the Complete Setup
The cost of my tank was approximately $550. The price of the tank will vary based on location.
As for the cost of the complete setup, including the tank, pump, liner, paint and all supplies, it was just over $1,000.
I hope this answers most, if not all, of your questions about my stock tank pool! When we first considered installing one, we weren’t sure if we would get enough use out of it. I can confidently say that we have gotten our moneys worth and we have loved having a stock tank pool!

**Note: I am not a professional and do not claim to be an expert. Please be sure to always read instructions for all tools and products. Safety is very important and should be your top priority. Wear necessary protection when using tools (eye wear, hearing protection, gloves, etc.) and dust masks when sanding or cutting. Simply Aligned Home is not responsible for any injury or damage. All of my designs are not professionally designed and are for private use only.**
Materials Used
- 8’ Round Galvanized Stock Tank
- Pump and Filter Set
- Inlet and Outlet Valve Set
- Spray Primer
- Spray Paint
- Sand
- Water Proof Sealant
- Ratchet Strap
- Pipe Insulation
- Chlorine Floater
- Replacement Filters
- Pool Net
- Pool Vacuum
- Pool Liner
- Gym Mats
Tools Used
- Spray Paint Handle
- Impact
- Hole Saw Bit
- Metal File
- Caulk Gun
- Utility Knife