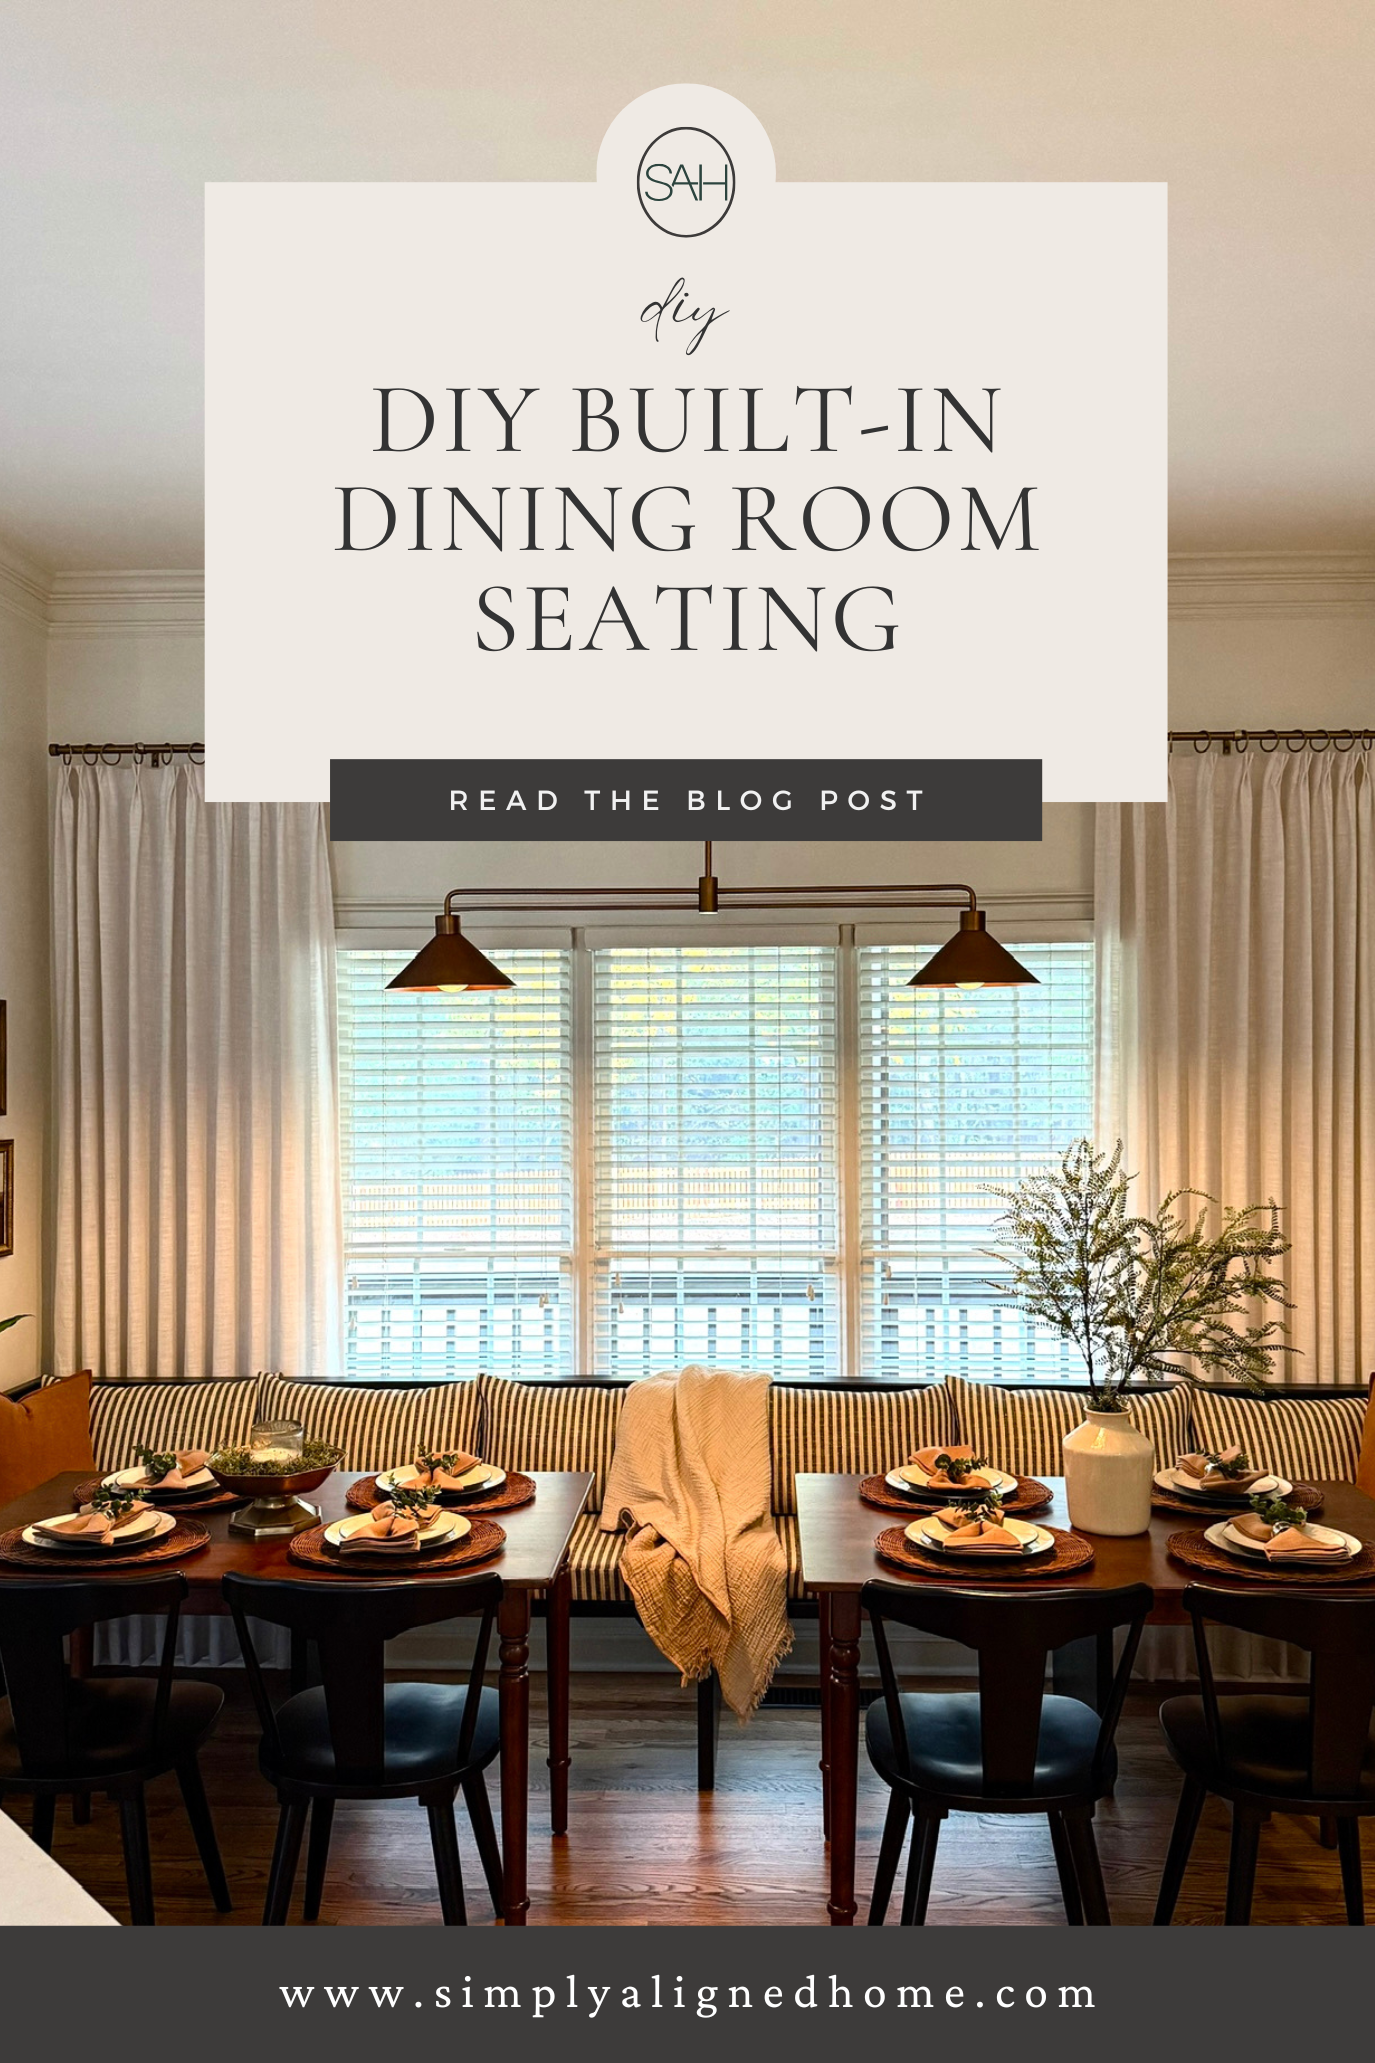
This is the dining space just off our kitchen, and since the day I first saw the house, I envisioned built-in banquette seating here. I searched Facebook Marketplace for a bench I could customize to fit, but in the end, I decided to build some banquette myself that fits the space perfectly!
**This post contains affiliate links to products that I used or recommend. If you purchase something through an affiliate link, I may receive a small percentage of the sale at no extra cost to you. I really appreciate your support!**
Cutting the Plywood
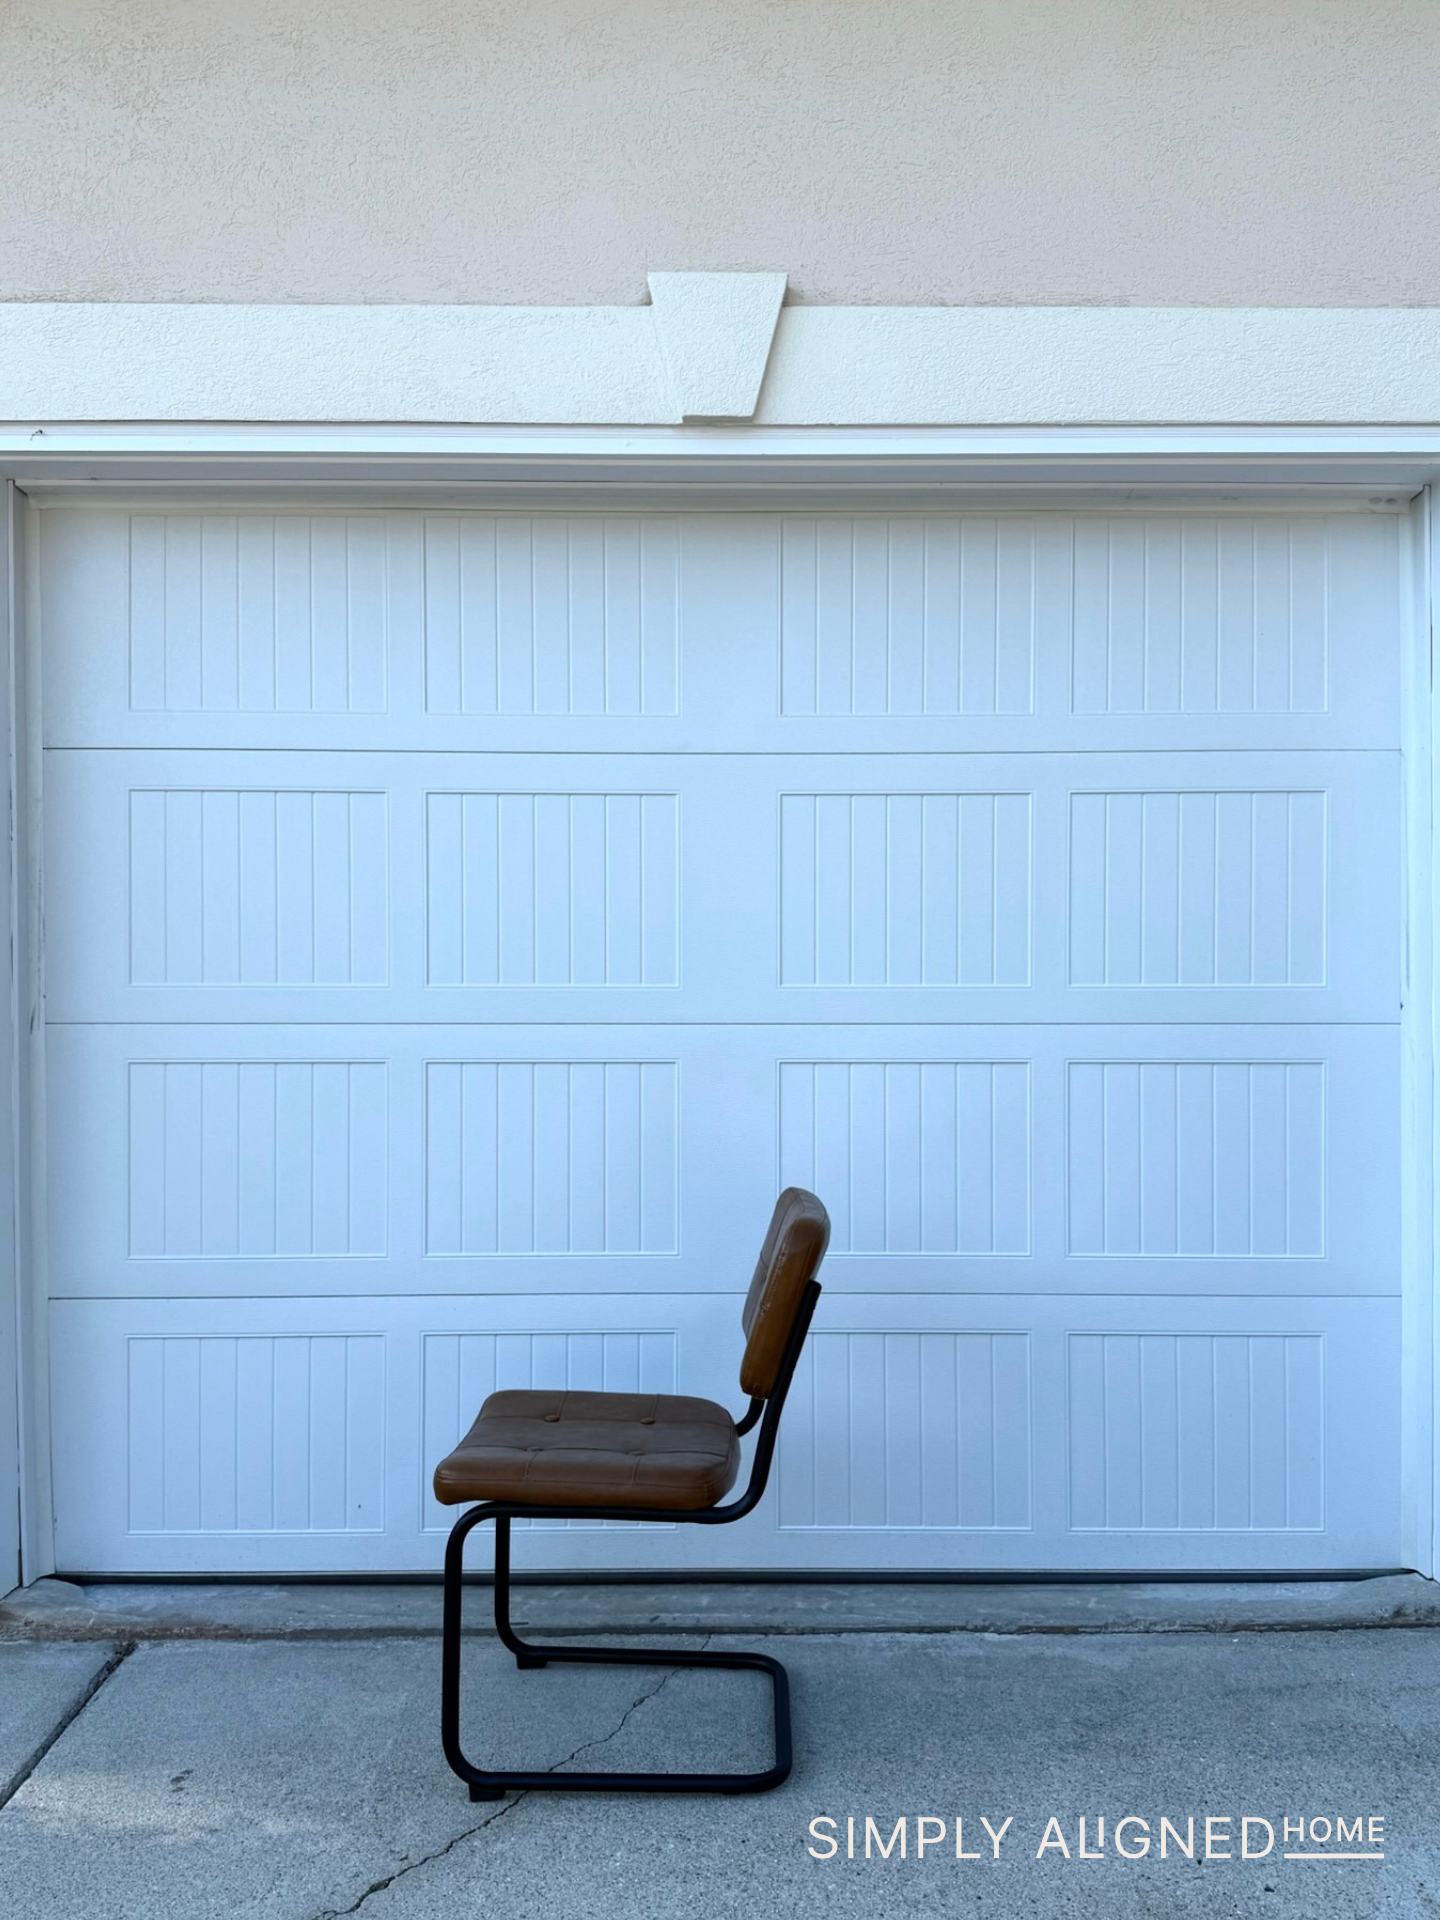
Once I had a general plan for the space, I designed the bench around these chairs.
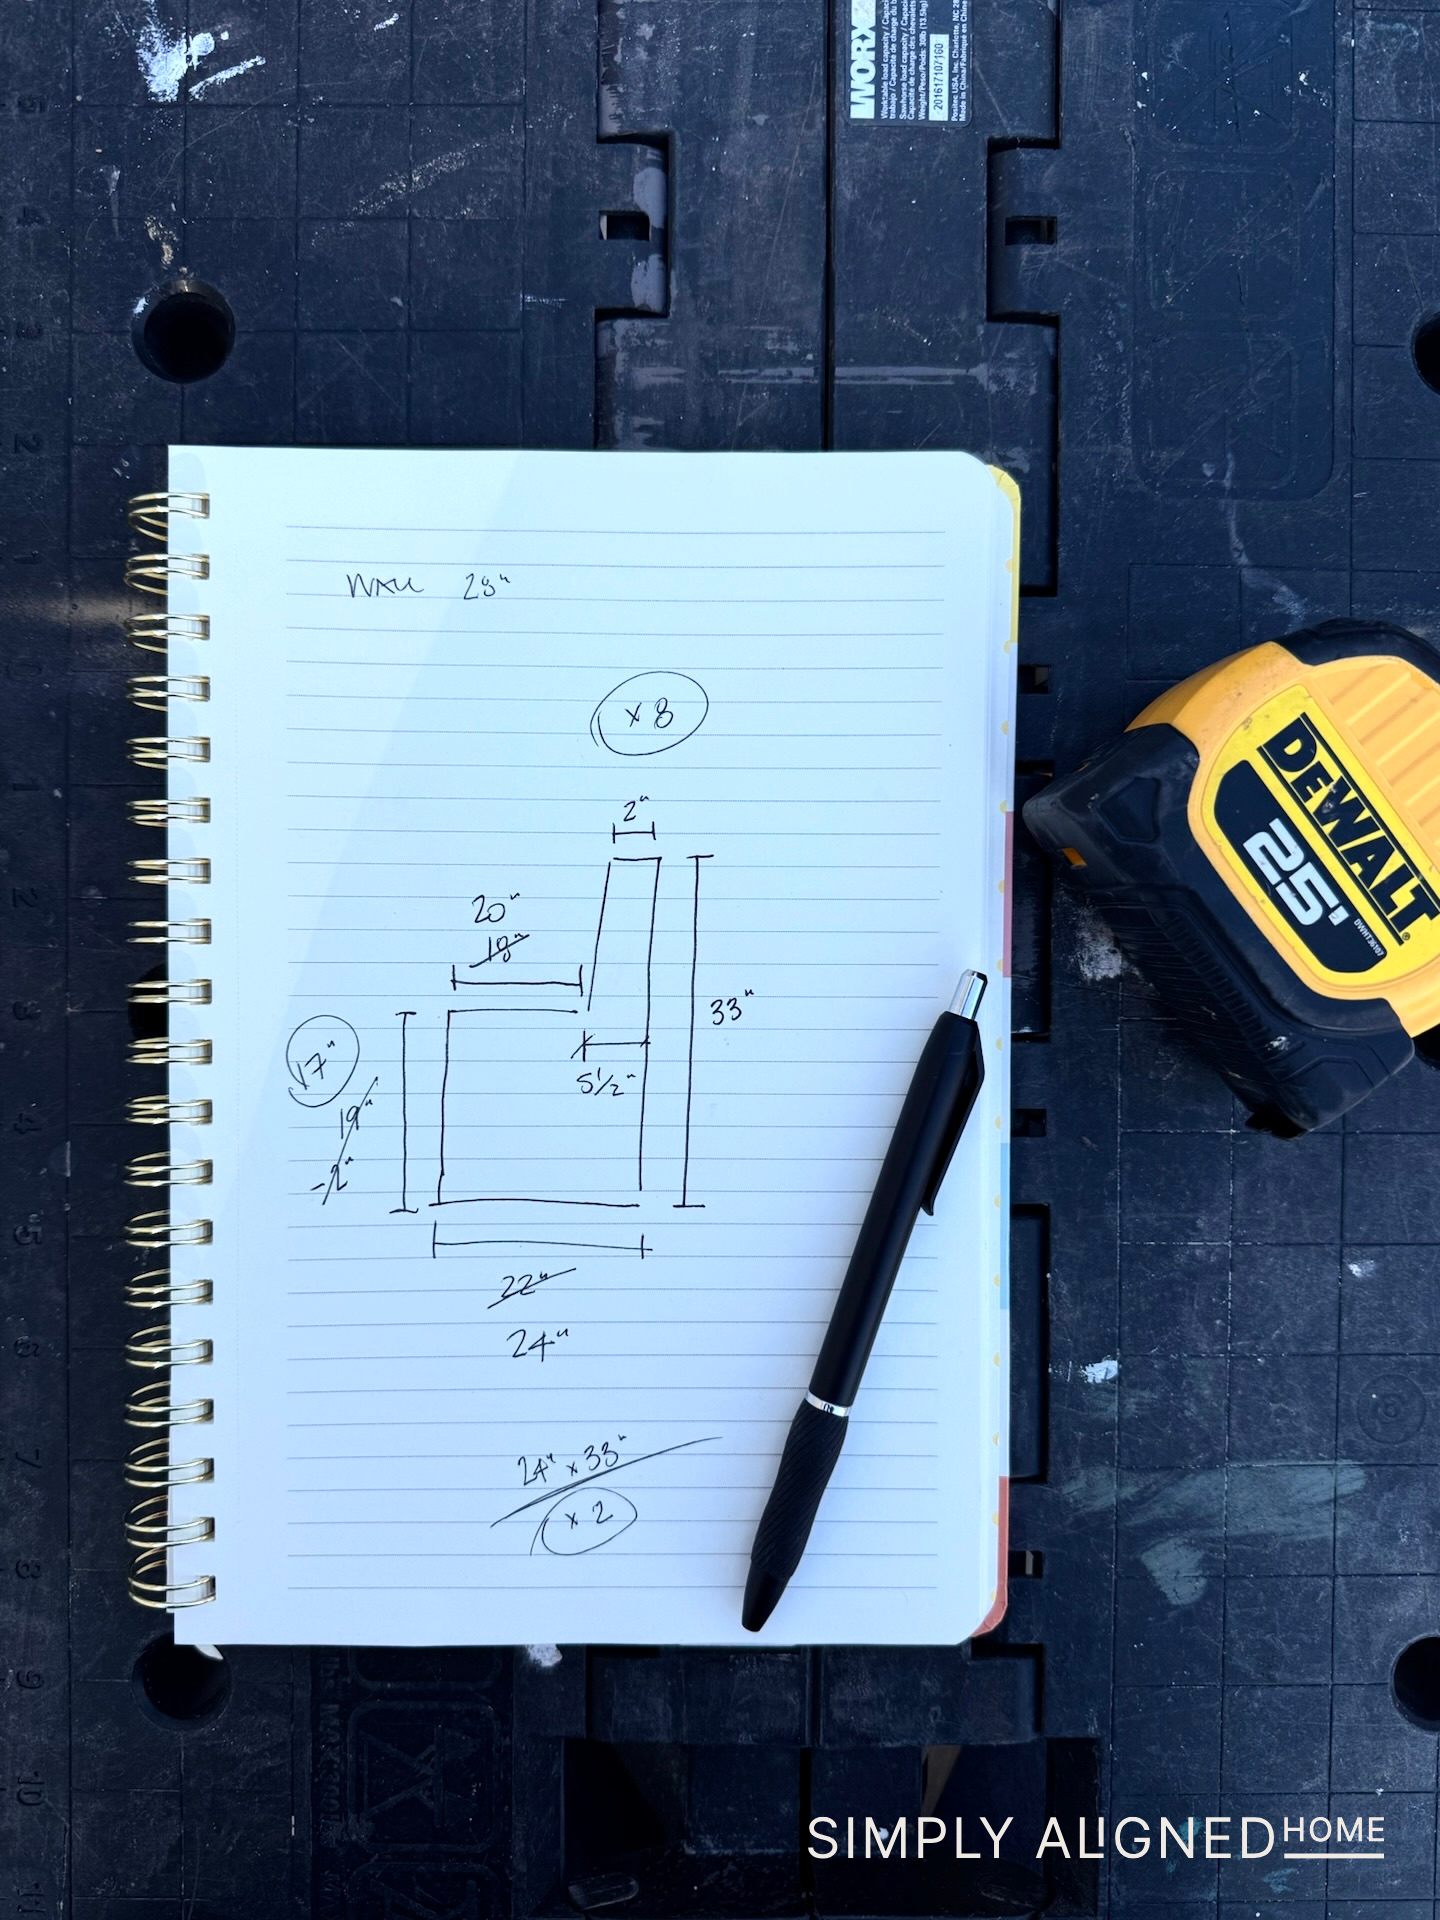
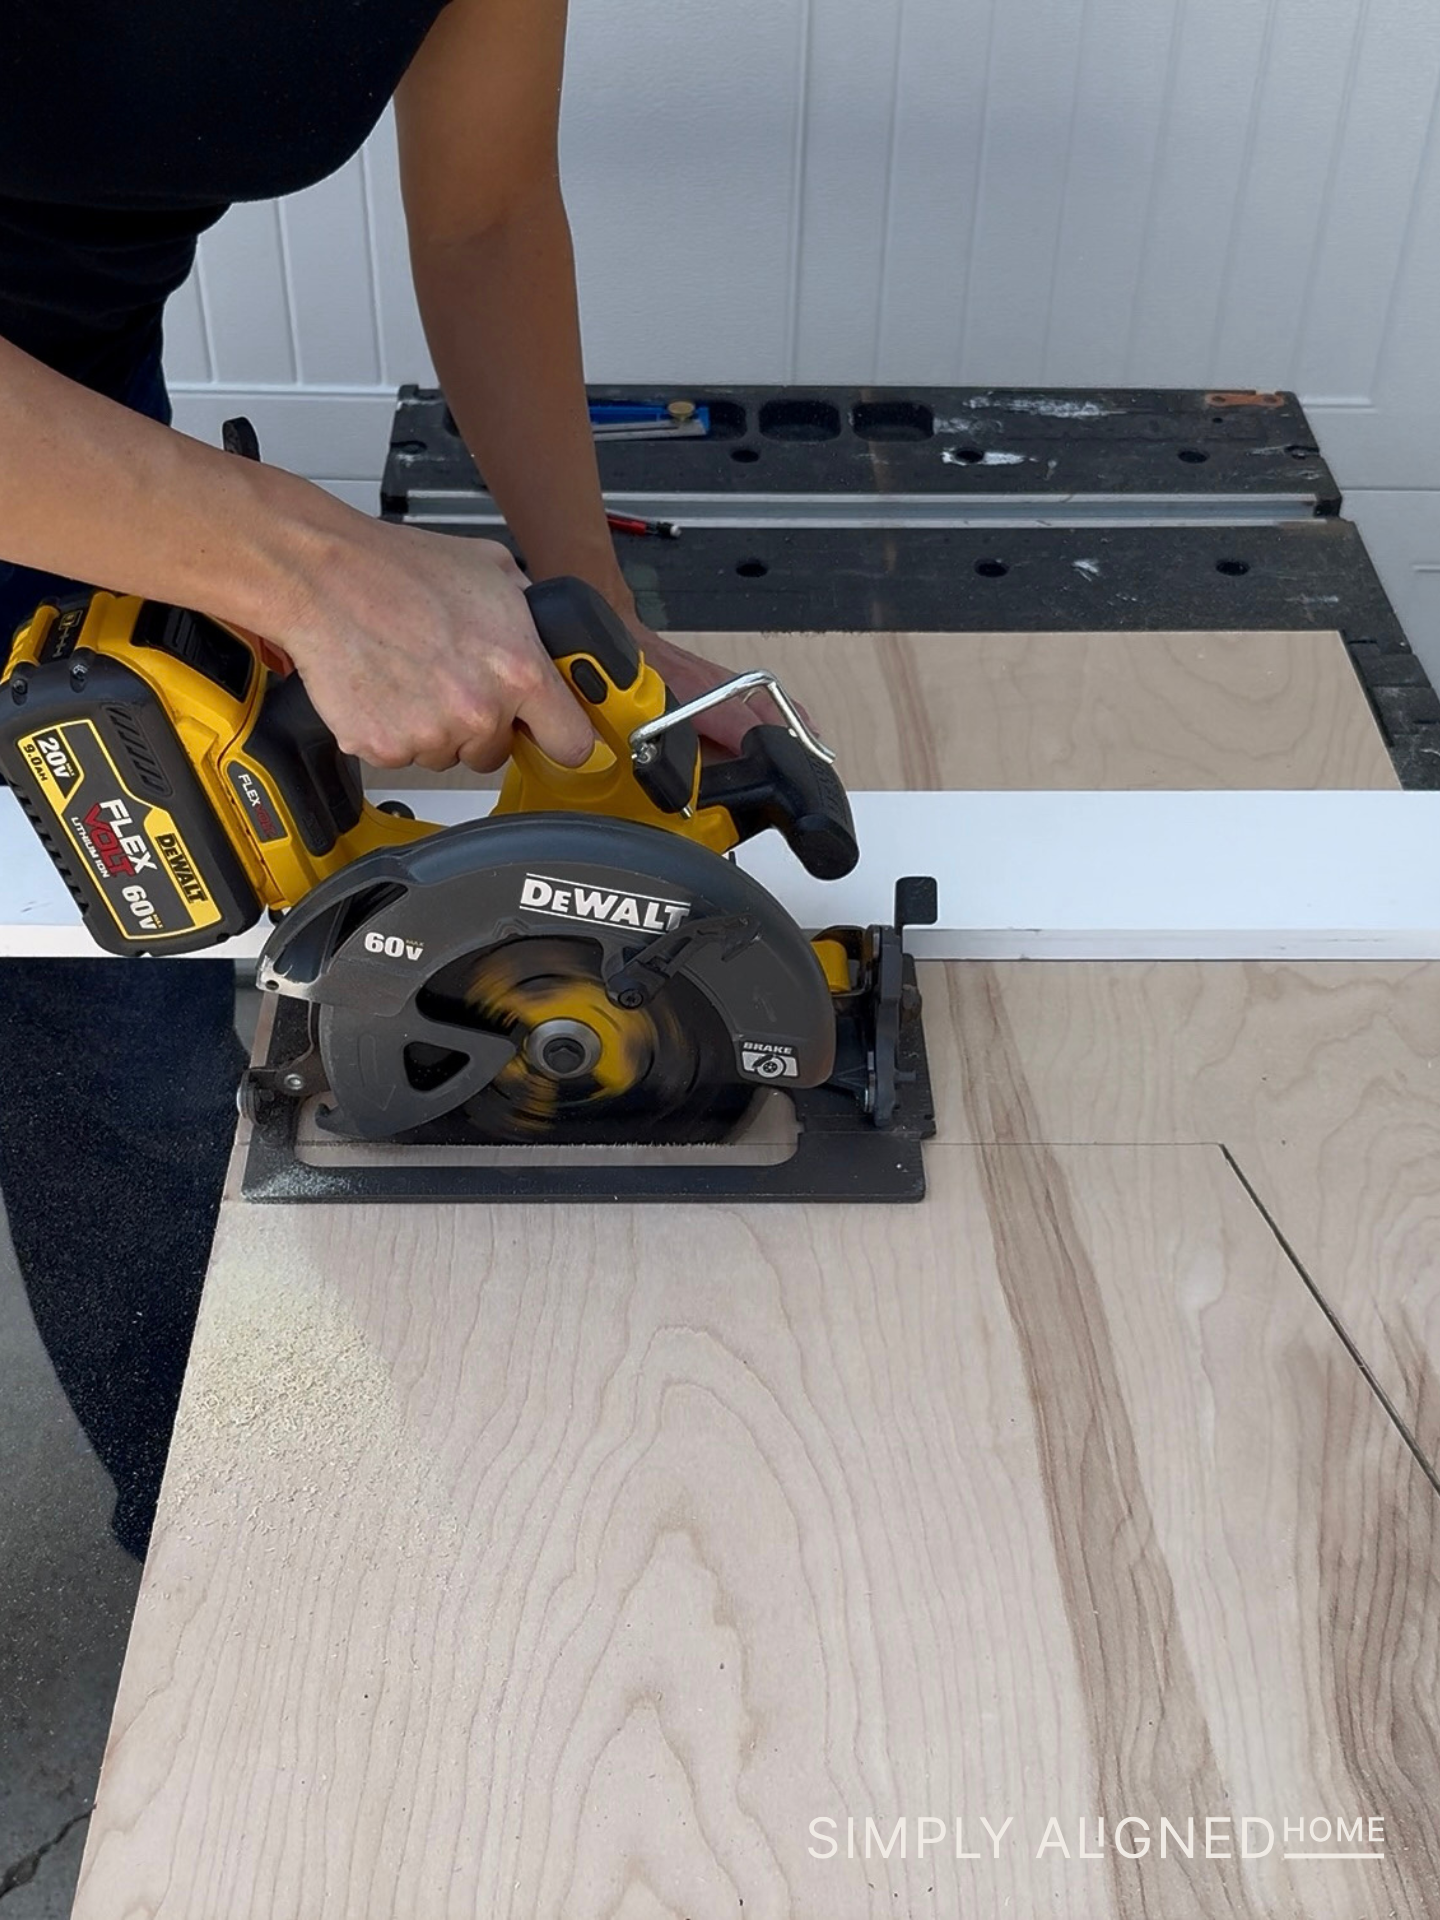
I don’t love cutting full sheets of plywood on a table saw by myself. Instead, I use a foam board on the ground and a rip-cut guide with my circular saw. It’s so much easier to handle safely and still get precise cuts. I first cut the plywood into strips that were the correct width.

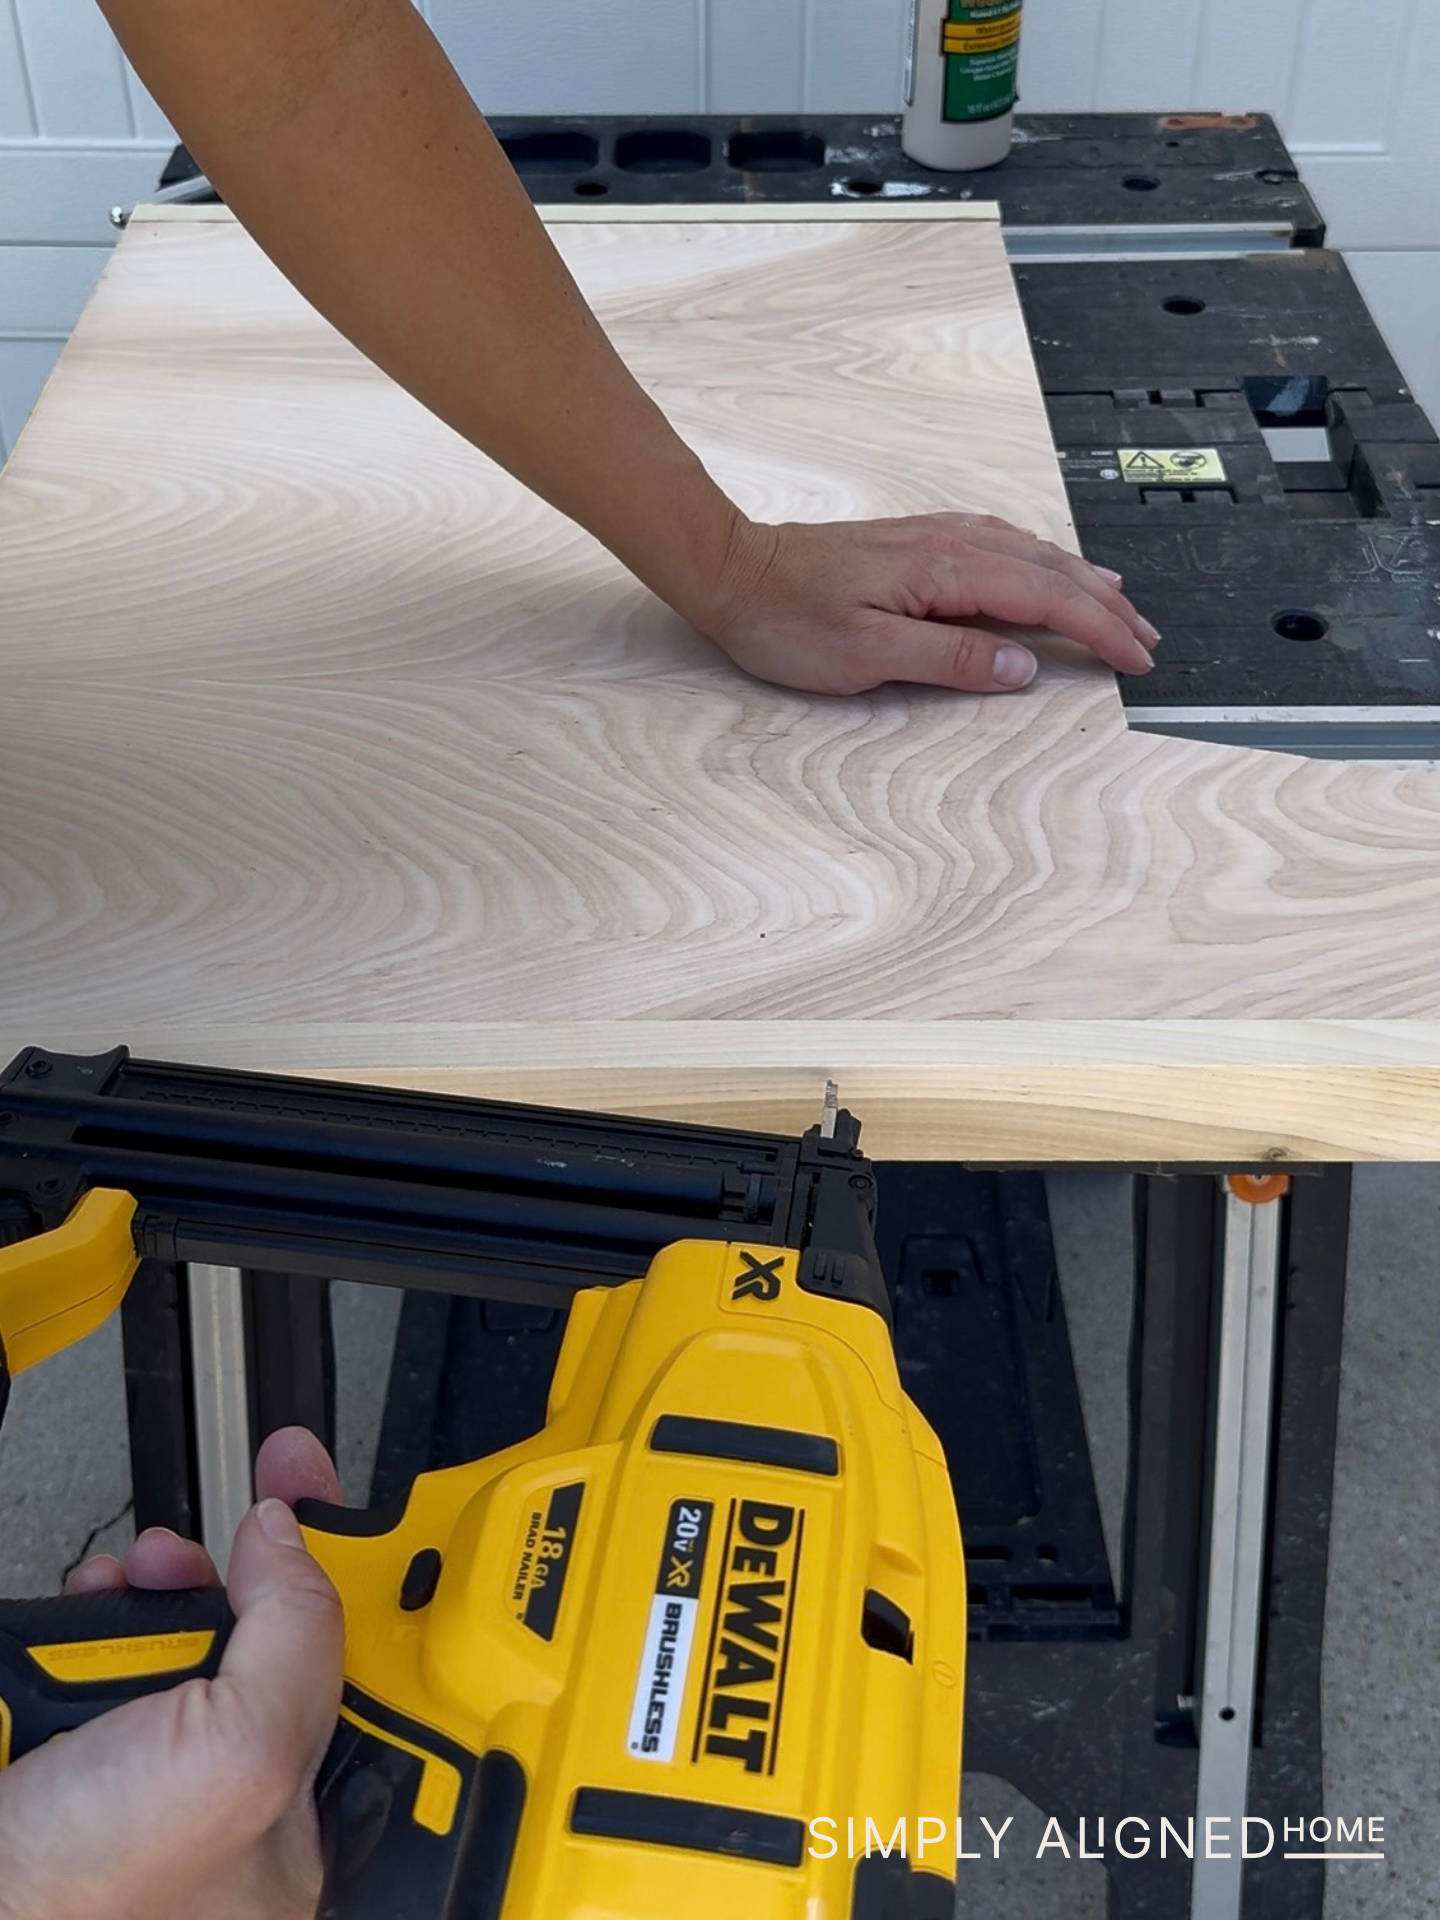
One trick I always use when cross-cutting plywood is applying painter’s tape over my cut line. It helps prevent tear-out and gives you a cleaner edge. I cut all of my pieces to the correct height using my miter saw.
Assembling the Bench Legs
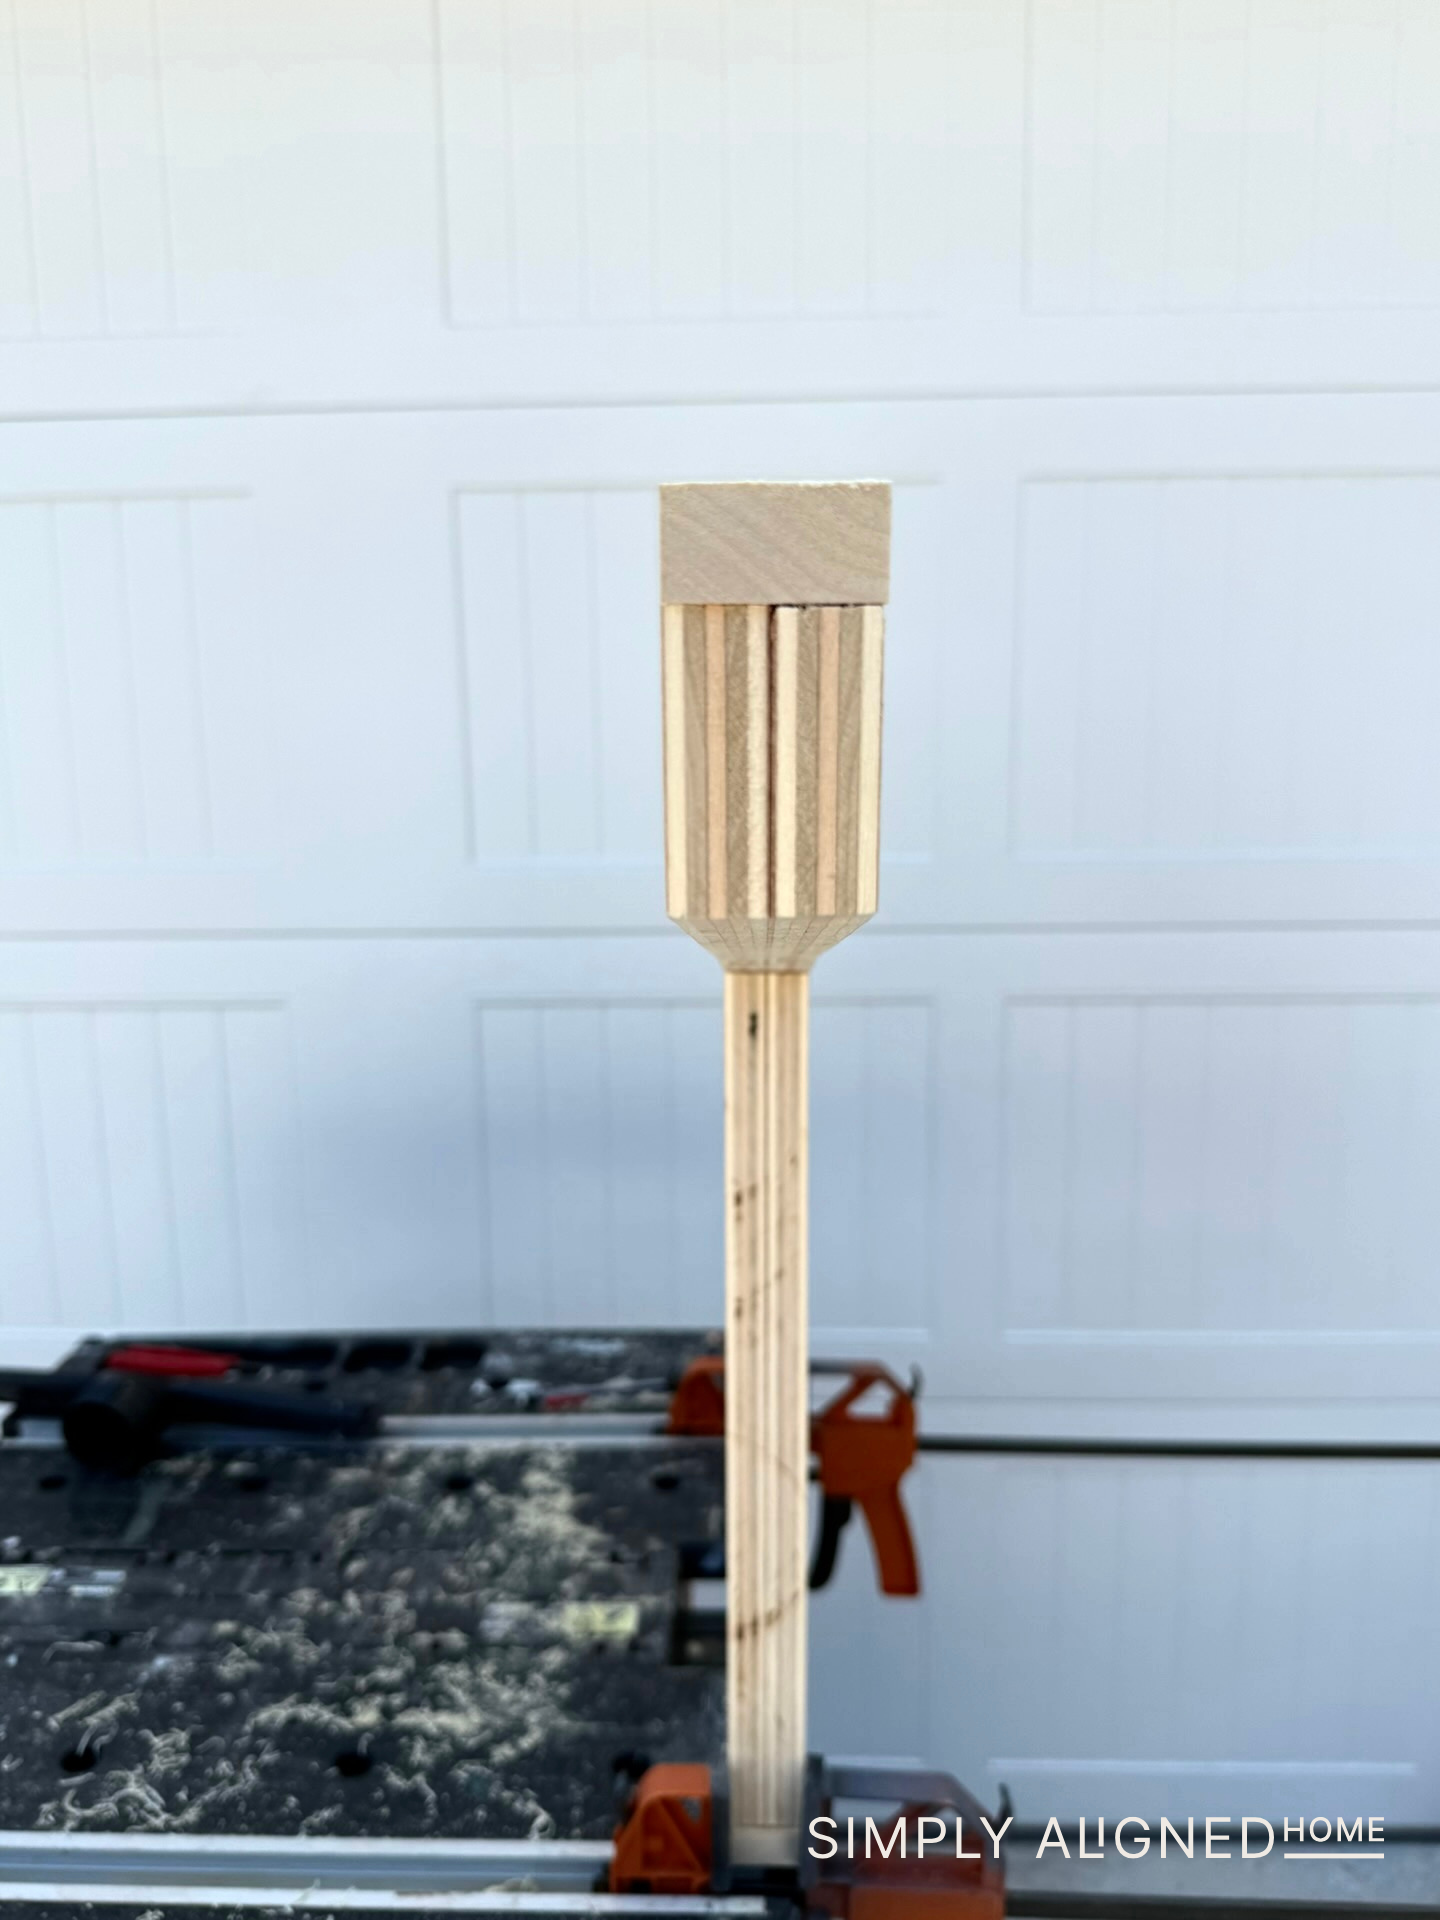
Once all eight pieces were cut, I made three sets of supports that were doubled up. I used a small paint roller to spread the wood glue evenly, then secured the pieces with my brad nailer. These became the center legs for the bench.
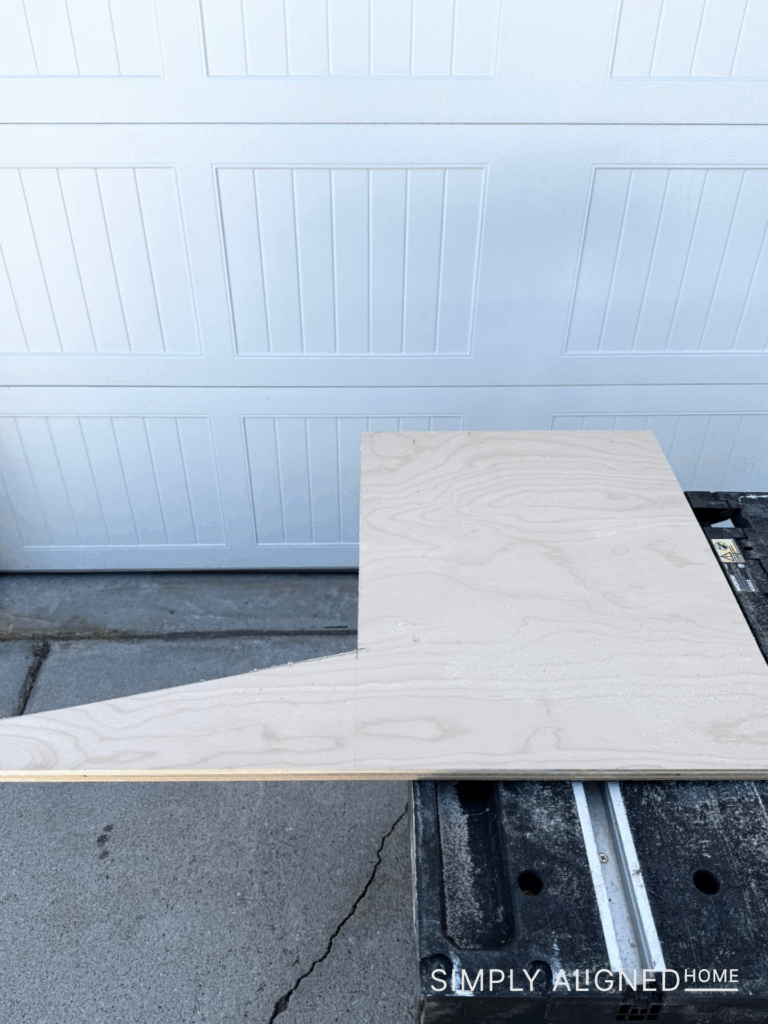
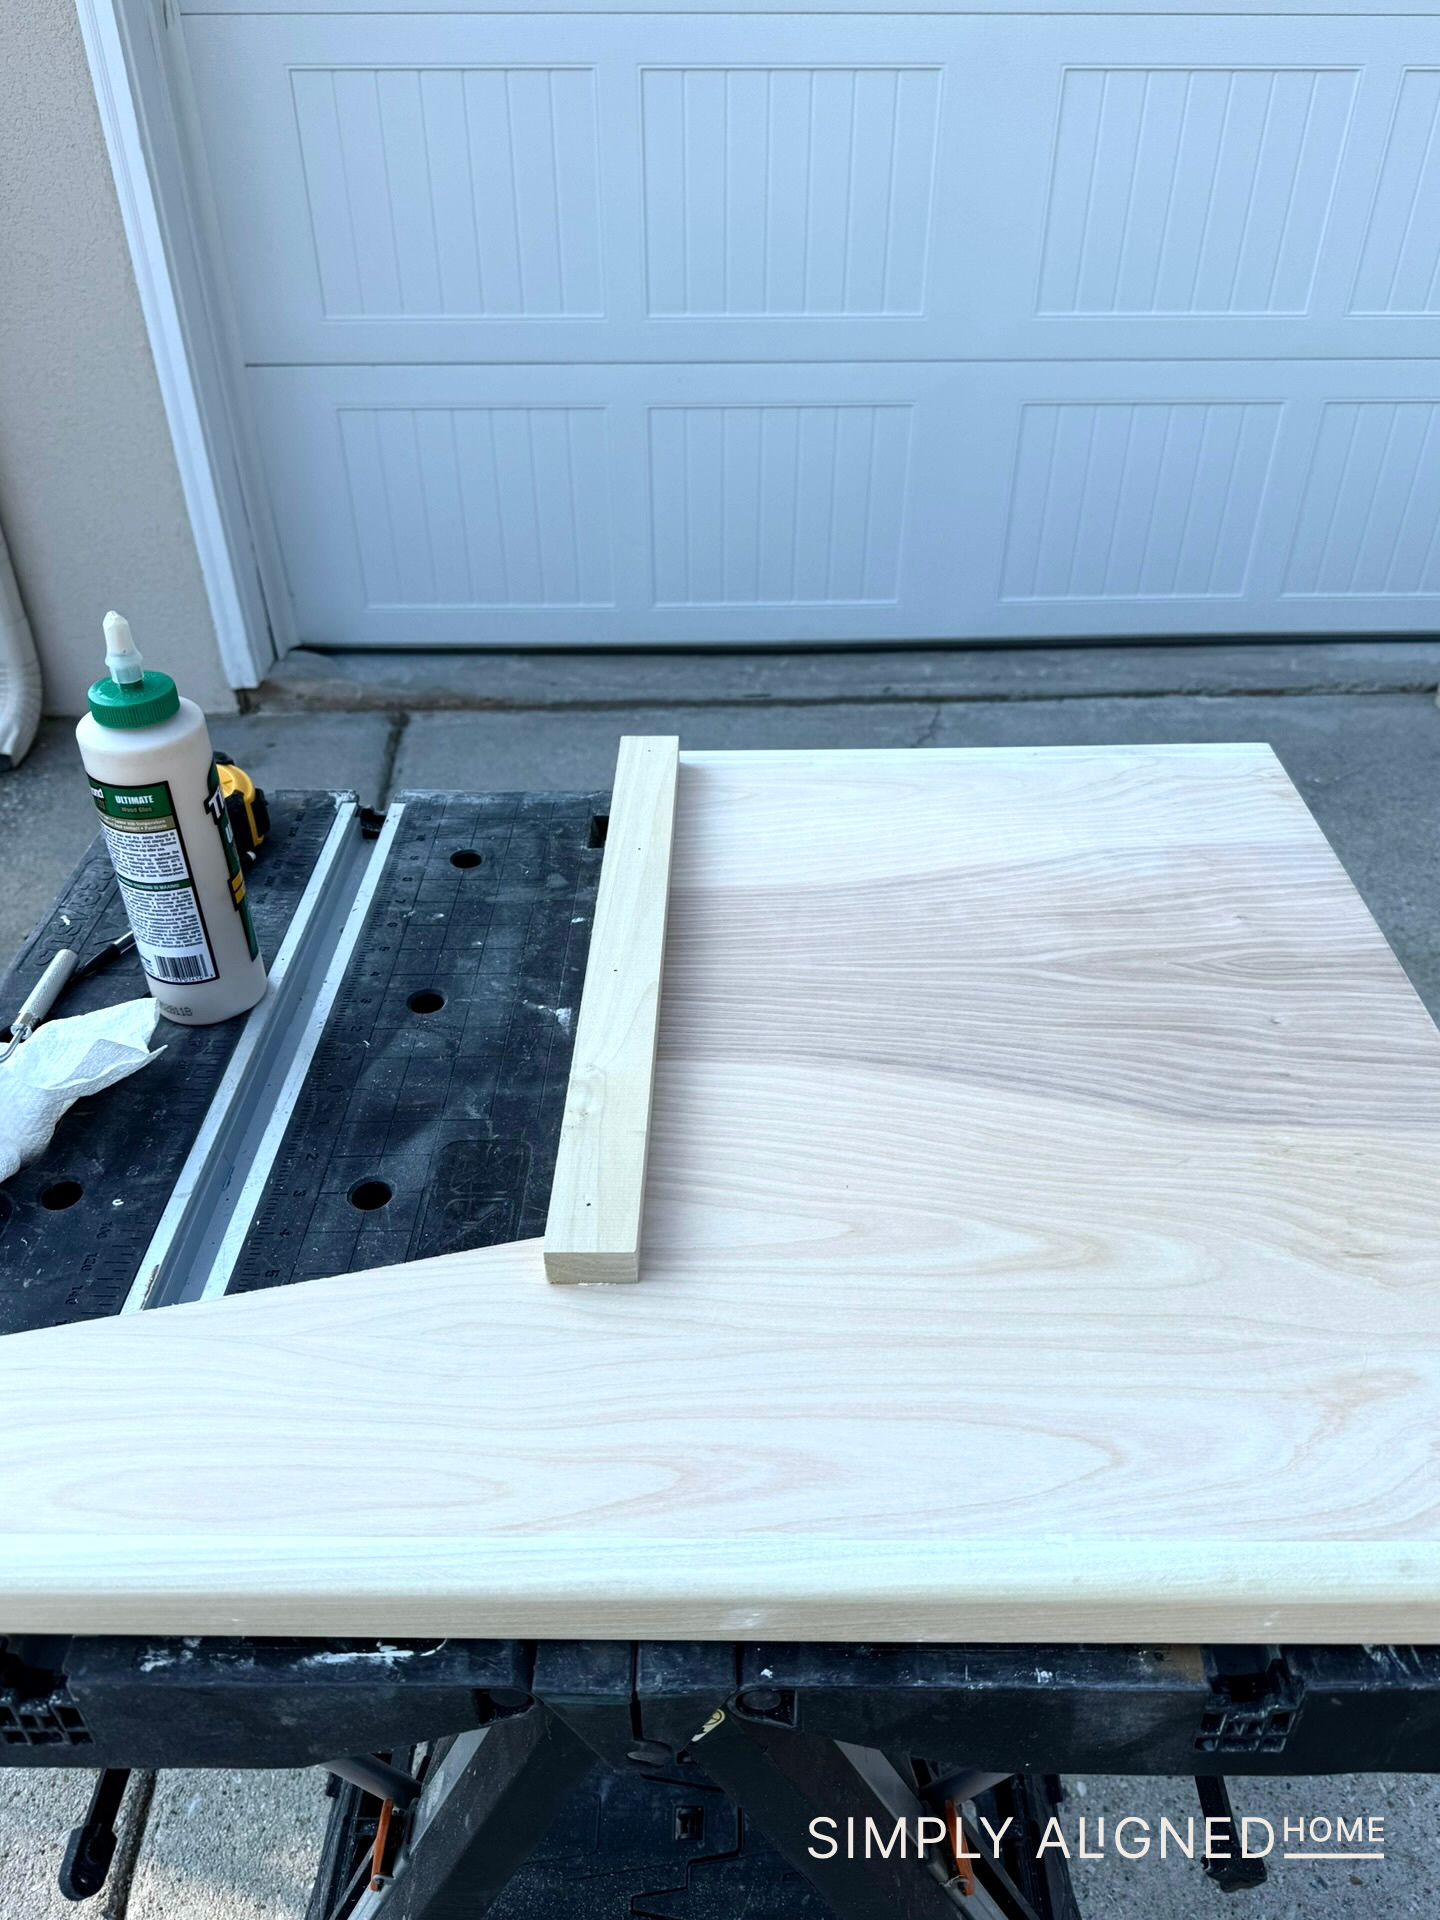
I made a template for the base pieces based on my dimensions, then cut them down with my circular saw. To give the exposed faces a more finished look, I added 1×2 trim pieces and secured them with my finish nailer.
After the trim was attached, I used my router to make everything flush with the plywood face and then rounded all of the edges. If you’ve never used a router, it’s one of the best tools to take the quality of your projects to the next level. It makes such a difference in the finished look!
Finishing the Base
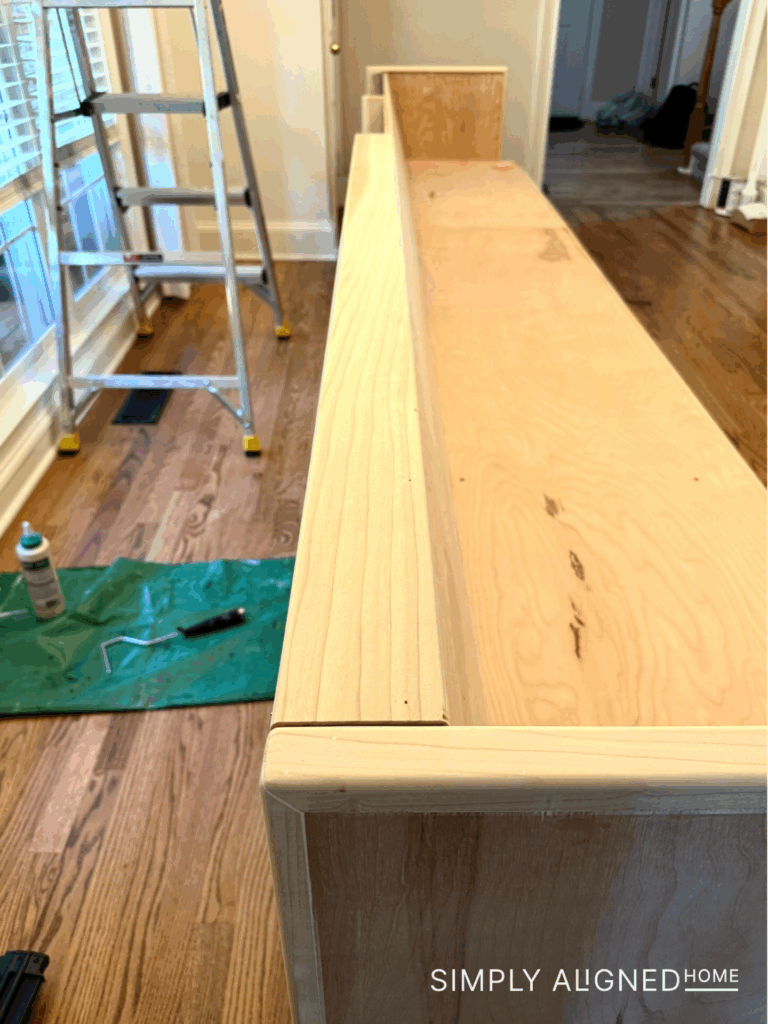
Once all the pieces were assembled, I filled all of the seams and nail holes with wood filler. I also added a support piece along the inside of the base to give the bench seat a little extra strength.
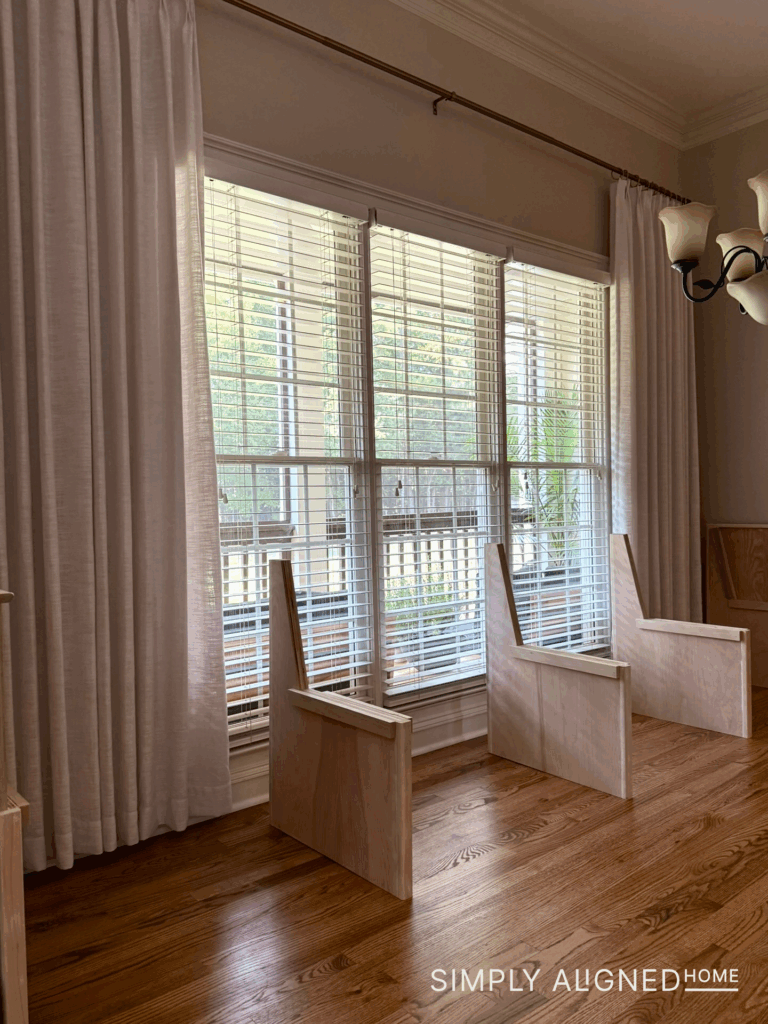
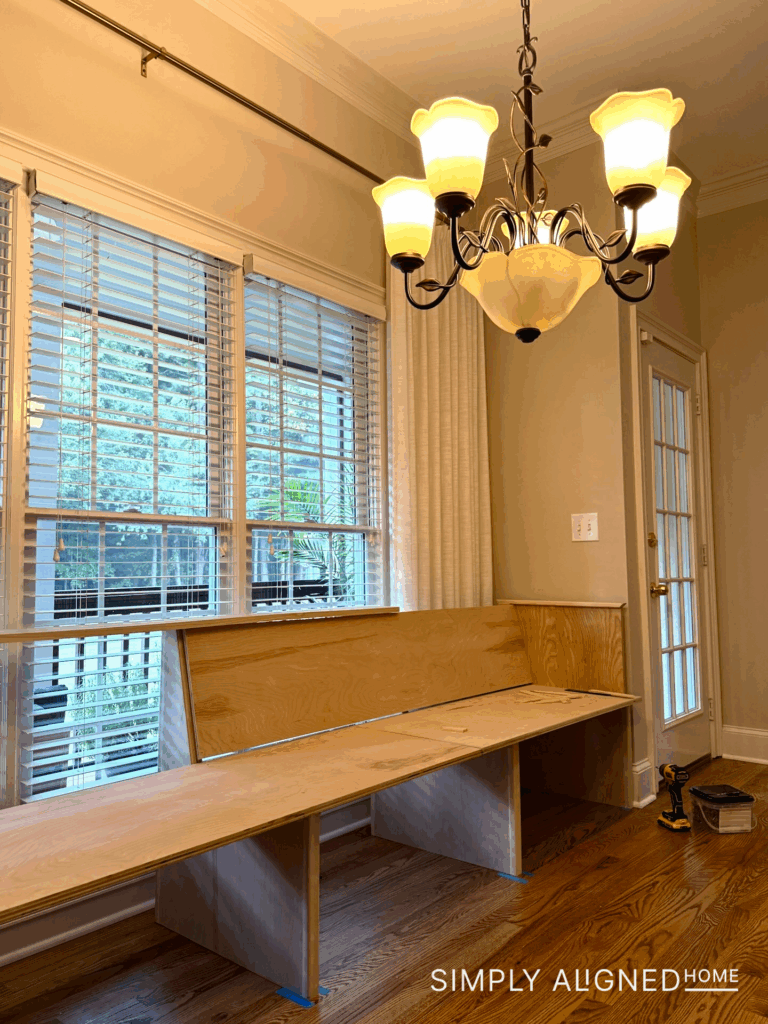
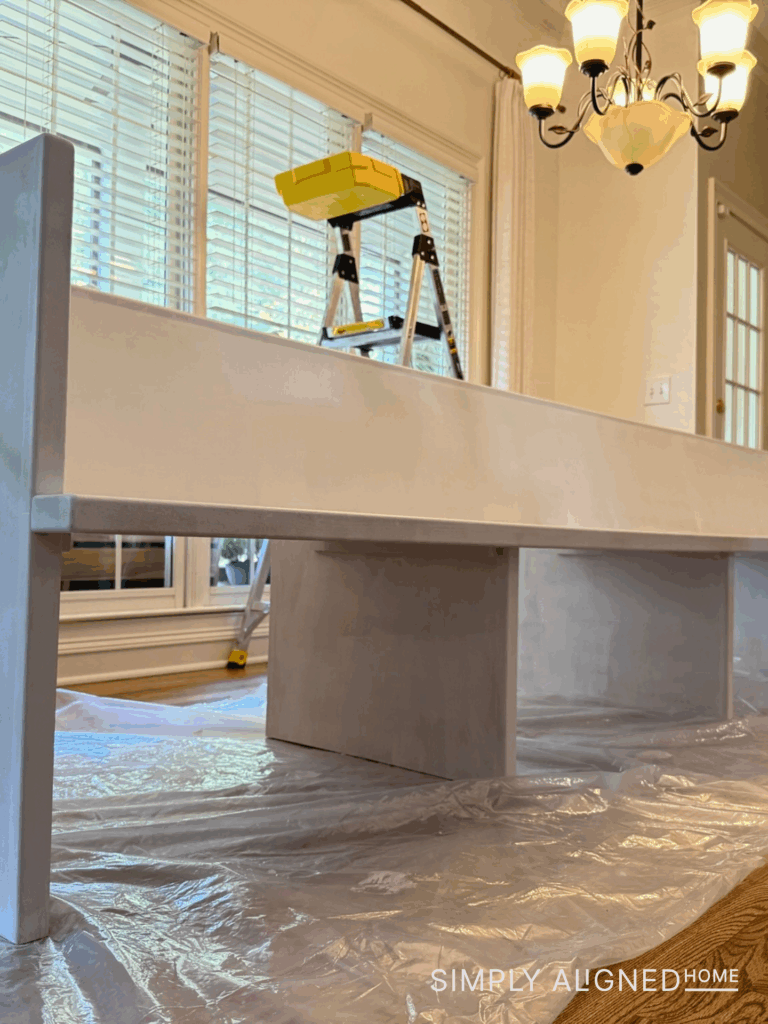
Installing the Bench Seat and Back
With all the base pieces ready, it was time to cut the bench seat and back panels. Because this bench is pretty massive, I decided to assemble it directly in place. Once the legs were secured, I added the bench seat and back panel right in the dining nook and finished it off with the final pieces of trim.
Next up, I primed and painted it black!
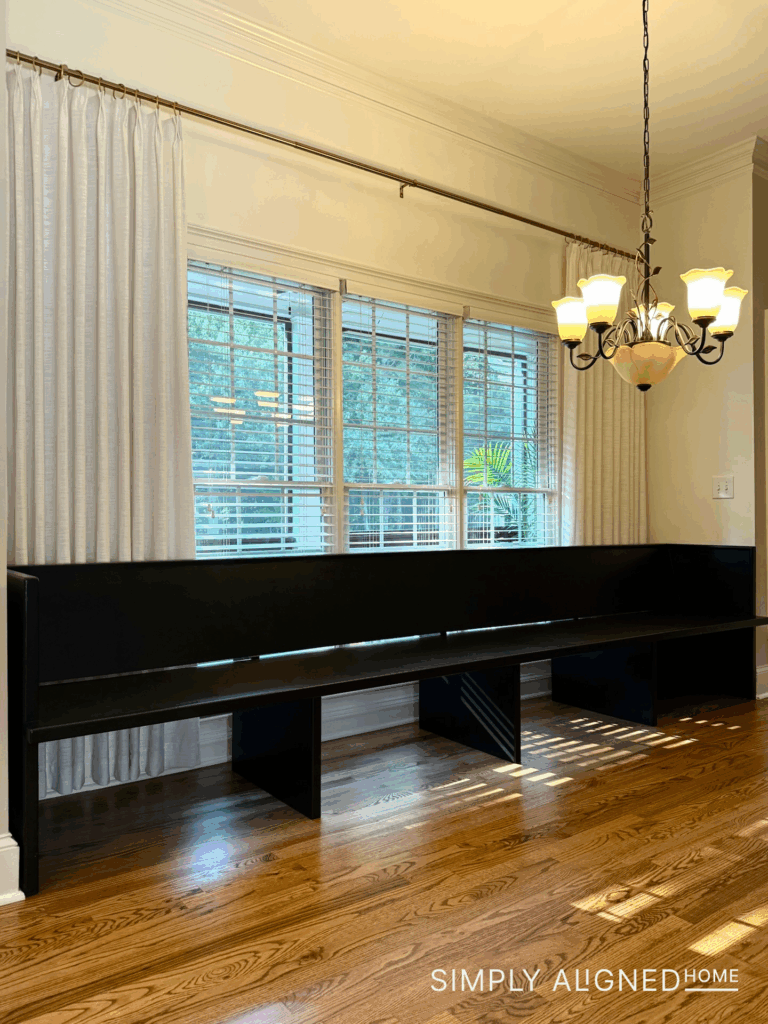
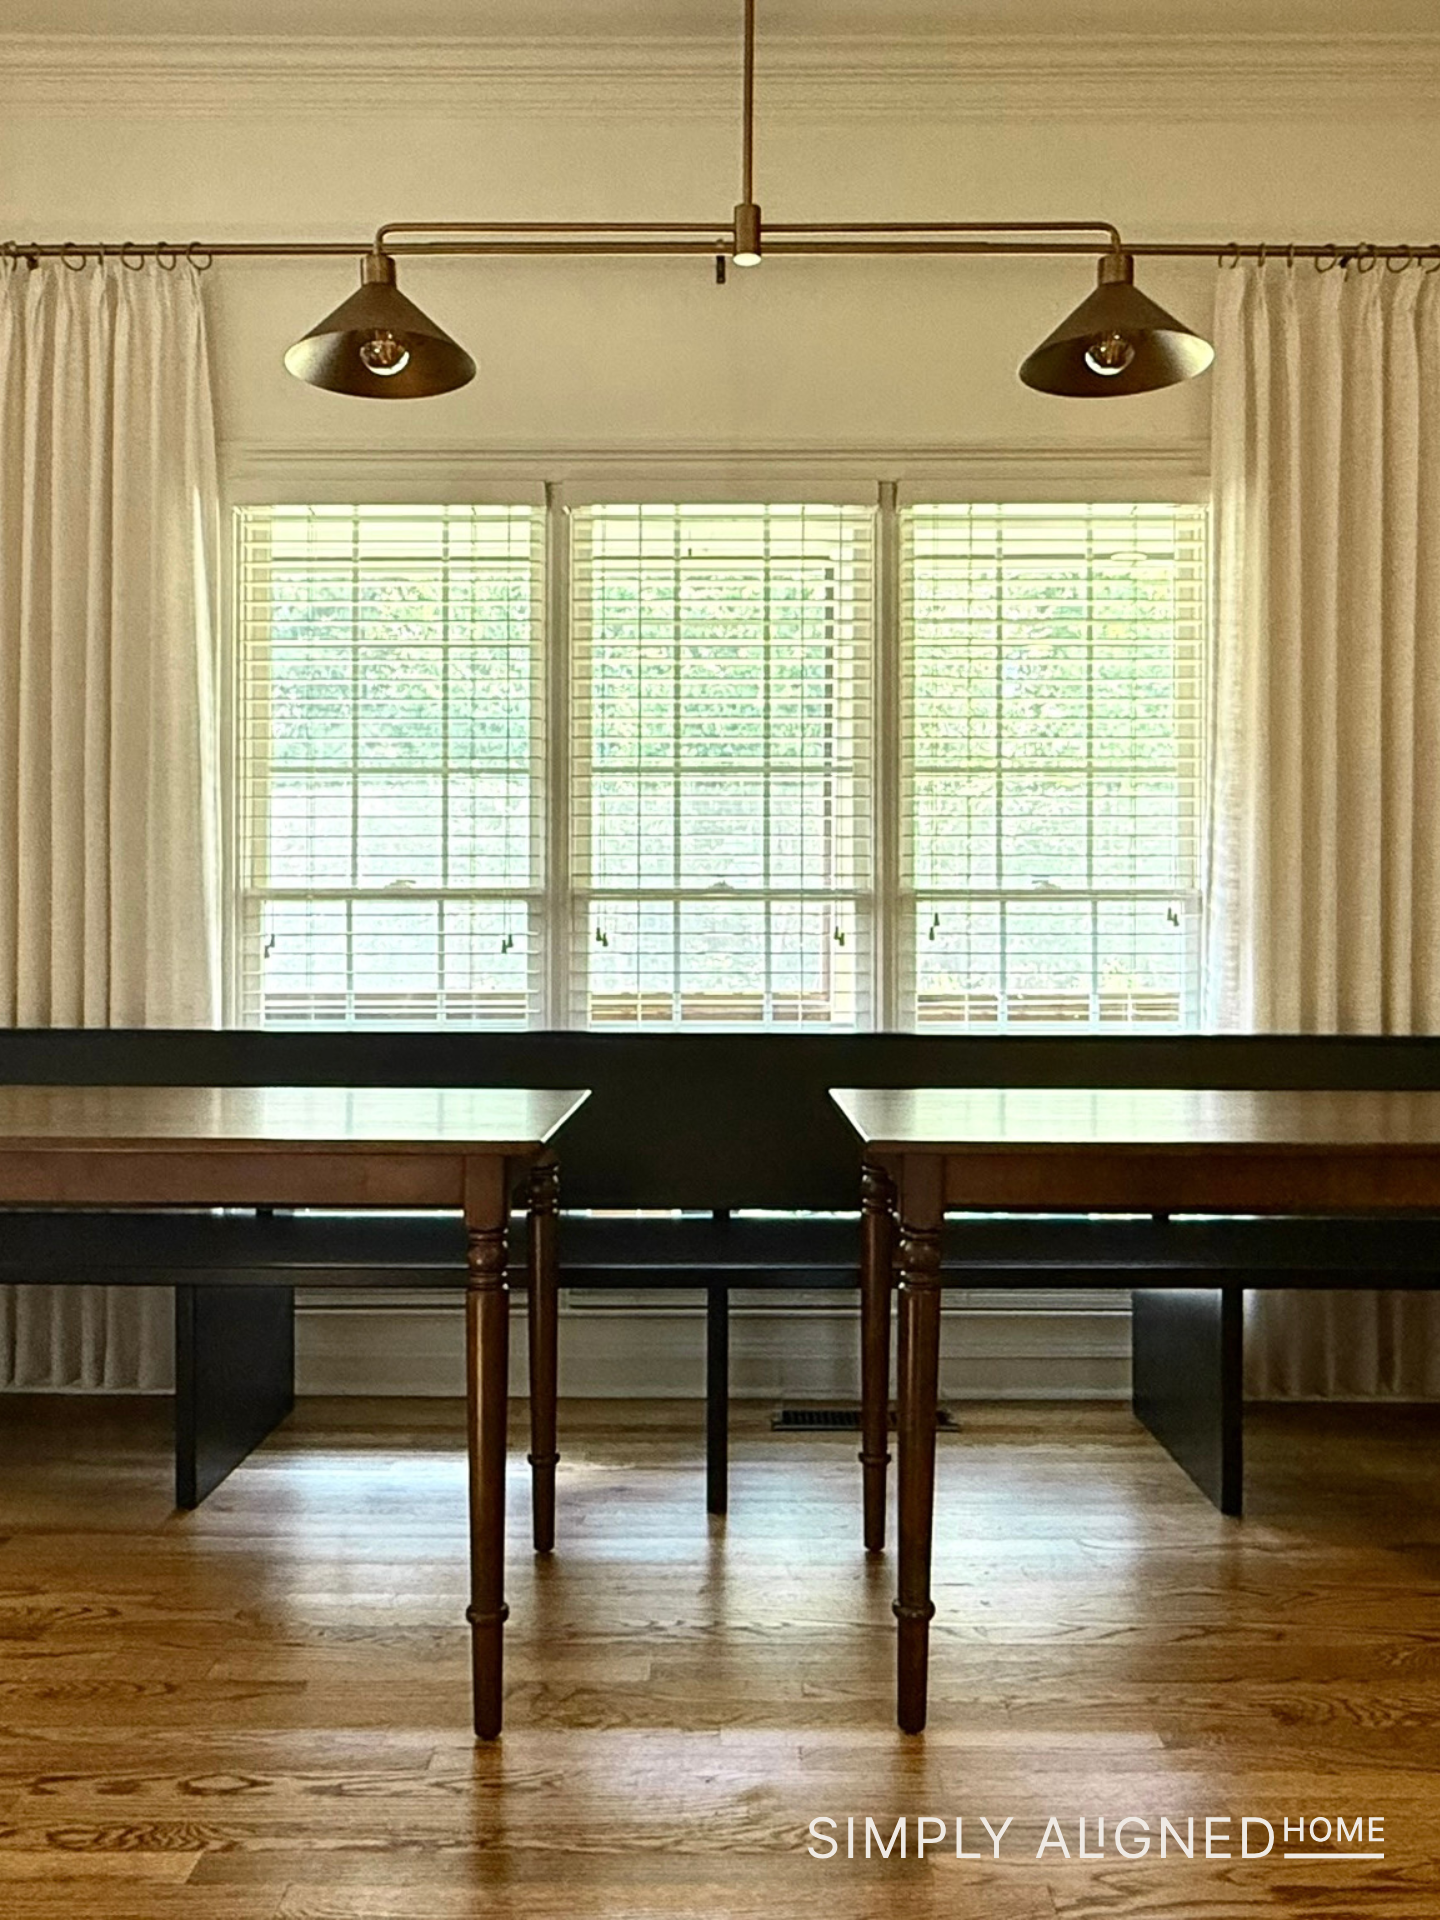
Finding the Right Table Setup
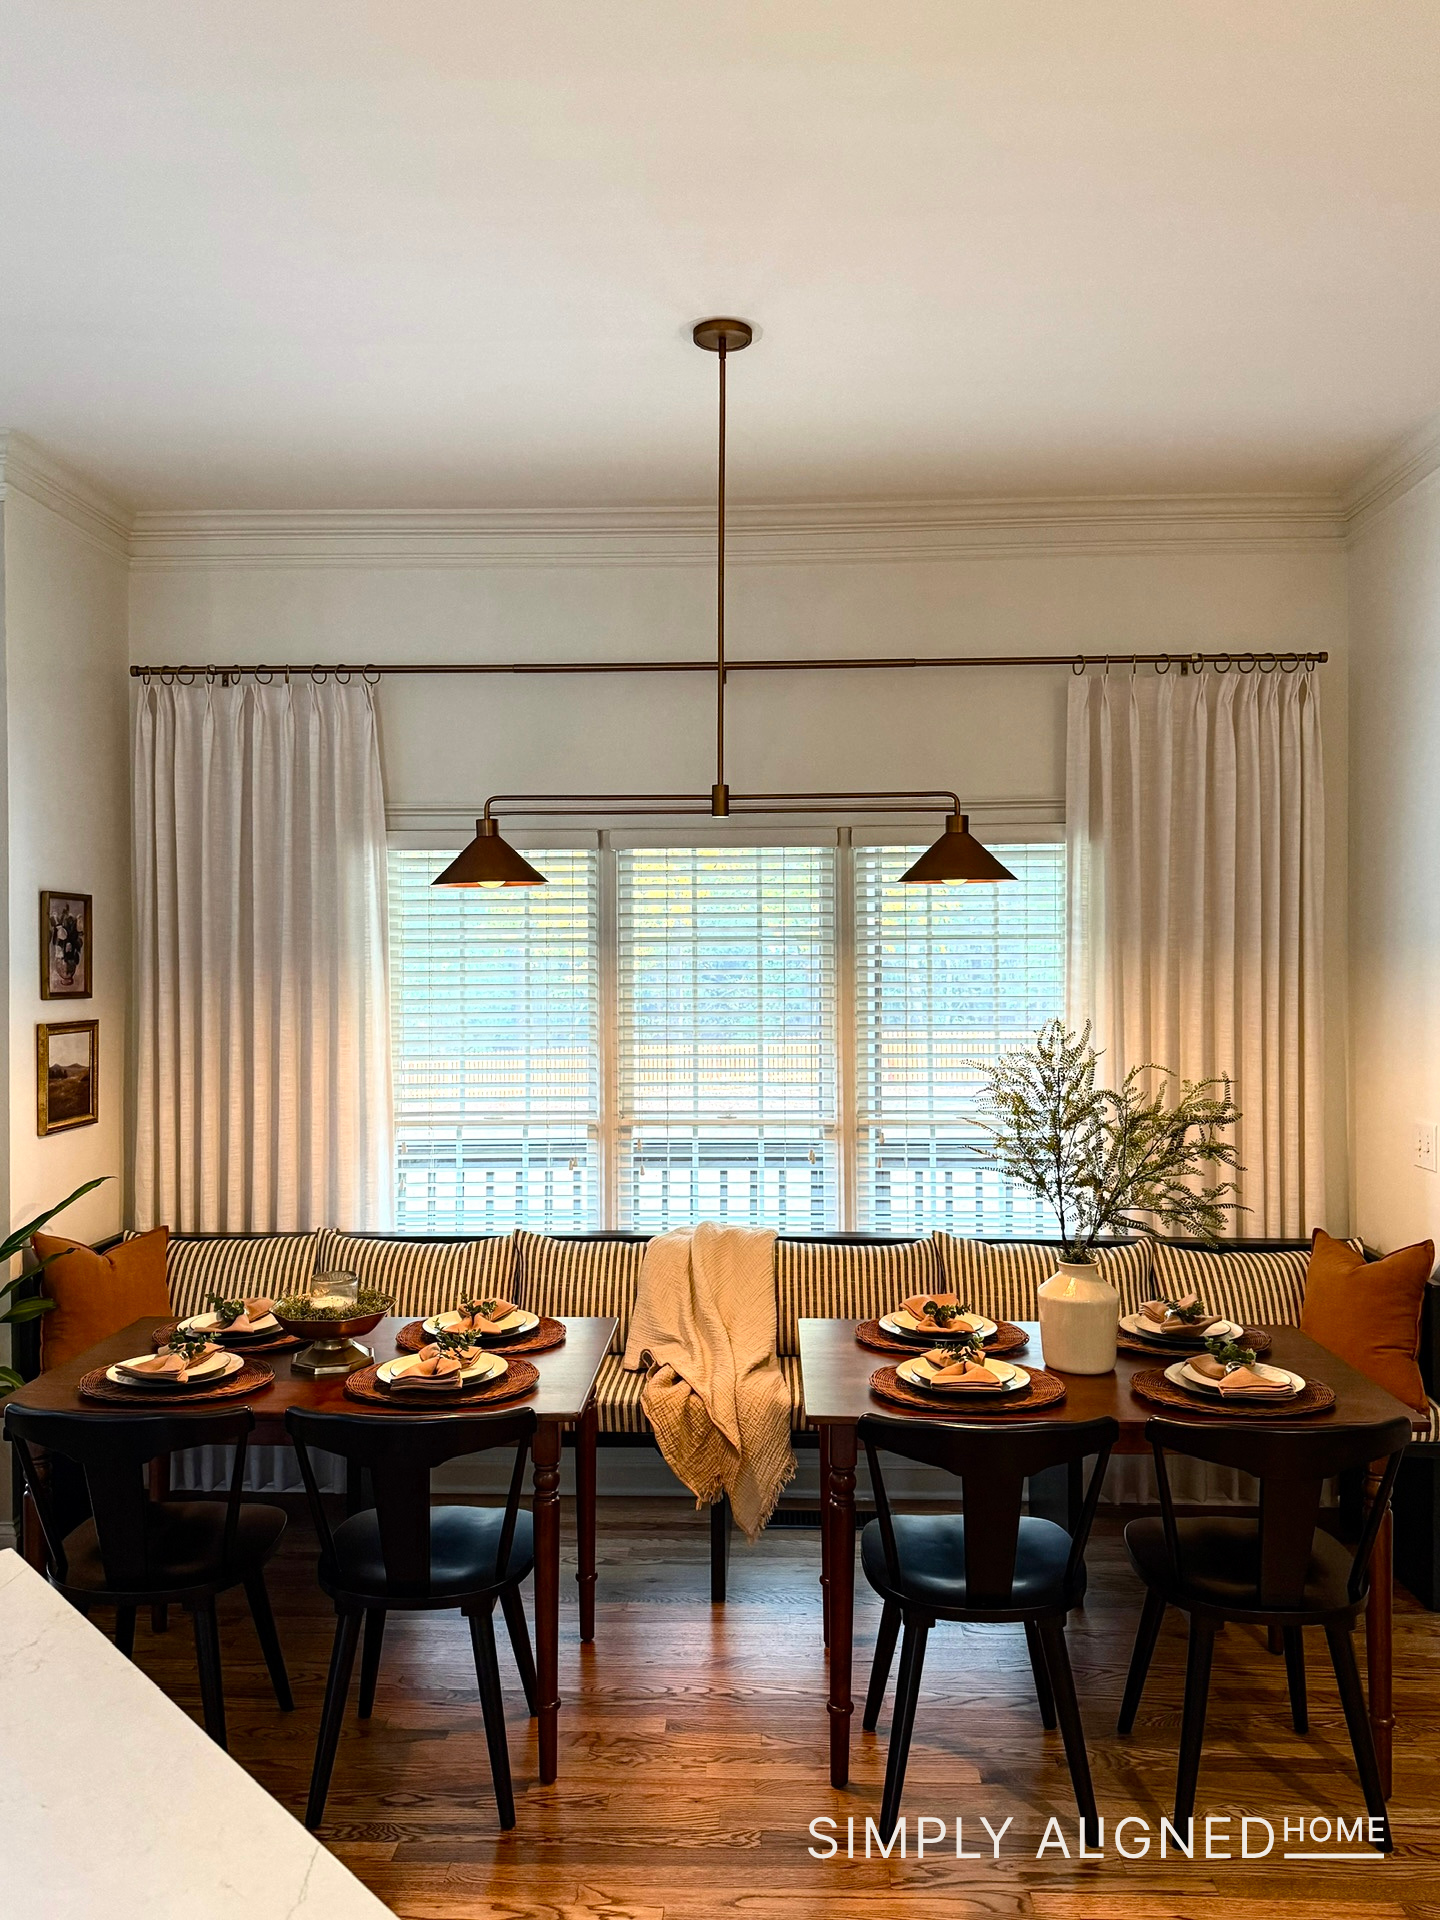
At first, I considered one large table in front of the bench, but I’m not a fan of scooting across to sit down. So instead, I went with two smaller tables. It makes the space and the banquette seating feel more casual and flexible. Also if I ever change my mind, I can just slide them together for one big table. I also installed this new light, which I love!
Cushions
The only thing this bench was missing was a cushion and a few cozy pillows. This is where my mom comes in! She’s my go-to seamstress and can make anything I dream up. I bought two pieces of foam, and she turned them into perfect custom cushions and pillow covers to match. She’s amazing.
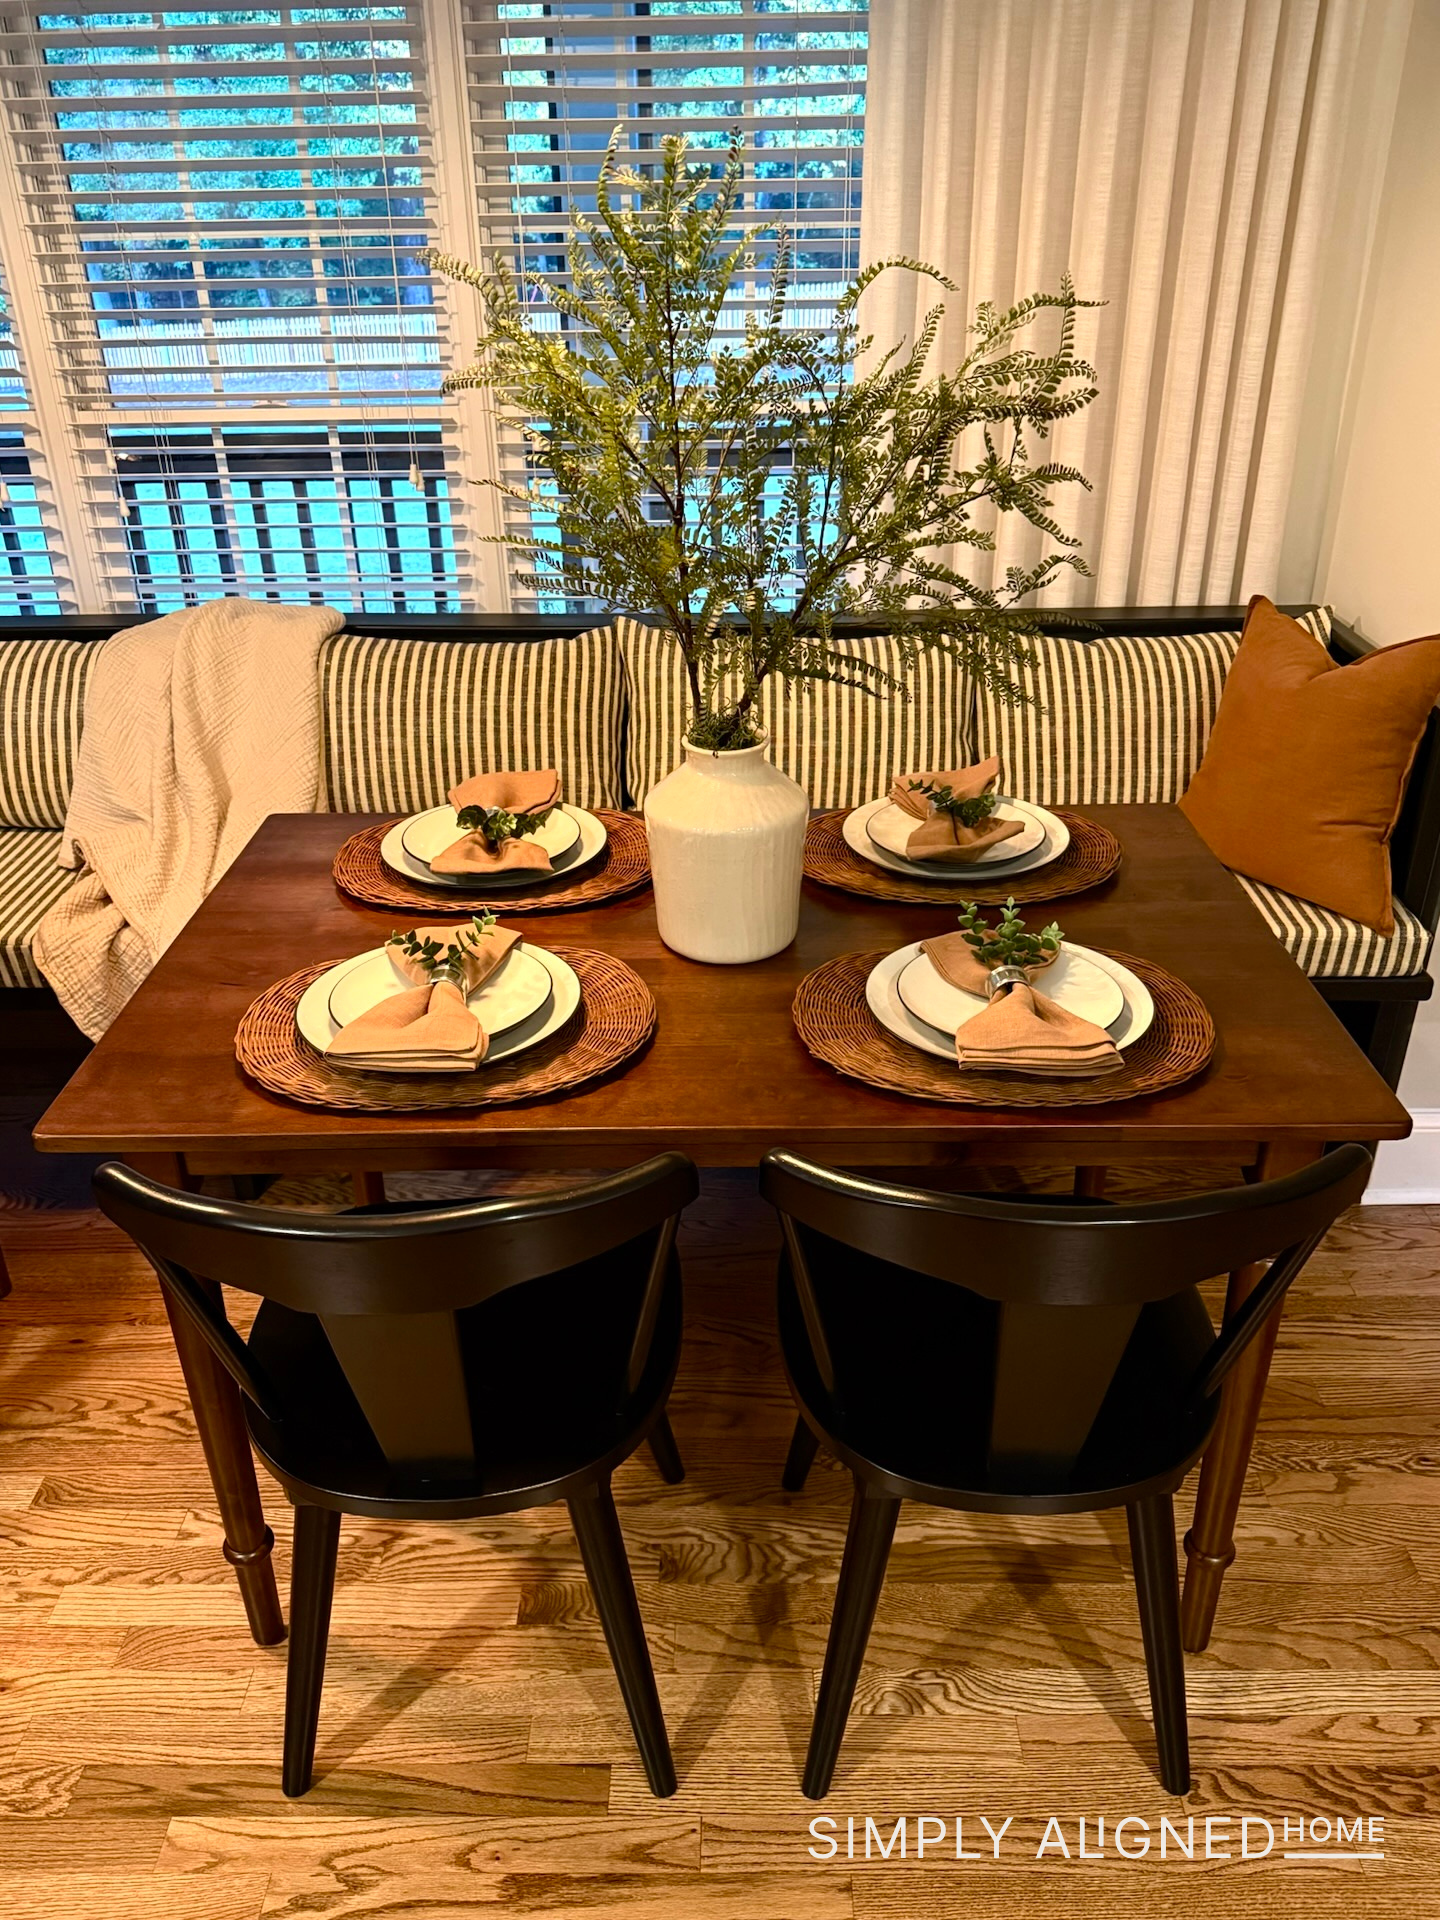
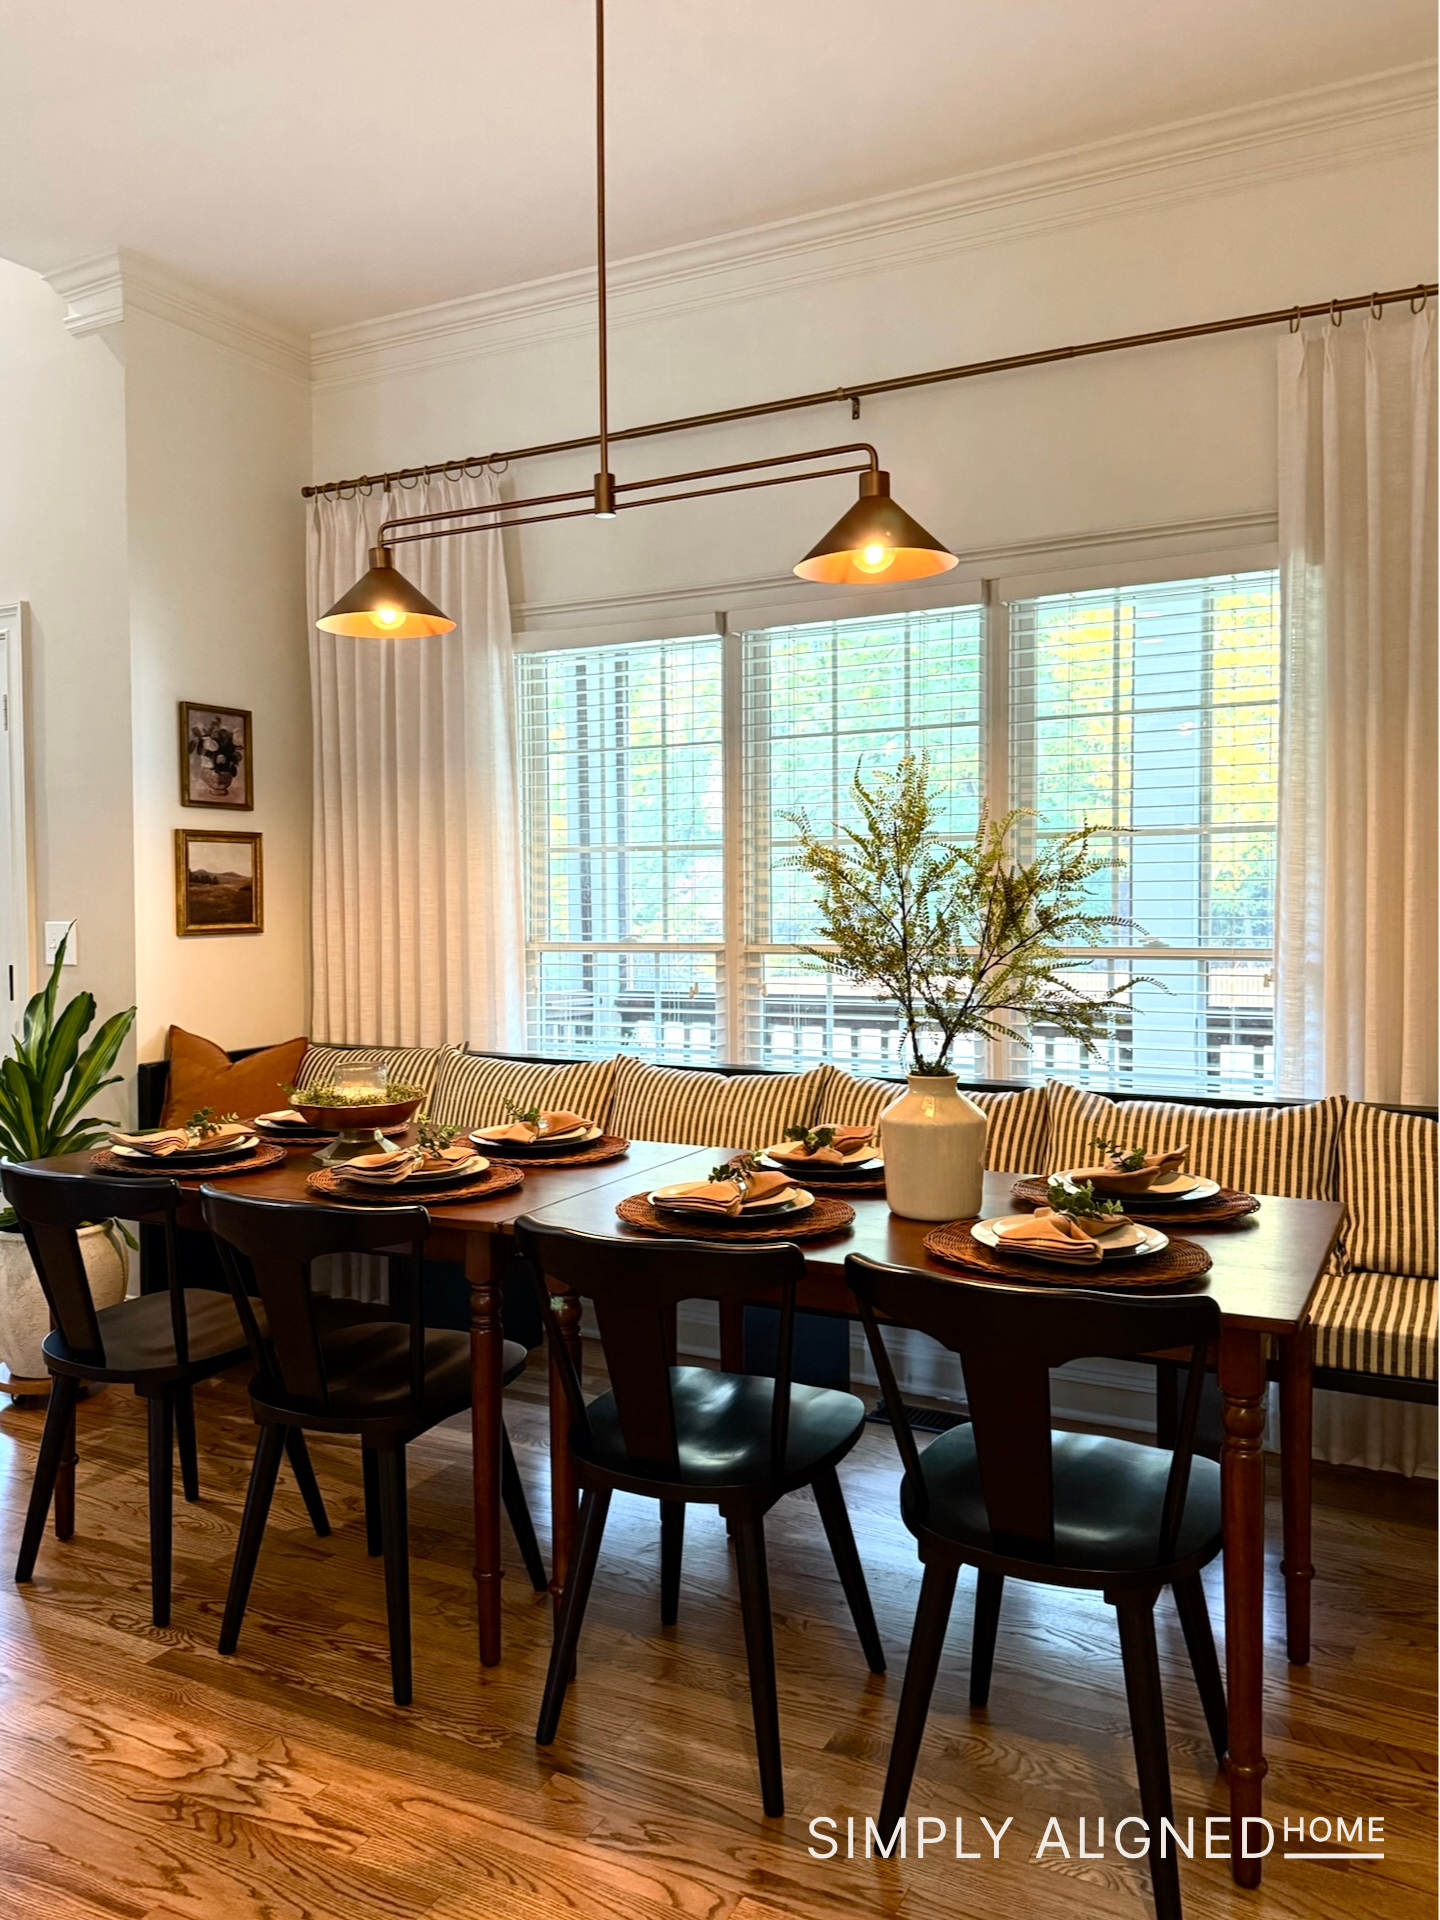
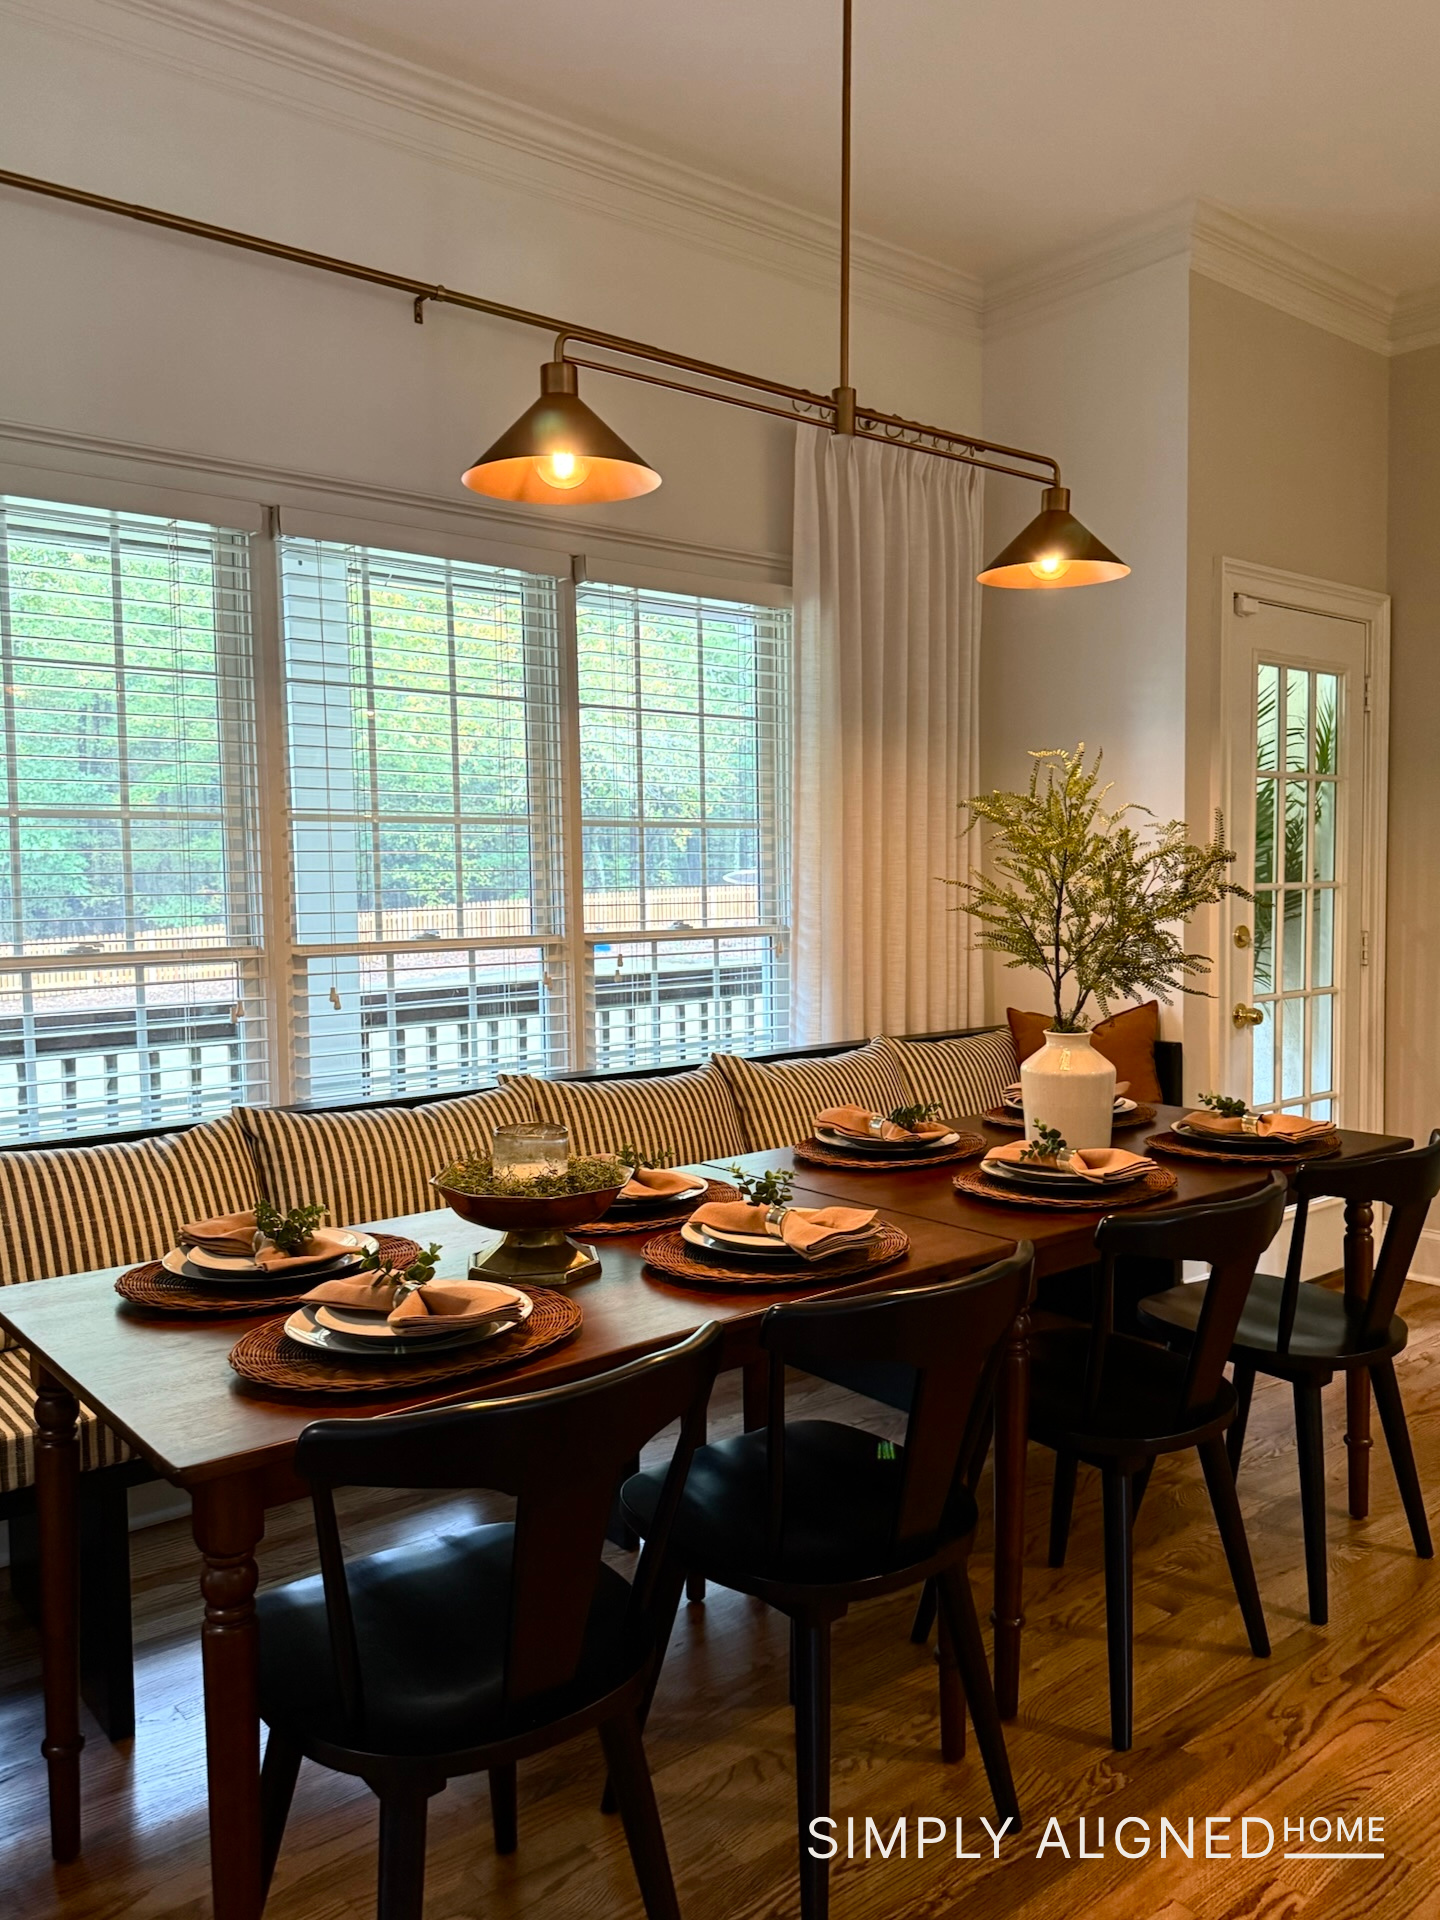
I love how this banquette seating turned out. This project is just the beginning… next up, I’m taking on the entire kitchen!

**Note: I am not a professional and do not claim to be an expert. Please be sure to always read instructions for all tools and products. Safety is very important and should be your top priority. Wear necessary protection when using tools (eye wear, hearing protection, gloves, etc.) and dust masks when sanding or cutting. Simply Aligned Home is not responsible for any injury or damage. All of my designs are not professionally designed and are for private use only.**
Tools & Materials Used