There’s something so rewarding about building a piece of furniture that not only functions well but also perfectly fits your space and style! This console table has been a labor of love, and now that it’s complete, it feels like it was always meant to be in my living room.
**This post contains affiliate links to products that I used or recommend. If you purchase something through an affiliate link, I may receive a small percentage of the sale at no extra cost to you. I really appreciate your support!**
Sapele Wood
I started this project with a trip to local lumberyard. If you’ve never been to a lumberyard for a project, I highly recommend it! They have a huge selection, and the staff was so helpful in walking me through my options.
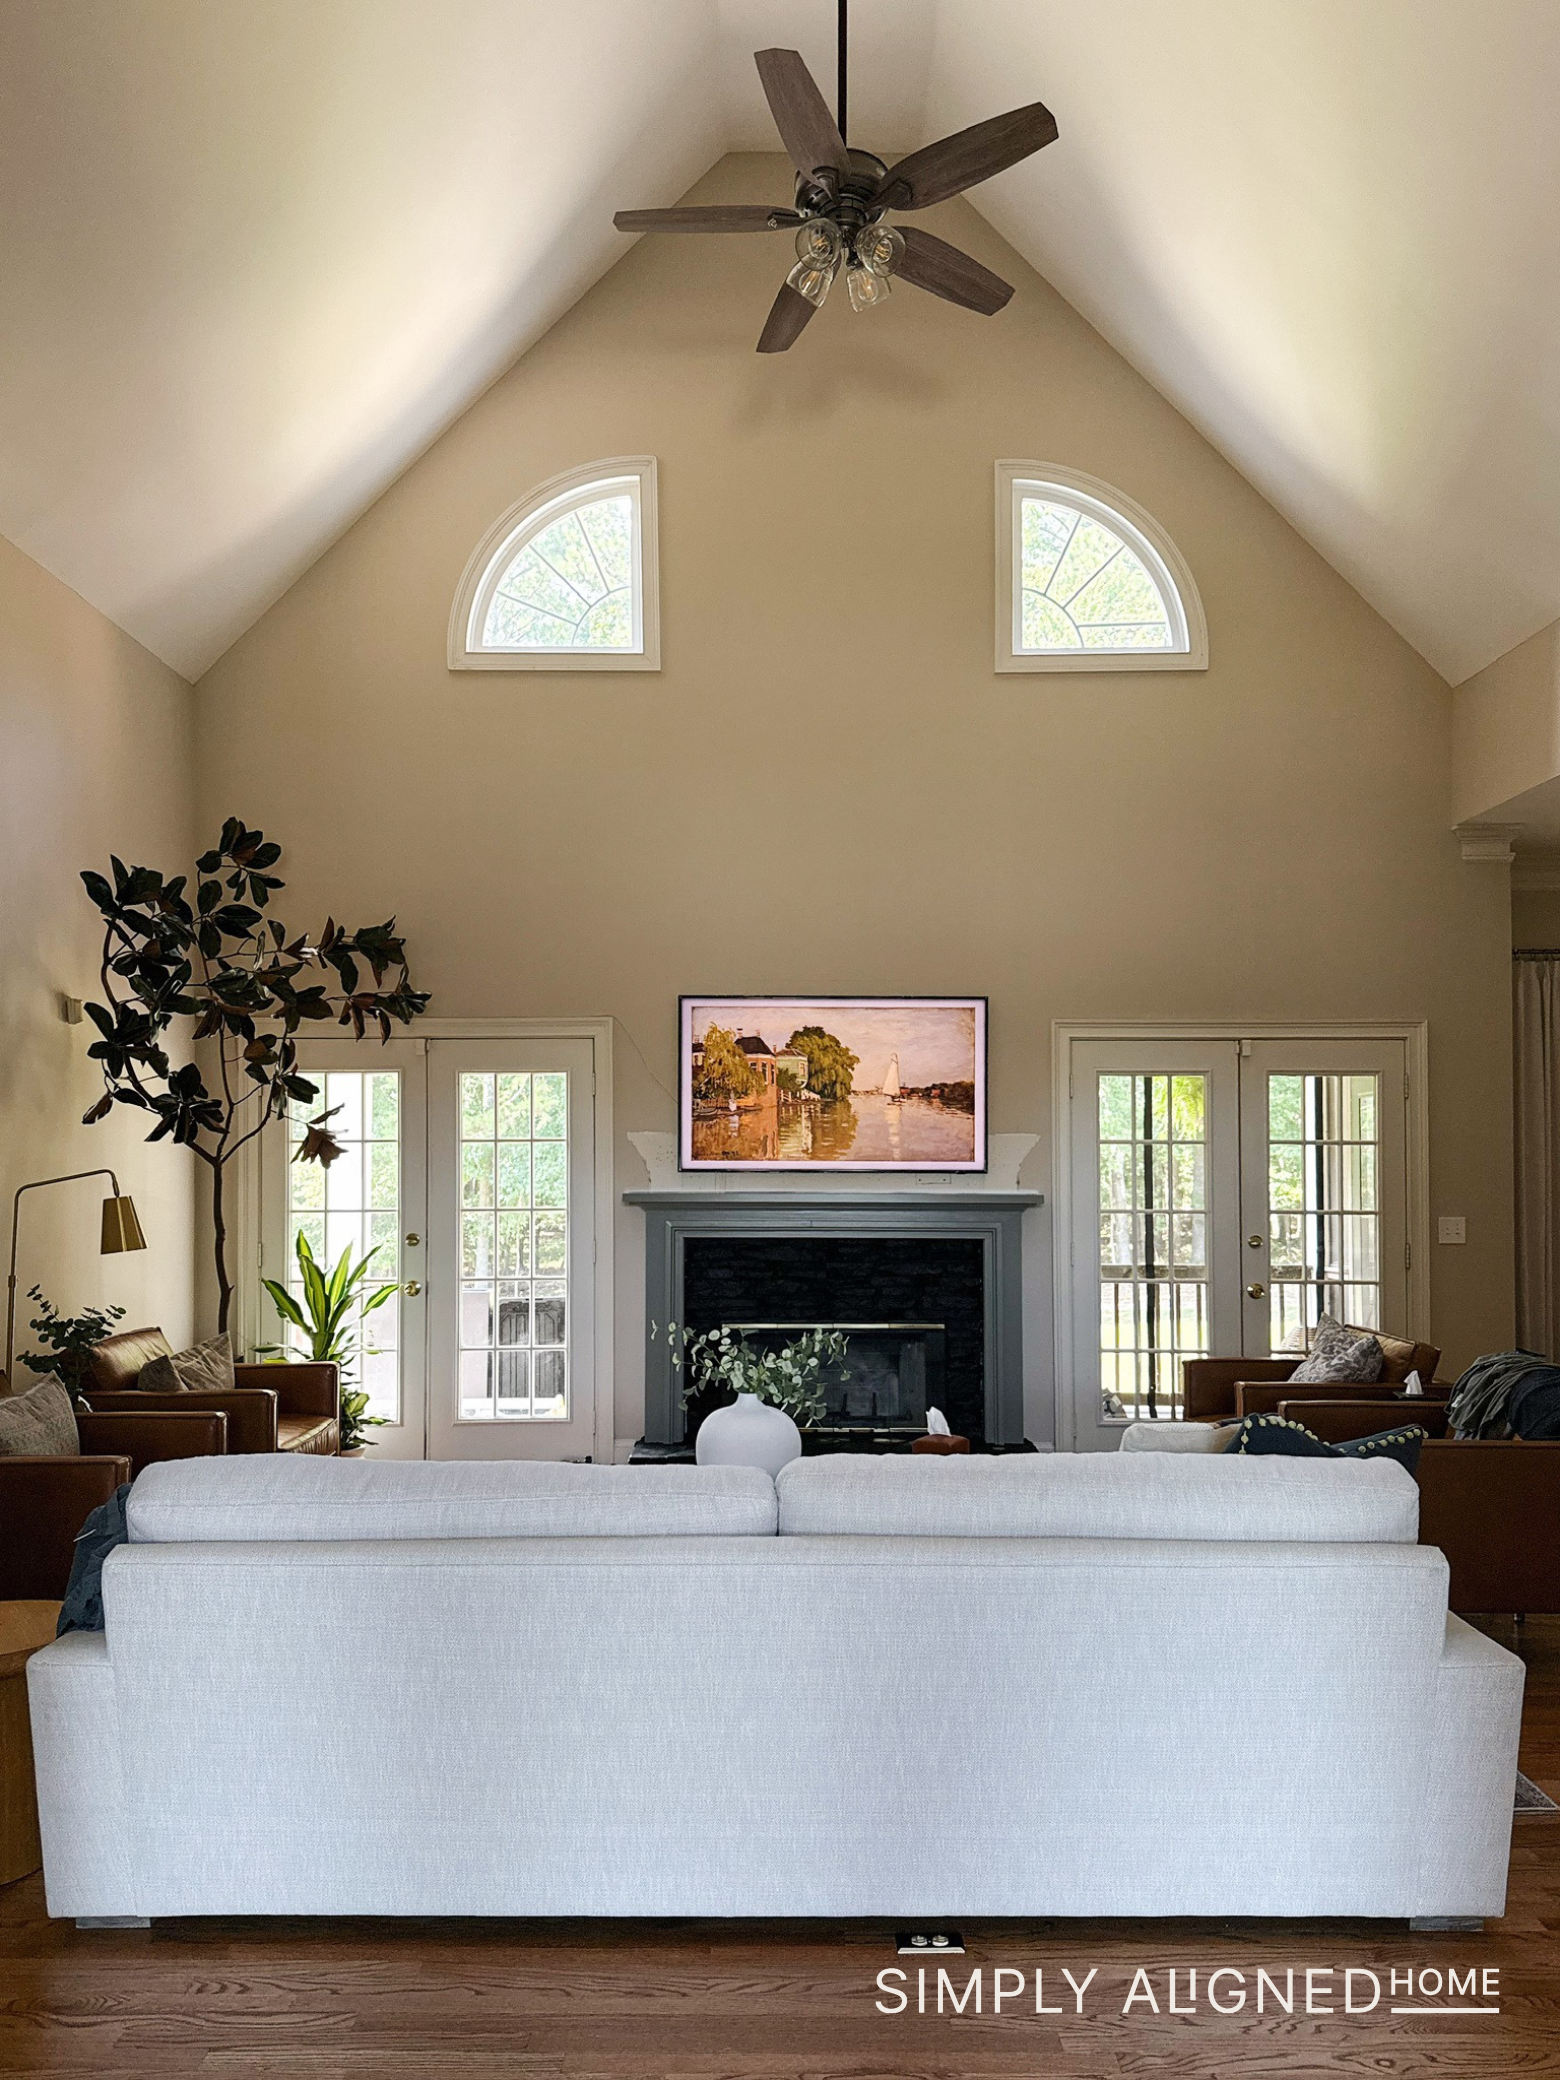
I ended up choosing two gorgeous slabs of sapele, a hardwood with a rich, warm tone and beautiful grain. I couldn’t wait to get started. Here’s what my living room looked like before the console table!
Plan A: Dovetail Joint
I initially wanted to challenge myself with a dovetail joint. It was an ambitious plan, and I had never attempted a dovetail before. But after spending time on it, I realized it wasn’t going to work. Doing a dovetail joint on this scale (especially without a jig) was nearly impossible for me to get perfect, and I didn’t want to sacrifice the final look of the piece.
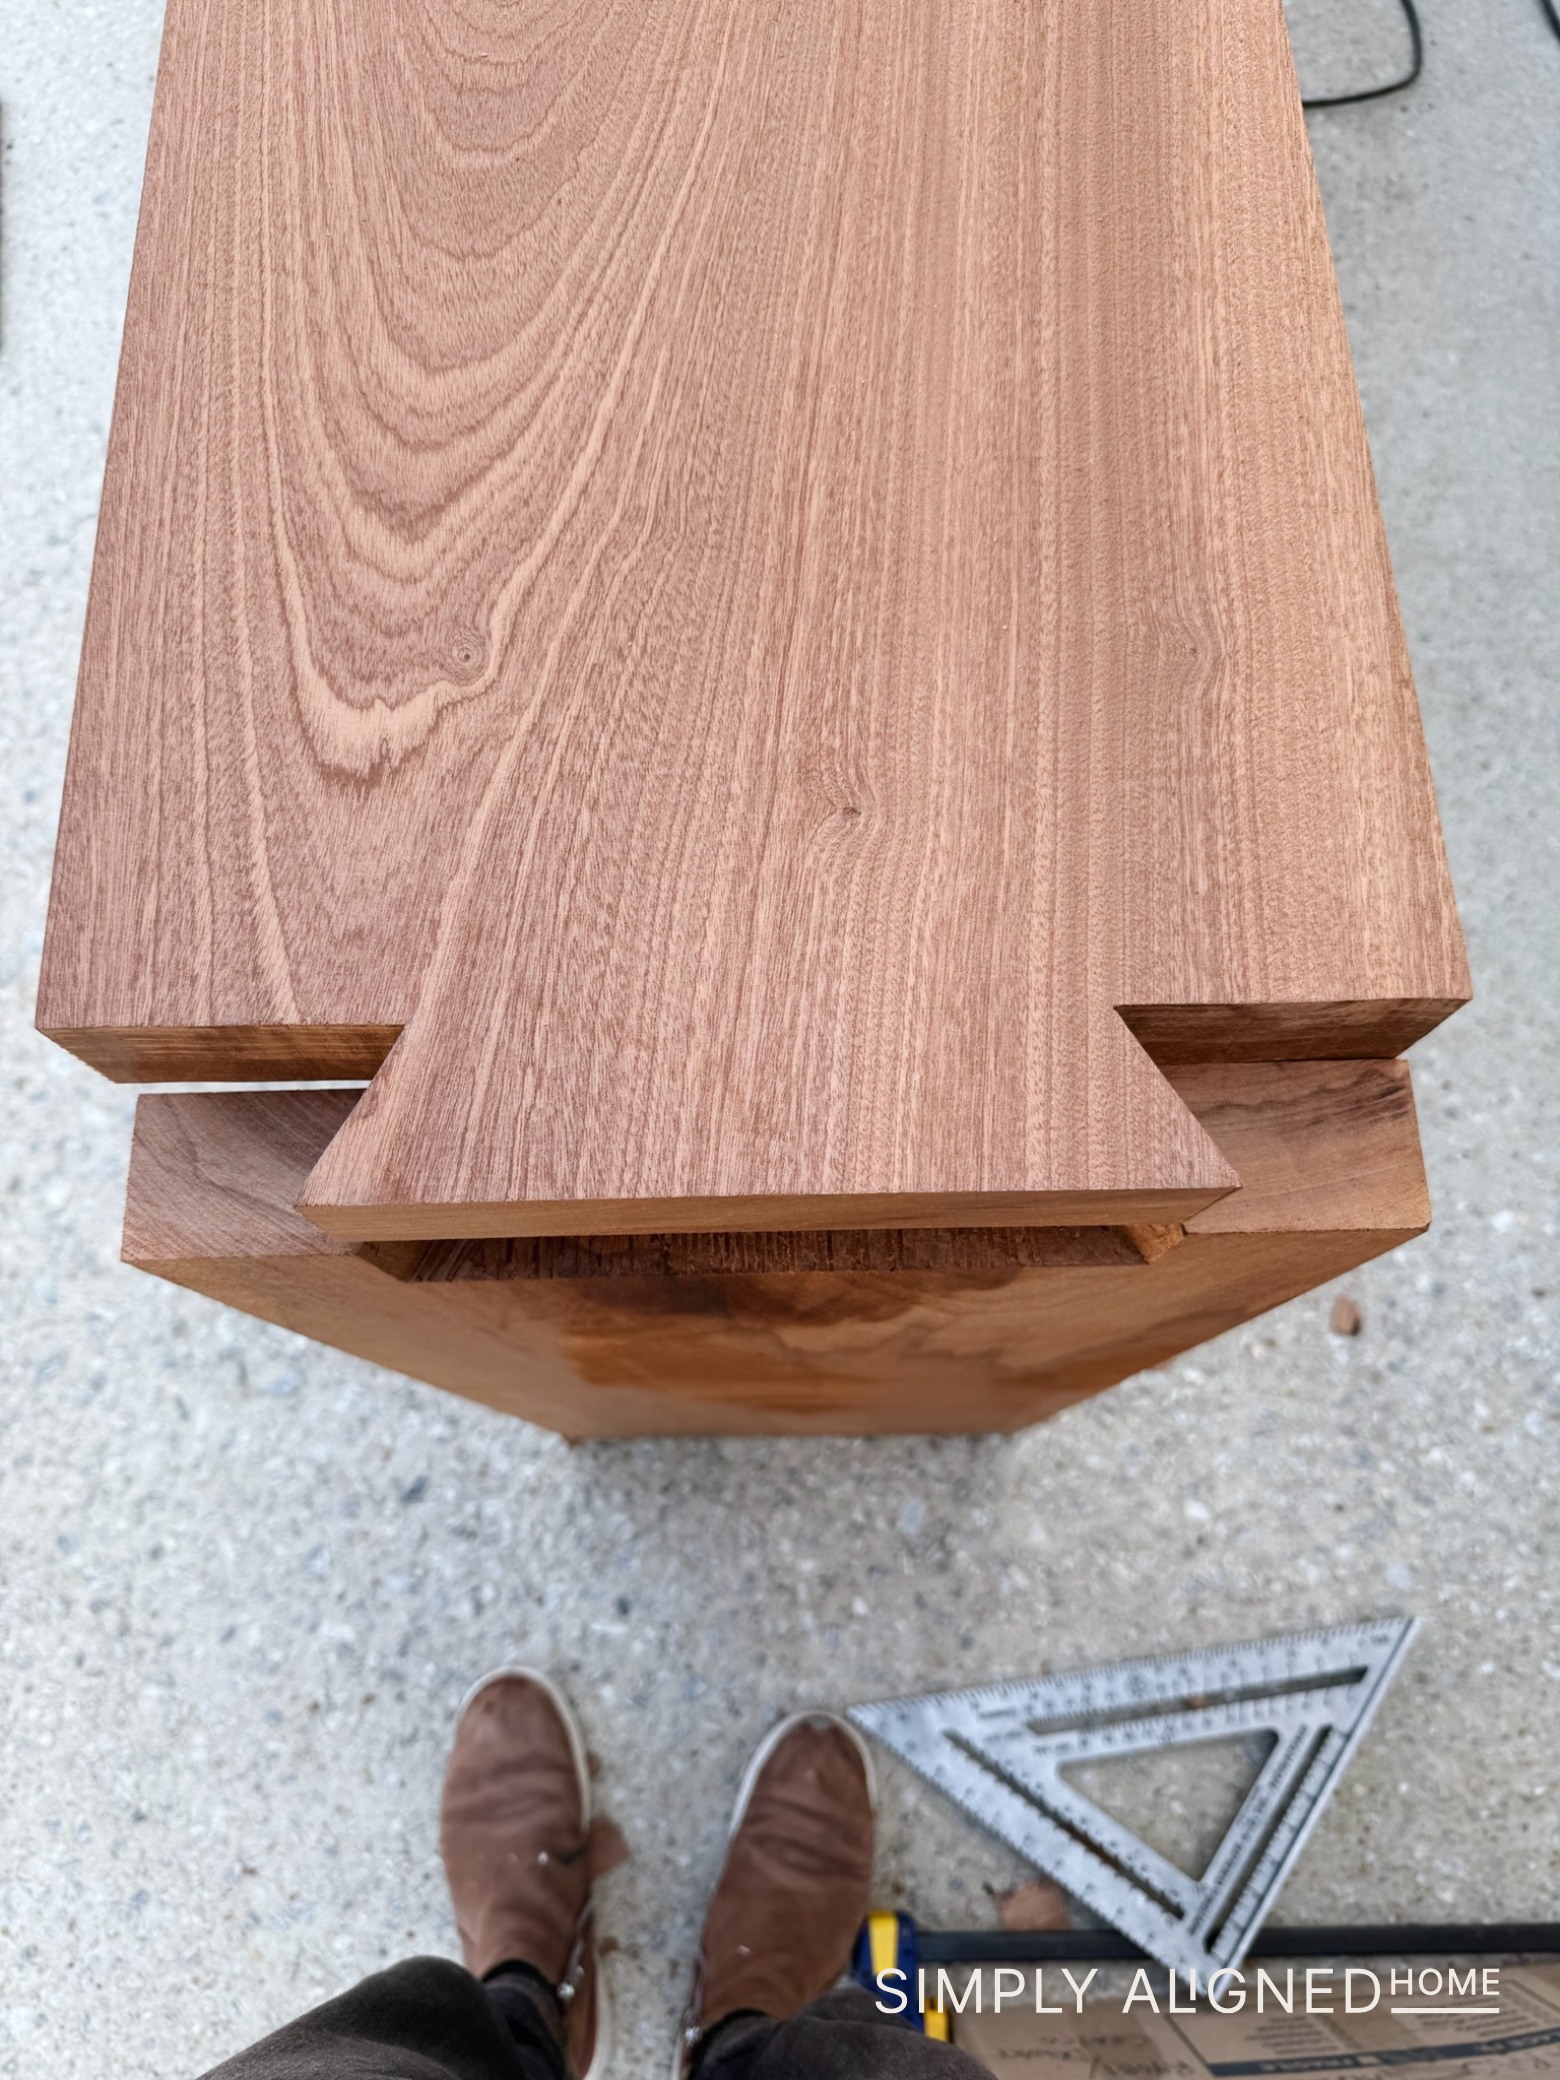
Sometimes projects don’t go according to plan, and that’s okay! I shifted to Plan B, which was a much simpler design.
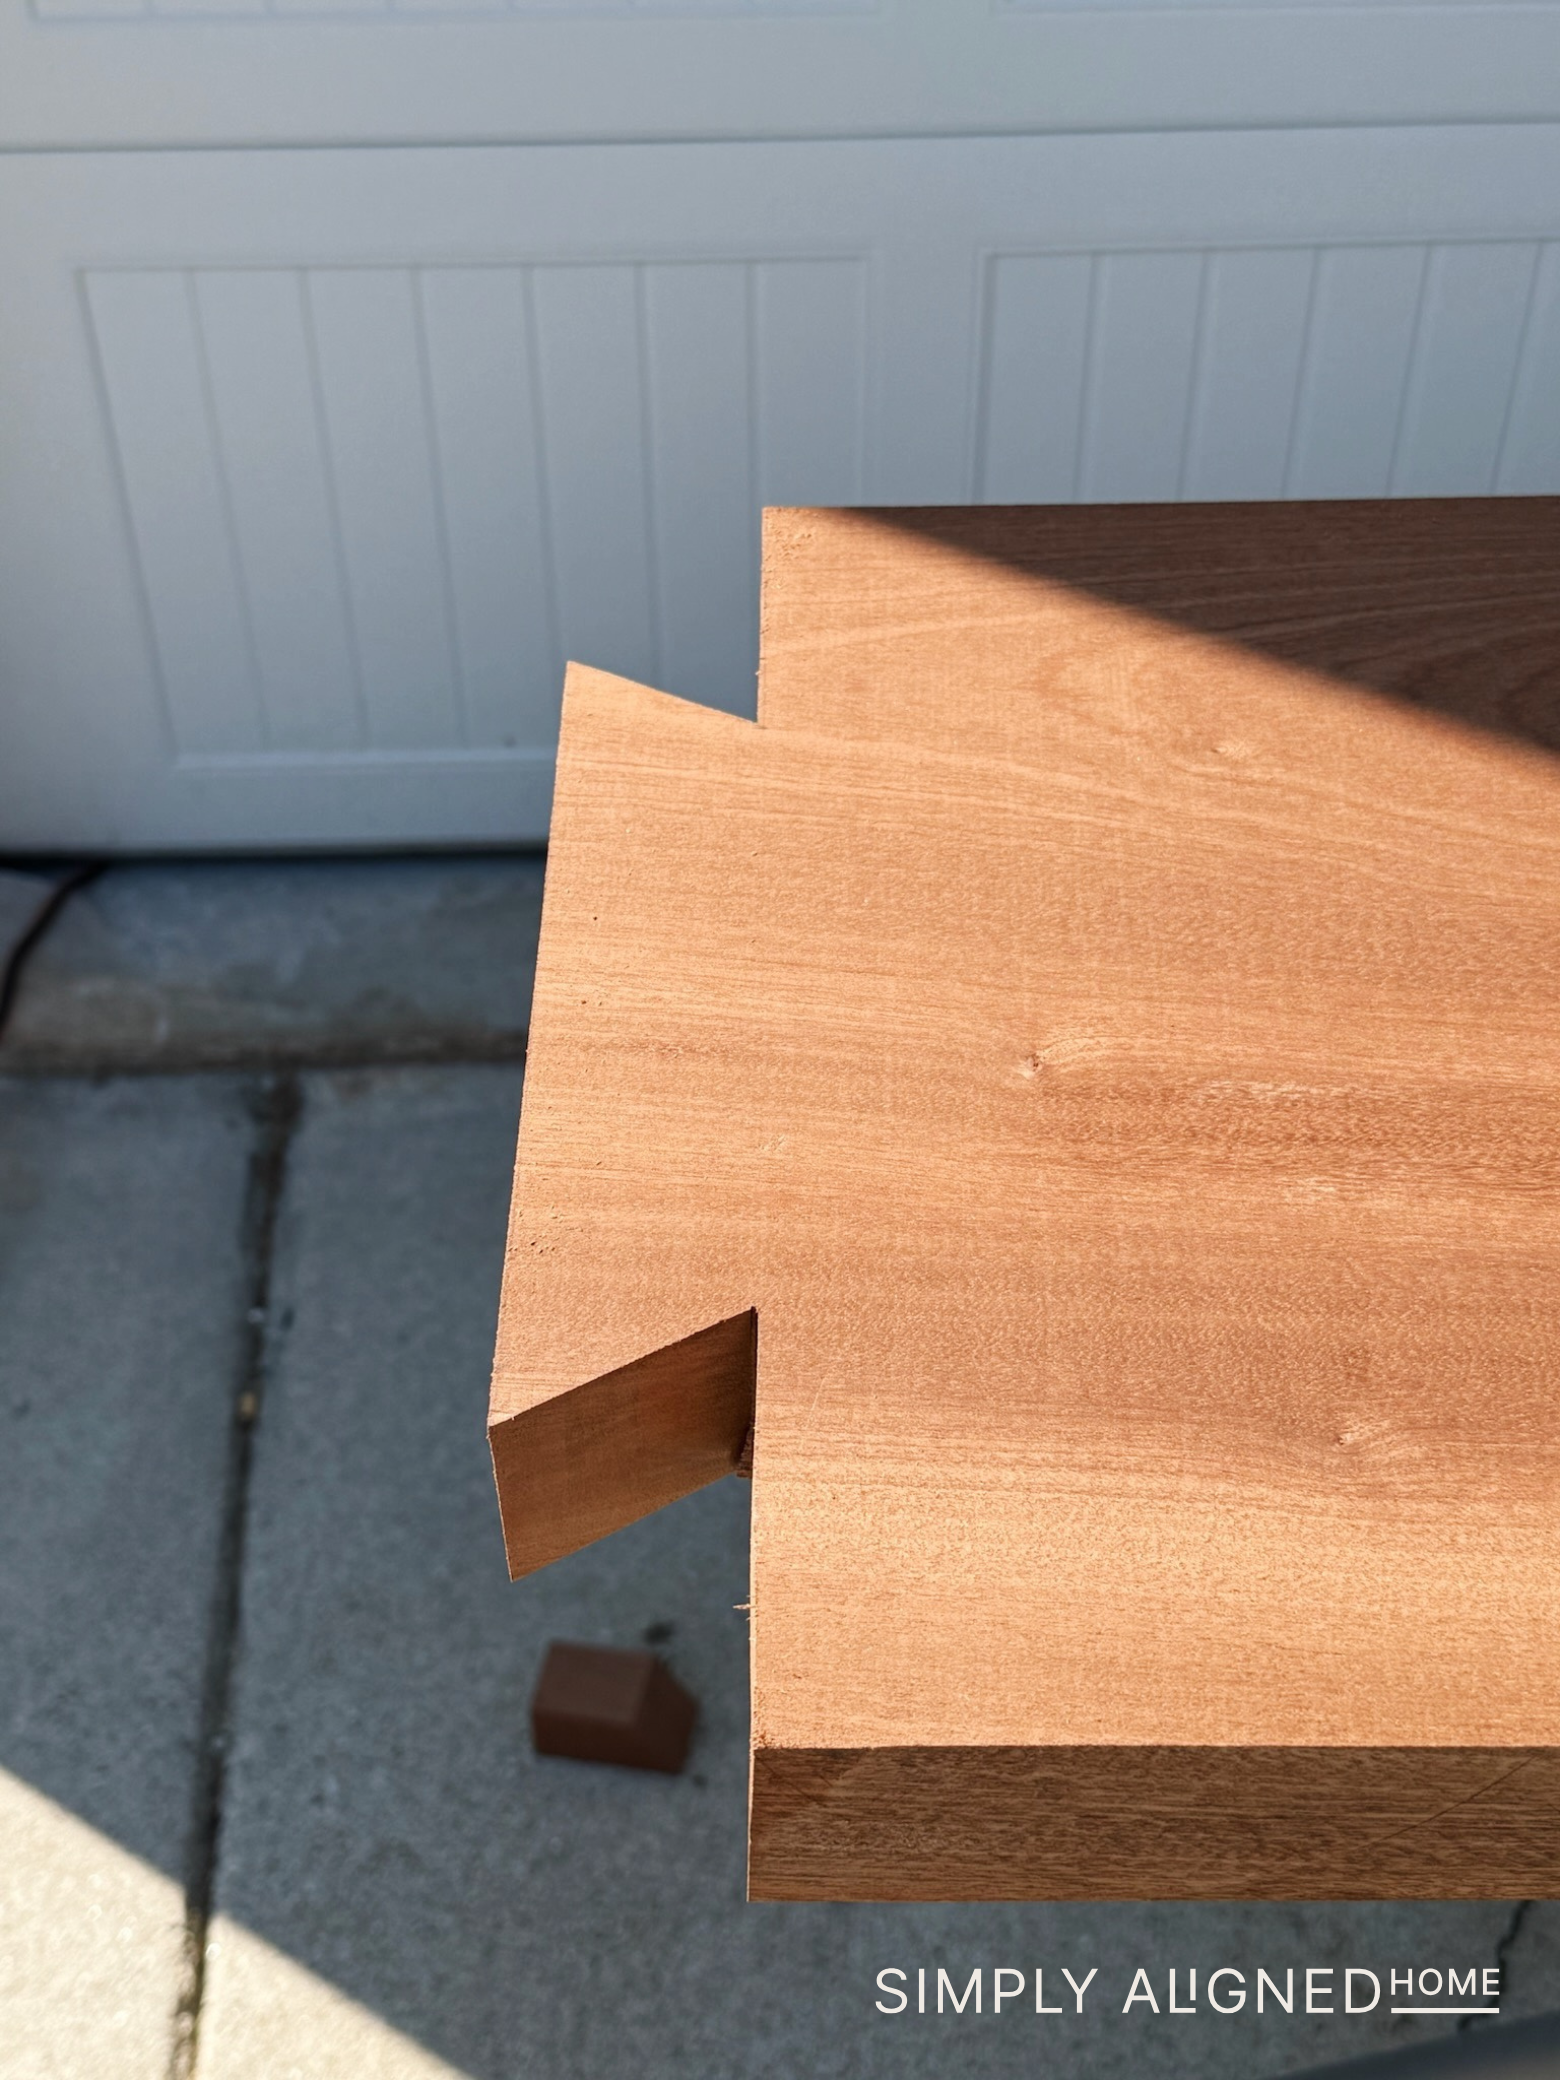
Plan B: Lap Joint
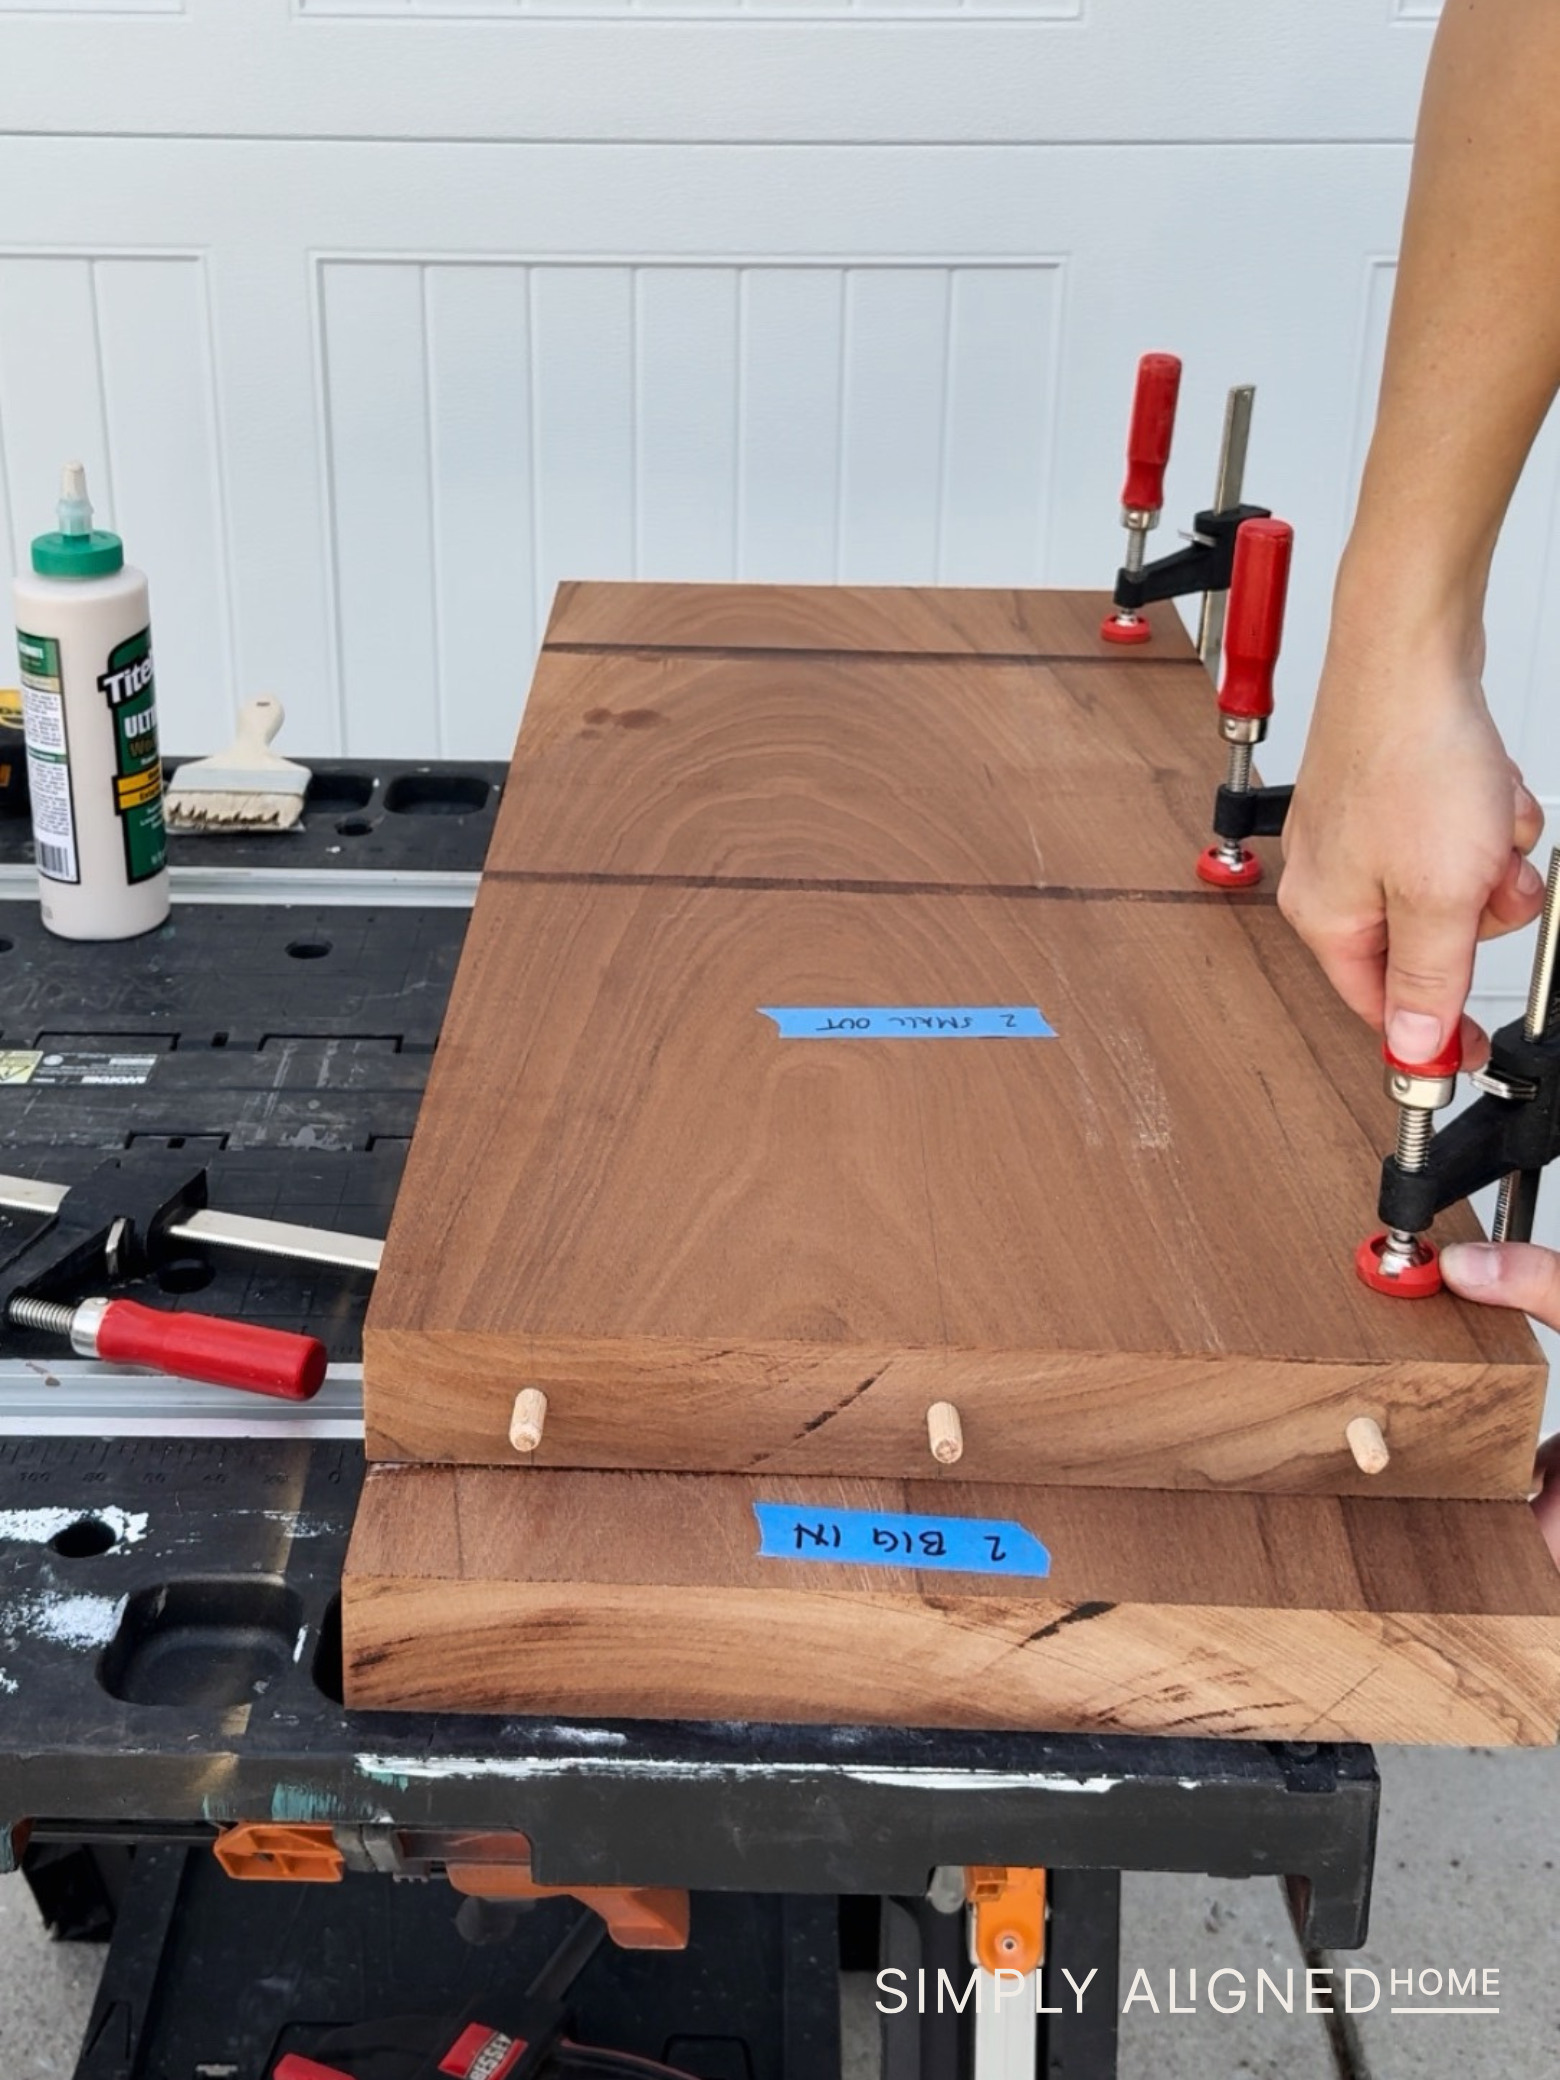
For the new design, I decided to stick to straight cuts and let the beauty of the sapele wood be the focus. Instead of dovetails, I used lap joints and dowels for assembly.
I drilled dowel holes in both the vertical leg pieces and the underside of the tabletop using a self-centering dowel jig. This step required patience because the holes had to line up perfectly…but they did, and it was such a satisfying moment!


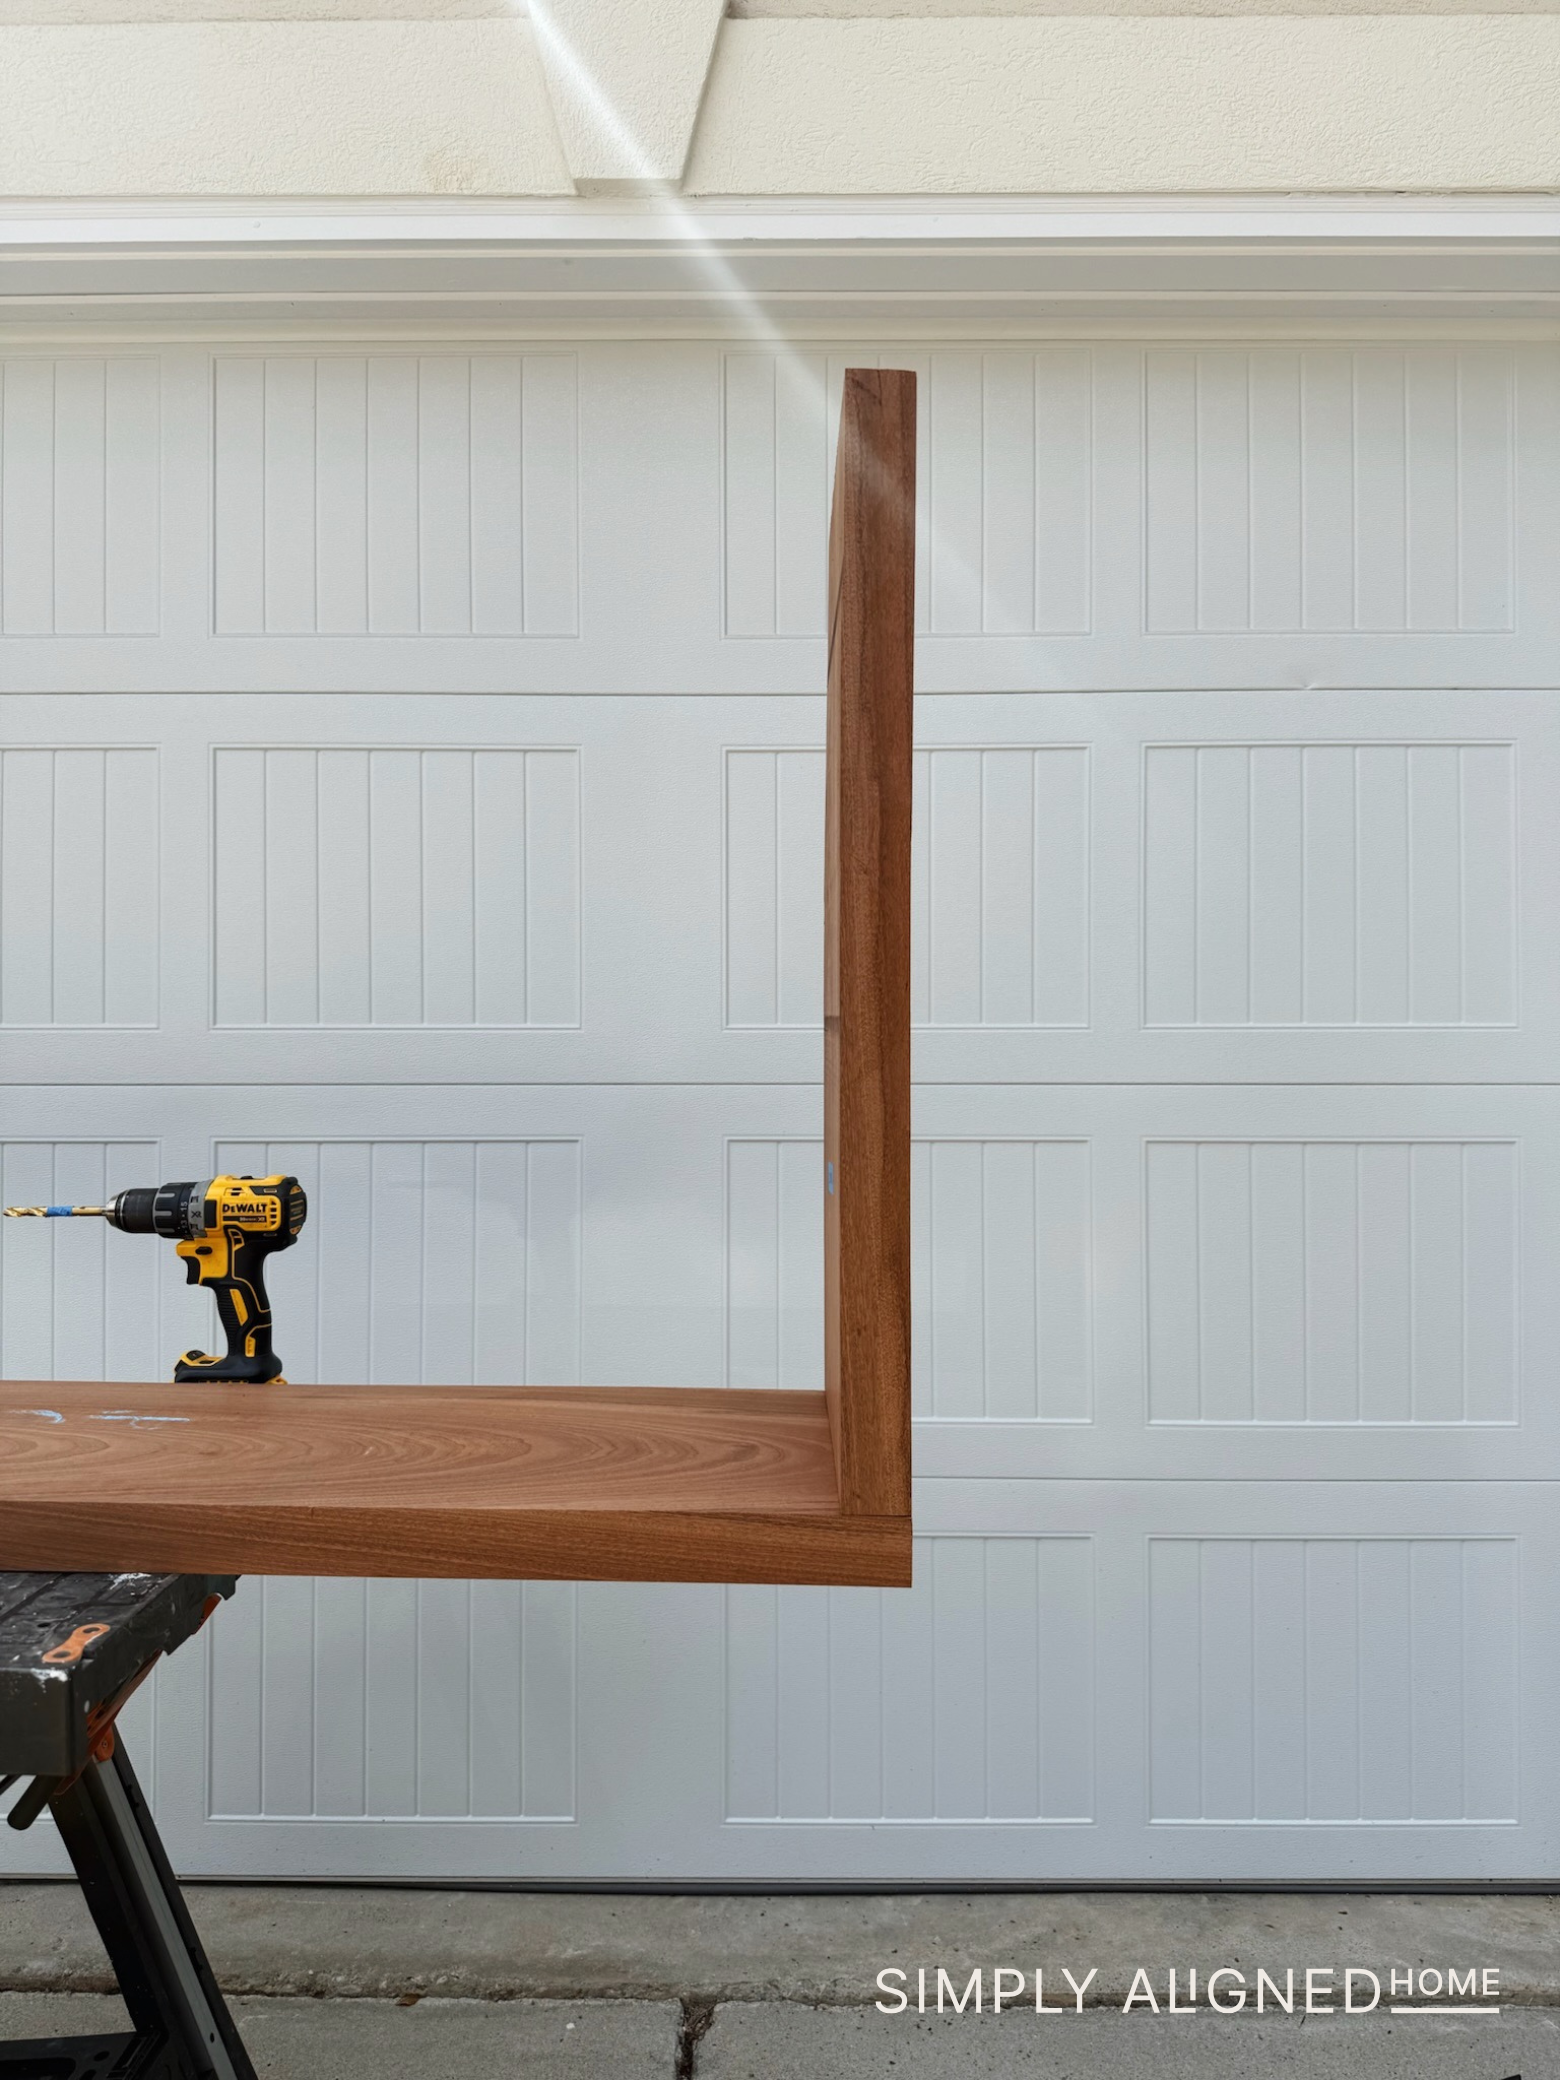
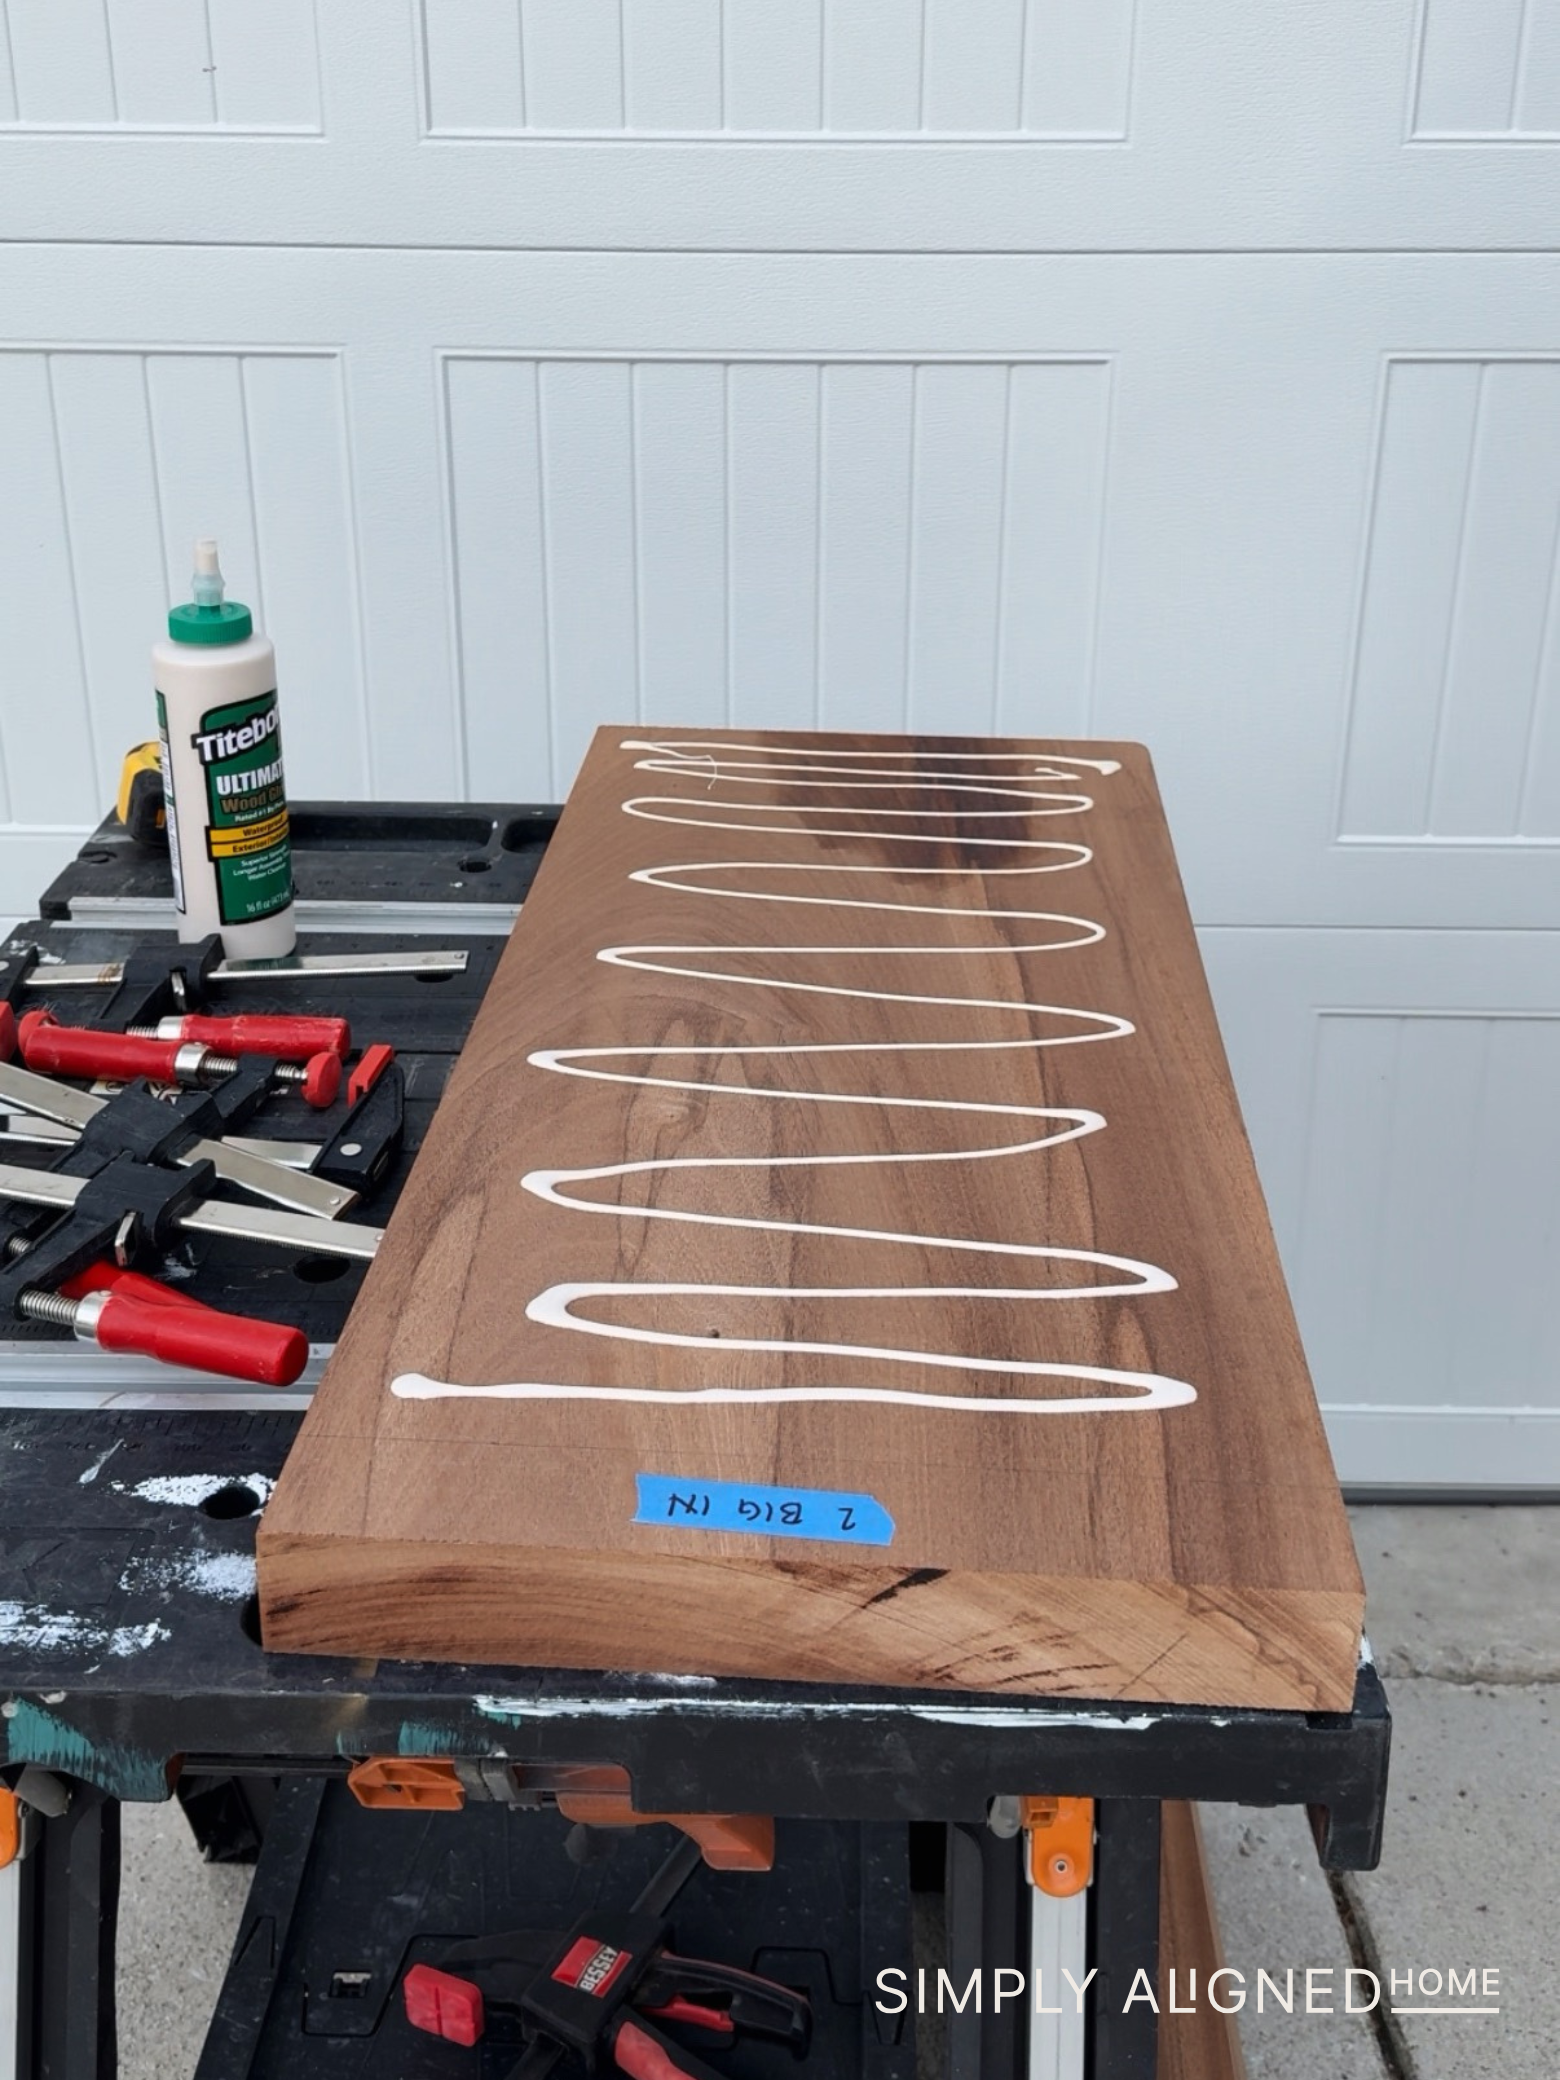
Building the Legs
To create the legs, I glued two boards together for extra thickness and let them set overnight. The next day, I unclamped the pieces (they were incredibly heavy!) and cut them down to the exact length I needed.
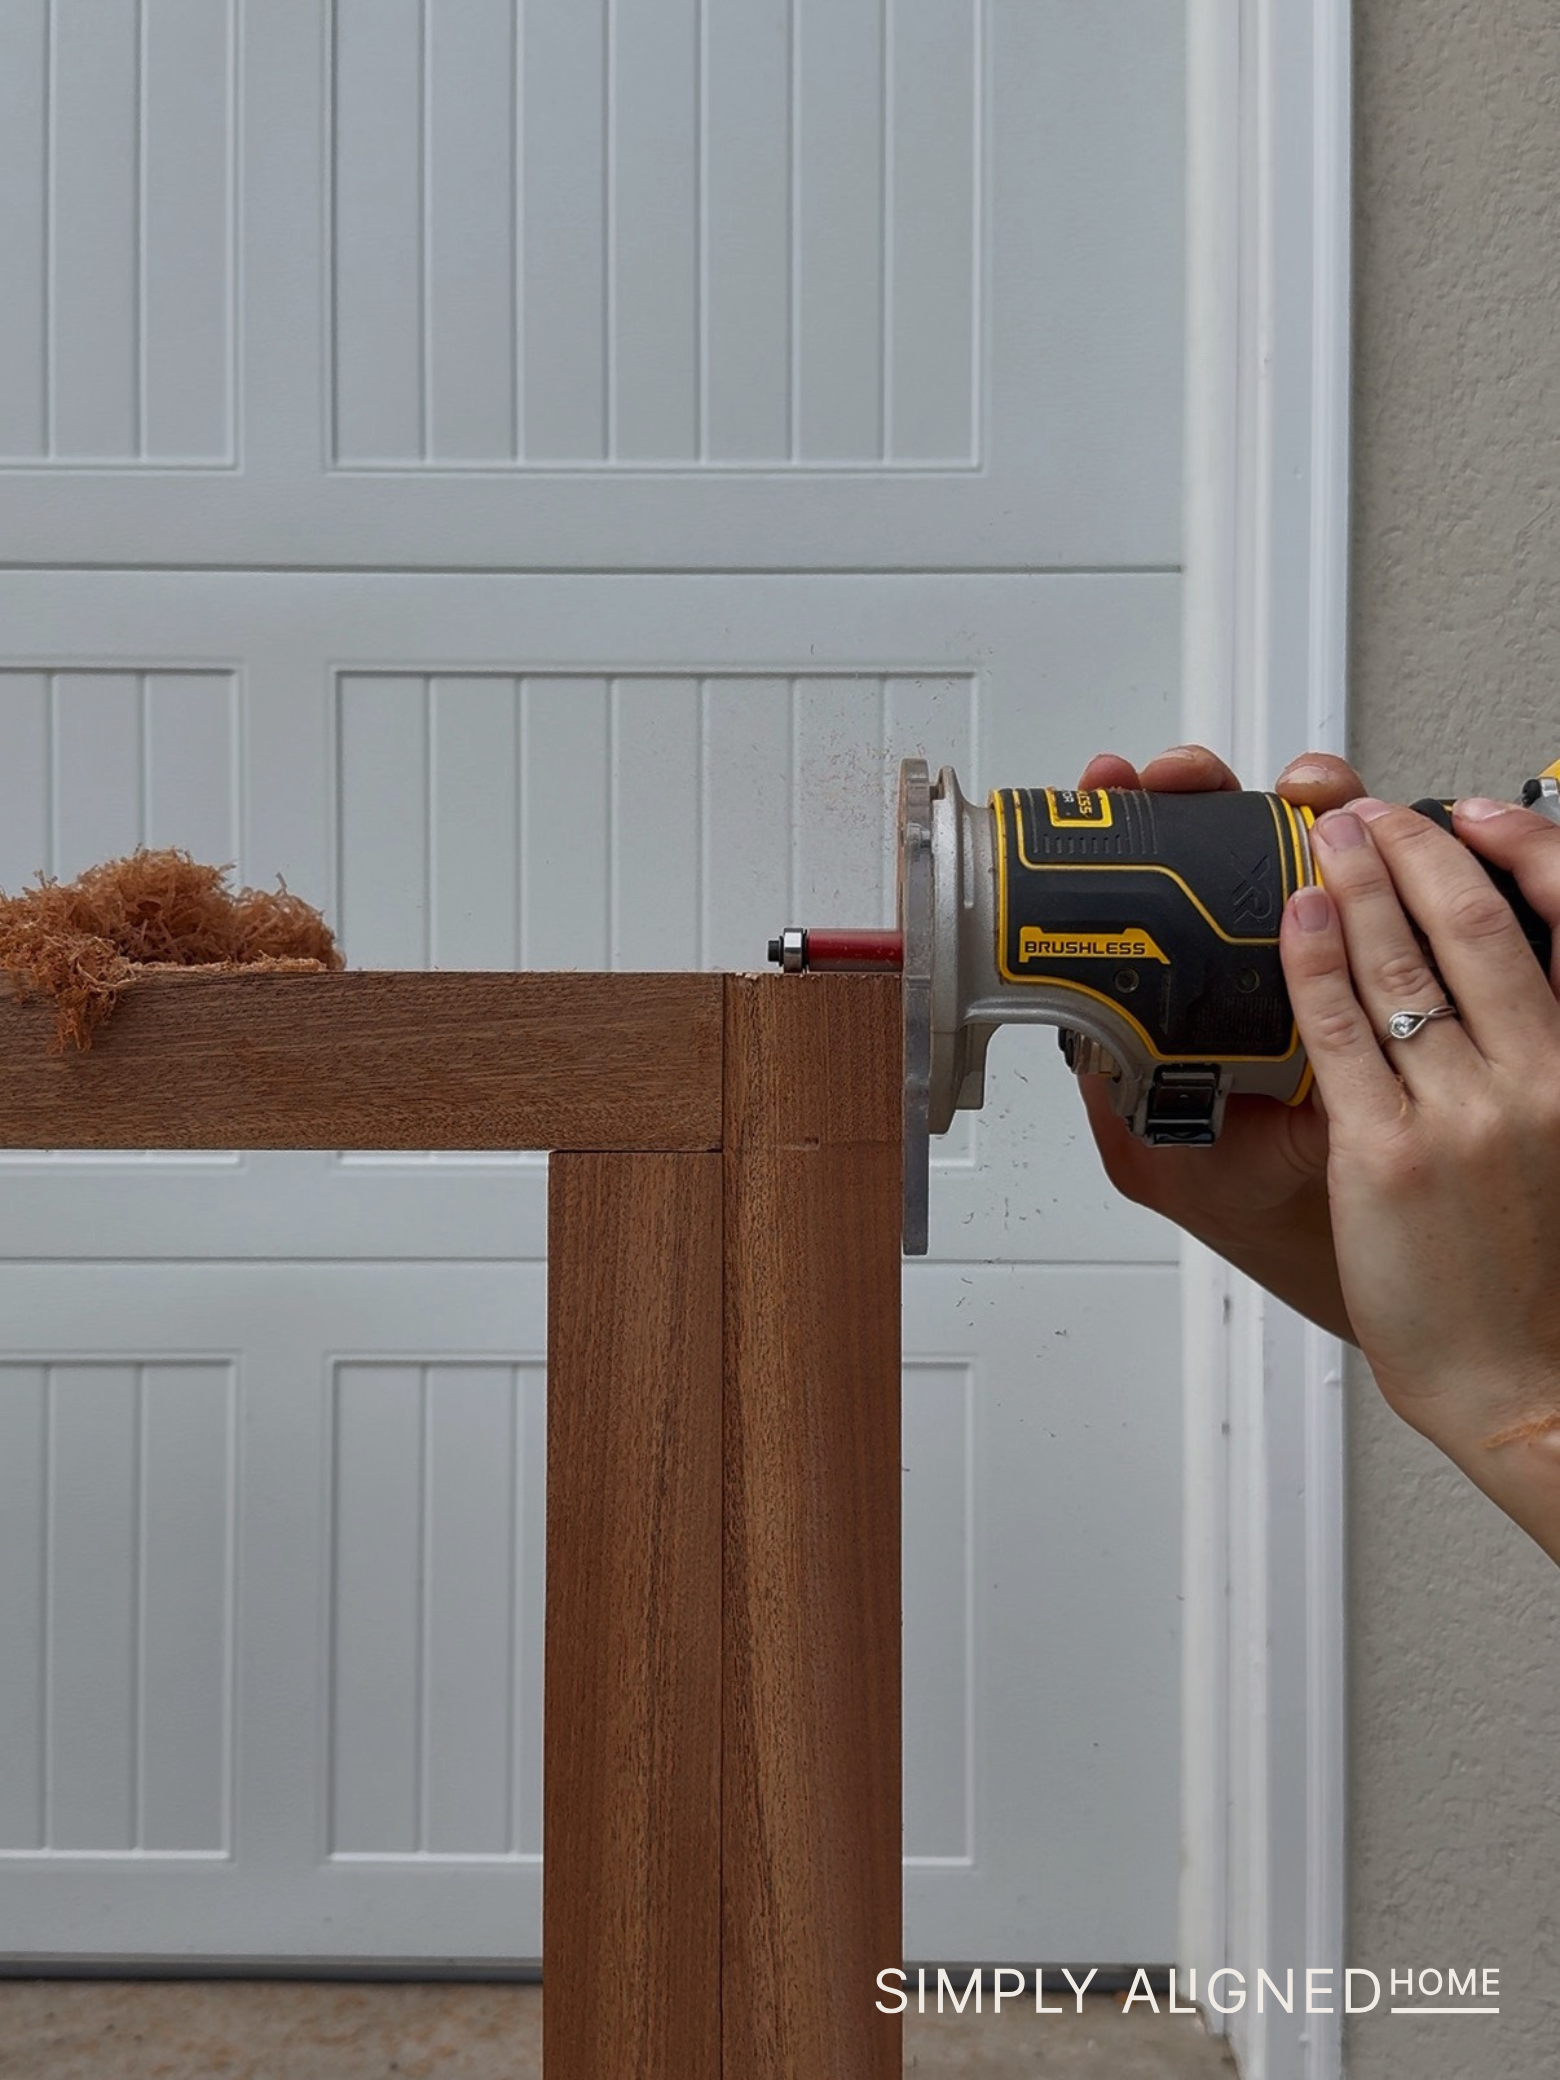
When assembling, I intentionally left the top overhang about ⅛”. That gave me the opportunity to use my router and make everything perfectly flush.
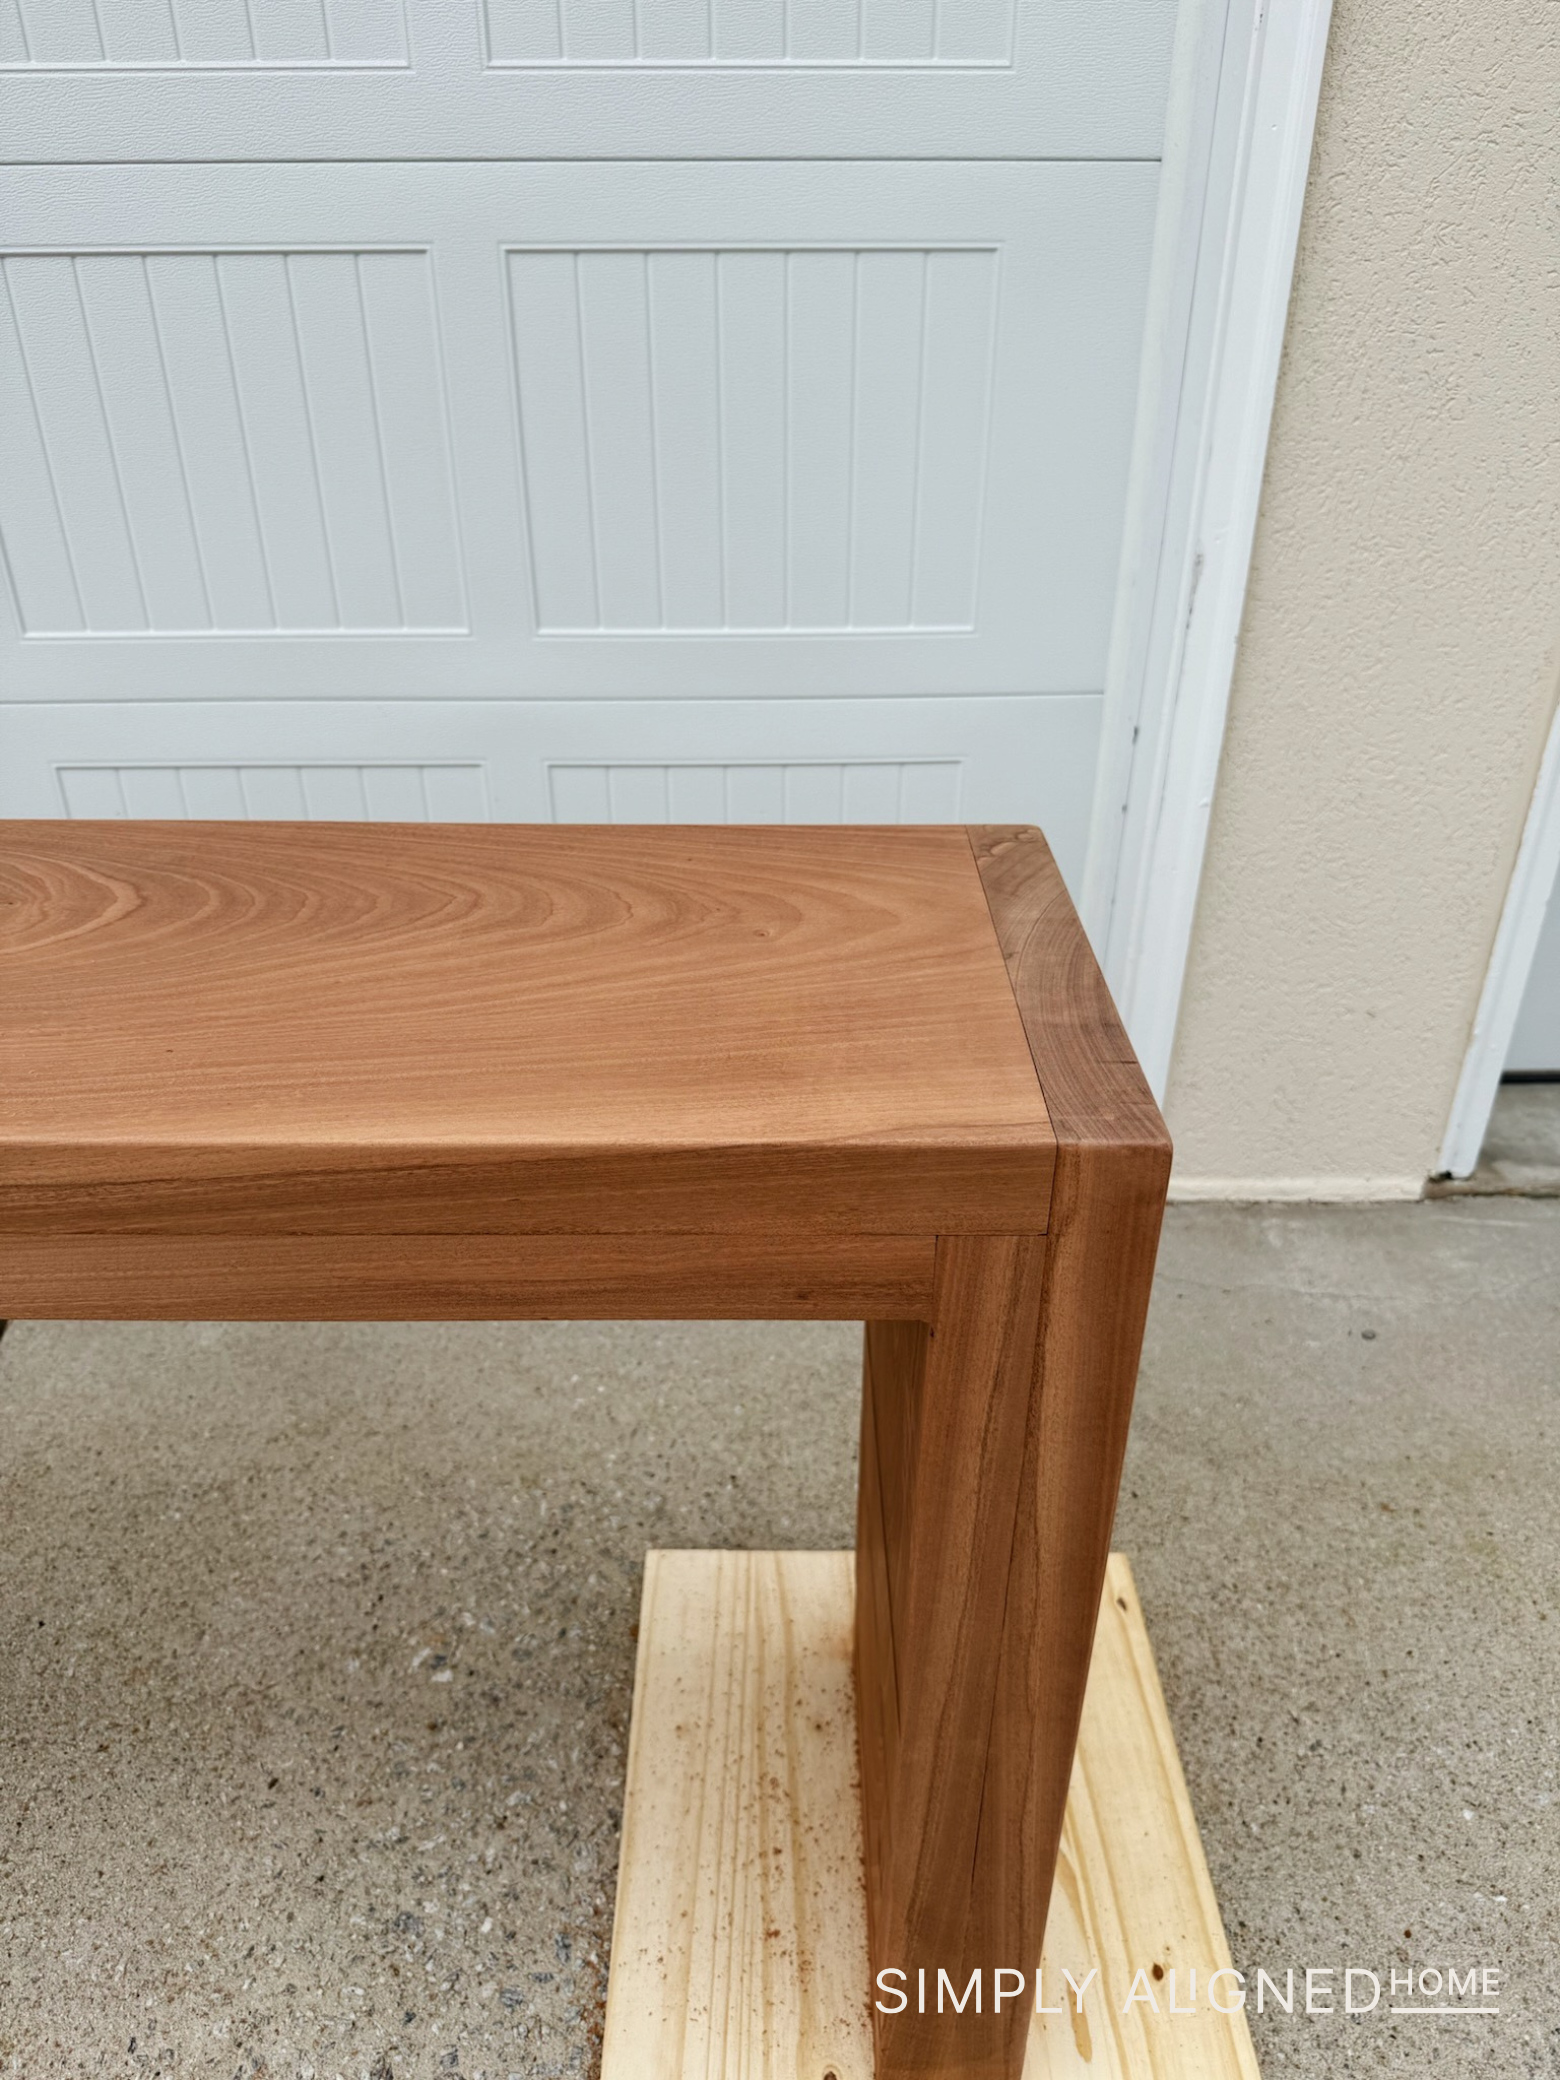
With the main structure complete, I had just enough wood left over to cut thin trim pieces for the underside of the tabletop. Adding these made the top look like it was one solid, thick slab. After lots of sanding and a little more routing to round the edges, the table was ready for a finish.

Wood Finish
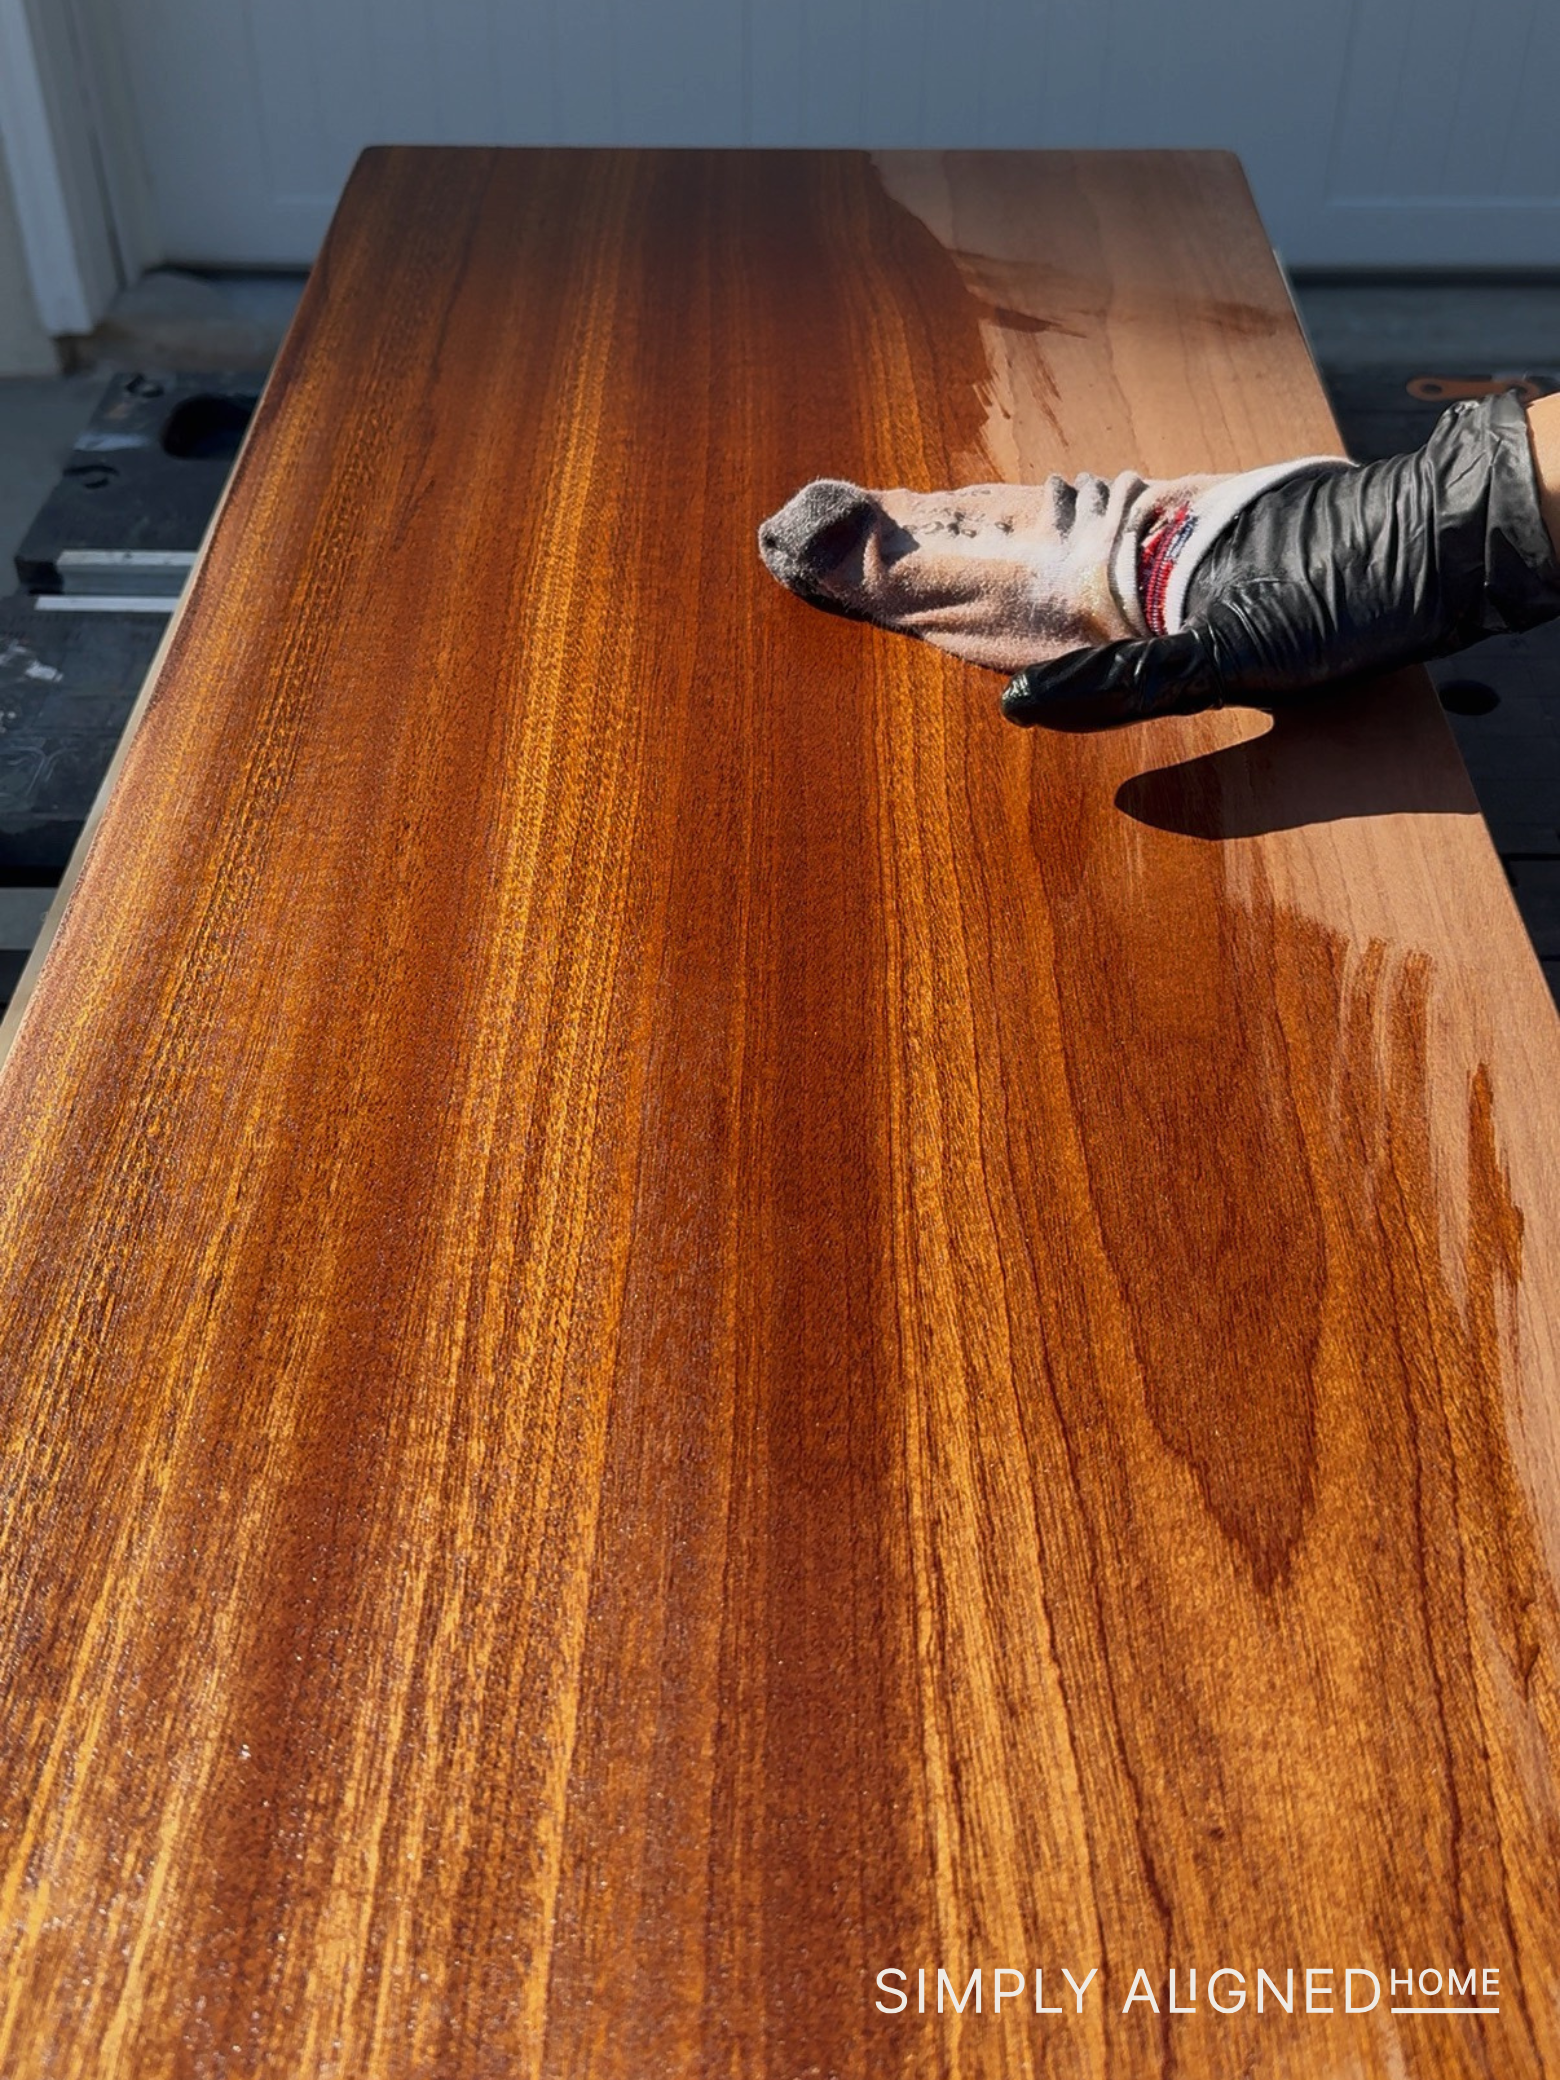
I’ve been looking forward to sealing this wood since the day I bought it. Sapele is such a beautiful wood, and I wanted a finish that would highlight the grain without changing the tone too much.
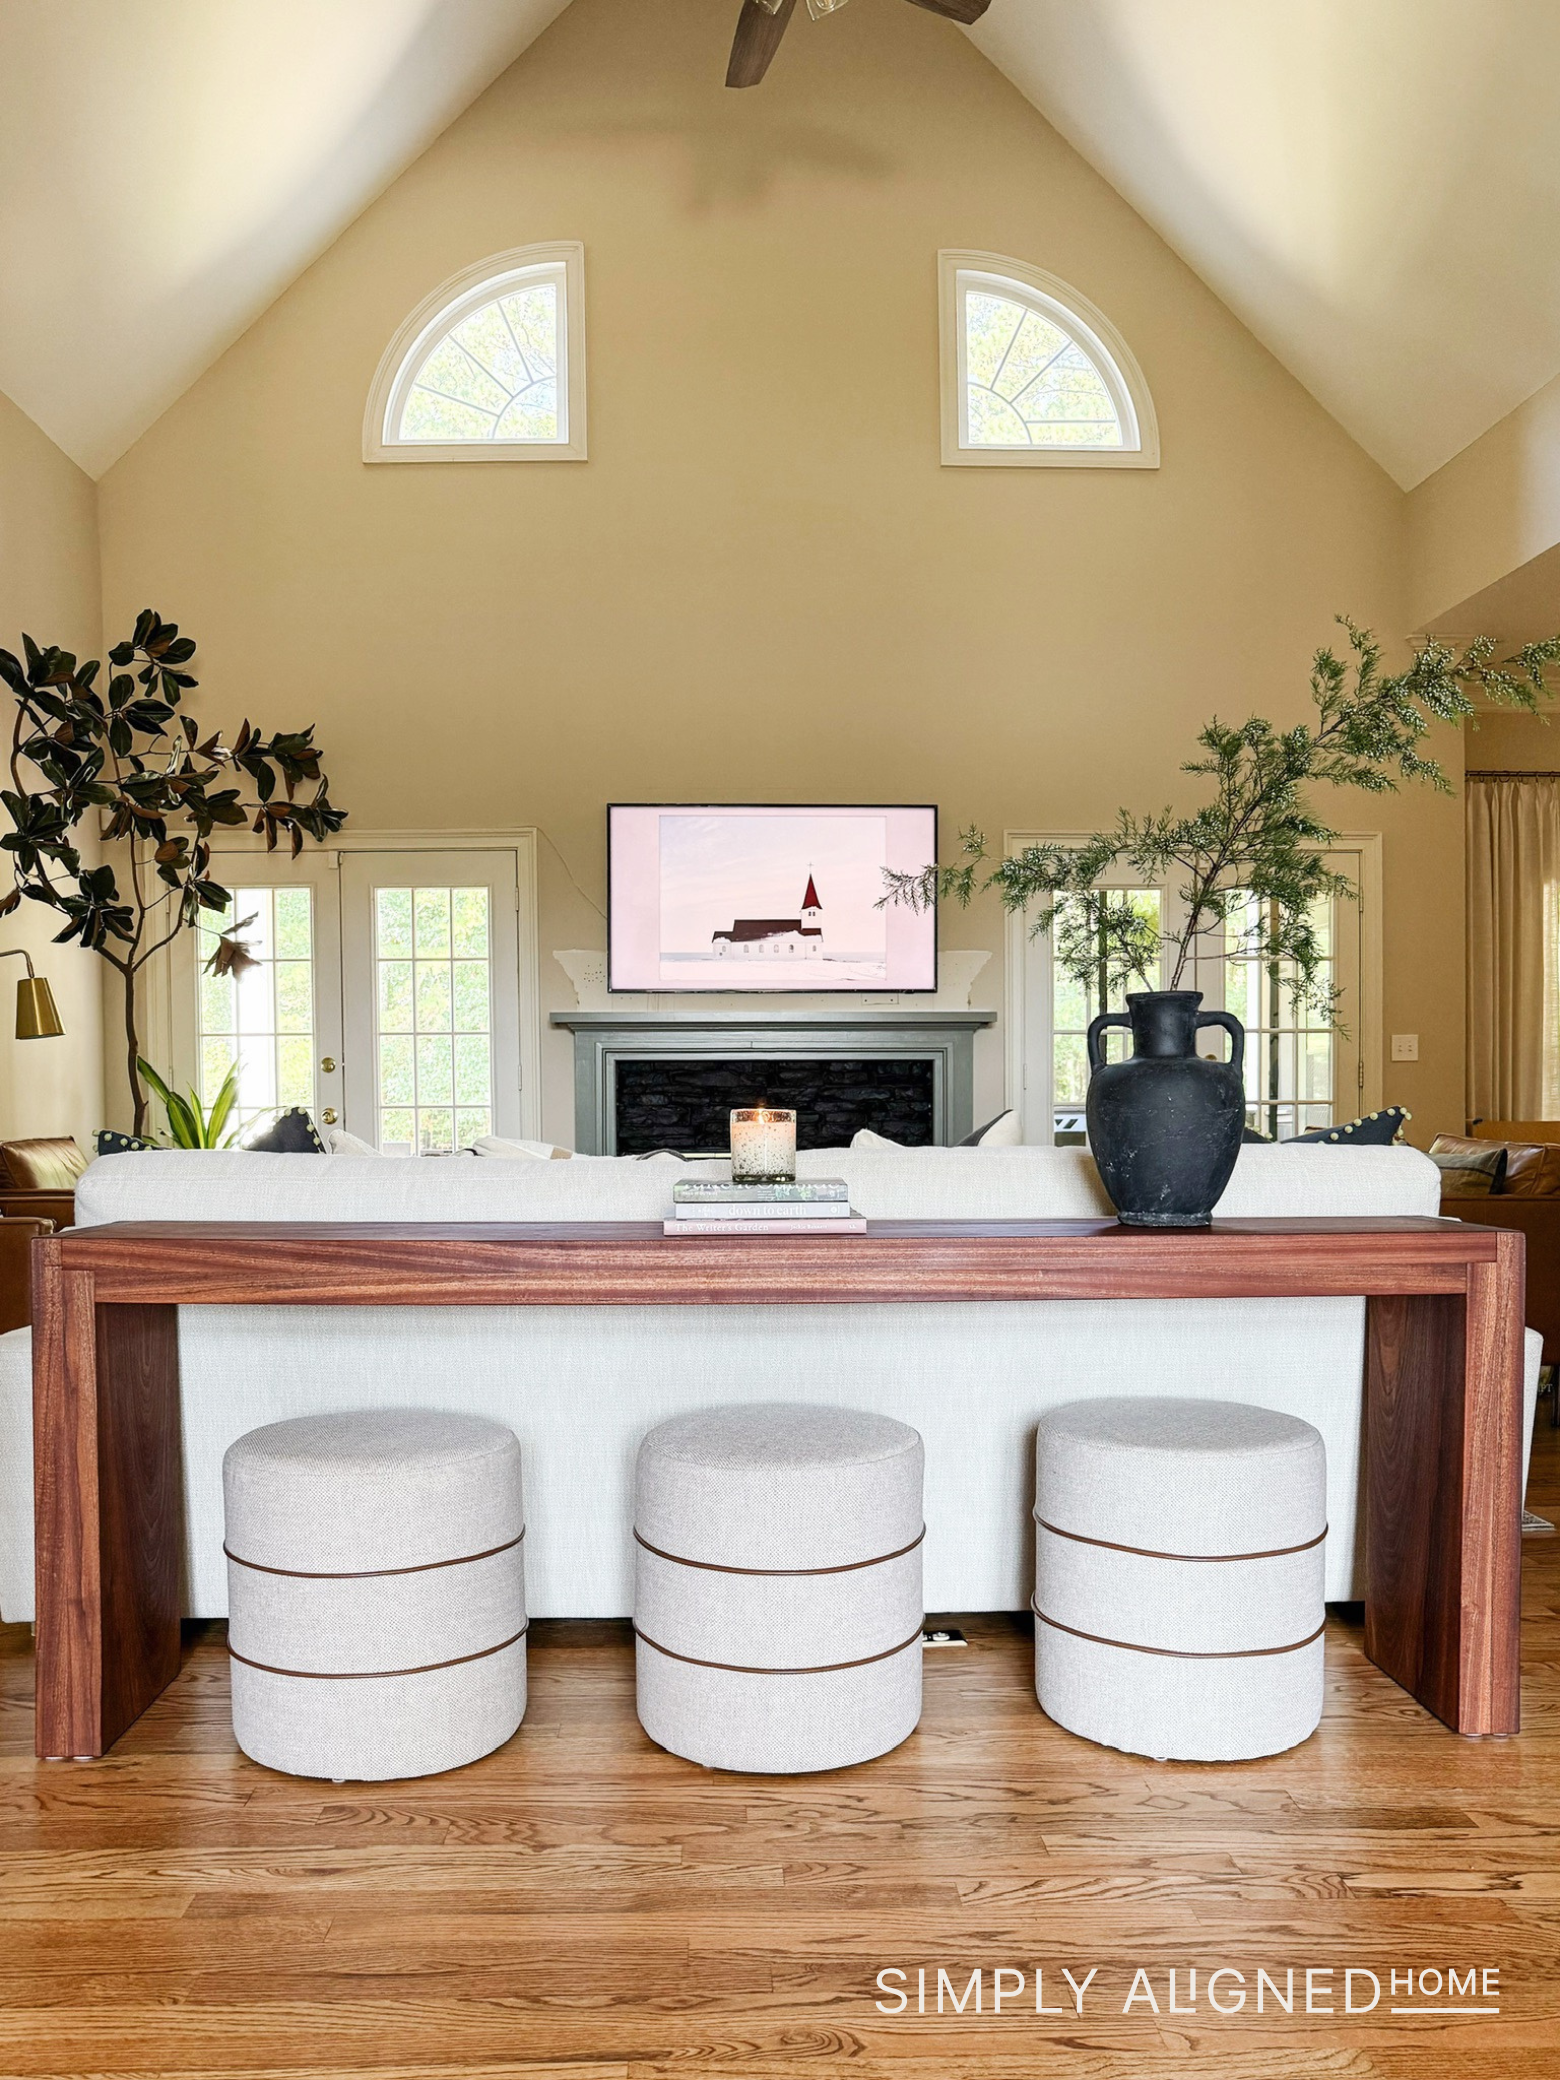
I used Walrus Oil Furniture Finish, and it brought the wood to life. The grain popped and the surface looked rich and warm – I love it!
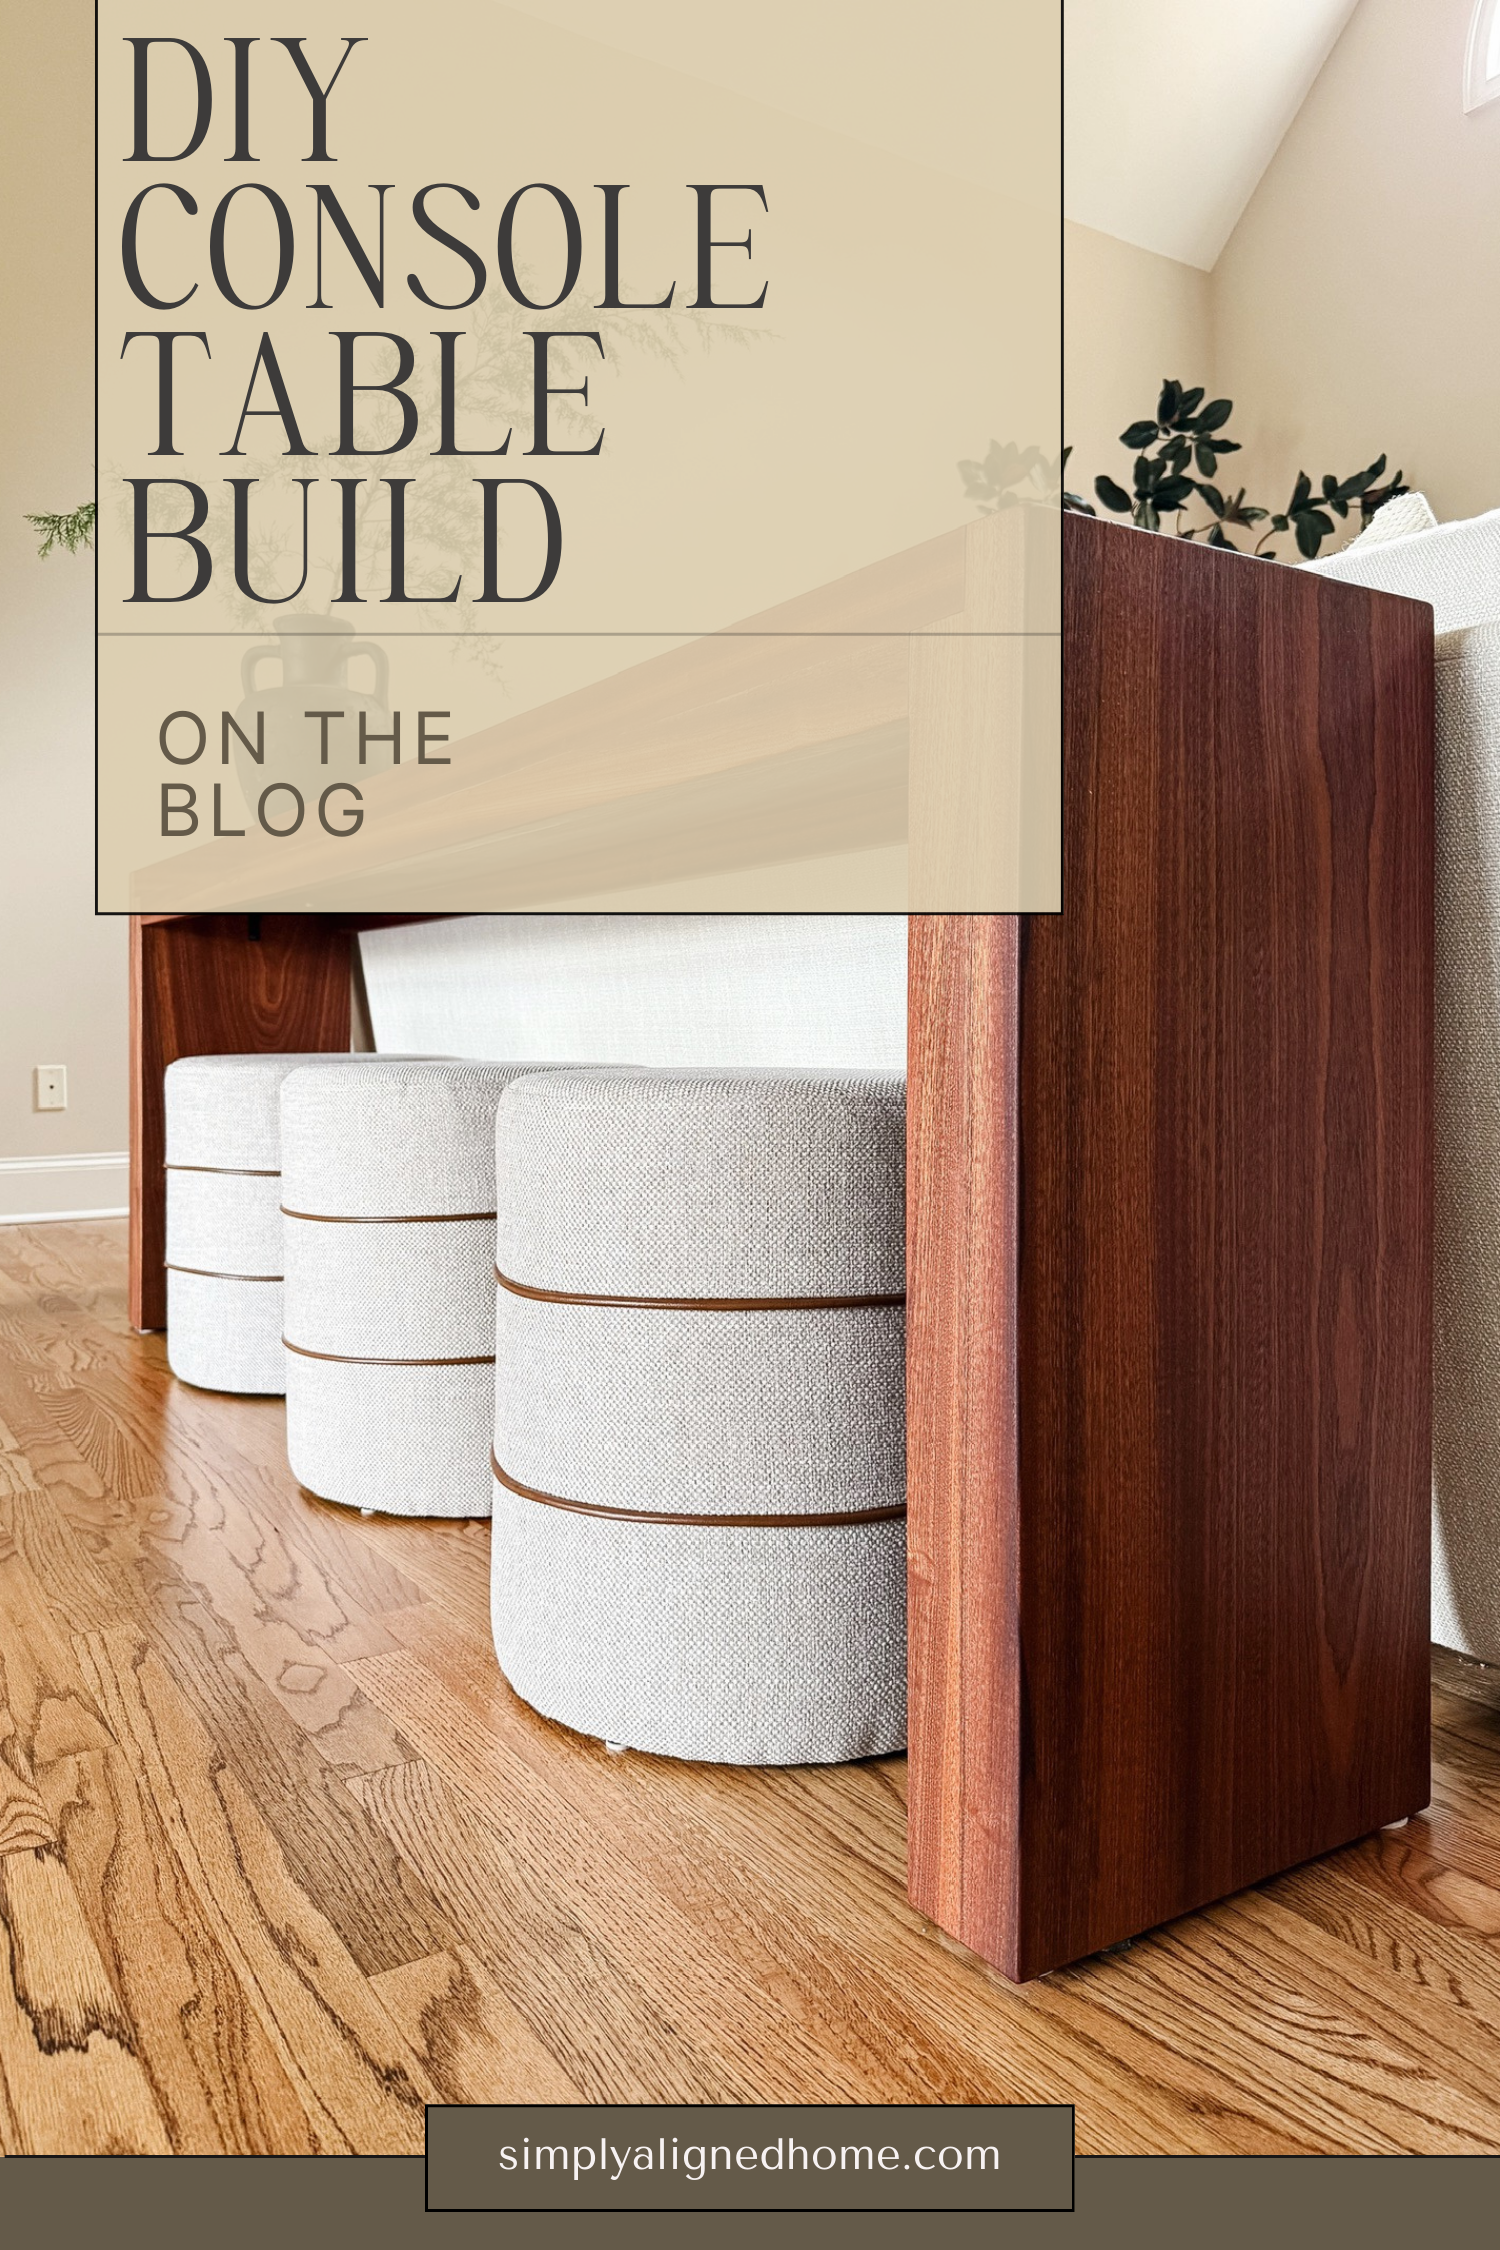
Now the console table sits perfectly behind our sofa in the living room!
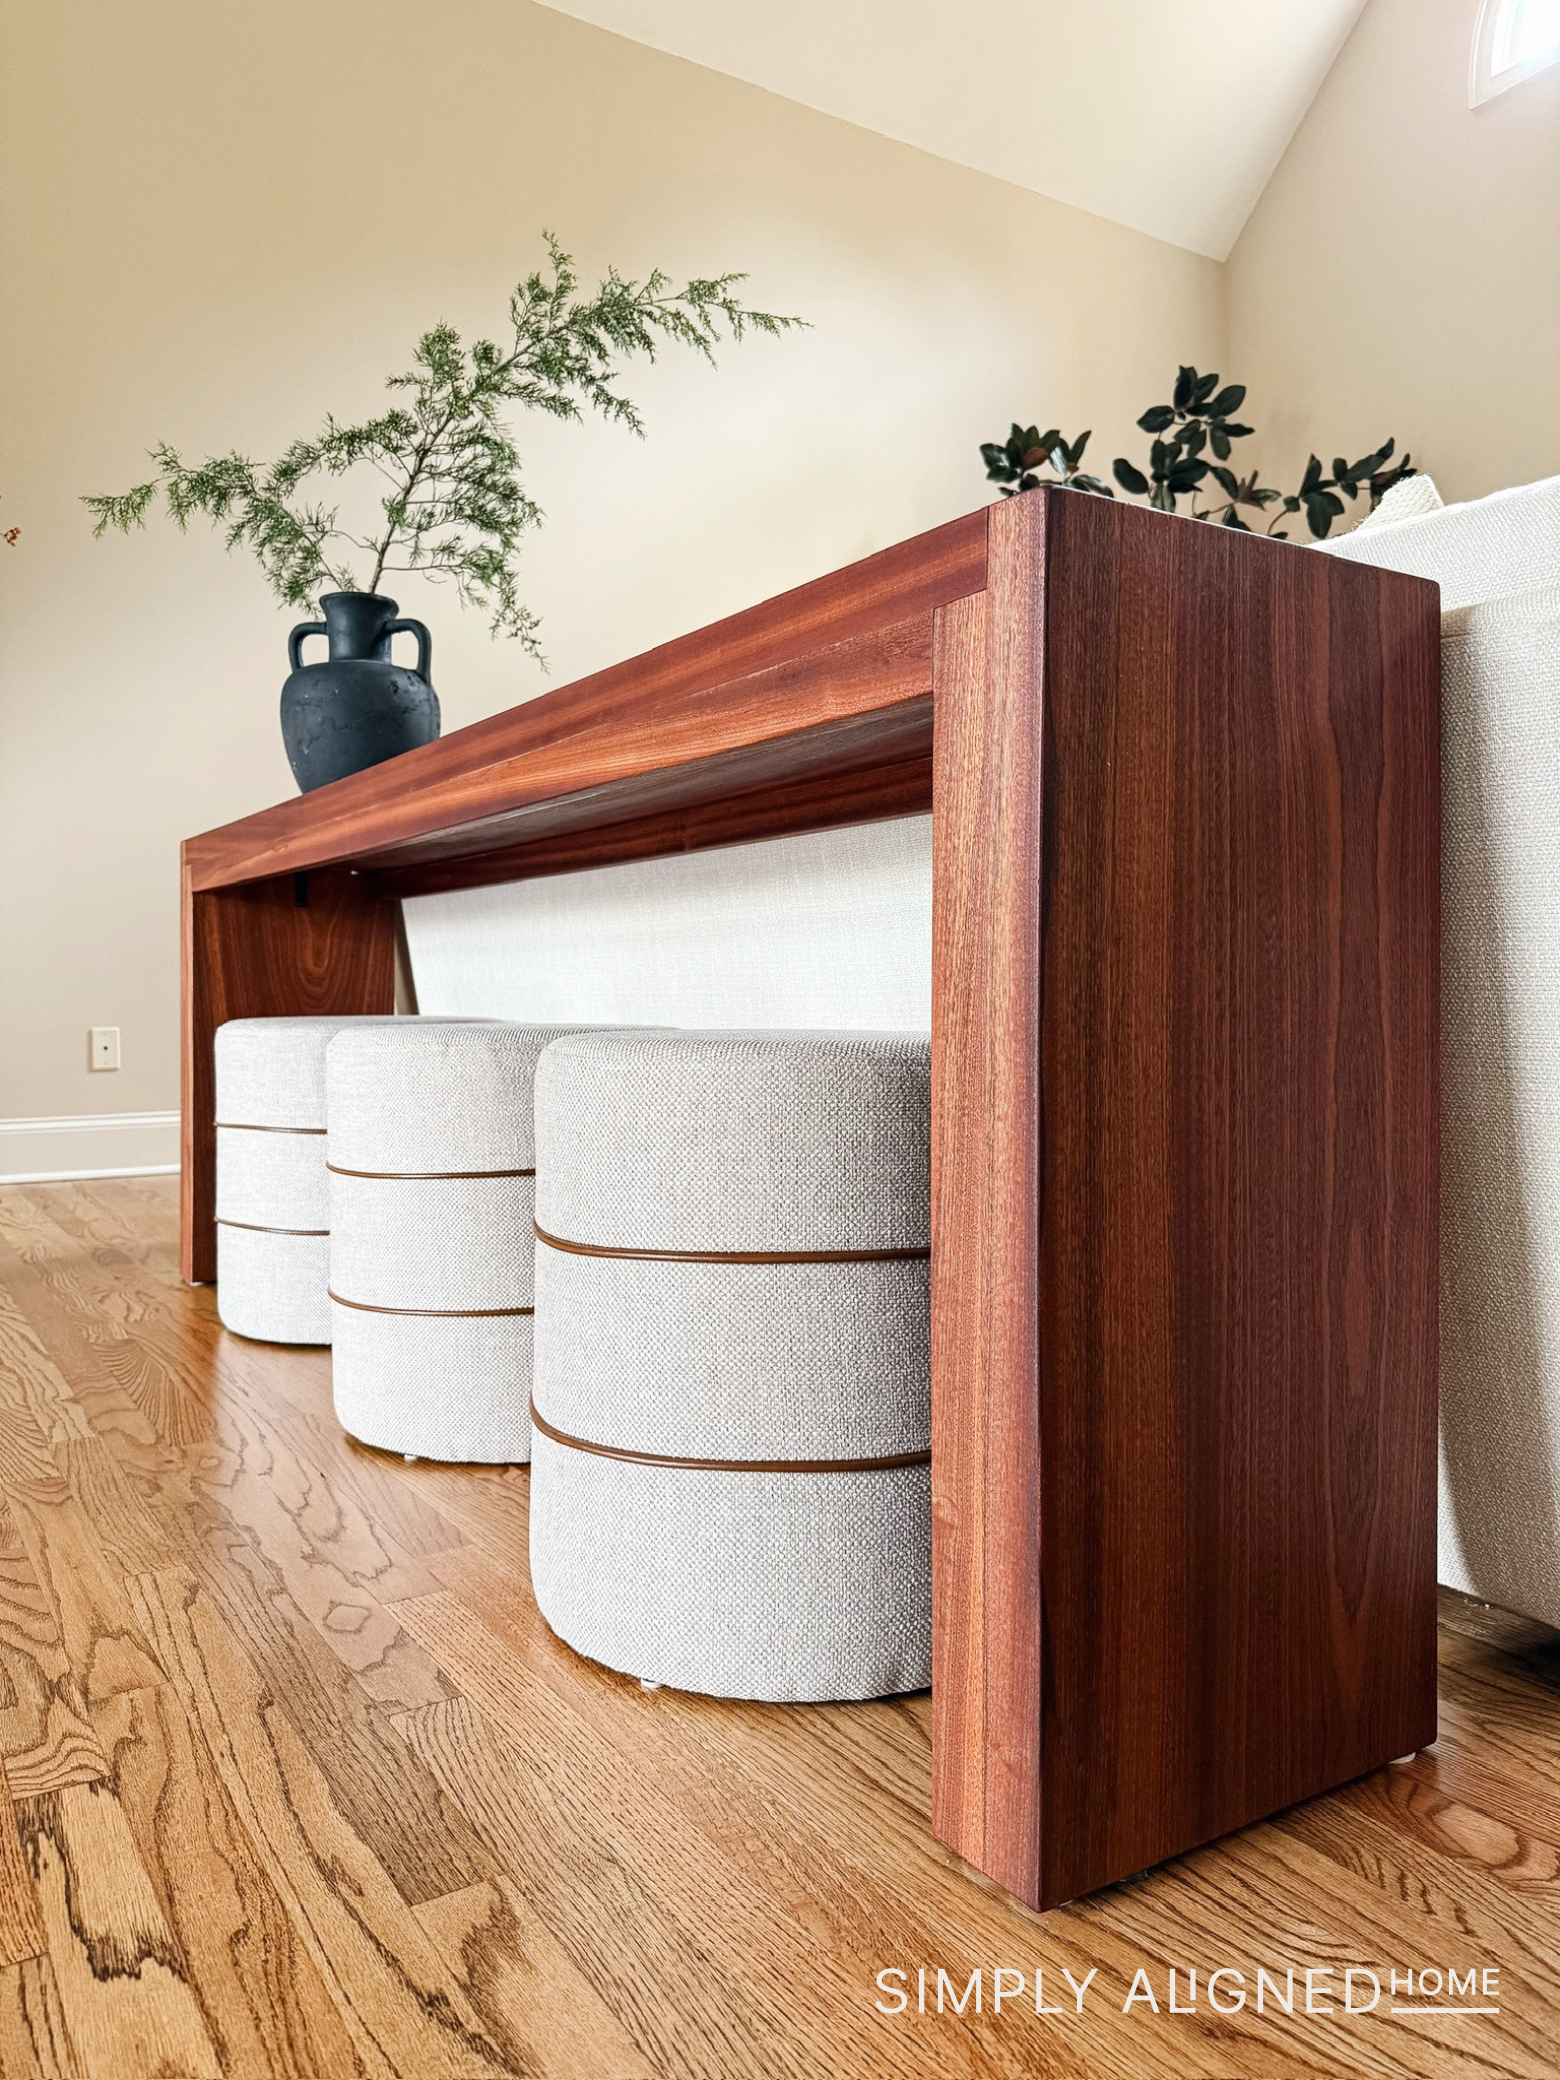
Building this table reminded me that even when Plan A doesn’t work out, Plan B can be just as good (and sometimes even better)!

**Note: I am not a professional and do not claim to be an expert. Please be sure to always read instructions for all tools and products. Safety is very important and should be your top priority. Wear necessary protection when using tools (eye wear, hearing protection, gloves, etc.) and dust masks when sanding or cutting. Simply Aligned Home is not responsible for any injury or damage. All of my designs are not professionally designed and are for private use only.**
Tools & Materials Used