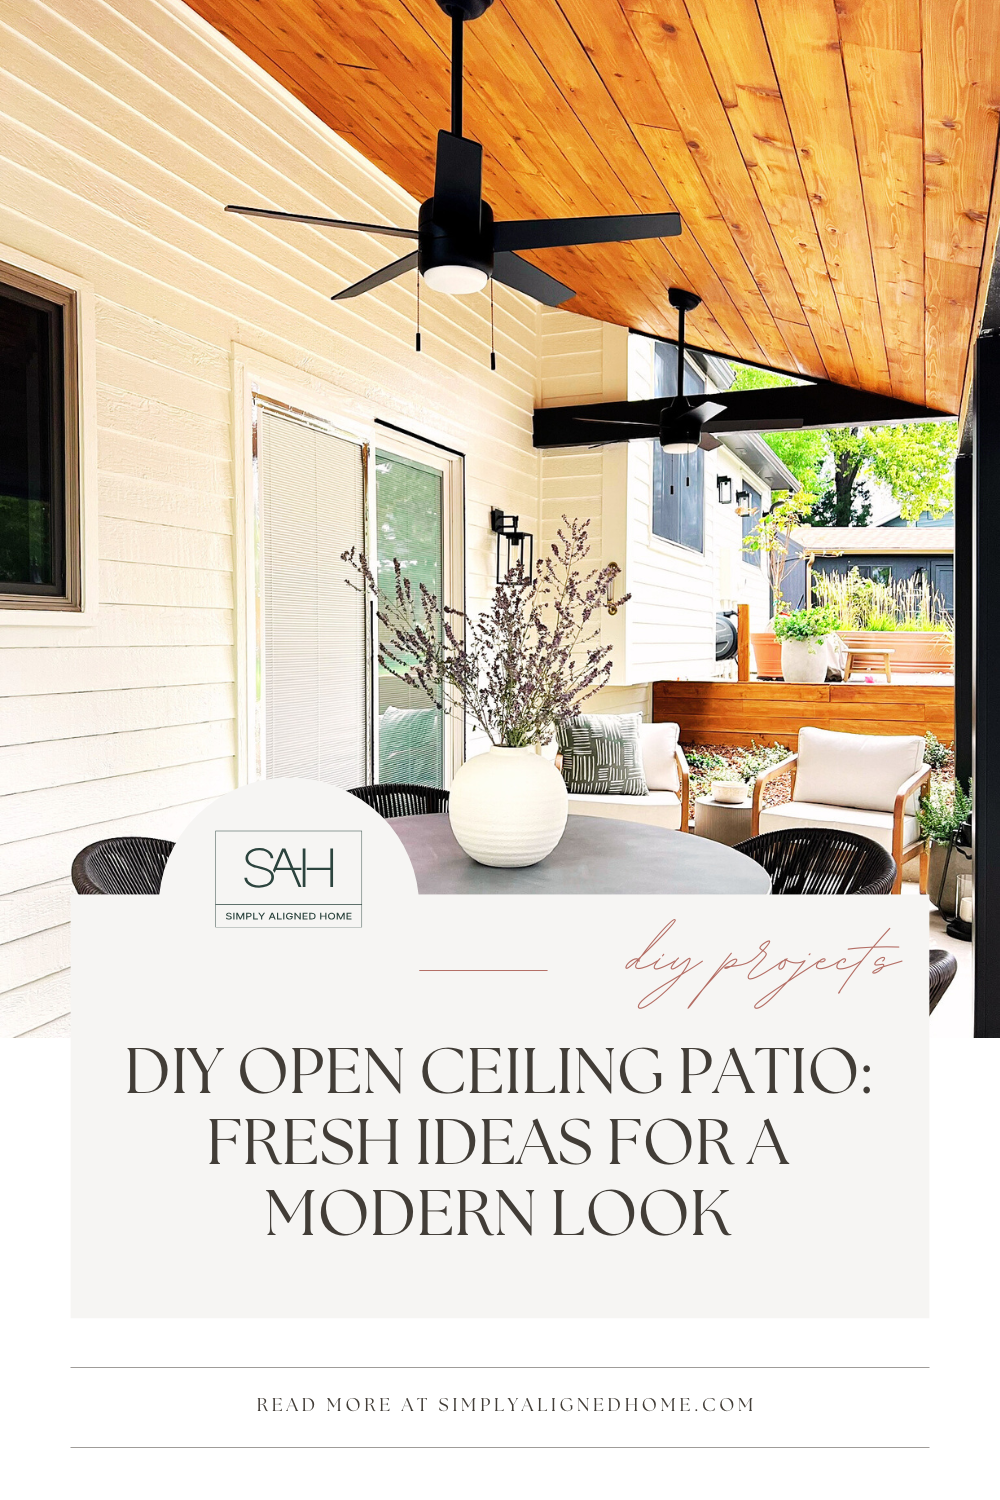
My family and I went to dinner at a friend’s house recently…and here’s the problem with that. Our homes have almost the exact same setup. We were hanging out outside and their patio had open ceilings where you could see the rafters. It felt so bright and open, where mine had dark paneling that lowered the ceiling about 4 feet. I told her I was going to test it out the next day and she probably thought I was joking. But here we are! The next day I cut a hole in the paneling to see what was up there. If it looked like what I thought it would, it was coming down and we’d have an open ceiling patio!

**This post contains affiliate links to products that I used or recommend. If you purchase something through an affiliate link, I may receive a small percentage of the sale at no extra cost to you. I really appreciate your support!**
Before
Here’s what the space looked like before I got started on my open ceiling patio. I already loved spending time out here, but once I saw my friend’s open ceiling, I couldn’t wait to completely change it up!

Demo
I did a little exploratory demo with my oscillating tool. First, I cut a small opening so I would be able to see what was up there and decide if I wanted to take the paneling down. I will say, the rafter situation didn’t look ideal, but I was invested and determined to find a way to make it work!


I hired a structural engineer and received my structural report for the ceiling. He detailed exactly what I could remove and what needed to stay. So, I removed every piece I could! I removed a number of joists with reciprocating saw by cutting them in half and removing pieces one by one. It worked pretty well and was already looking amazing!

I needed to remove the plywood from the ends but it was encased by trim, on trim, on trim on the outside! Per the structural engineer, I had to remove the end paneling to allow air to flow through the covering. I removed the top trim first to make it easier to remove the siding to then remove the plywood. After everything was removed, I cut the plywood and it popped right off!

Rafter Installation
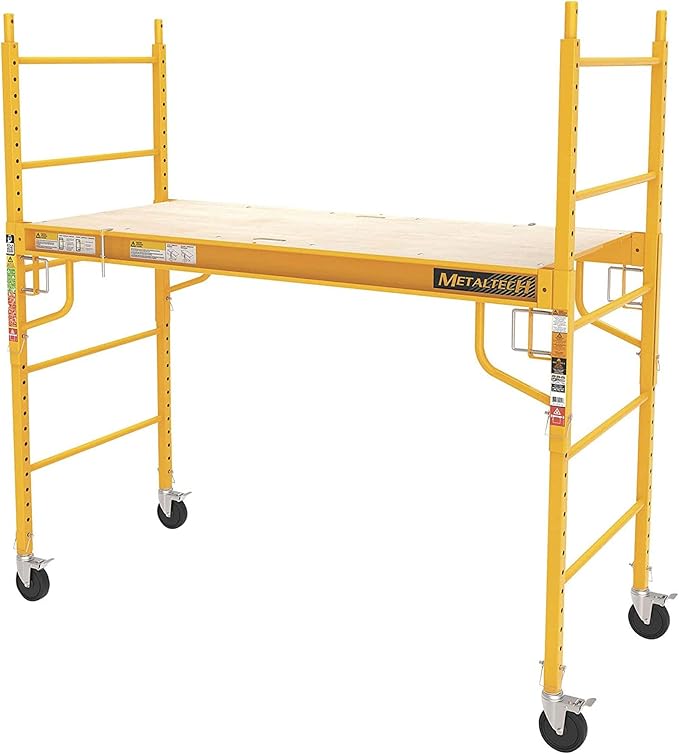
I was using a ladder for most of this open ceiling patio project, but then I decided to use my scaffolding. It’s actually so easy to assemble and store. I find it comes in handy so often for these projects when I have tons of work to do overhead!
I used cedar tongue and groove for the ceiling out here. After putting the pieces up and getting them in place with a rubber mallet, I used my brad nailer to secure them to the ceiling vaults.


New Siding
When I removed the ceiling, there was no siding on the wall and I needed siding installed before I could finish the ceiling. I called a few siding repair companies thinking they could easily come out and do this for me! Well, they said “no”. Apparently this was too small of a project so I needed to call a handy man. Who is a better handy man than me?! So I did my research and installed this myself!
Overall, it wasn’t bad! I used screws to hold the boards in the correct place while I nailed them in. I only hit my fingers with the hammer a few times…but I did get my thumb pretty good. It’s ridiculous how bad I am with a hammer. 🤣

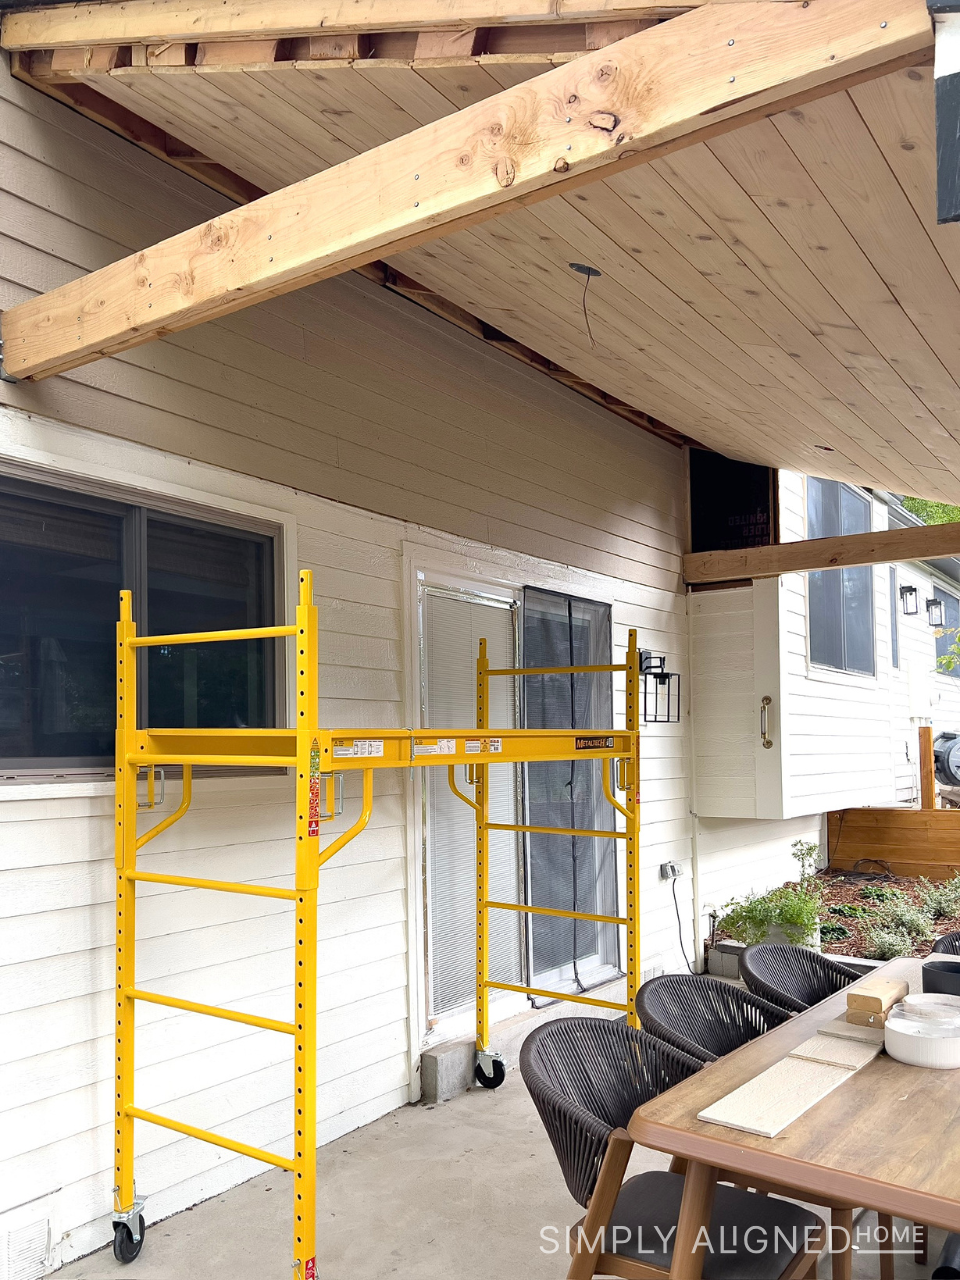
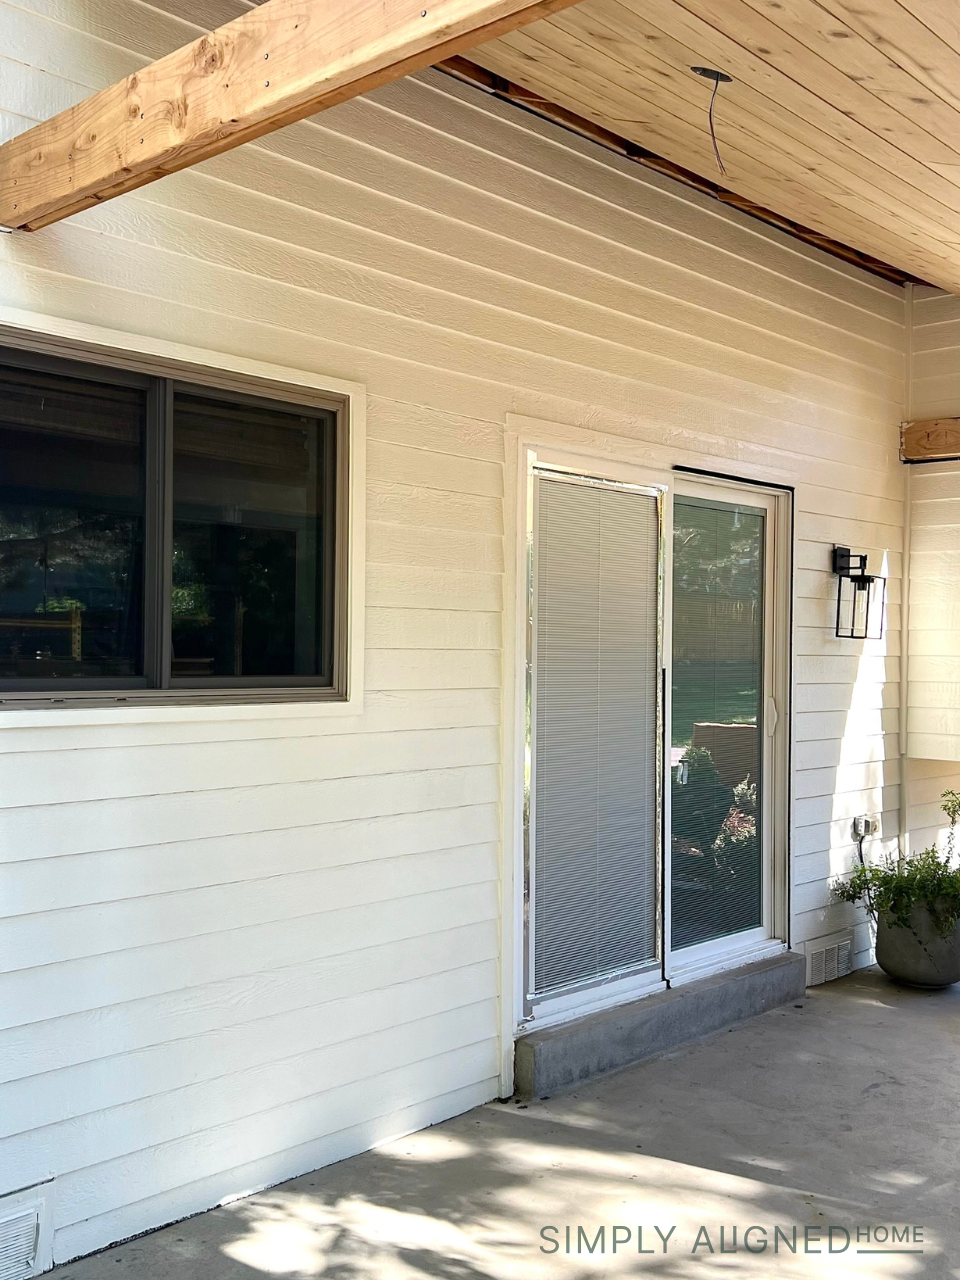
I’m kind of glad I didn’t end up hiring someone to come do this because it was a fairly simple task and now I know how to do it! After the installation, I caulked the seams and painted it white like the rest of my siding.
Stain
I decided to stain the ceiling the same color as the little retaining wall right behind it. The color is Honey Teak by Cabot. It would have been easier to stain the boards before installing them. But, it actually wasn’t too bad staining them with this stain pad!


This tool gives a really nice finish and it was so easy to use! I used a rag to smooth out the parts where the stain overlapped.
Important Note
This is so important! Remember, if you use rags with oil based stains, lay them flat to dry. They can spontaneously combust while they dry and can start a fire.
New Fan Installation
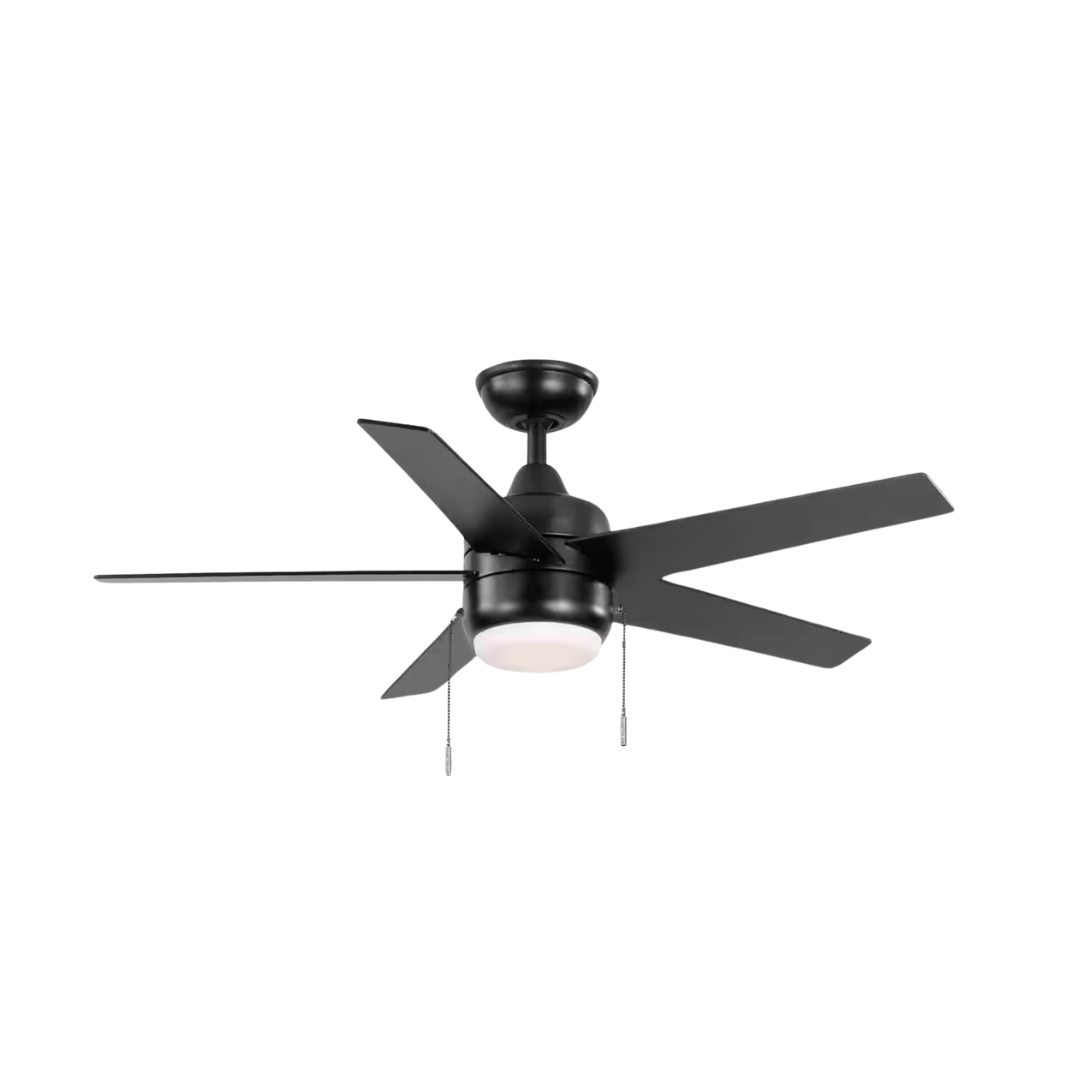
Once the ceiling was done, I installed two ceiling fans. I love how this black fan looks against the stained wood!

Brackets for Support
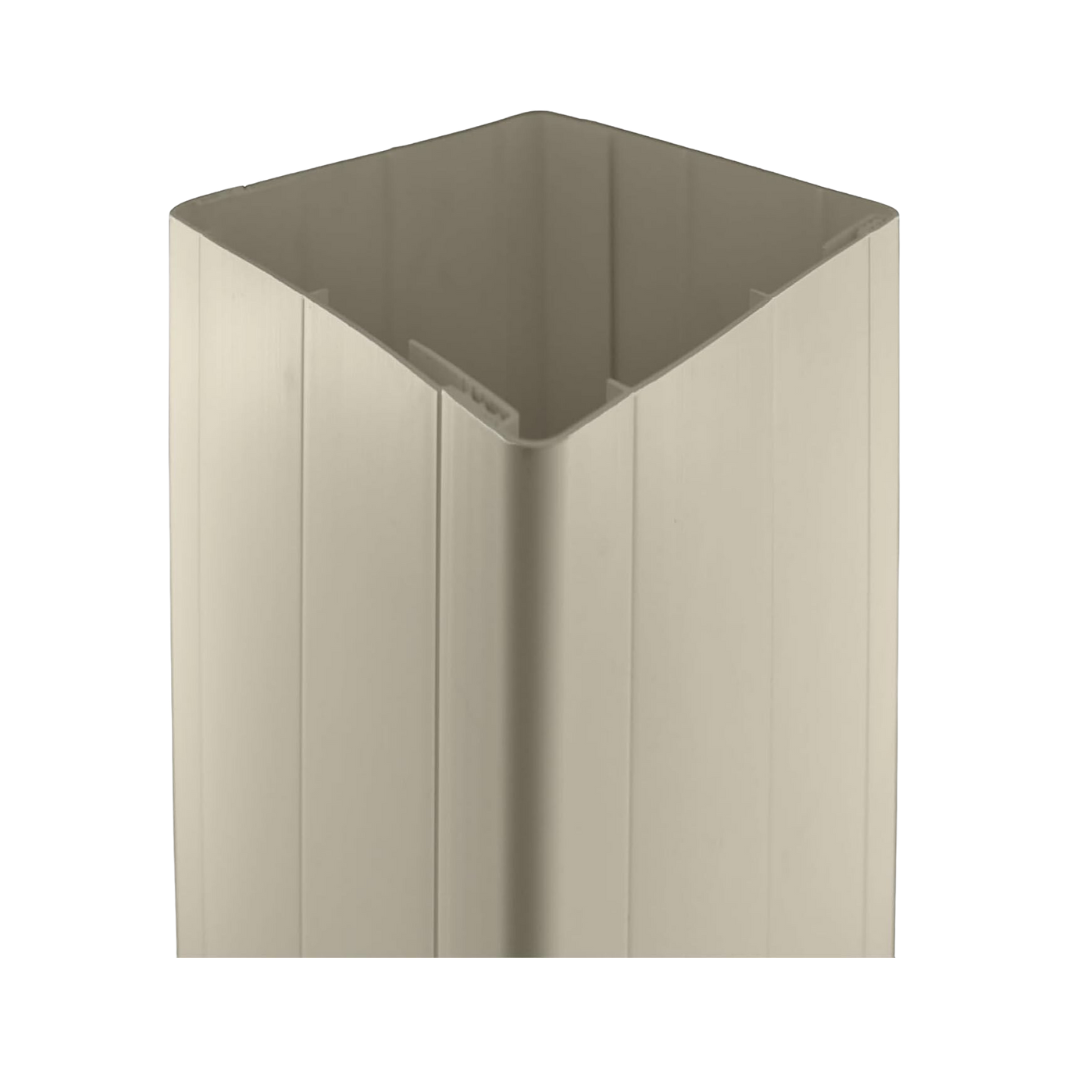
I had to add brackets to the top of the posts per the structural engineer. Instead of using wood to wrap the posts and cover the hardware, I decided to try these vinyl wraps. I cut them with my hand saw and they just clicked together. So easy!
These actually aren’t meant to be painted but I couldn’t find any black wraps. I decided to try painting them. I’ll keep you posted on how they hold up! I lightly sanded them with my orbital sander to scuff up the surface. Then I applied two coats of primer, then used a black exterior trim paint. I also painted the one remaining vault as well.

Reveal
I absolutely love how bright and open it feels out here now! This open ceiling patio is everything I dreamed of and more. From morning coffees to family dinners, this new patio area will help create lasting memories with friends and family!
If you know me, you know how much I love spending time outside with my family and close friends. I love finding patio decor to make the space feel cozy and inviting. I have a whole blog post on ways to make your outdoor space cozier. Check it out here!


**Note: I am not a professional and do not claim to be an expert. Please be sure to always read instructions for all tools and products. Safety is very important and should be your top priority. Wear necessary protection when using tools (eye wear, hearing protection, gloves, etc.) and dust masks when sanding or cutting. Simply Aligned Home is not responsible for any injury or damage. All of my designs are not professionally designed and are for private use only.**
Decor

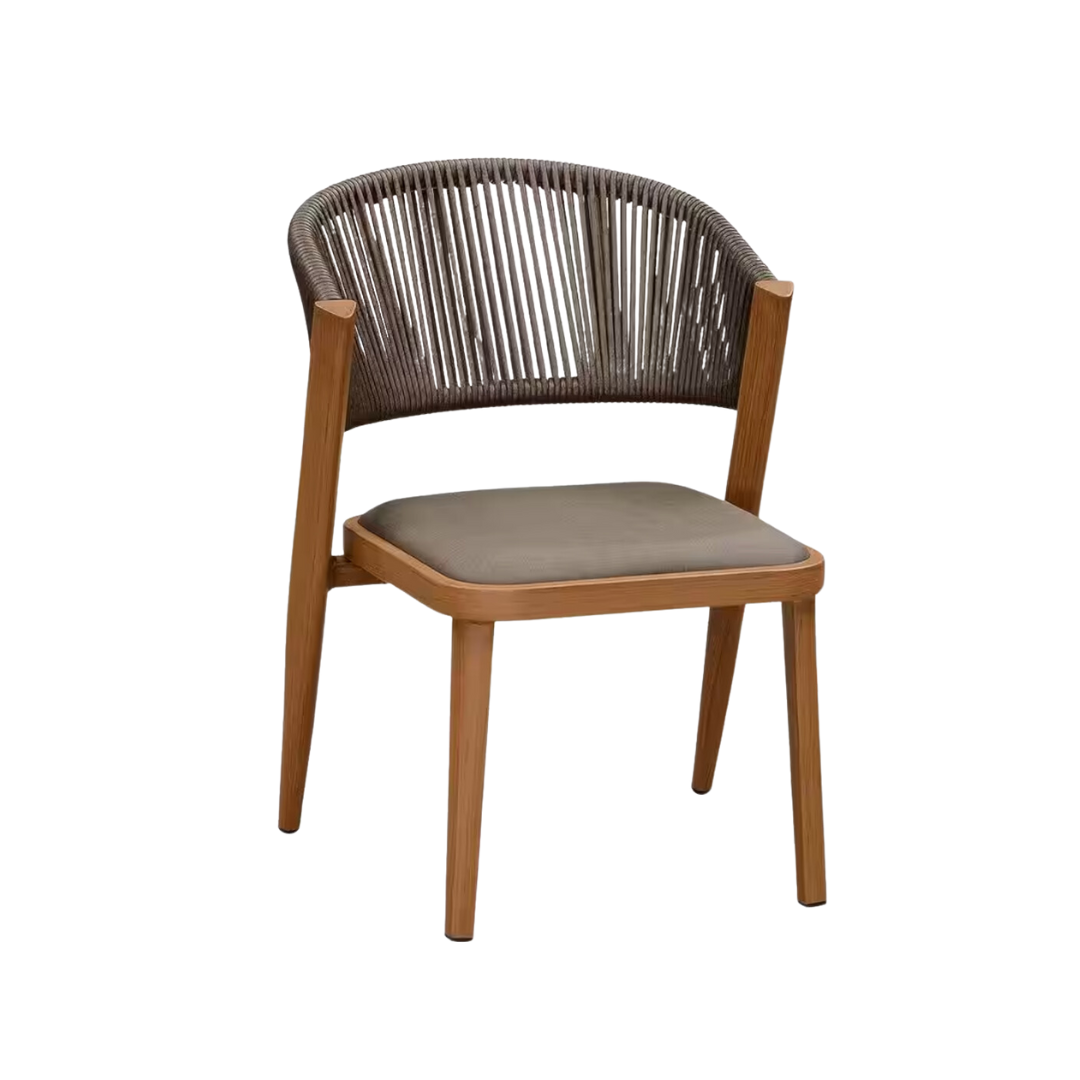
Materials Used
Tools Used
- Oscillating Tool
- Trim Removal Tool
- Hammer
- Scaffolding
- Brad Nailer
- Miter Saw
- Rubber Mallet
- Drop Cloth
- Stain Pad
- Hand Saw
- Orbital Sander
