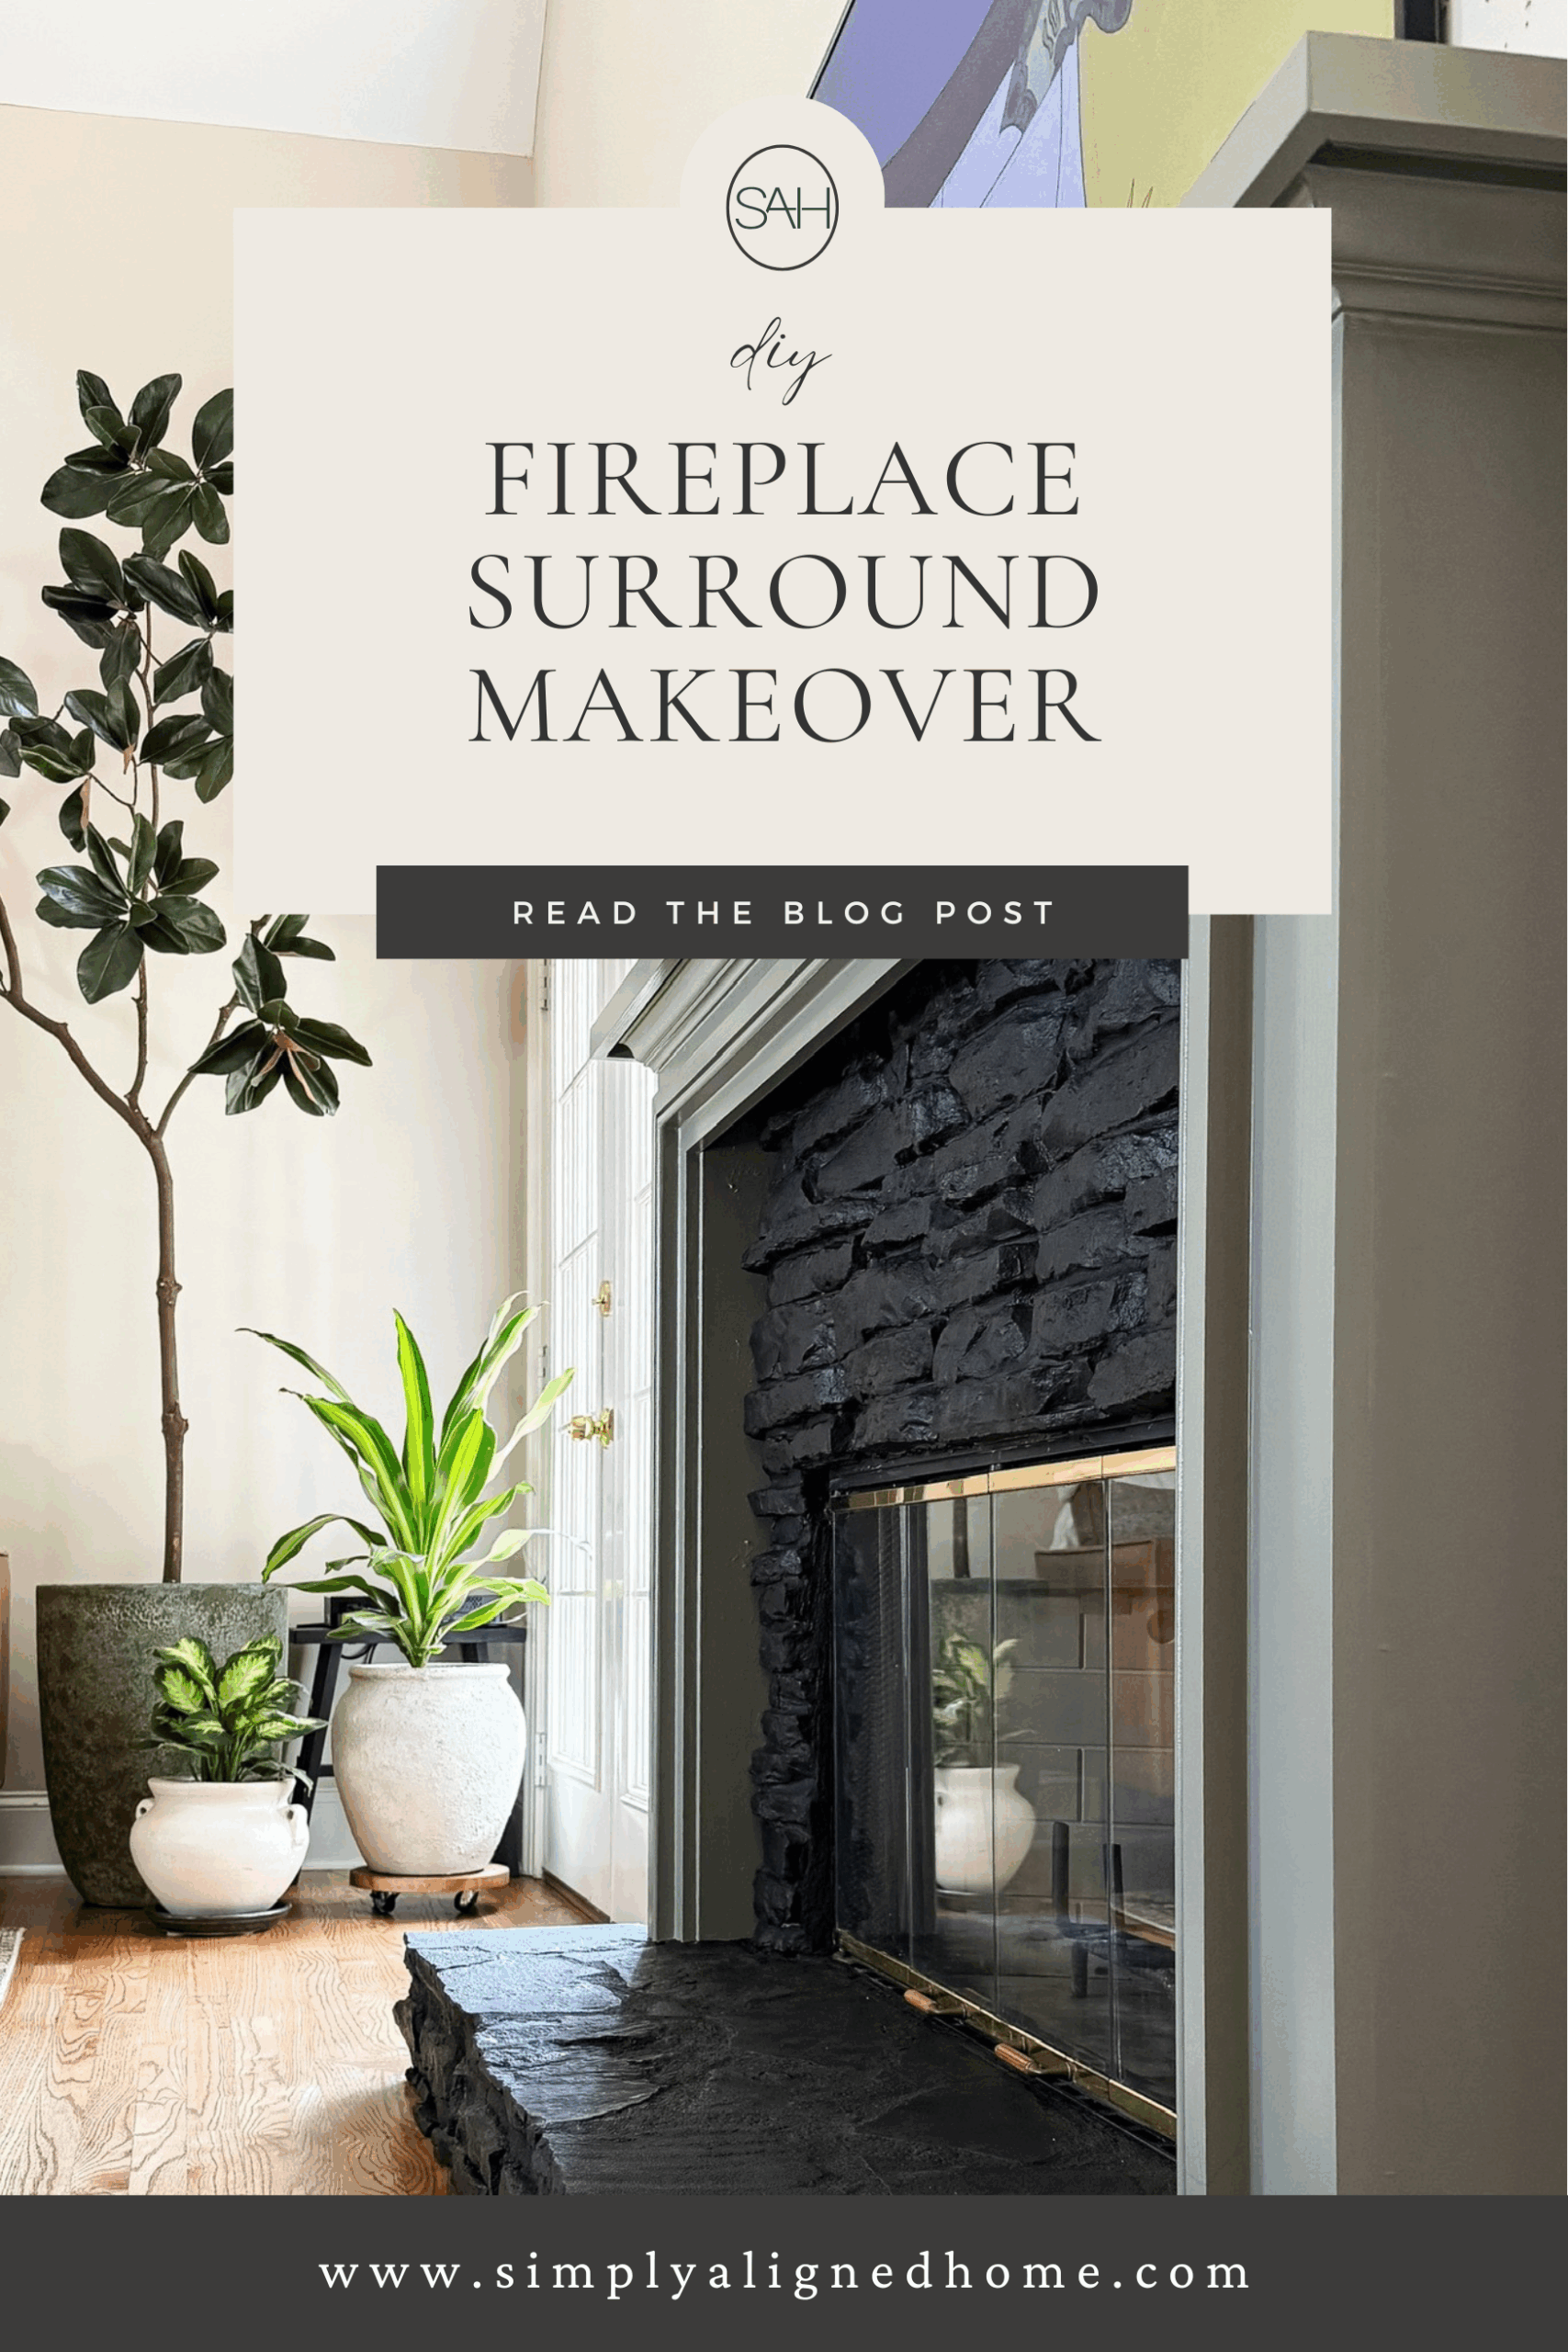
When we moved into our new home, one of the first things I took my tools to was the fireplace surround. I wanted to hang a television above the fireplace, but the mantel was awkwardly tall. I demo’d it a few weeks ago and lived with the empty space for a little while – time to give it a new look!
**This post contains affiliate links to products that I used or recommend. If you purchase something through an affiliate link, I may receive a small percentage of the sale at no extra cost to you. I really appreciate your support!**
Step 1: Prepping the Fireplace
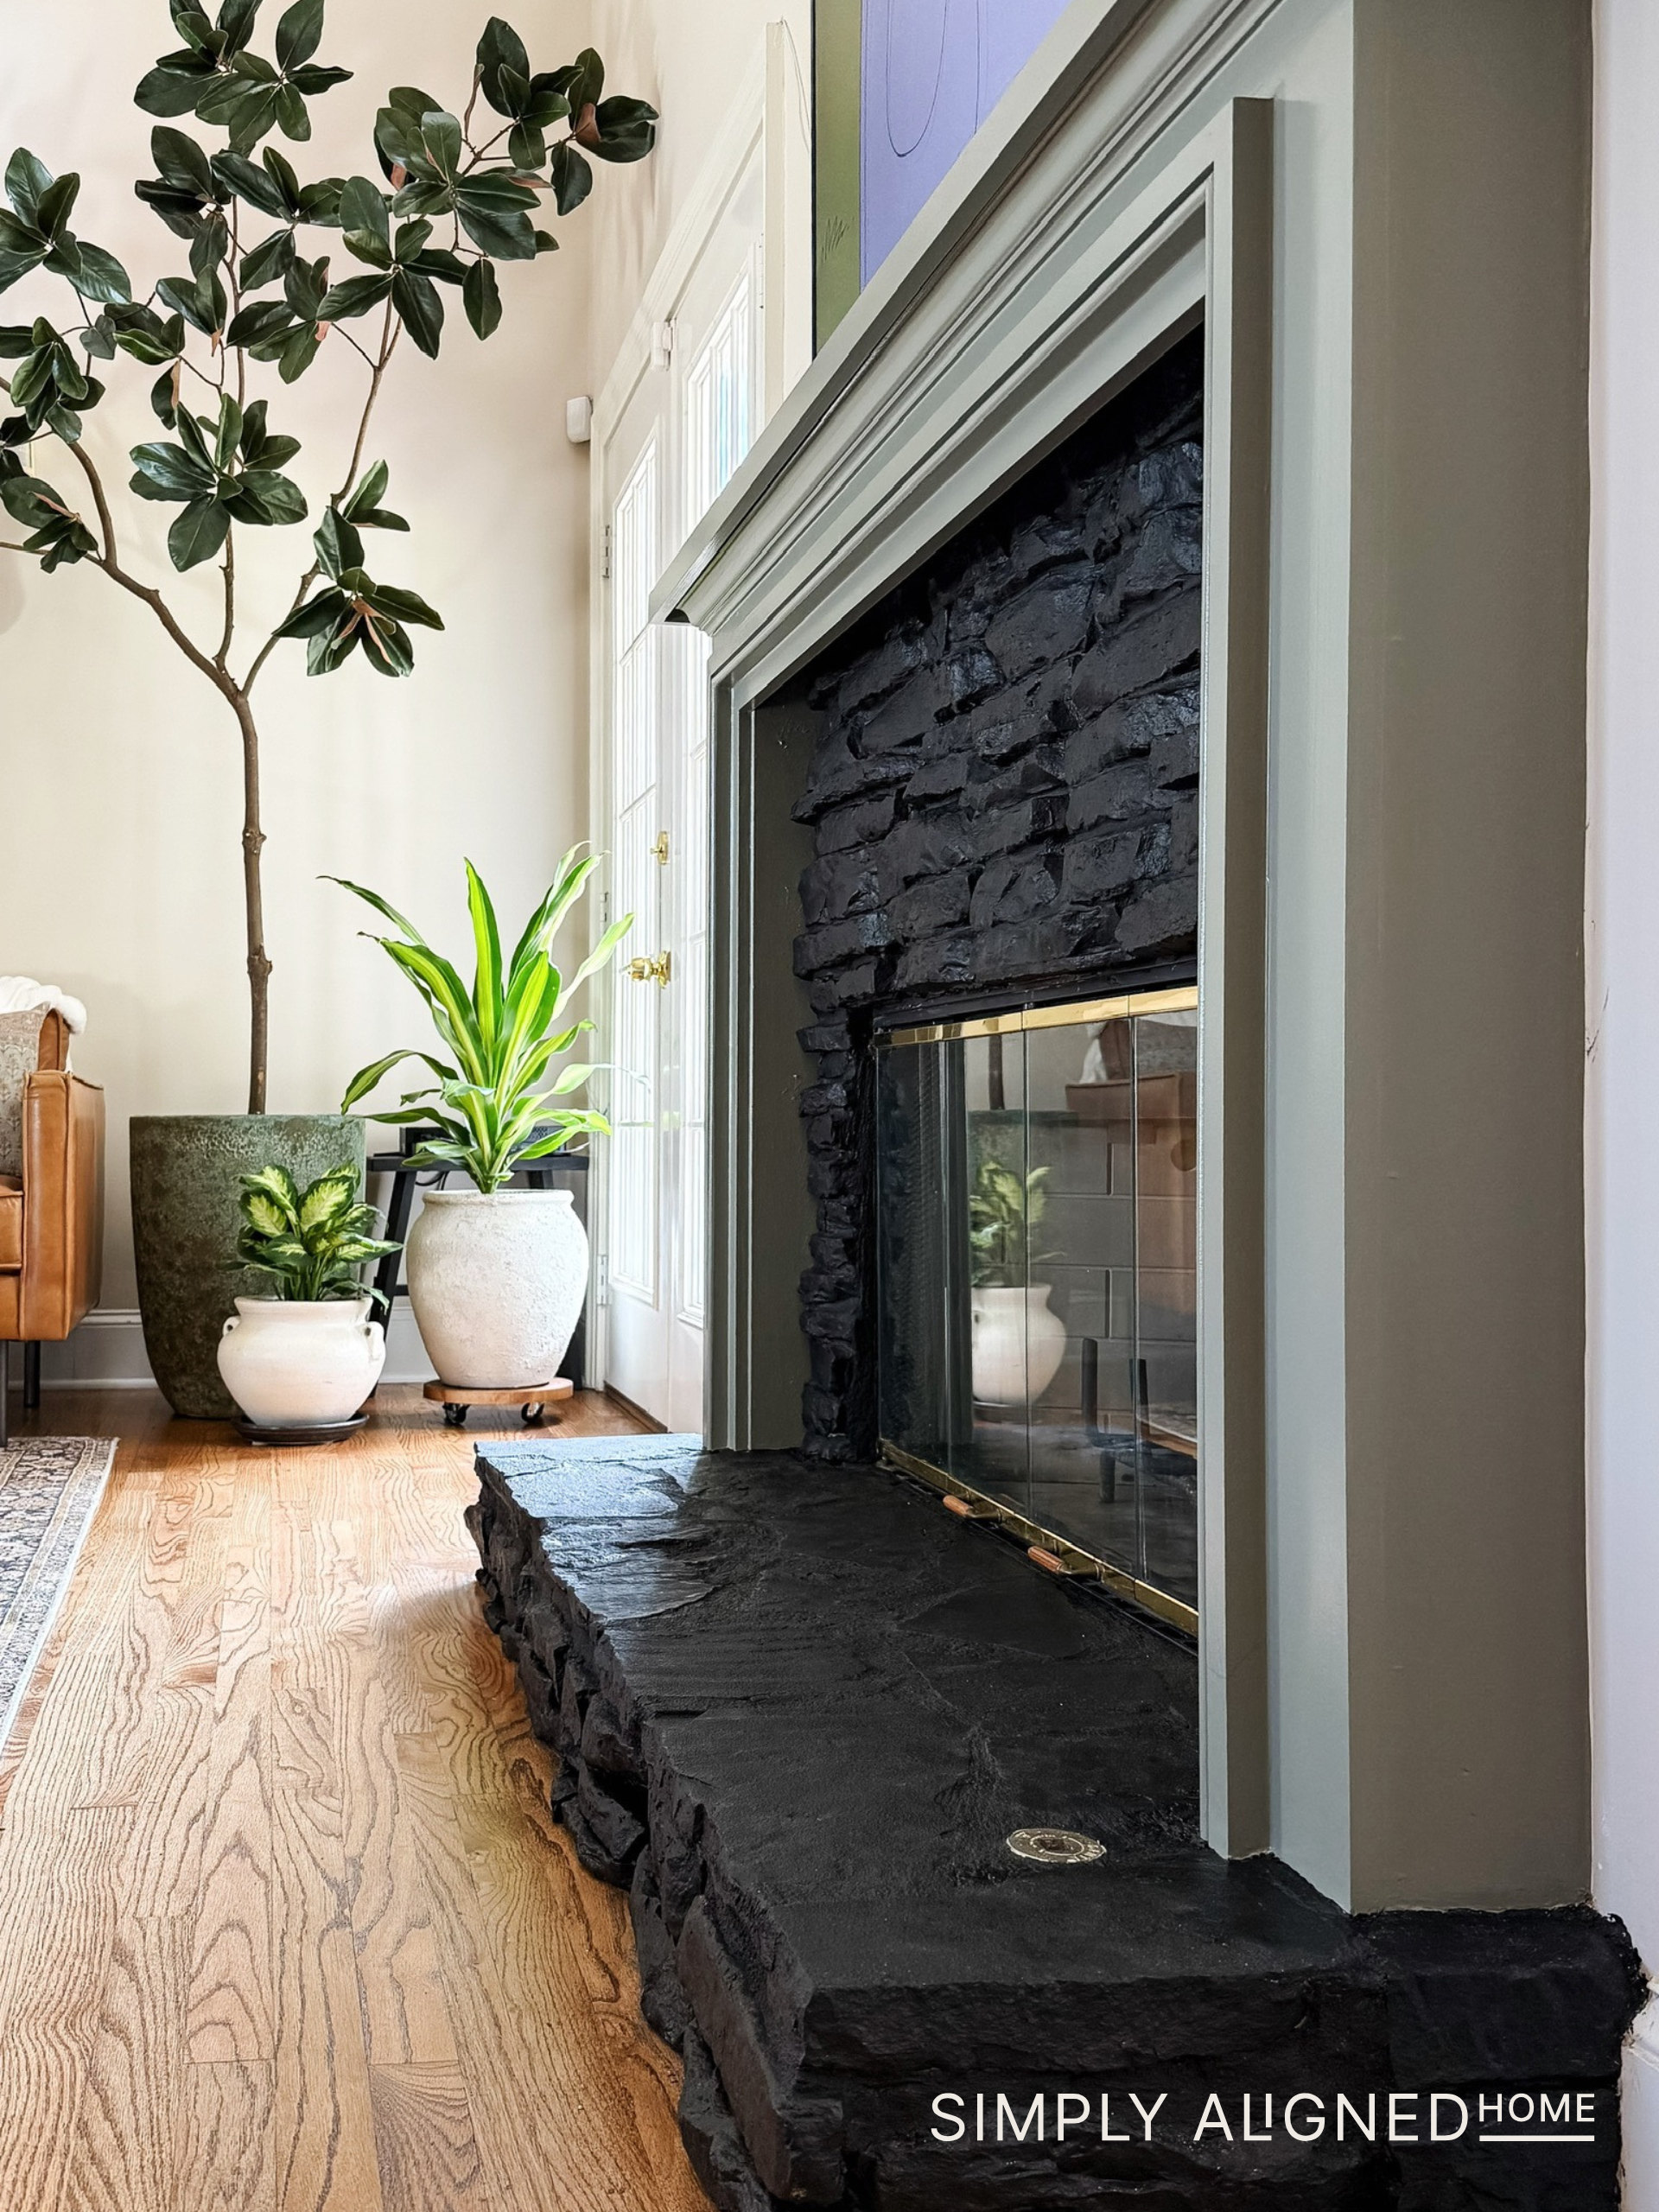
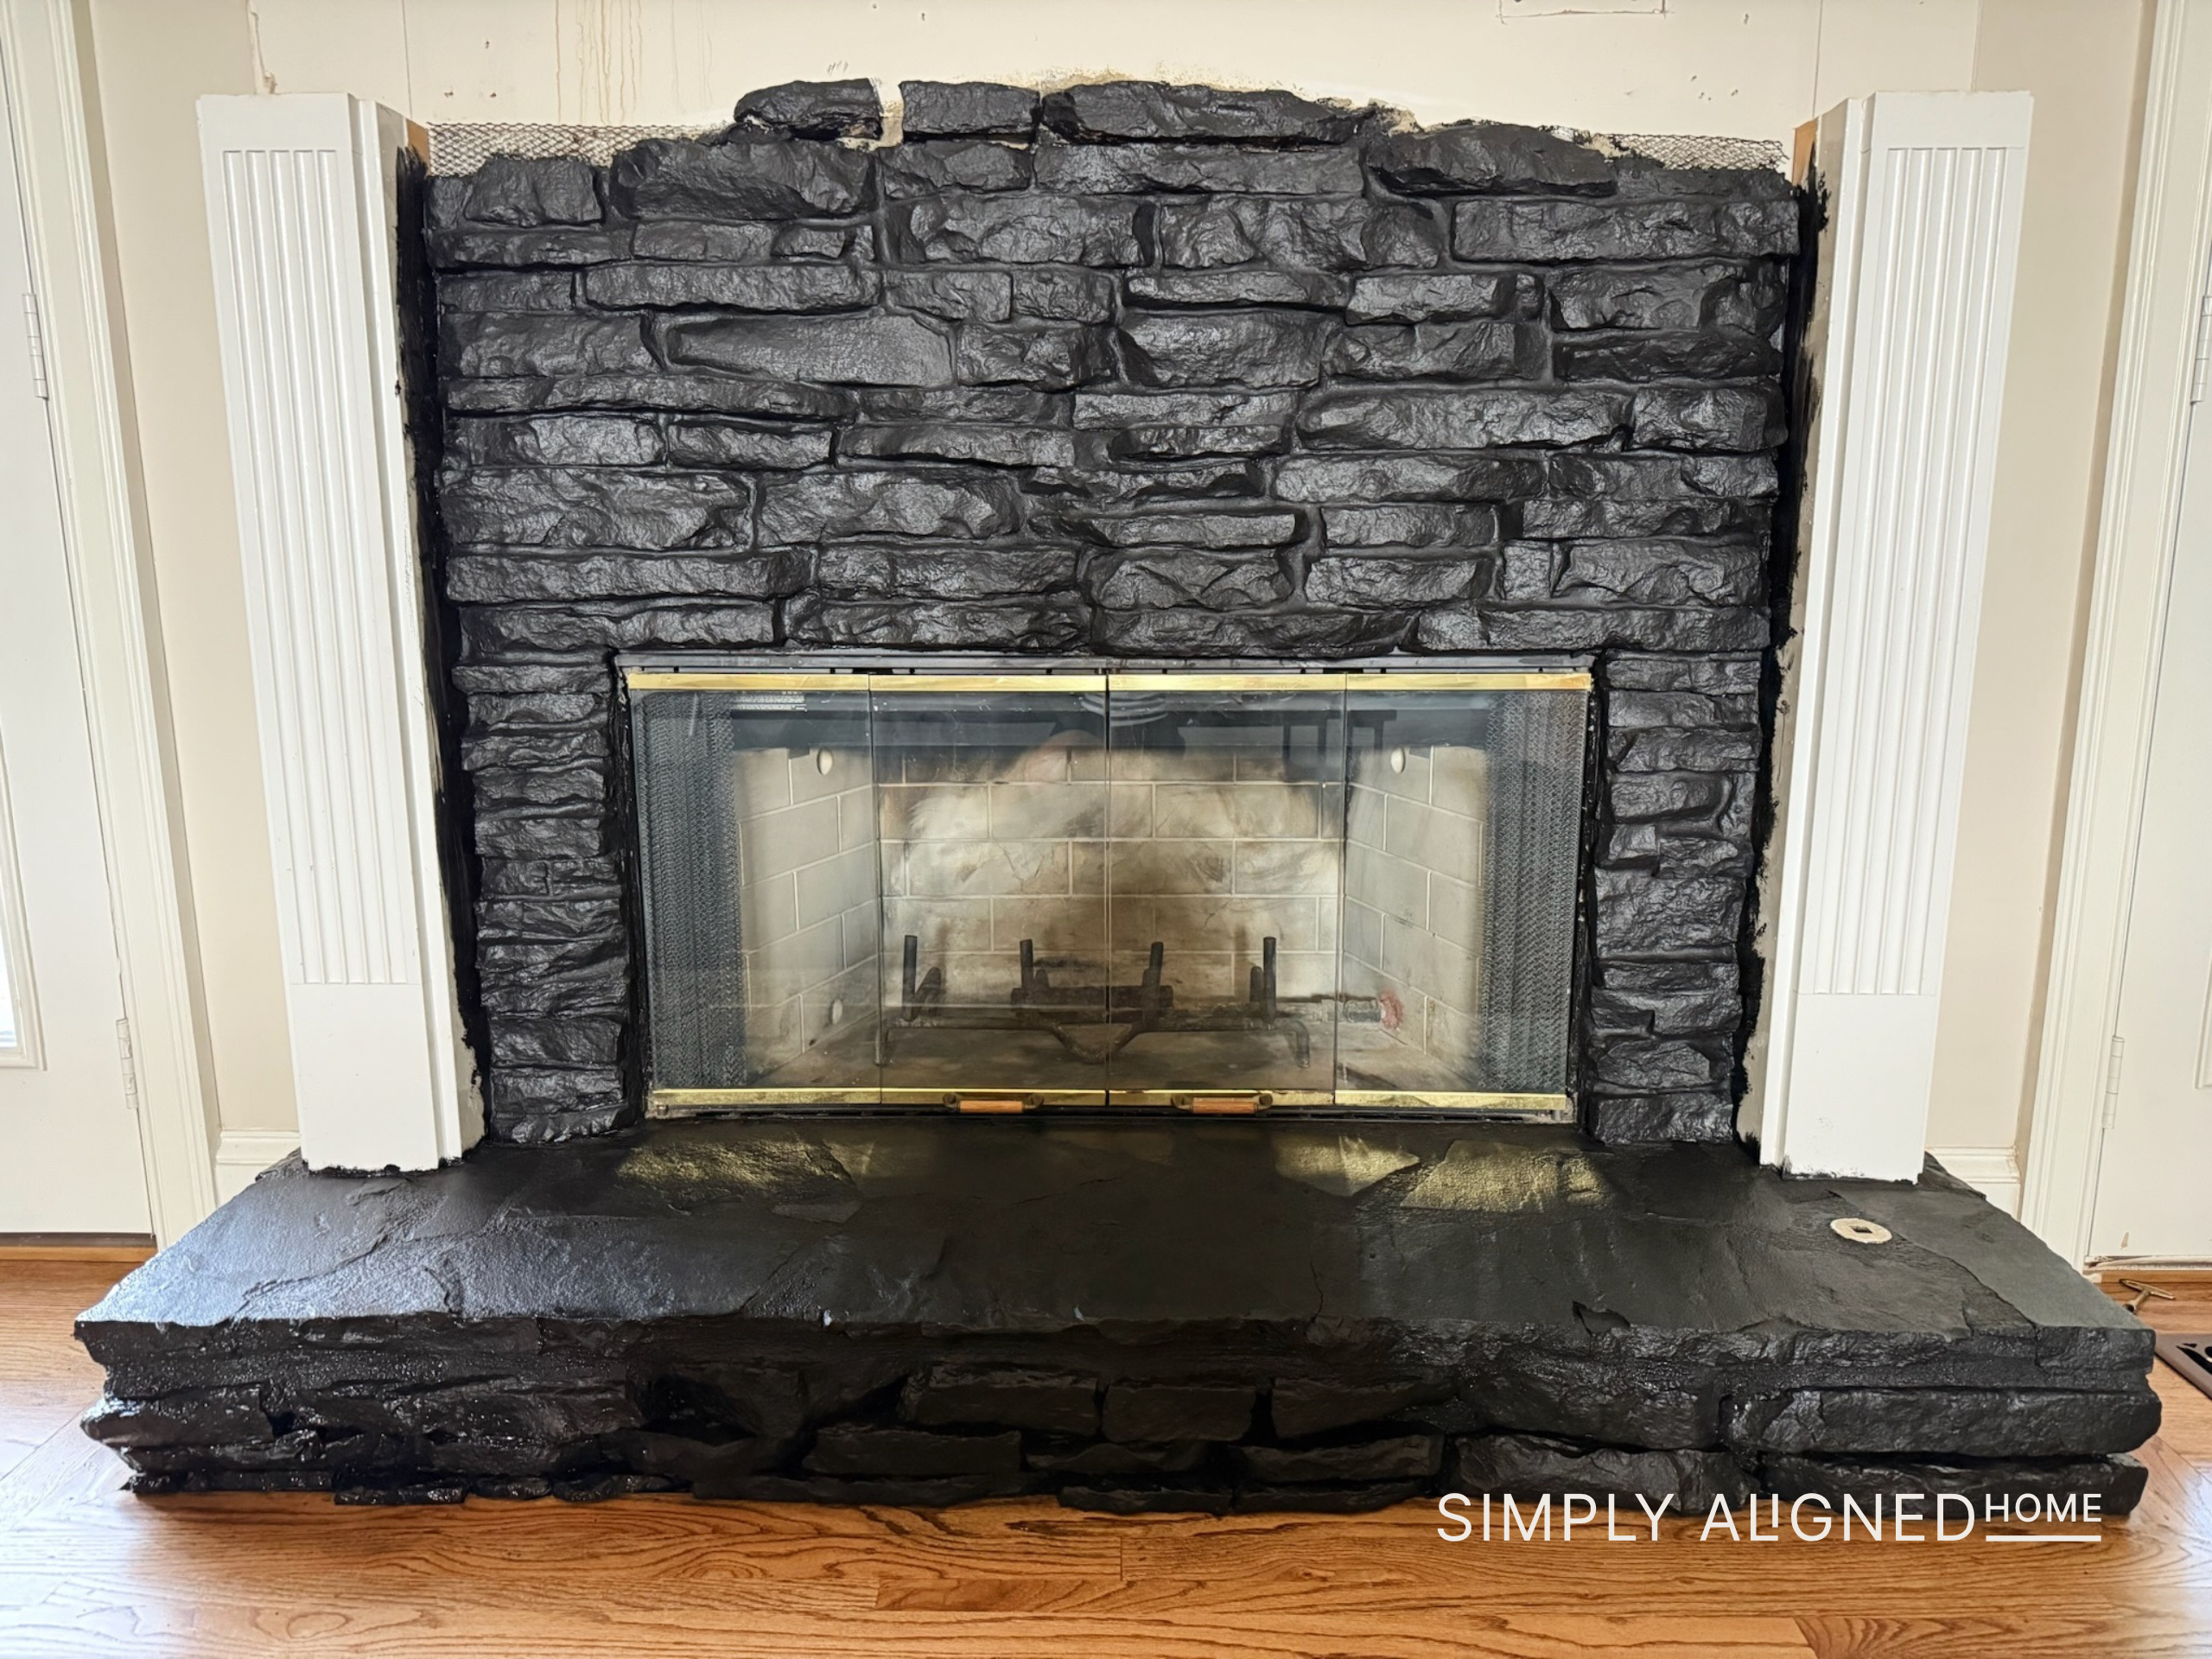
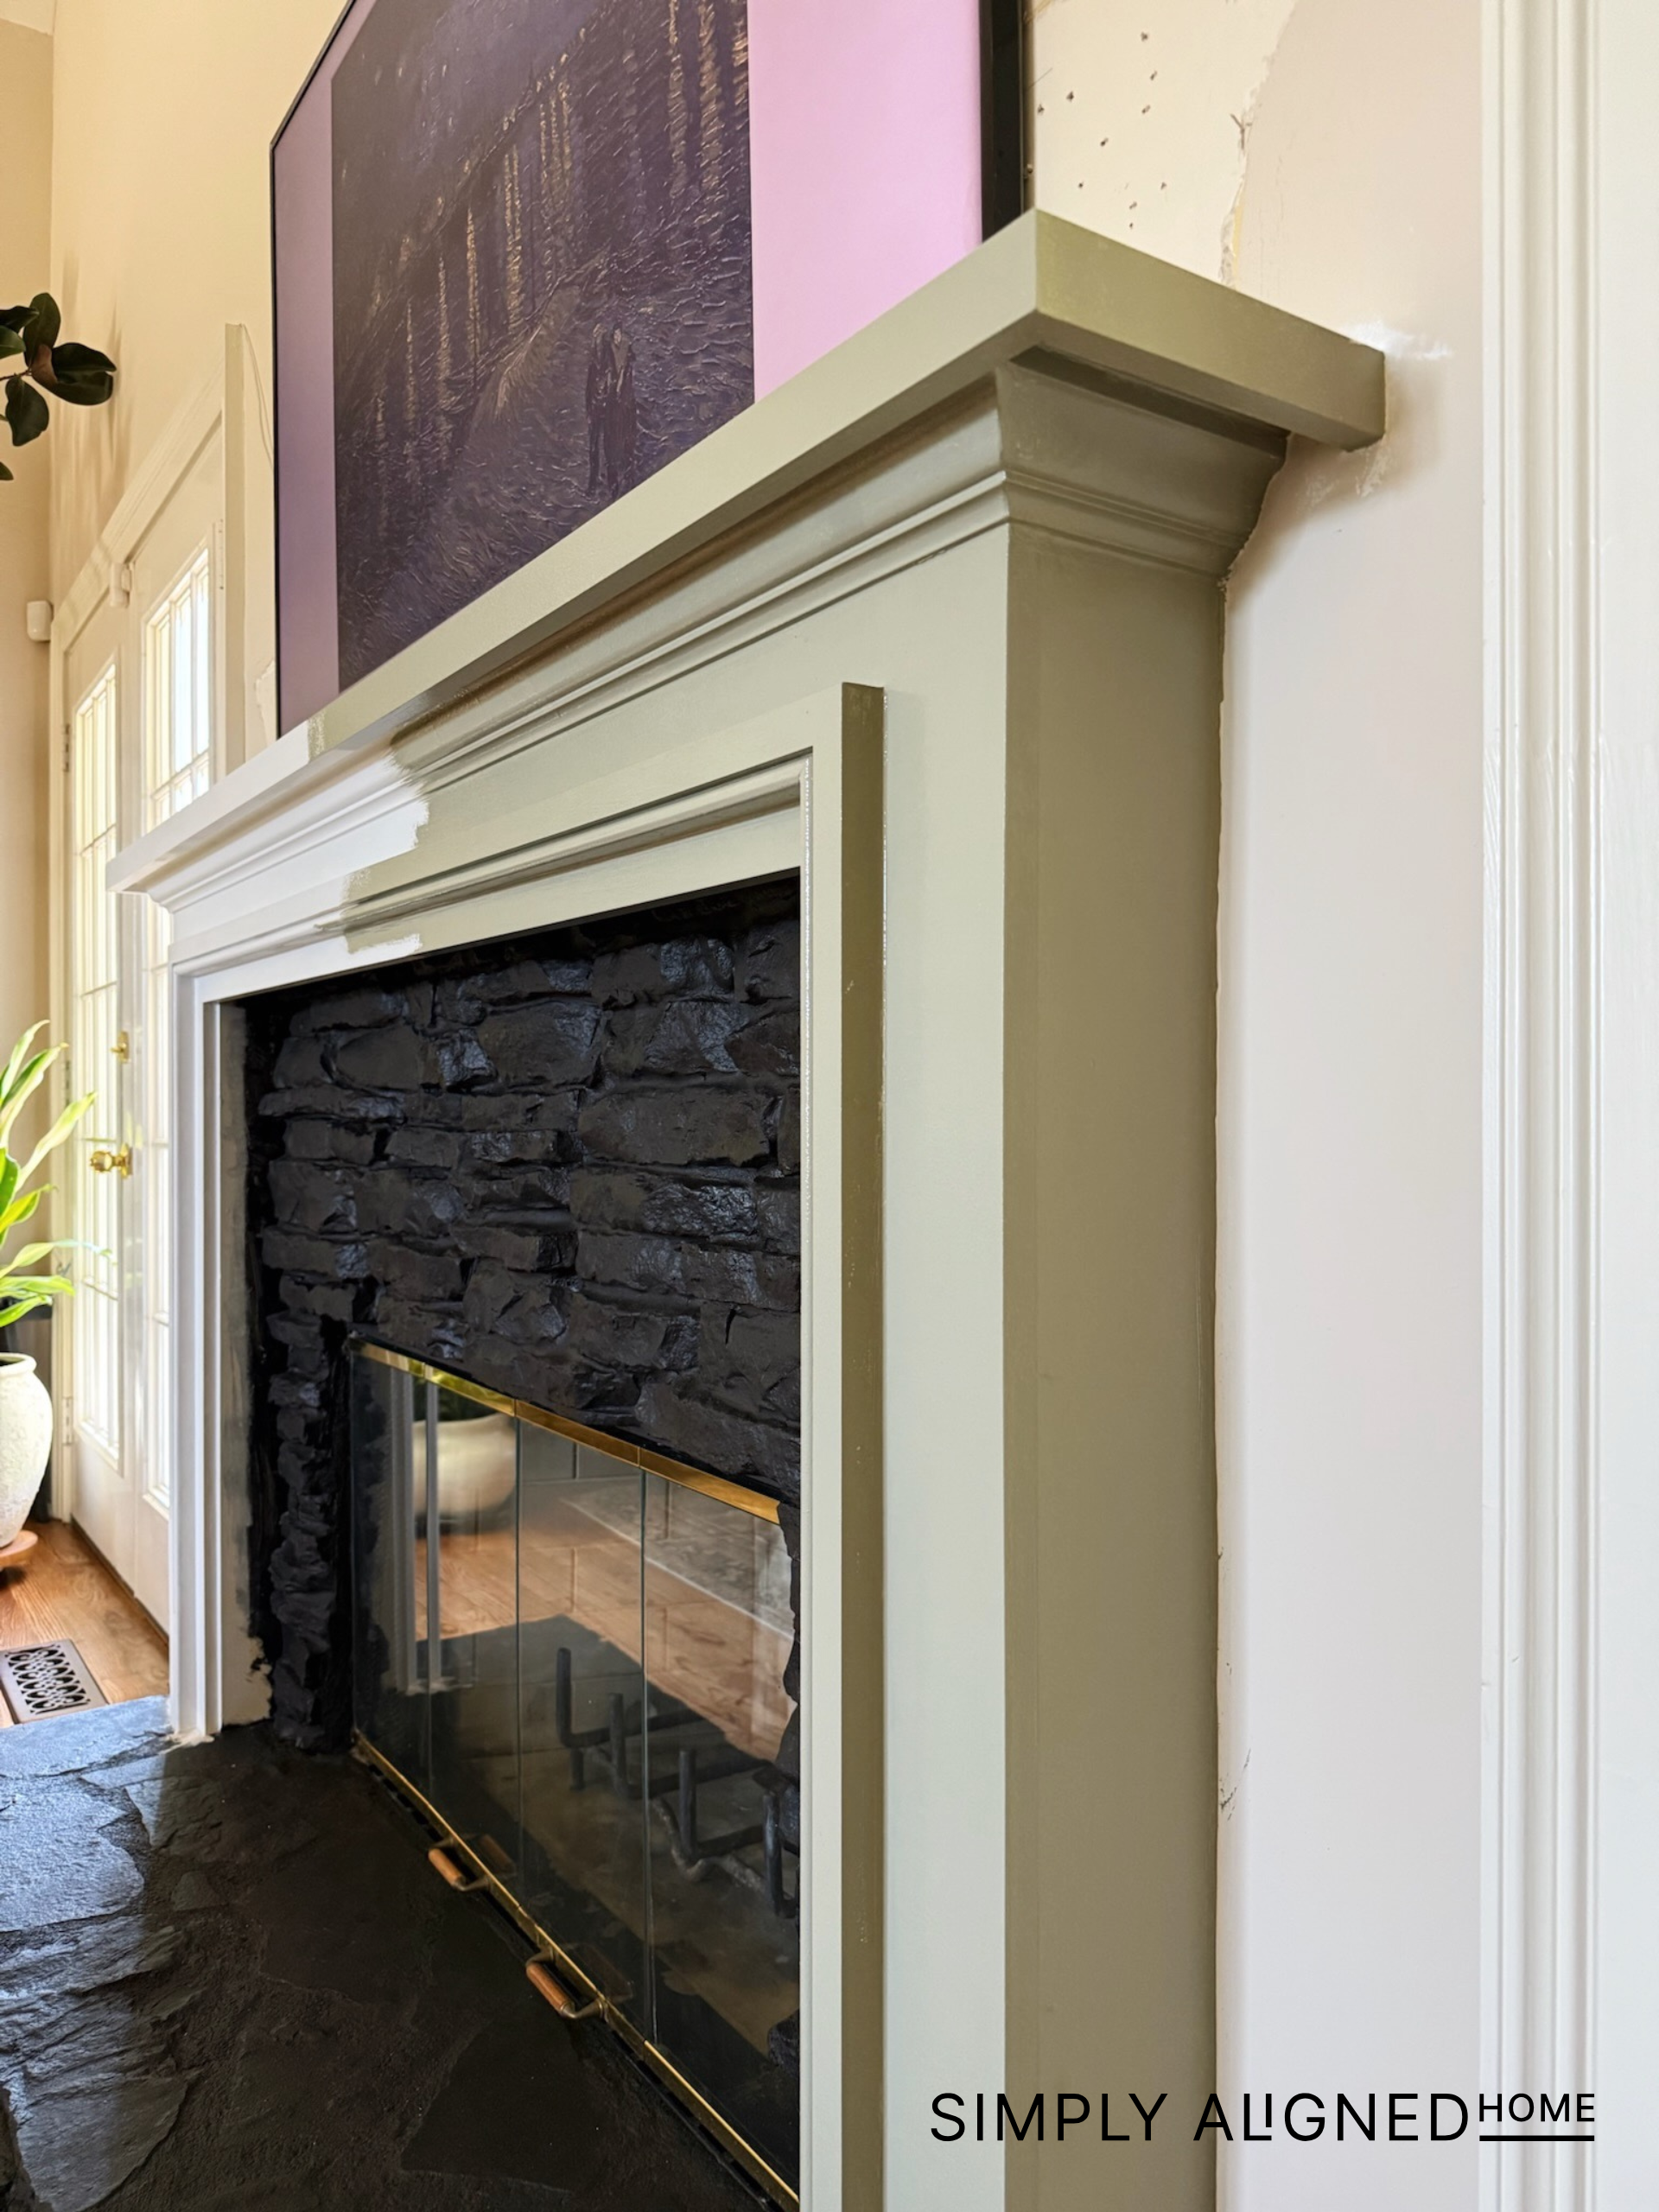
I started this project by removing the original mantel. It was much too high for my liking and threw off the proportions of the space. Along the top of the mantel, there were some arched faux stones that had to be removed. After pulling those out, I decided to paint the remaining stone. It might not be everyone’s taste, but I actually love the way it turned out. It fits my style perfectly!
Step 2: Framing and Mantel Base
Once the stone was prepped, I moved on to the framing. I kept the original vertical pieces from the old fireplace surround, which gave me a good starting point. I installed a new 2×4 across the top, making sure it was level, and secured it directly into the wall studs with construction screws. This created the base for the mantel top.
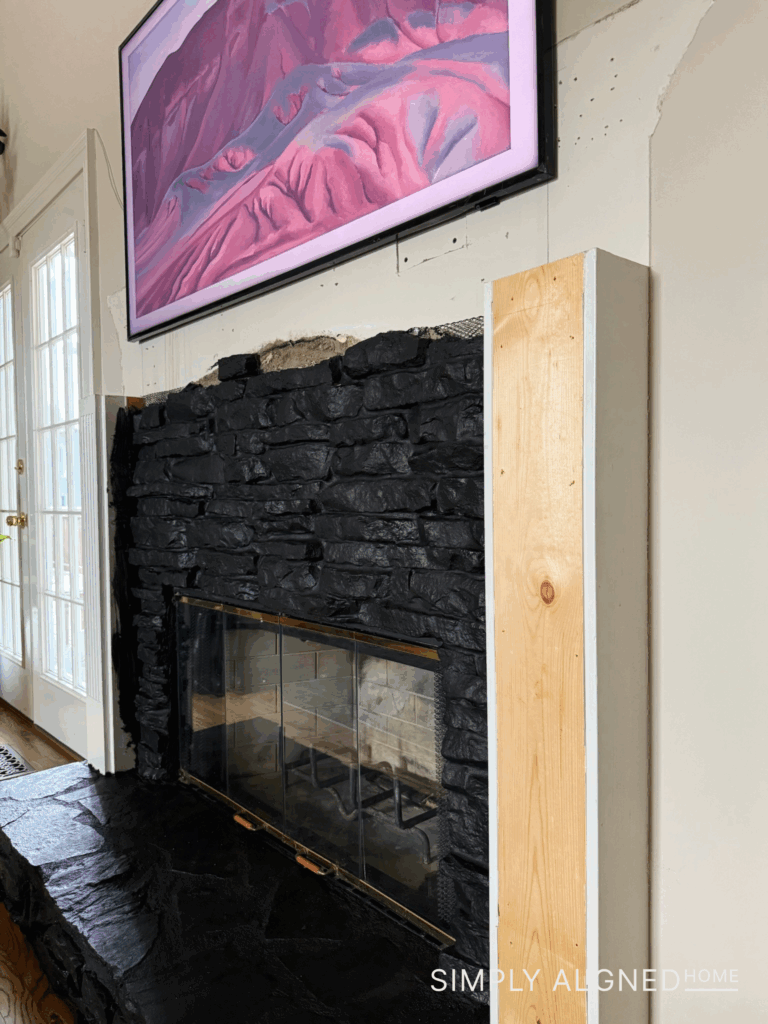
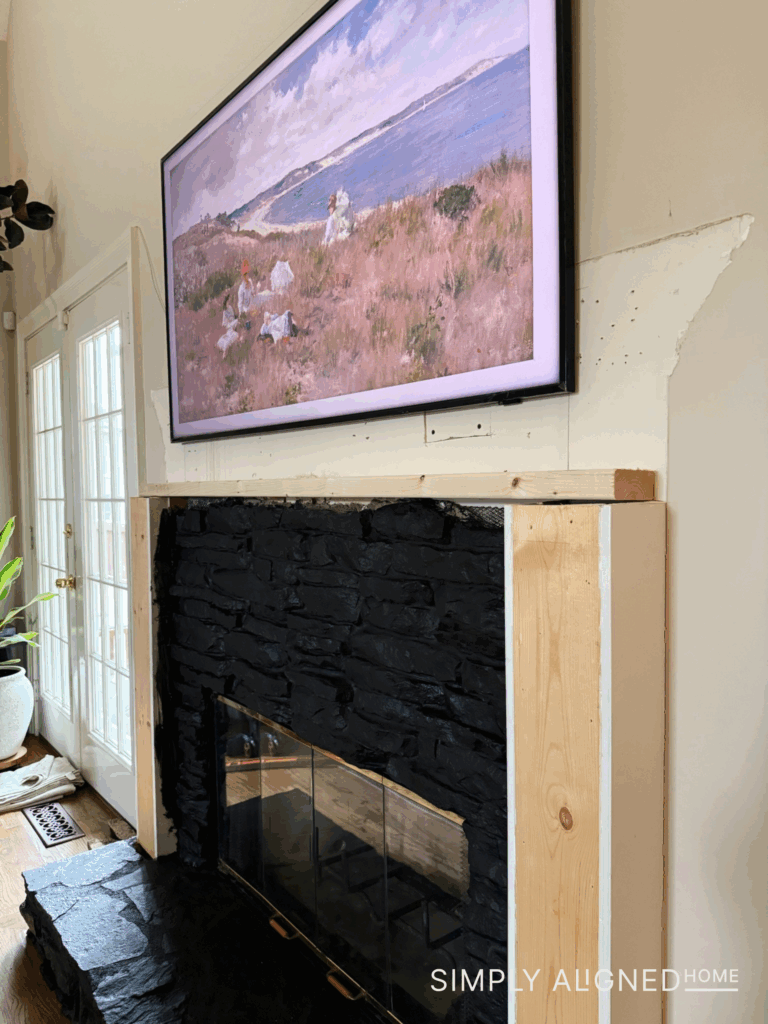
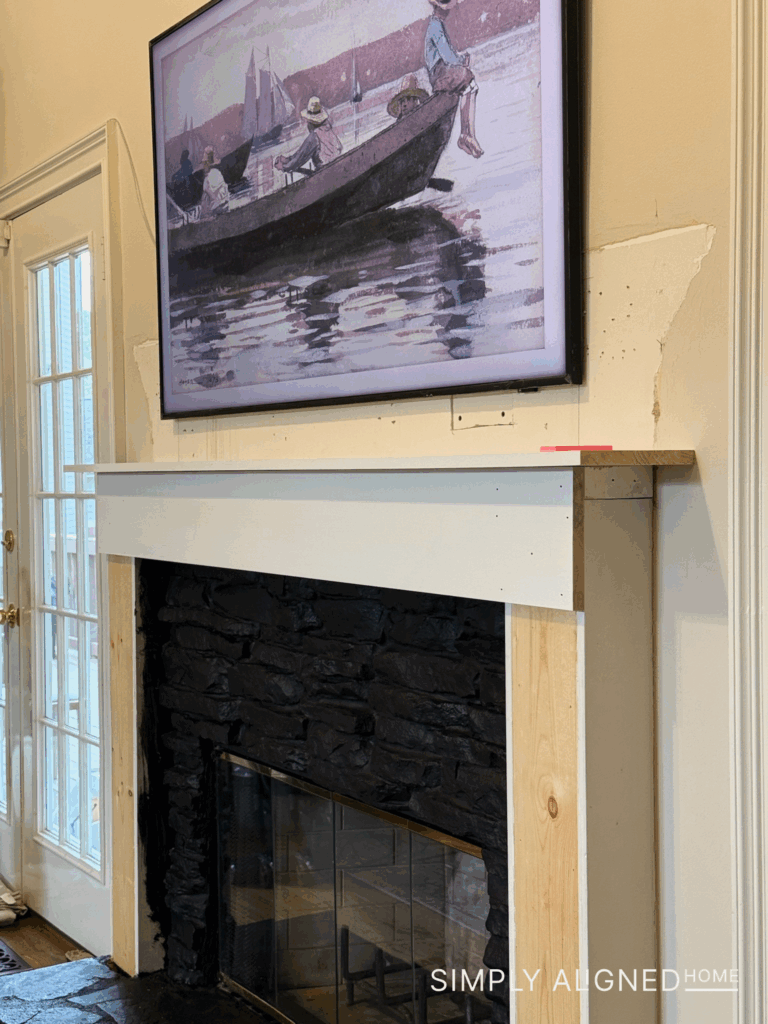
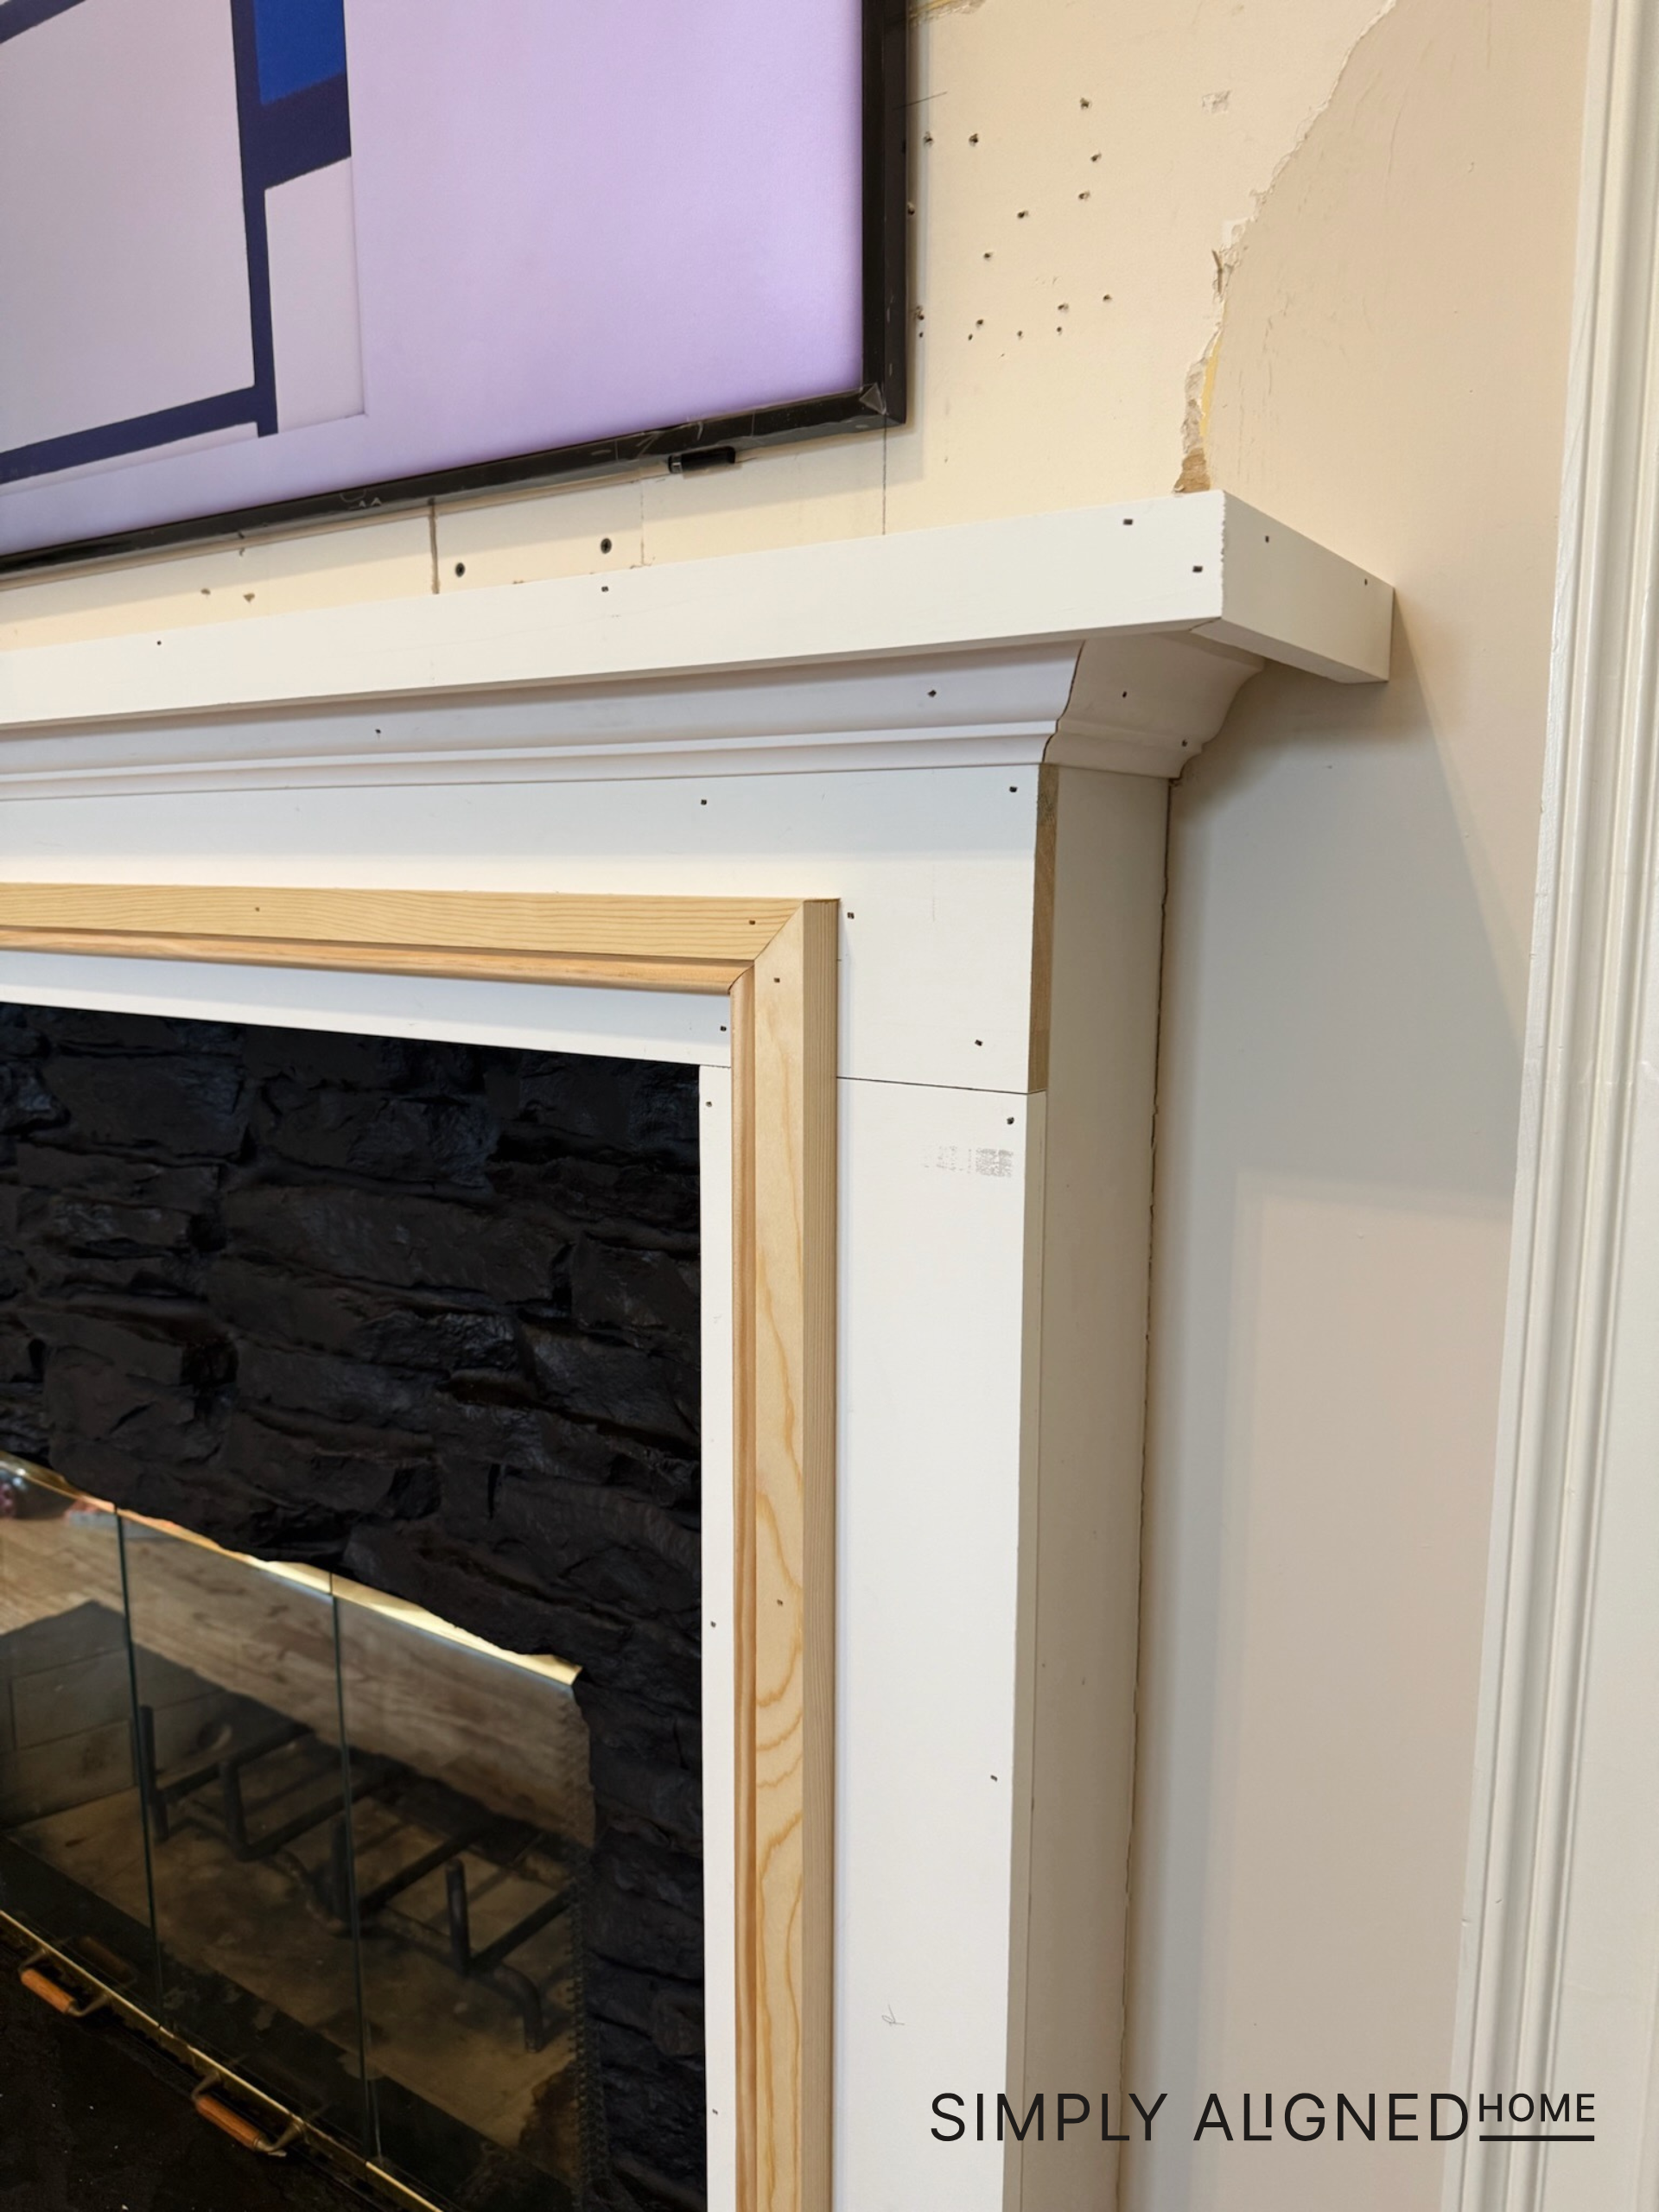
With the framing in place, I installed the mantel top as well as vertical boards that run all the way up to the mantel. From there, it was just a matter of building out the details and making the surround feel intentional and decorative.

Step 3: Adding Trimwork
Next up, trimwork to give the mantel some character! I secured the mantel top and the main surround pieces with finish nails before moving on to the decorative details. Around the fireplace opening, I installed 1×1 dowels. Since the pieces only come in three feet long pieces, I joined two together for each vertical and horizontal run, mitering the ends so the seams looked intentional.
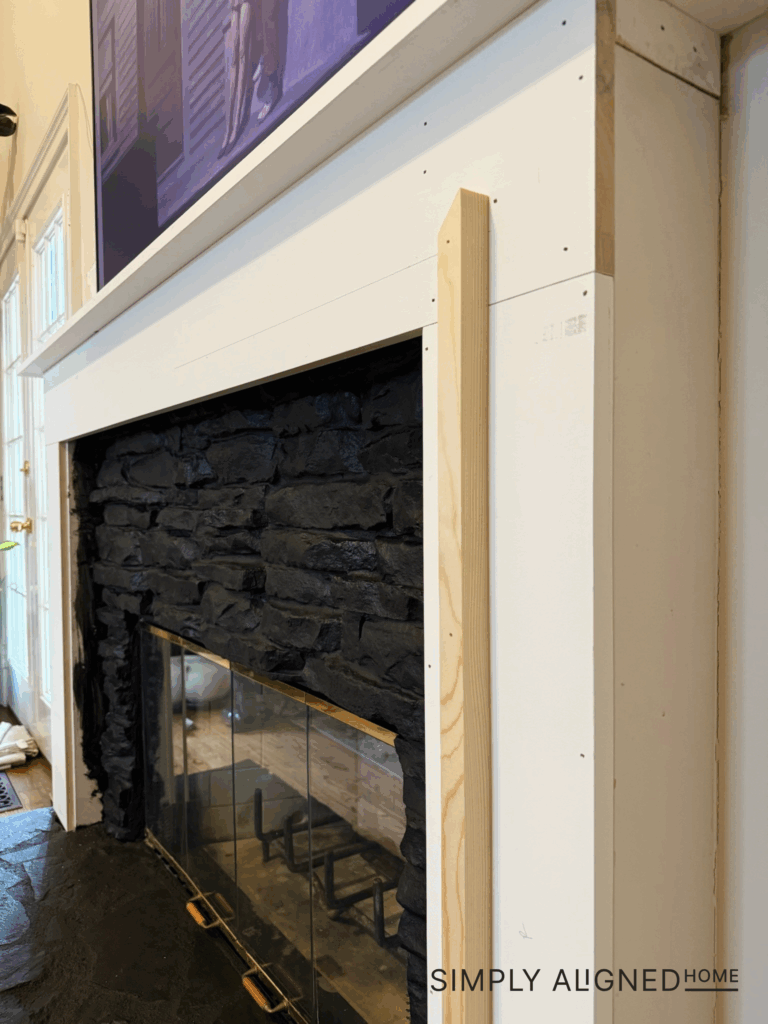
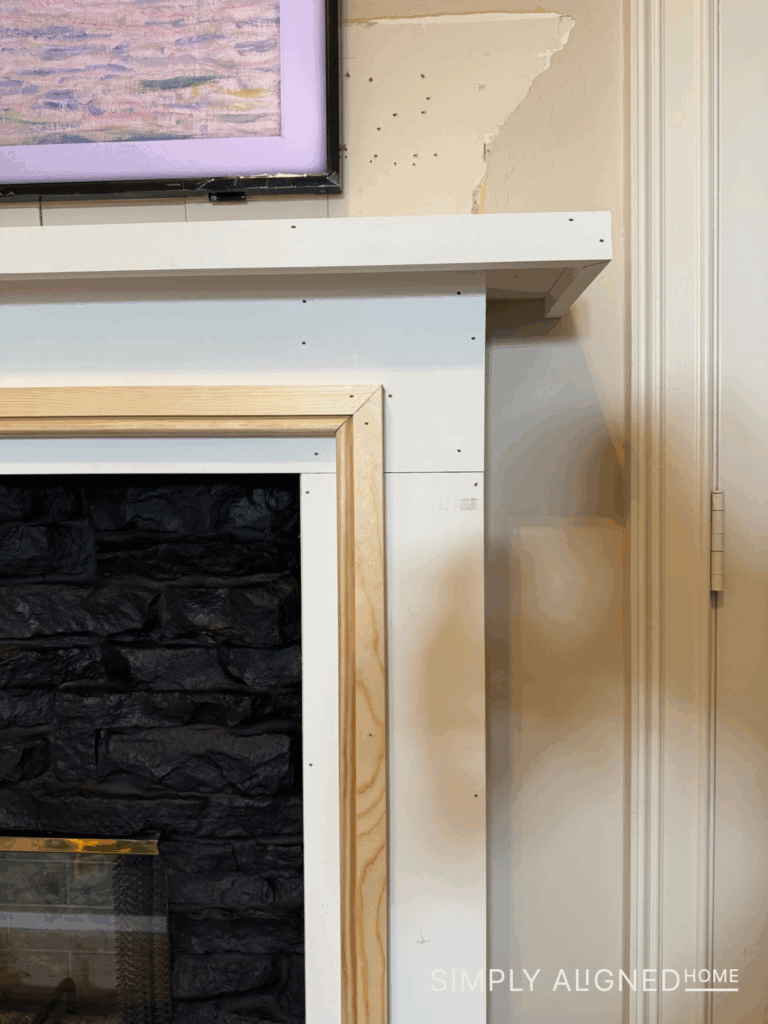
To add even more depth, I ripped down additional decorative trim to match the 1×1 dimension and layered it on top. I then installed crown molding along the top, using finish nails to secure it neatly against the bottom of the mantel. To give the mantel itself a more substantial look, I wrapped the edges with 1×2 primed pine.
Step 4: Finishing Touches
Once all the trim was in place, I patched the seams and nail holes with spackle, then sanded everything smooth. After cleaning up the dust, I caulked all the gaps to give it a seamless look.
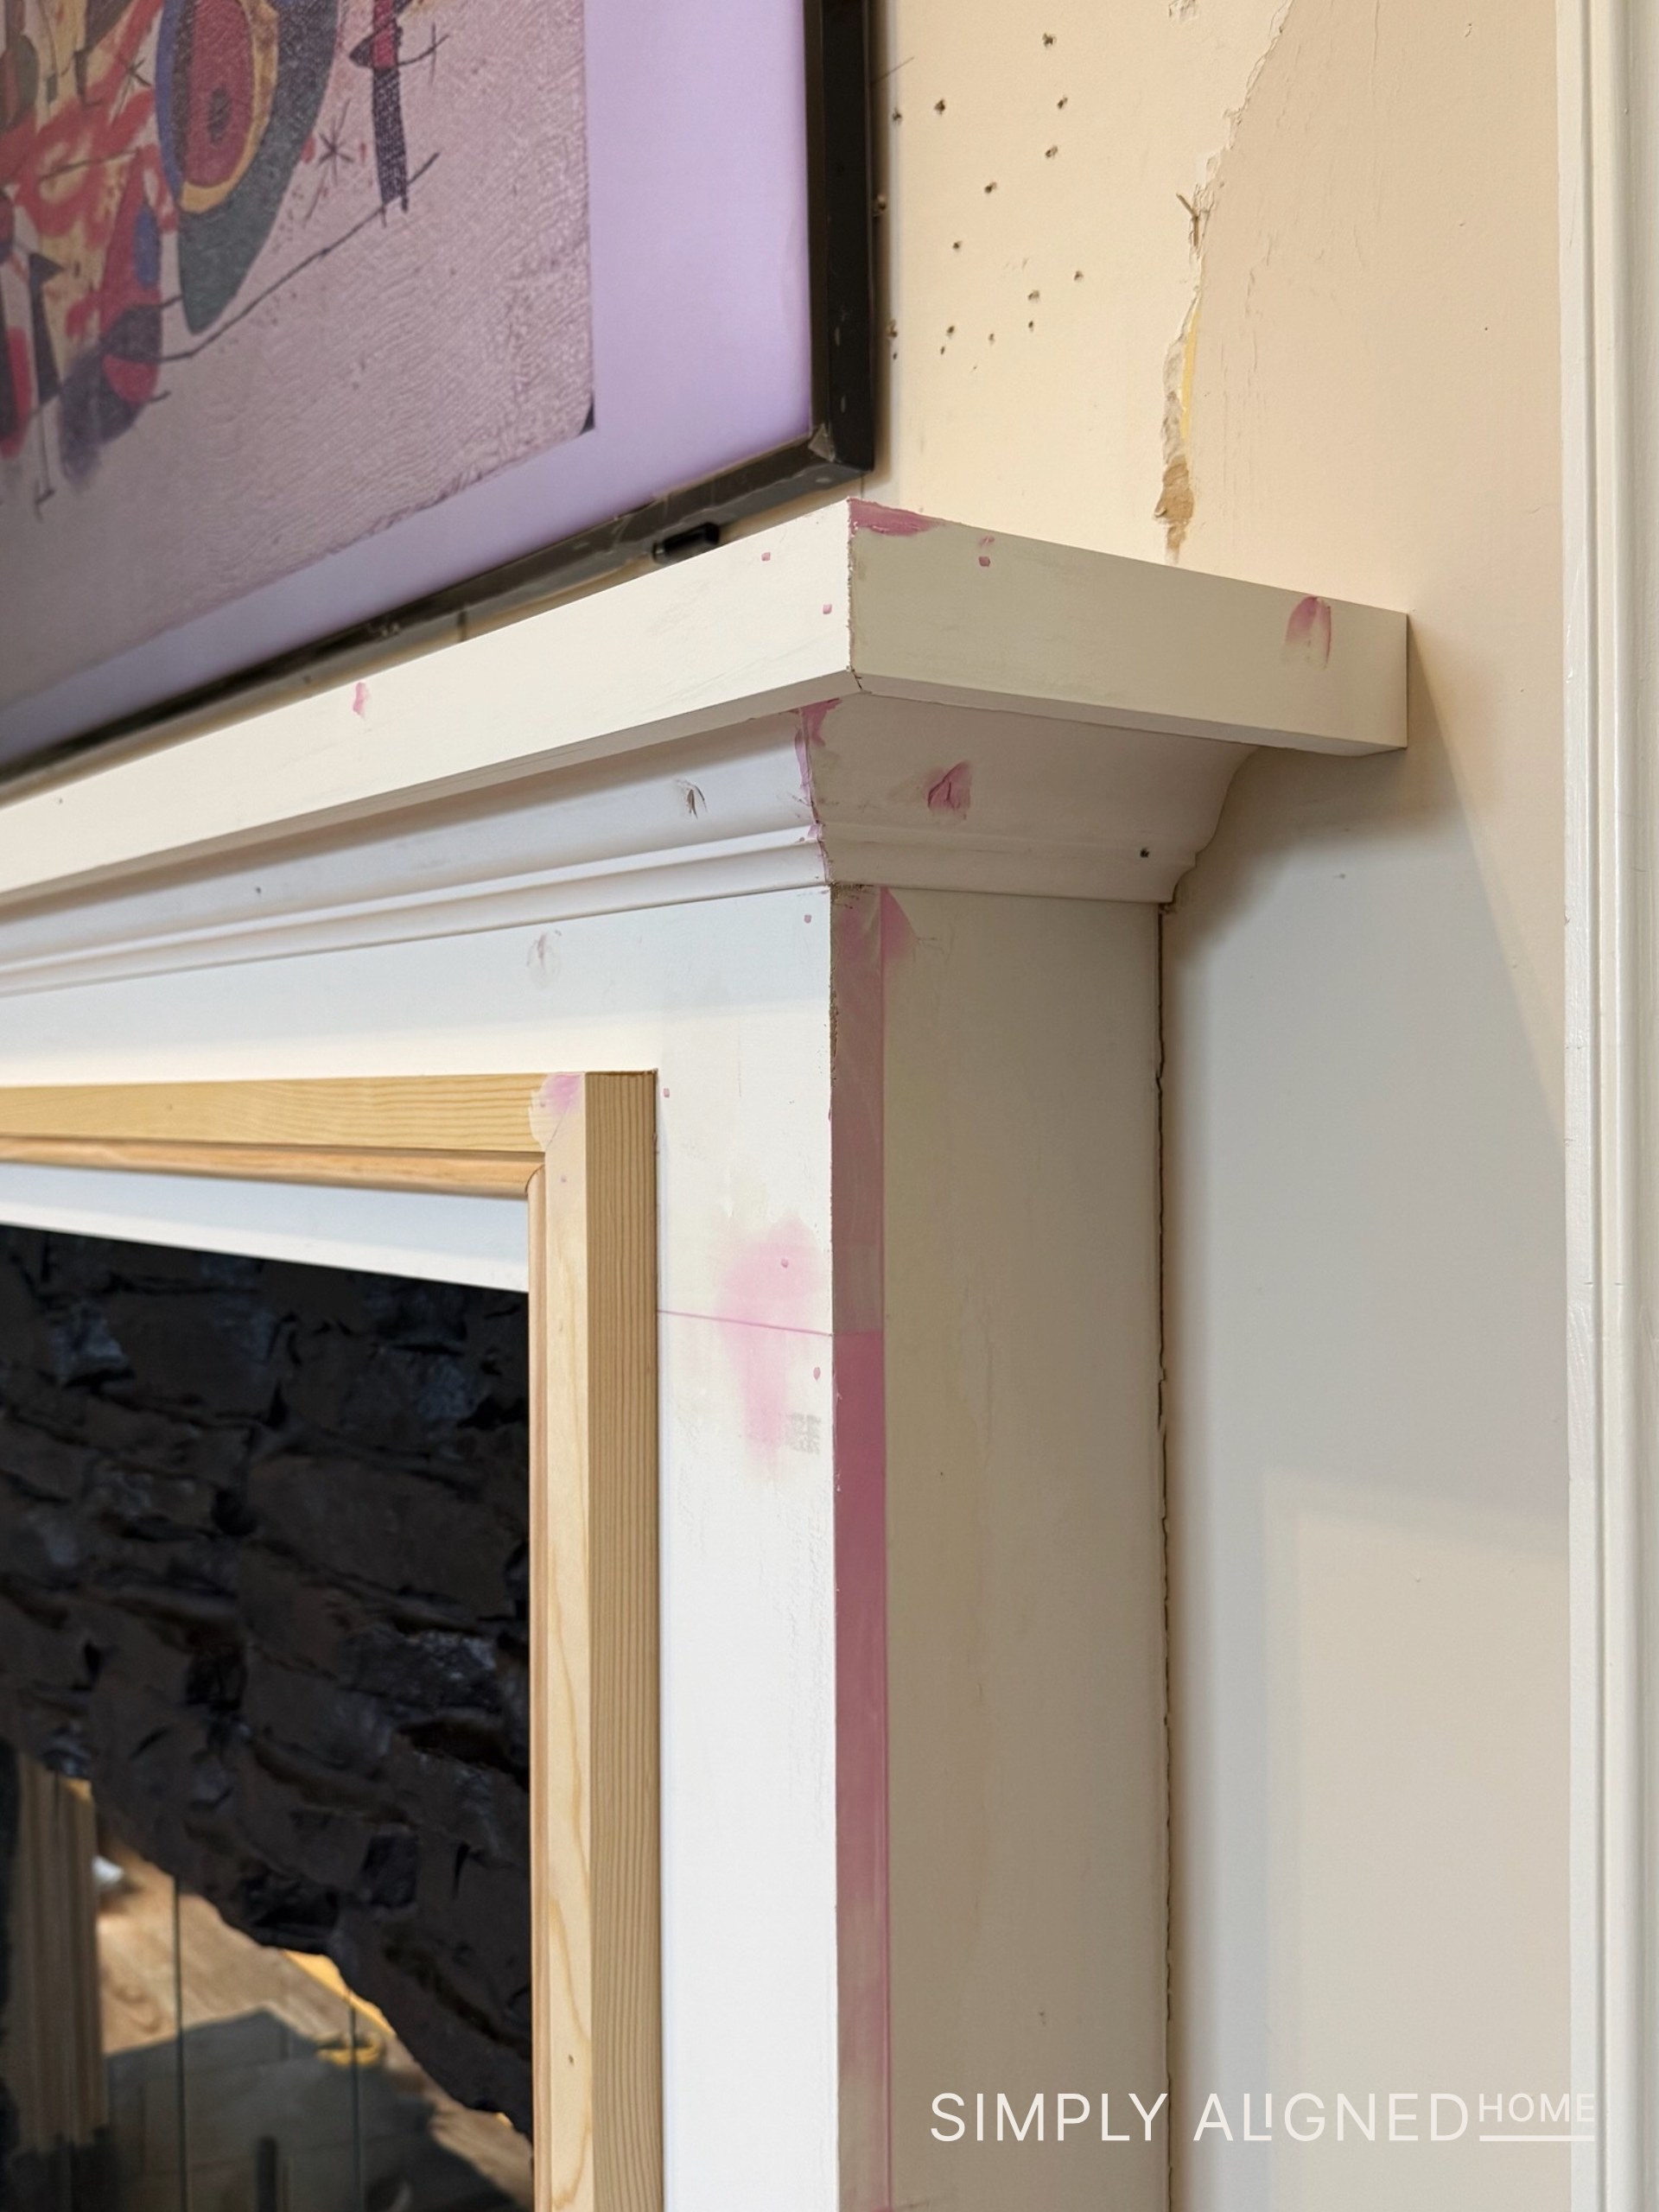
I primed the entire surround before painting. For the paint, I used Behr “Incognito” in an eggshell finish. The soft, warm tone gives the surround a cozy but elevated look, and I couldn’t be happier with how it turned out!
Can’t wait to share my plan for the rest of the fireplace and room with you!

**Note: I am not a professional and do not claim to be an expert. Please be sure to always read instructions for all tools and products. Safety is very important and should be your top priority. Wear necessary protection when using tools (eye wear, hearing protection, gloves, etc.) and dust masks when sanding or cutting. Simply Aligned Home is not responsible for any injury or damage. All of my designs are not professionally designed and are for private use only.**
Tools & Materials Used