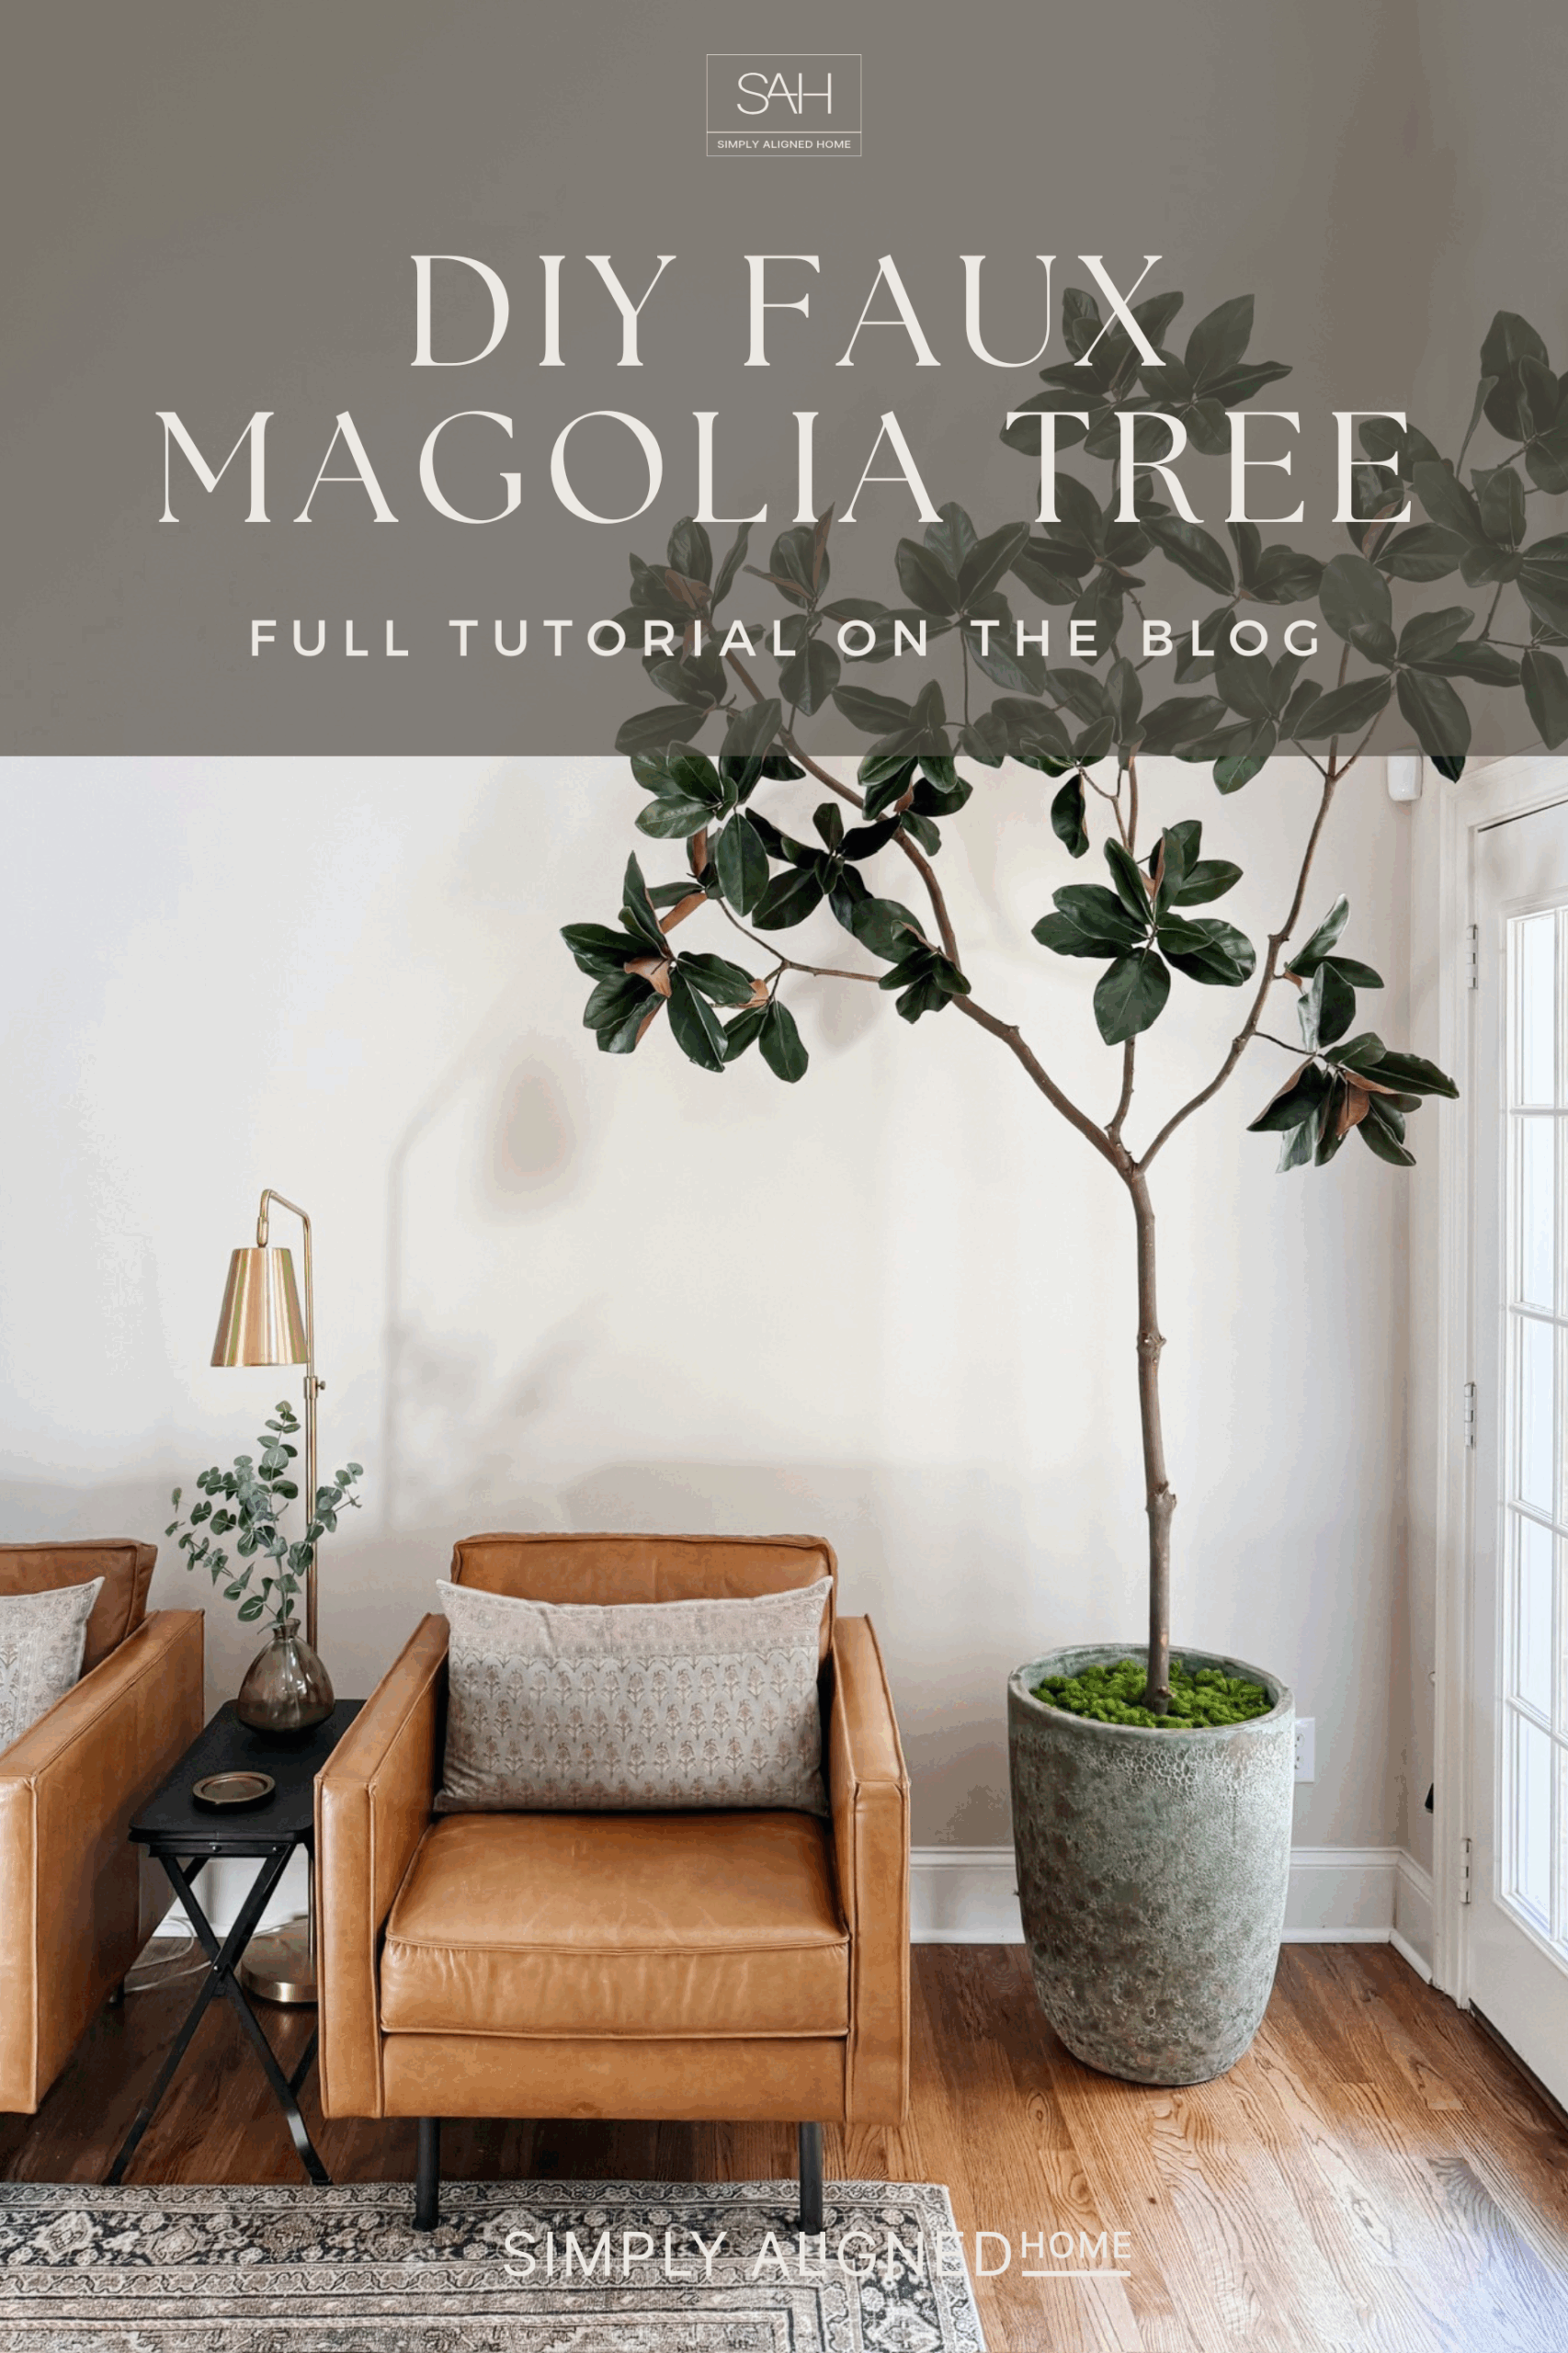
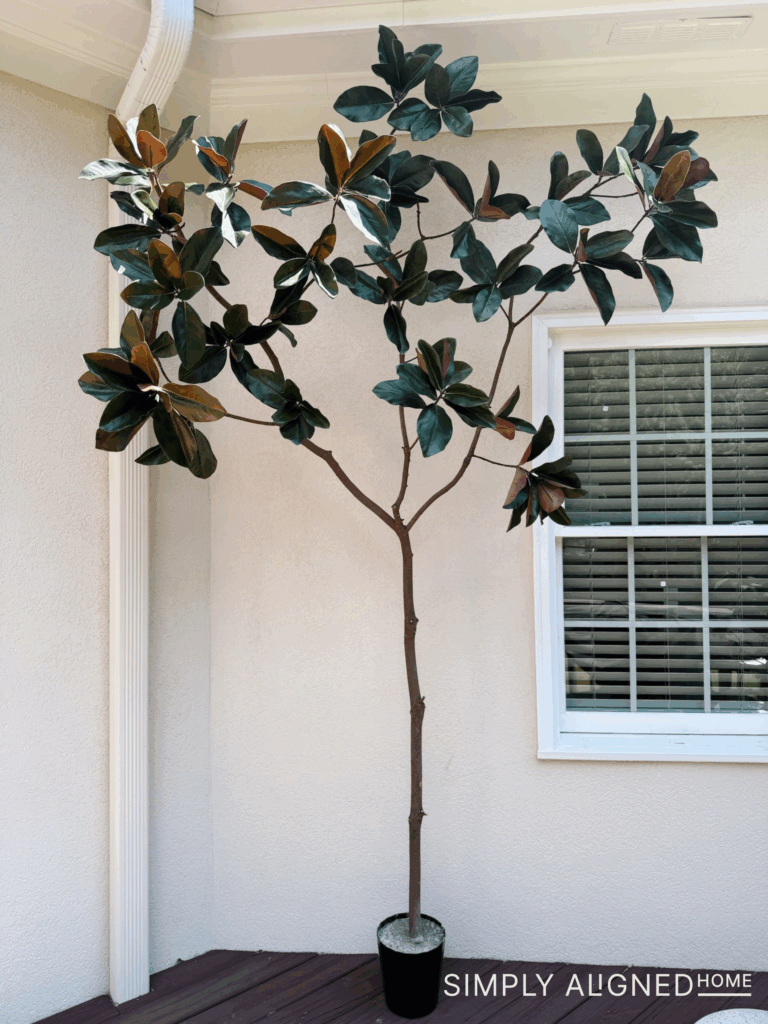
I’ve always loved the look of tall faux trees in a space, but finding one that looks natural (and isn’t super expensive) can be tricky. Recently, when I brought home a new piece of furniture, I thought a magnolia stem would be the perfect touch. That idea quickly turned into a full DIY project when I realized I could create my own 9-foot tall faux magnolia tree, using a branch from my actual magnolia tree!

**This post contains affiliate links to products that I used or recommend. If you purchase something through an affiliate link, I may receive a small percentage of the sale at no extra cost to you. I really appreciate your support!**
Instead of trying to preserve real magnolia leaves, (which can be really difficult and don’t always hold up well) I decided to replace them with realistic faux leaves. The process turned out to be simpler than you’d think, and now I have a custom faux tree that perfectly fits my space.
Step 1: Preparing the Branch
I started by trimming my magnolia tree and choosing a branch with a great natural shape. To prepare it, I cut off all of the existing leaves (they were too delicate to keep) and gave the branch a good cleaning with soap and water. Since it was pretty dirty, this step was important.


Next, I let the branch dry outside for a few weeks. This helps prevent any moisture issues later on. Once it’s fully dried (I’ll give it a few months in total), I plan to seal the branch to preserve it long term.
Step 2: Adding Faux Leaves
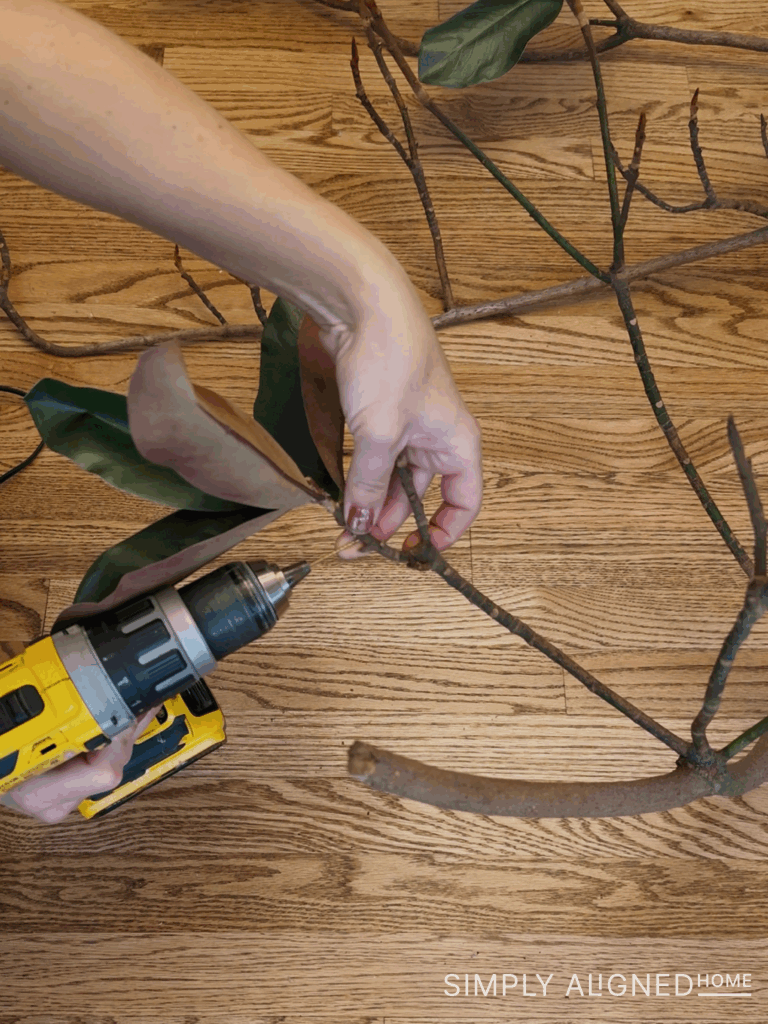
For the leaves, I found faux magnolia stems that looked incredibly realistic. I removed the leaves from their stems, then used wire cutters to strip away the plastic so I could work with the wire backing.


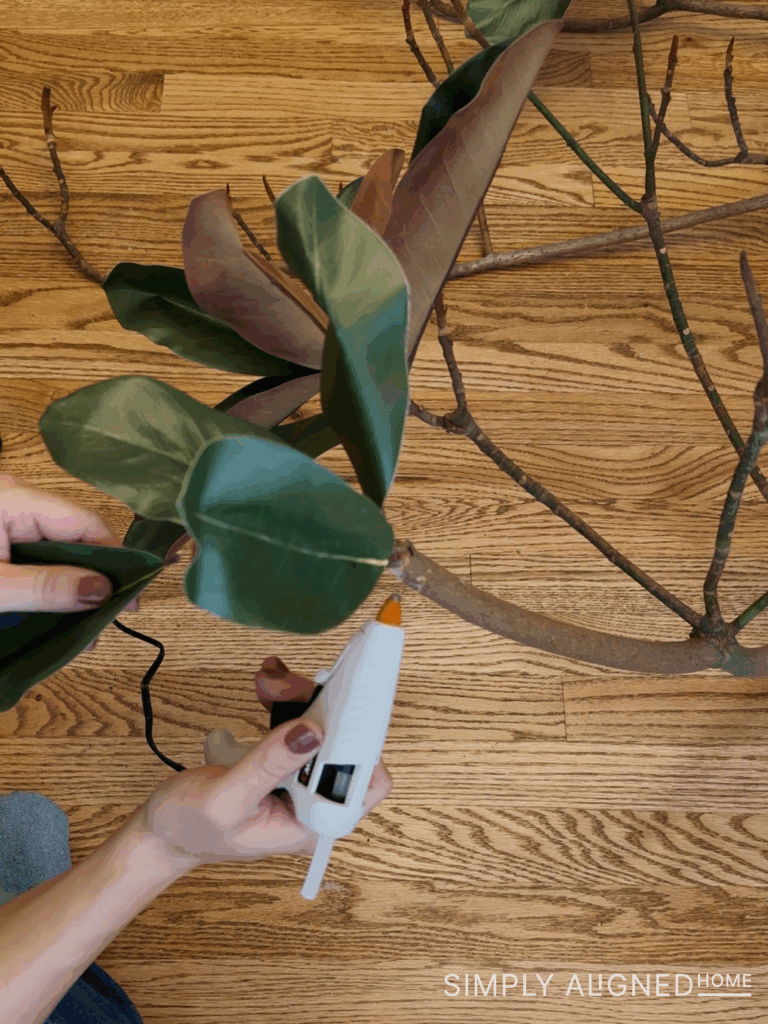
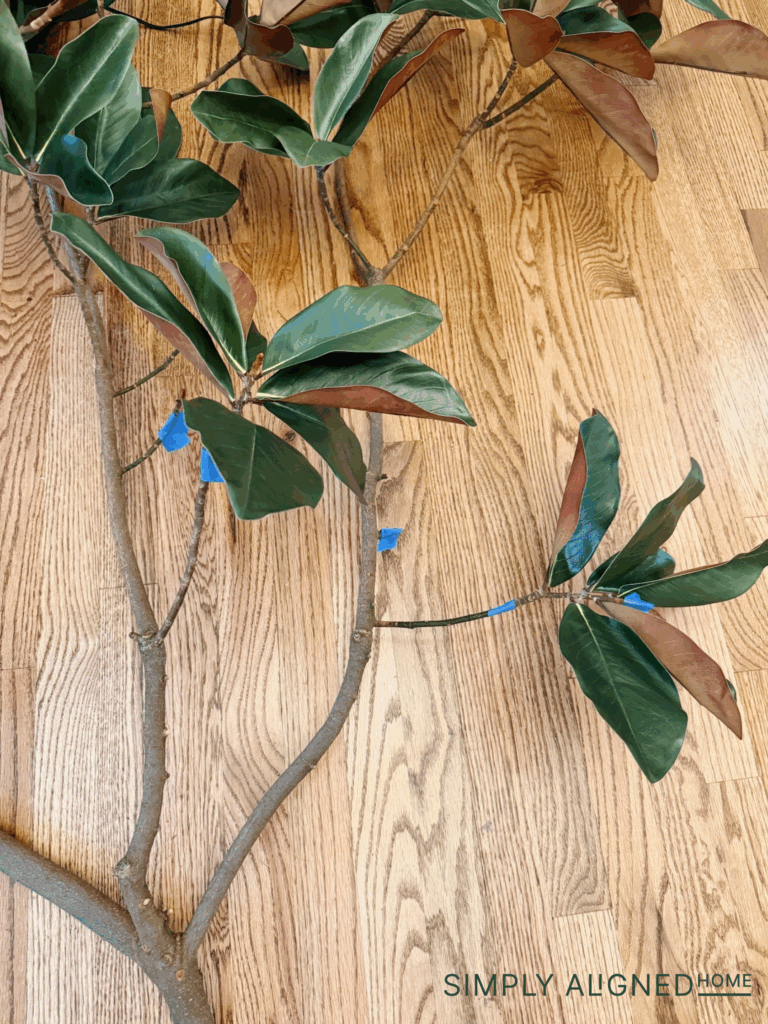
Using a small drill bit, I drilled tiny holes into the tree’s branches where I wanted to place the leaves. Then, I secured each leaf with hot glue. After installing the first round of leaves, I held the tree up in place and marked with painter’s tape where I thought more leaves were needed. This made it easier to balance out the overall look before finishing.
Step 3: Creating the Base
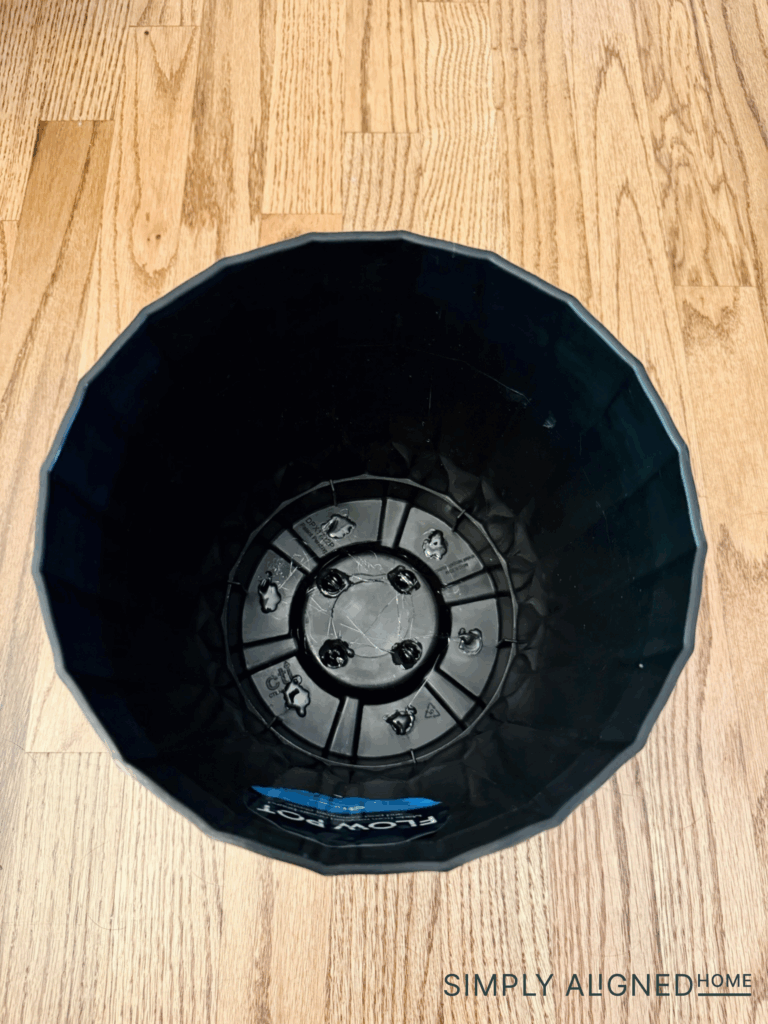
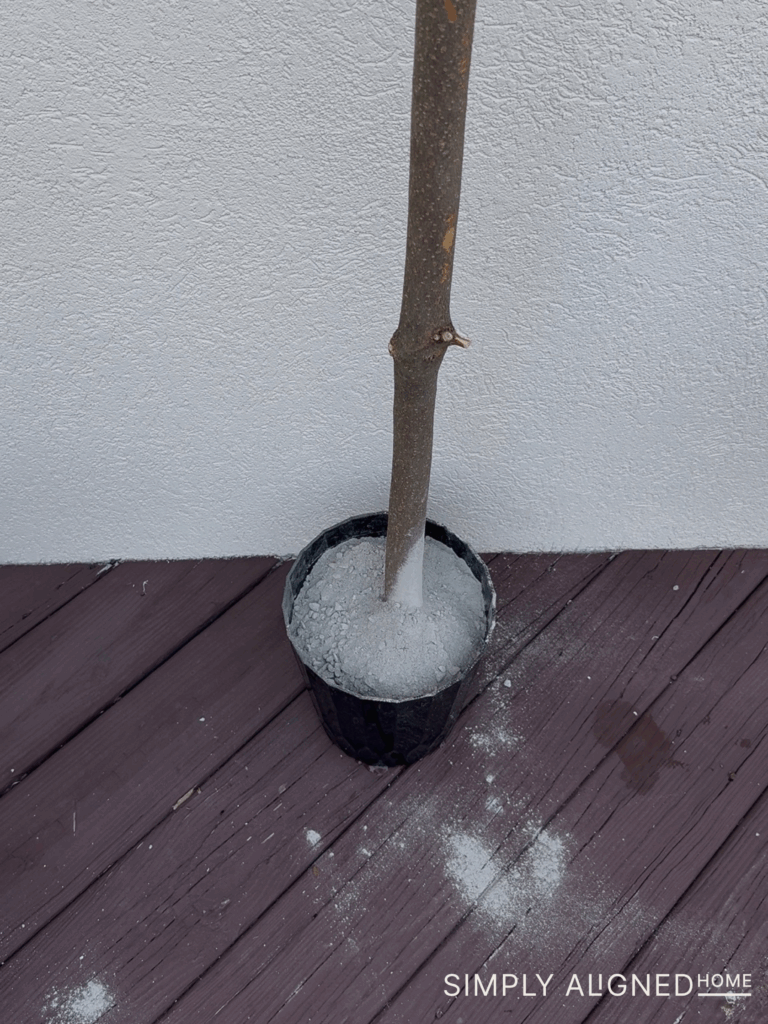
To make the tree stable, I placed it in a small pot to use as a base. The pot had drainage holes, so I sealed them with hot glue before moving on. Then I added a little bit of water and quick-dry cement to create a heavy, supportive base. Once the cement set, the tree was ready to move into its final planter.
Step 4: Finding the Perfect Planter
At first, I tried a beautiful white planter, but proportionally it didn’t feel quite right with the tree. After a bit of searching, I found another planter that I absolutely love – the size and scale are perfect for this project.
When I set the cemented base into the larger planter, I used brown packing paper around it to keep the tree standing upright and centered. To finish, I added moss on top to hide the paper and give it a natural, finished look.
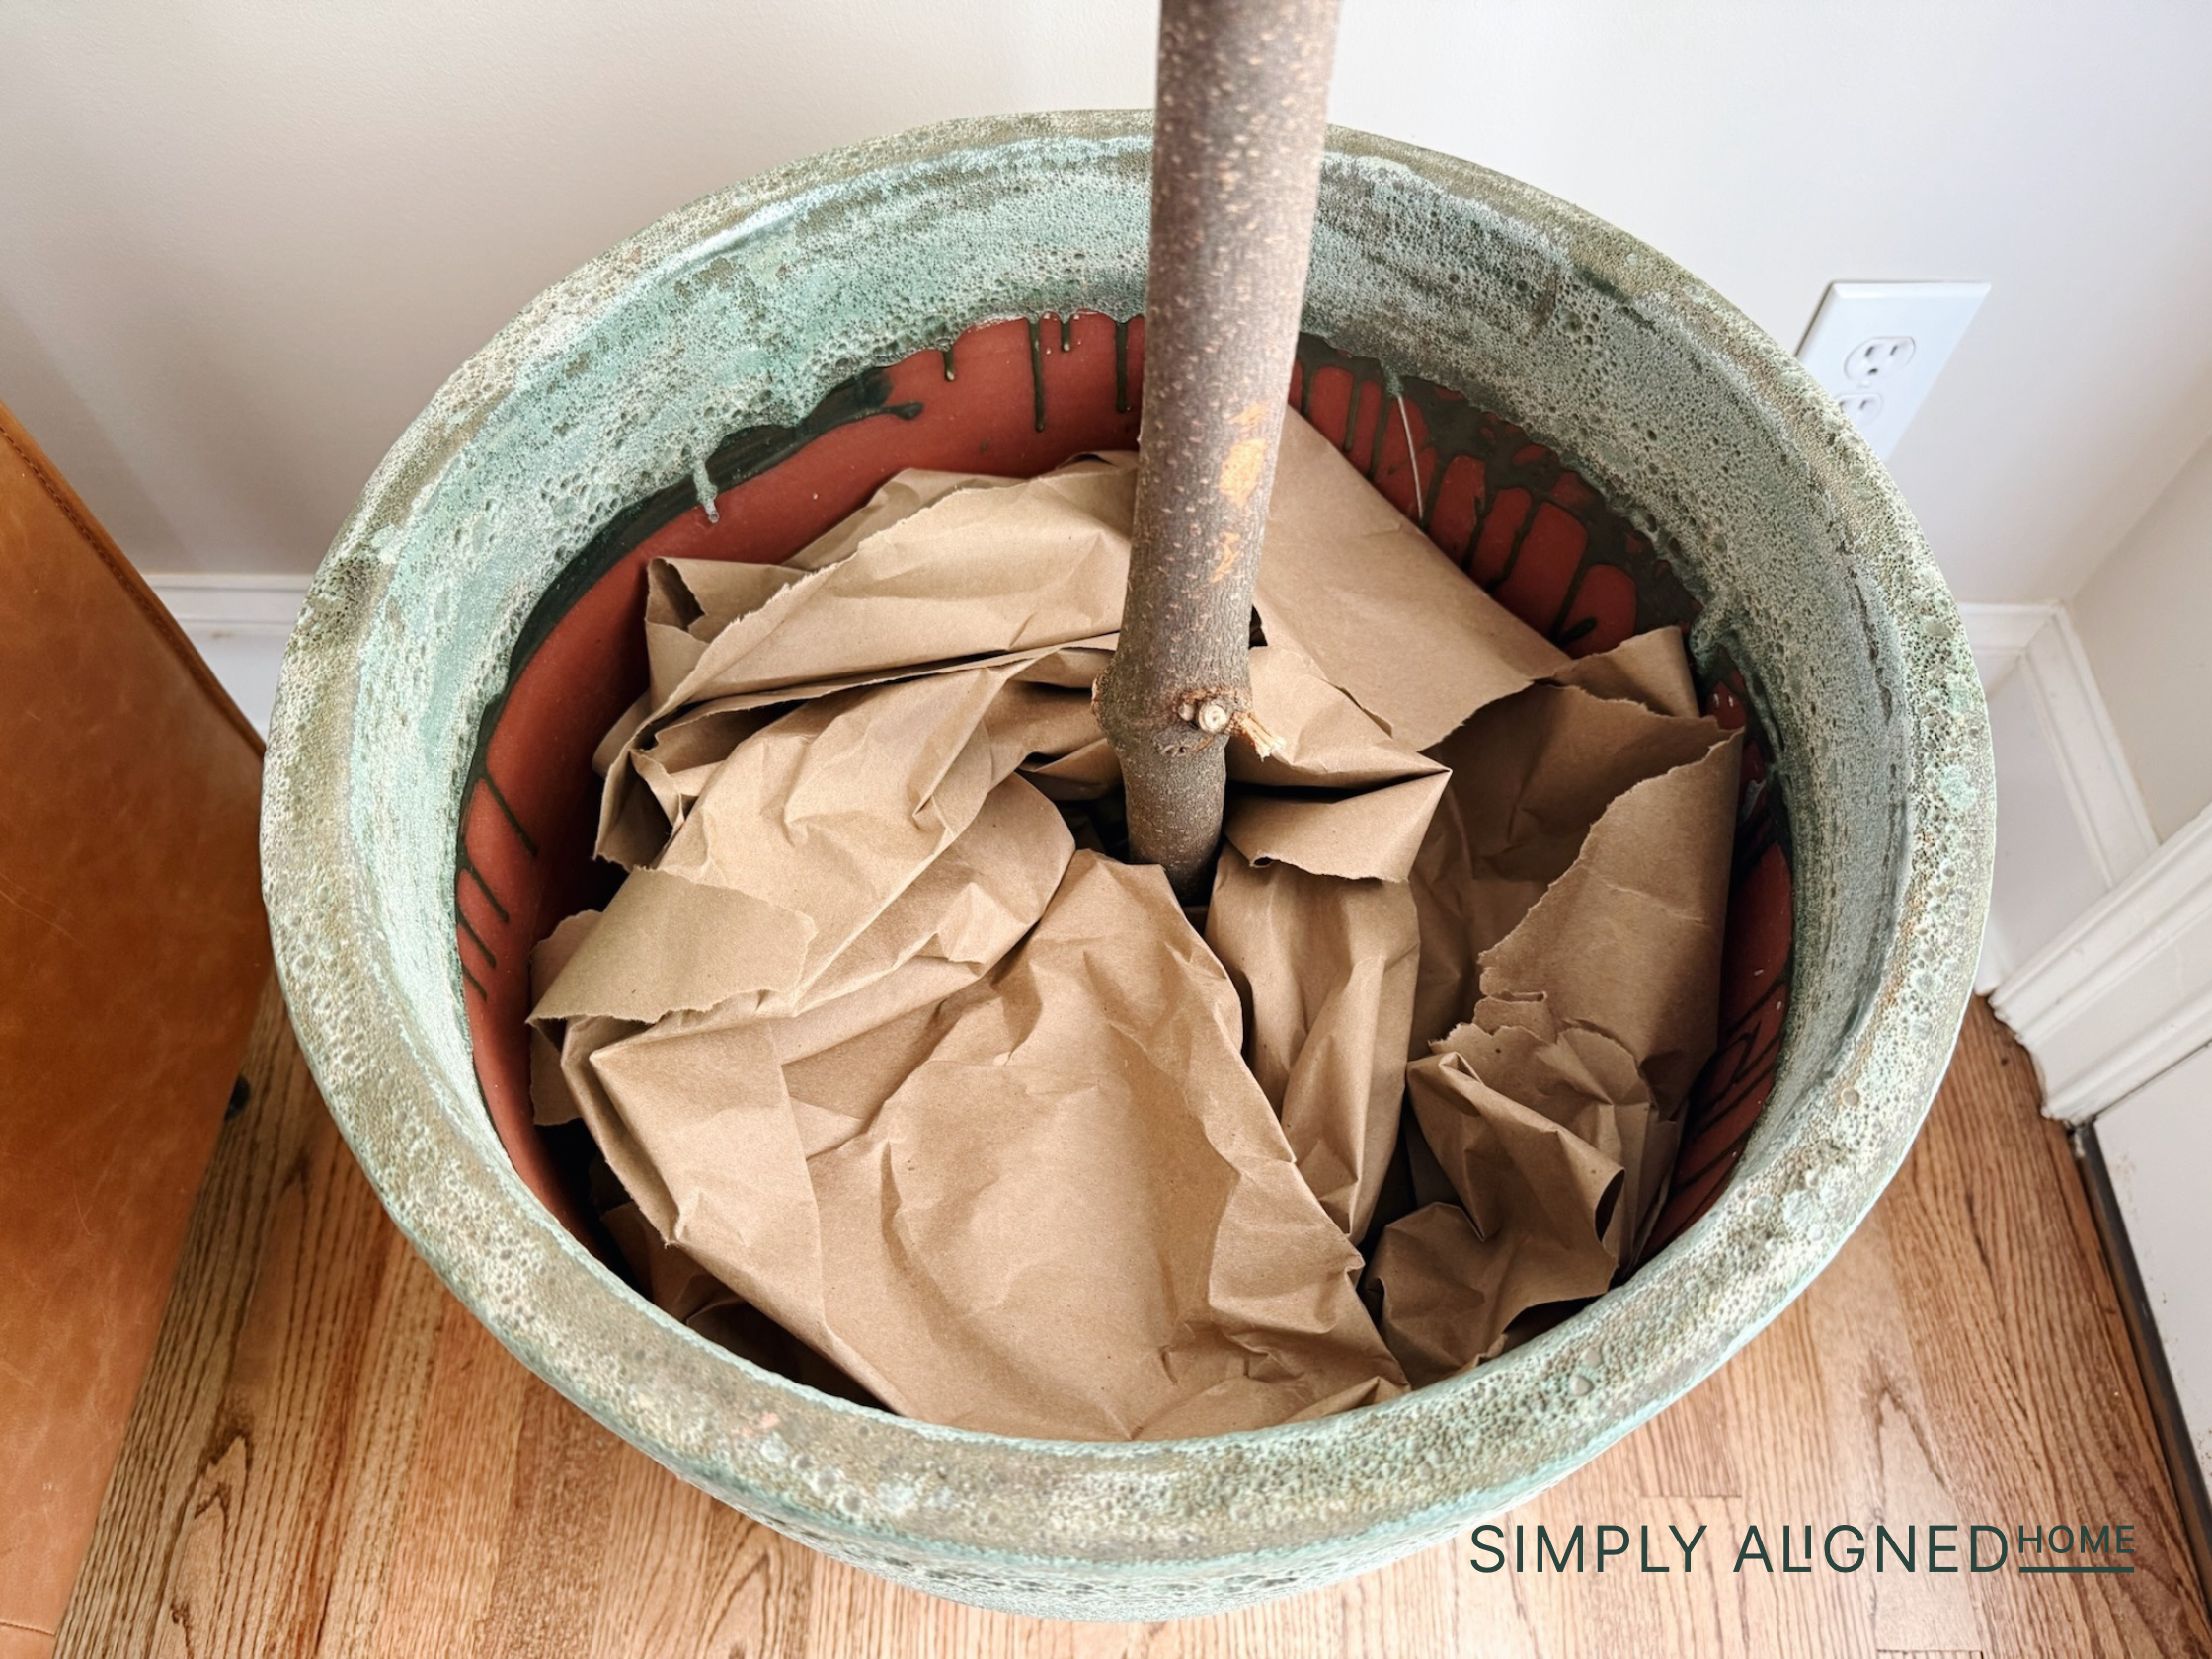
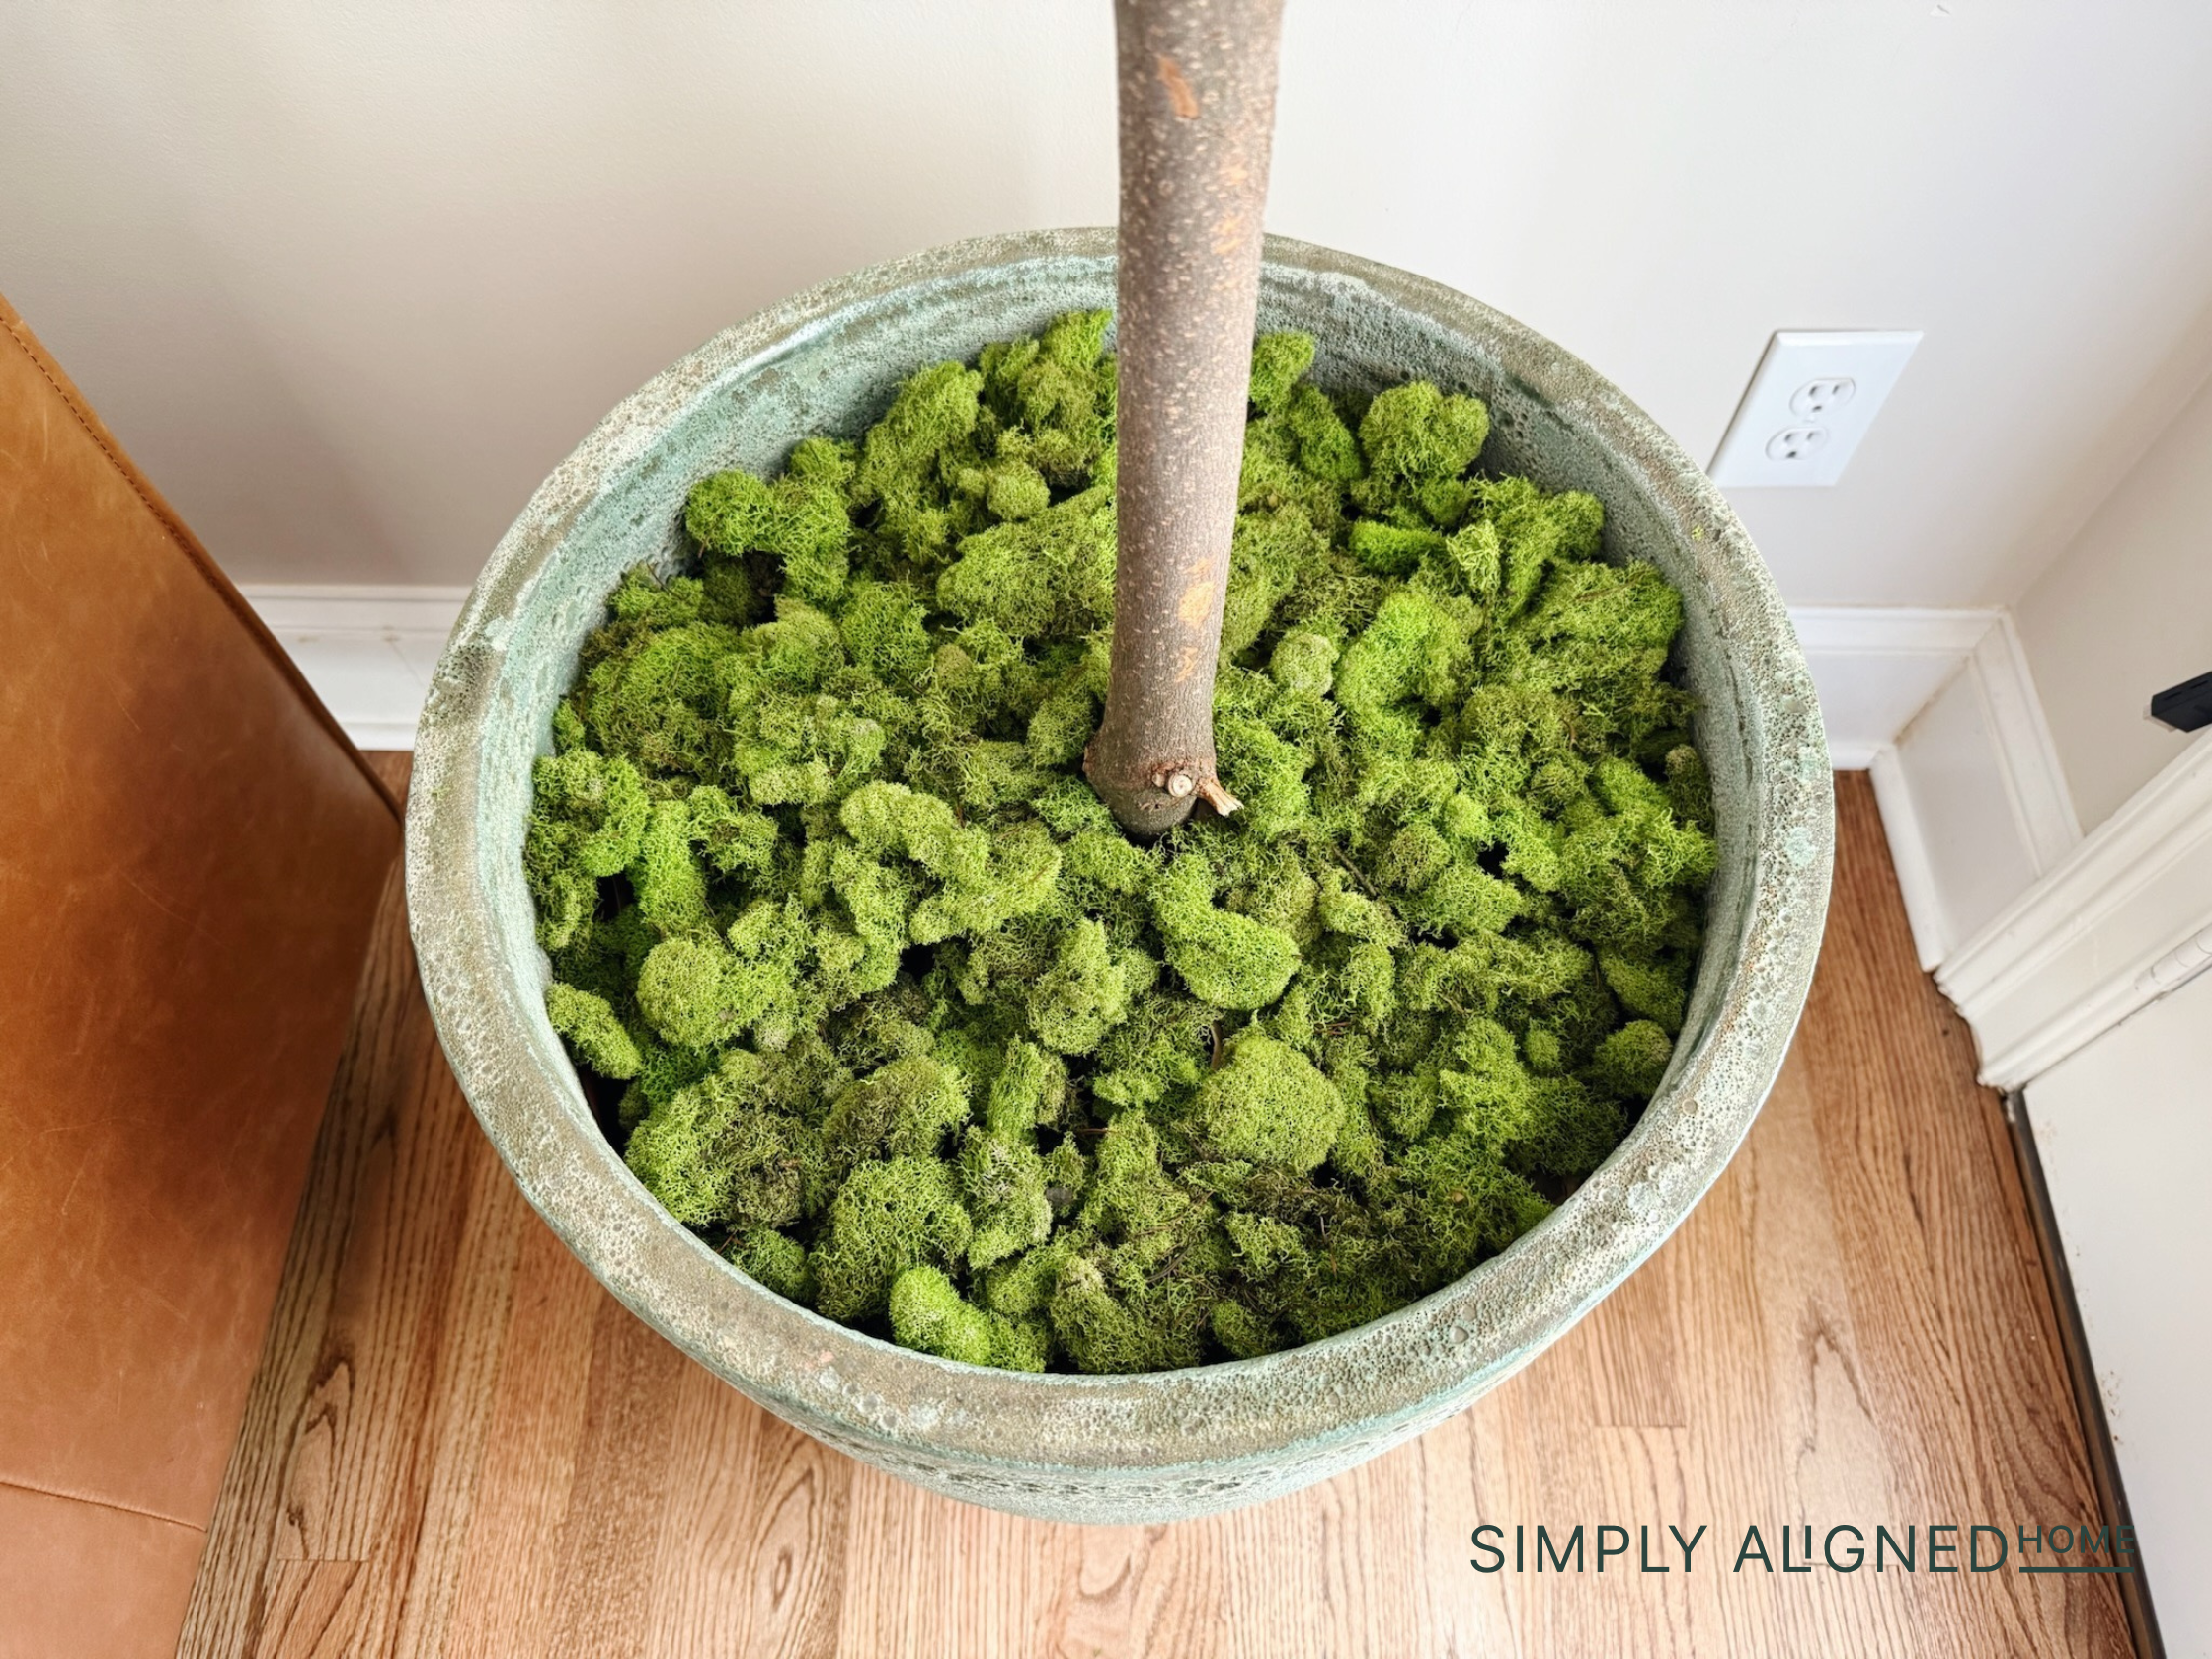
I got my planter from a local nursery, but I put together a few similar options I love!
This project turned out even better than I imagined! I love how tall and natural it looks in my space! By using a real branch and faux leaves, I was able to create a tree that feels real but will last for such a long time!

If you’ve been considering a large faux tree for your home, this is such a fun and rewarding DIY. It takes a little patience, but the end result is definitely worth it!

**Note: I am not a professional and do not claim to be an expert. Please be sure to always read instructions for all tools and products. Safety is very important and should be your top priority. Wear necessary protection when using tools (eye wear, hearing protection, gloves, etc.) and dust masks when sanding or cutting. Simply Aligned Home is not responsible for any injury or damage. All of my designs are not professionally designed and are for private use only.**
Tools & Materials Used
