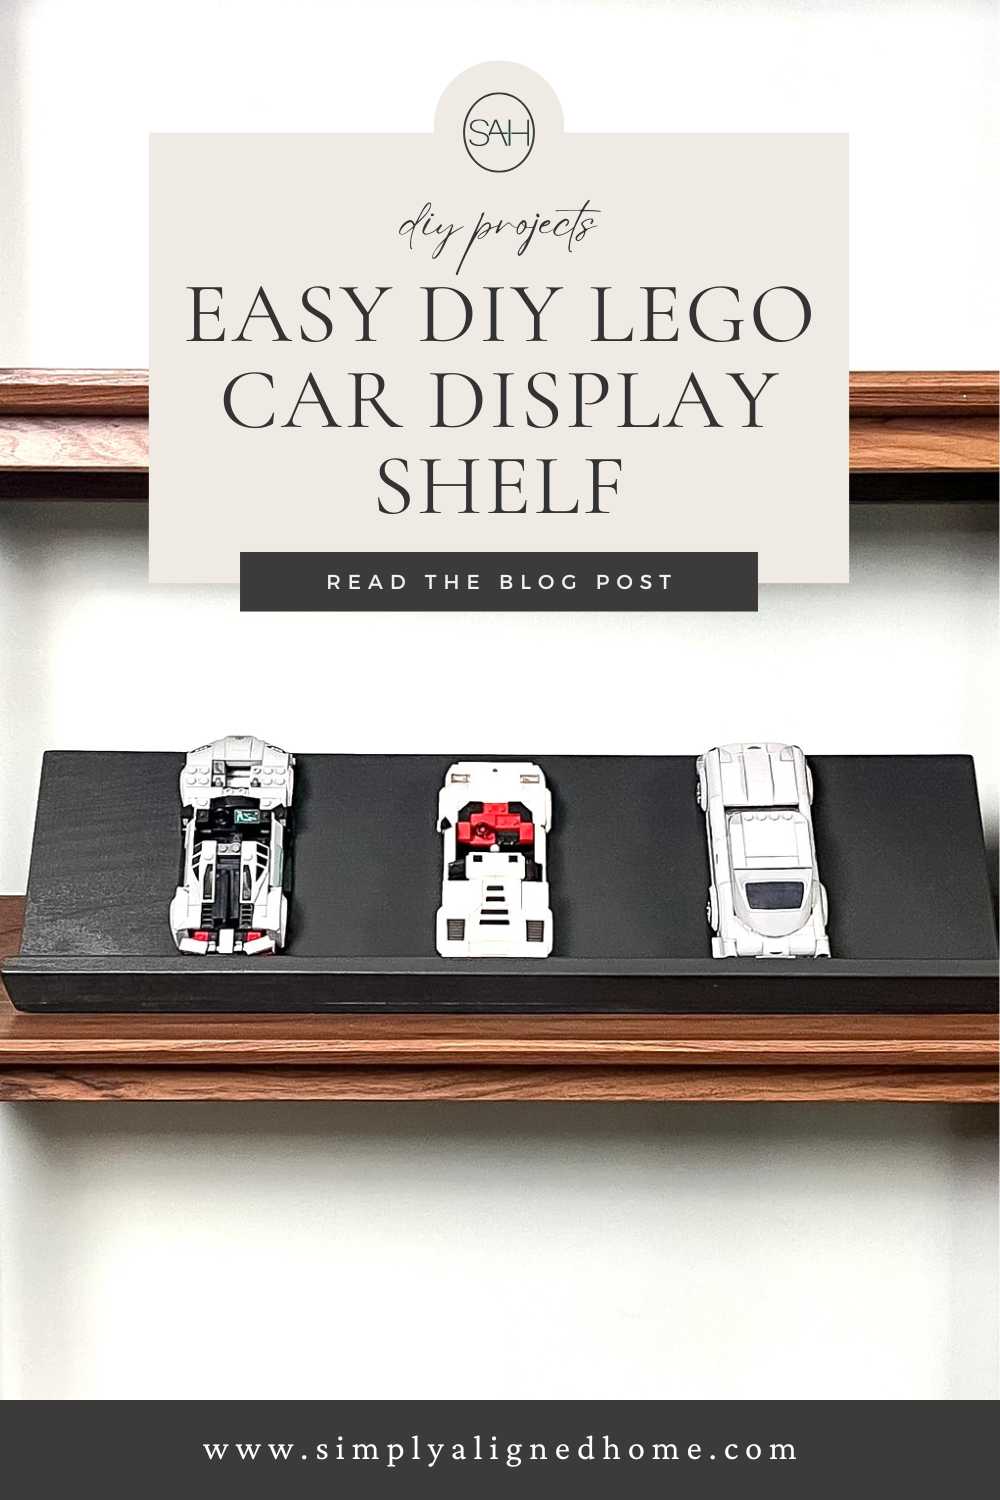
If you’re a parent, you know how awesome LEGO sets are. You also know how impossible they are to keep organized! I’m always trying to find ways to store or display my boys’ LEGO creations. So, I decided to make a quick and easy DIY LEGO car display. Here’s how I did it!

**This post contains affiliate links to products that I used or recommend. If you purchase something through an affiliate link, I may receive a small percentage of the sale at no extra cost to you. I really appreciate your support!**
Choosing Materials
For this project, I decided to use poplar because it is an affordable hardwood. It doesn’t scratch or dent as easily as a soft wood, like pine. It’s a bit heavier too!
I used boards that were 3’ long from Home Depot. If you want a longer display shelf, you can make this without needing a saw to cut down the length of the wood!

Assembly
First, I secured the 1/2” x 2” ledge to the back panel with wood glue. I held it in place with clamps and then secured it with my brad nailer.
Next, I measured up from the bottom of the back panel 1” and this is where I placed the back support so the cars would sit at an angle. I used wood glue and brad nails to secure the 2” x 2” back support to the back panel.


Finishing Details
Then, I filled the nail holes with spackle (I would have used wood filler if I was going to stain it). I lightly sanded the spackle and all parts of the display with a sanding sponge. I also gently rounded all edges. Finally, I painted the display black!

I love how this DIY LEGO car display turned out, and it was so easy too! If I do say so myself, these cars look great against this display!


If you’re looking for other innovative ways to store your kids’ LEGO creations, I made this IKEA Hack: Pegboard LEGO Storage. See the full tutorial in this blog post!

**Note: I am not a professional and do not claim to be an expert. Please be sure to always read instructions for all tools and products. Safety is very important and should be your top priority. Wear necessary protection when using tools (eye wear, hearing protection, gloves, etc.) and dust masks when sanding or cutting. Simply Aligned Home is not responsible for any injury or damage. All of my designs are not professionally designed and are for private use only.**
Materials Used
- 1/2″ x 8″ Wide Board
- 1/2″ x 2″ Board
- 2 x 2 Back Support
- Wood Glue
- Spackle
- Sanding Sponge
- Black Paint
Tools Used
