I always struggle to come up with the perfect Valentine’s Day gift, whether it’s for family, friends, or in this case, teachers! I like to give thoughtful gifts and it’s always a bonus if I can make it. So, I was super excited when I came up with the idea to make these wooden clip picture frames for Valentine’s Day teacher gifts!
**This post contains affiliate links to products that I used or recommend. If you purchase something through an affiliate link, I may receive a small percentage of the sale at no extra cost to you. I really appreciate your support!**
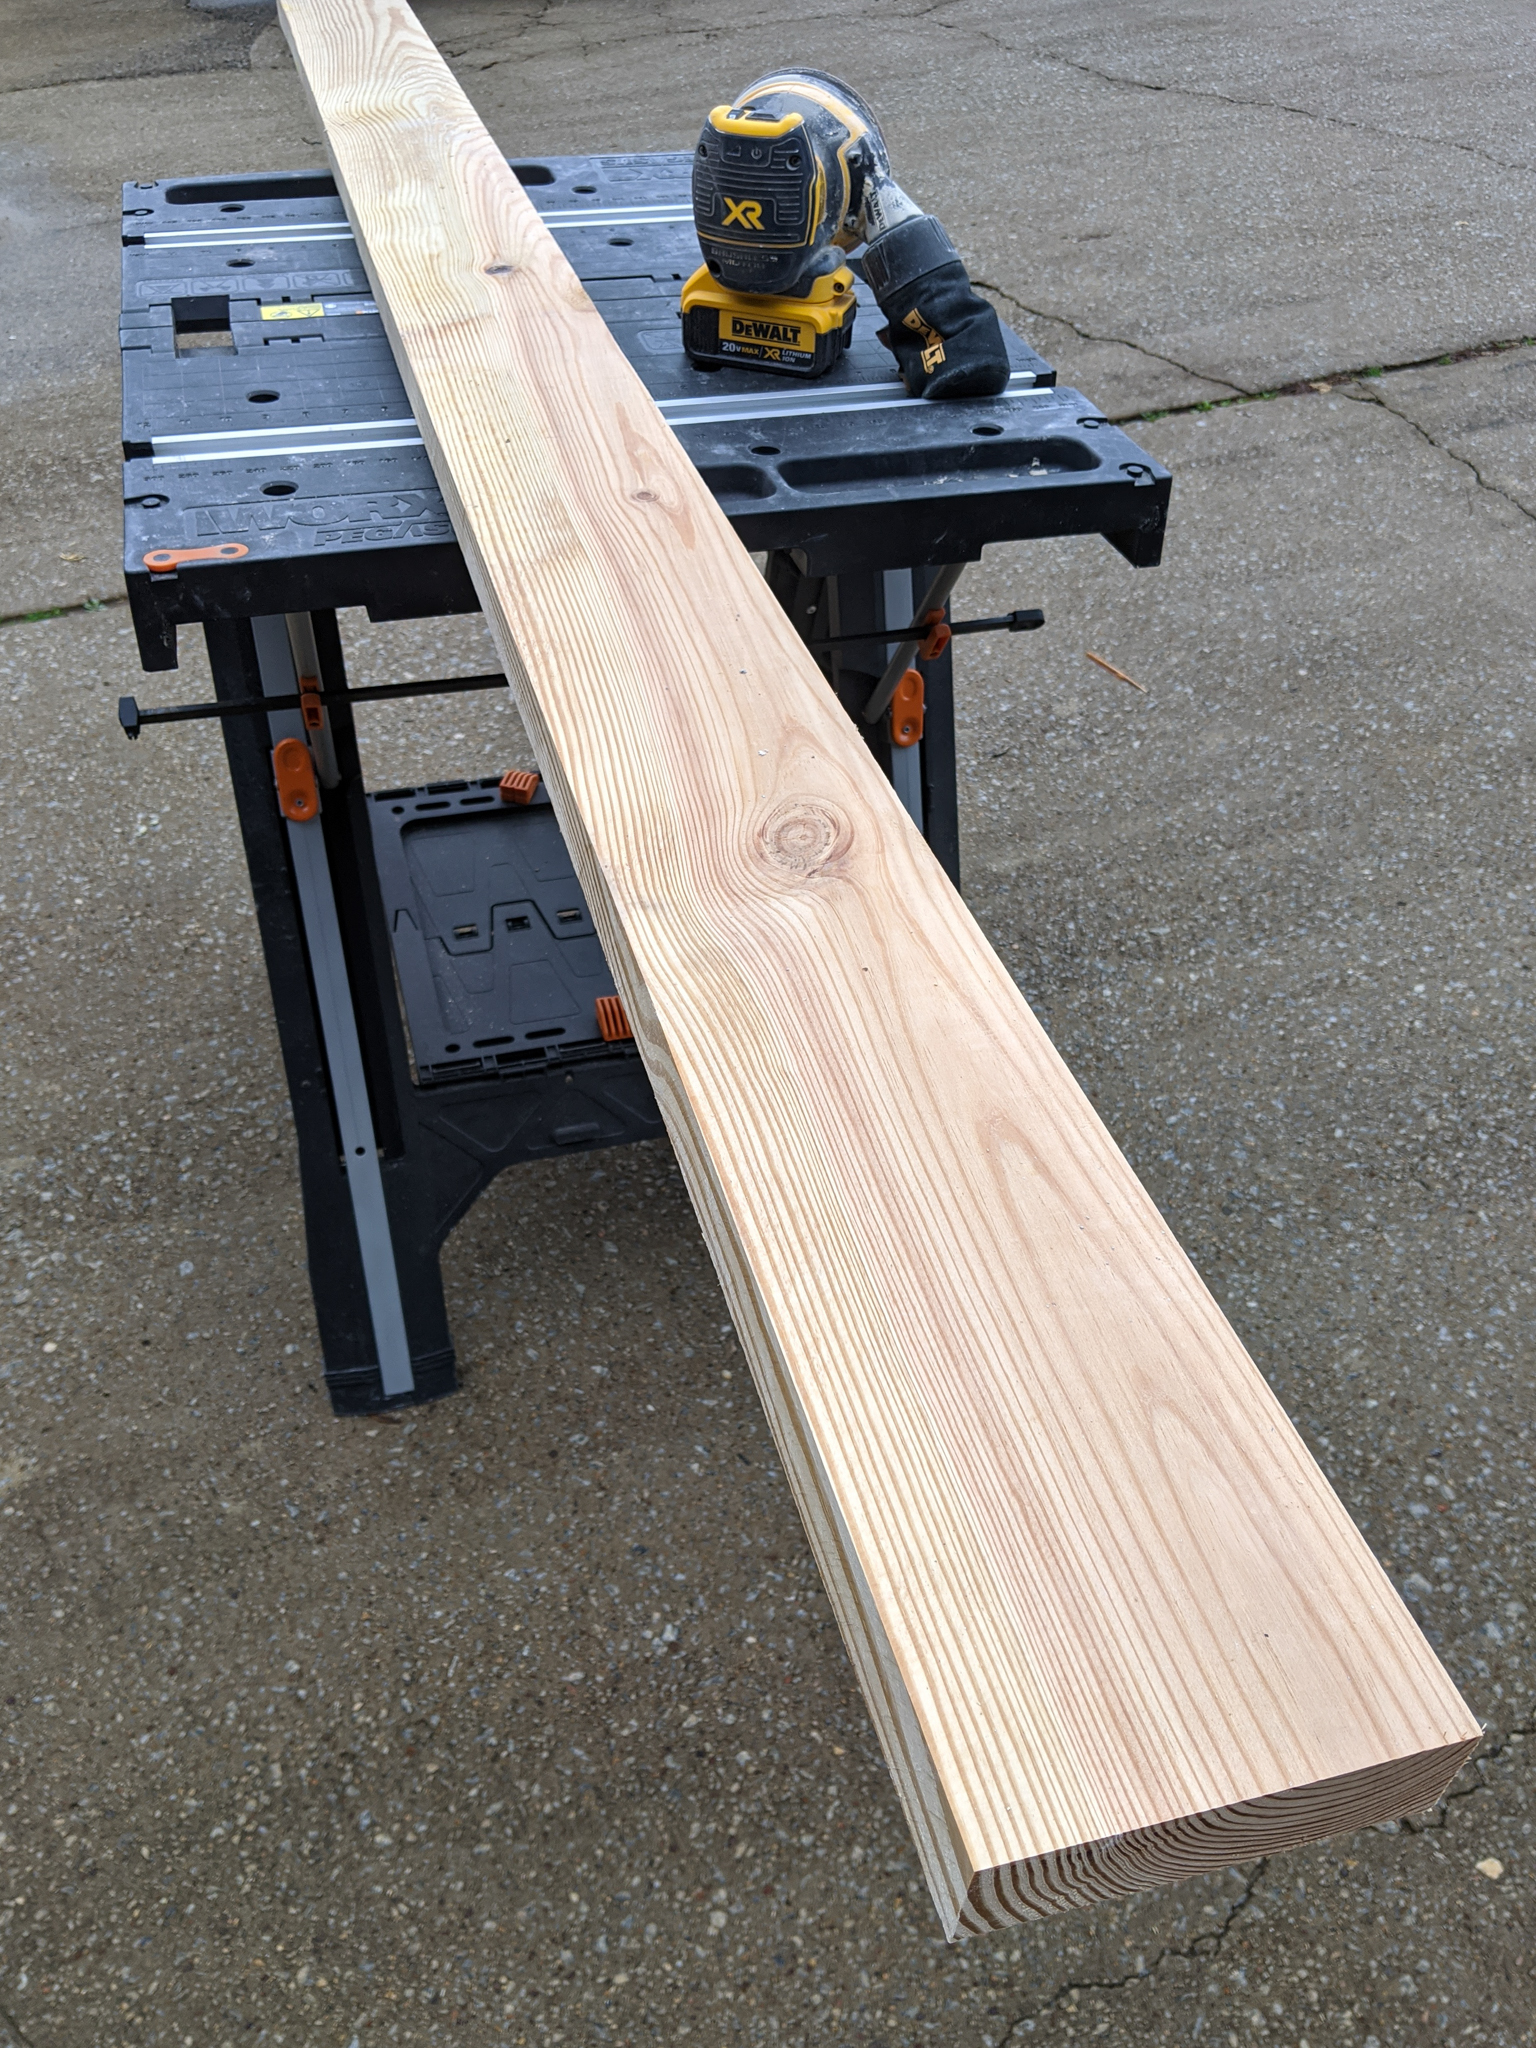
Sand the Piece of Wood
As with all of my projects, I try to use materials that I had laying around. I had a piece of 2″ thick wood that had been ripped down to 5-1/4″ wide. The picture frames would hold a 4×6 picture, so this piece of wood was perfect! Before I made any cuts, I sanded down all surfaces of the full piece of wood using 220 grit.
Cut the Wood into Small Blocks
Using my miter saw, I cut the 8′ long piece of wood into 7″ long pieces. I ended up with 13 pieces total…which happened to be the exact number that I needed!
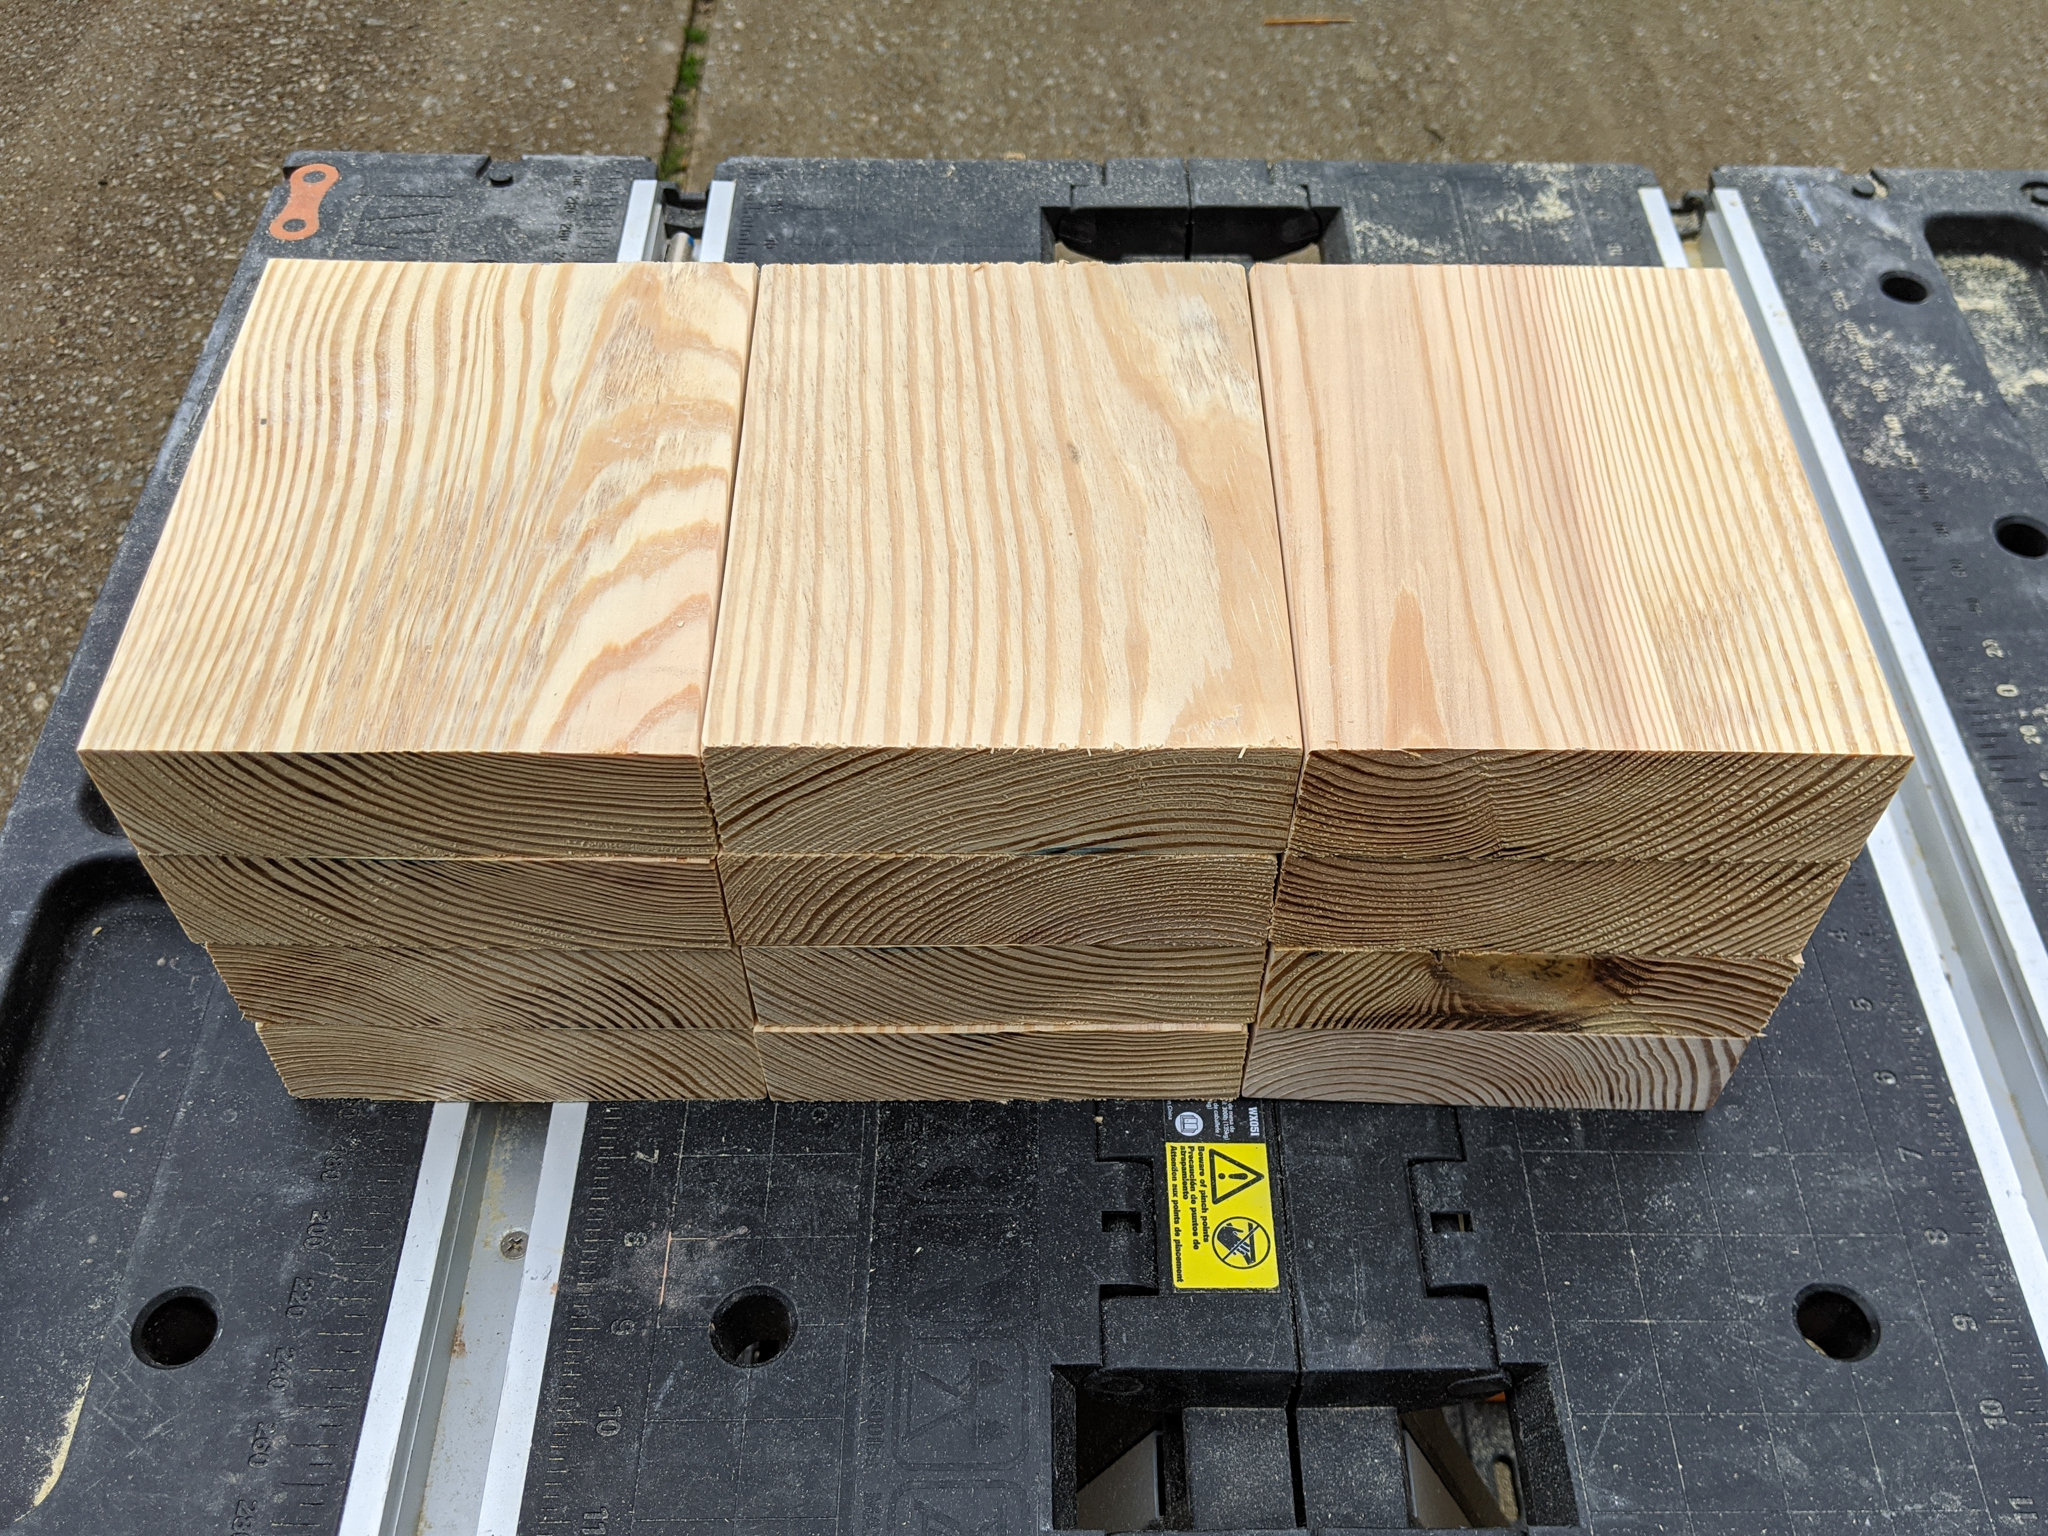
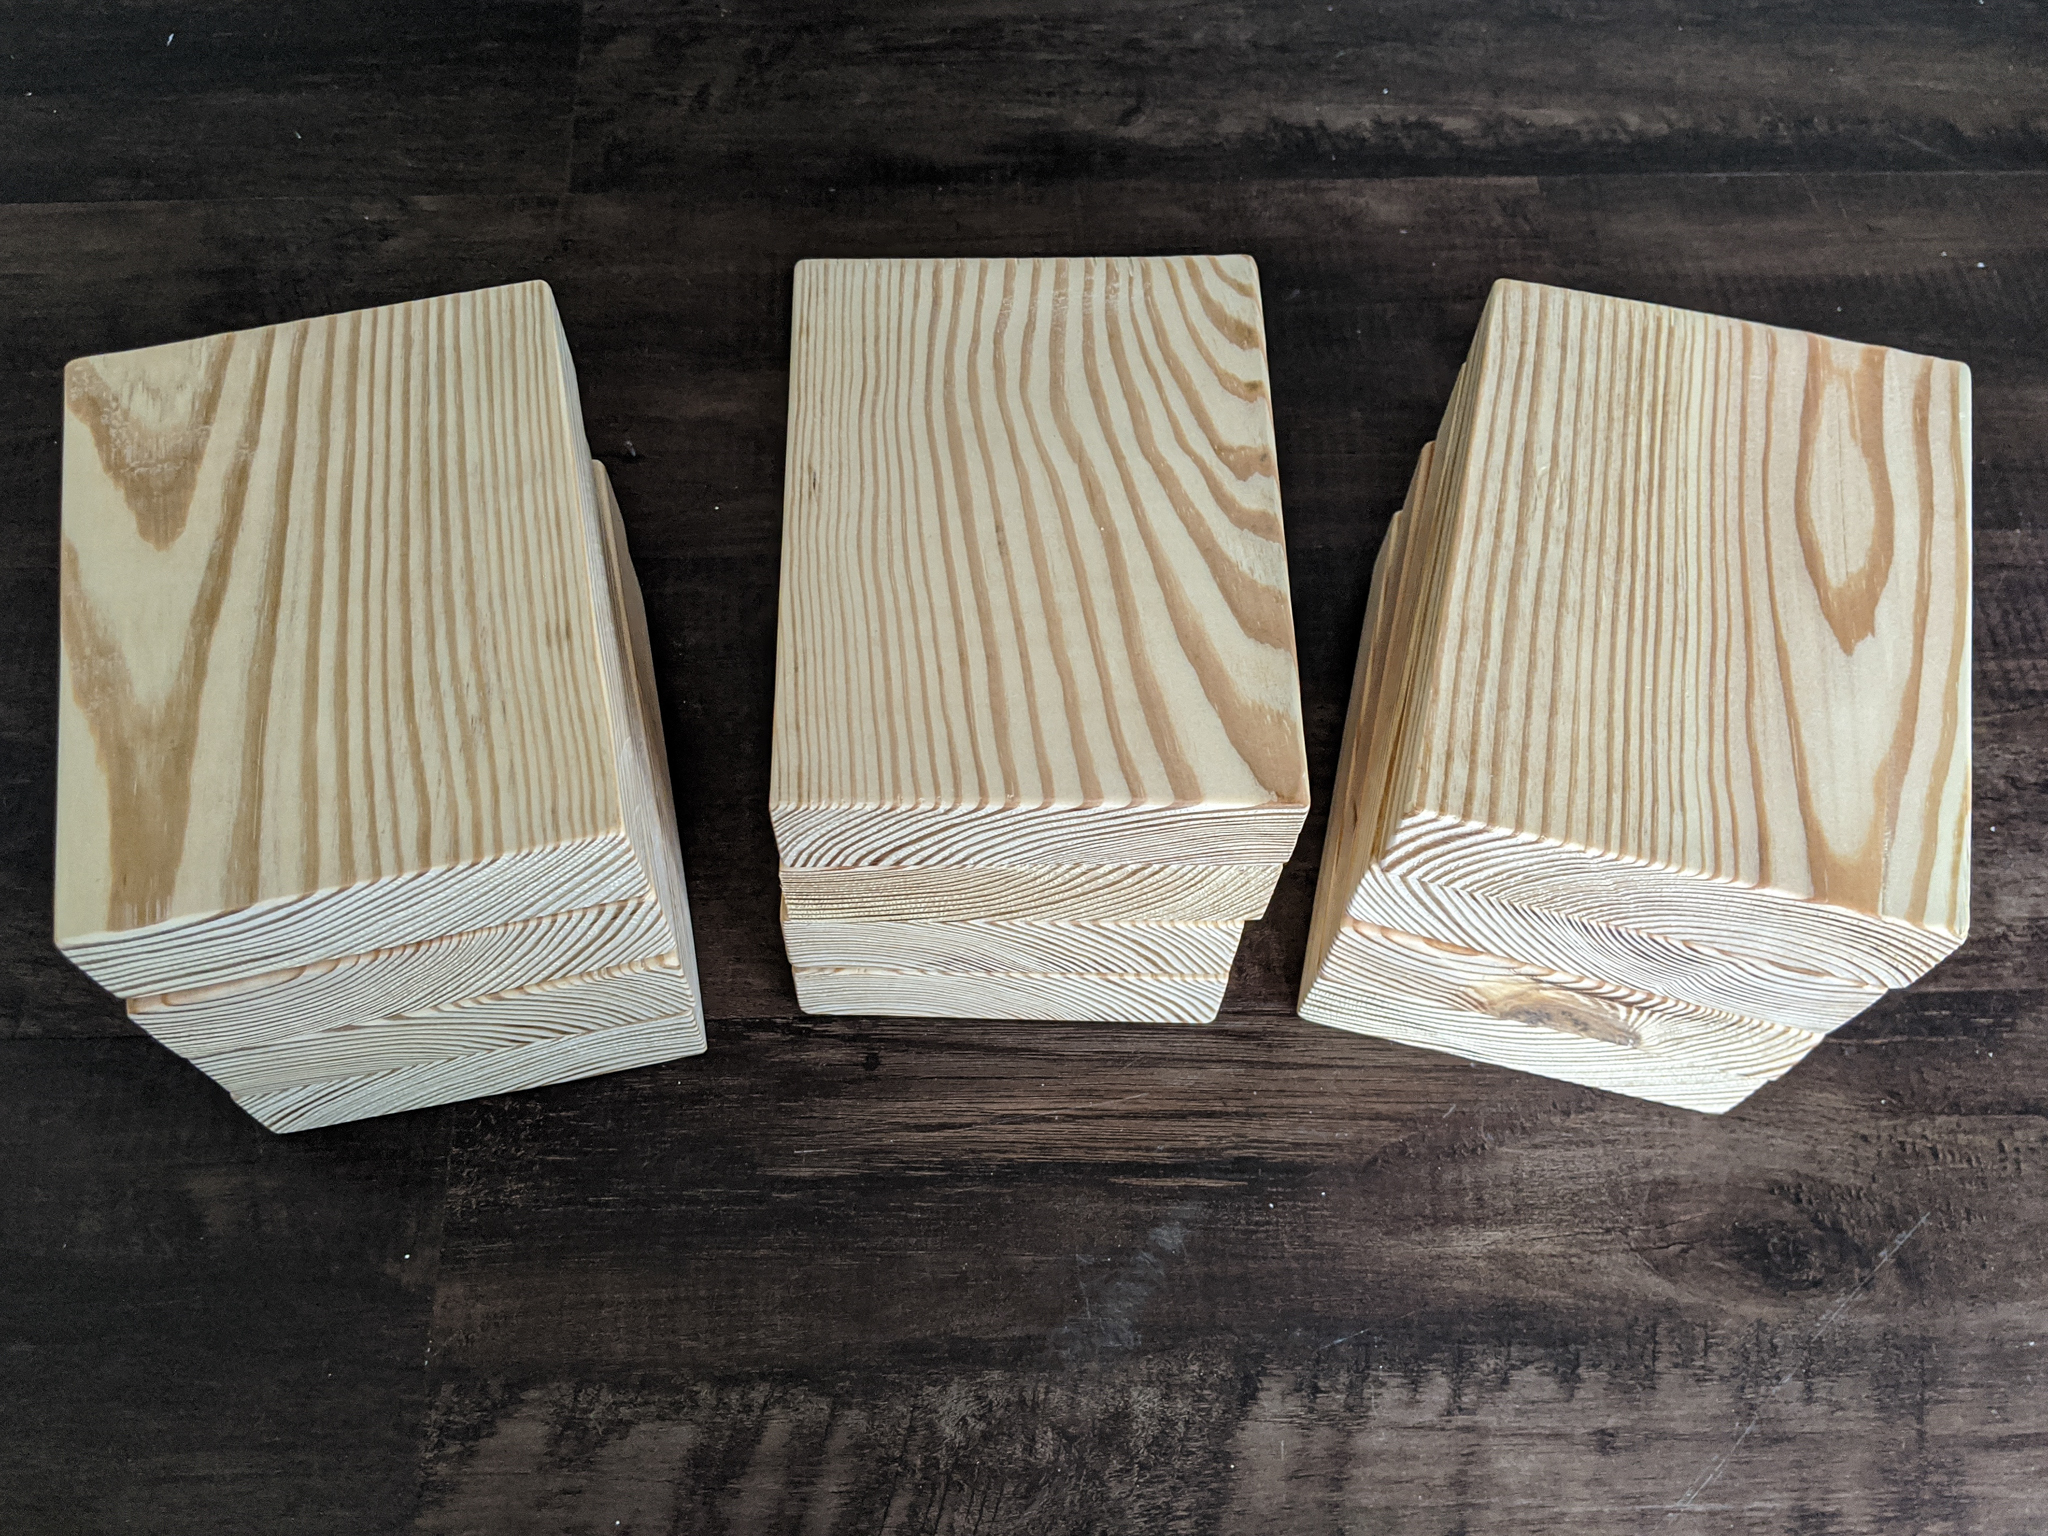
Once they were all cut, I sanded the cut edges. I got rid of the rough edges and rounded the corners.
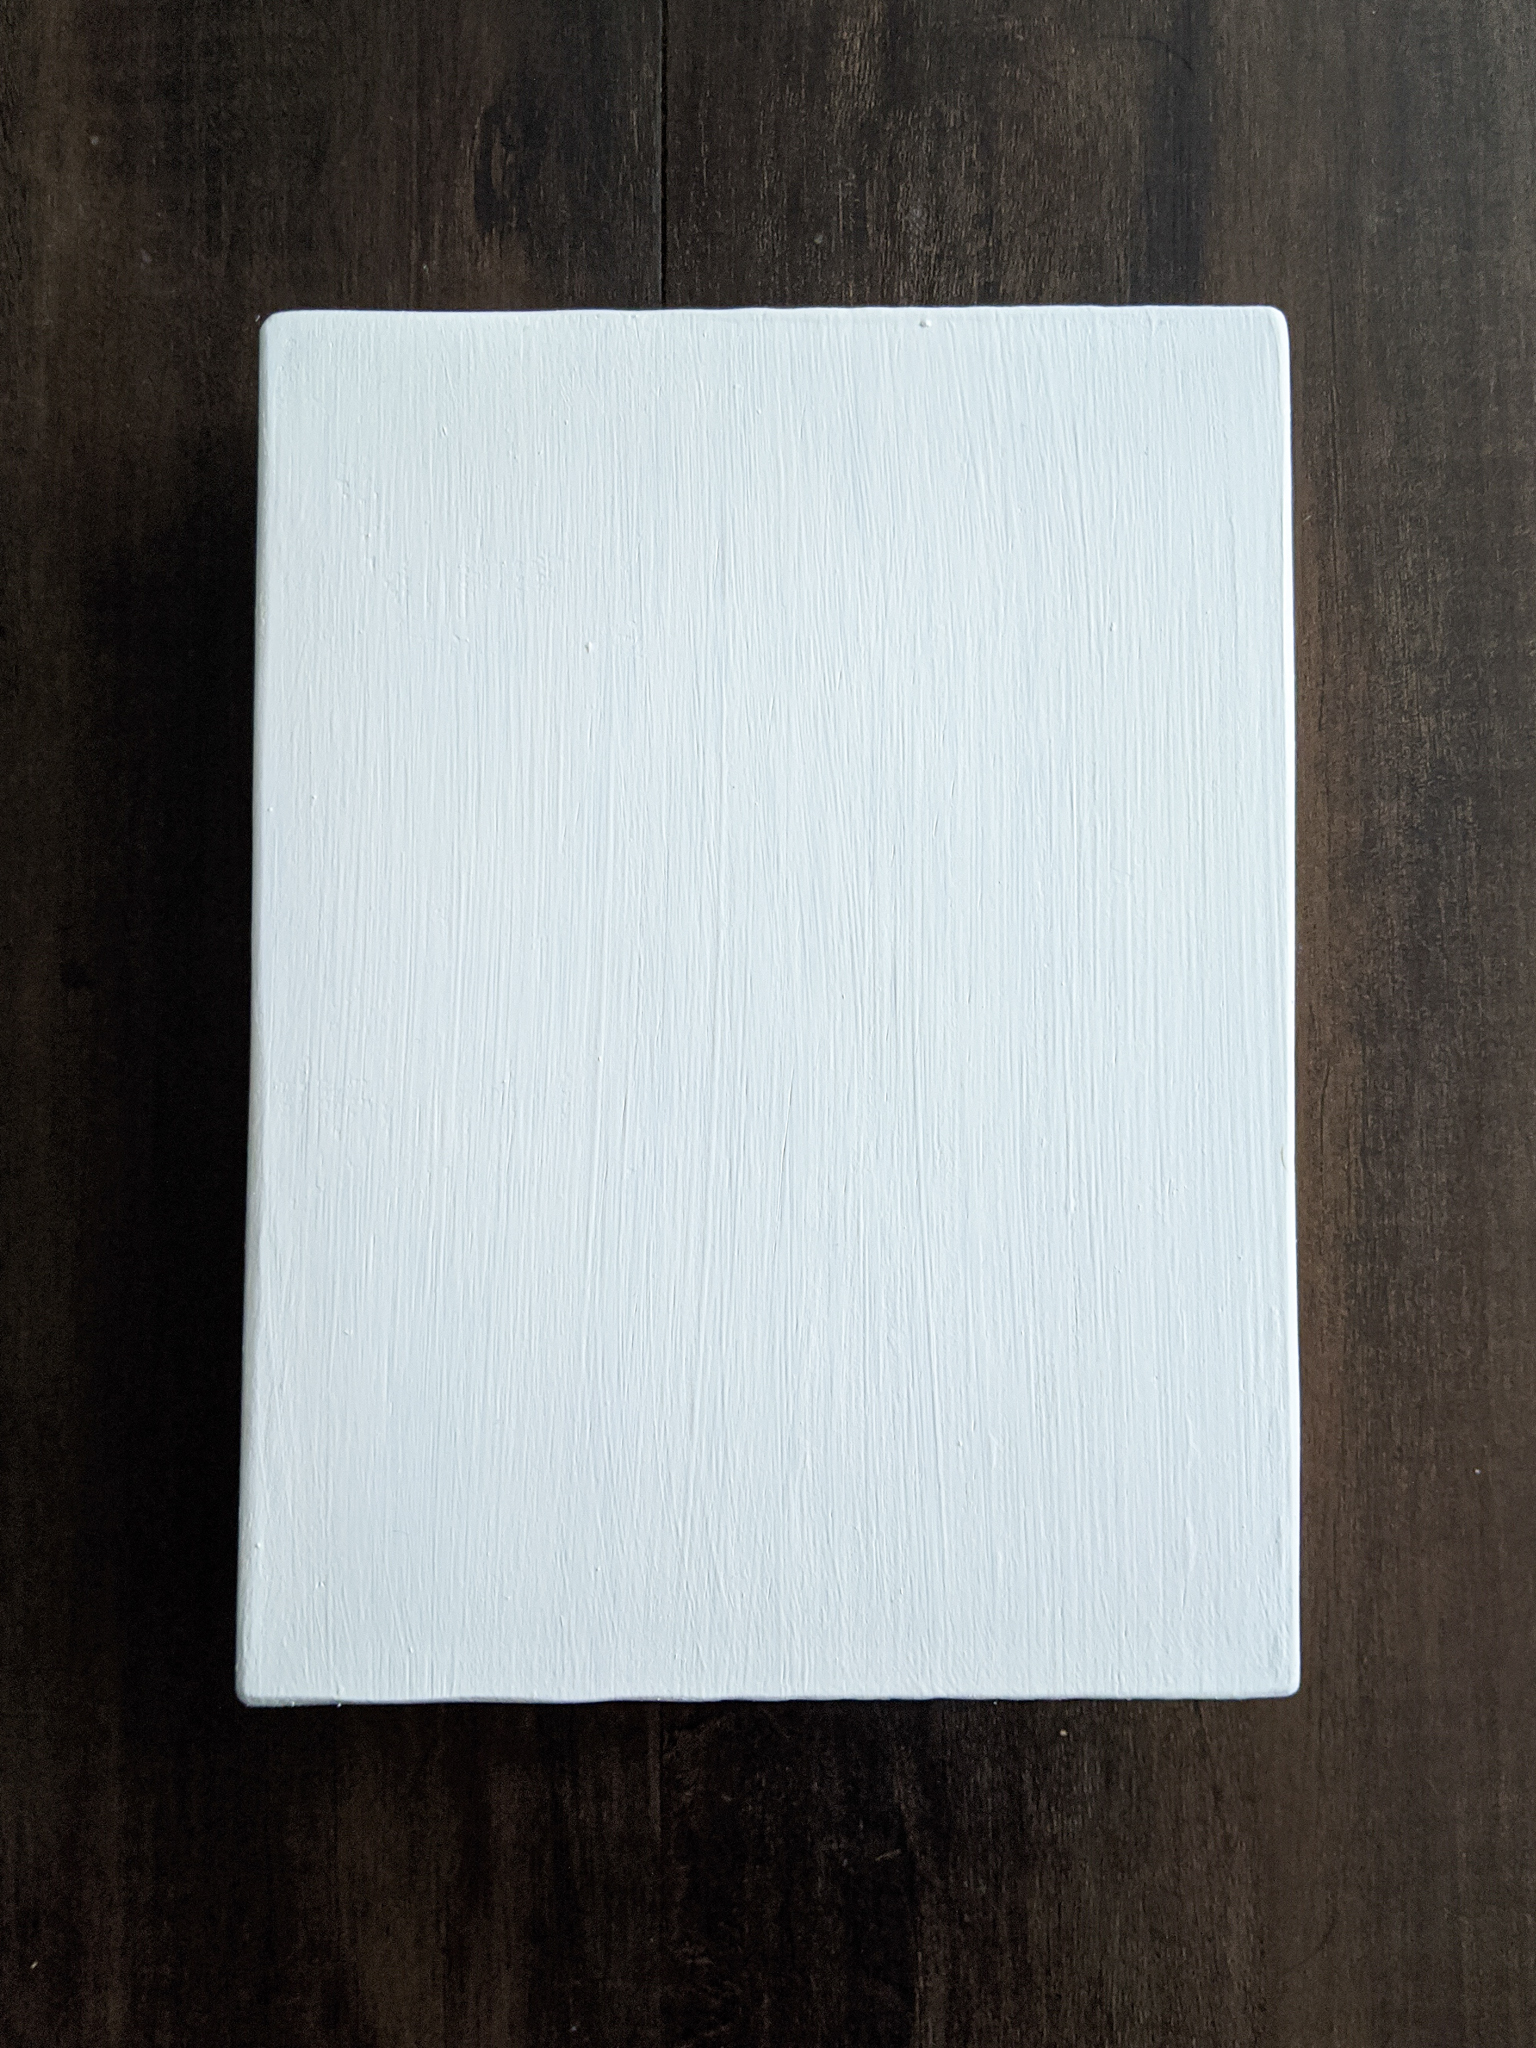
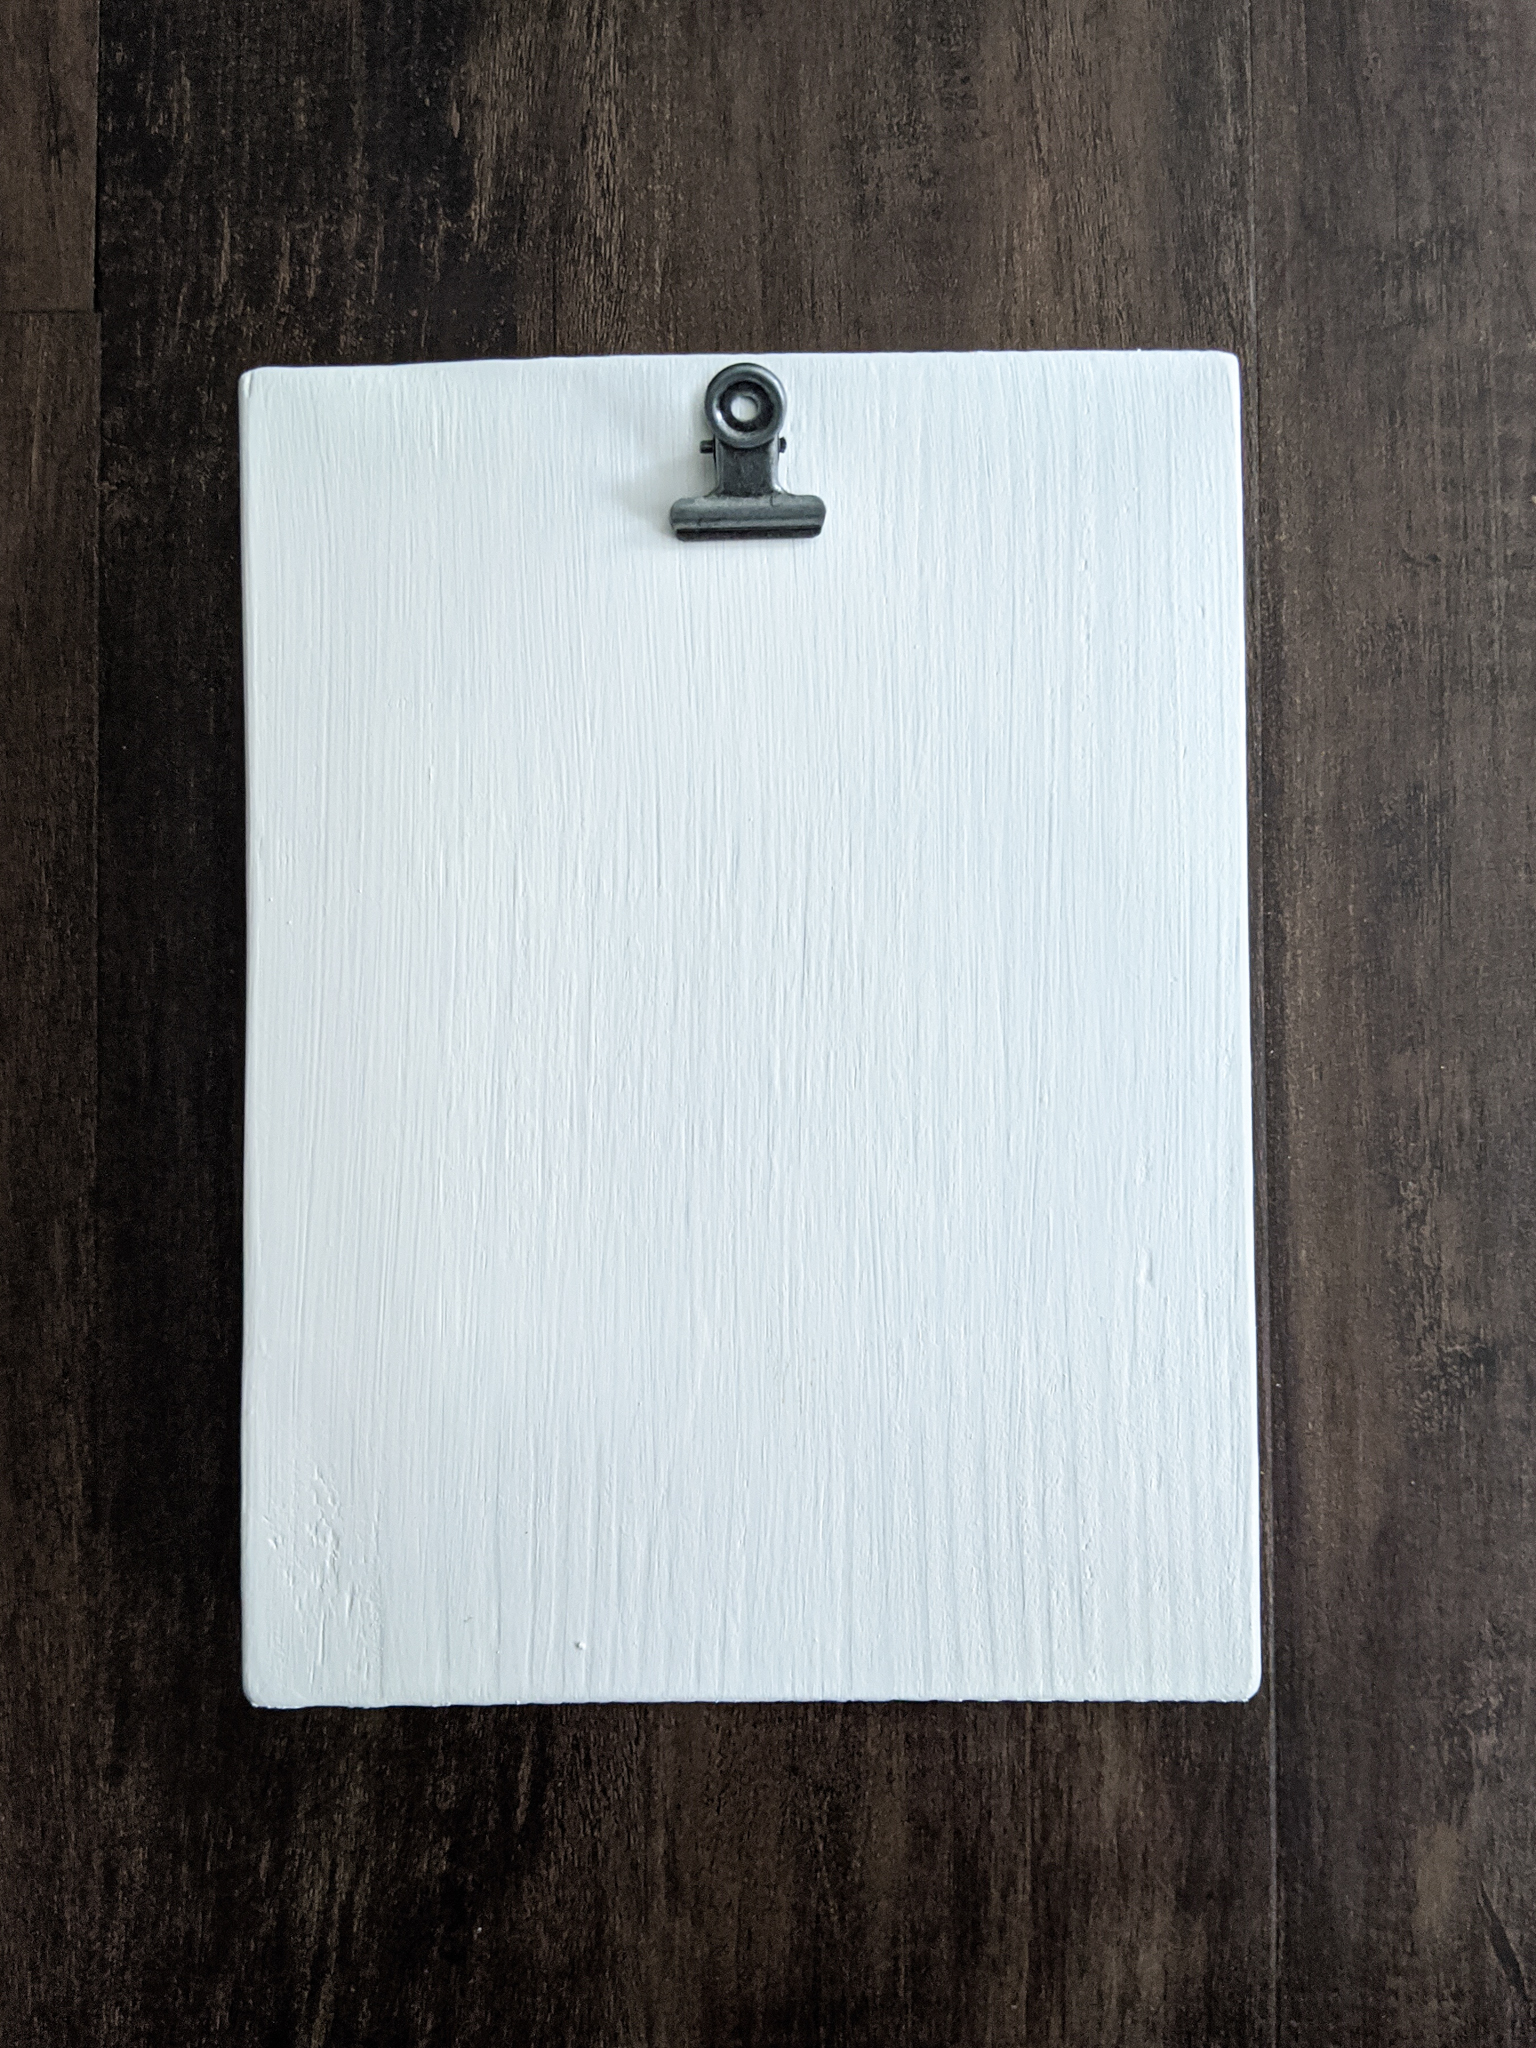
Paint or Stain the Blocks of Wood
The beauty of these wooden frames is that they can be finished any way that you like. You can paint them any color, stain them or leave them as raw wood. I decided to paint them all white. I did two coats of white paint on all sides of the wood blocks.
**This post contains affiliate links to products that I recommend. If you purchase something through an affiliate link, I may receive a small percentage of the sale at no extra cost to you. I really appreciate your support.**
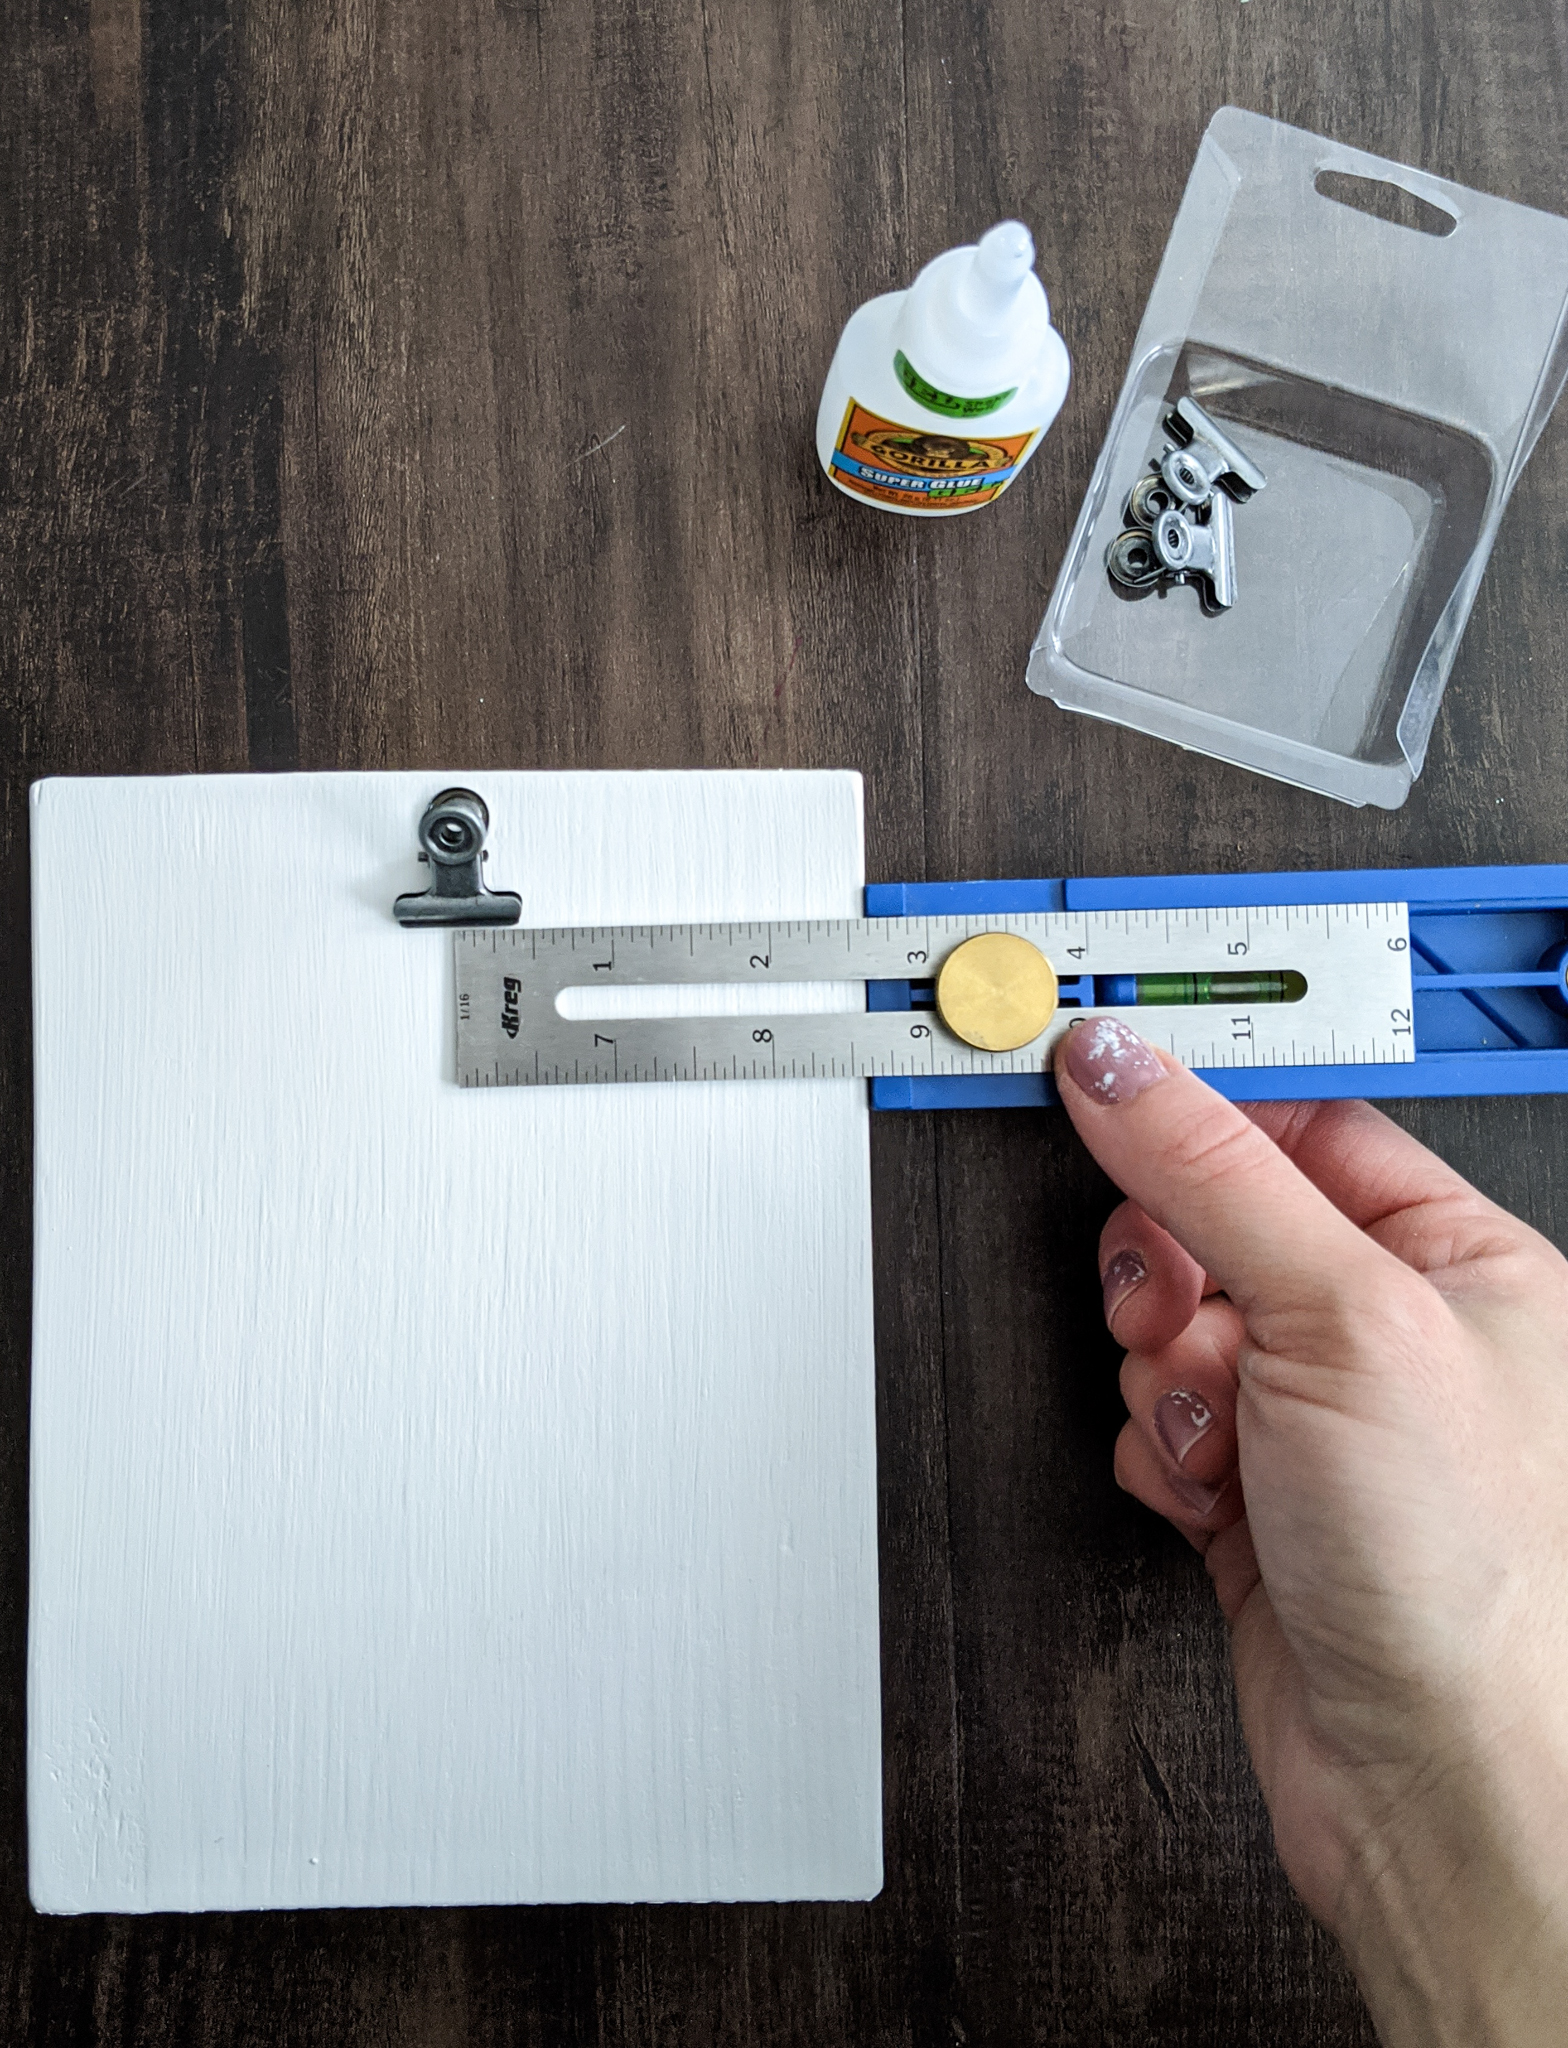
Add the Clips
Once the block of wood were completely dry, it was time to add the clips. I purchased a pack of miniature clips on Amazon (can’t beat two day shipping).
First, I secured the clips to the blocks of wood using Gorilla glue. Then, I put glue around the circle of the clip as well as the straight part of the clip that would be touching the wood. Using my Kreg measuring tool, I centered them horizontally on the block and just below the top edge of the block. (Don’t mind the paint covered nails..)
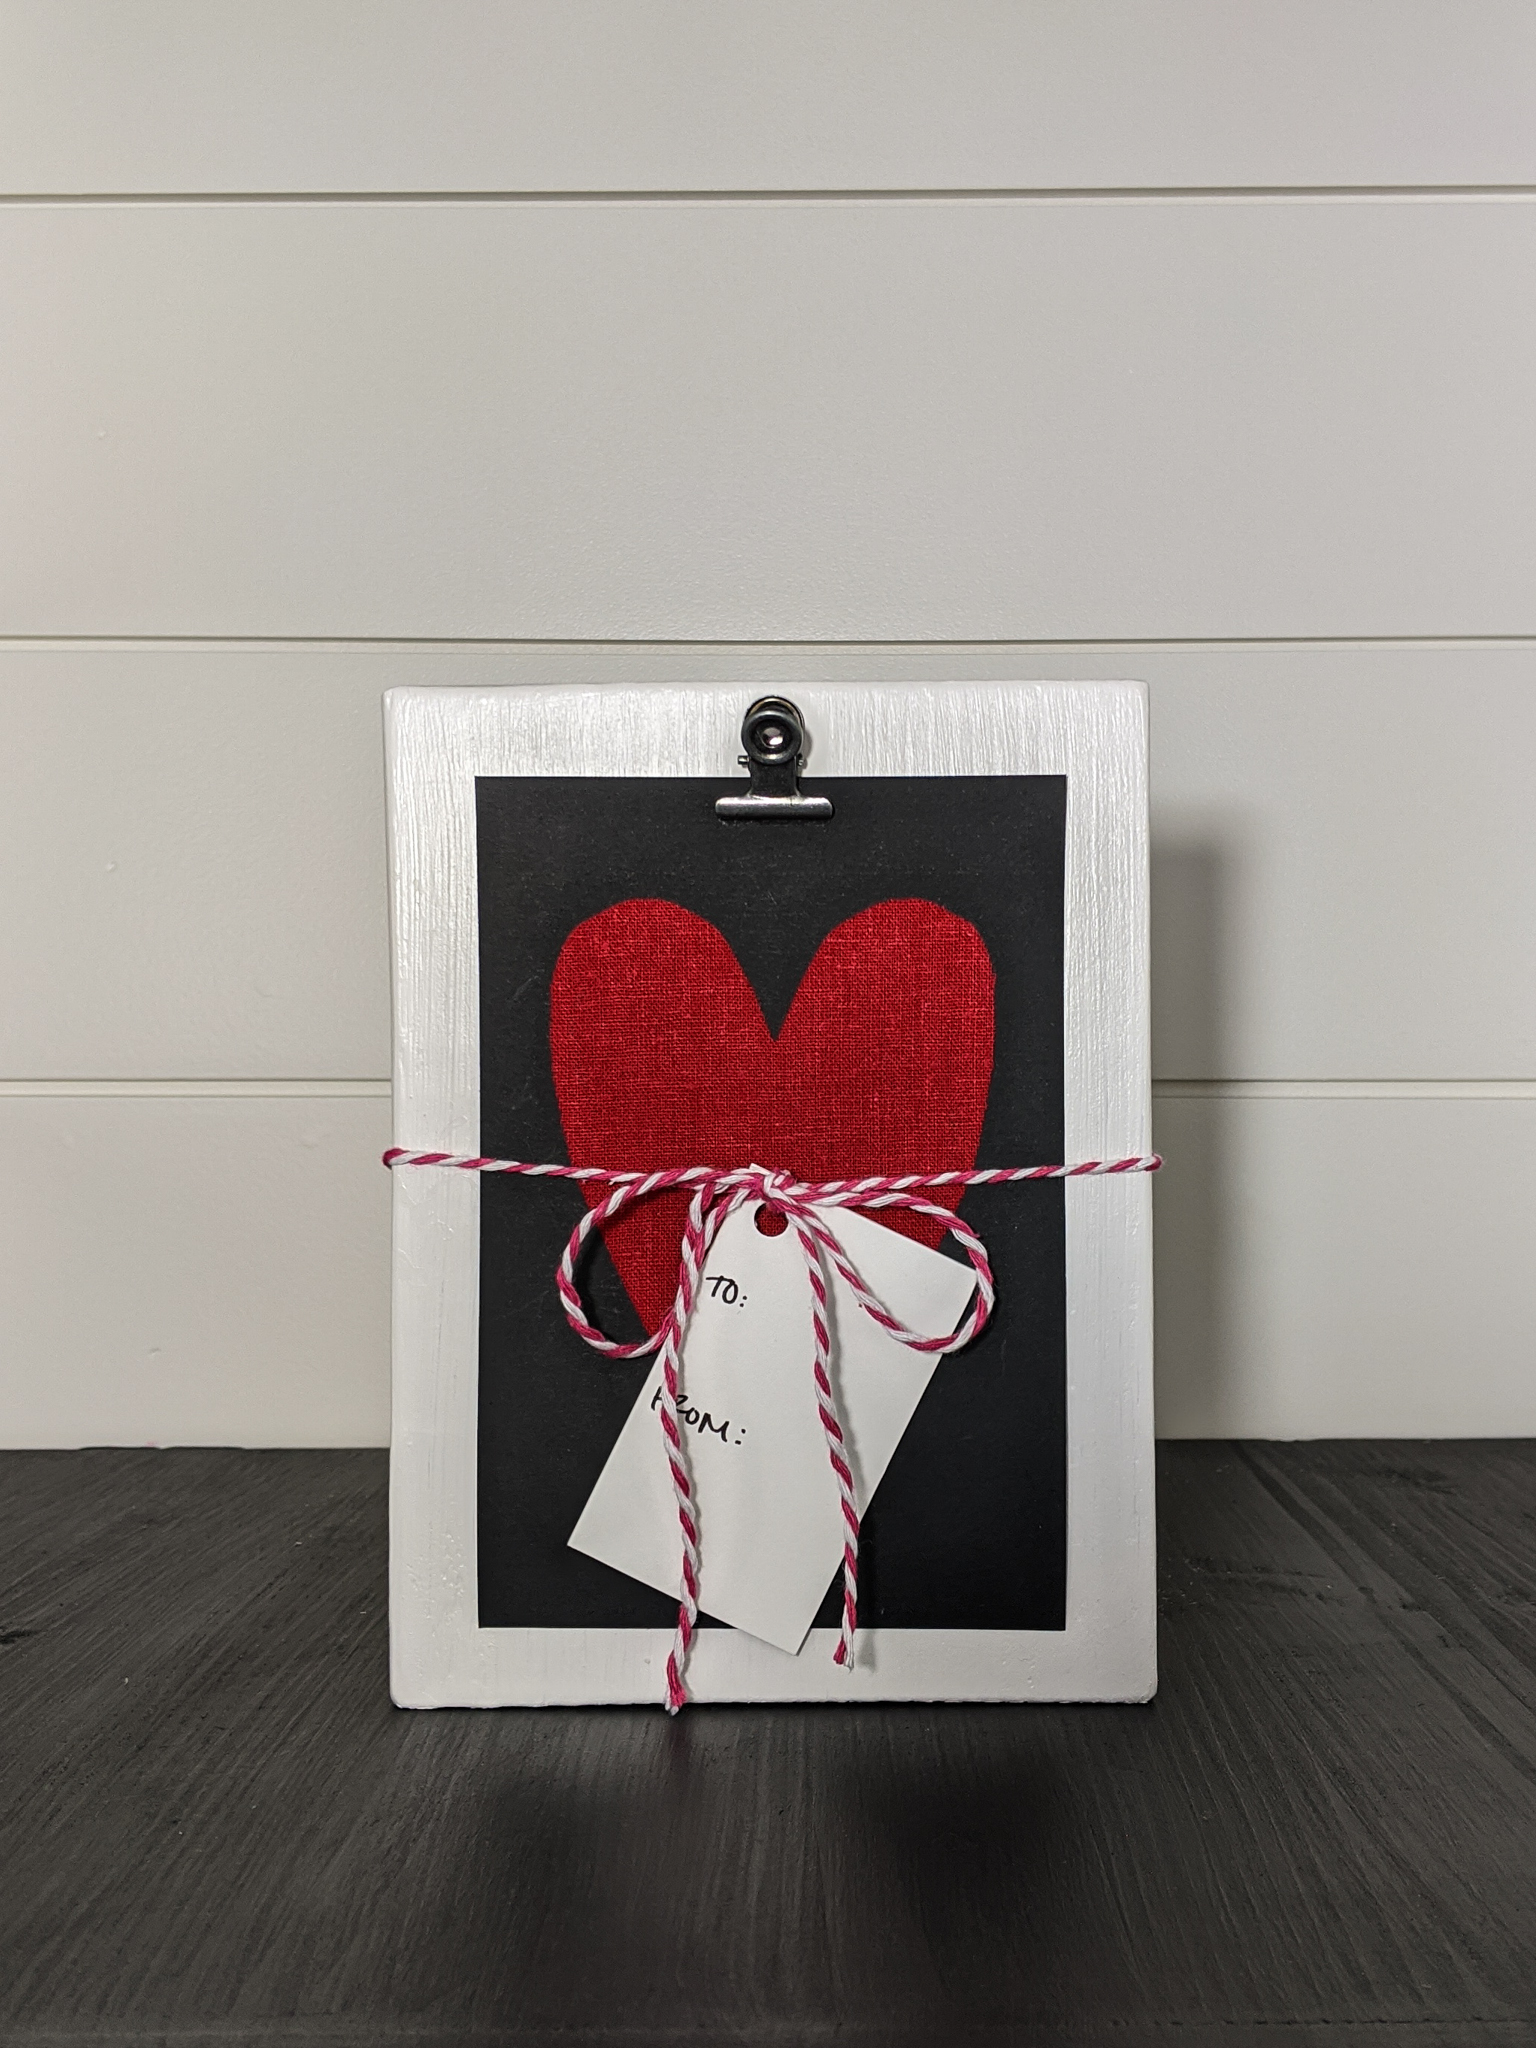
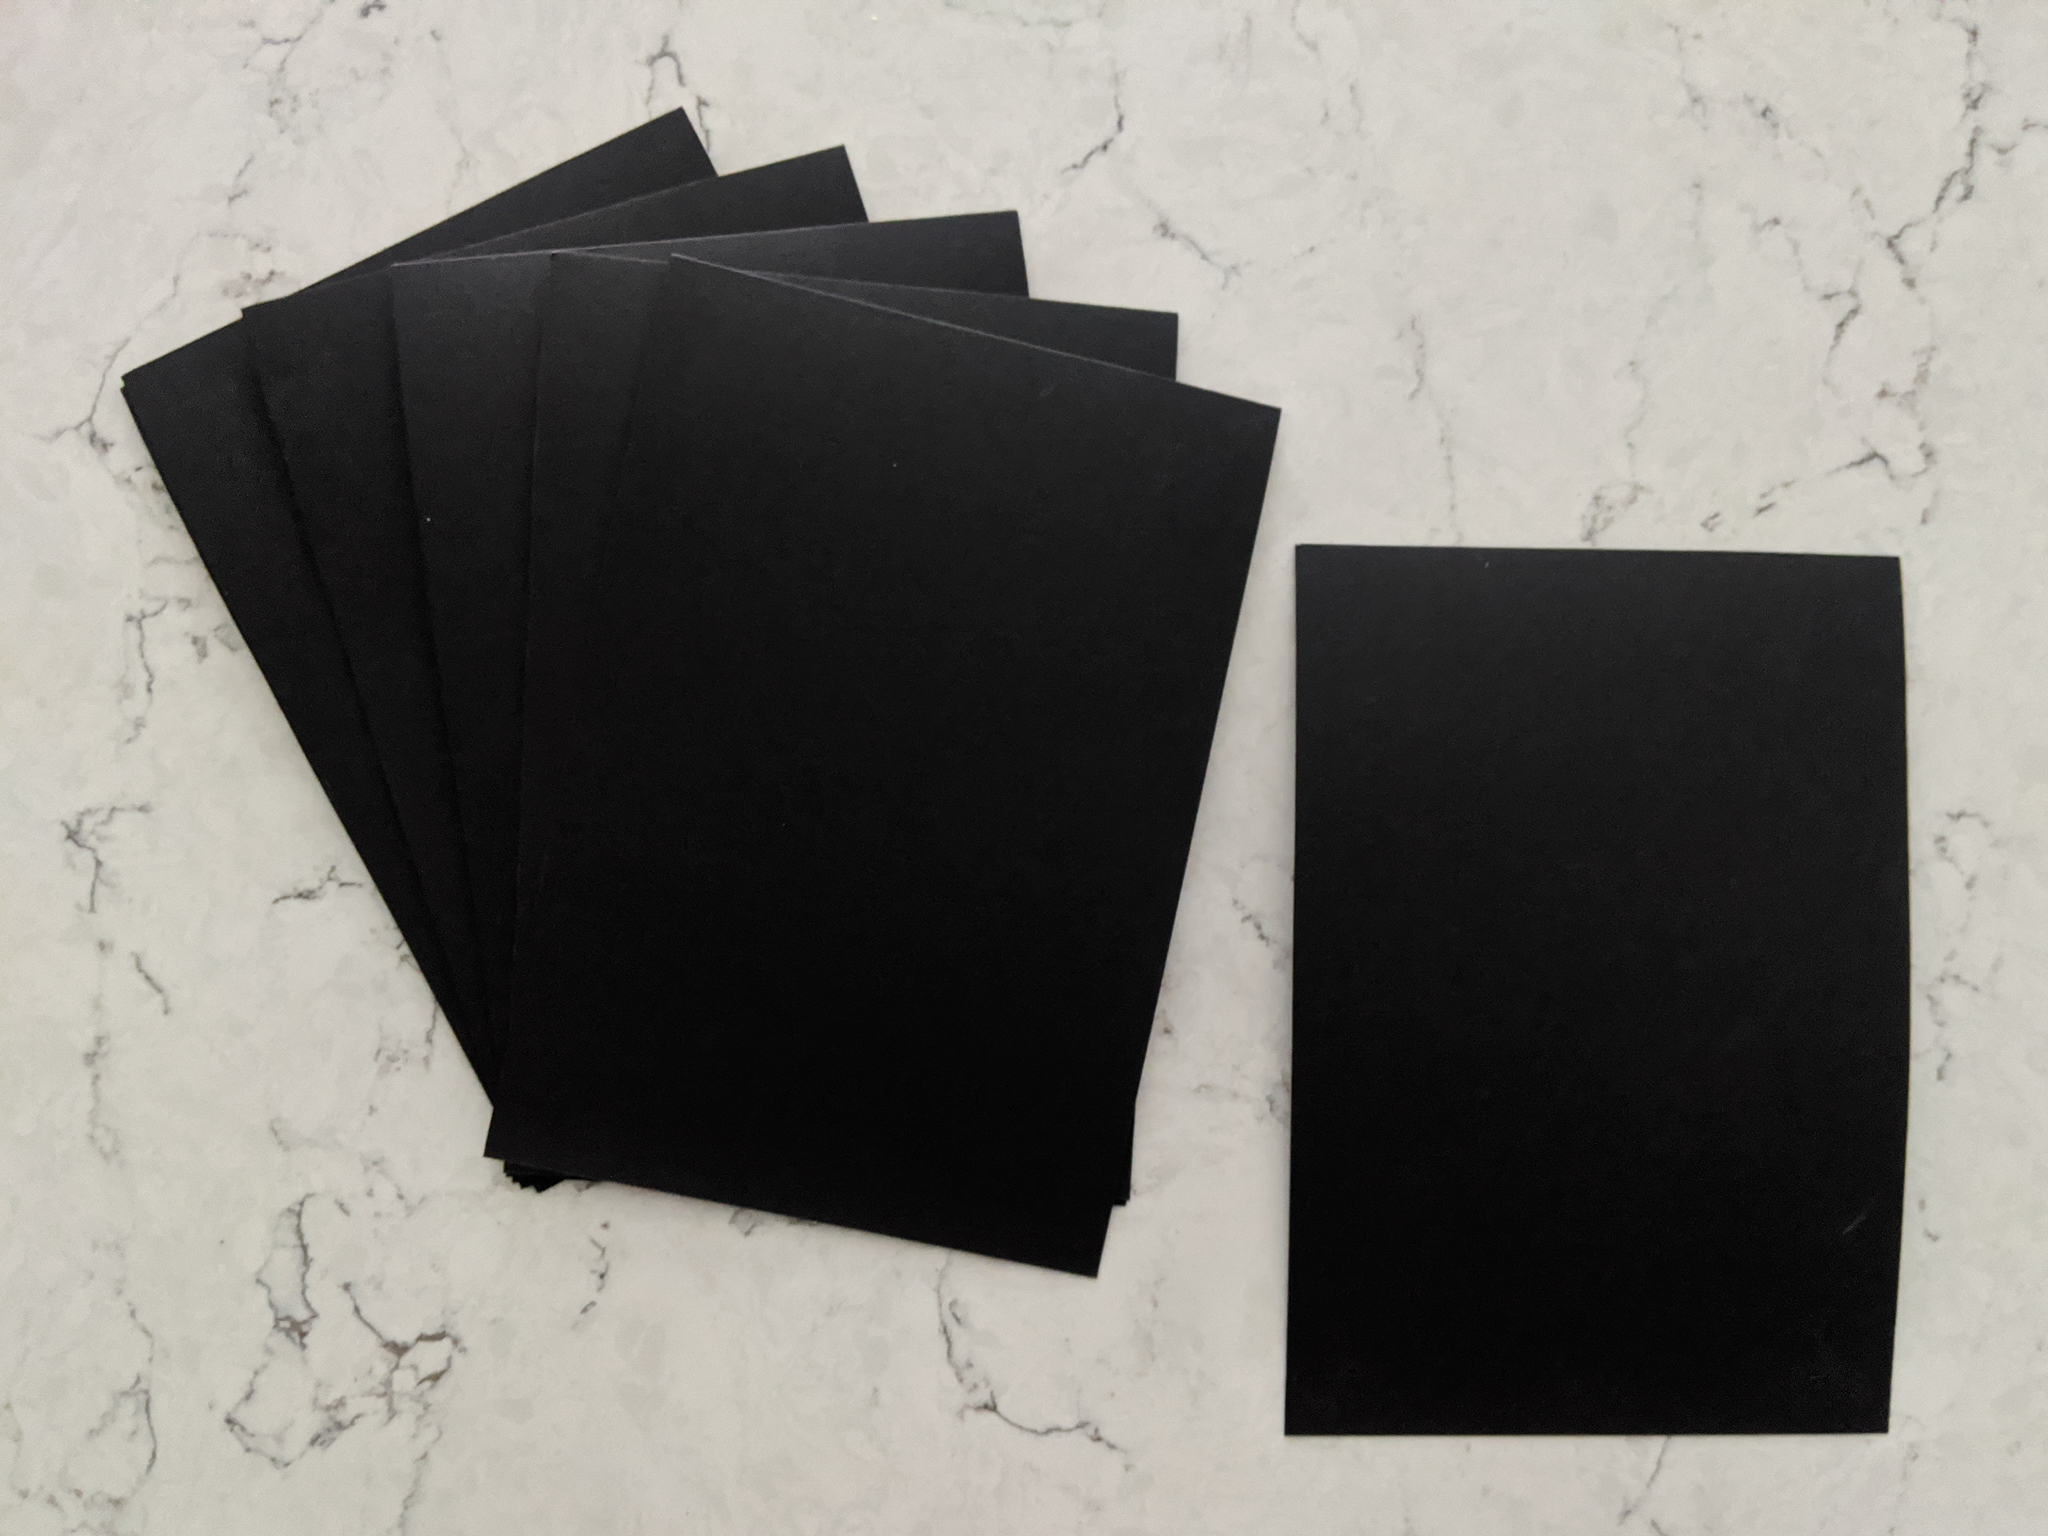
Make Heart Card
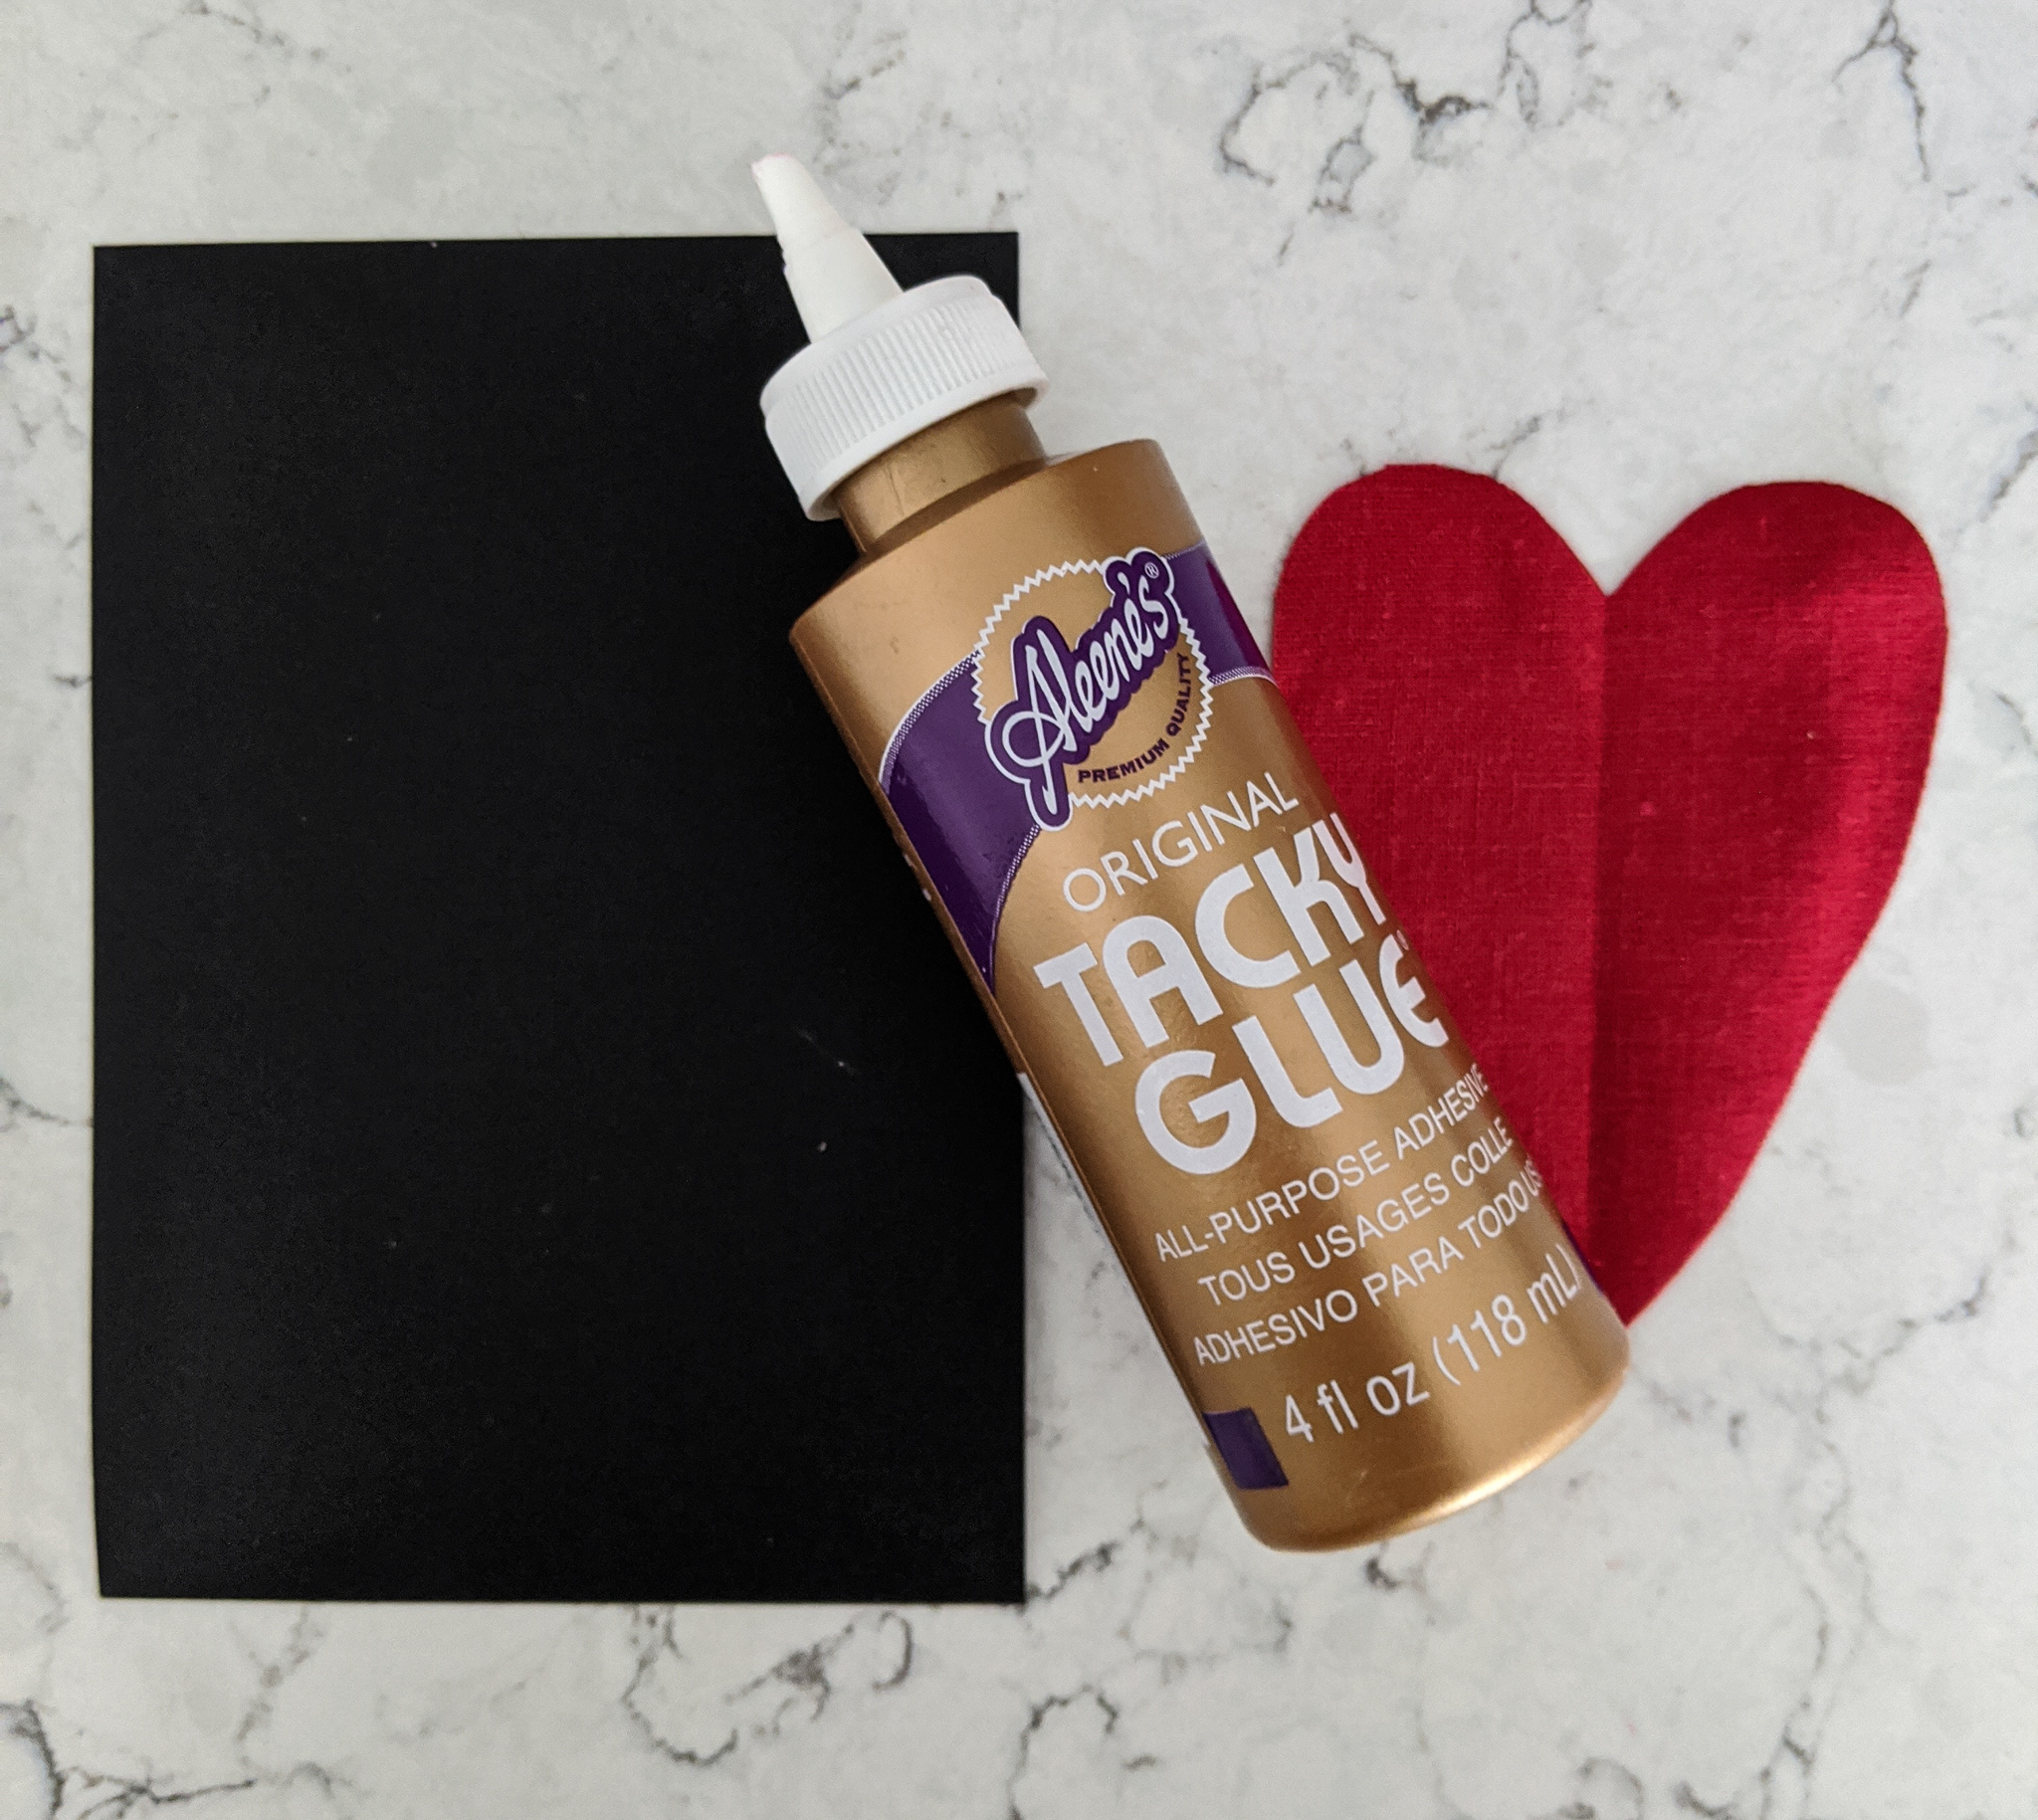
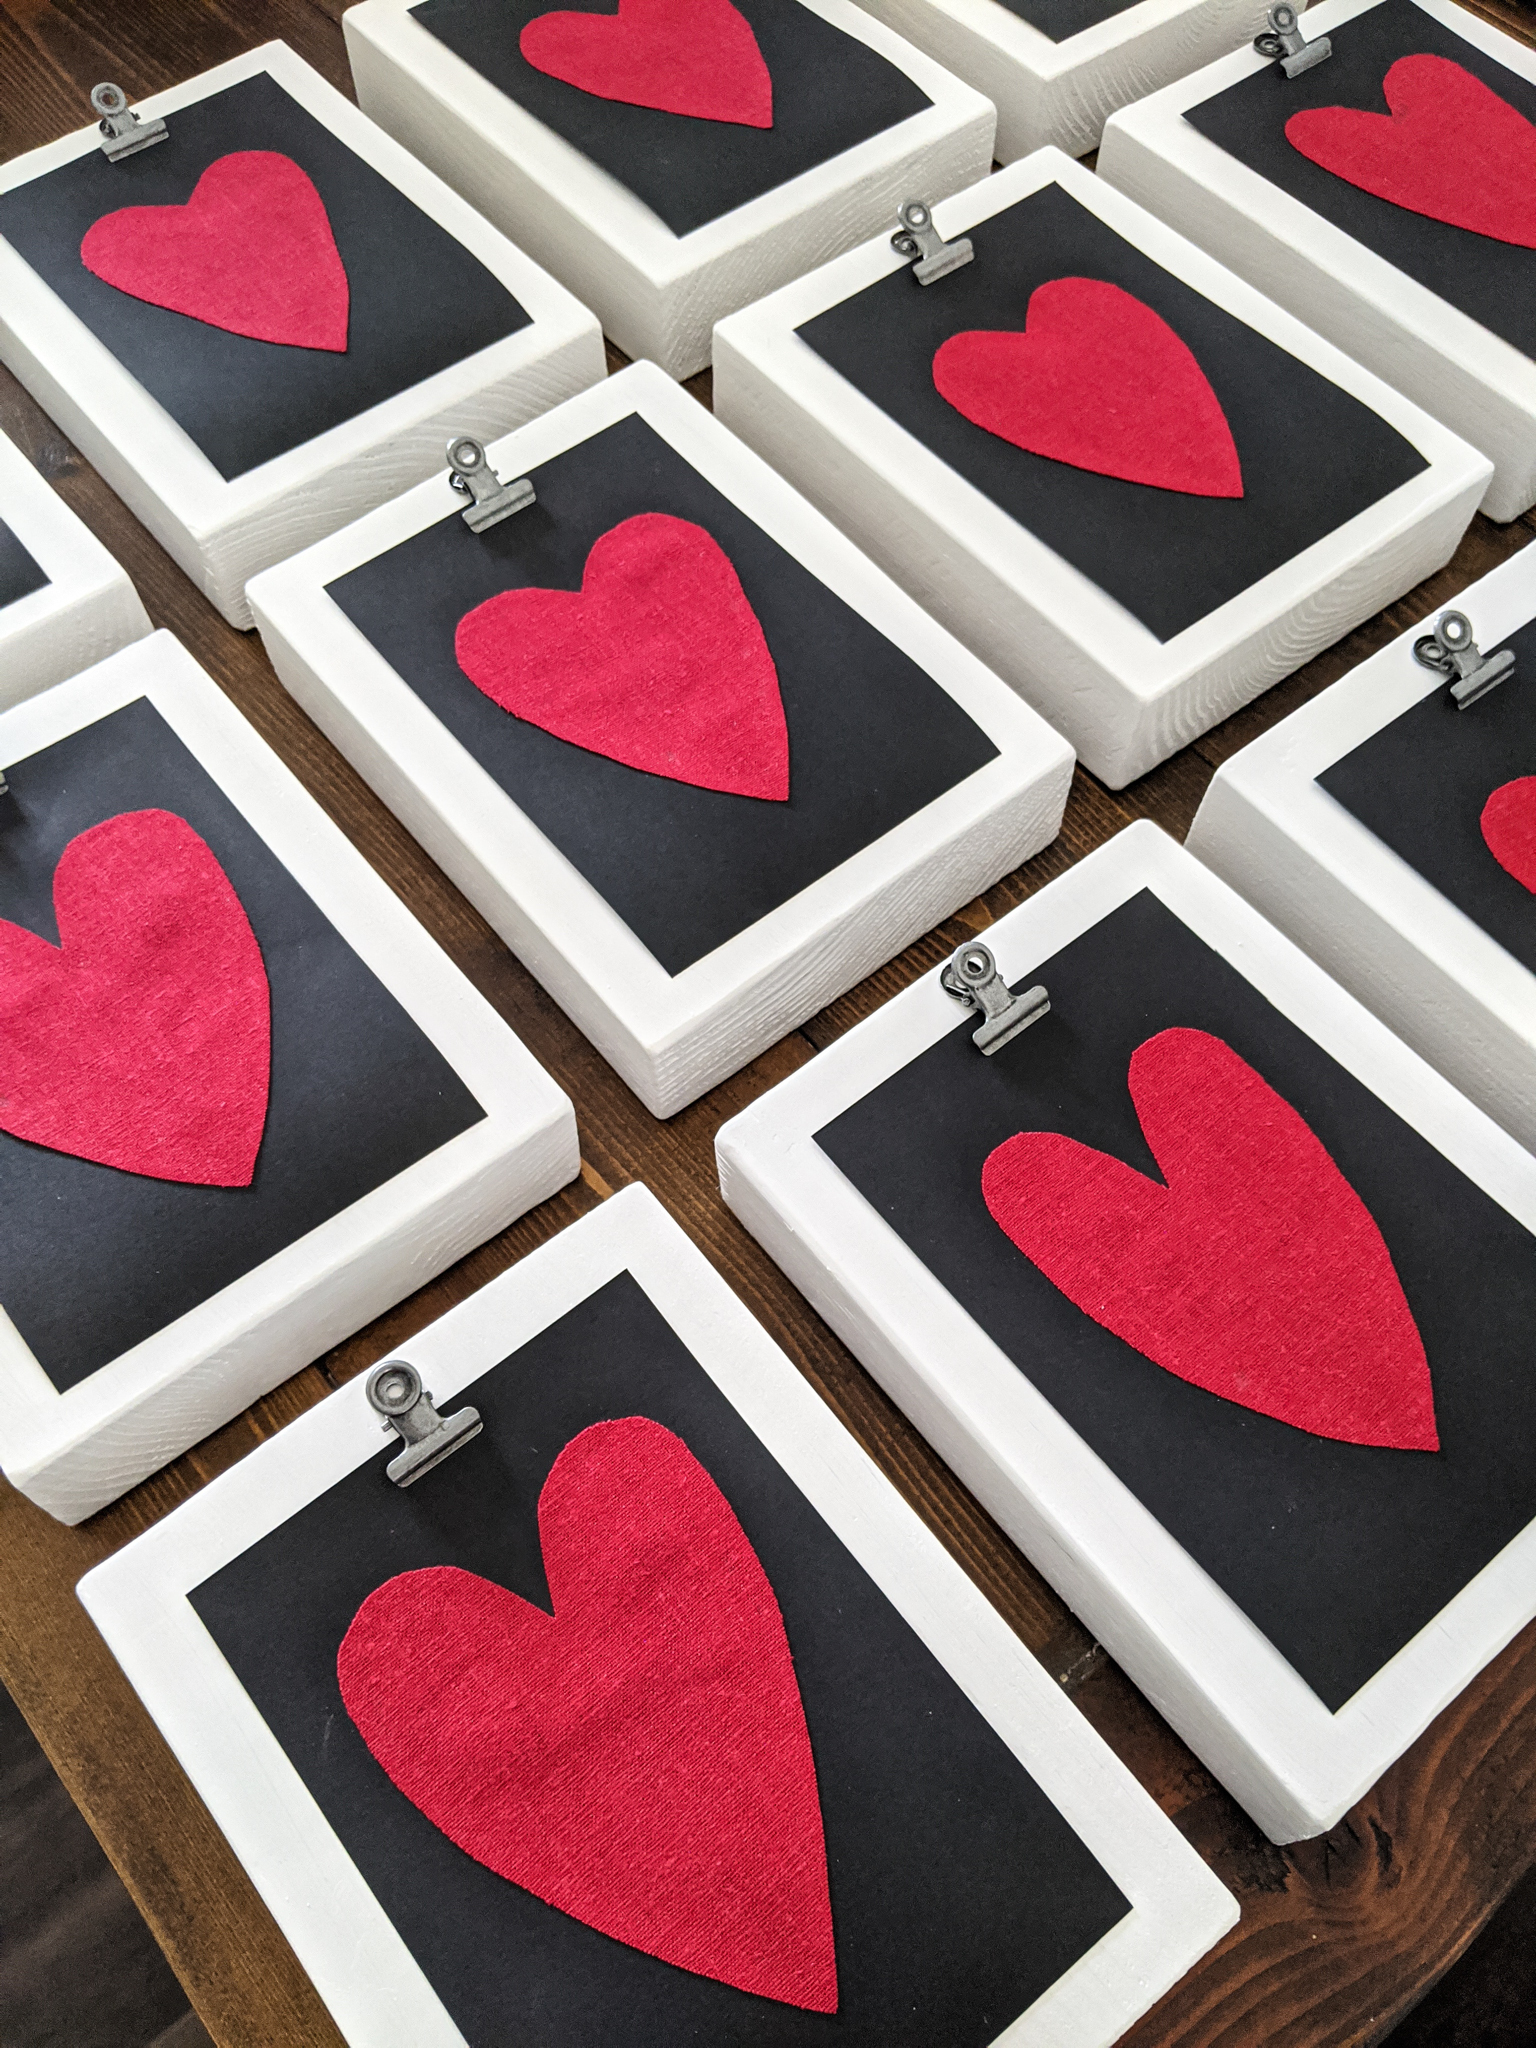
In order to make them more festive (they were Valentine’s Day gifts), I made heart cards for the frames. These can easily be customized for different holidays or the frames can be gifted with a 4×6 picture. I started out with 4×6 pieces of black card stock.
Using red linen that I had in my craft supplies, I cut out hearts. I did this by folding the piece of linen in half and cutting half a heart. Then, I glued the hearts to the pieces of card stock.
I made sure to allow the glue on the clips to dry before I added the heart cards to the frames.
Tie Them with a Bow
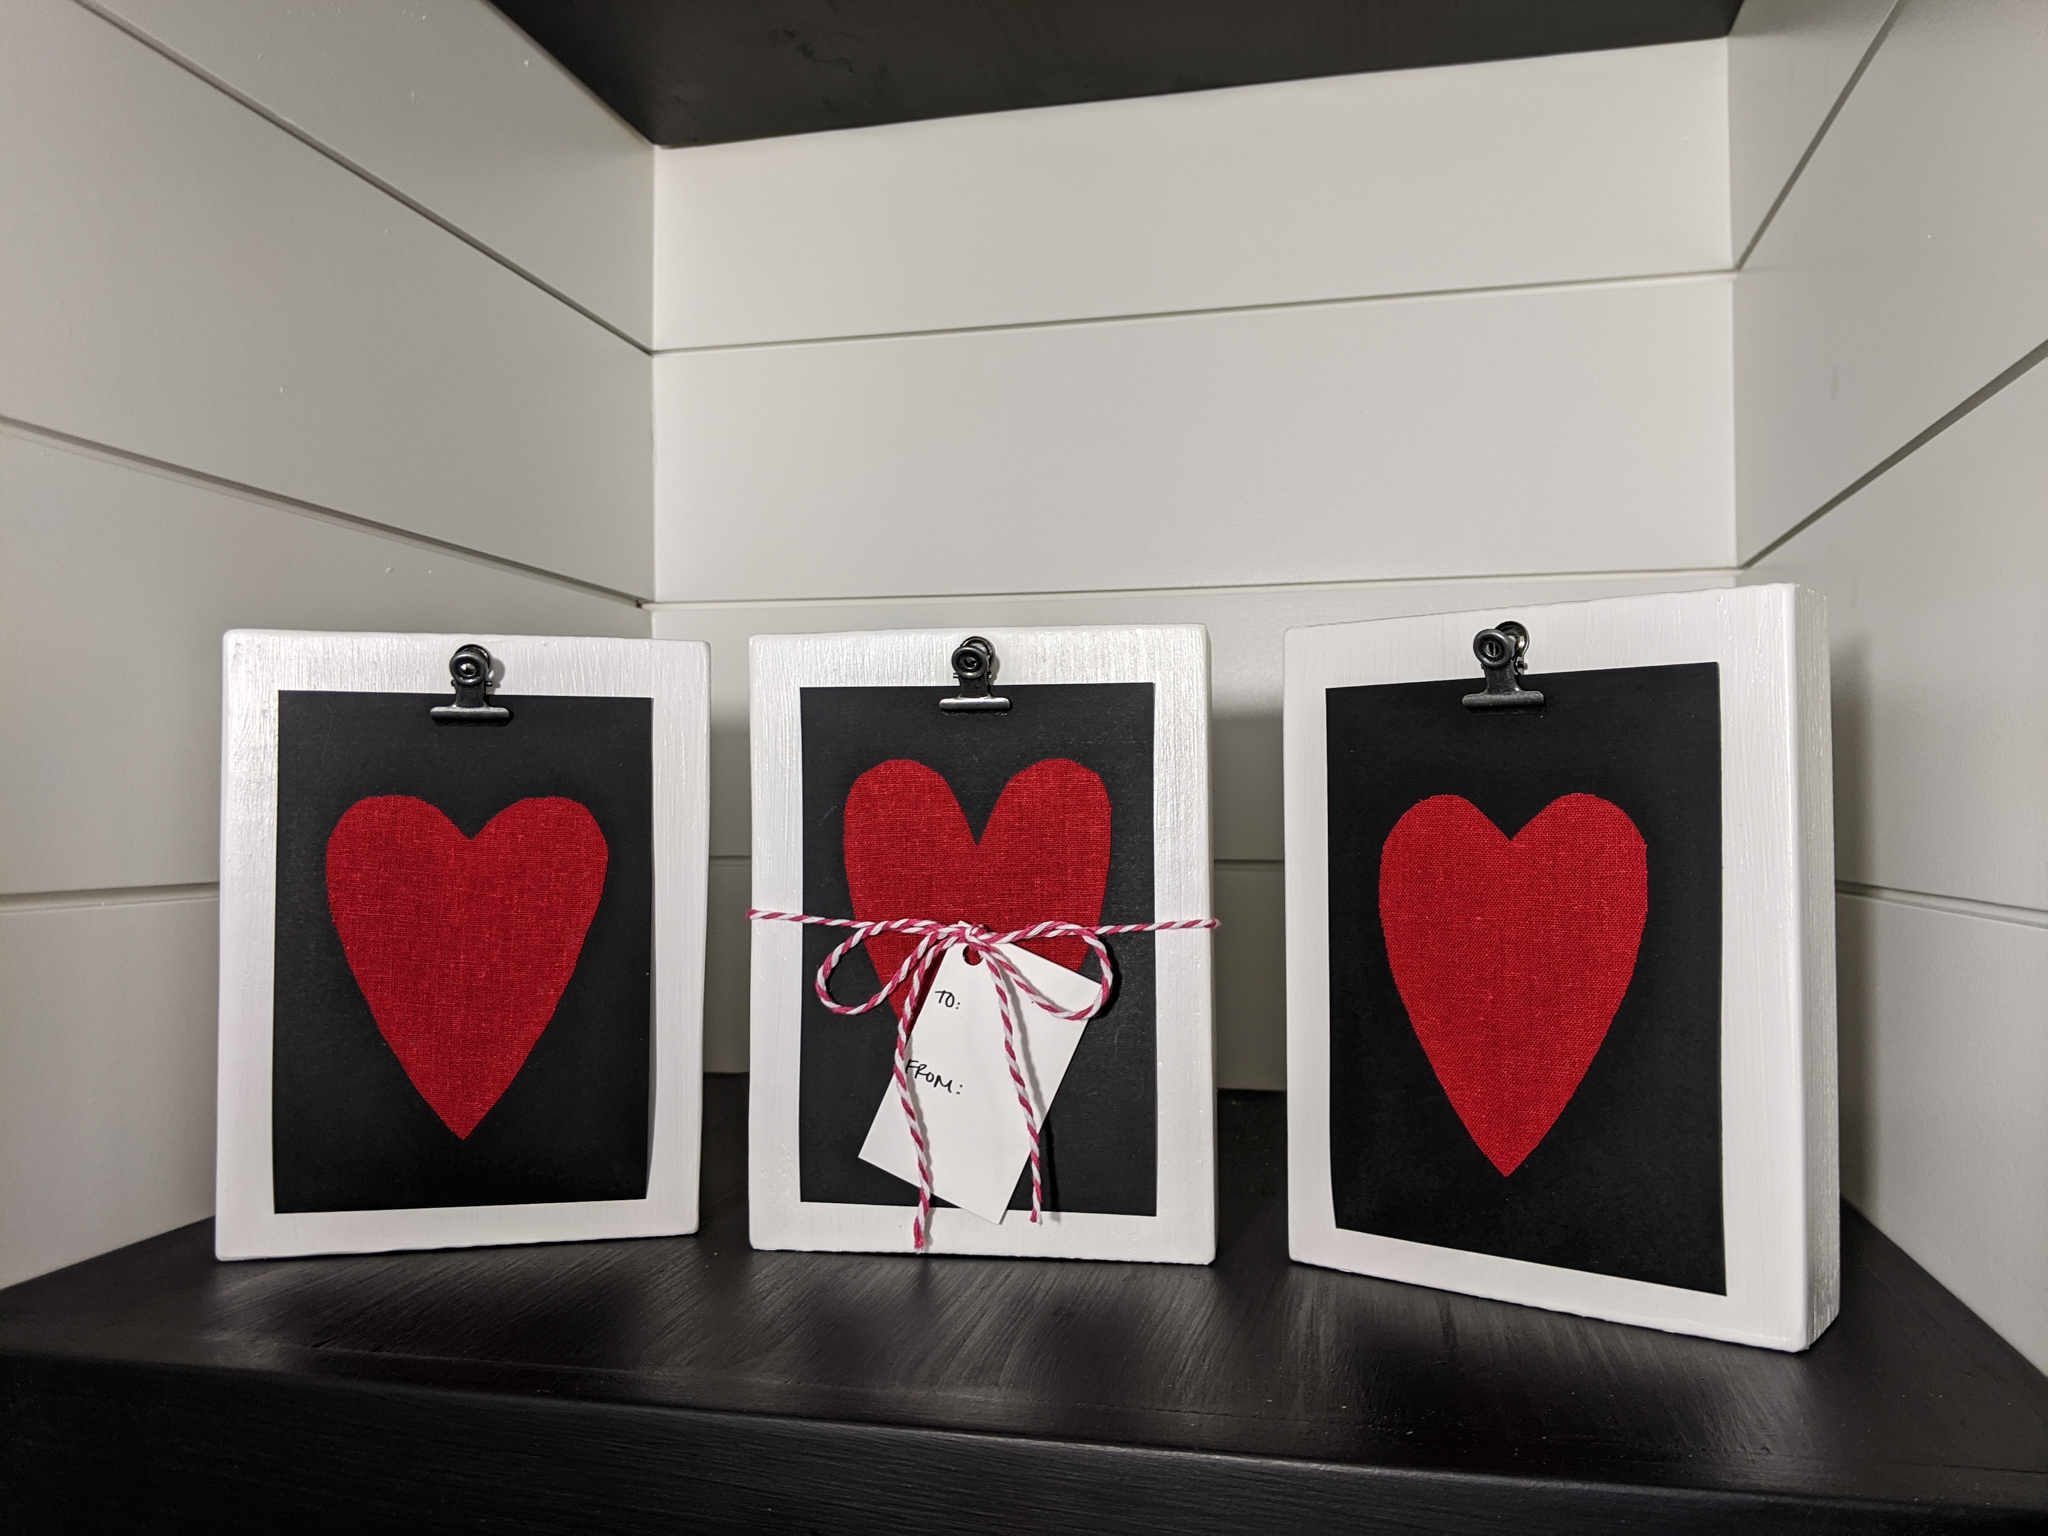
I finished off the Valentine’s Day gifts with a red and white twine and a plain white tag.
These wooden clip picture frames were a huge hit with all of the teachers! I feel like they make a great gift for everyone because they are able to customize it with their own pictures…plus, who doesn’t love a homemade valentine’s day gift?!
Hope you enjoy making these wooden clip picture frames as much as I did!

**Note: I am not a professional and do not claim to be an expert. Please be sure to always read instructions for all tools and products. Safety is very important and should be your top priority. Wear necessary protection when using tools (eye wear, hearing protection, gloves, etc.) and dust masks when sanding or cutting. Simply Aligned Home is not responsible for any injury or damage. All of my designs are not professionally designed and are for private use only.**
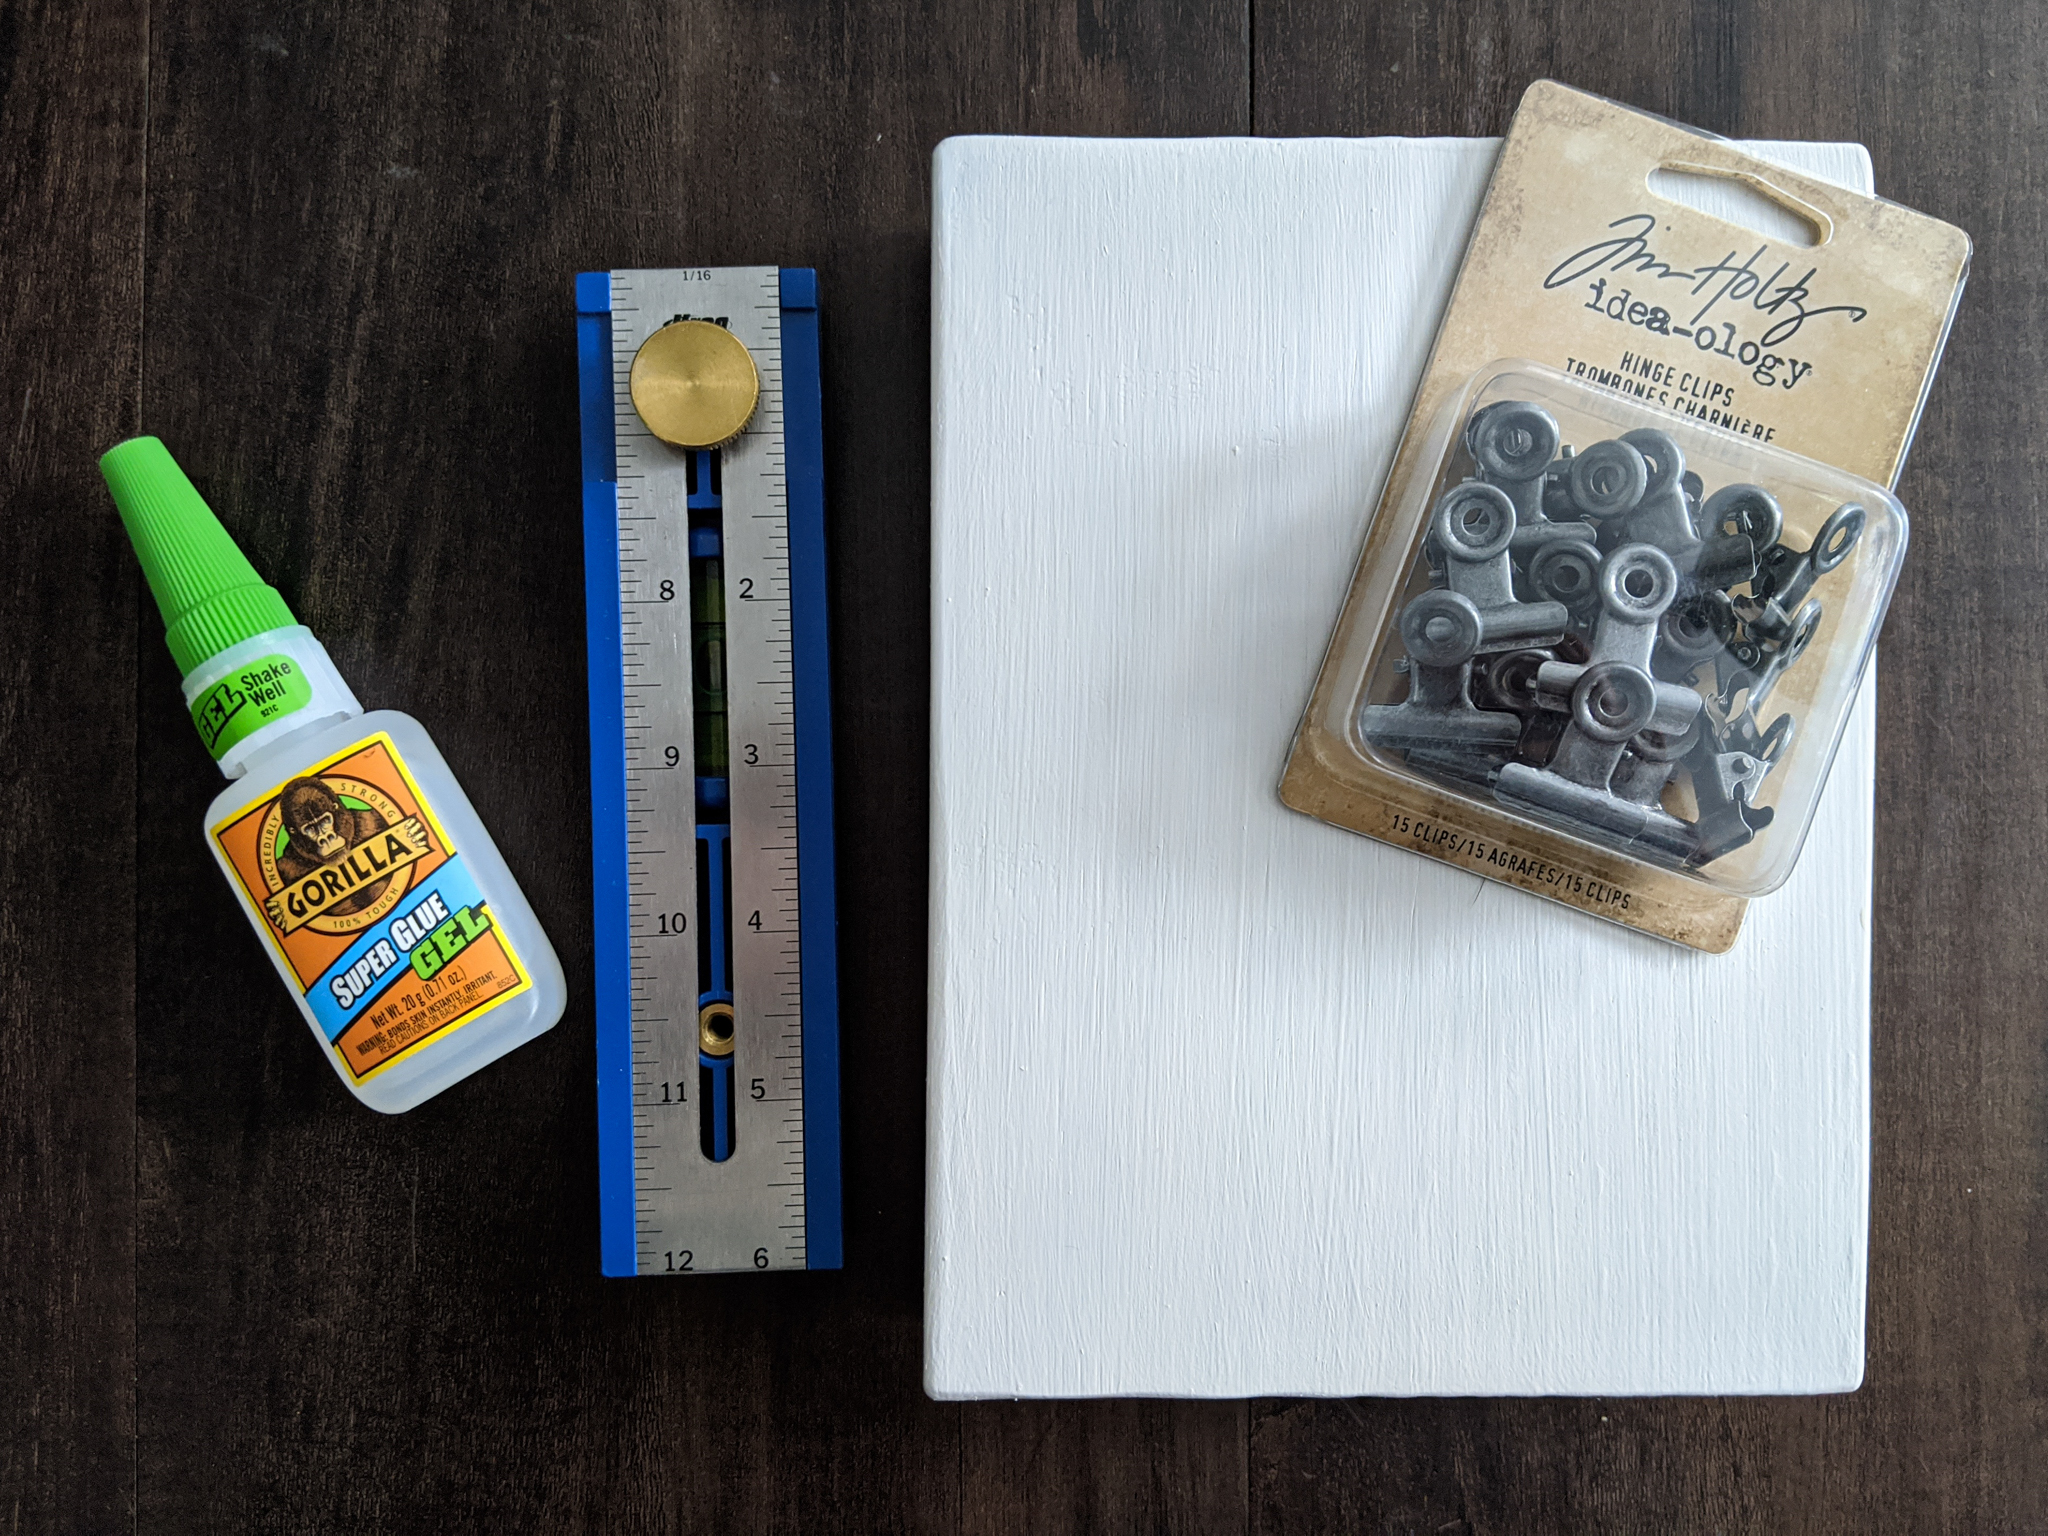
Materials for this DIY Valentine’s Day Gift
Here are all the materials you’ll need to make this project yourself!
- Wood Blocks
- White Paint
- Hinge Clips
- Gorilla Glue
- Kreg Measuring Tool
- Black Card Stock
- Tacky Glue
- Red Linen
- Red & White Twine
- Valentine’s Gift Tag Set
If you’d rather buy than DIY: