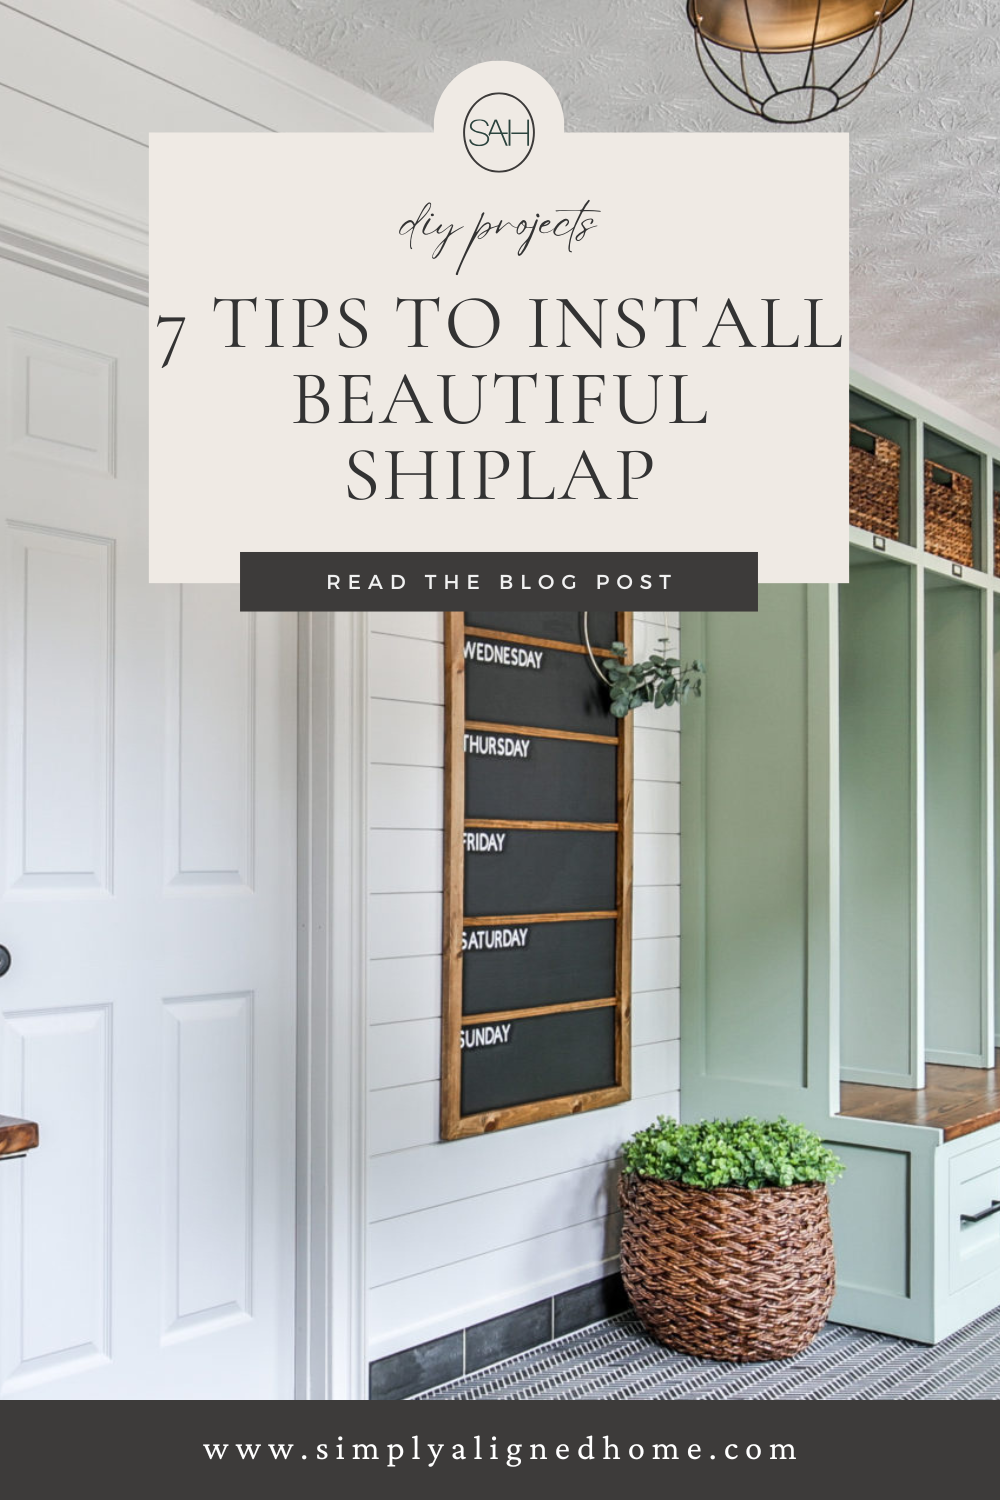
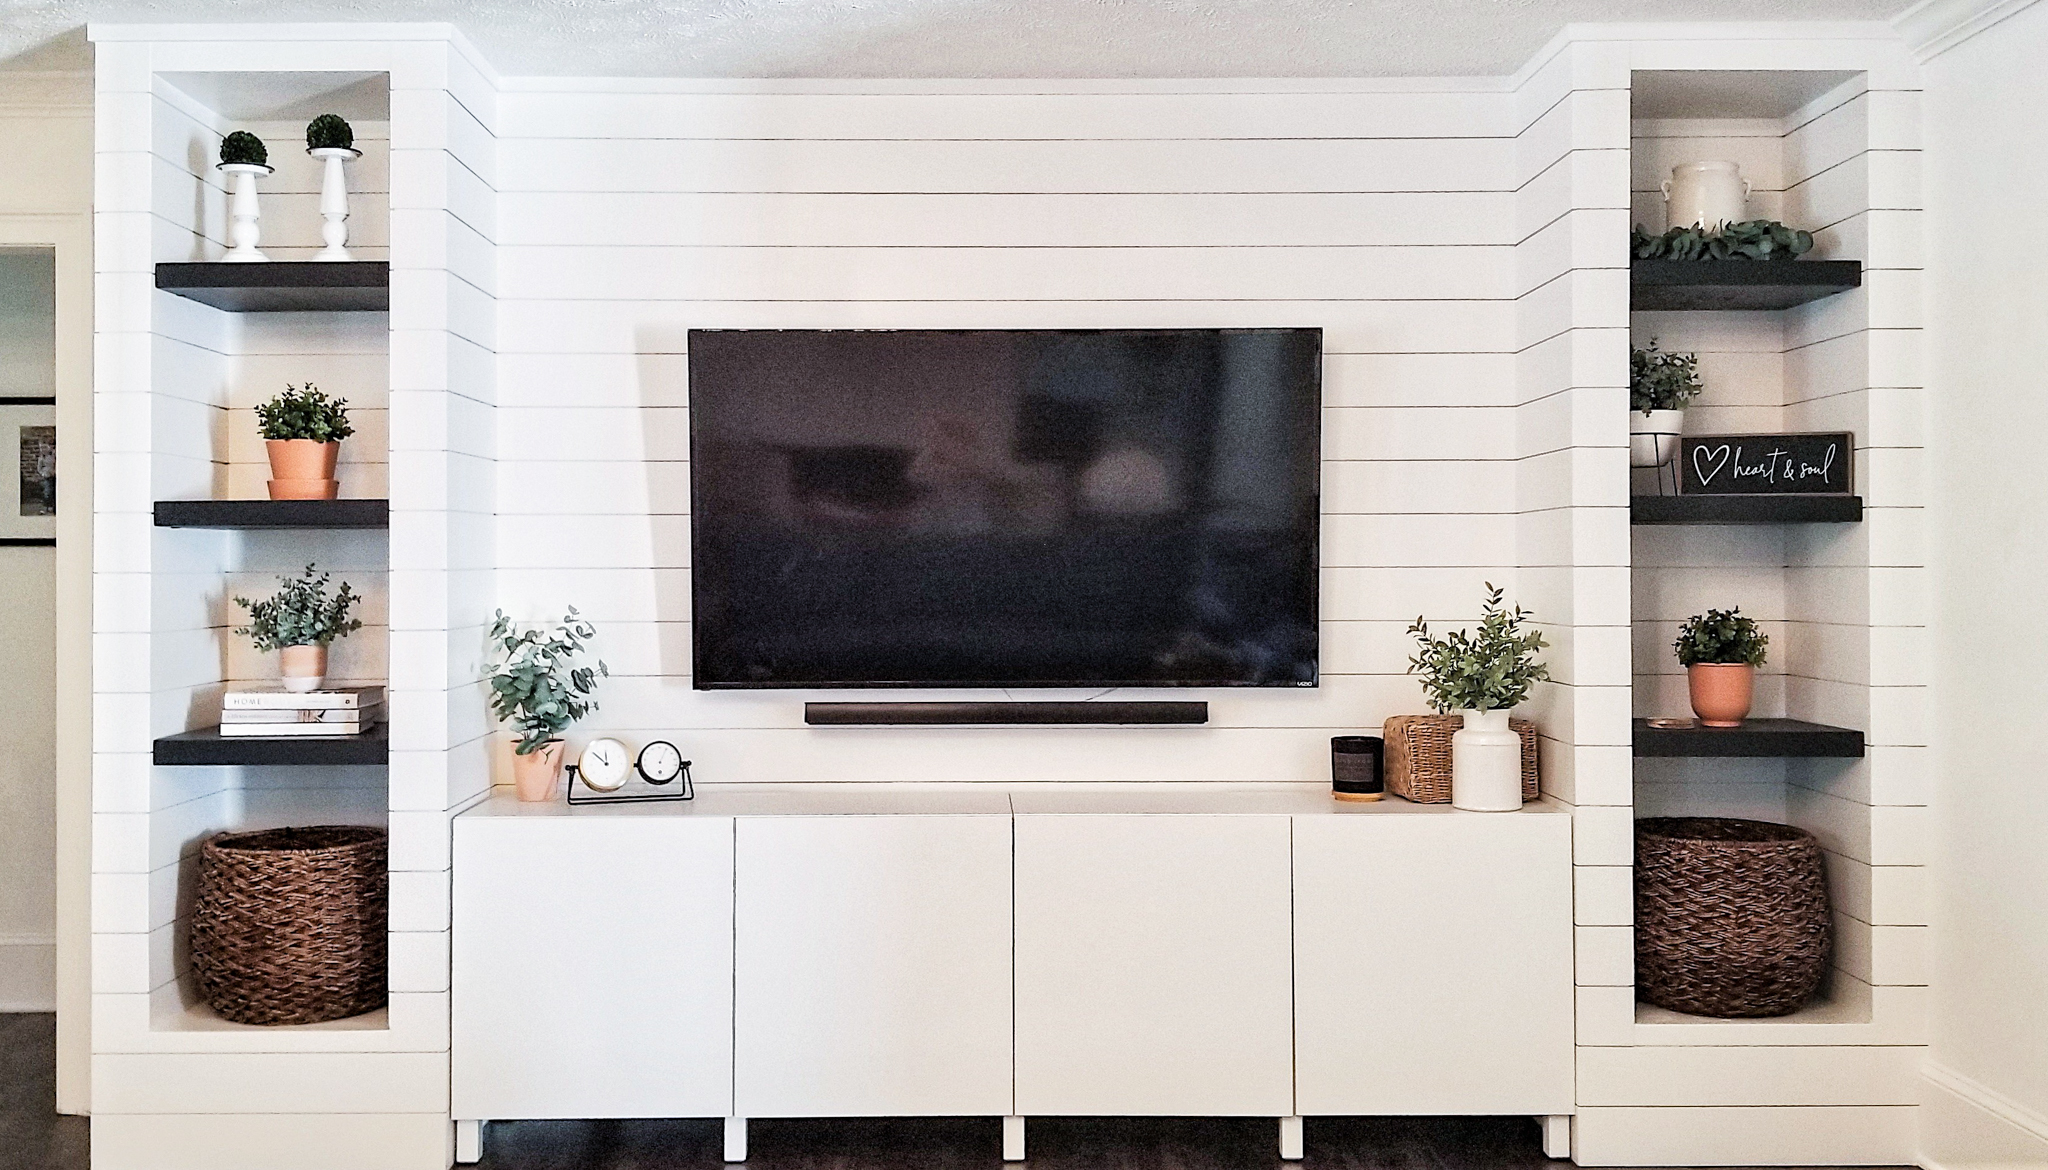
Shiplap has become a popular choice for adding a touch of rustic elegance to homes. Its clean lines and timeless appeal make it a favorite for walls, ceilings, and accent areas. But to achieve a polished look, installation requires a bit of planning and precision. Here are seven expert tips to ensure your shiplap project turns out beautifully.
**This post contains affiliate links to products that I used or recommend. If you purchase something through an affiliate link, I may receive a small percentage of the sale at no extra cost to you. I really appreciate your support!**
Choosing Shiplap
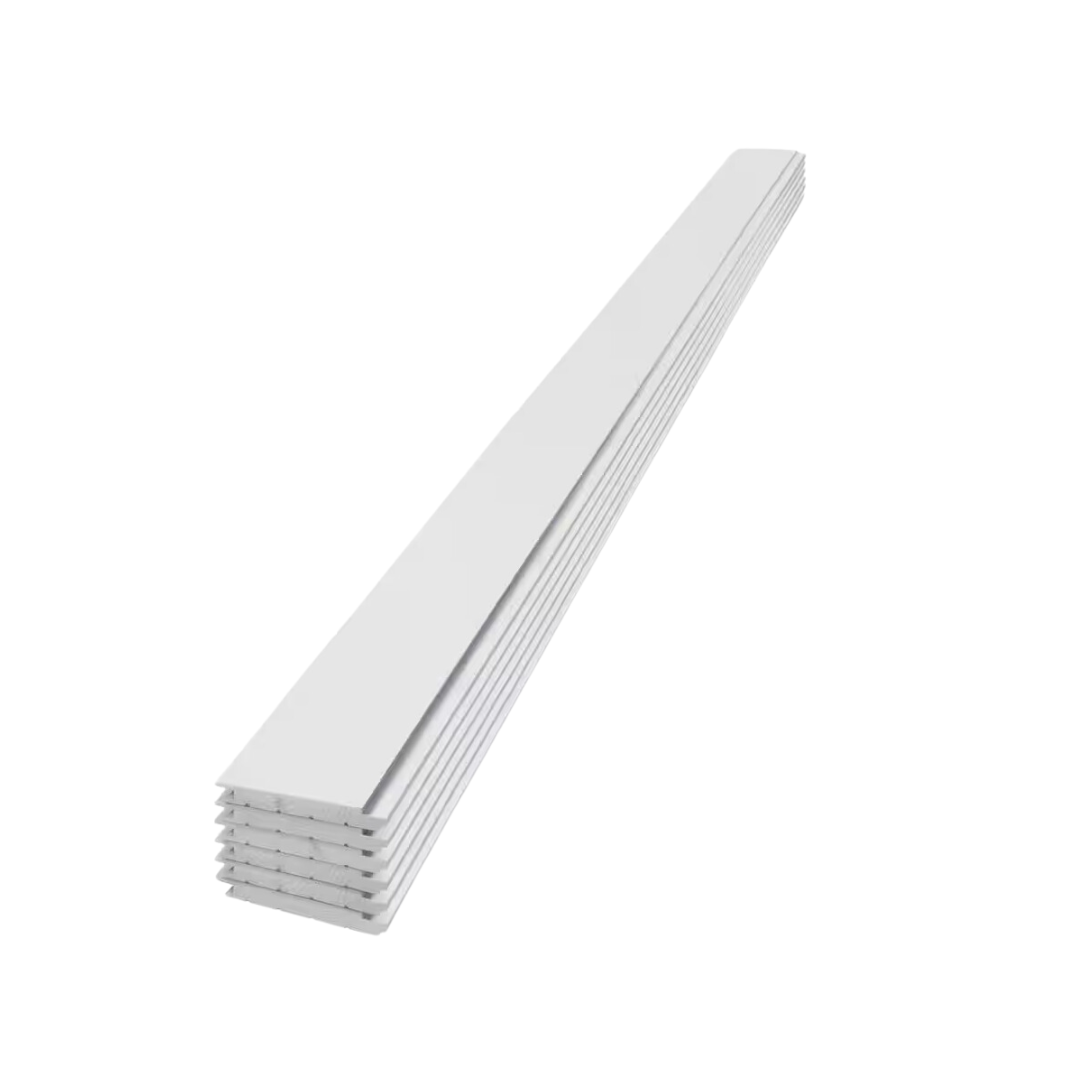
For starters, these are the shiplap boards that I used for several projects. They are pre-primed and have clean and crisp lines when installed. These boards are great for a more modern look compared to other rustic options.
I also have this shiplap paneling I have in several rooms in my home. While I used to only use shiplap boards, I discovered this paneling and it looks just like the real thing!
1. Cut Seams on a 45-Degree Angle
For a professional finish with the shiplap boards, cut the seams at a 45-degree angle. This mitered edge creates a seamless transition between boards, making the joins less noticeable and adding to the overall aesthetic. This technique is especially useful in high-visibility areas or longer wall stretches where seams are inevitable. A miter saw is your best friend for making clean, precise cuts. Here’s the miter saw I use.
2. Make Sure Edges Are Clean
Before installation, inspect the edges of your shiplap boards and paneling. Rough or splintered edges can create gaps or uneven surfaces, detracting from the finished look. Use a fine-grit sandpaper to smooth out imperfections, ensuring each board fits snugly. This extra step helps maintain the clean, crisp lines that shiplap is known for. Here’s a set of fine-grit sanding sponges that would work great for this project.
3. Use Electrical Spacers
To keep your installation safe and compliant with electrical standards, use electrical spacers with outlets and switches. These spacers ensure that the faceplates sit flush against the finished wall. They also prevent gaps and maintain the professional appearance of your project while accommodating electrical components. Here are some simple-to-use and affordable electrical spacers!
4. Patch Holes and Seams with Spackle
Once your shiplap is installed, it’s time to address any imperfections. Fill nail holes, knots, or small gaps with spackle. Use a putty knife to smooth the surface, then sand it down once the spackle is dry. This creates a uniform finish, prepping the surface for the final stages of painting or sealing.
5. Caulk All Seams
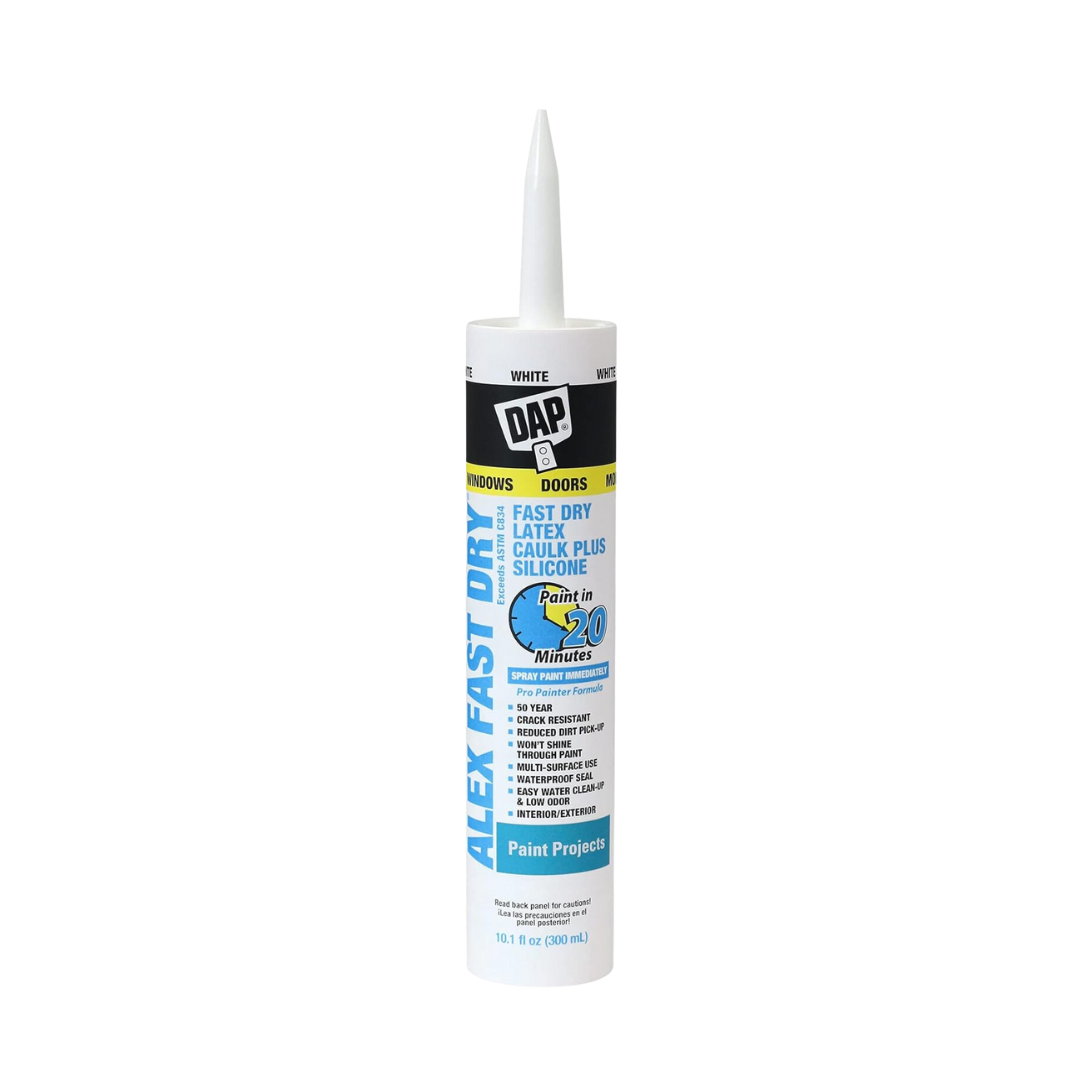
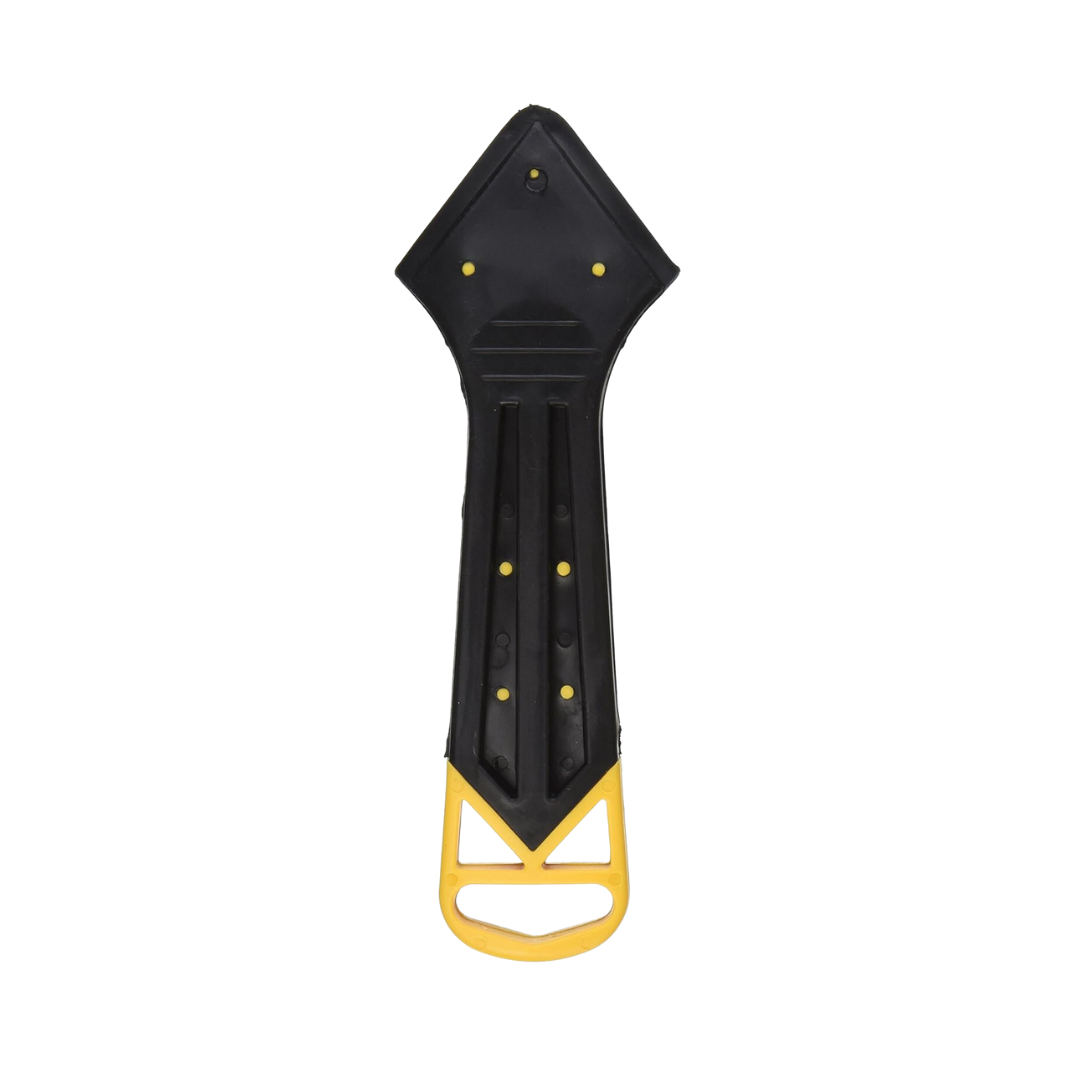
For a flawless appearance, apply caulk to all seams and corners where shiplap meets other surfaces, such as ceilings, baseboards, or trim. Caulking not only enhances the polished look but also prevents dust and moisture from accumulating in the cracks. Use a high-quality, paintable caulk, and smooth it with a damp finger or a caulking tool for a clean finish.
6. Prime
It’s key to prime any caulk or spackle before you paint! If you don’t prime, the caulk and spackle will have a different finish than the rest of the boards that are already pre-primed. The boards will be shiny compared to whatever paint finish you decide to use!
7. Spray the Installed Shiplap
To achieve a smooth, even coat of paint, consider using a paint sprayer rather than a brush or roller. Spraying minimizes brush marks and ensures paint gets into all the grooves and edges of the shiplap. Cover surrounding areas with plastic or drop cloths to avoid overspray, and apply multiple light coats for the best results. This cordless paint sprayer from Graco is the best! I love how I can move around, not worrying about tripping on a cord or not being close enough to an outlet.

Installing shiplap doesn’t have to be daunting. By following these six tips, you’ll create a stunning, professional-quality feature that transforms your space. With proper preparation and attention to detail, your shiplap project will add charm and character to your home for years to come. Additionally, you can see all my favorite tools for installing shiplap here in this blog post! Happy installing!

**Note: I am not a professional and do not claim to be an expert. Please be sure to always read instructions for all tools and products. Safety is very important and should be your top priority. Wear necessary protection when using tools (eye wear, hearing protection, gloves, etc.) and dust masks when sanding or cutting. Simply Aligned Home is not responsible for any injury or damage. All of my designs are not professionally designed and are for private use only.**
Materials Used
Tools Used
