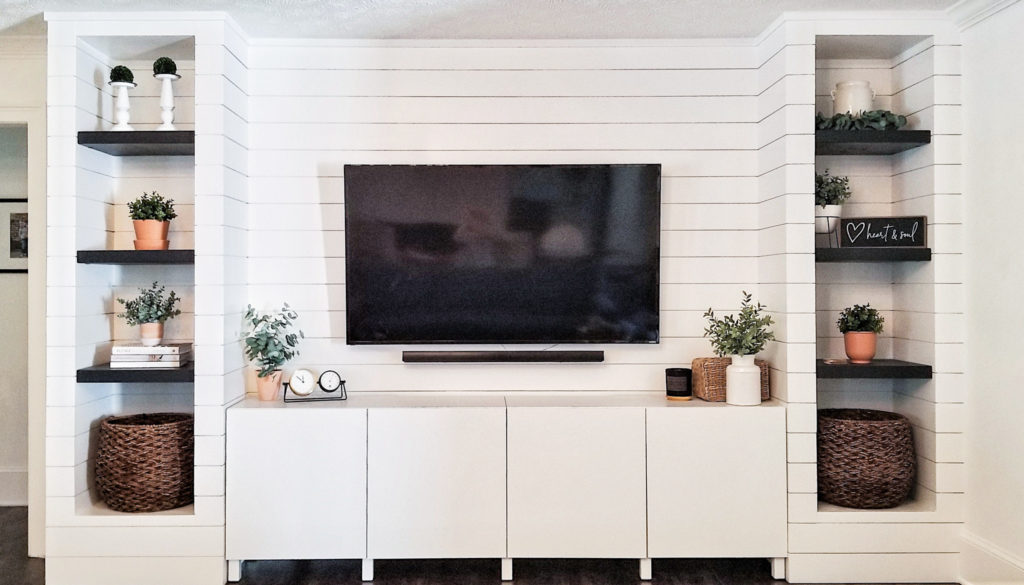
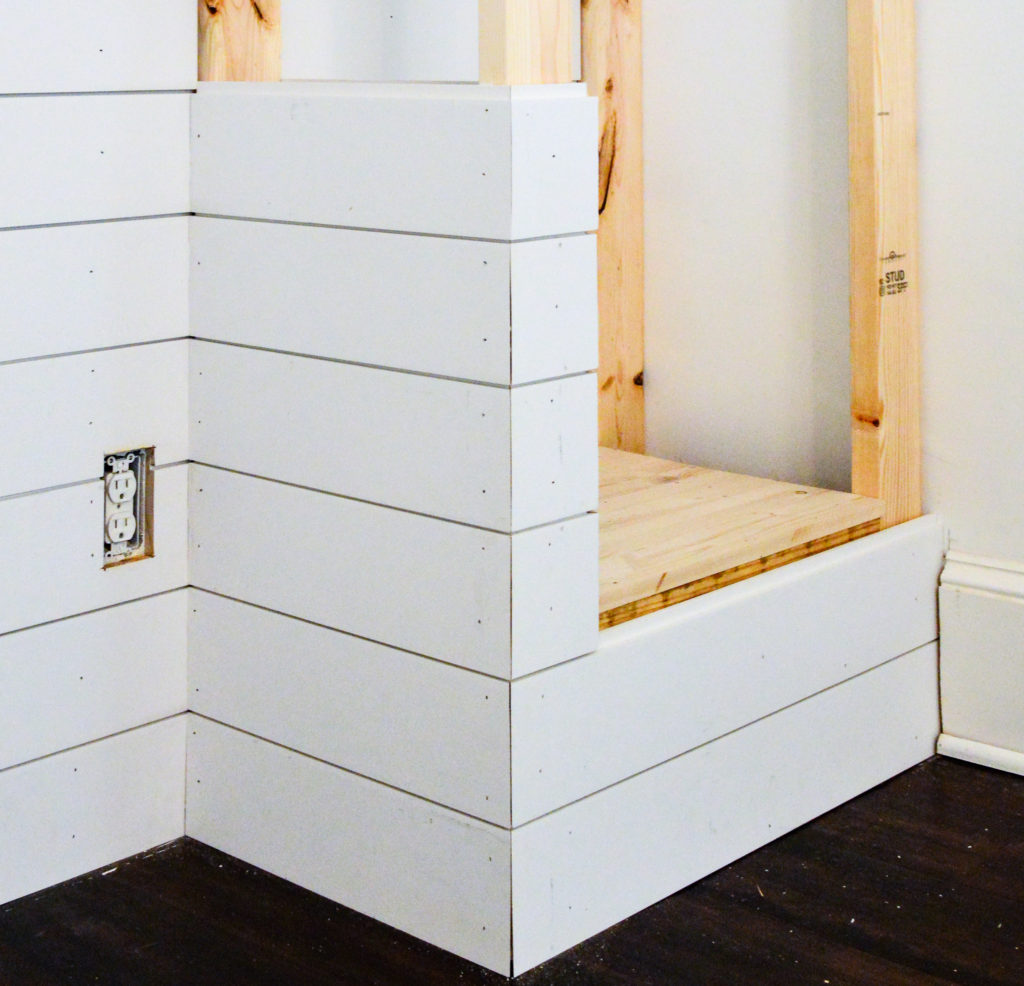
It’s no secret that shiplap is one of my favorite accents to add to a room! It is a clean and simple way to dress up a wall without added the clutter of wall decor.
I appreciate both shiplap accent walls as well and rooms that are completely shiplapped. The first room that I convinced my husband to let me fully shiplap was our mudroom…it’s probably one of my favorite rooms in our home!

One way to change up the look of a shiplap wall is to add color. I installed an accent wall in my master bedroom and painted it black. I love the moodiness it adds to the room!

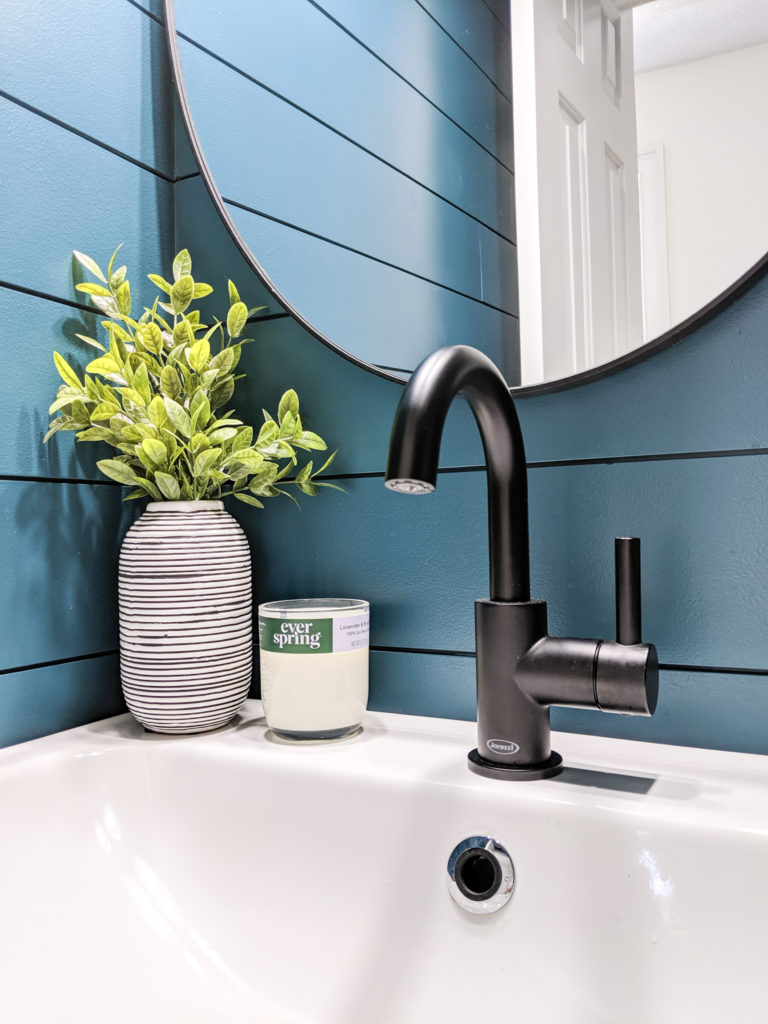
One other room where I added shiplap with some color was our half bathroom.
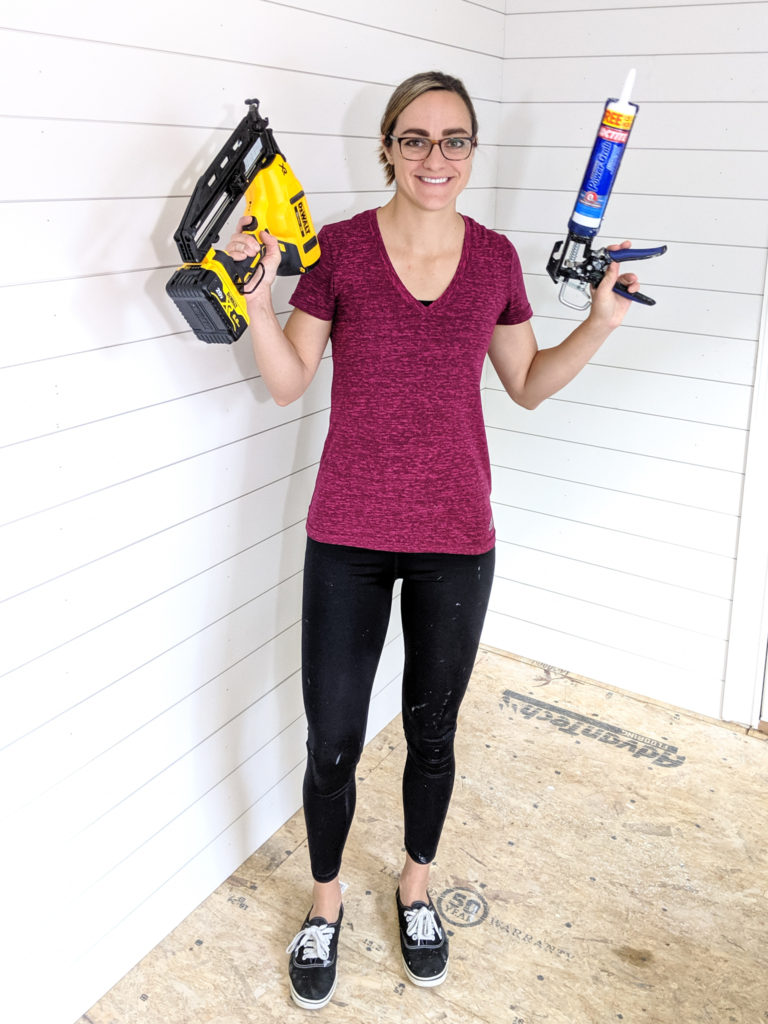
I have installed my fair share of shiplap and feel as though I have been able to streamline the process. Although all of these tools are not required to install shiplap, they are a few of my favorite tools that make the job just a little easier.
**This post contains affiliate links to products that I recommend. If you purchase something through an affiliate link, I may receive a small percentage of the sale at no extra cost to you. I really appreciate your support.**
Miter Saw
I use my miter saw for so many projects! There are other ways to cut material, but a miter saw makes really clean, straight cuts. I personally have my miter saw installed on a rolling cart so that I am able to easily move it.
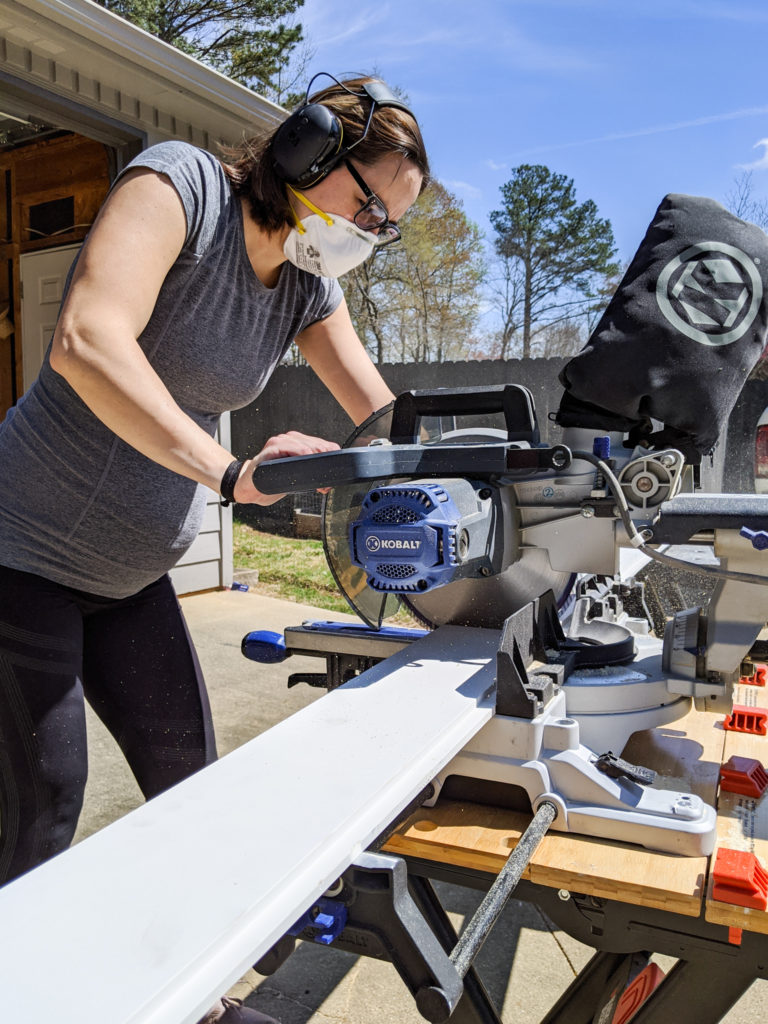
My miter saw is not huge or super fancy. It is a single bevel sliding compound miter saw. Single bevel means it can make beveled cuts (angled cuts) in only one direction. I use this feature when I need to cut the ends of the shiplap on a 45 degree angle. I do this where the shiplap meets on a corner.
Sliding means that the blade can slide front to back. With it being a smaller blade, I am still able to cut wide material because it has the sliding feature. Compound means that the saw will not only turn right and left, but also tilt.
Don’t tell anyone, but I bought it from a garage sale! It was gently used and very well taken care of…it’s incredible what you can find when you do a little searching.
Oscillating Multi-Tool or Jigsaw
I have made it through an entire shiplap project with just using my oscillating multi-tool! The cuts certainly take longer than using a miter saw and table saw, but it does the trick! Even when I did start using the miter saw and table saw, I still needed the oscillating multi-tool to make cuts for outlets and switches.
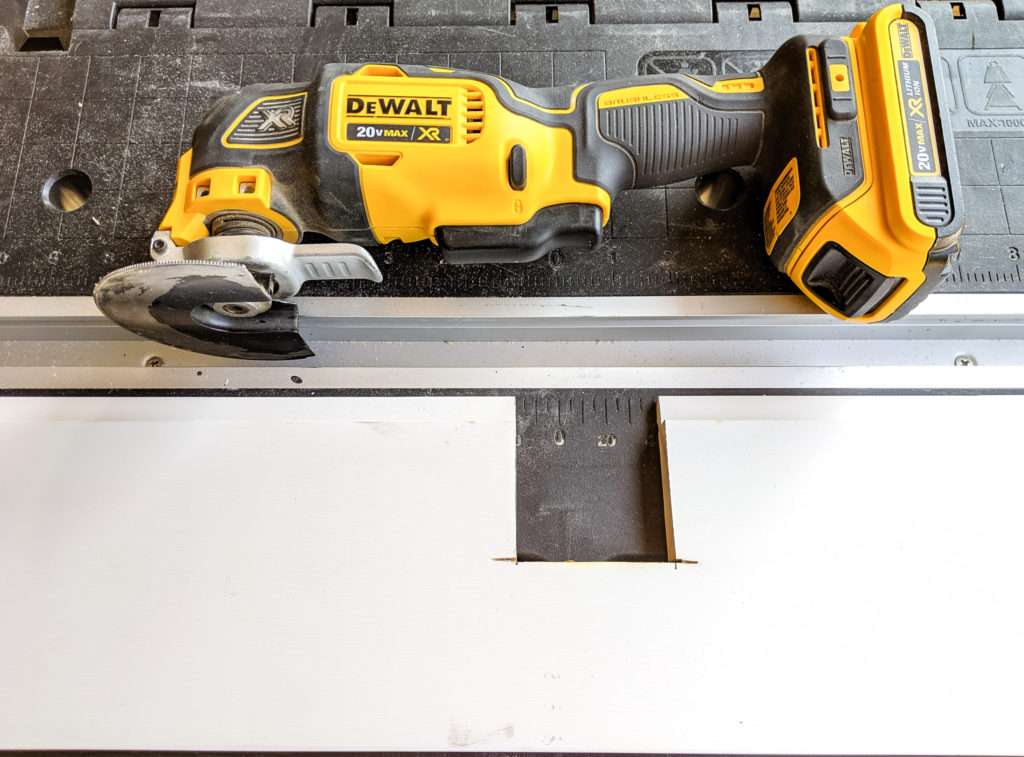
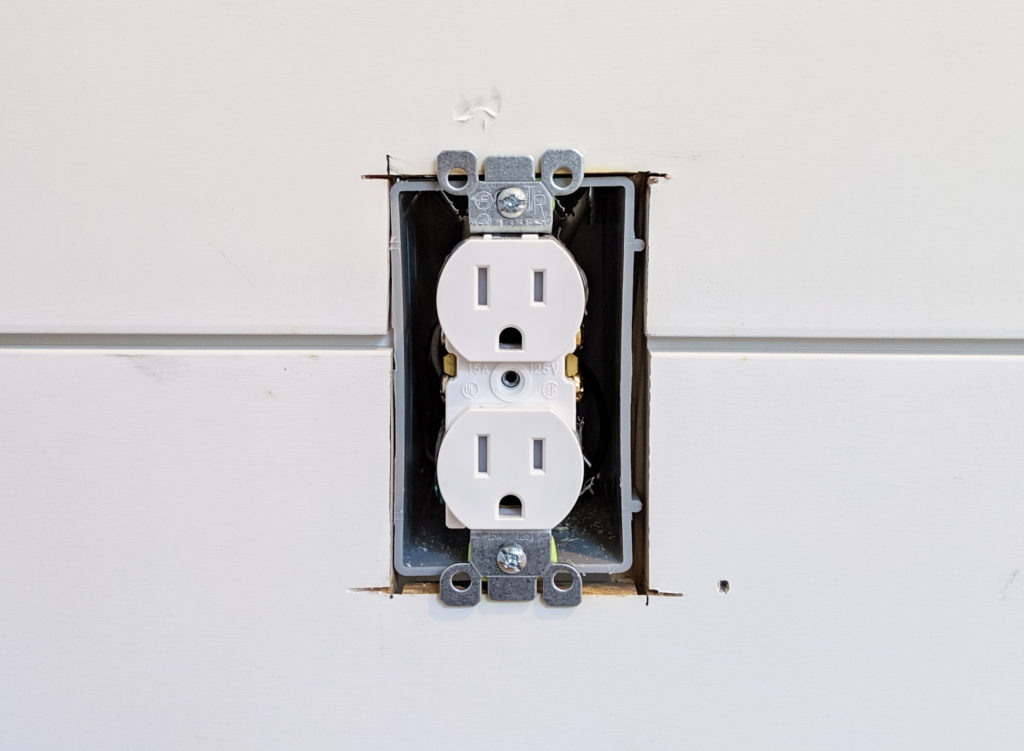
Oscillating multi-tools don’t make the cleanest cuts. Luckily, if you cut the shiplap just larger than the electrical box, the cuts will be hidden by the cover plate!
I just recently purchased a jigsaw, so I have not yet had a chance to use it to install shiplap. I have discovered that jigsaws do make cleaner and quicker cuts than the oscillating multi-tool. One thing to note about using the jigsaw is that if you have a cut to make inside of a piece of shiplap (where you can’t cut straight into the side), you will need a drill. You use a drill to make a hole large enough for the jigsaw blade. I will certainly be using my jigsaw for any future shiplap installations!
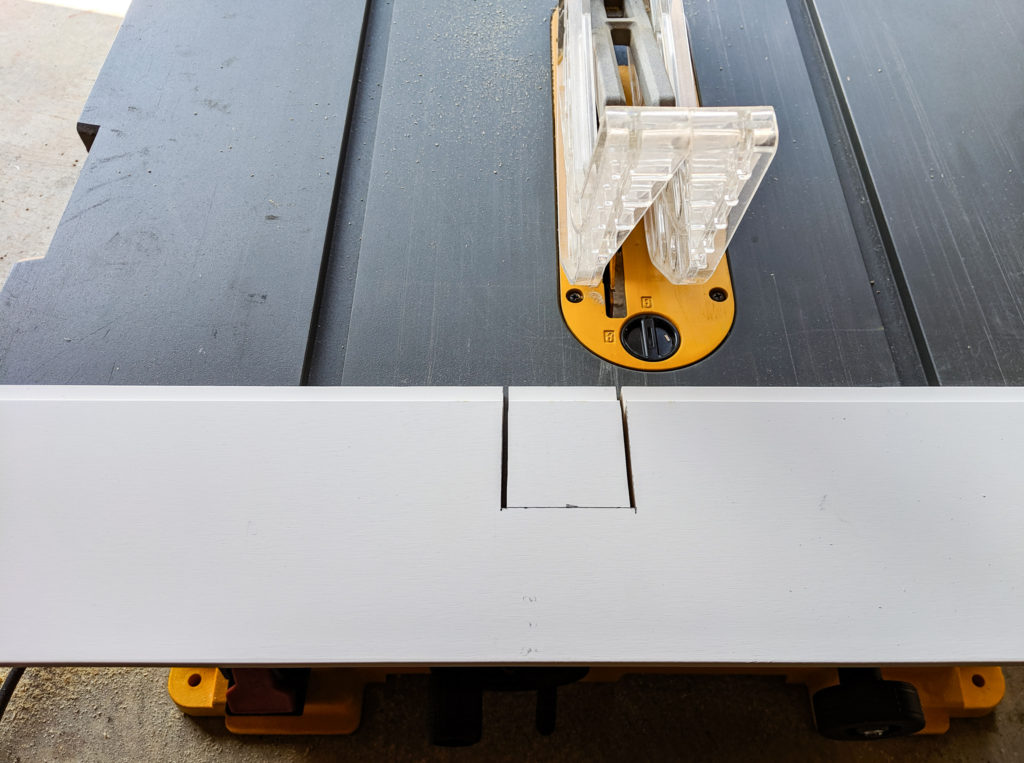
Table Saw
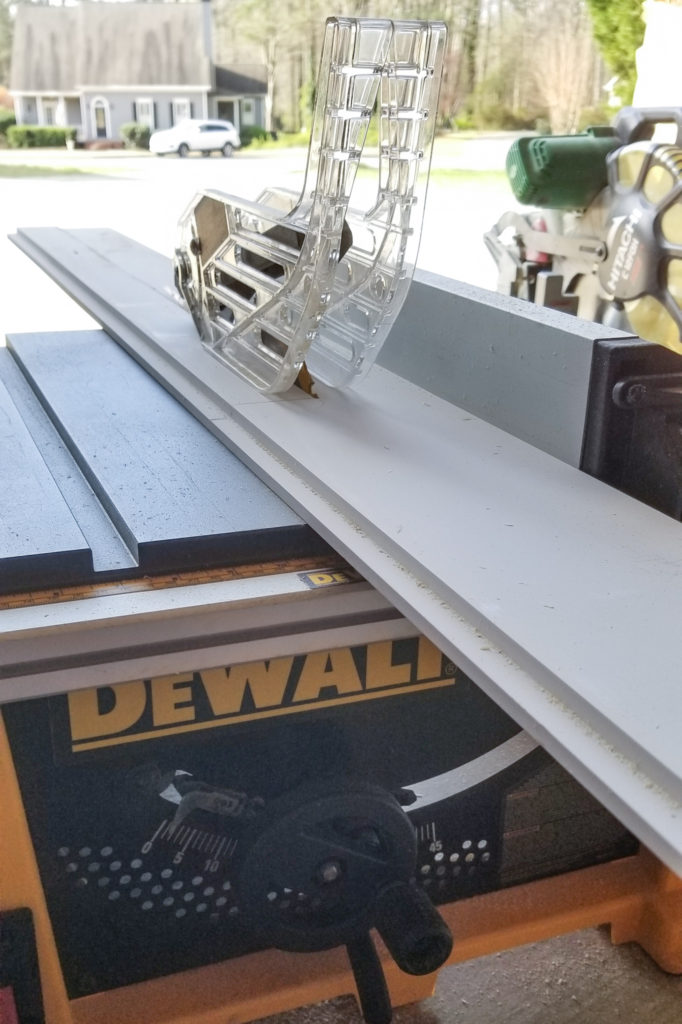
I can fly through most of my shiplap installations without using my table saw. I typically use my table saw to rip down the last few pieces of shiplap to fit the spaces where a full width board is too wide. A rip cut is cutting a piece of wood parallel to the grain. This is typically a cut where you cut the full length of a piece of wood to reduce its overall width.
Along with the rip cuts, I will occasionally use my table saw to make cuts for the outlets and switches. The table saw makes much cleaner cuts than the jigsaw or oscillating tool, so I try to use it where I can.
Before I felt comfortable using a table saw, I actually used my oscillating multi-tool to rip the shiplap. The multi tool did not make clean or straight cuts, but I usually install a piece of trim or caulk over these cuts.
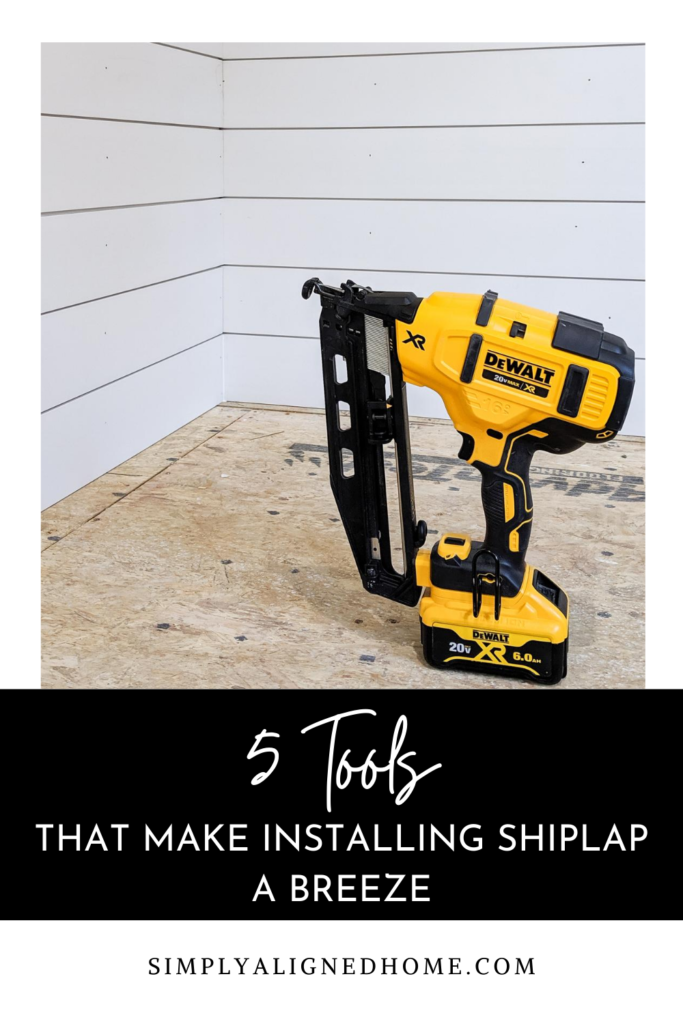
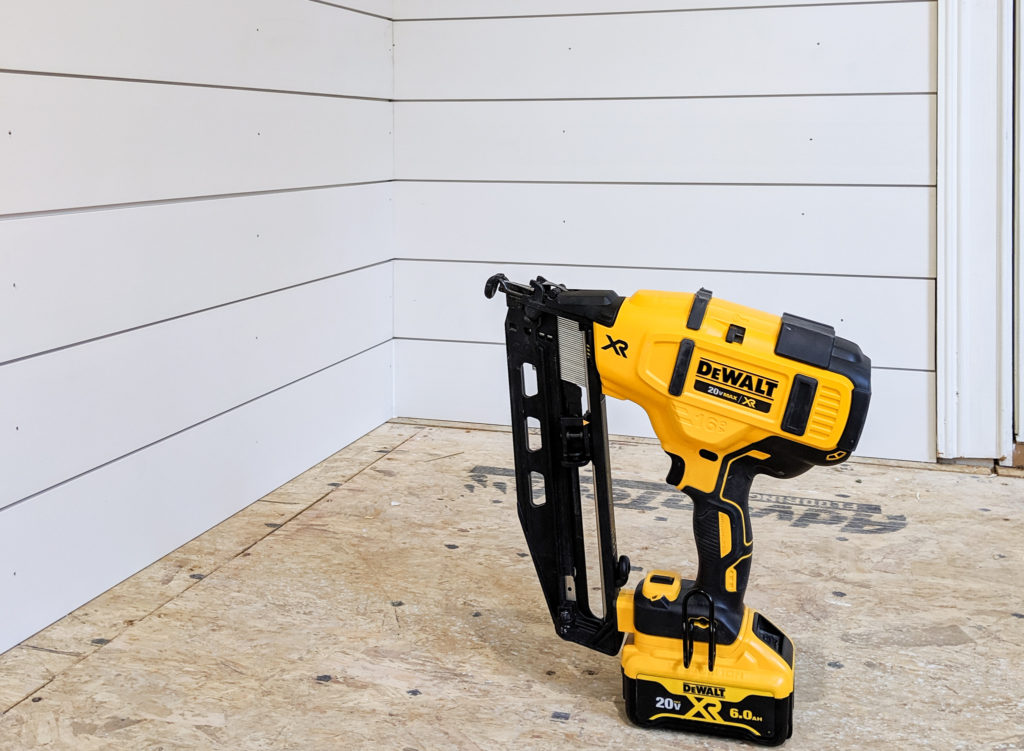
Finish Nailer
The first accent wall that I installed, I used a hammer and nails. I can’t tell you how excited I was when I got my finish nailer! I use it for everything! It is very versatile and is great when installing shiplap. I use both construction adhesive and finishing nails to secure the shiplap to the walls.
Drip-Free Caulk Gun
Drip-free caulk guns are amazing! I used a standard caulk gun for far too long. There is nothing more frustrating than setting a caulk gun down after using it and having the caulk continue to flow. With a drip-free caulk gun, the caulk stops when you stop pulling the trigger of the gun.
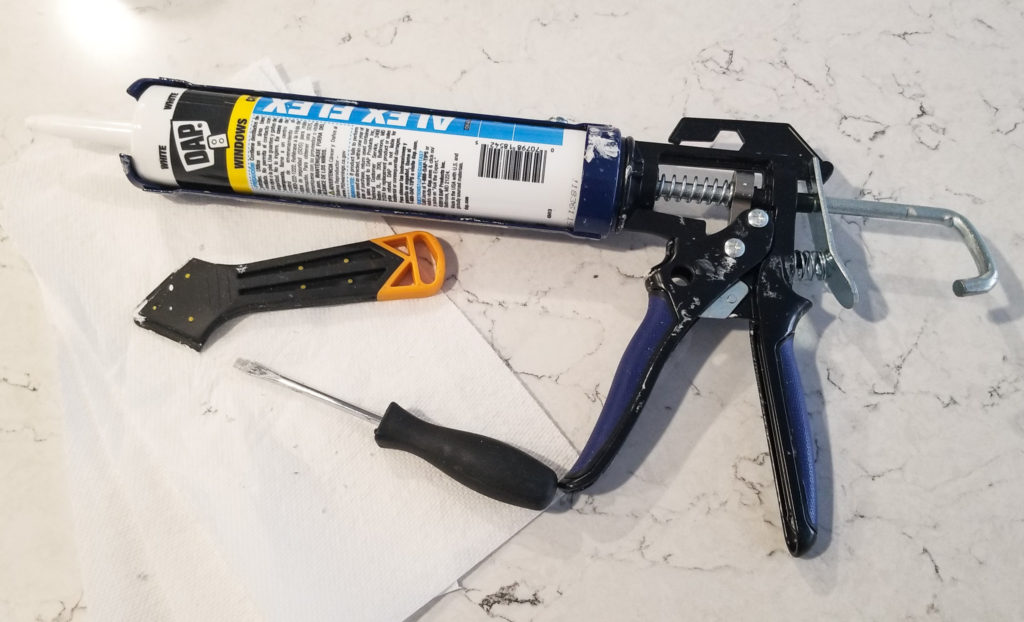
As I said, I use both construction adhesive and finishing nails to install shiplap. The construction adhesive keeps the shiplap from warping. The thinner the material, the more likely it is to warp. I use the drip-free caulk gun to apply the construction adhesive as well as the caulk.
Please know that you don’t need all of these tools to be able to install shiplap…they just make the installation much easier and quicker. I have acquired these tools over time and would not recommend going out and spending a ton of money on tools to install shiplap. You don’t need fancy or expensive tools to make your home one that you love!