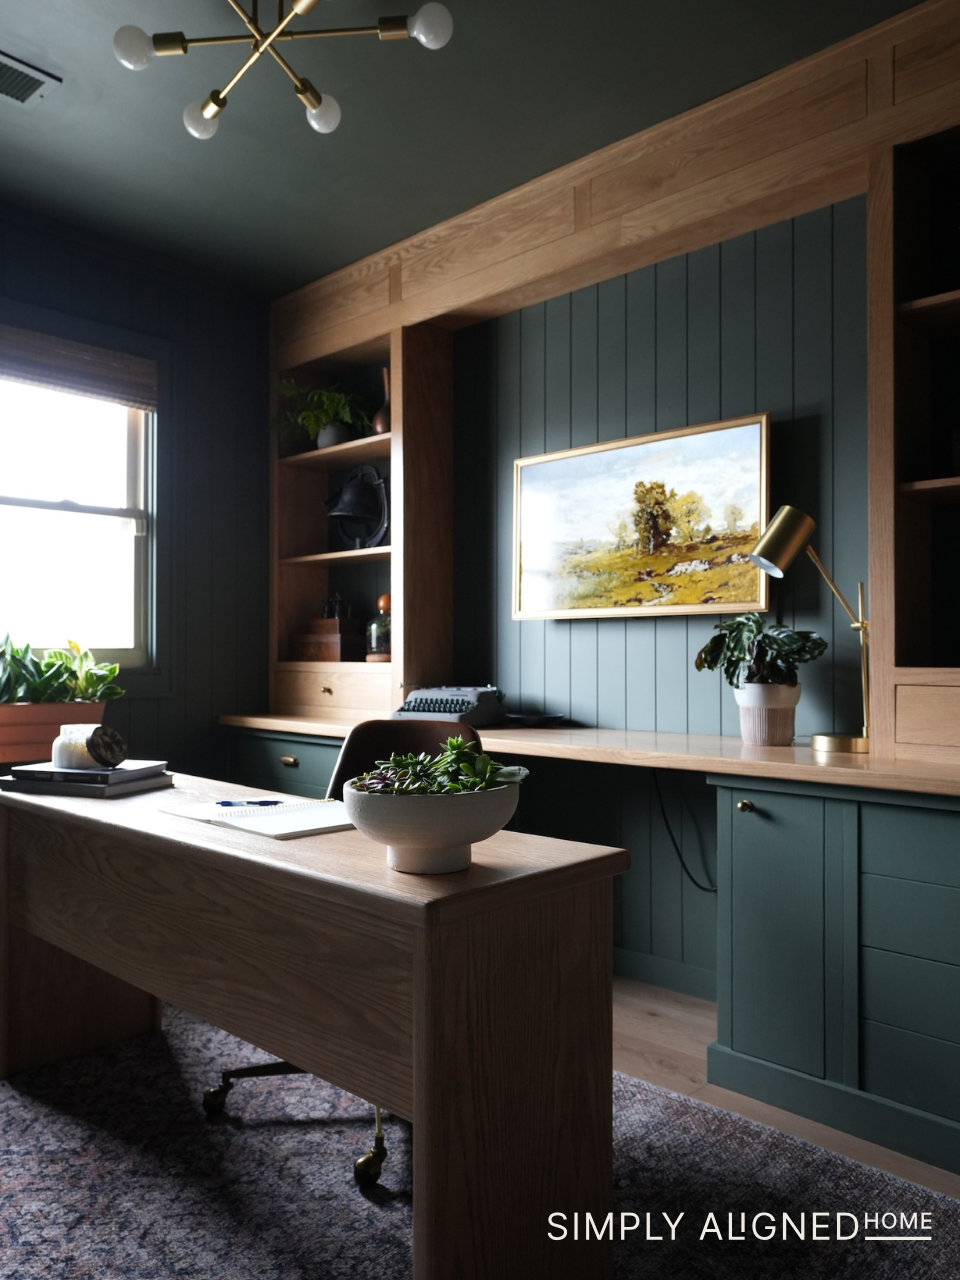
Sometimes the best treasures are hiding in plain sight—like the desk I found at a local thrift store for just $28! I’ve been dreaming of finding a desk for my office that matches the rest of the room, but I was also considering building one. When I saw this gem, I knew I had to snatch it up and give it a little face-lift. After all, I couldn’t even buy wood for that price! Follow along for my simple, affordable, office desk makeover!
**This post contains affiliate links to products that I used or recommend. If you purchase something through an affiliate link, I may receive a small percentage of the sale at no extra cost to you. I really appreciate your support!**
The Plan: Simple Sanding and Refinishing
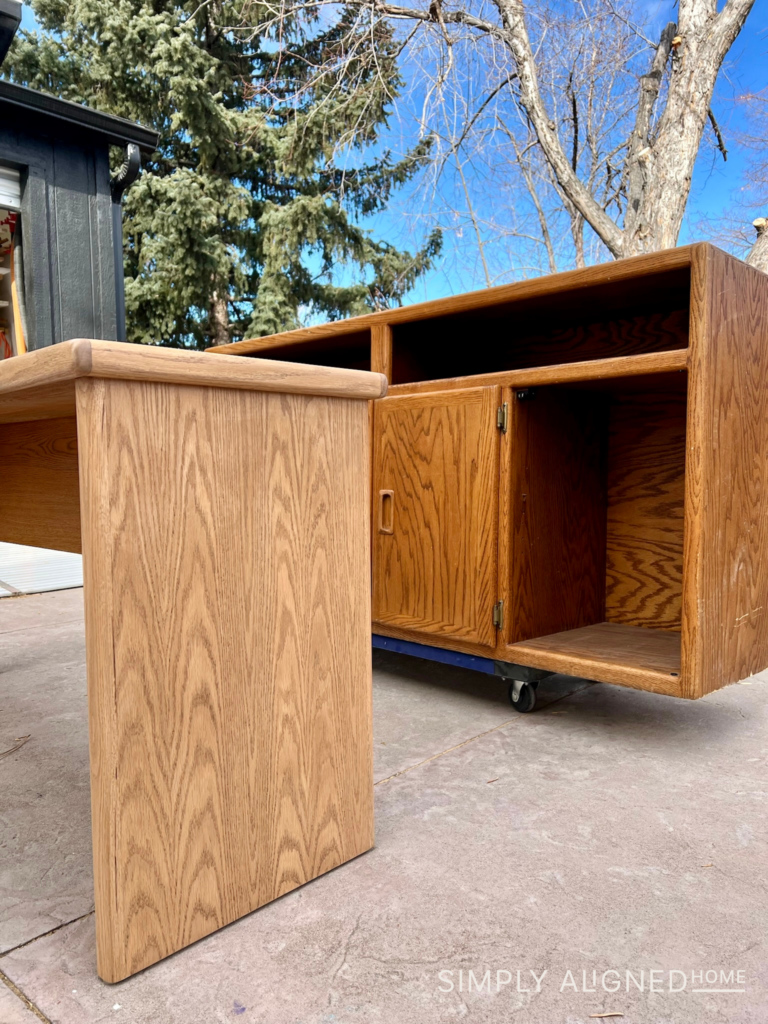
Here’s what the desk looked like when I first bought it! It was very orange…not the look I was going for!
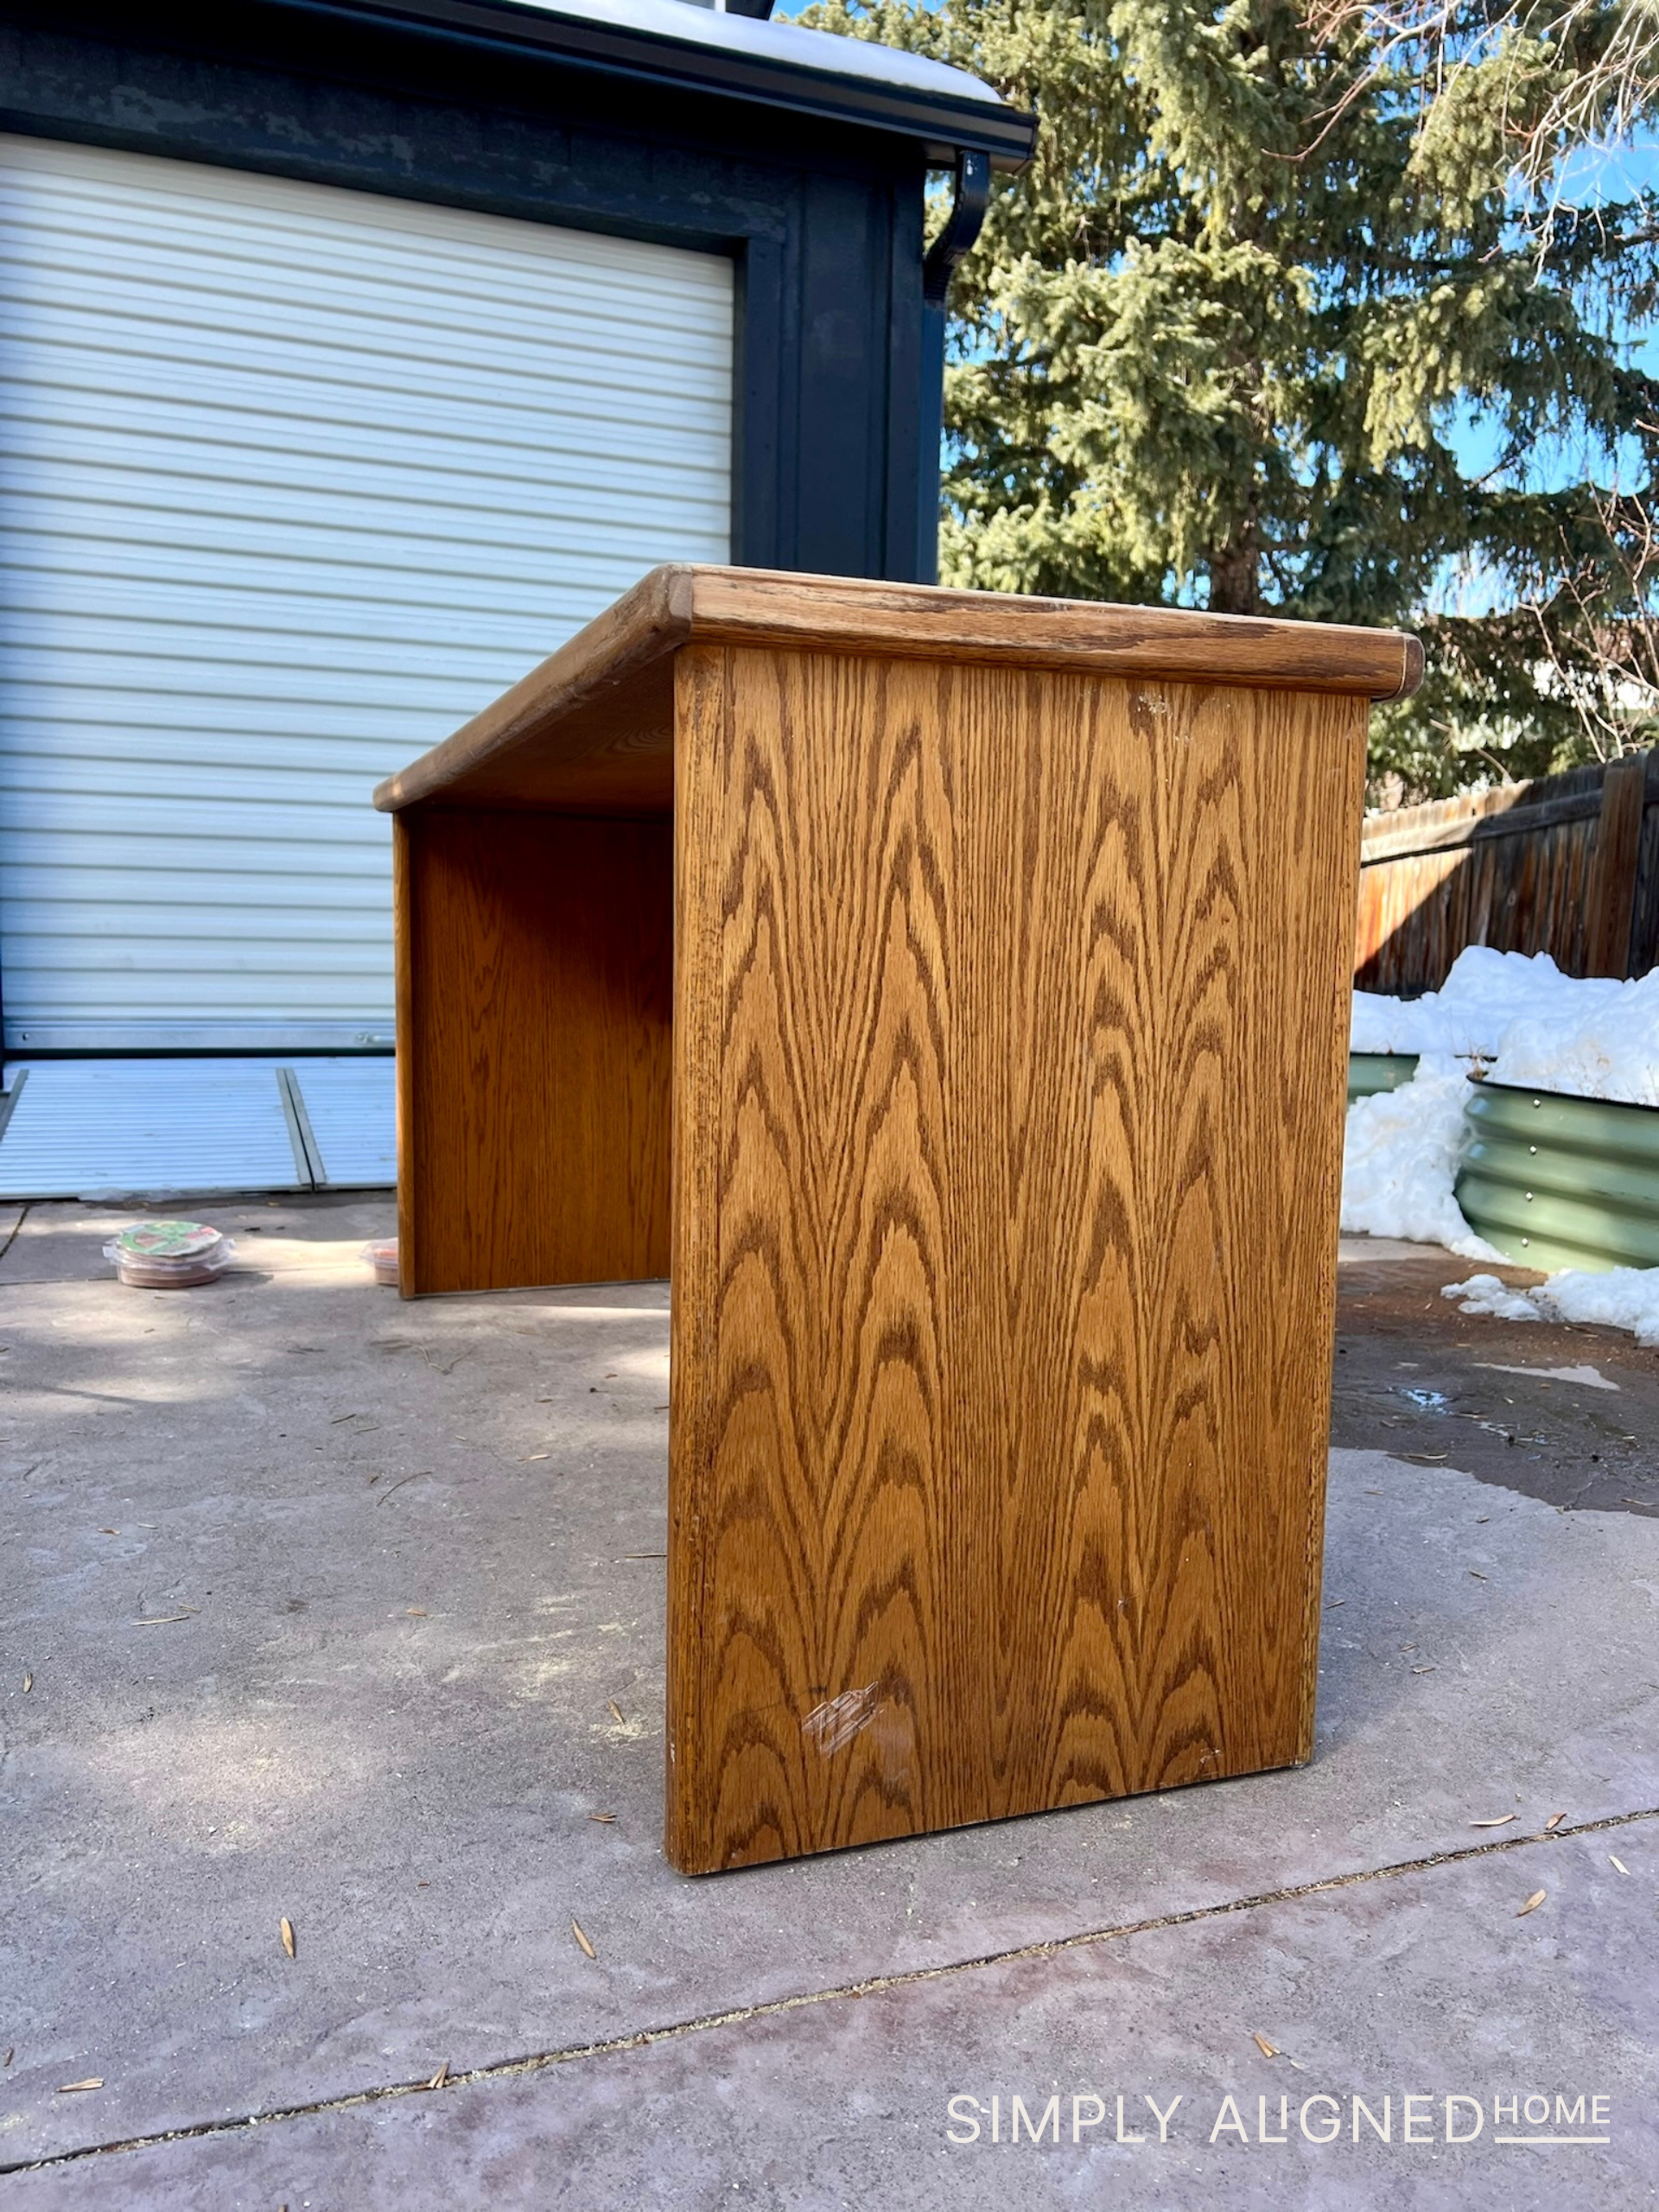
My initial plan for my office desk makeover was pretty straightforward: sand it down and refinish the surface. I’m not a huge fan of chemicals, so I didn’t want to use any chemical strippers. I used my orbital sander to remove the old stain, revealing the wood underneath. I started with 120 grit sandpaper and finished it off with 220 grit. I didn’t want to use anything too aggressive because I was afraid of sanding through the wood veneer. The desk had certainly seen better days, but I could already tell it had great potential with a little work.

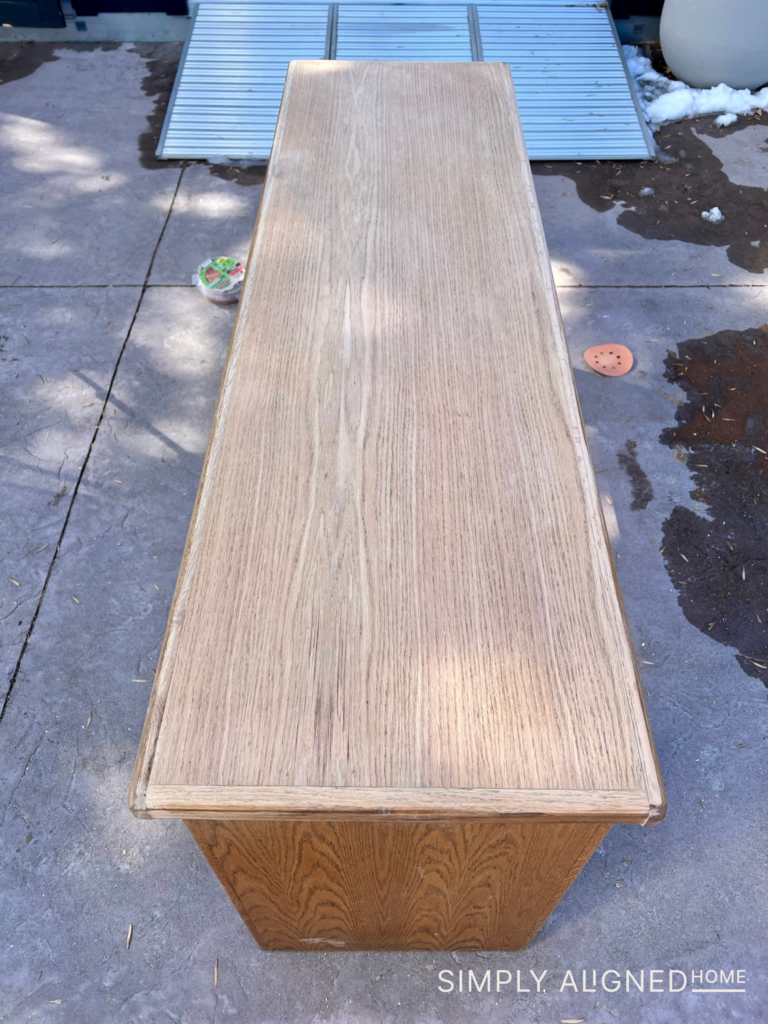
I’ll admit it: I’m not the most patient when it comes to sanding. It’s a necessary step, but it can be time-consuming and a little boring. I did as much sanding as I could tolerate, making sure to smooth out the surfaces as much as possible before moving on to the next steps.
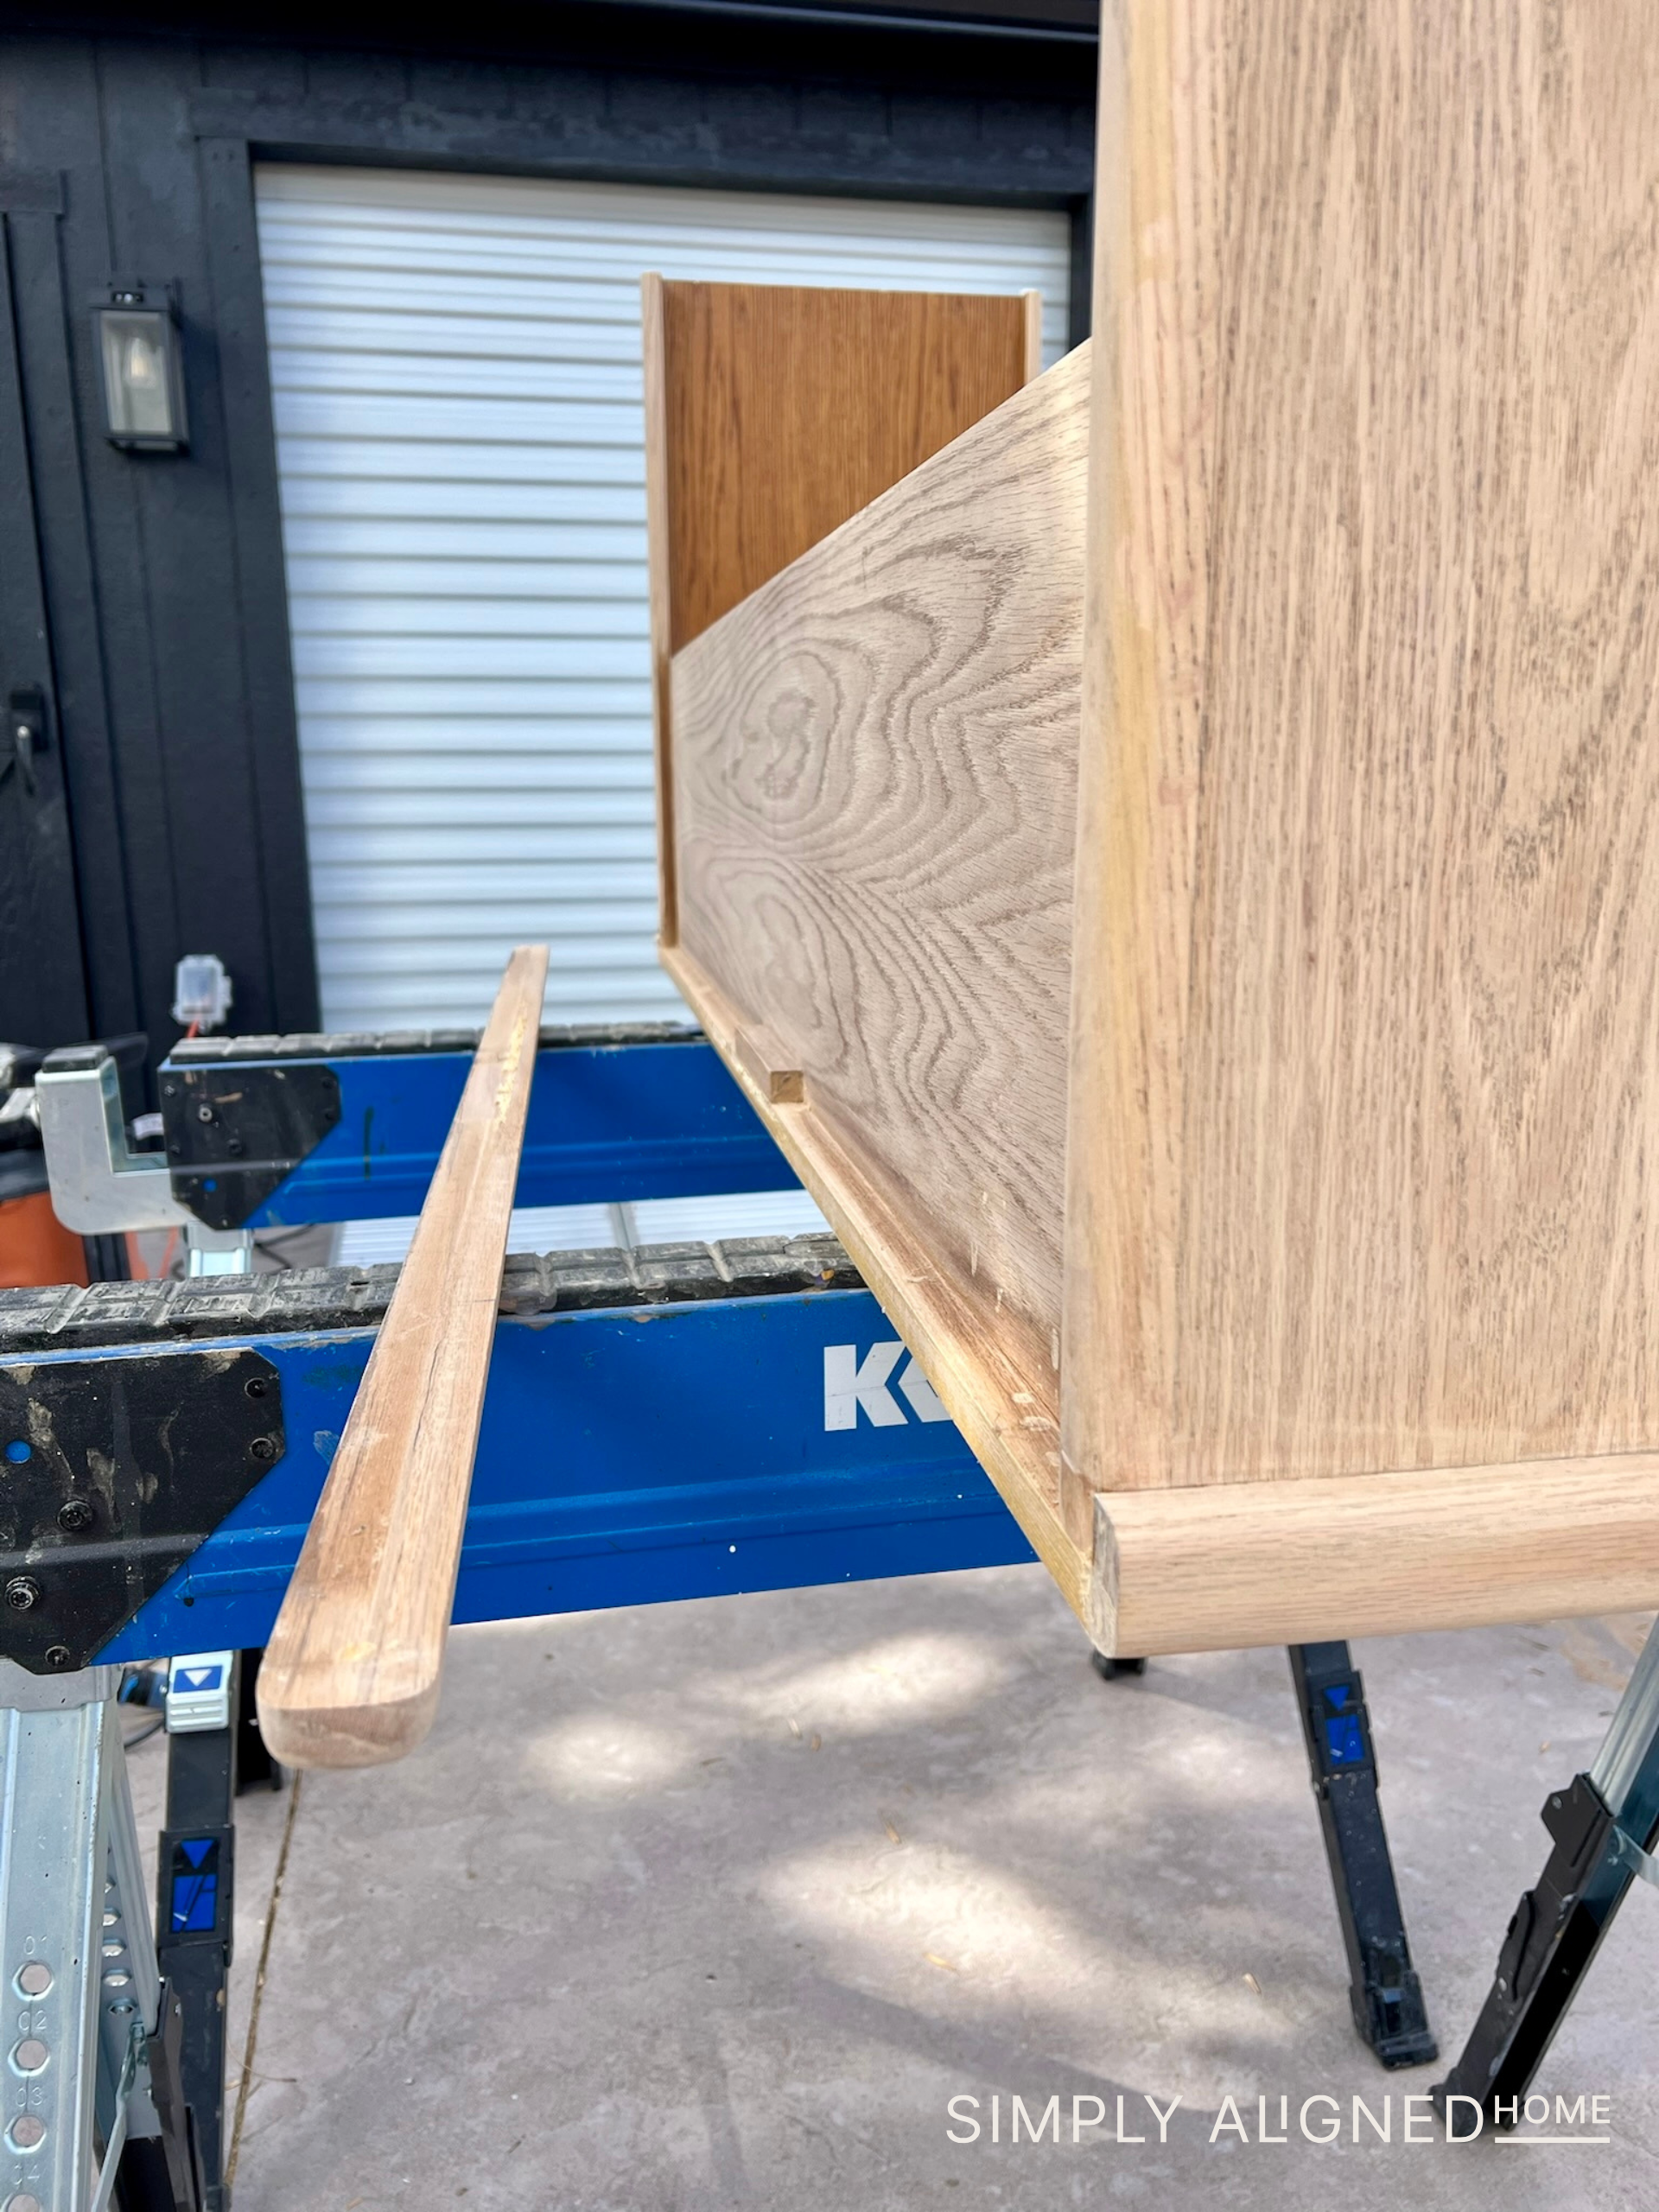
Fixing the Trim
As I began working, I noticed a few issues—parts of the trim were falling off. But that wasn’t a deal-breaker! A little wood glue and a brad nailer solved that problem quickly. I carefully pried off the loose trim, applied some glue, and nailed it back into place.
Staining and Sealing
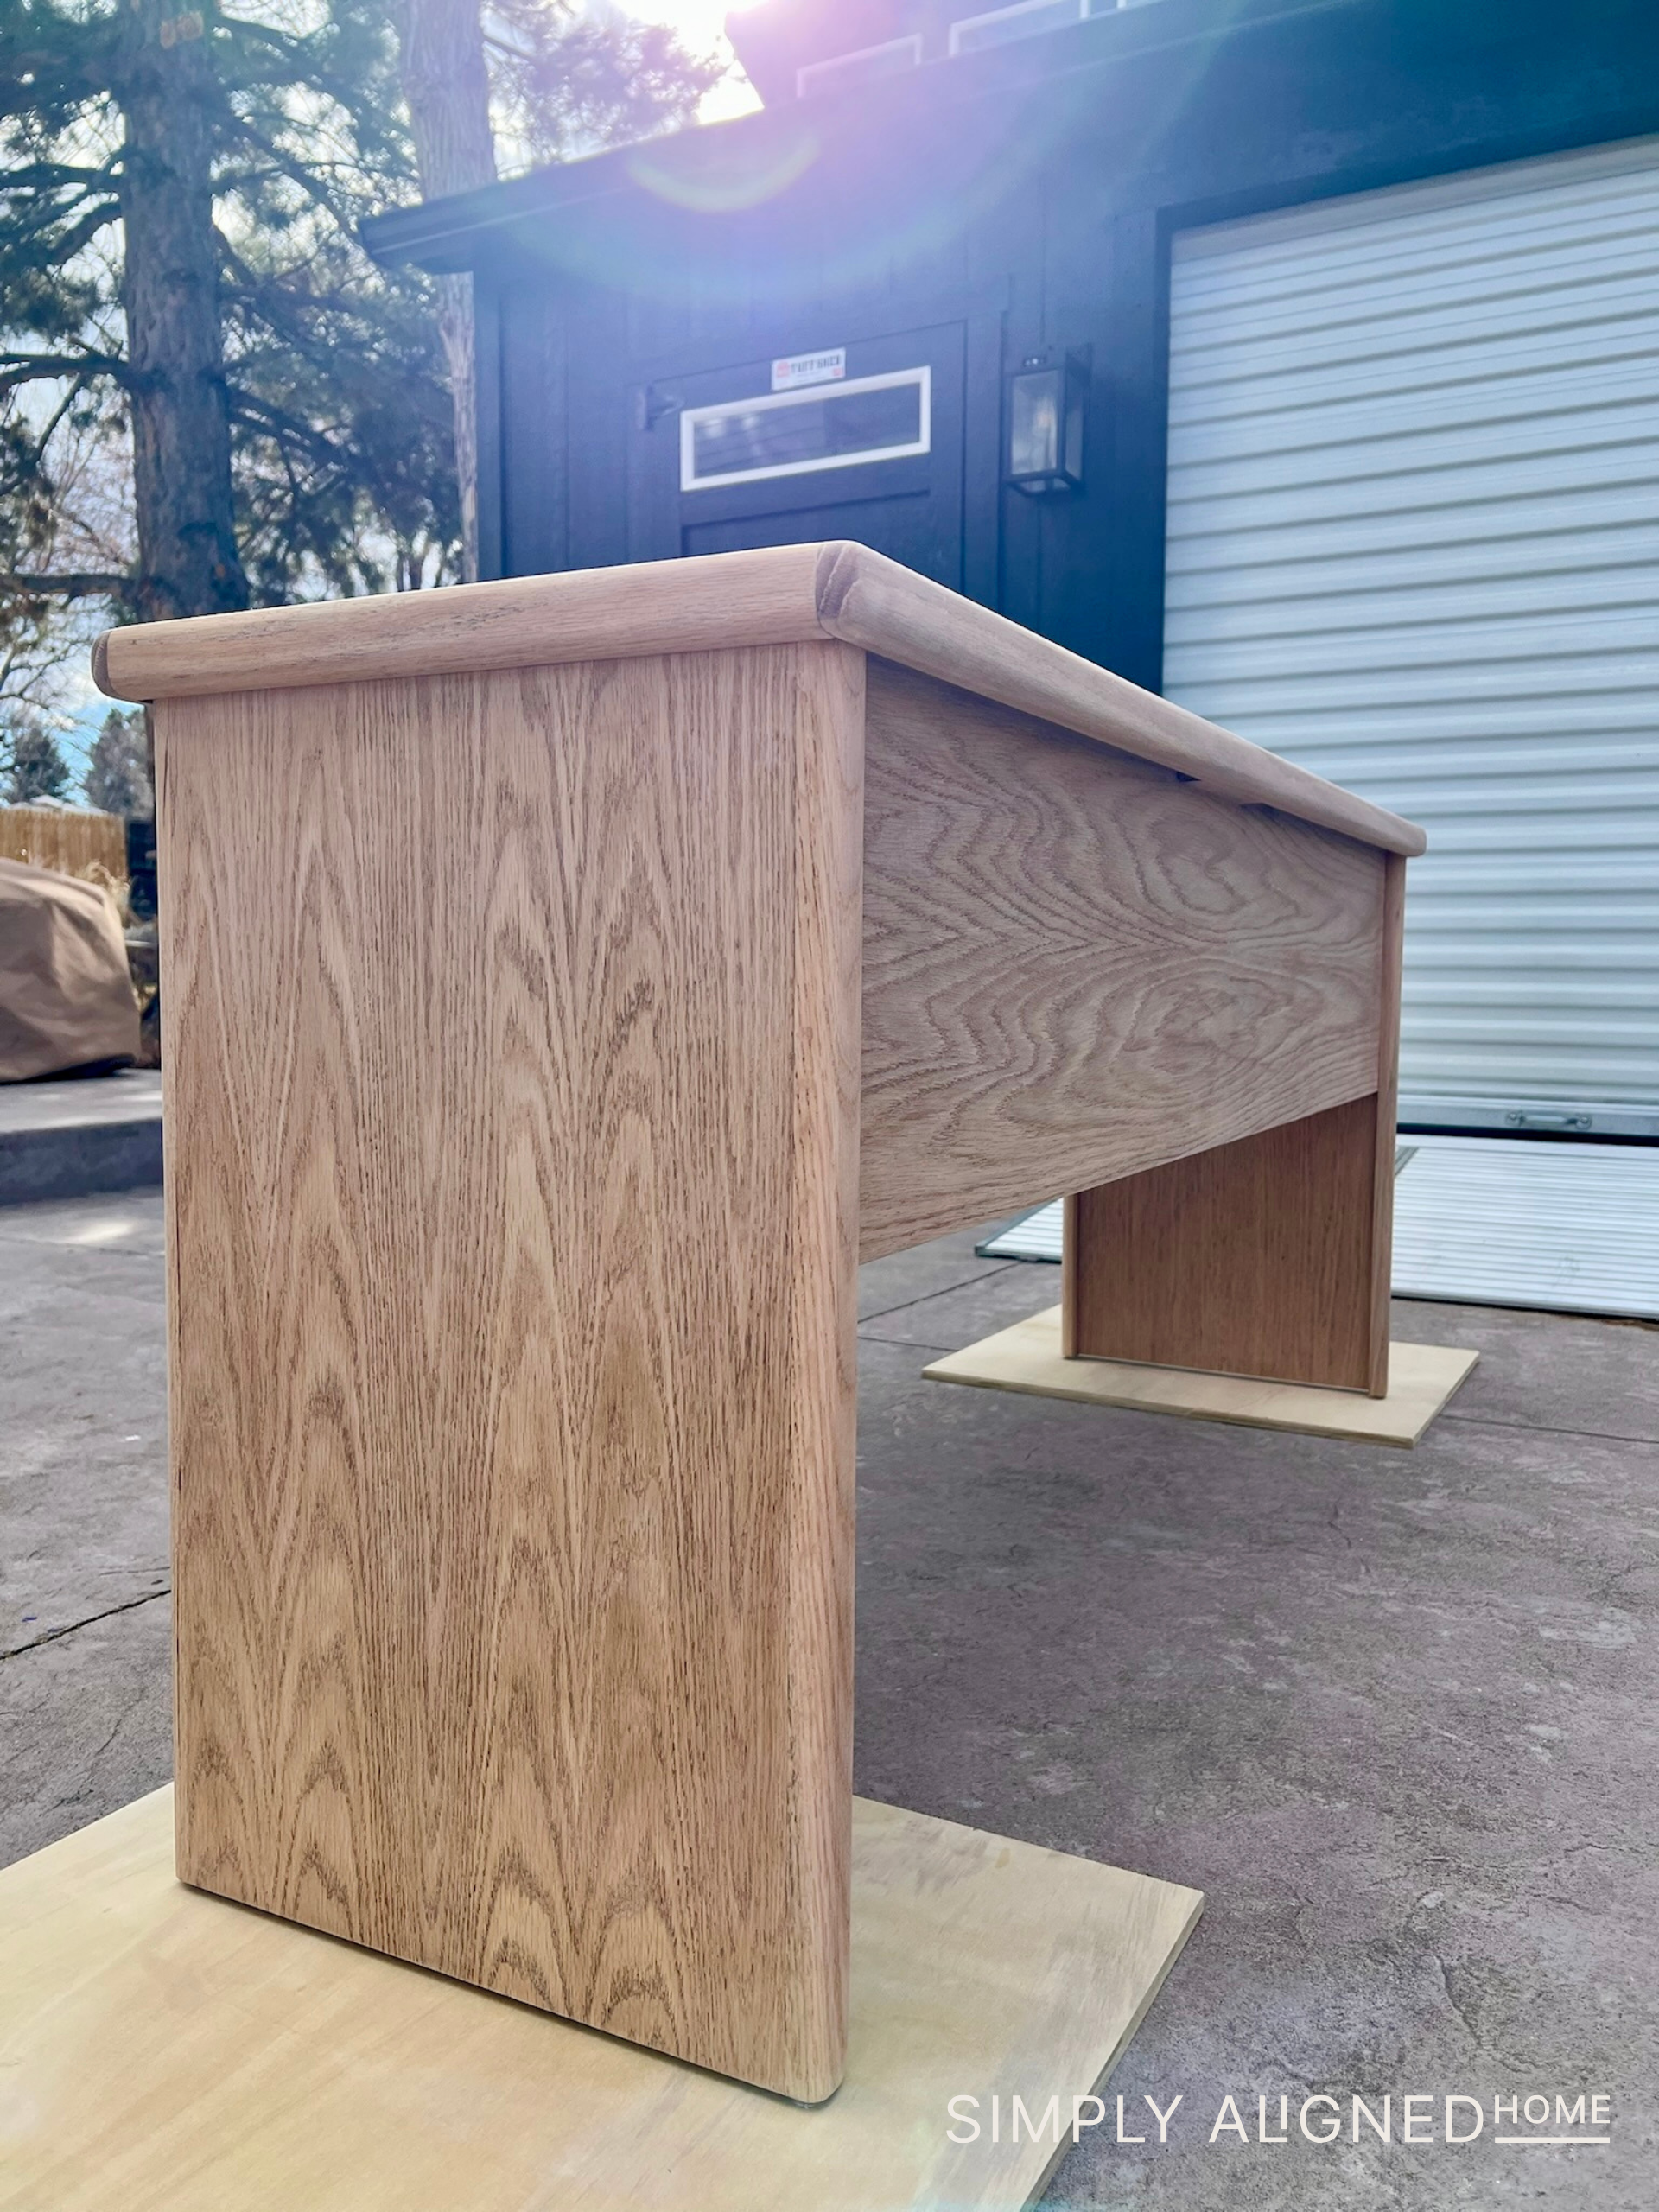
Now it was time for the fun part—staining and sealing the desk. Since the wood had already been stained, I knew the finish wouldn’t be exactly the same as my other wood pieces. I mixed up a water-based stain and applied it with one of my favorite tools: an old baby sock. It gives the stain a smooth, even finish that looks professional. Look at this new stain compared to the old stain color! I love it! You can see my full, detailed, tried & true staining method here in this blog post!

The Final Look
The desk isn’t perfect, but for a $28 thrift store find, I couldn’t be happier with how it turned out! It may have a few imperfections, but it has so much character and fits perfectly into my office space. It’s amazing what a little time and elbow grease can do to breathe new life into an old piece of furniture!
Here are all my tools & materials I used refinishing my desk:
Shop my home office furniture & decor!

**Note: I am not a professional and do not claim to be an expert. Please be sure to always read instructions for all tools and products. Safety is very important and should be your top priority. Wear necessary protection when using tools (eye wear, hearing protection, gloves, etc.) and dust masks when sanding or cutting. Simply Aligned Home is not responsible for any injury or damage. All of my designs are not professionally designed and are for private use only.**