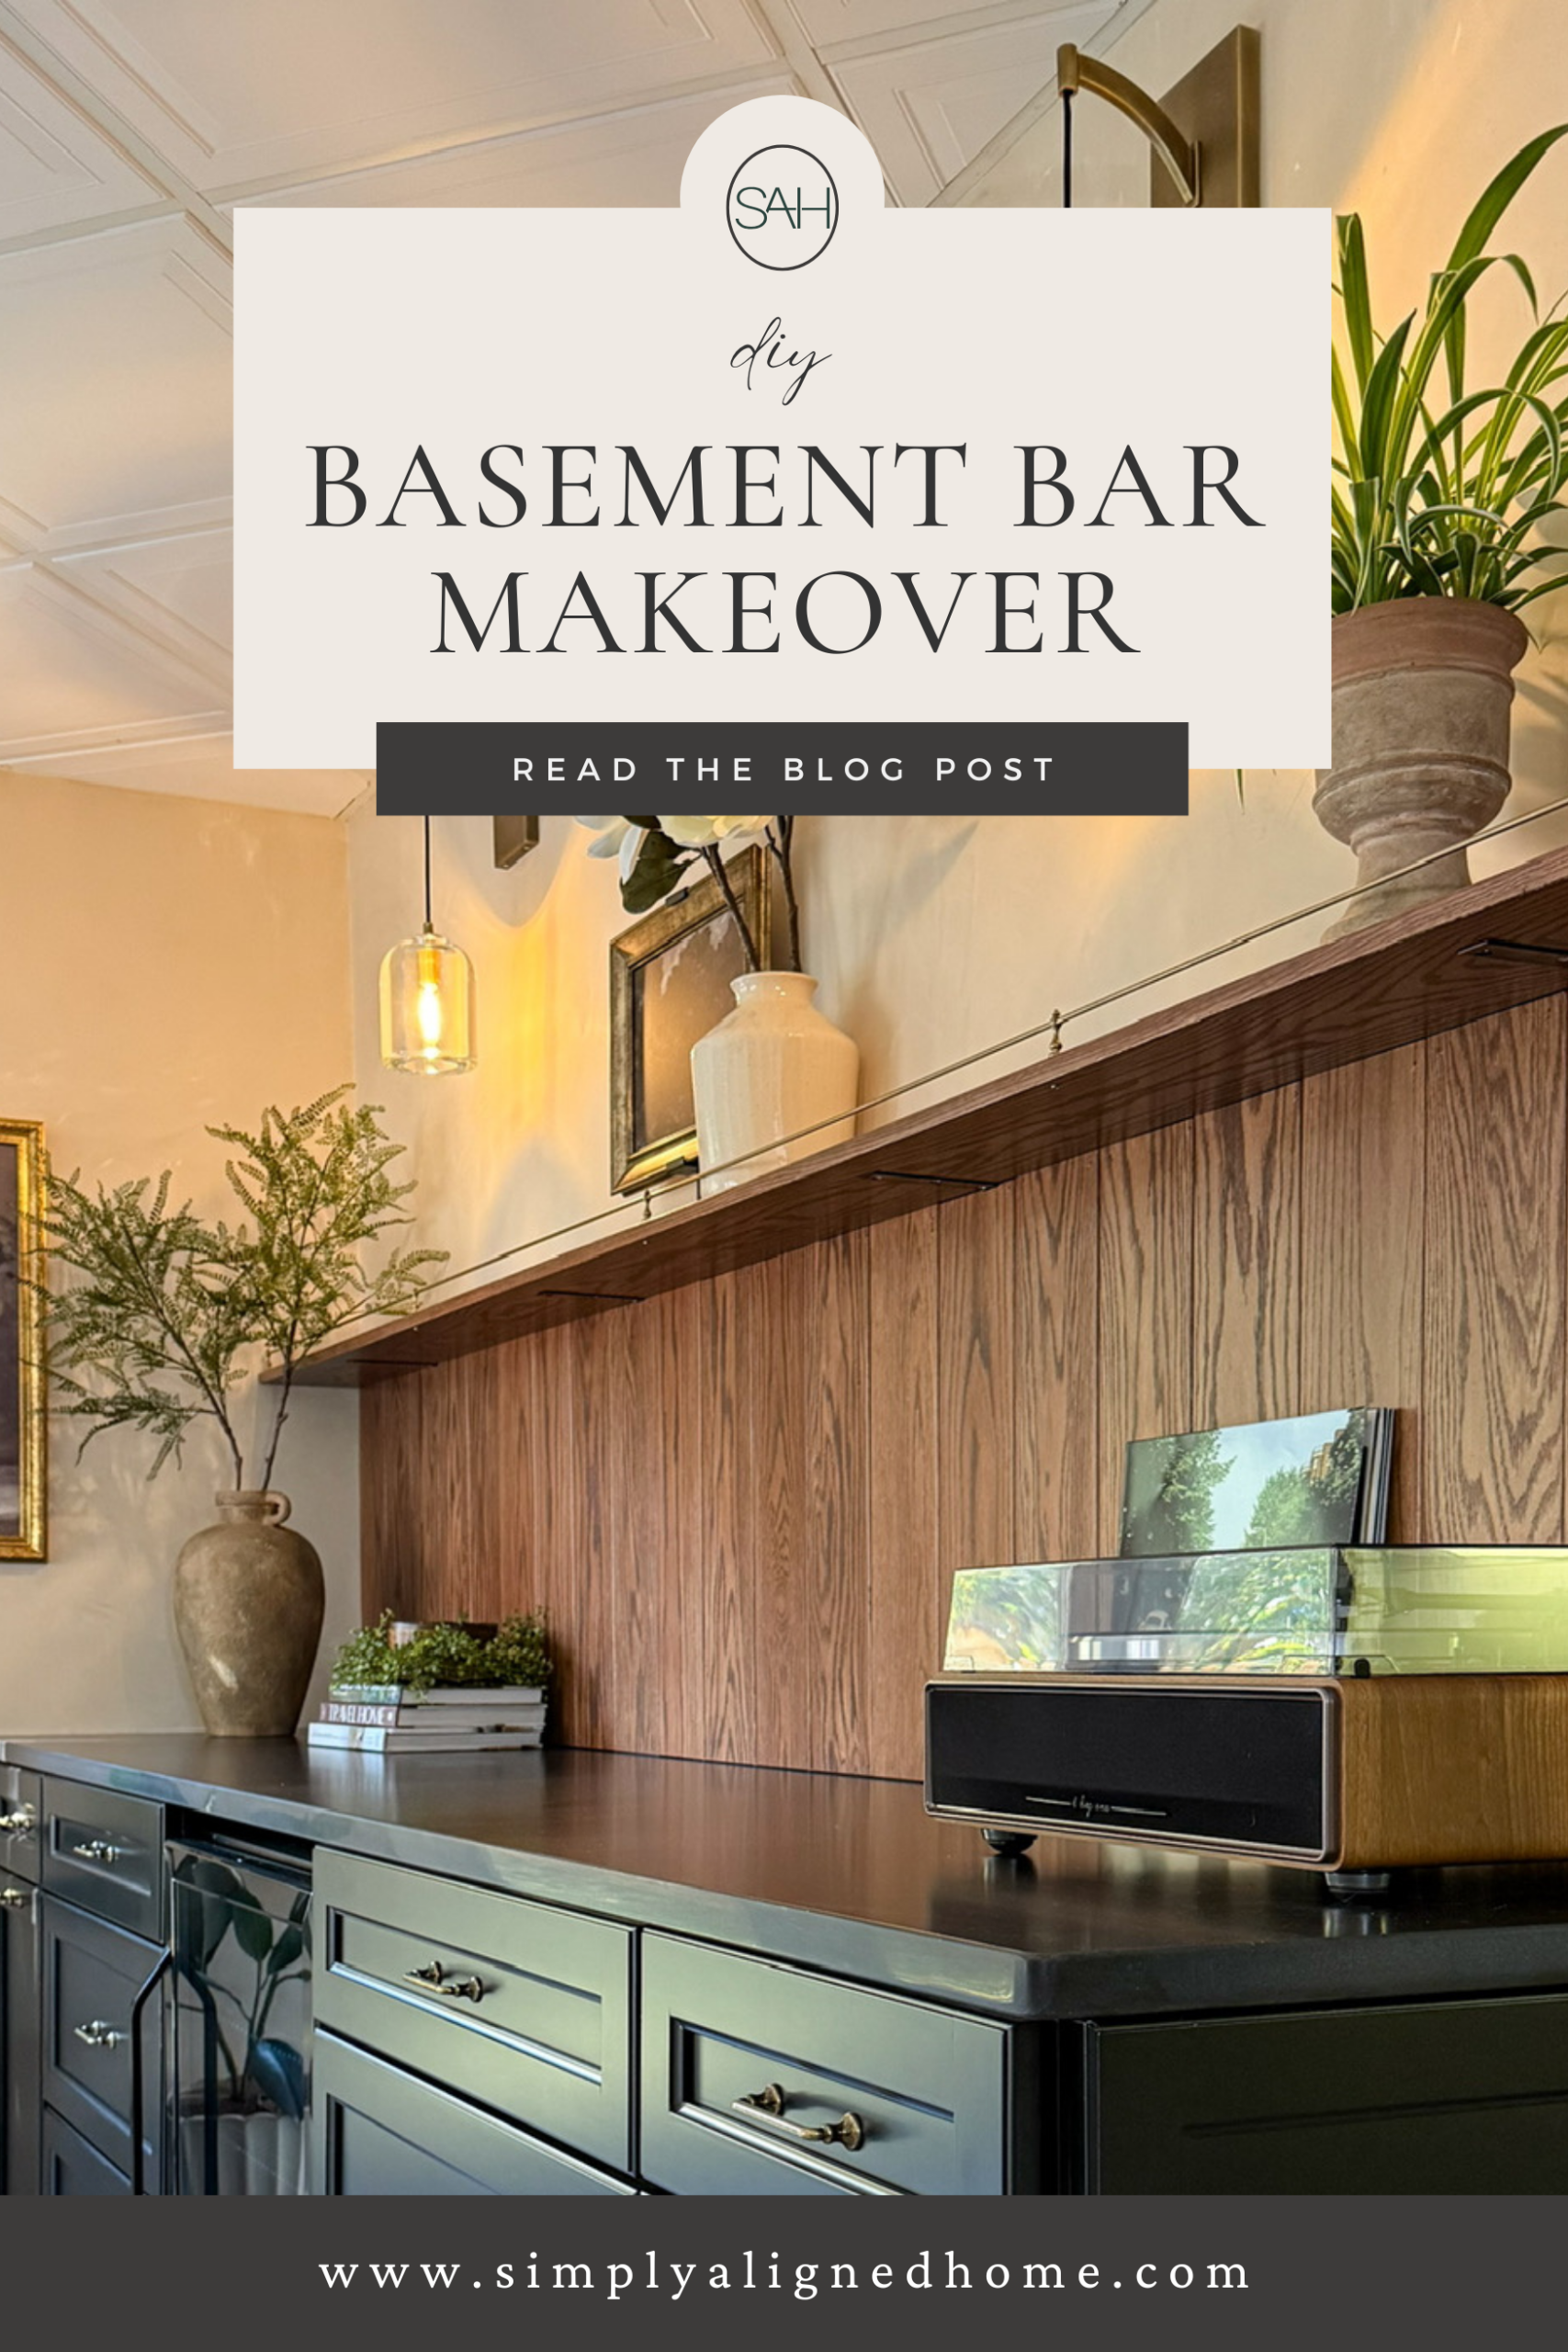
When we moved into our new home, we had a very awkward space in our basement that I knew needed a little love. Eventually, I want our basement to become a hangout space for my kids and their friends. Before we could really use the space that way, I needed to transform this unused corner into something more functional…a basement bar!
I decided a small dry bar would be the perfect solution. It gave us a place to store drinks and make the basement feel a little more intentional without doing a huge renovation.
This project was actually very simple and is such a great way to transform a boring or awkward space in your home.
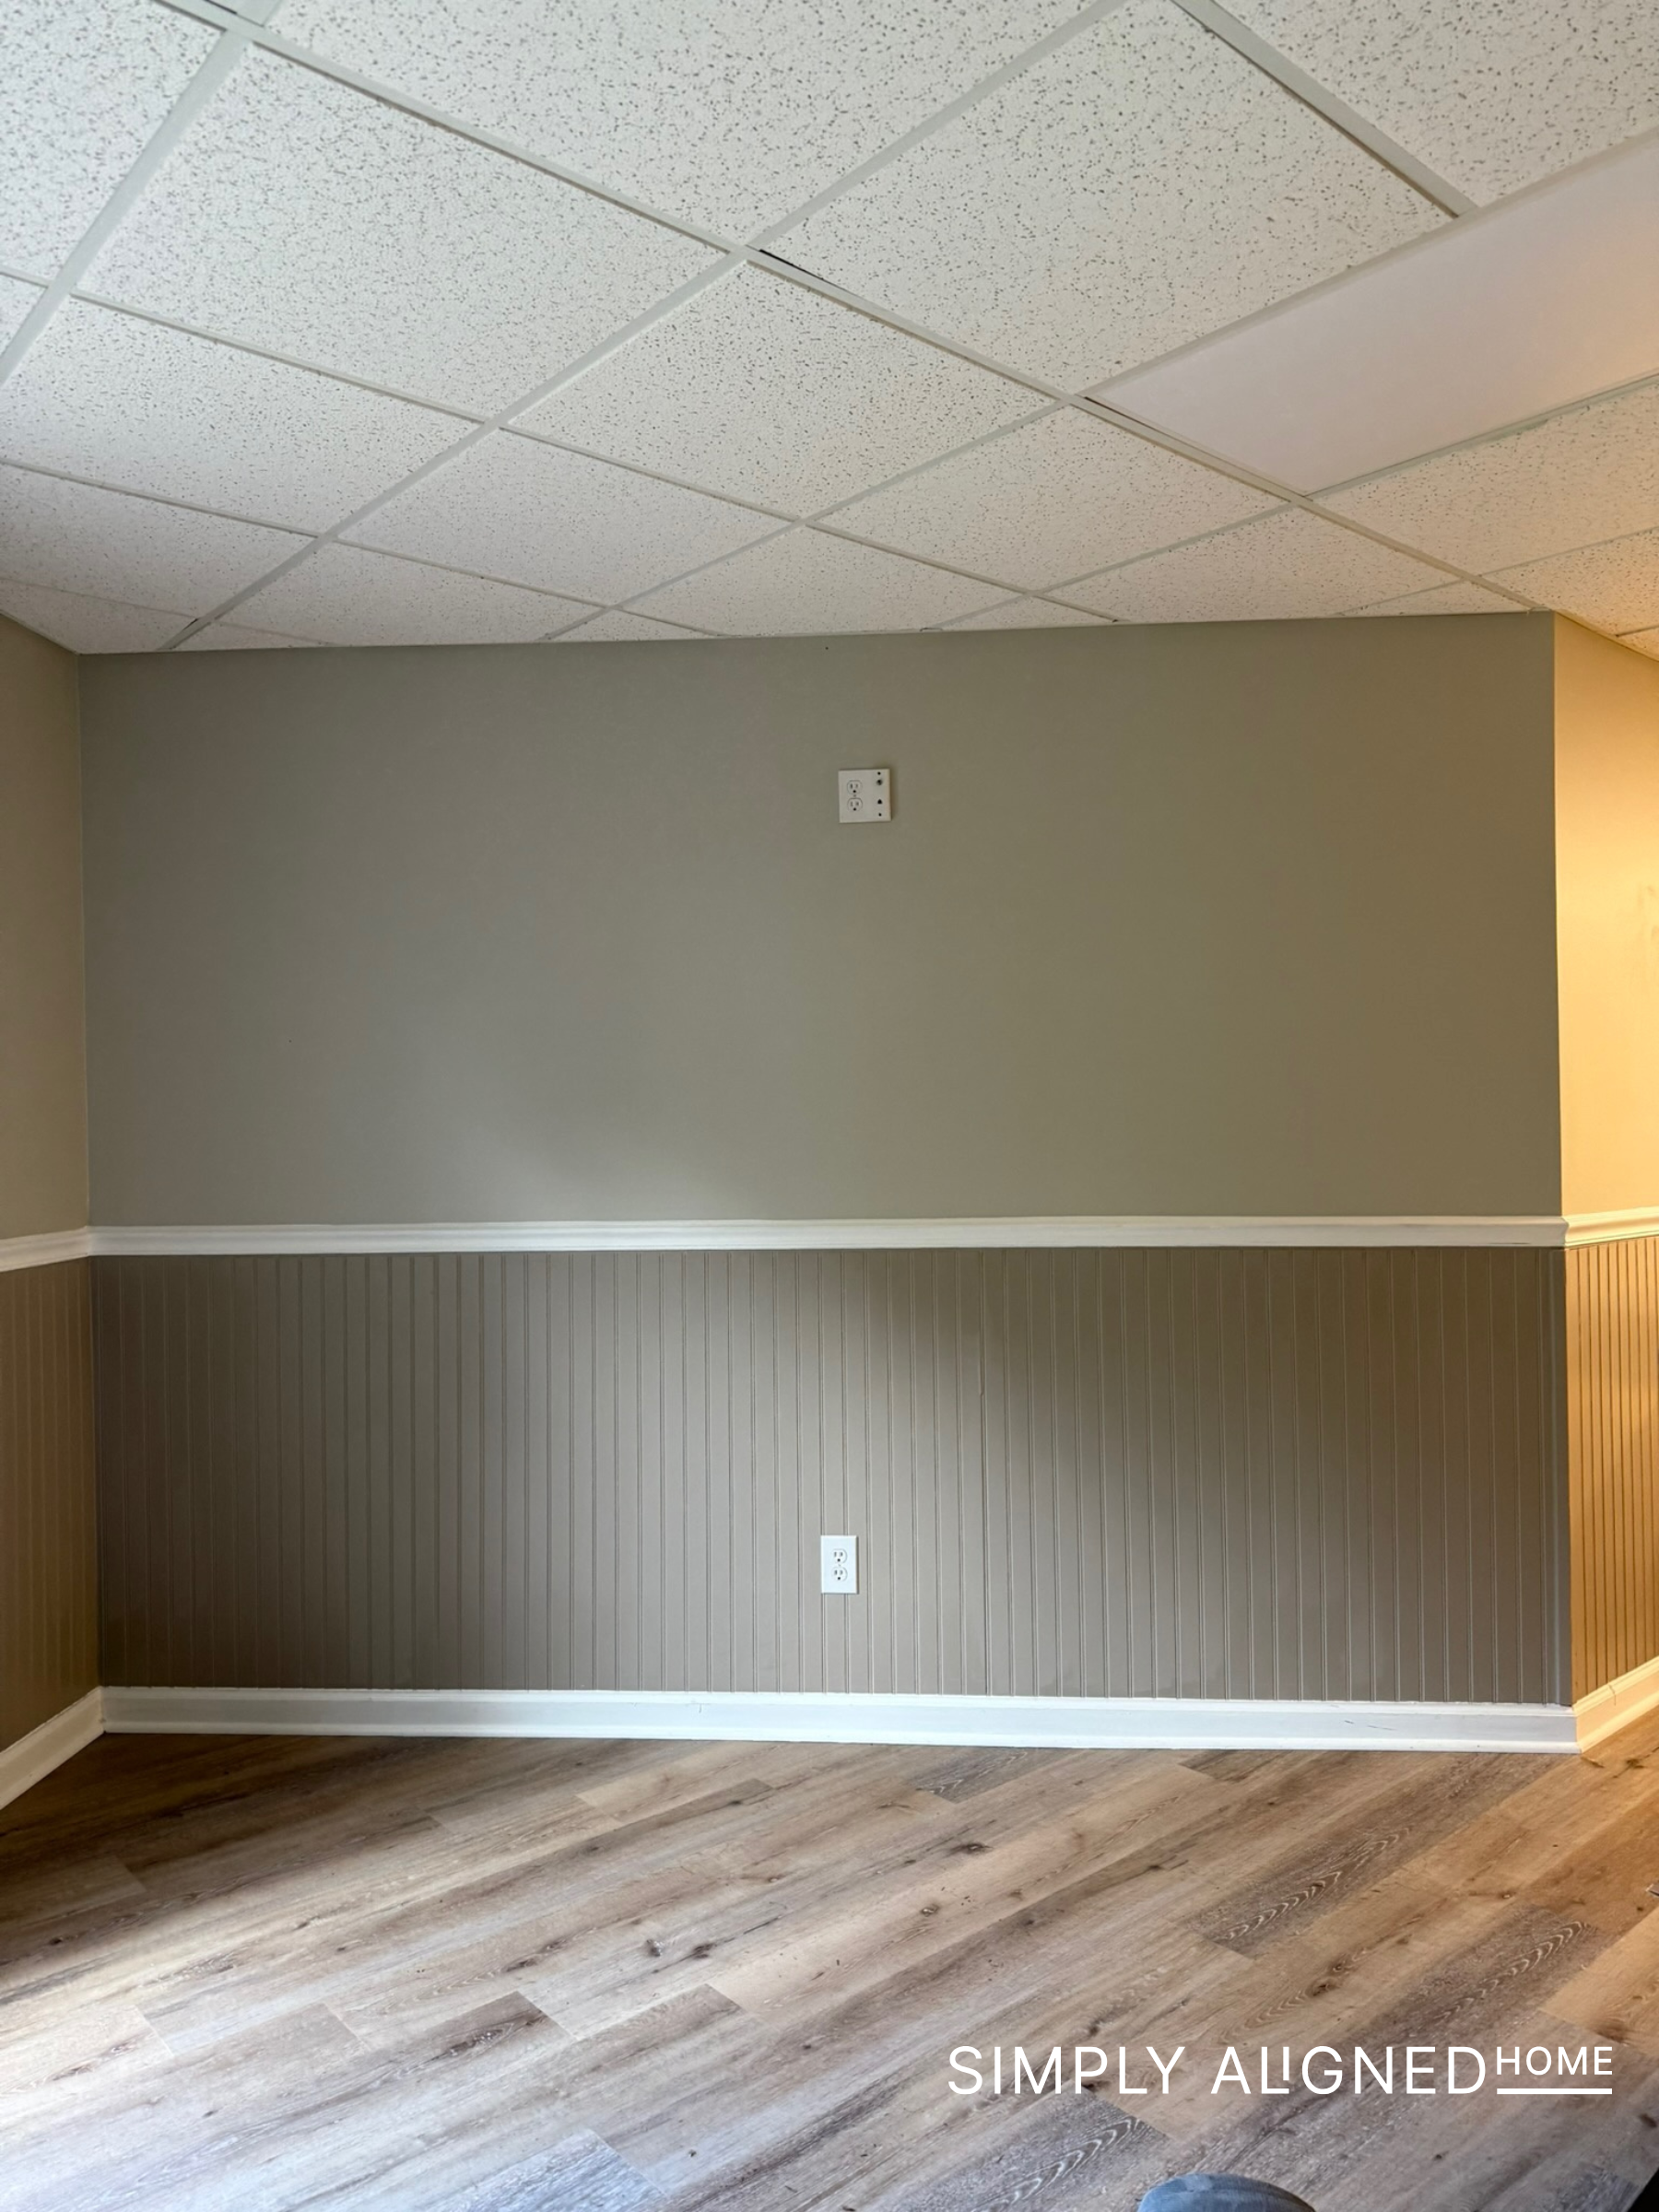
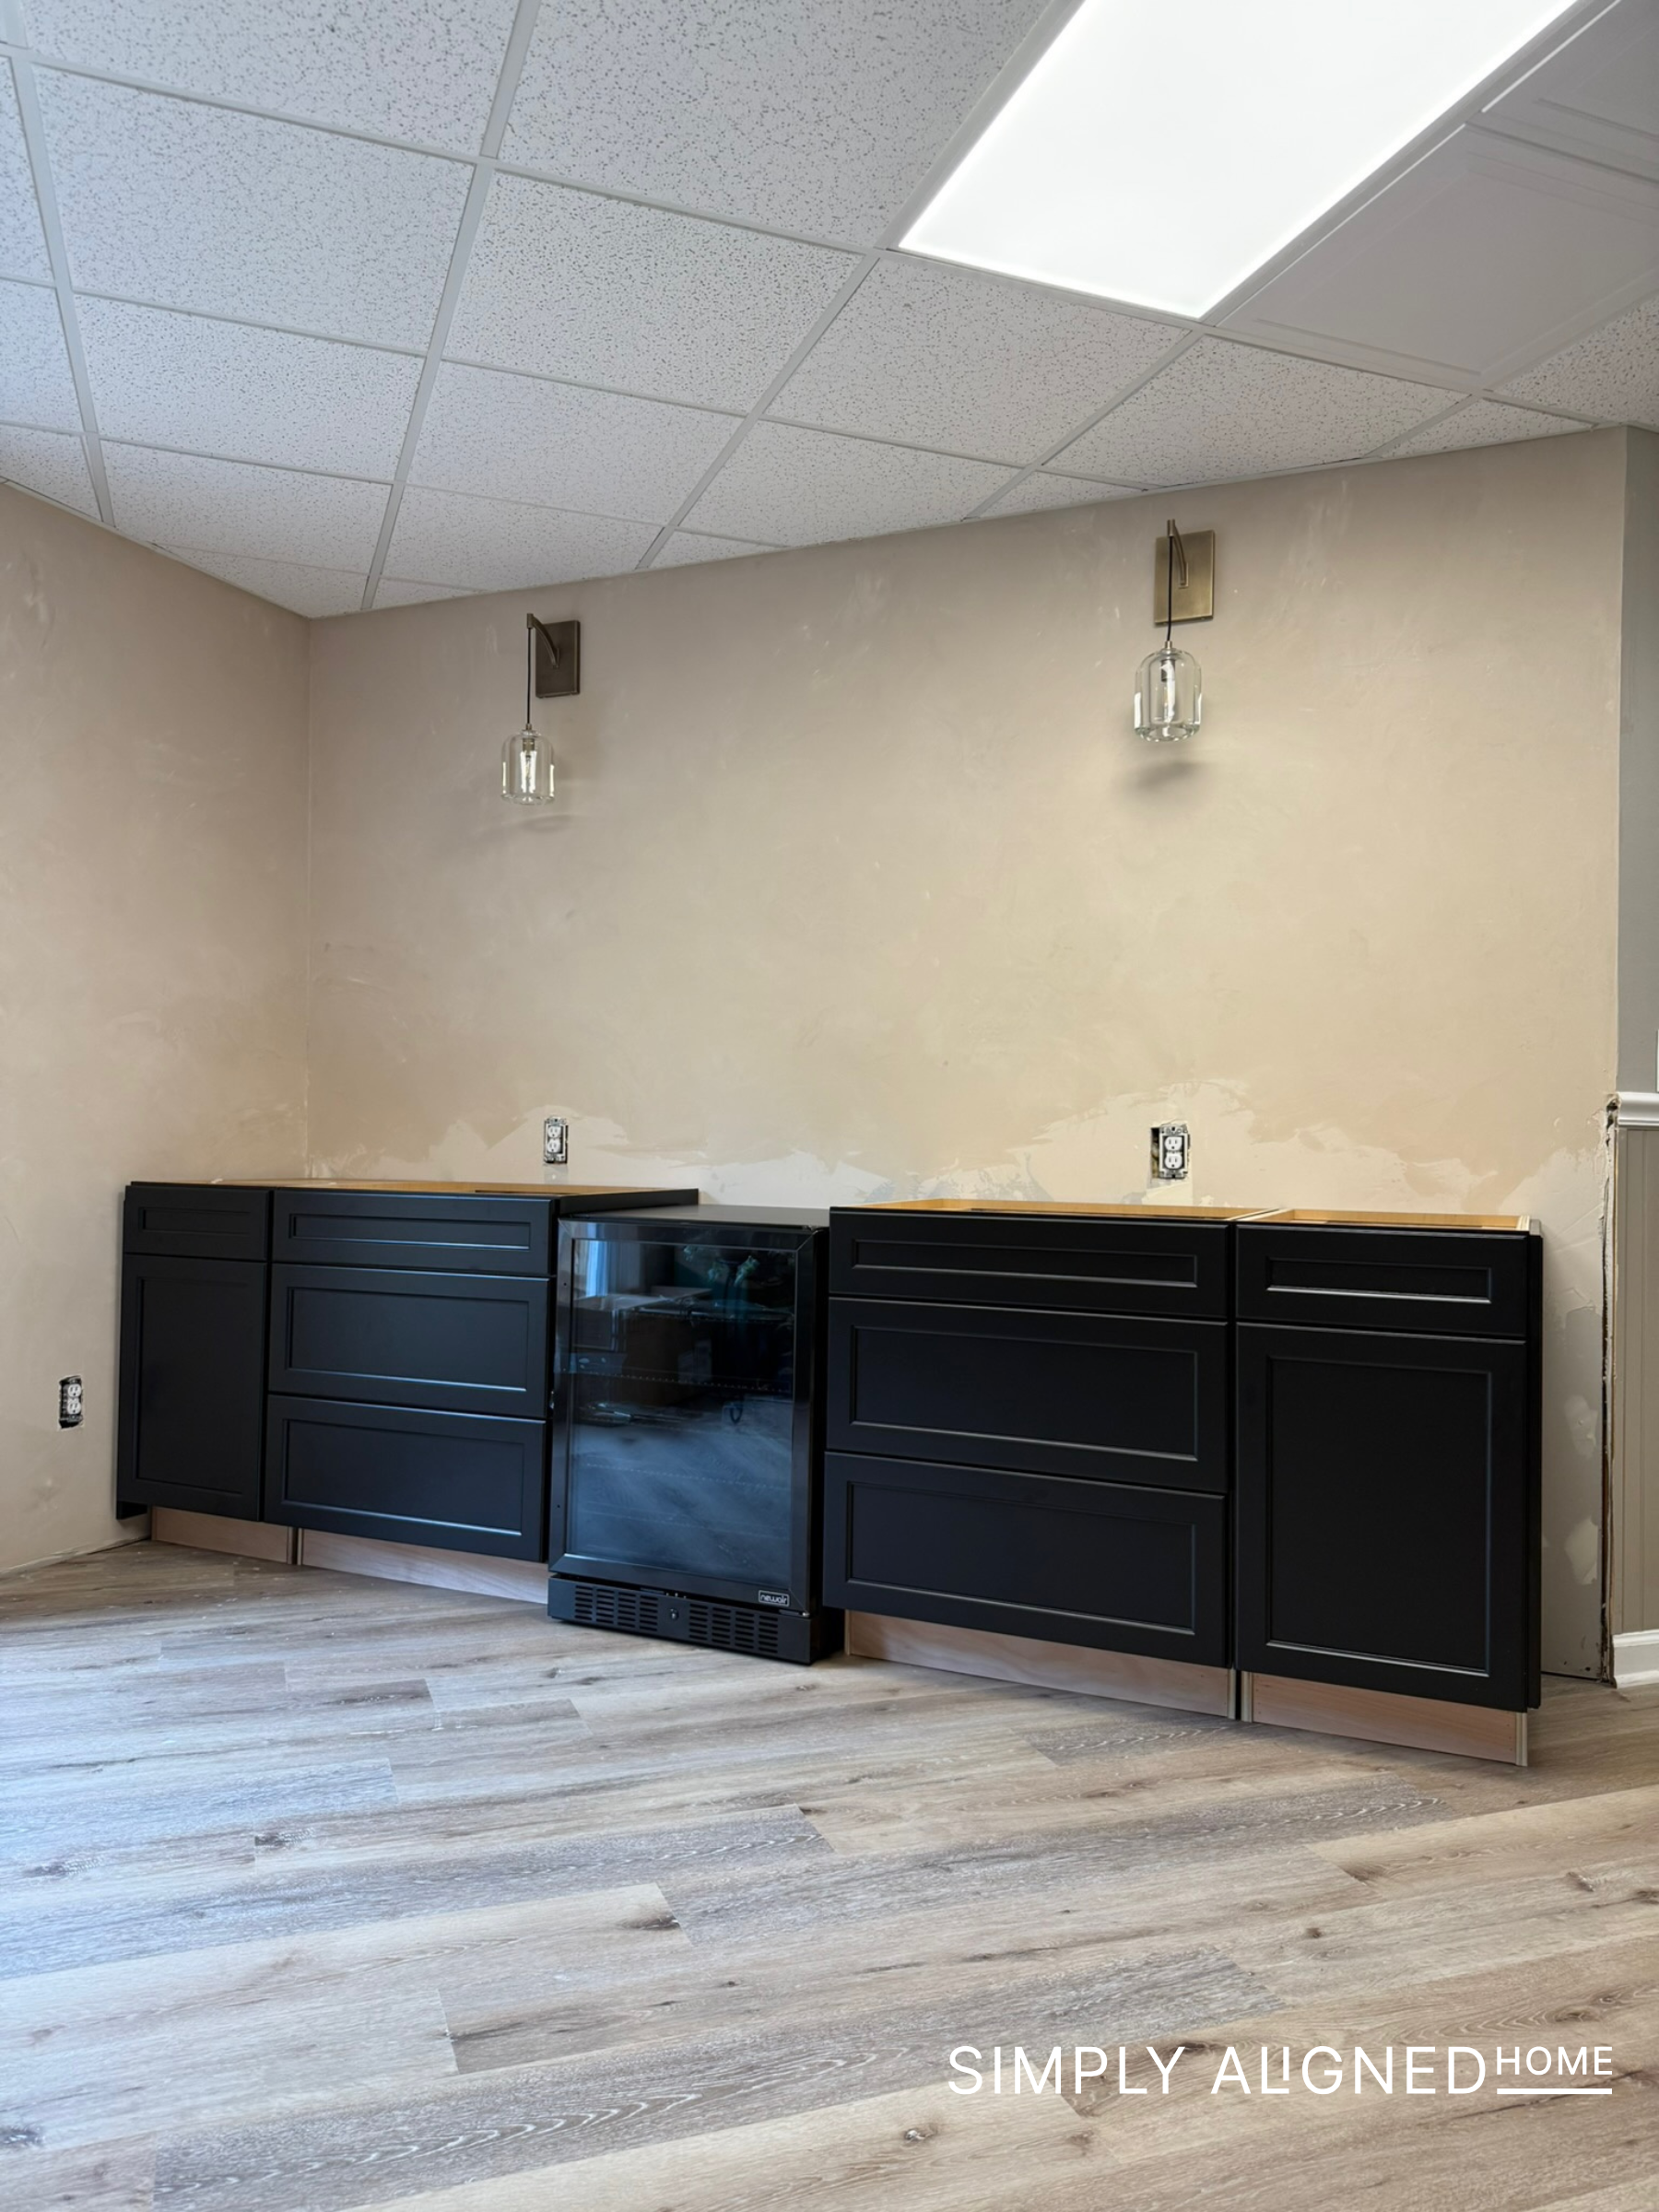
Here’s what I started out with!
**This post contains affiliate links to products that I used or recommend. If you purchase something through an affiliate link, I may receive a small percentage of the sale at no extra cost to you. I really appreciate your support!**
Planning the Basement Bar
The first step was measuring the space and figuring out the cabinet layout.
For this project, I decided to use custom cabinets. You could absolutely recreate a similar look with stock cabinets to make it more affordable. I wanted this specific space to function well for our family, so I chose a mix of cabinet styles that would give us plenty of storage!
For the basement bar, I used:
- Two drawer cabinets
- One standard door cabinet
- One pull-out trash can cabinet
- Space for a mini fridge
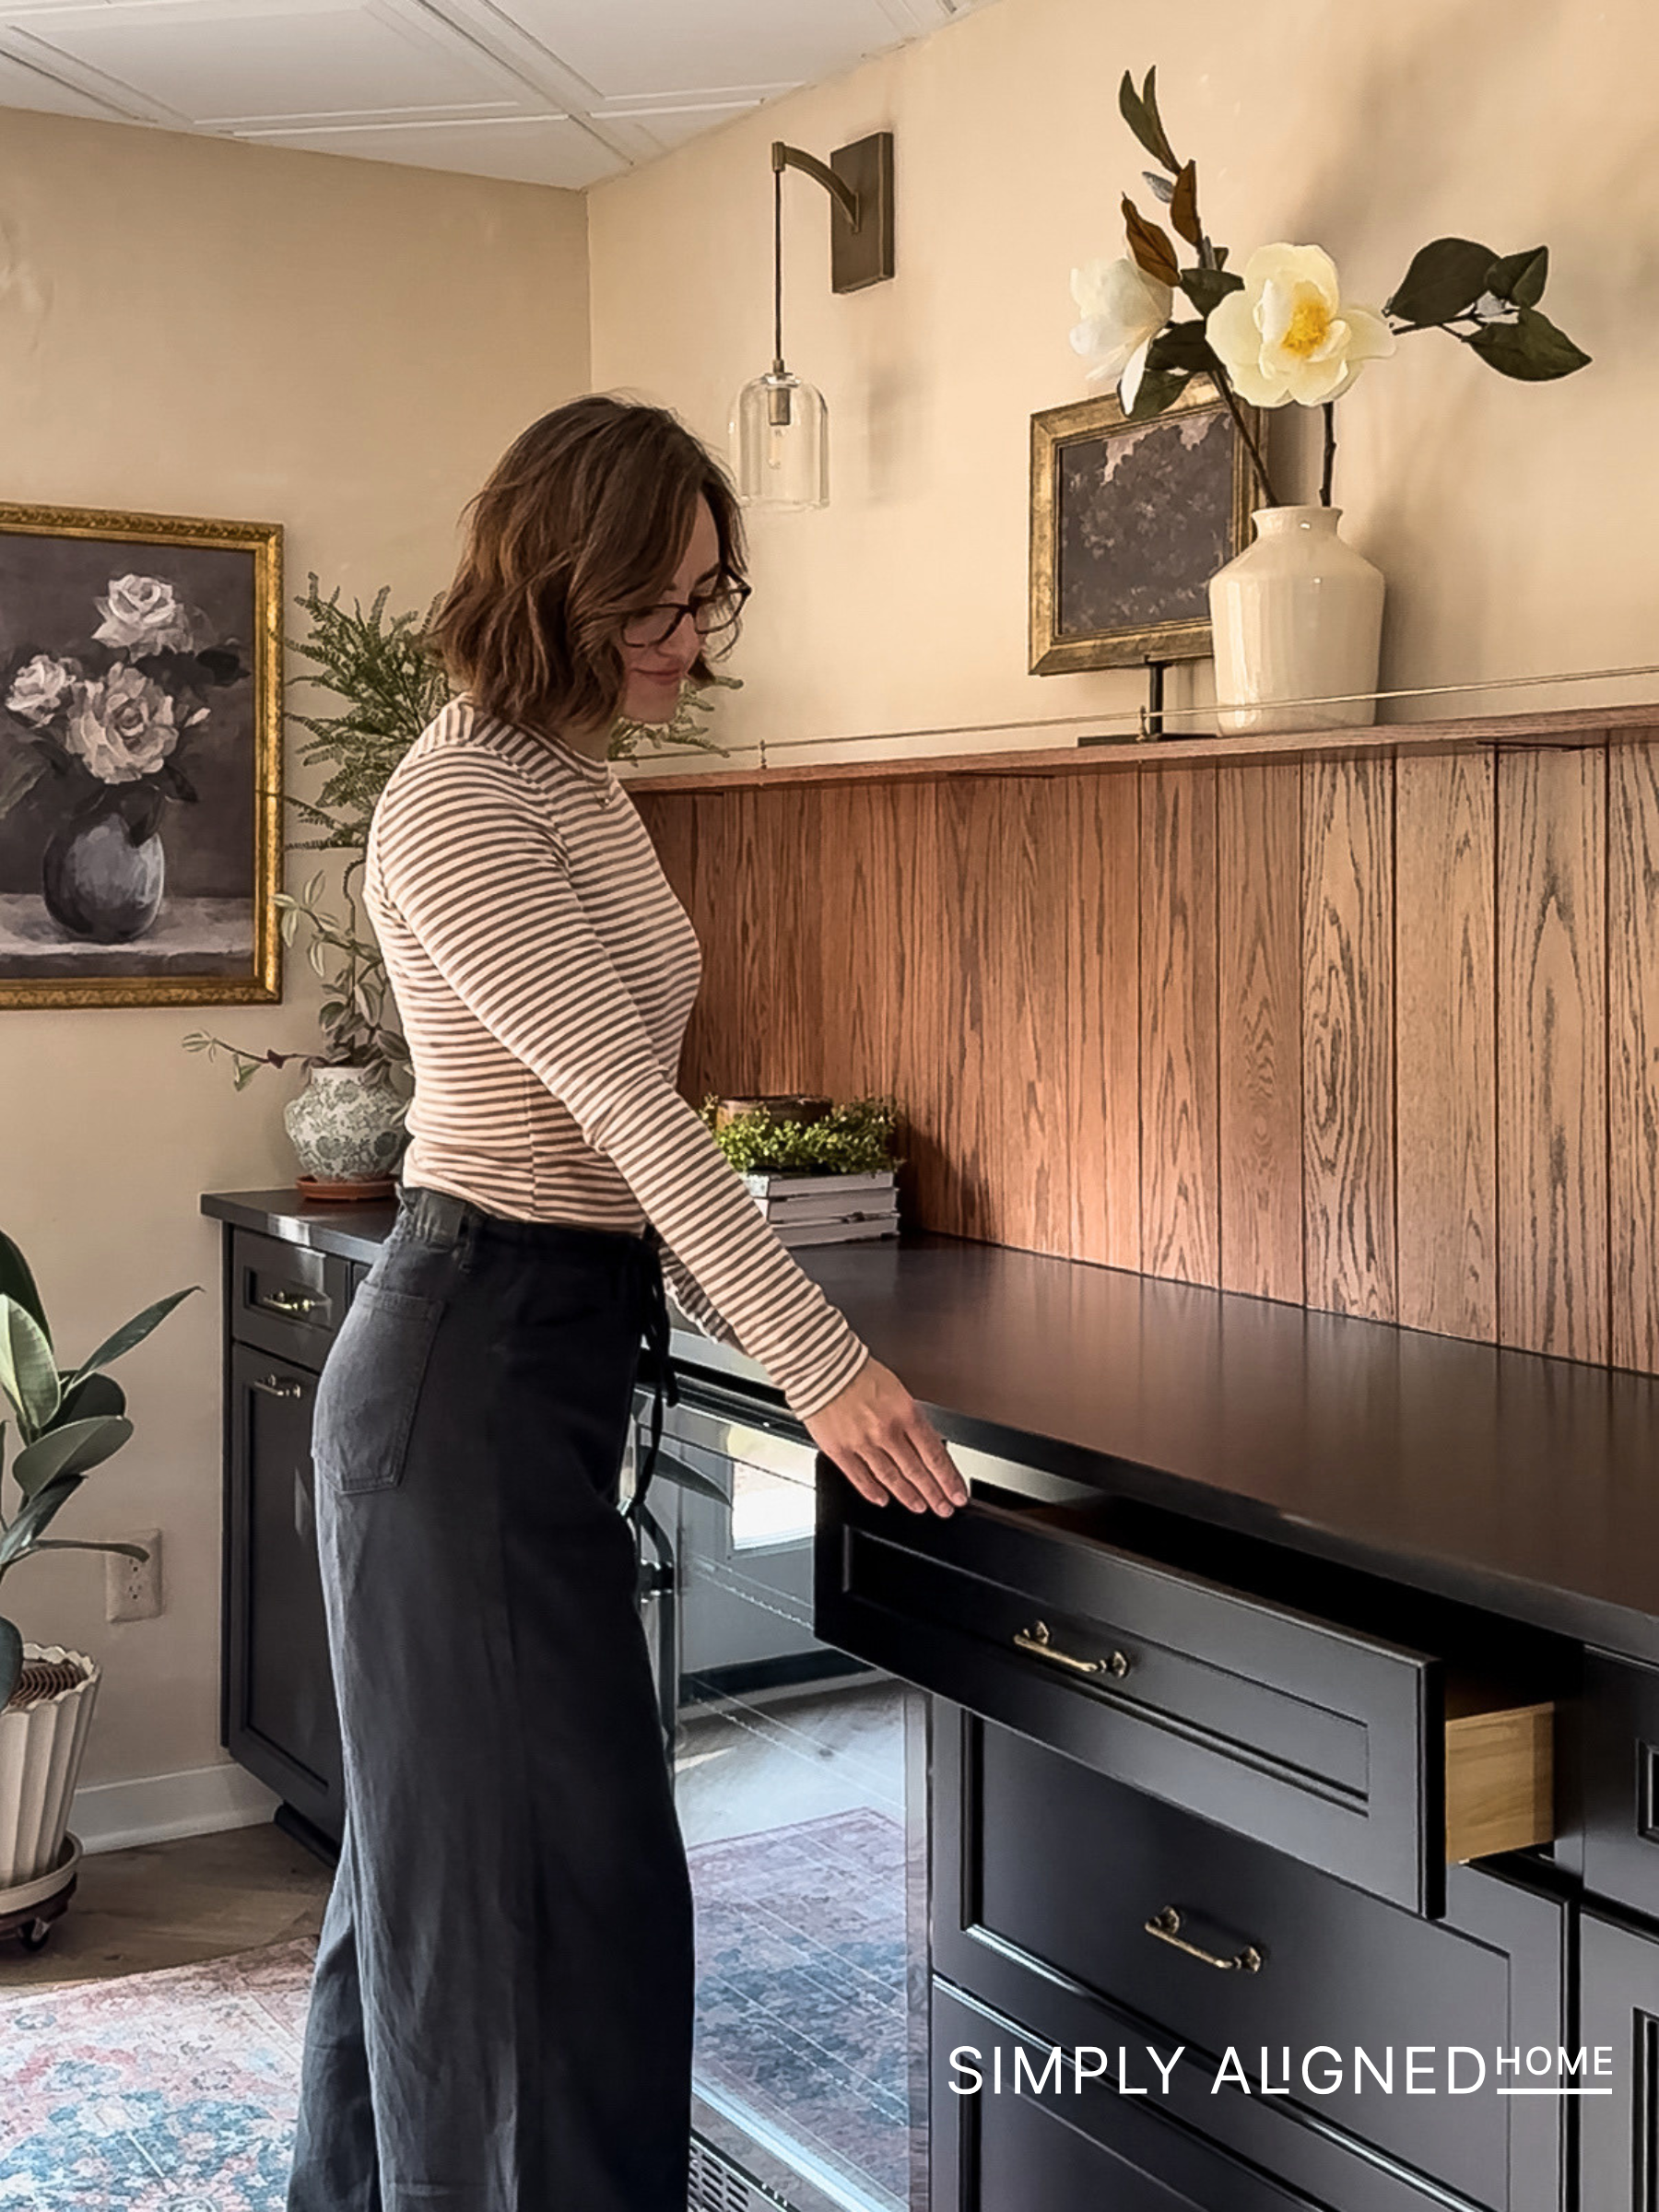
The pull-out trash can cabinet was one of those small details that made the whole setup feel much more functional. Since this is a dry bar and hangout area, I knew having an easy place for trash would be helpful.
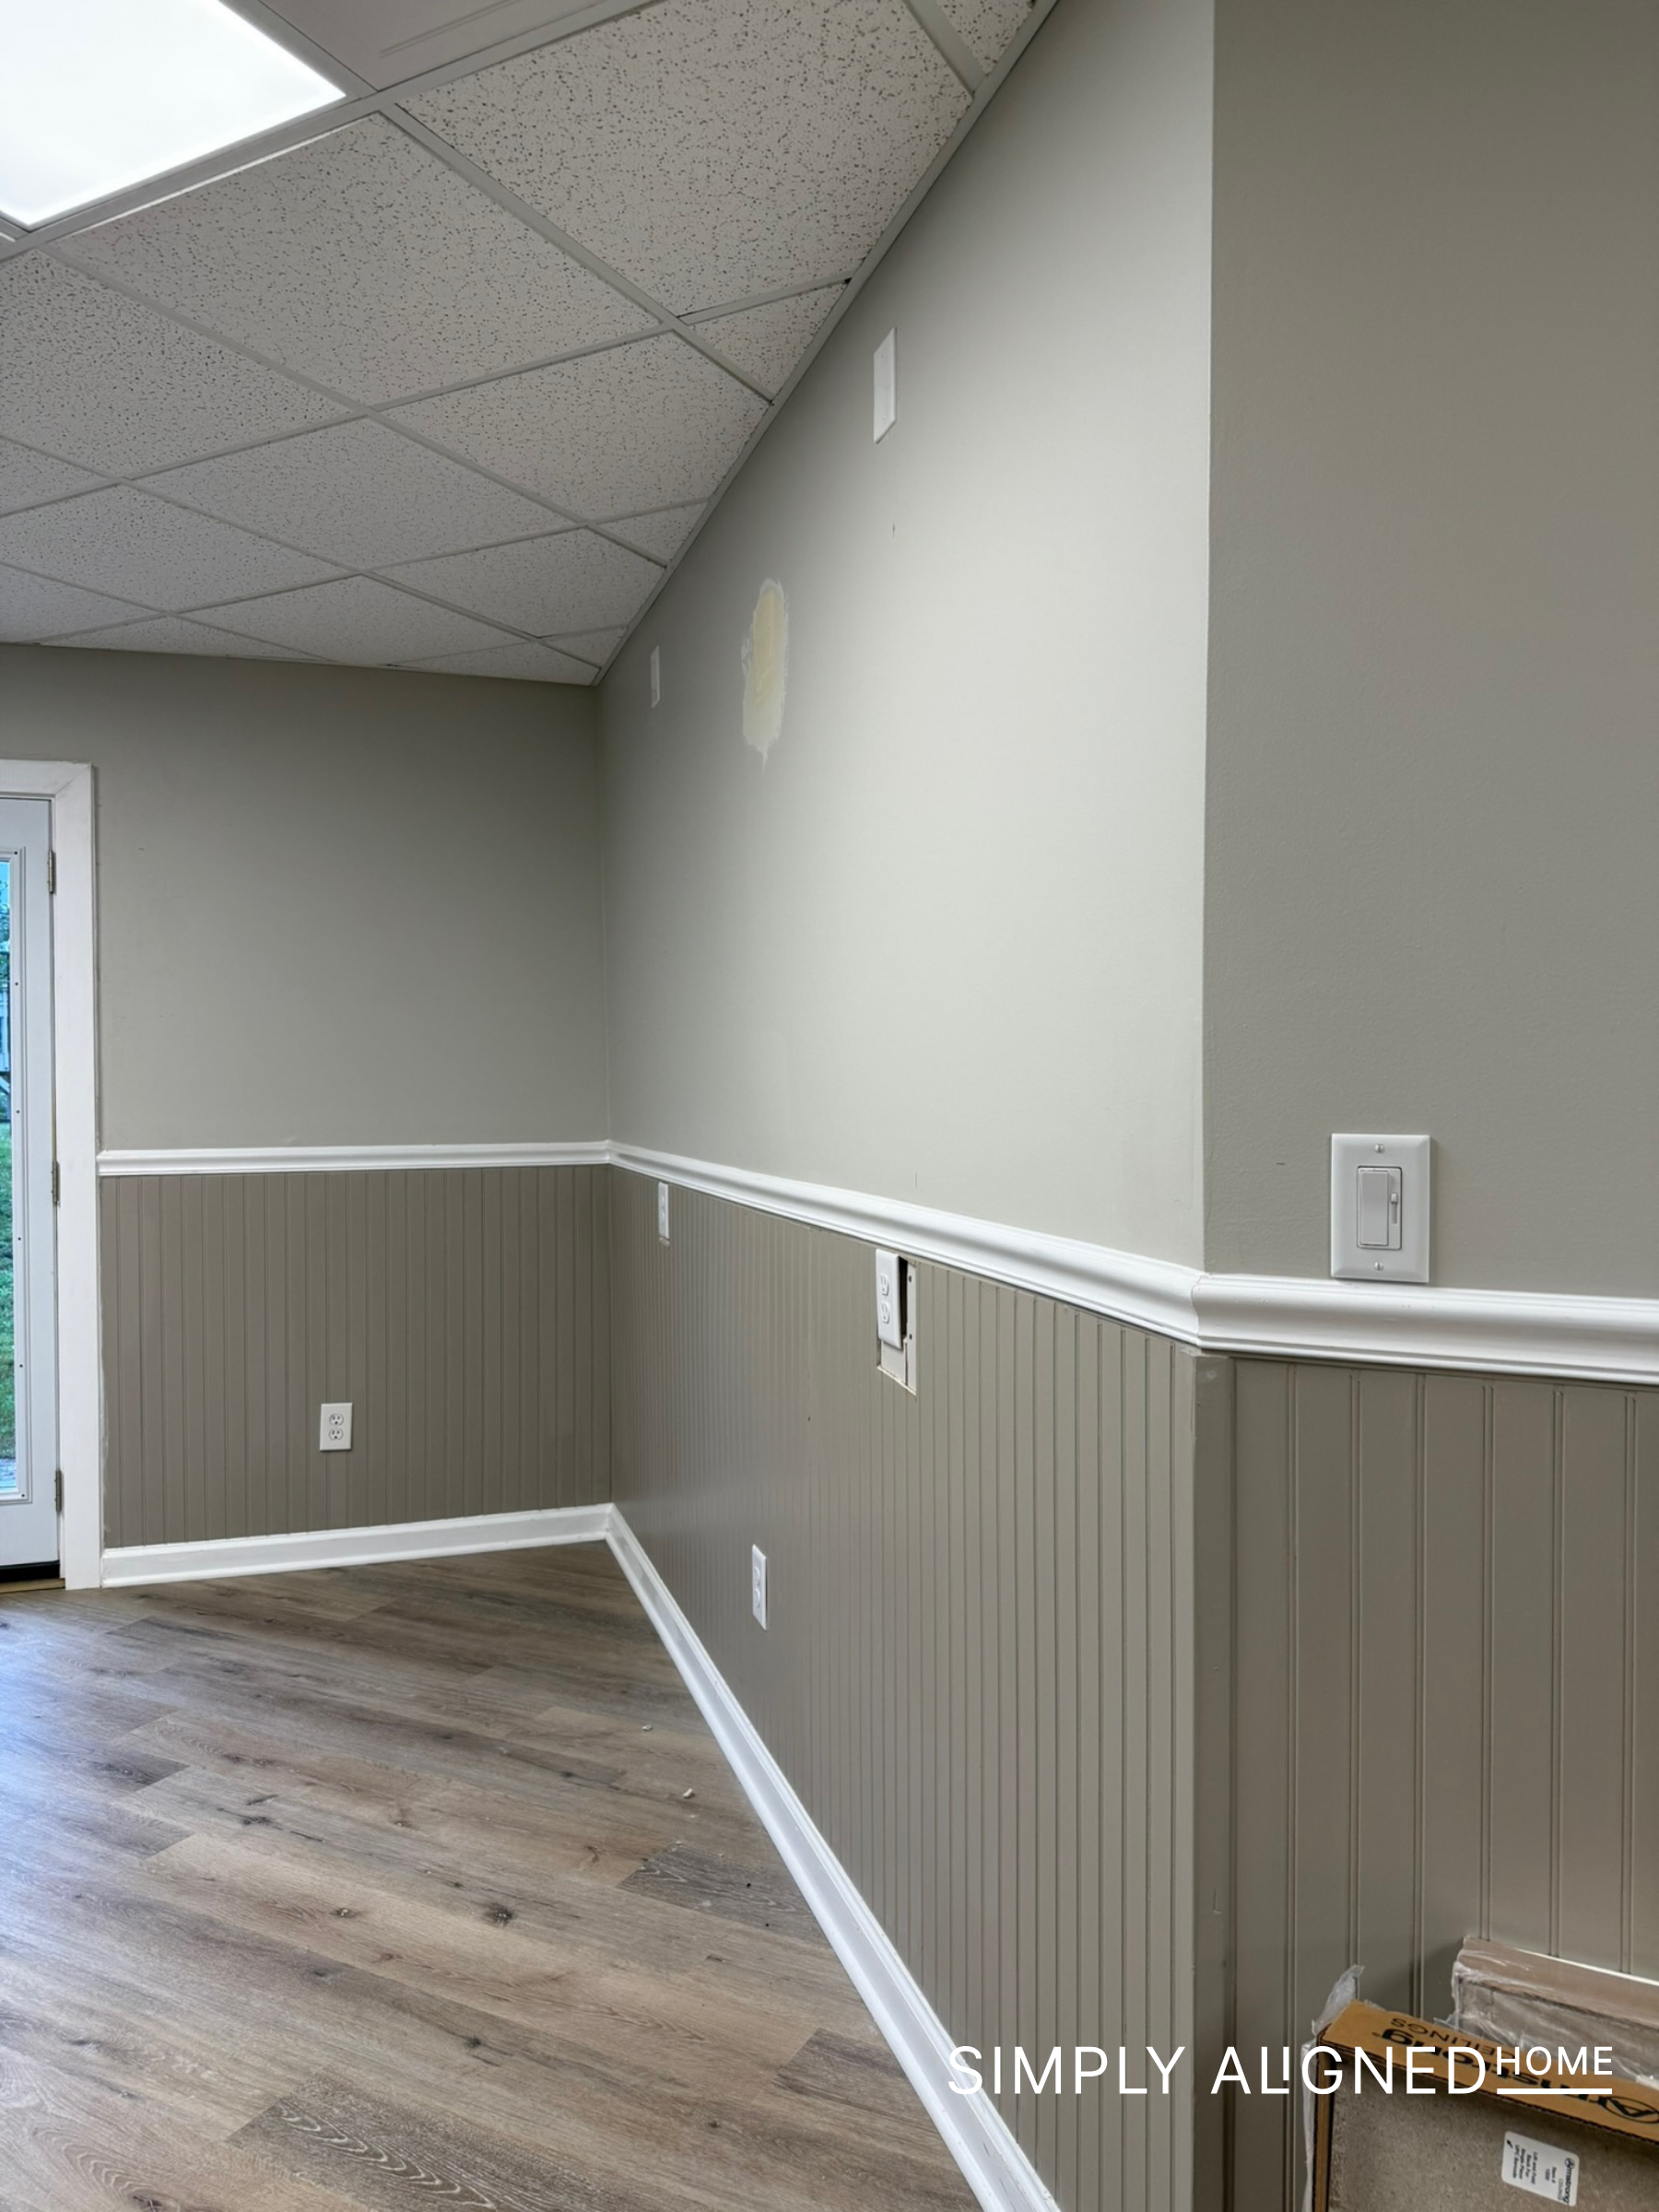
Removing the Old Beadboard and Trim
While I waited for the cabinets to arrive, I started working on the wall behind the bar.
The space had old beadboard and trim where the cabinets would eventually be installed, so I removed all of that first. Once the wall was cleared, I could start giving the area a more finished look.
I knew I wanted this basement bar to feel warm and cozy, so instead of just painting the wall, I decided to try a faux plaster wall treatment.
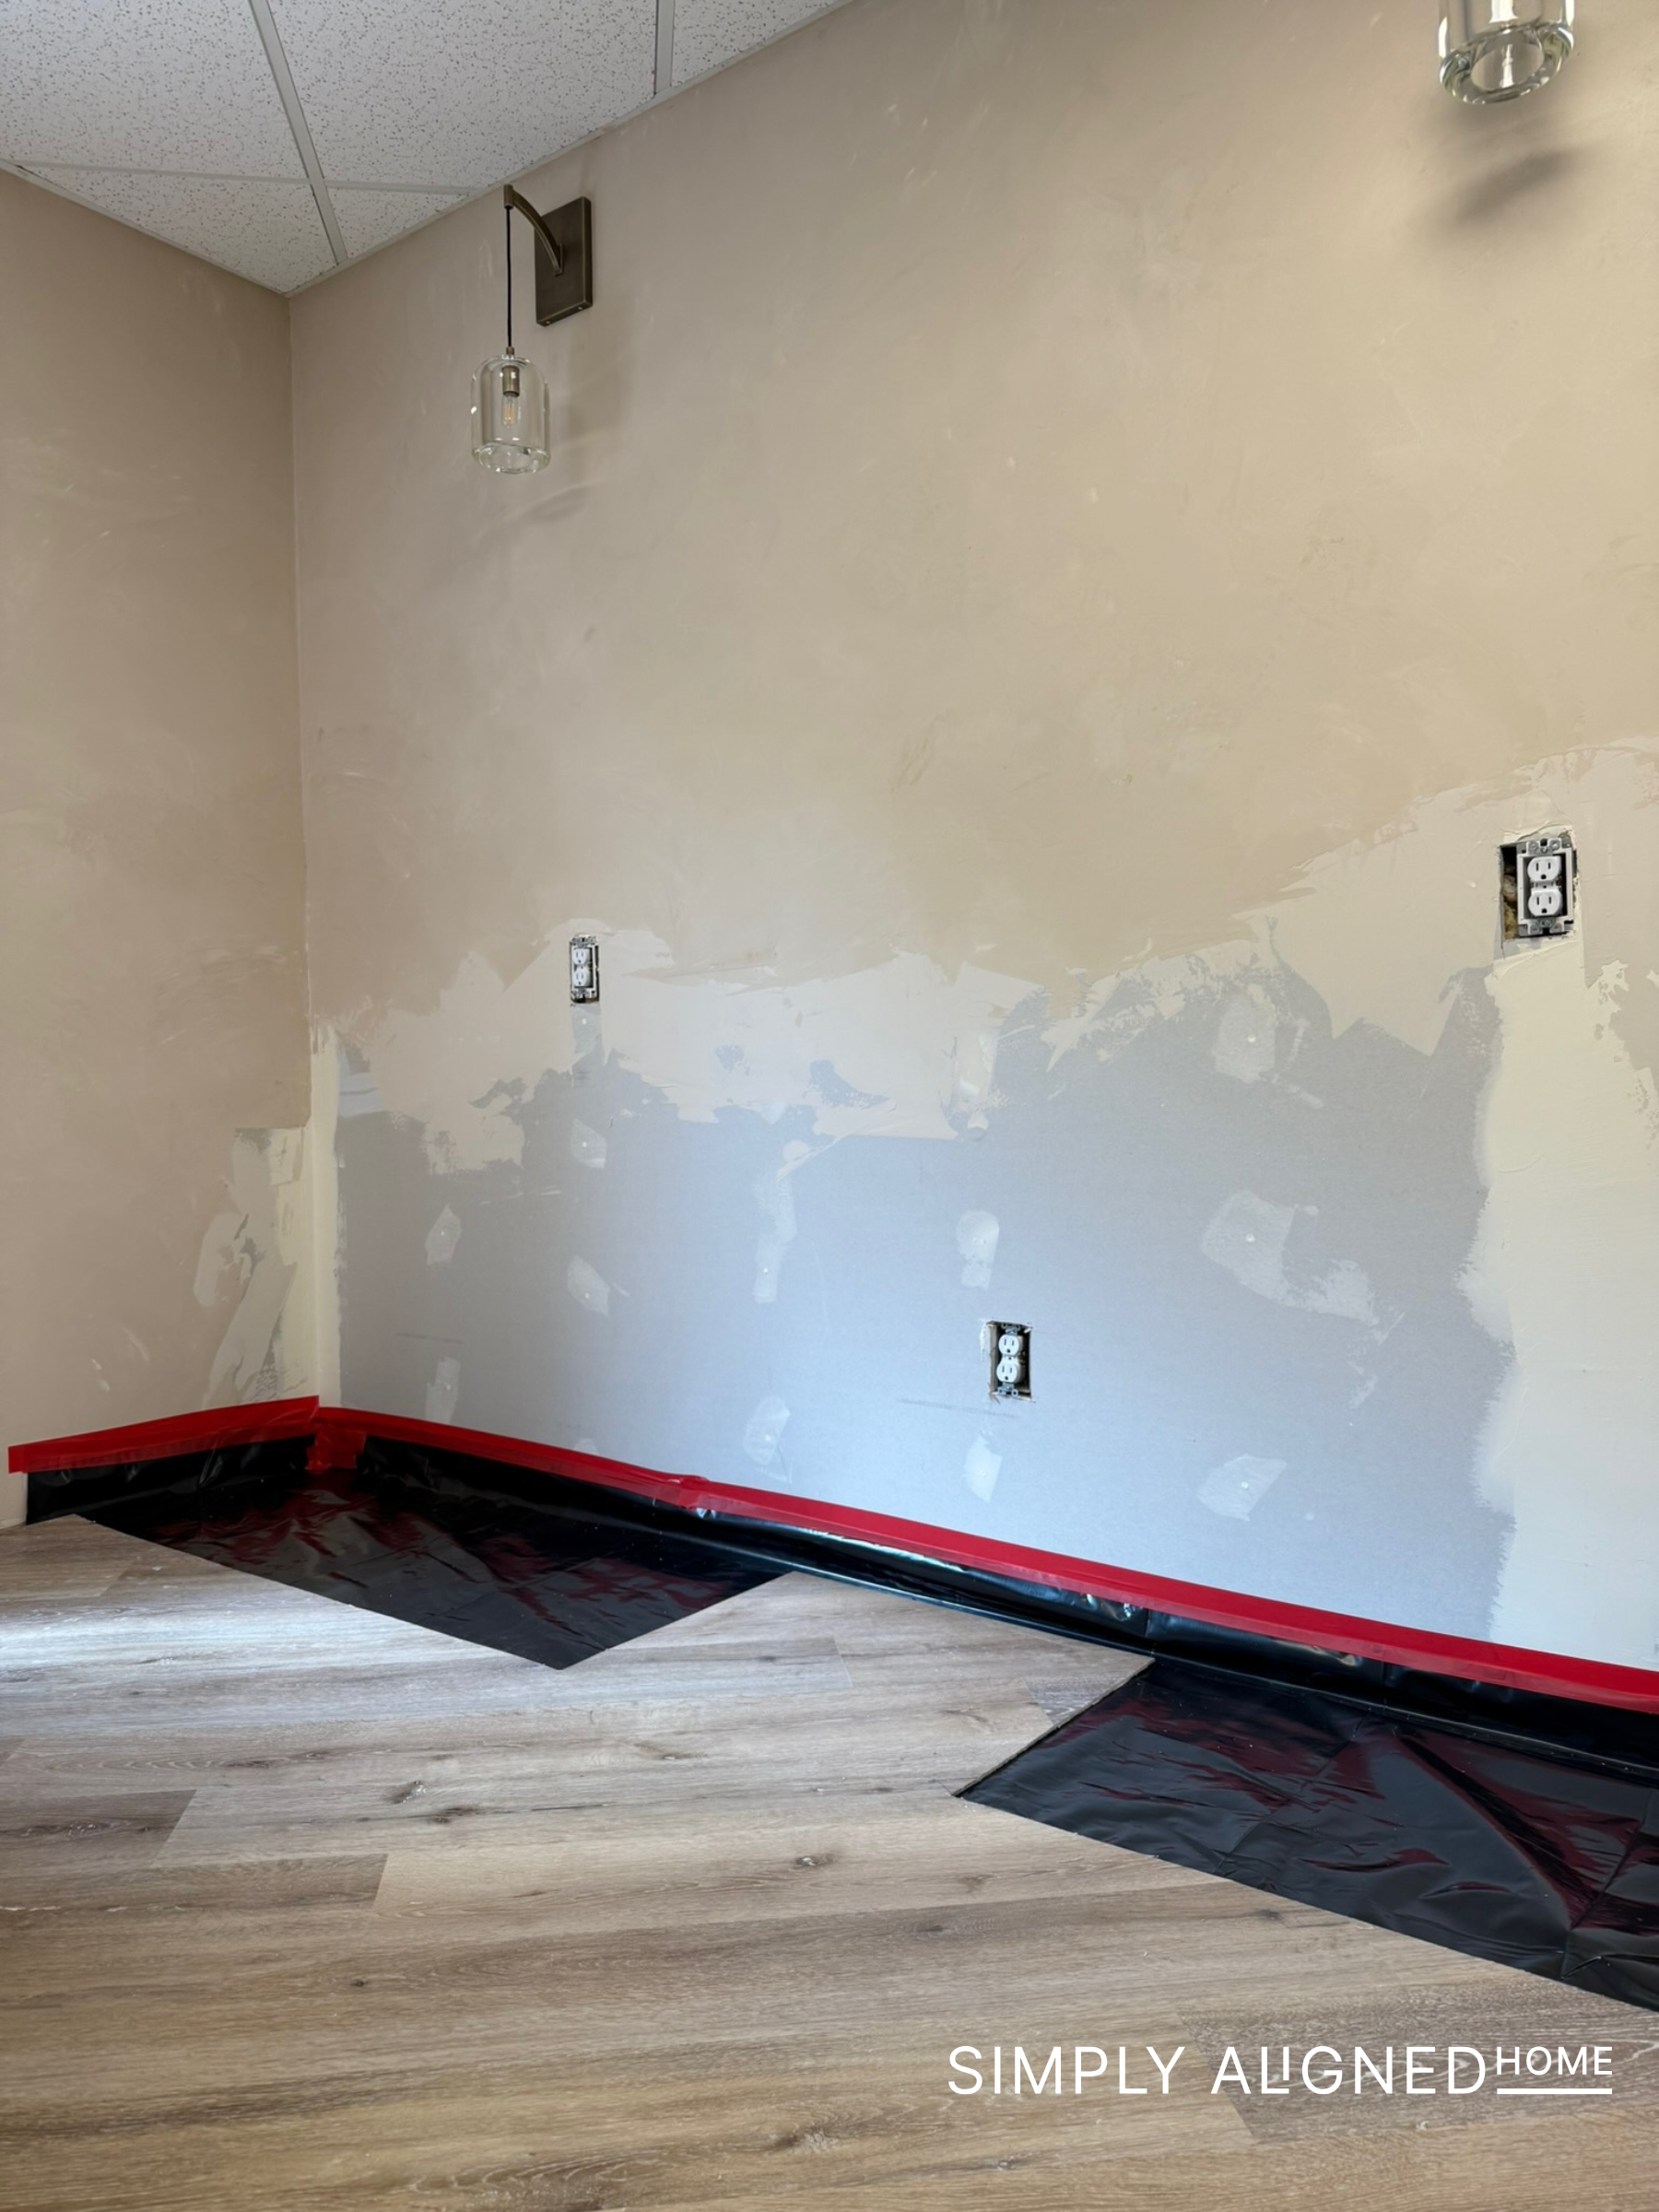
Faux Plaster Wall Treatment
To add some texture and warmth to the wall, I mixed paint with joint compound and applied it similarly to how you would apply Venetian plaster.
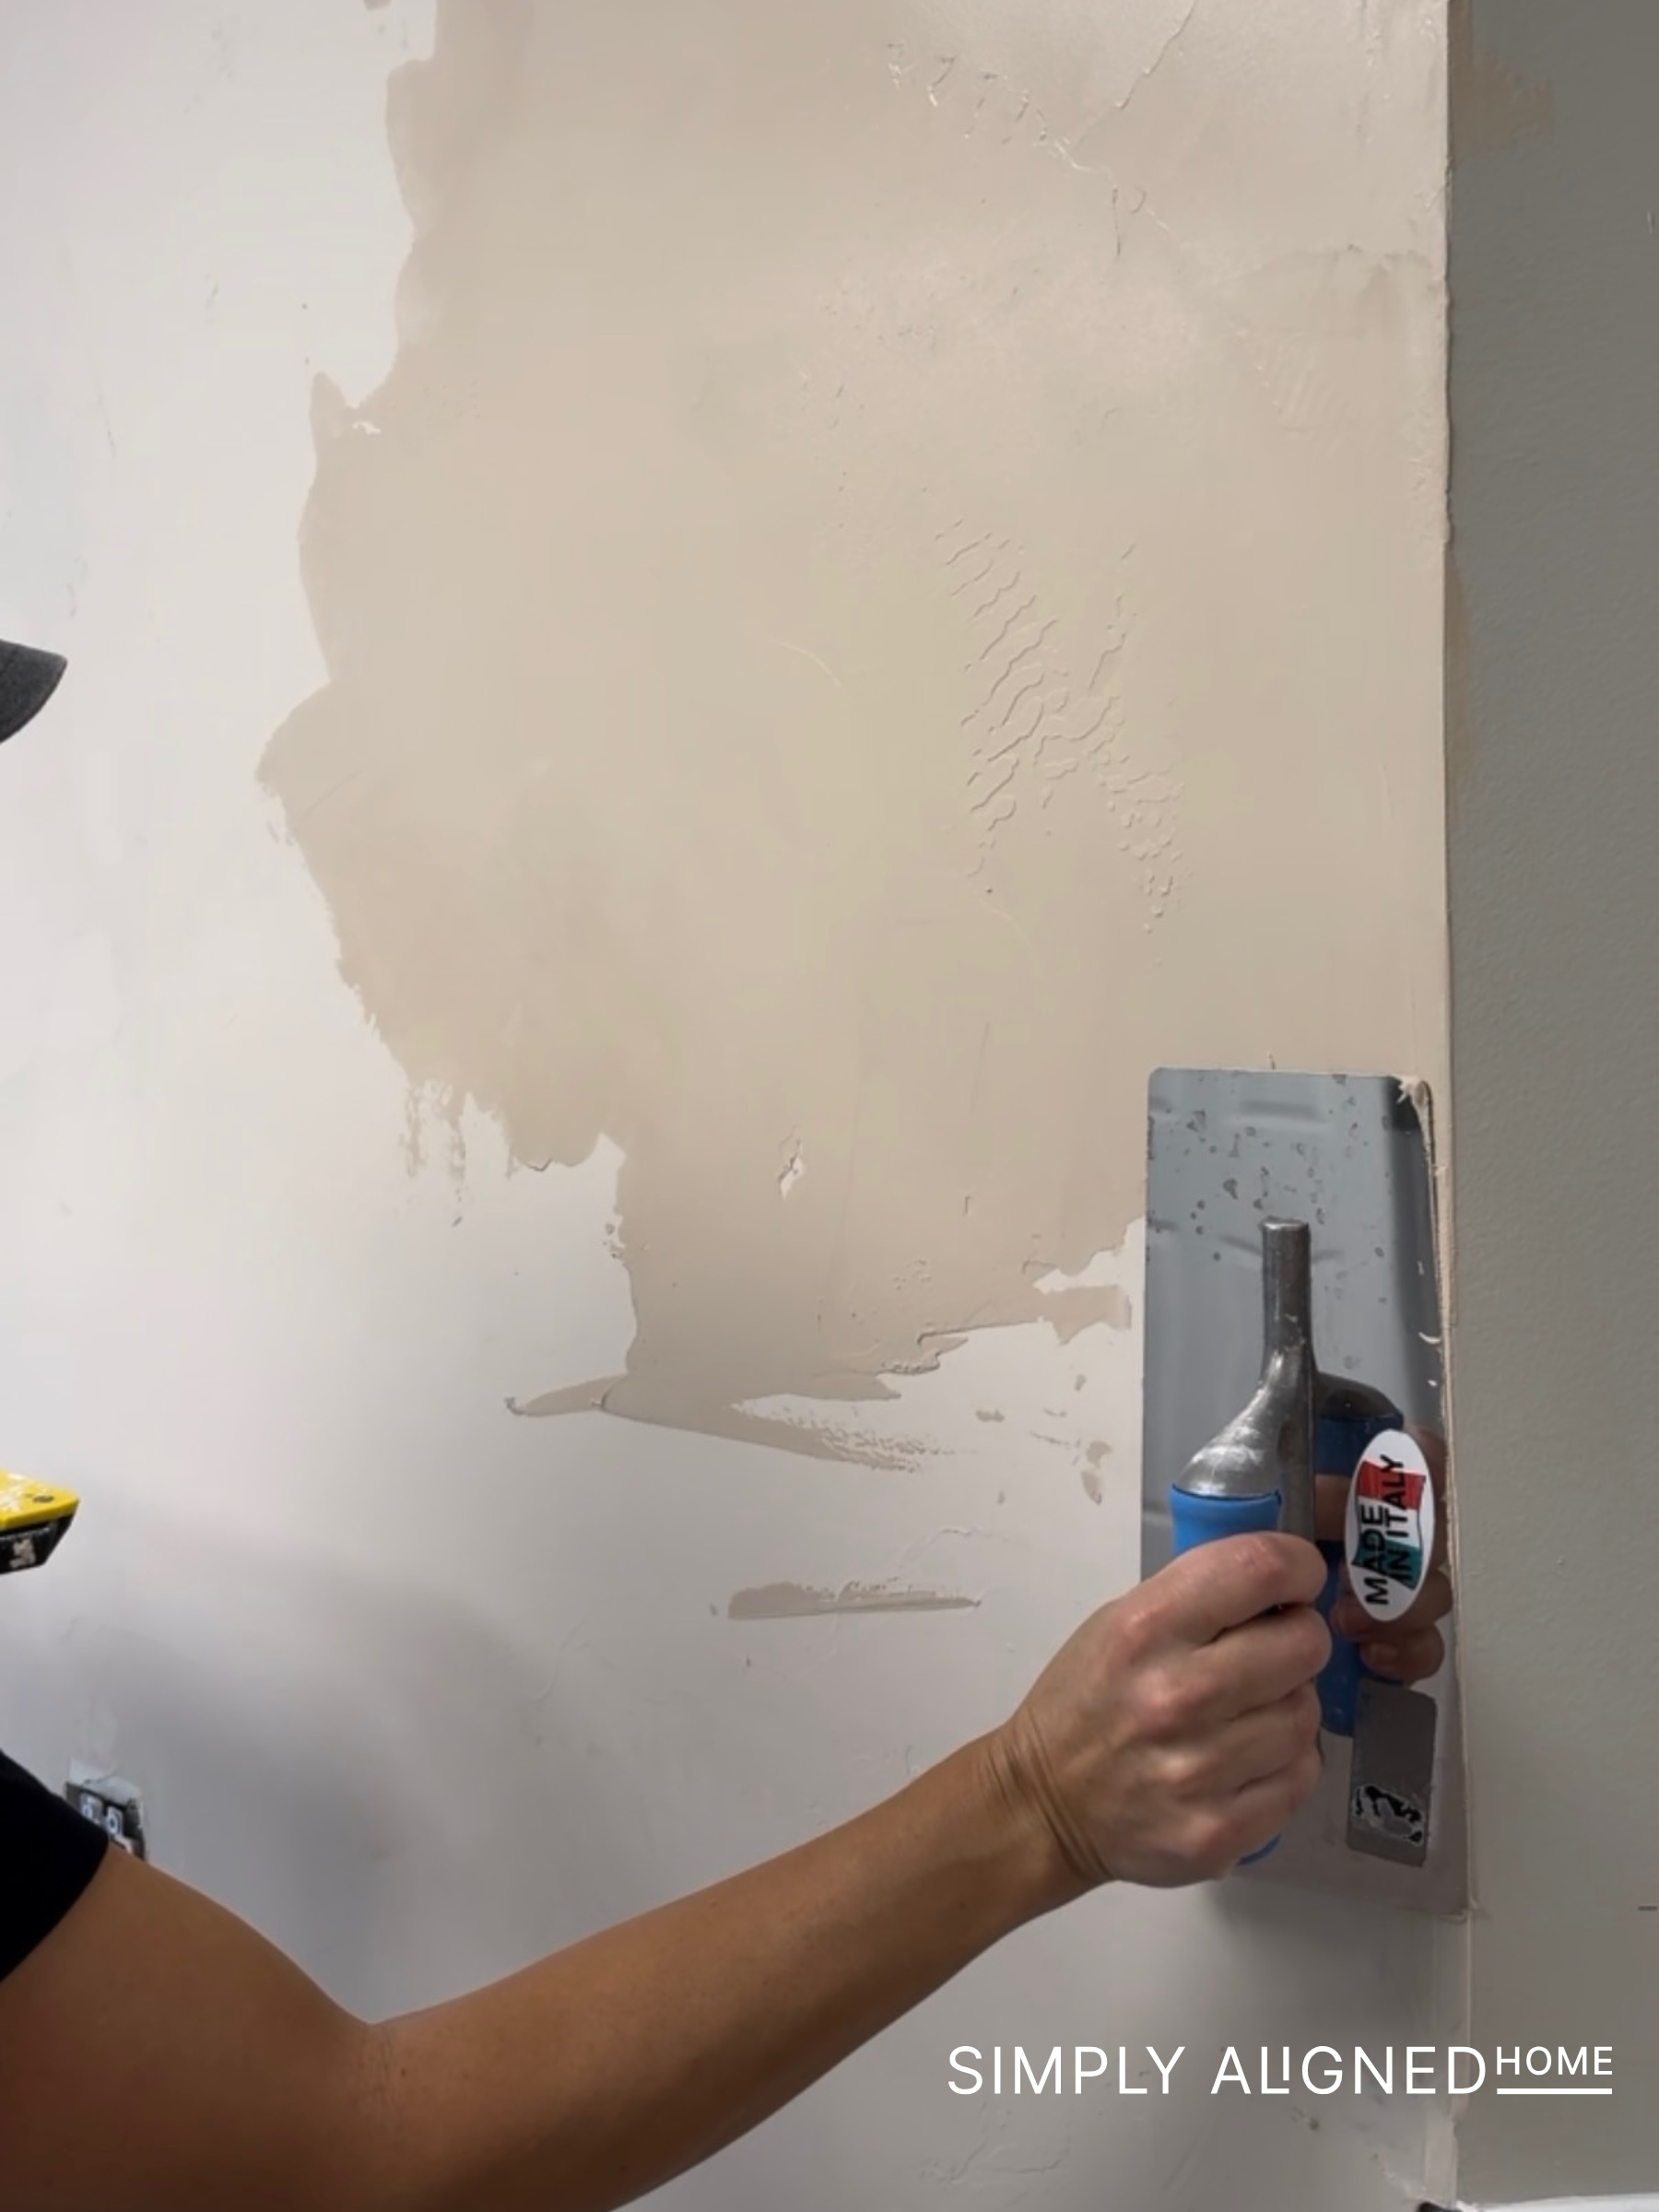
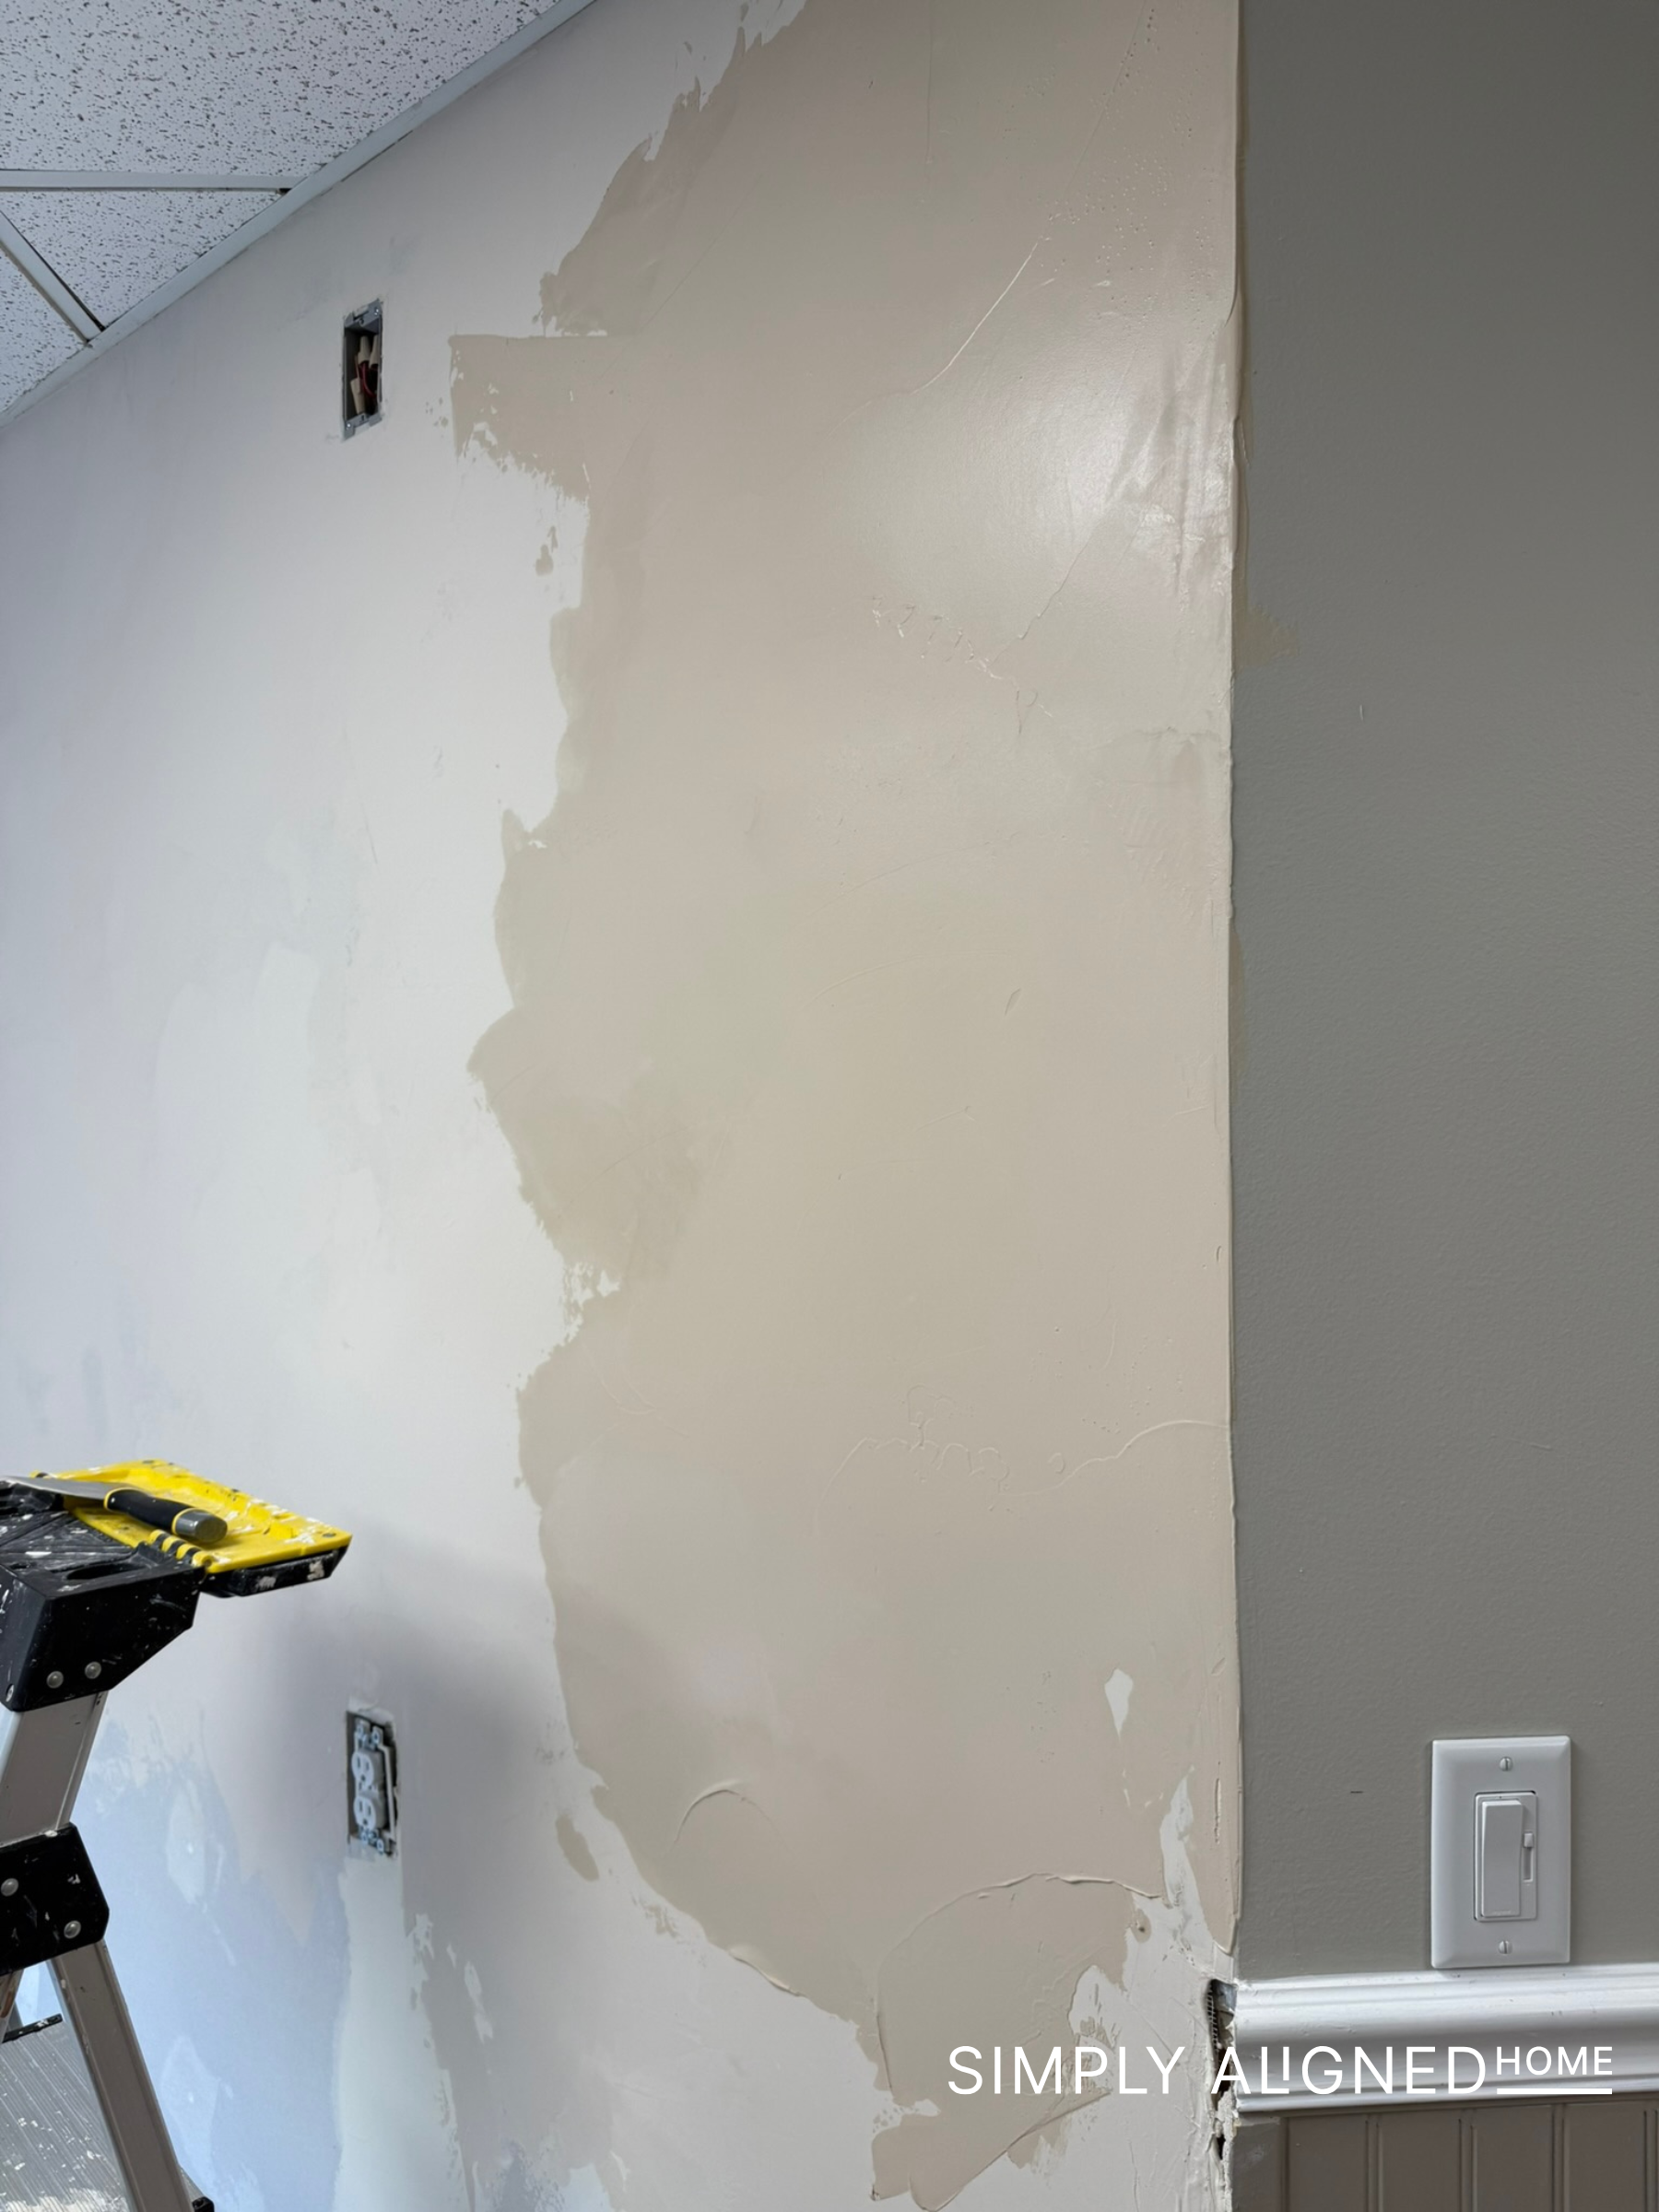
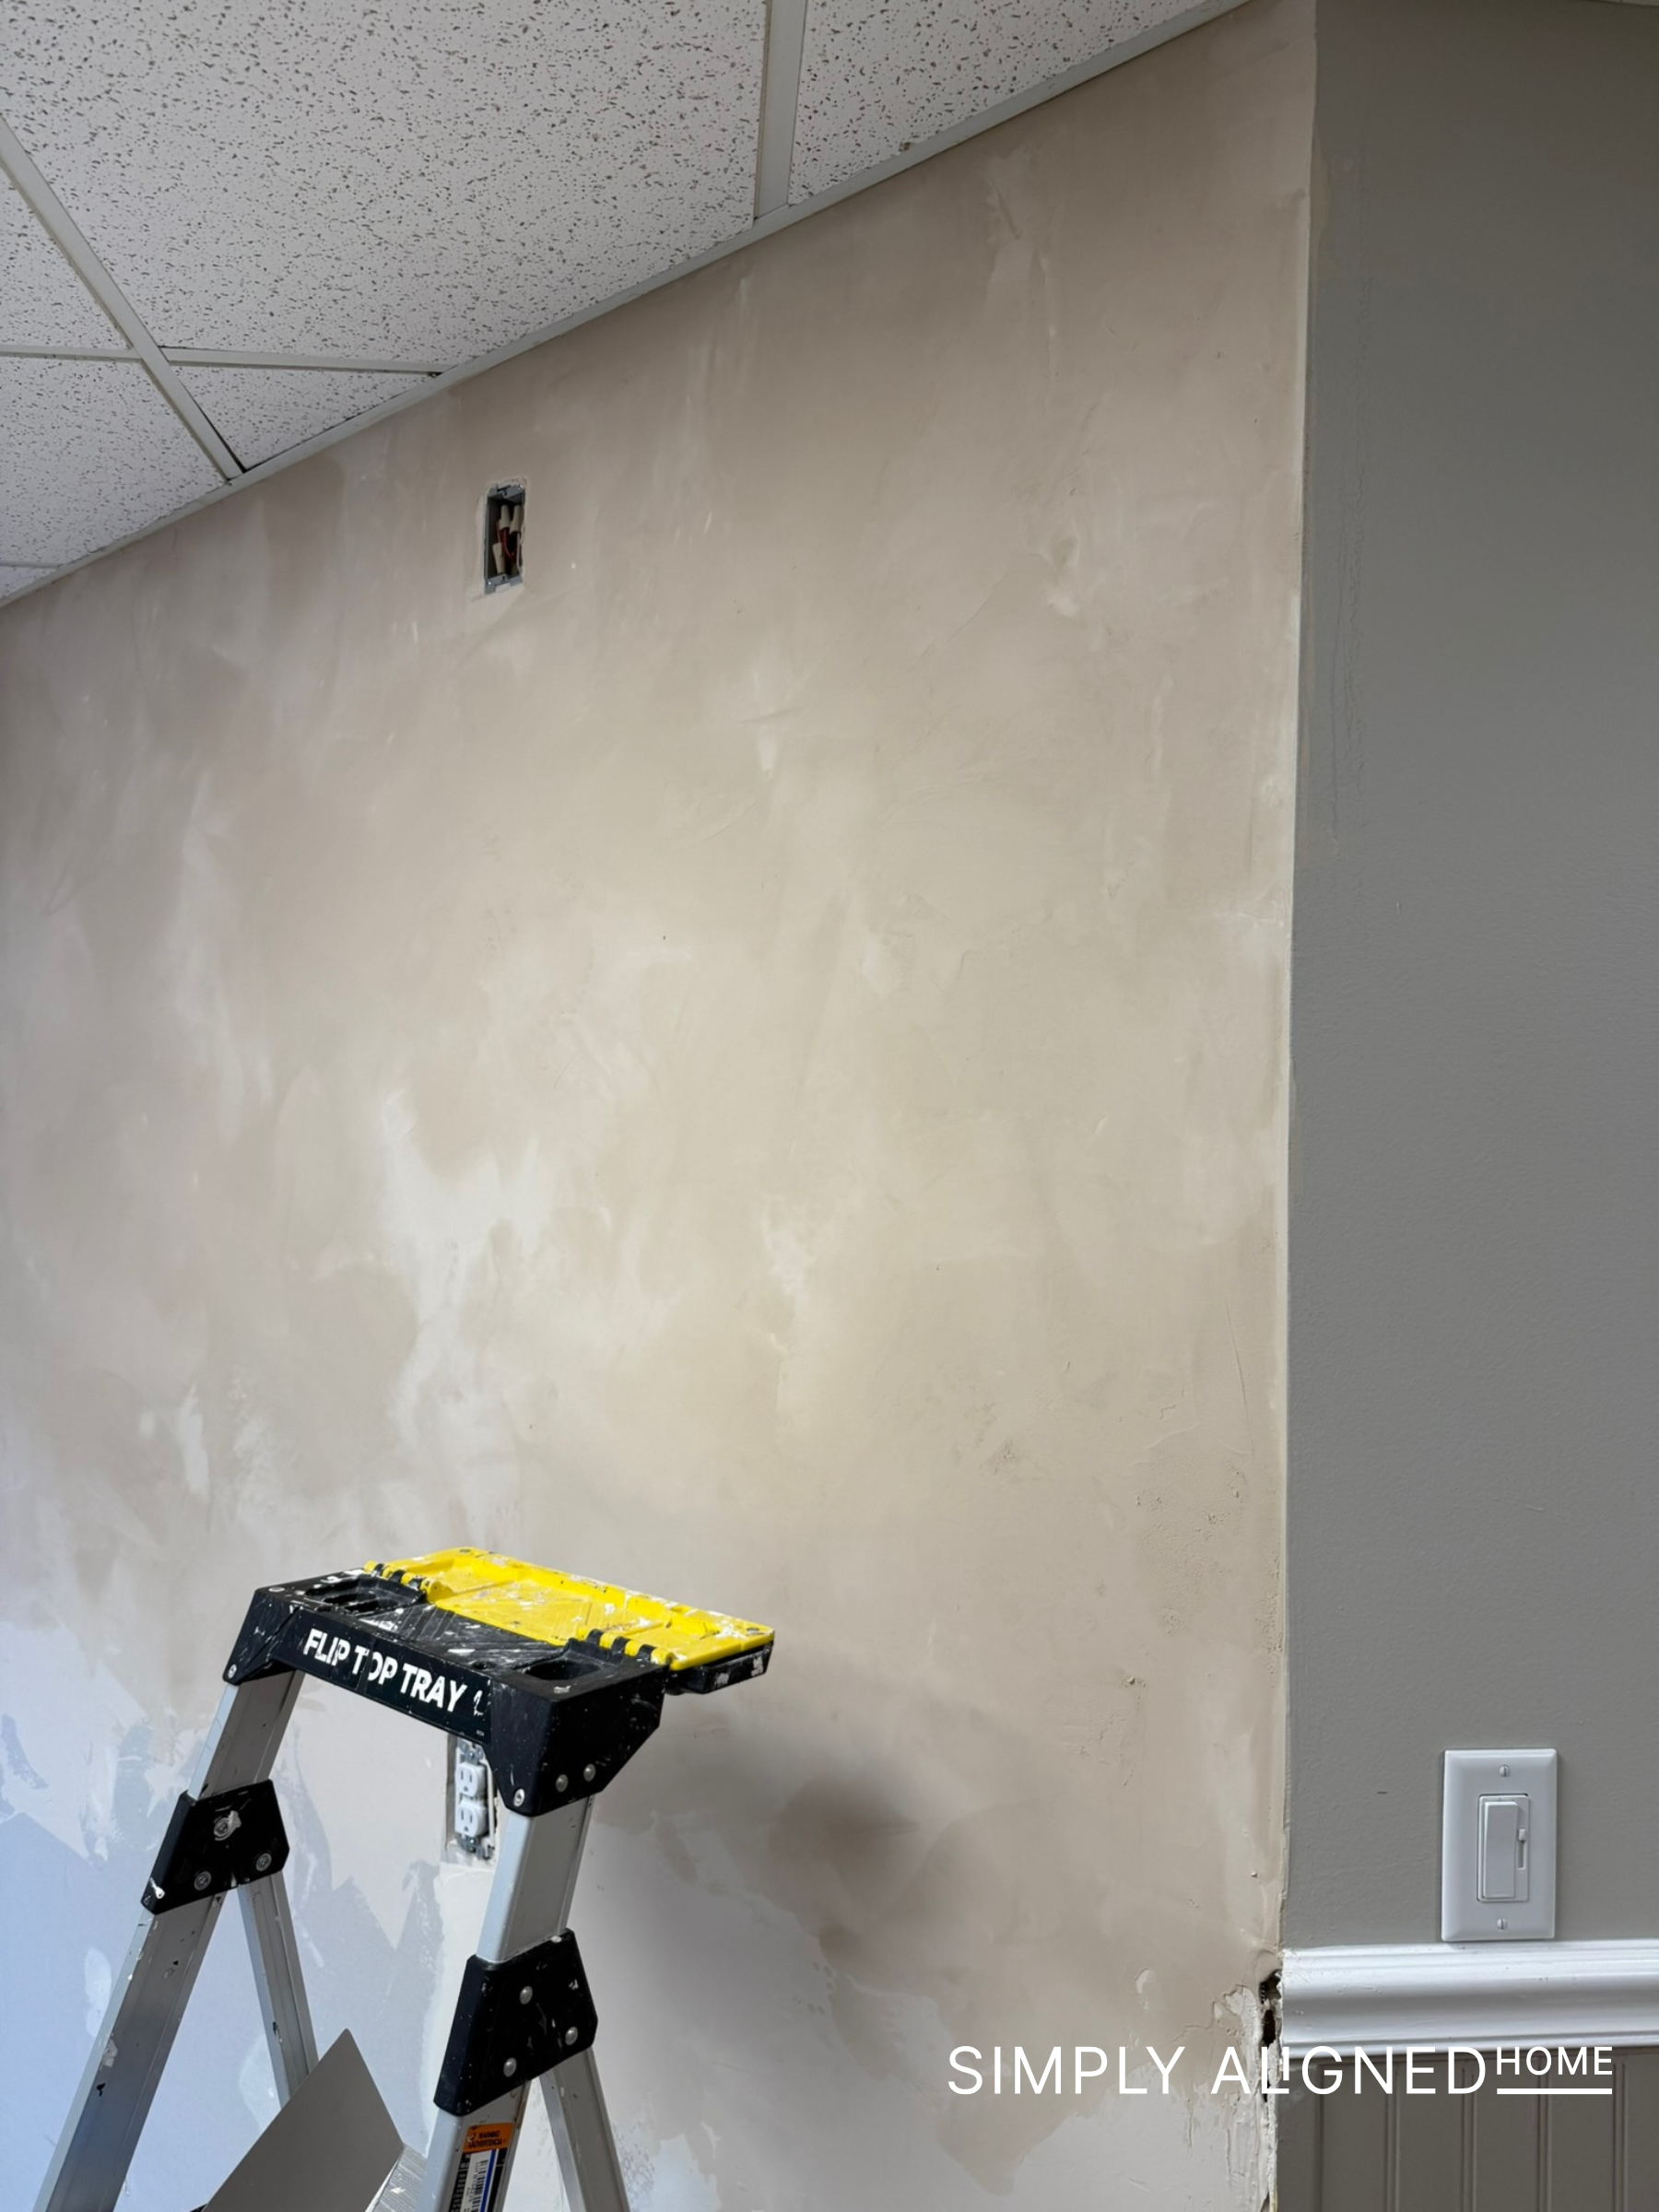
This was a simple way to make the wall feel more elevated without using a specialty product. The joint compound gave the paint a thicker texture and helped create that soft plaster look.
Once the wall treatment was finished, I sealed it with polyurethane for extra durability.
I definitely recommend sealing a wall coating like this, especially in a space that will get used often. It helps protect the finish and makes it a little easier to wipe down if needed!
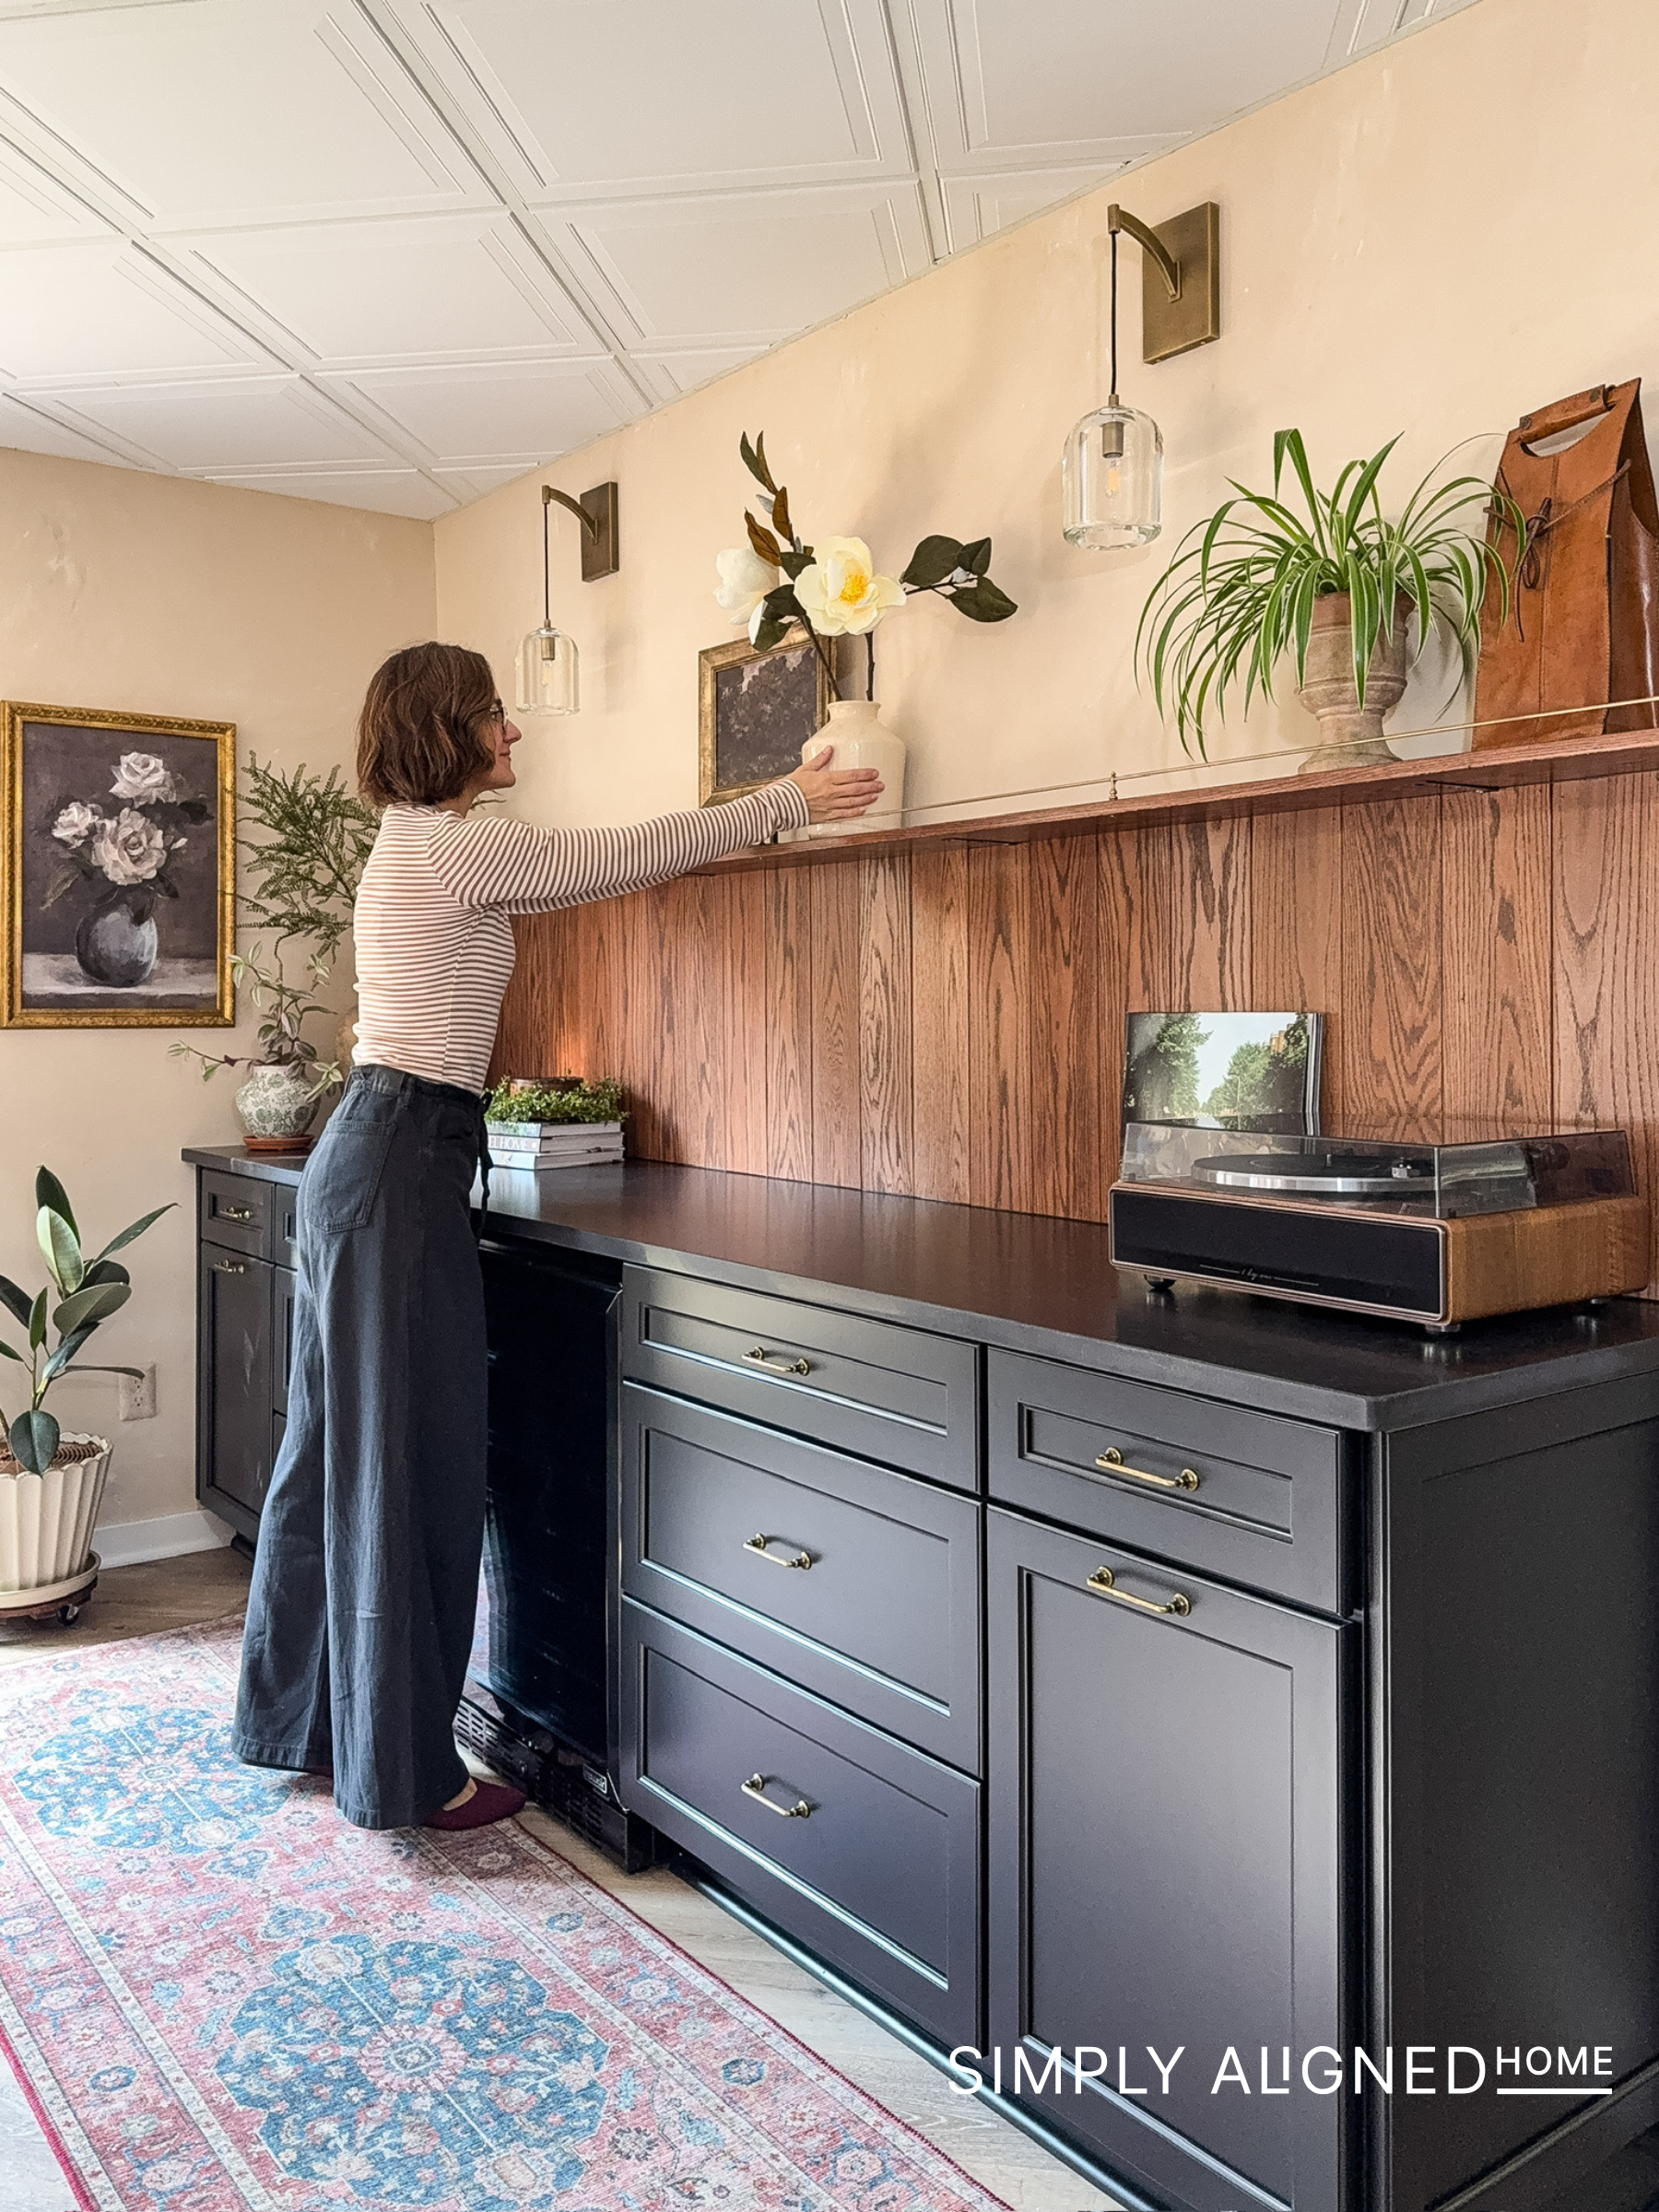
Adding Sconces Above the Bar
I thought it would be fun to add sconces above the floating shelf, so once the wall treatment was complete, I installed the sconces.
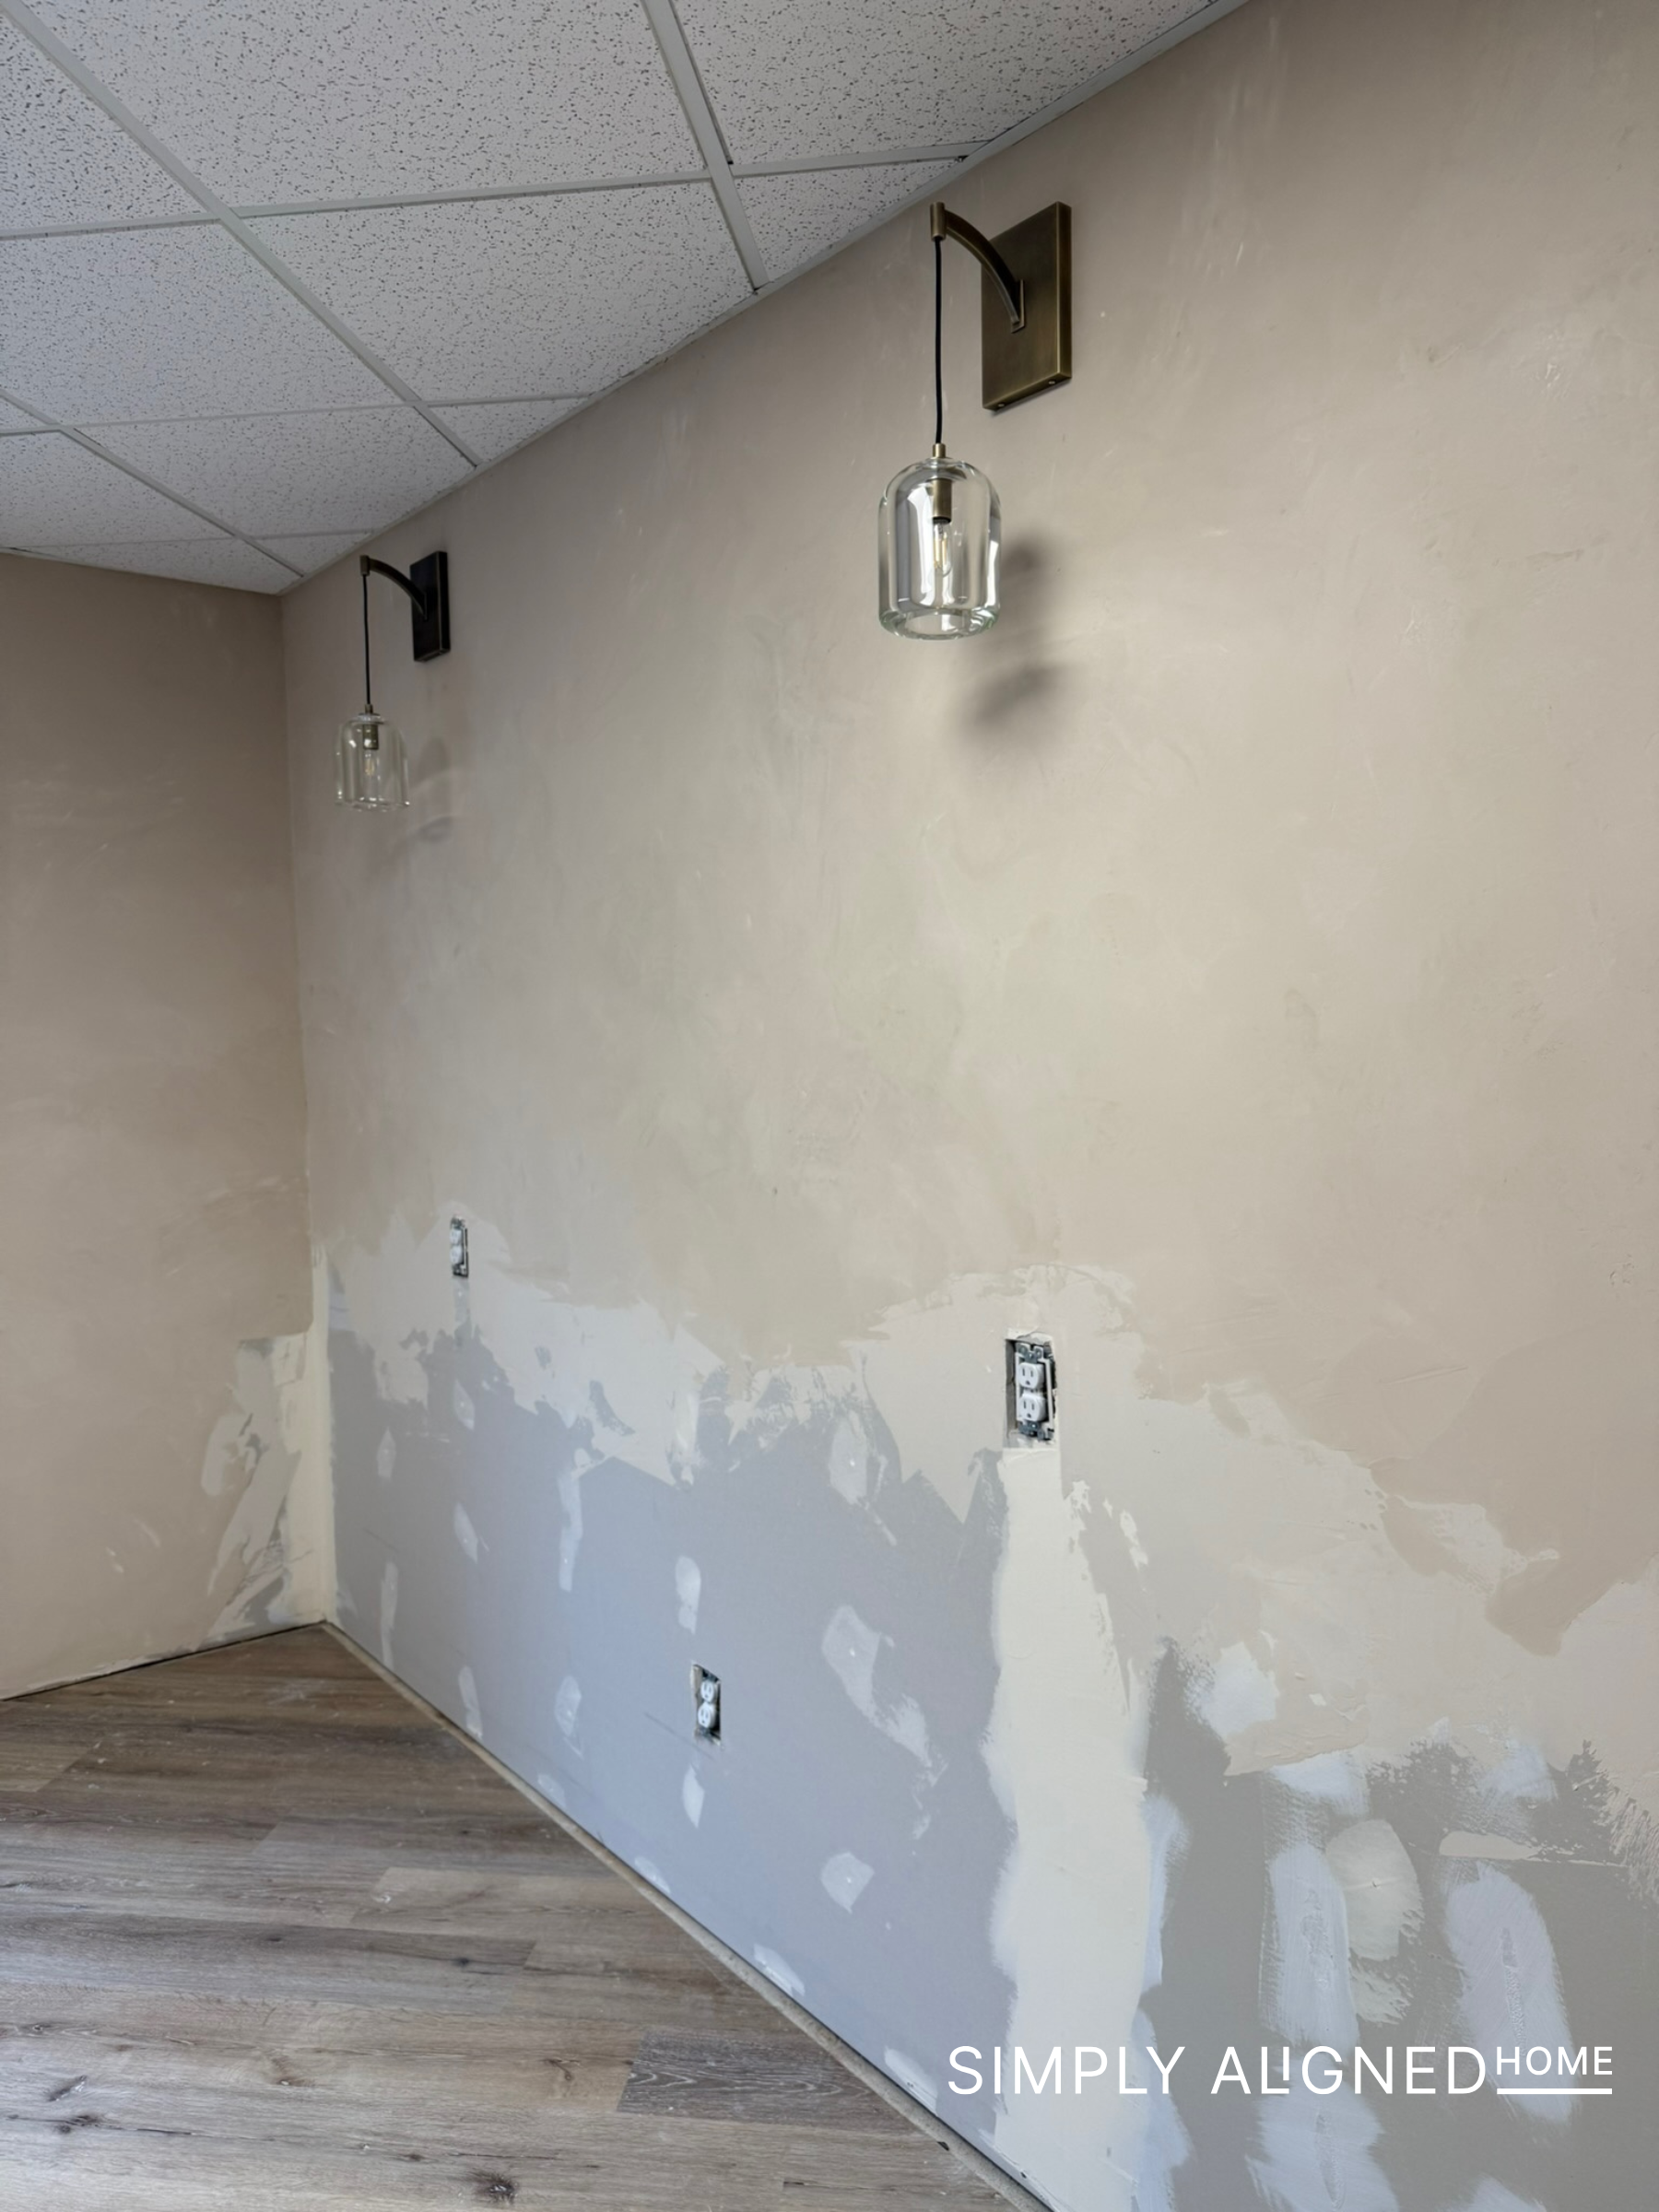
Lighting makes such a big difference in a space like this. Since basements can sometimes feel a little dark or cold, the sconces helped make the bar area feel cozy and intentional! I knew once the cabinets, shelf, and backsplash were installed, the lights would help bring everything together!
Cutting the LVP Flooring for Cabinets
Once the cabinets arrived, I set them in place and marked where I needed to cut the flooring. We have LVP flooring installed in our basement. LVP needs to be able to expand and contract, so it is best not to install heavy, permanent fixtures like cabinetry directly on top of it.
So, I cut out the flooring where the cabinets would sit.

Because this is a basement, I also installed a vapor barrier under this section of flooring to help protect the cabinetry.
Installing the Cabinets
After the flooring was cut and prepped, I installed the cabinets.
I started by making sure everything was level. This part is really important because if your base cabinets are not level, your countertop and backsplash will not sit correctly either.
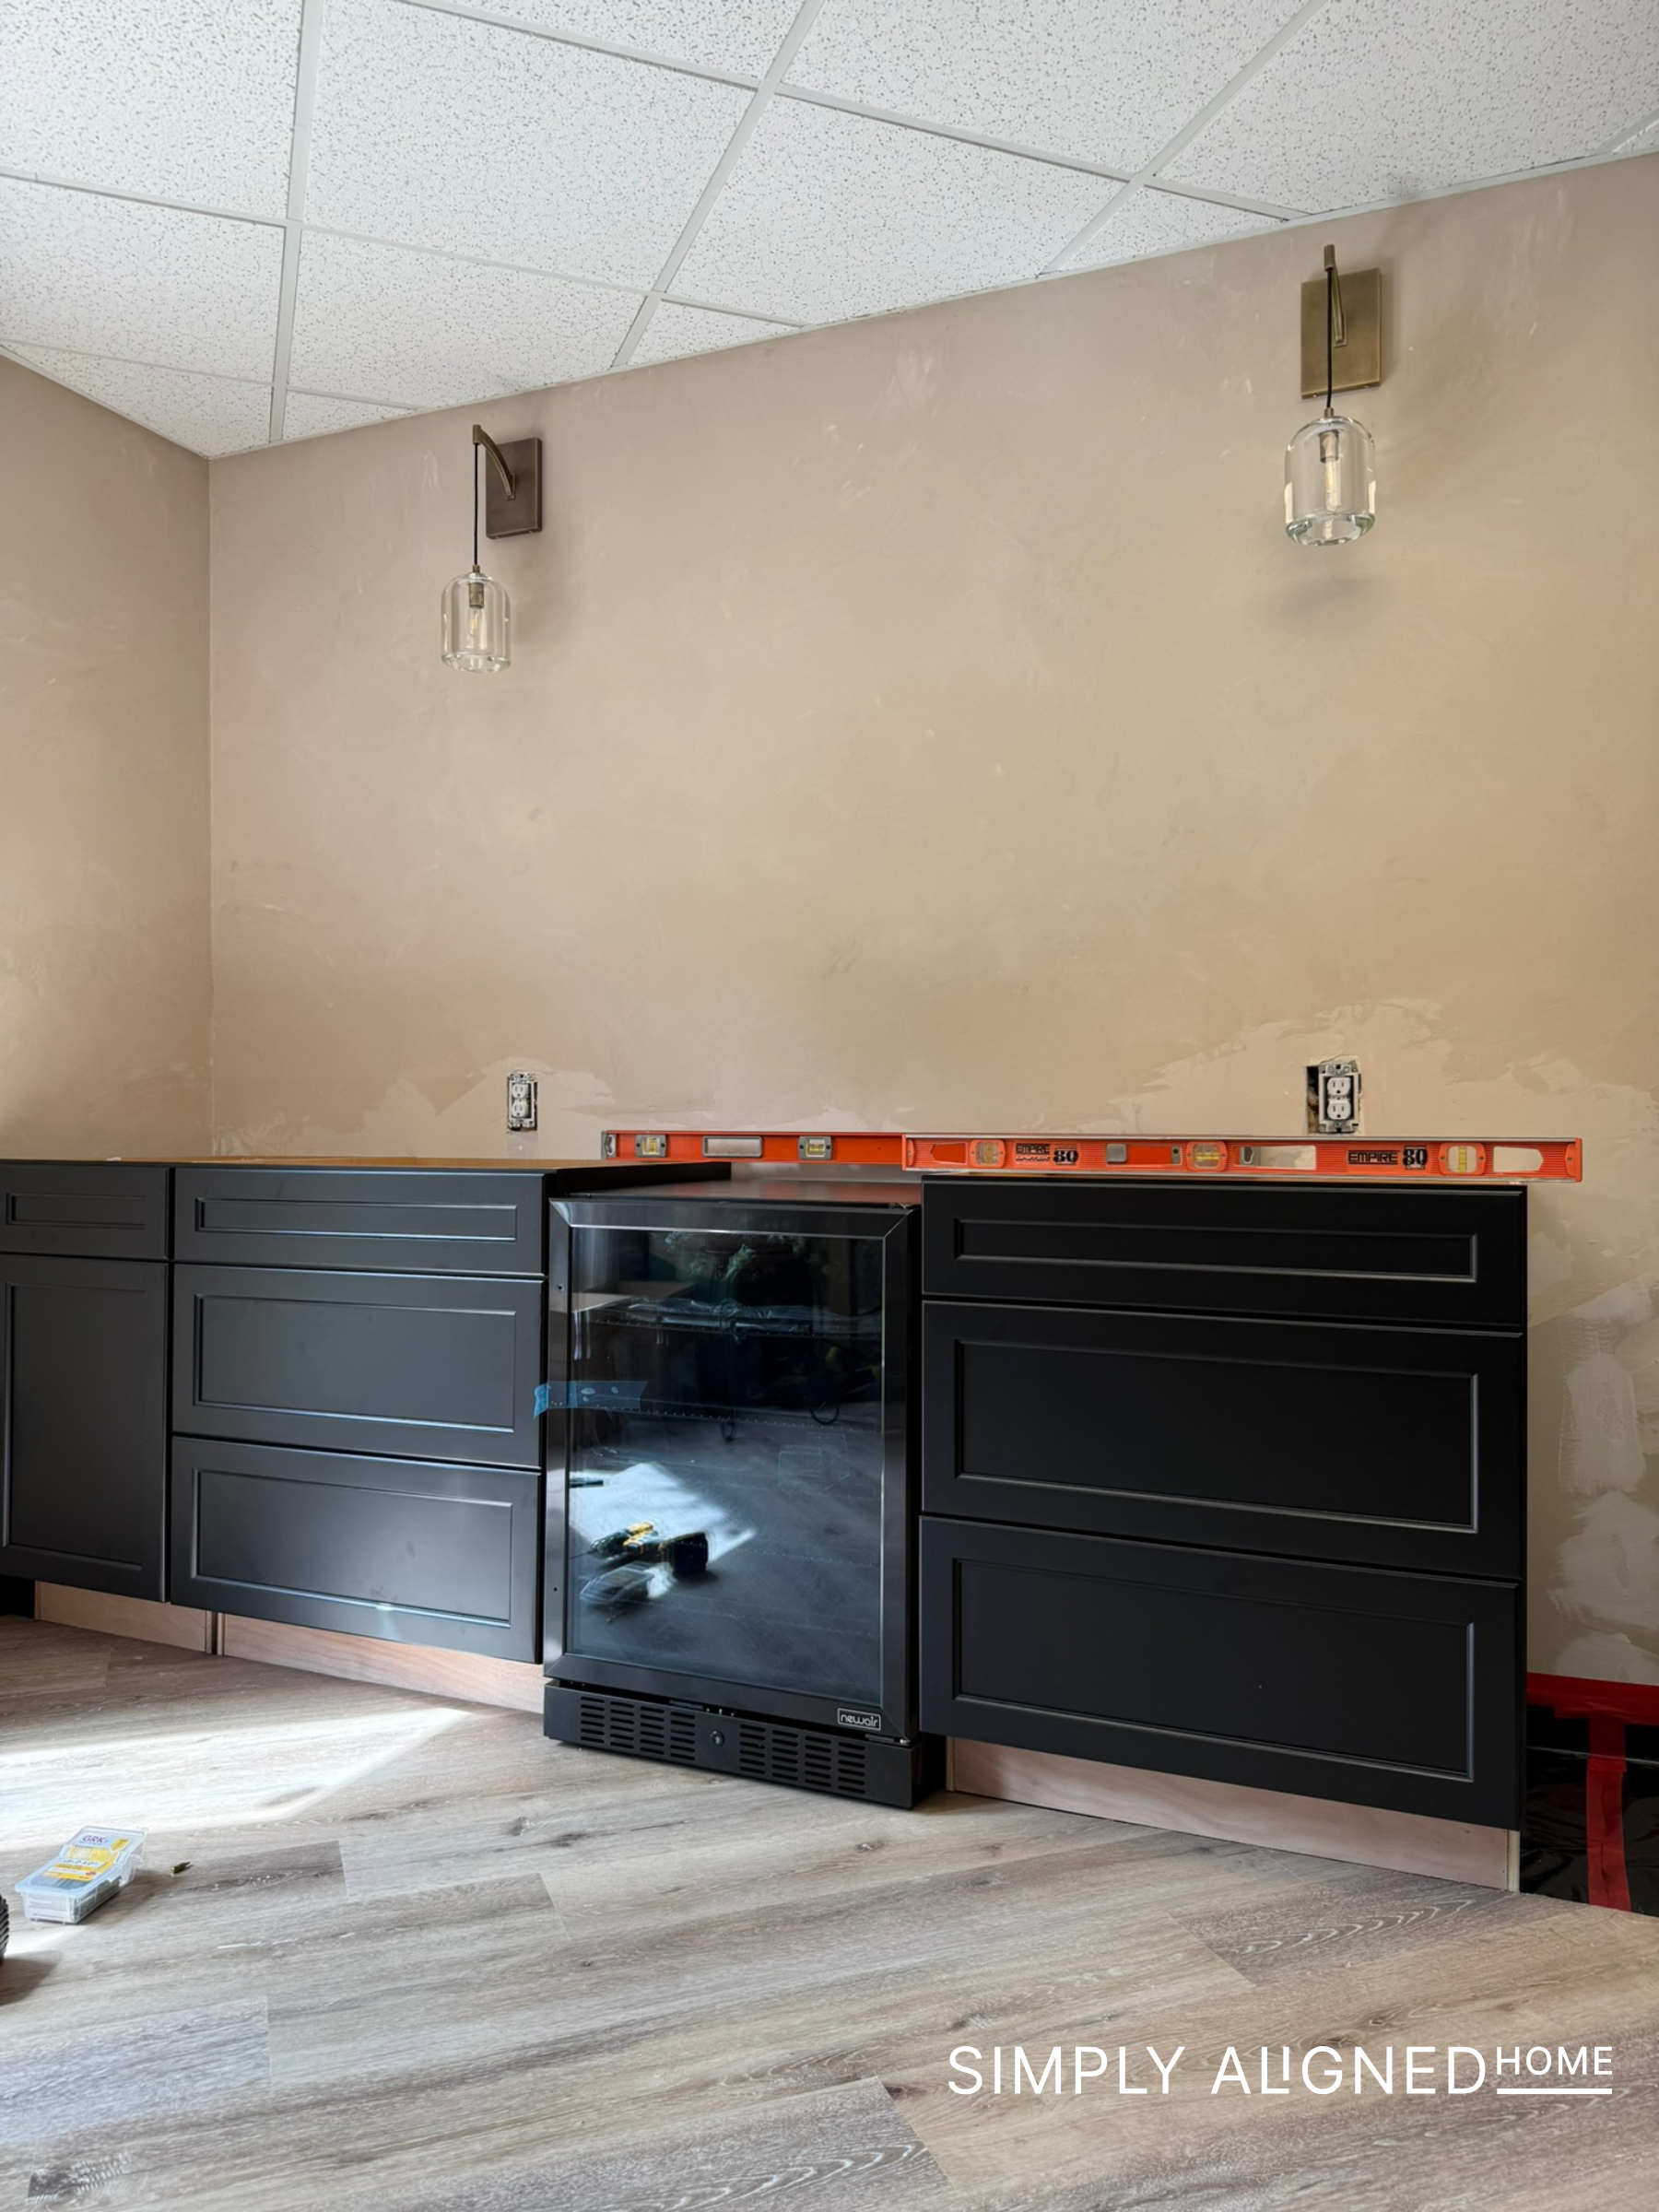
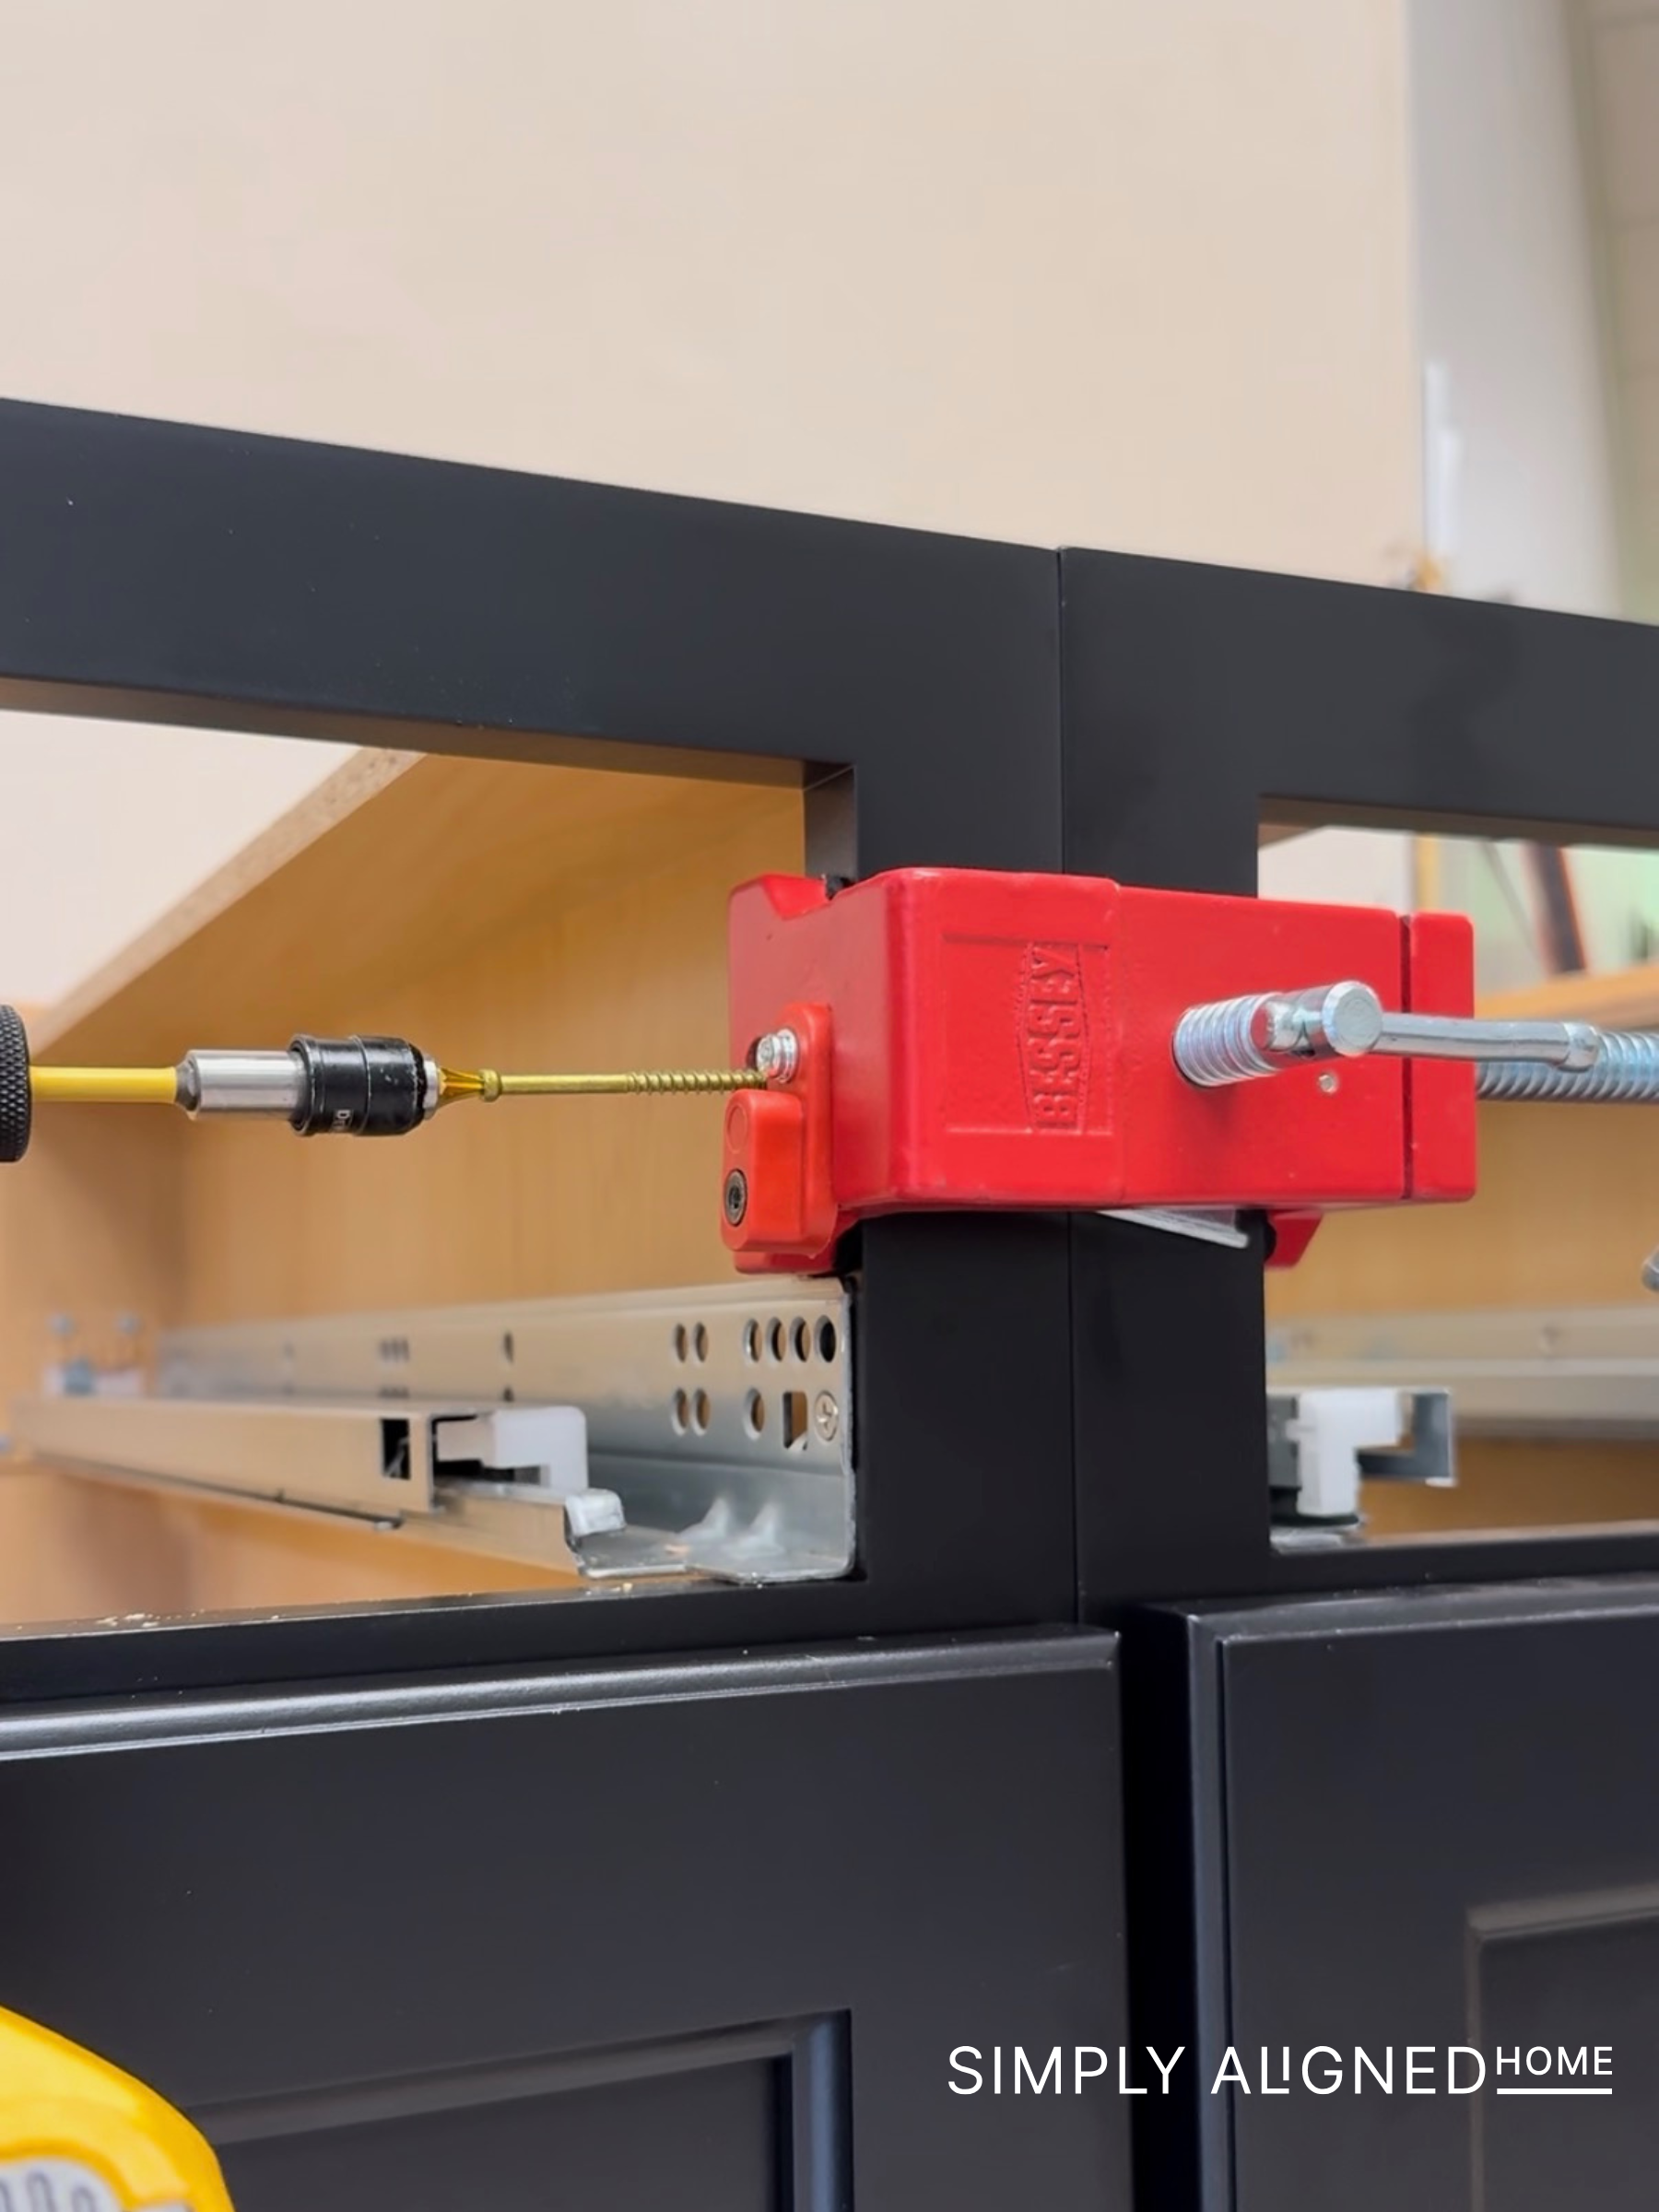
Once the cabinets were level, I secured them together and to the wall studs.
One tool that made this process so much easier was a cabinet face frame clamp. If you are installing face frame cabinets, this clamp is a must! It helps hold the face frames flush while you secure the cabinets together.
After the cabinets were installed and secured to the studs, I added the final trim pieces to give everything a finished, built-in look.
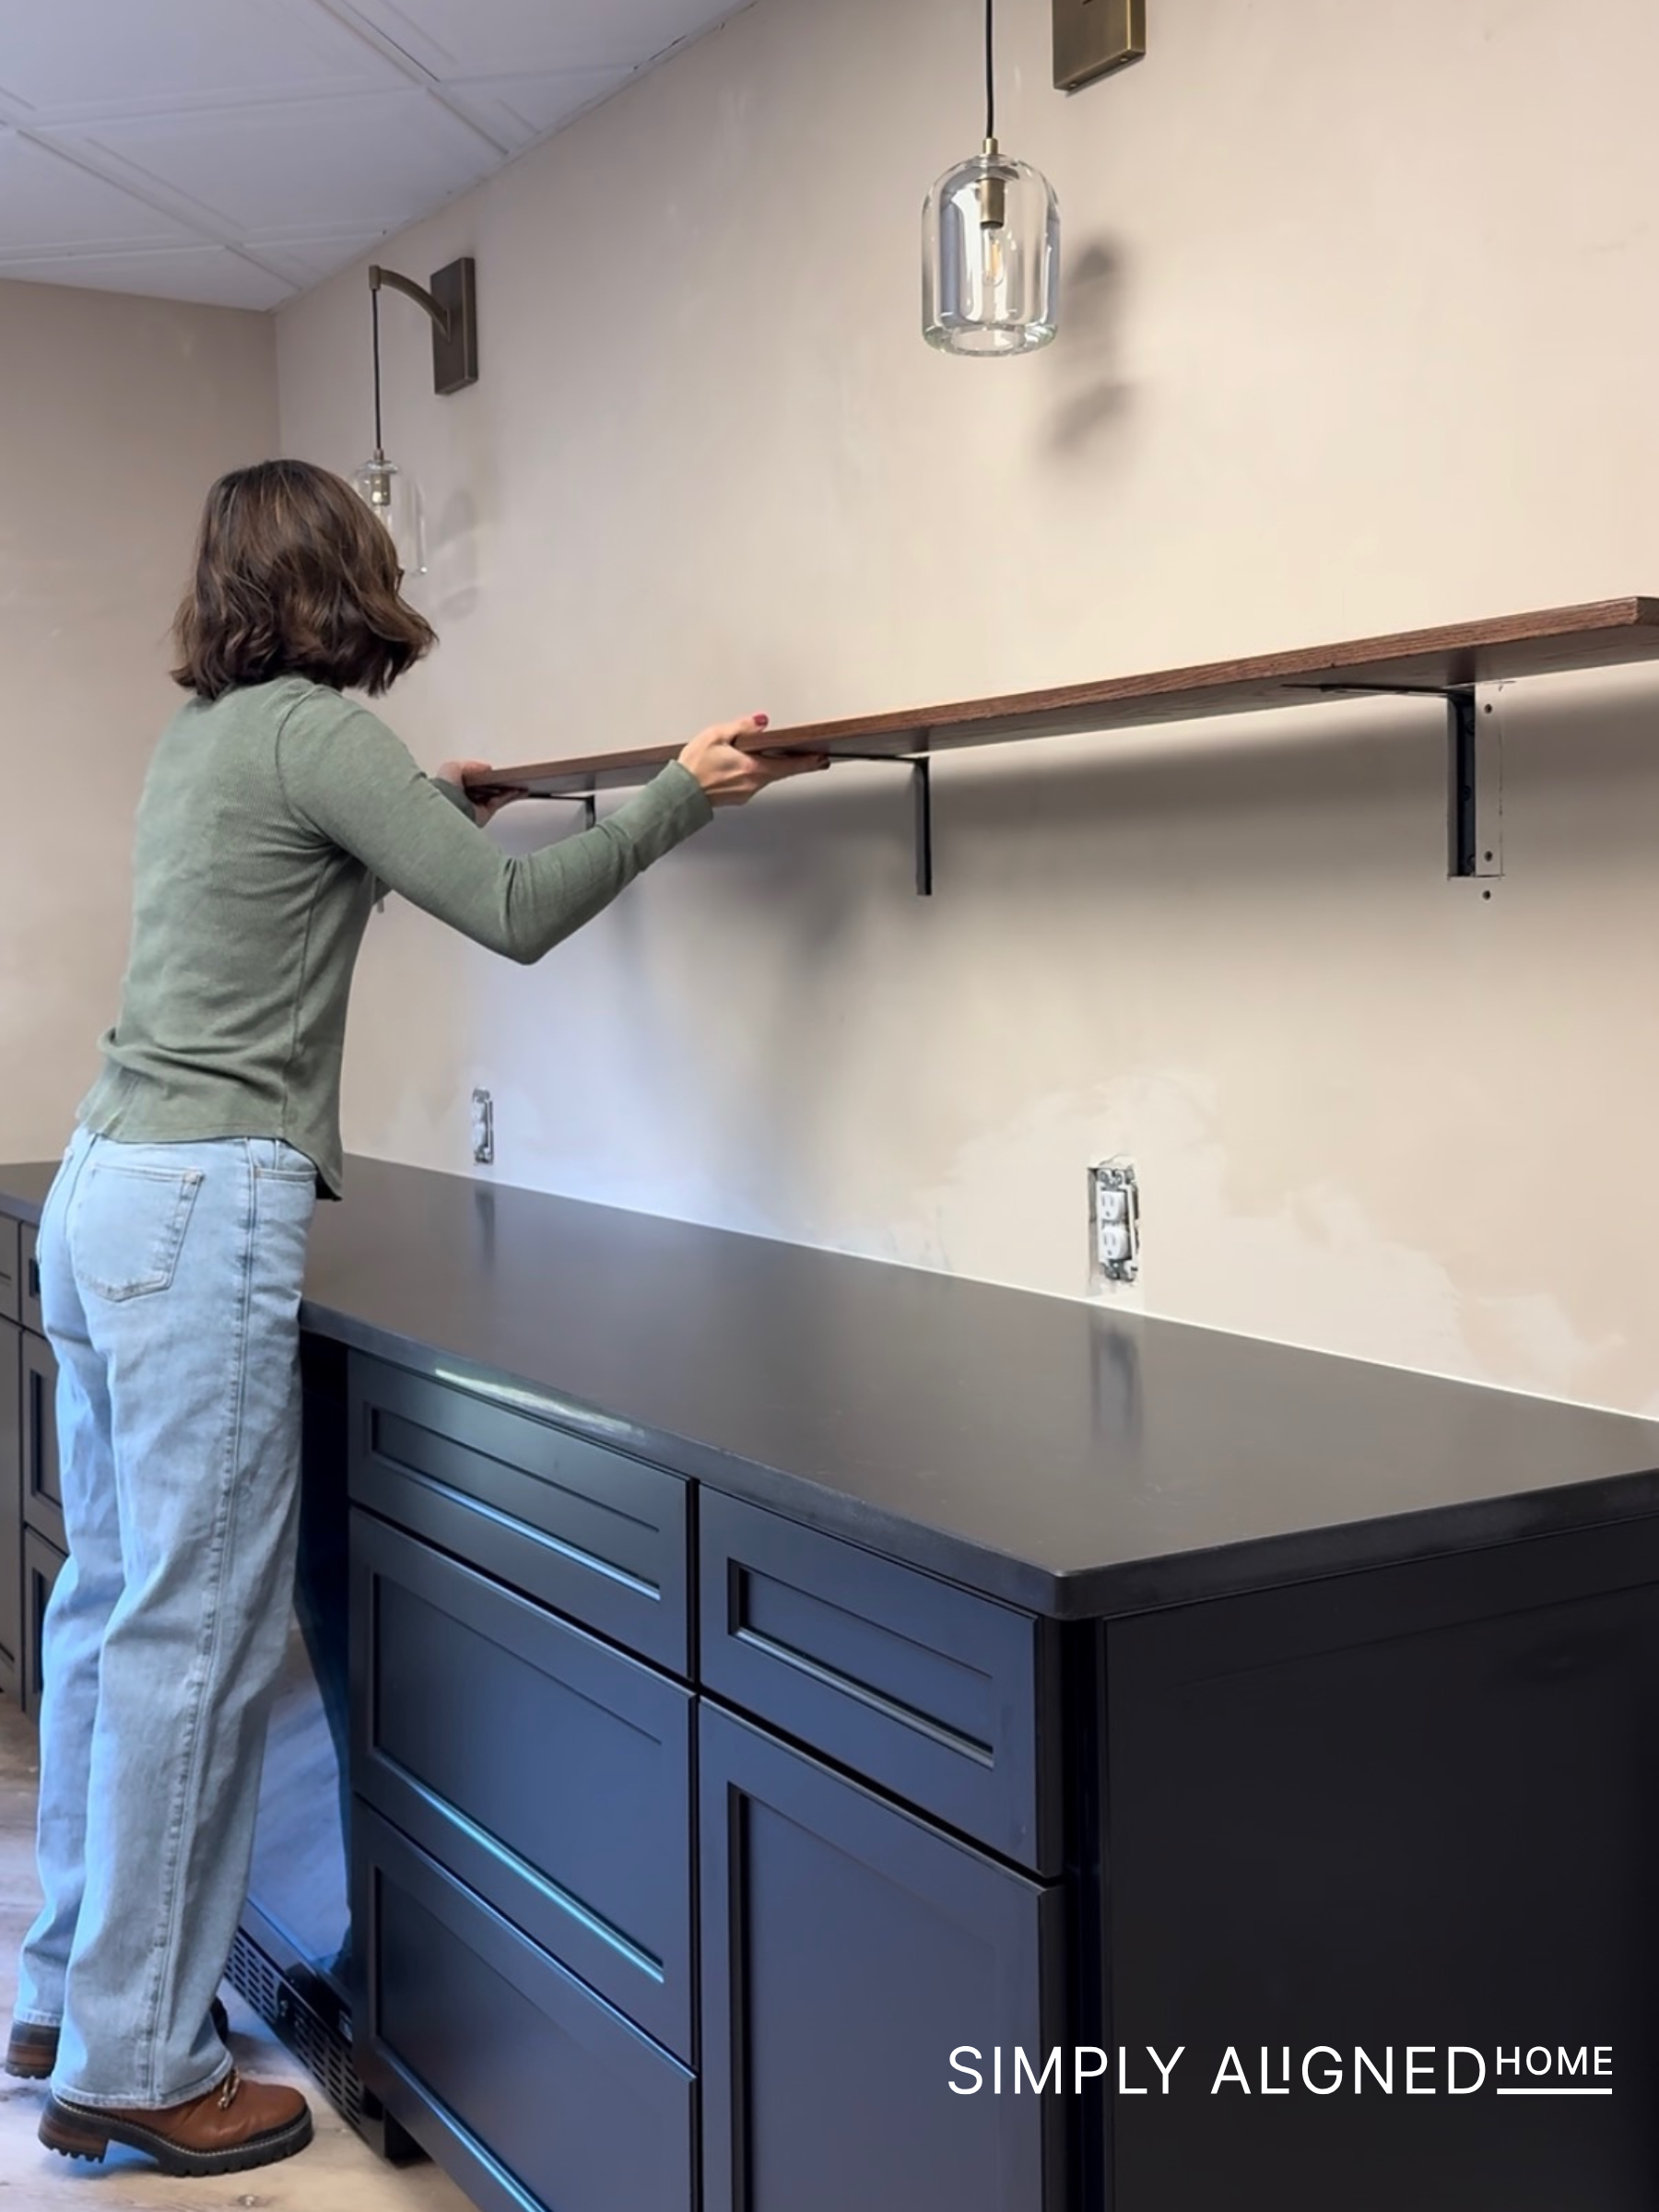
Building the Floating Shelf
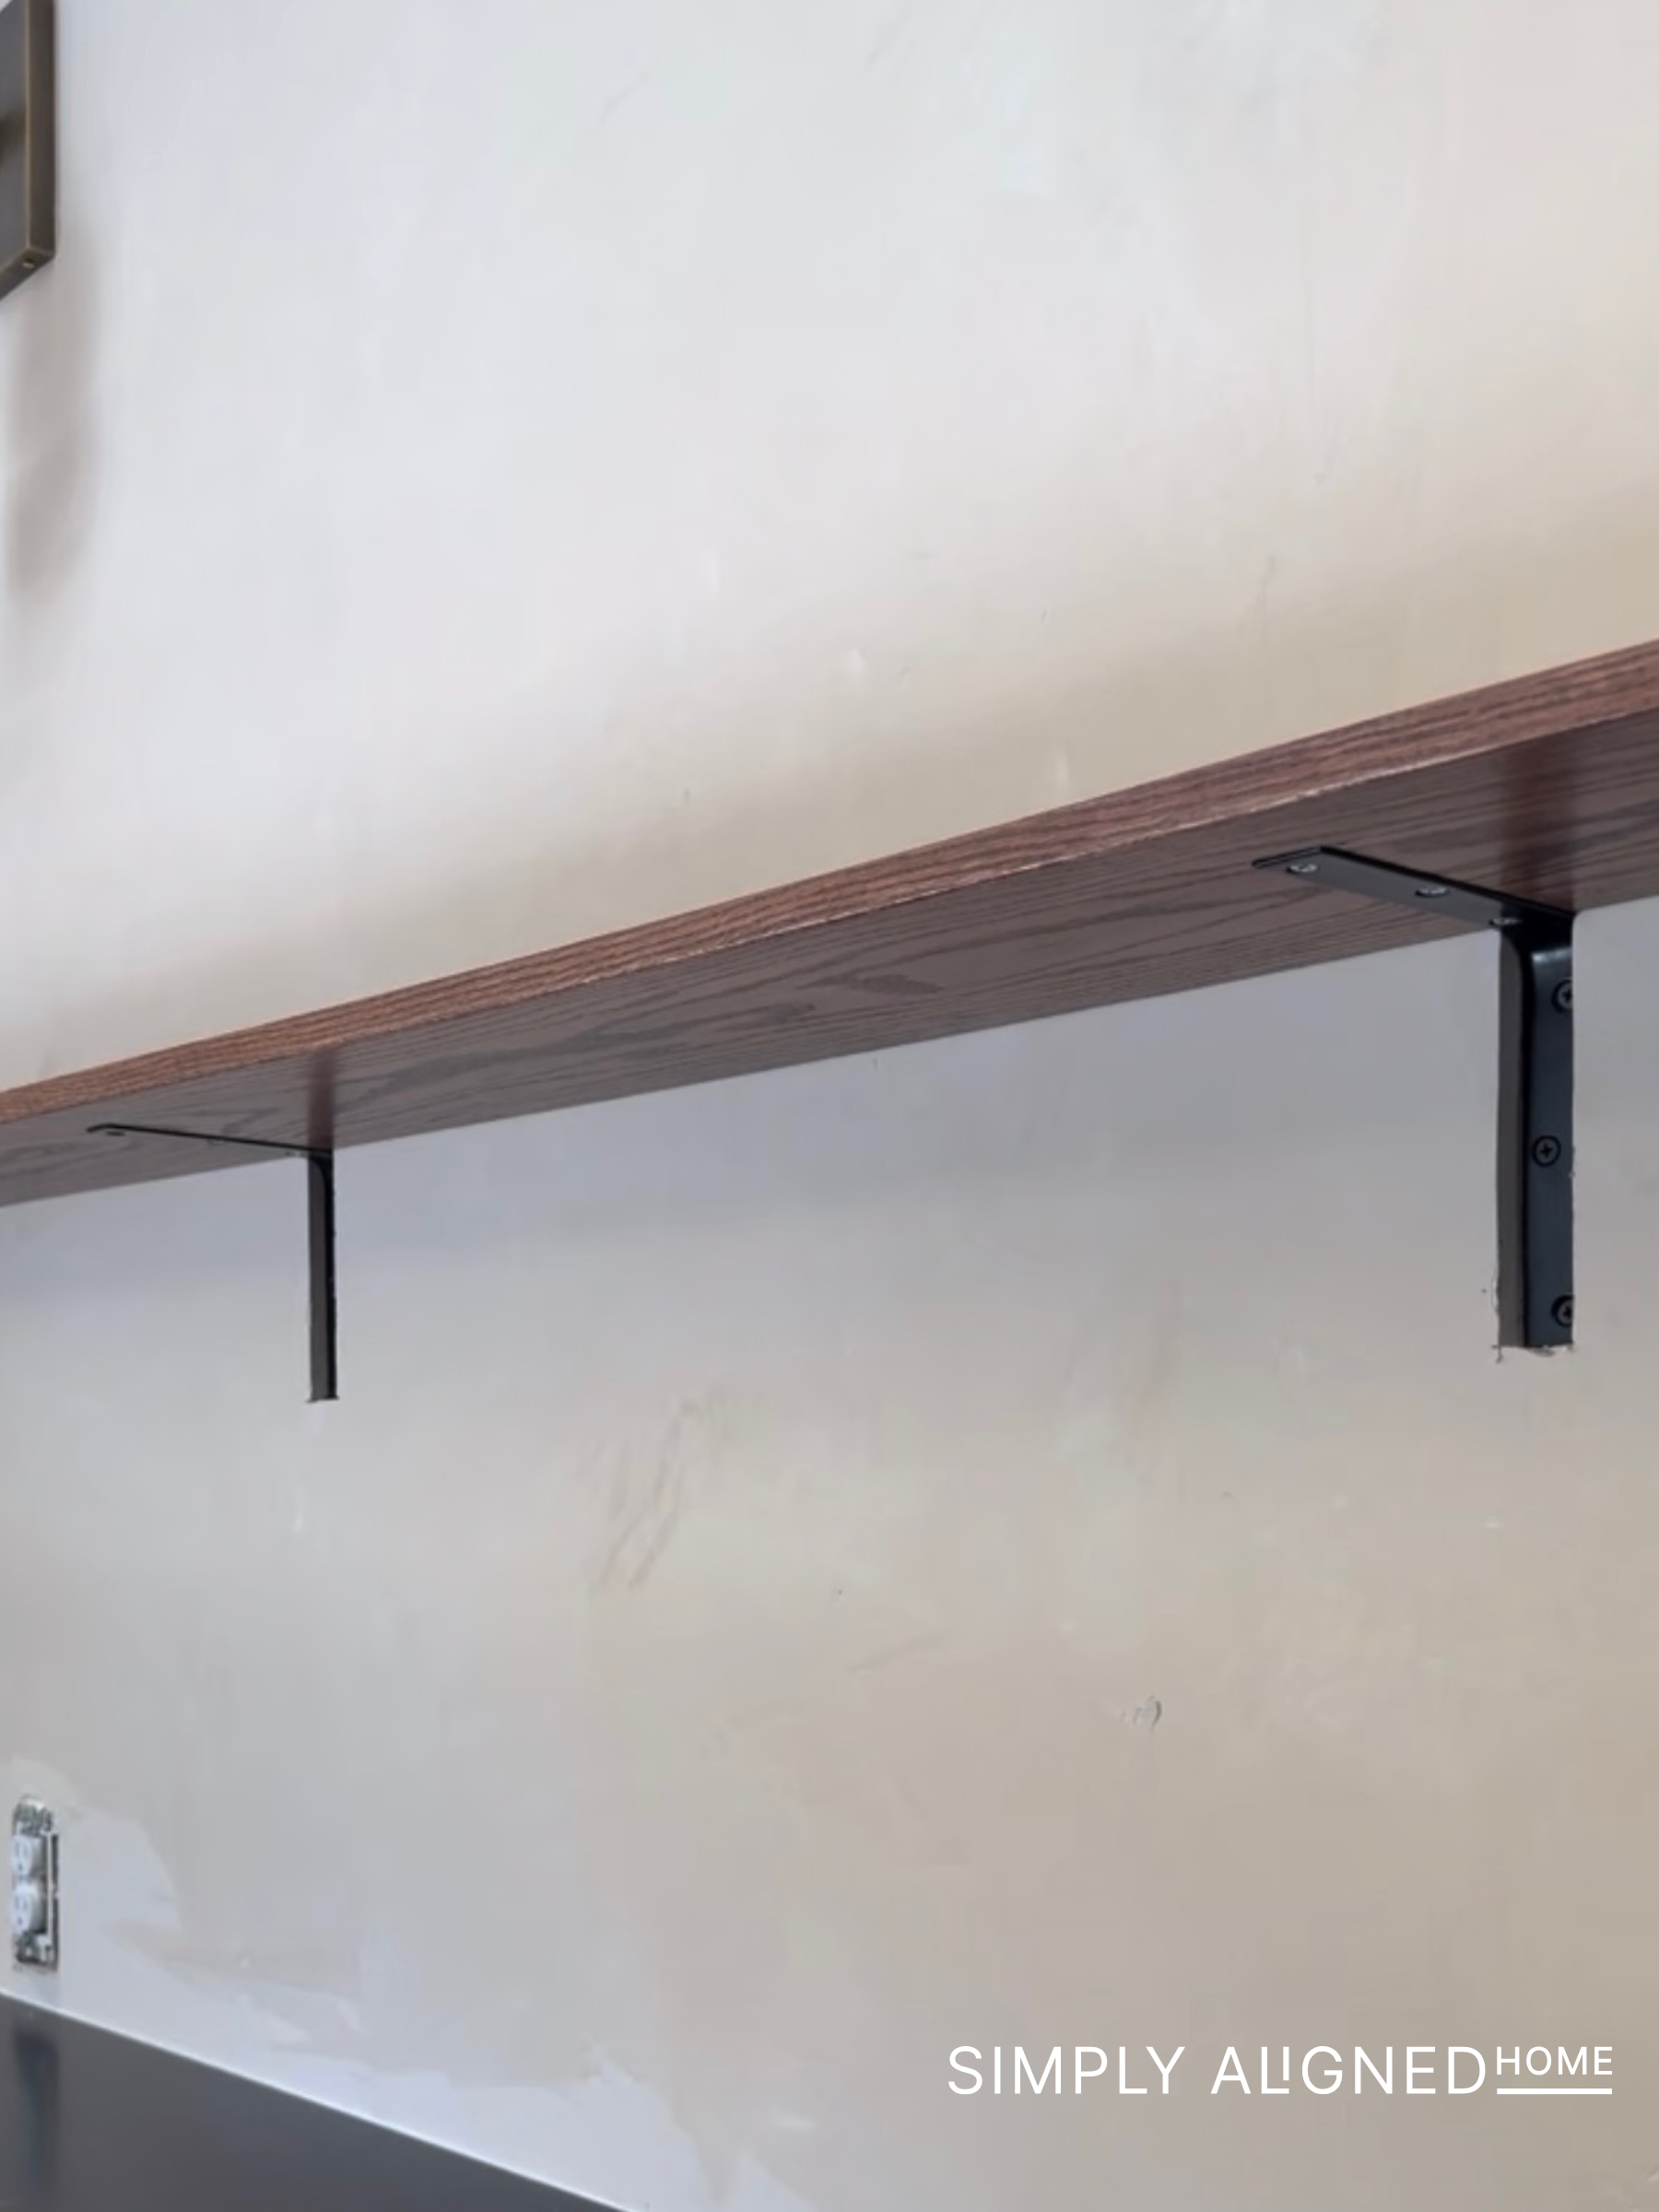
For the floating shelf, I used red oak board. I wanted the shelf to be fairly thin and simple, but thin floating shelves can be tricky. Hidden brackets typically need more thickness to work well, so I used angle brackets instead.

To support the shelf, I secured the brackets directly into the studs and recessed them into the wall. I also cut small notches into the underside of the shelf so the brackets would be less visible.

This gave me the thinner shelf profile I wanted while still making sure it was properly supported.
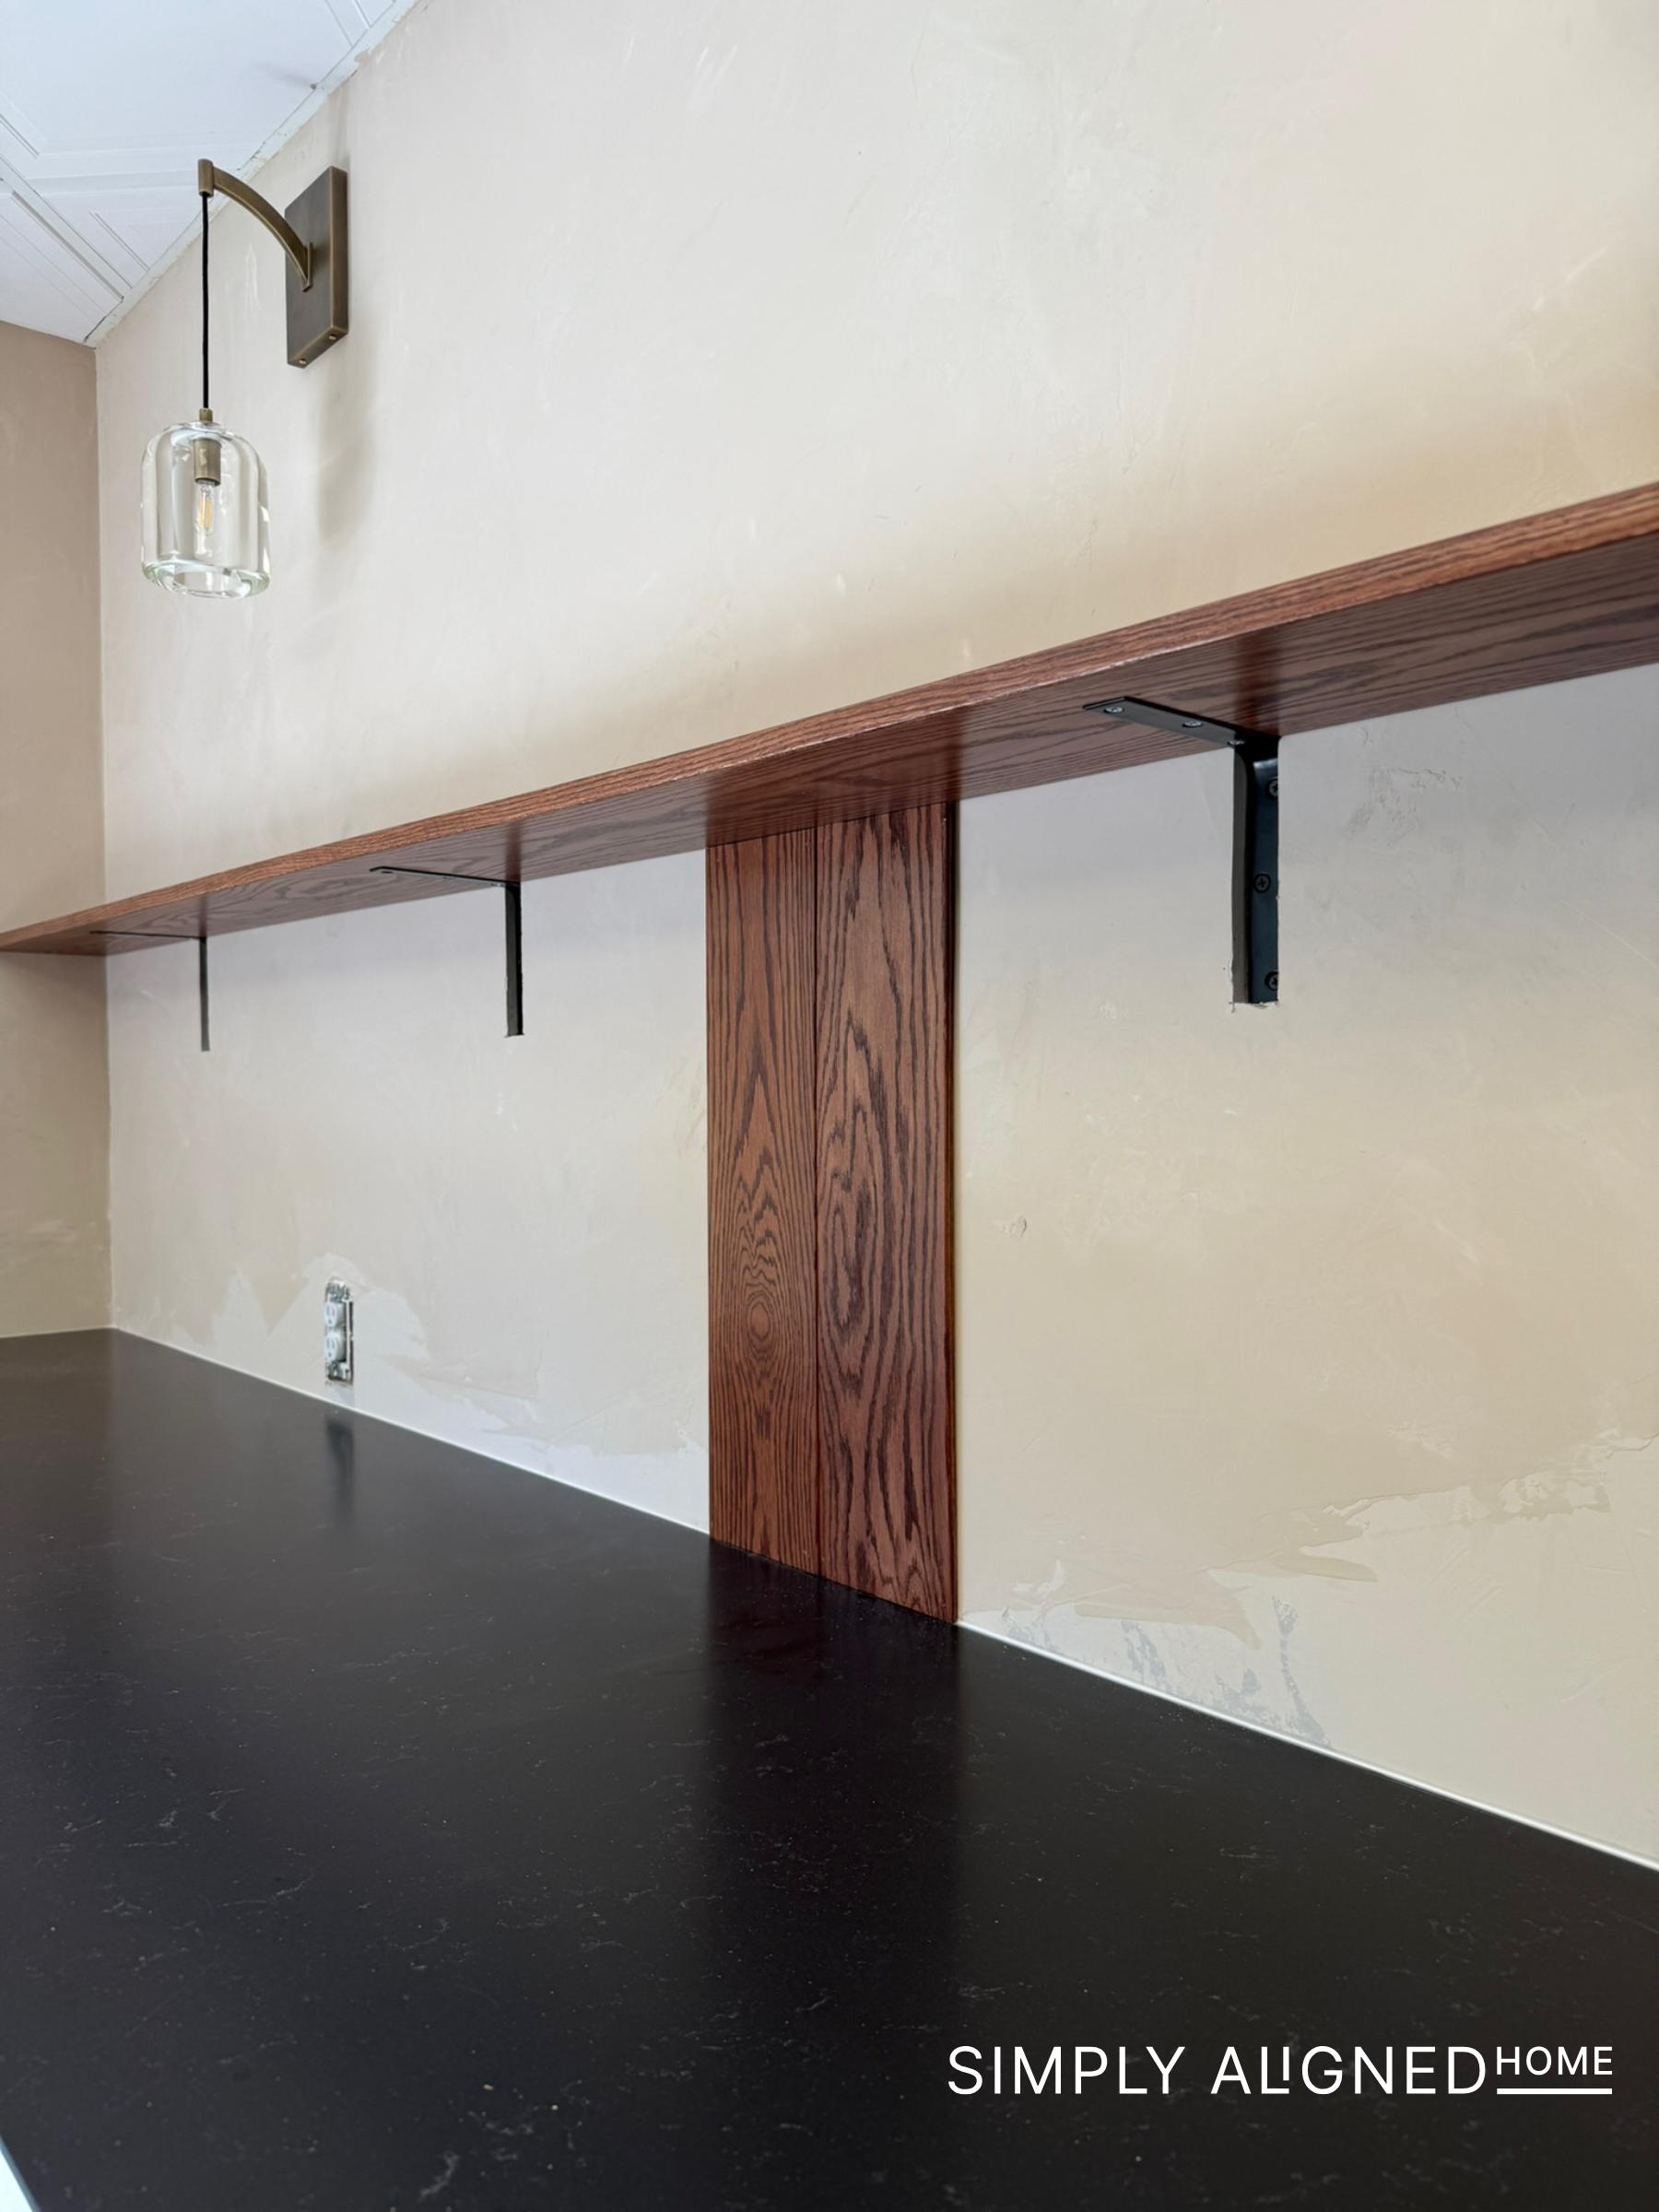
Staining the Red Oak Shelf
Before staining the shelf, I tested out a few stain combinations.

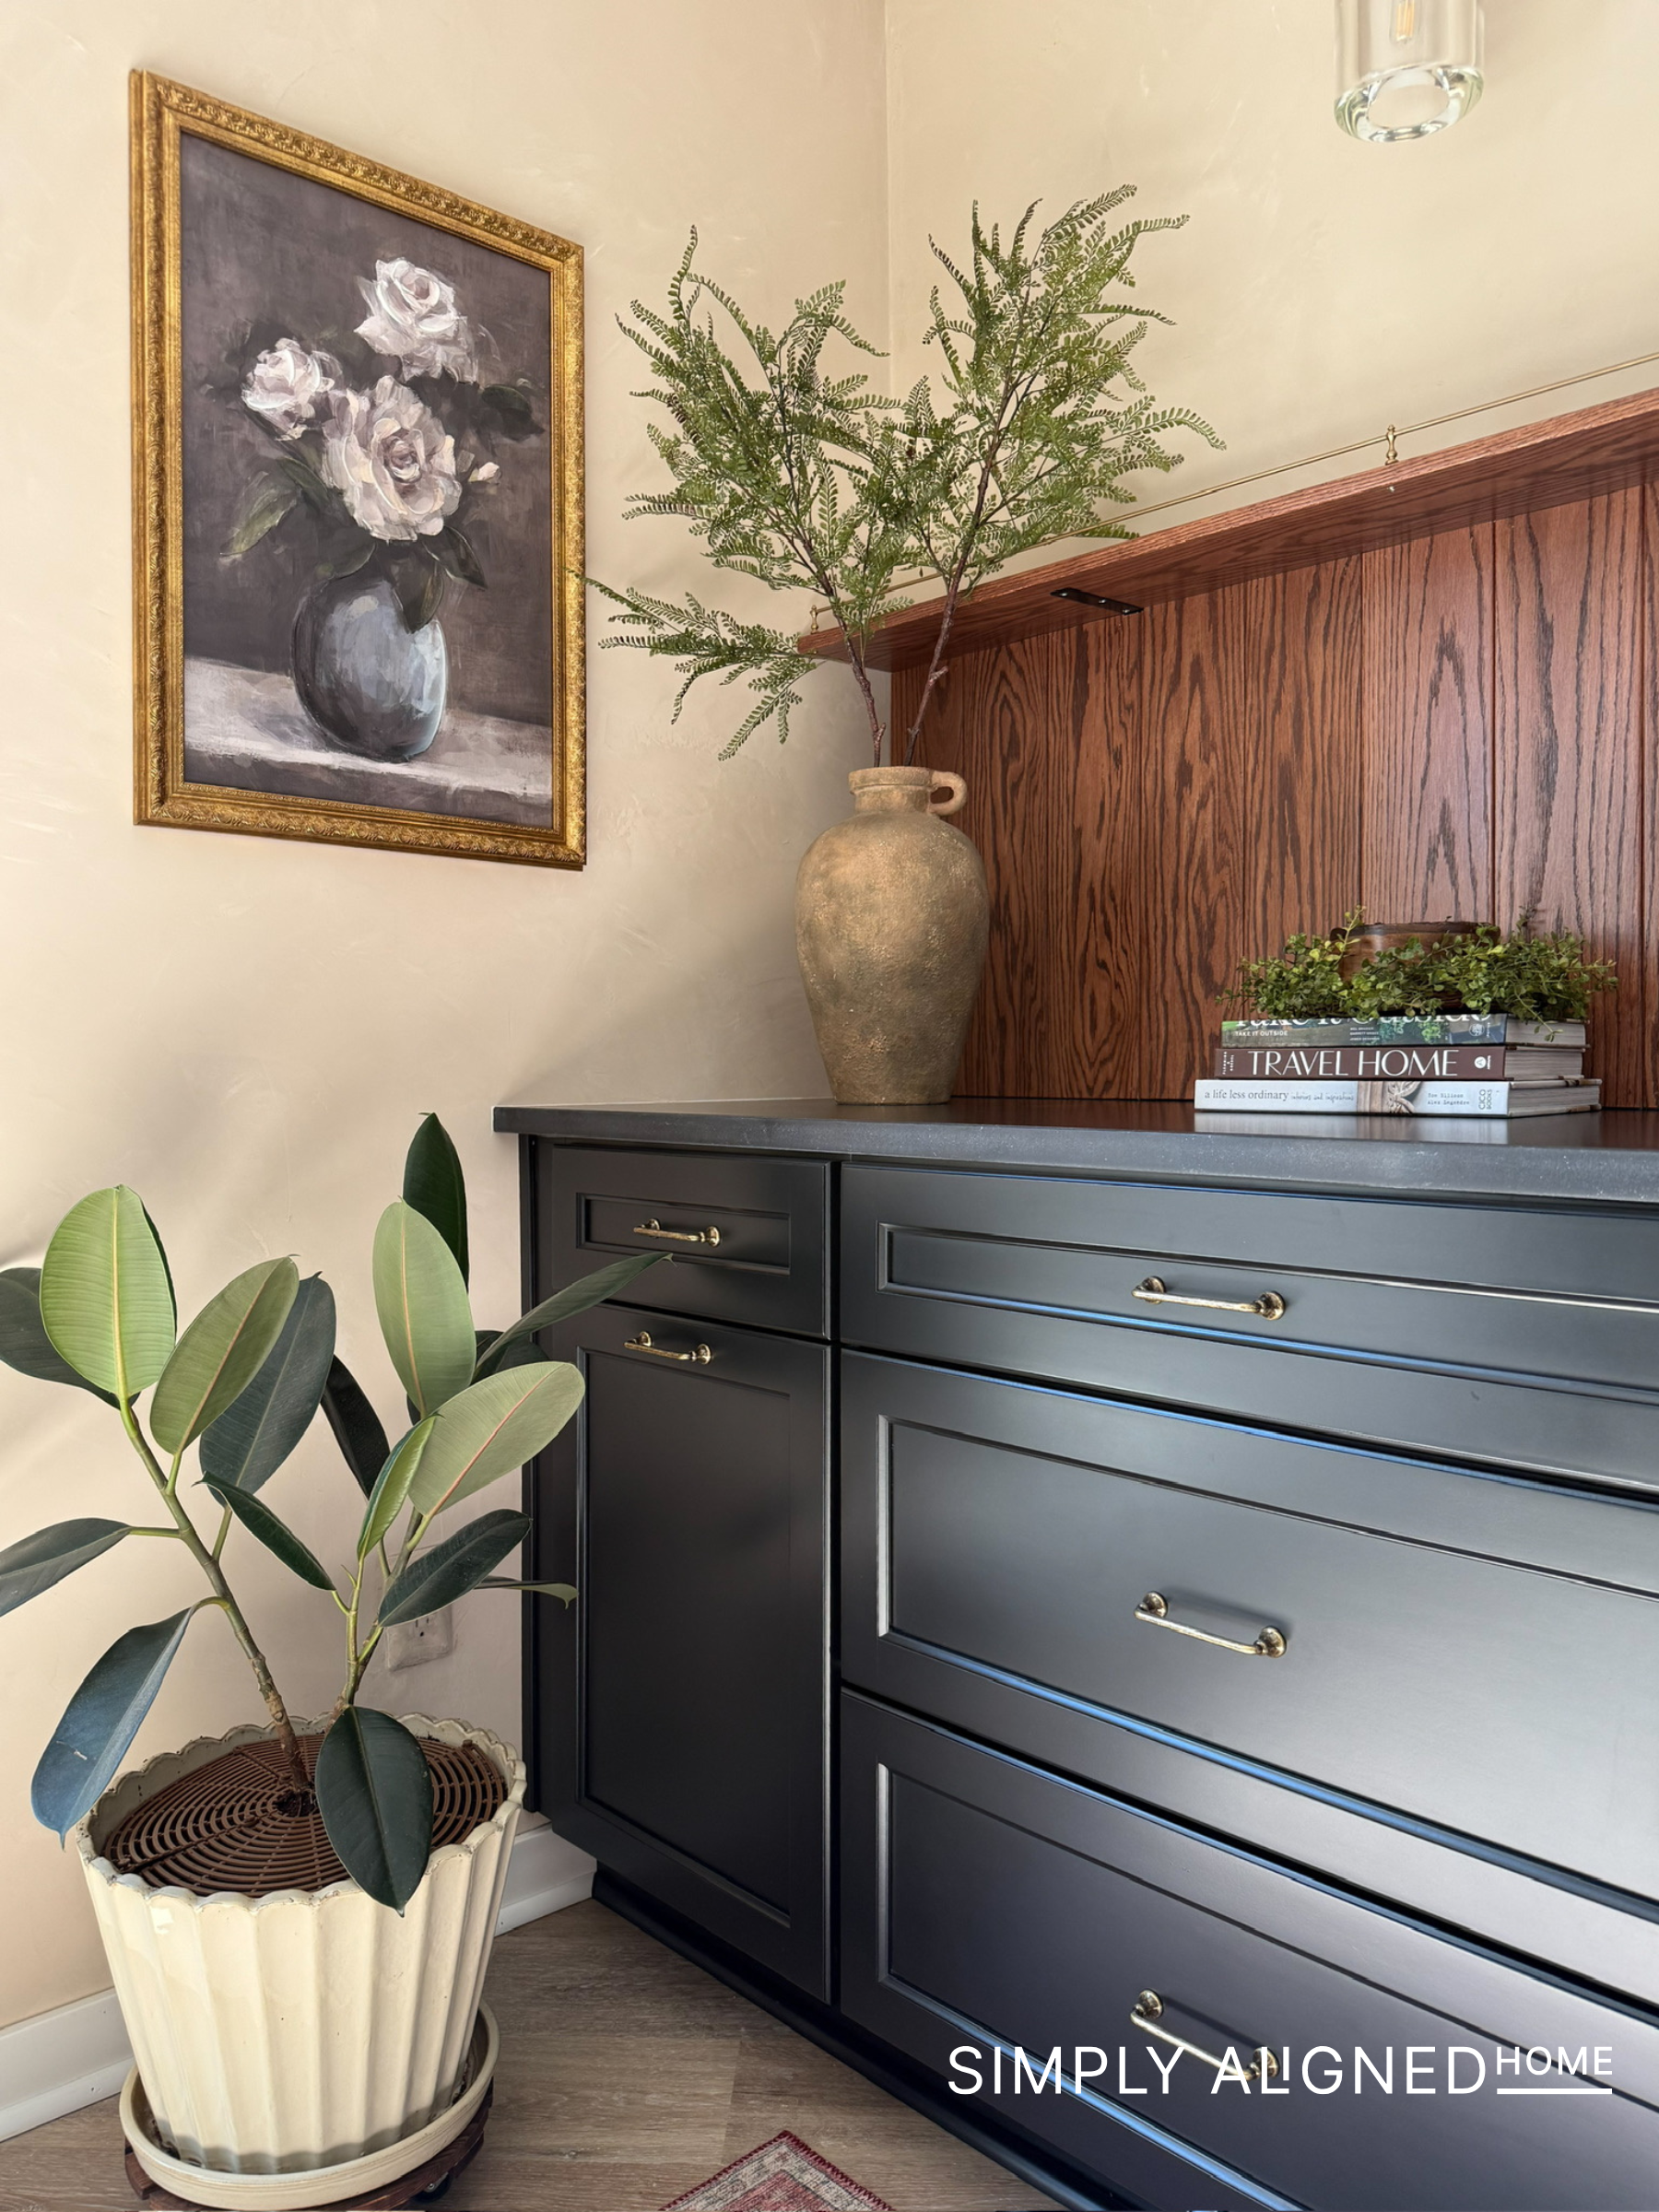
I ended up using a 50/50 mix of Red Mahogany and English Chestnut. My goal was to test out a stain color in this basement space that I could potentially use in my kitchen later.
I love the warmth this stain combination brought to the red oak. It added contrast against the wall treatment and tied in beautifully with the wood backsplash.
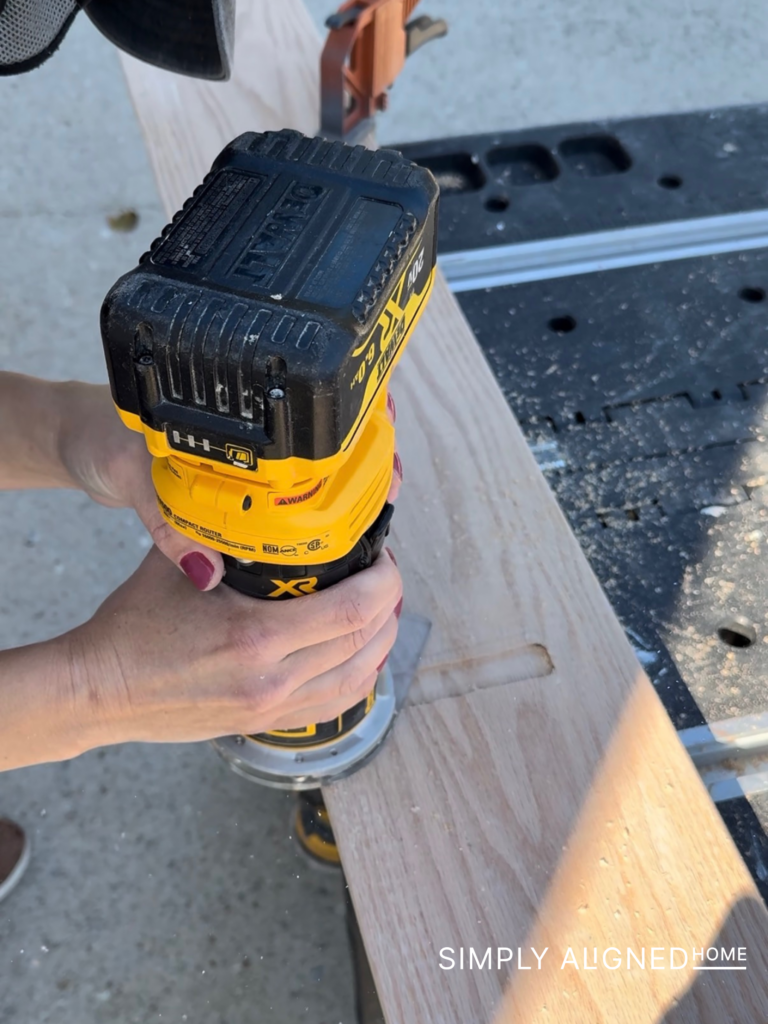
DIY Wood Backsplash
Once the shelf was installed, I started on the backsplash! Since this is a dry bar and there is no sink, I did not need a traditional tile backsplash to protect the wall from water. I thought a wood backsplash would be a fun way to add warmth and texture to the space.
For the backsplash, I used 1/4-inch thick by 5 1/2-inch wide red oak boards.
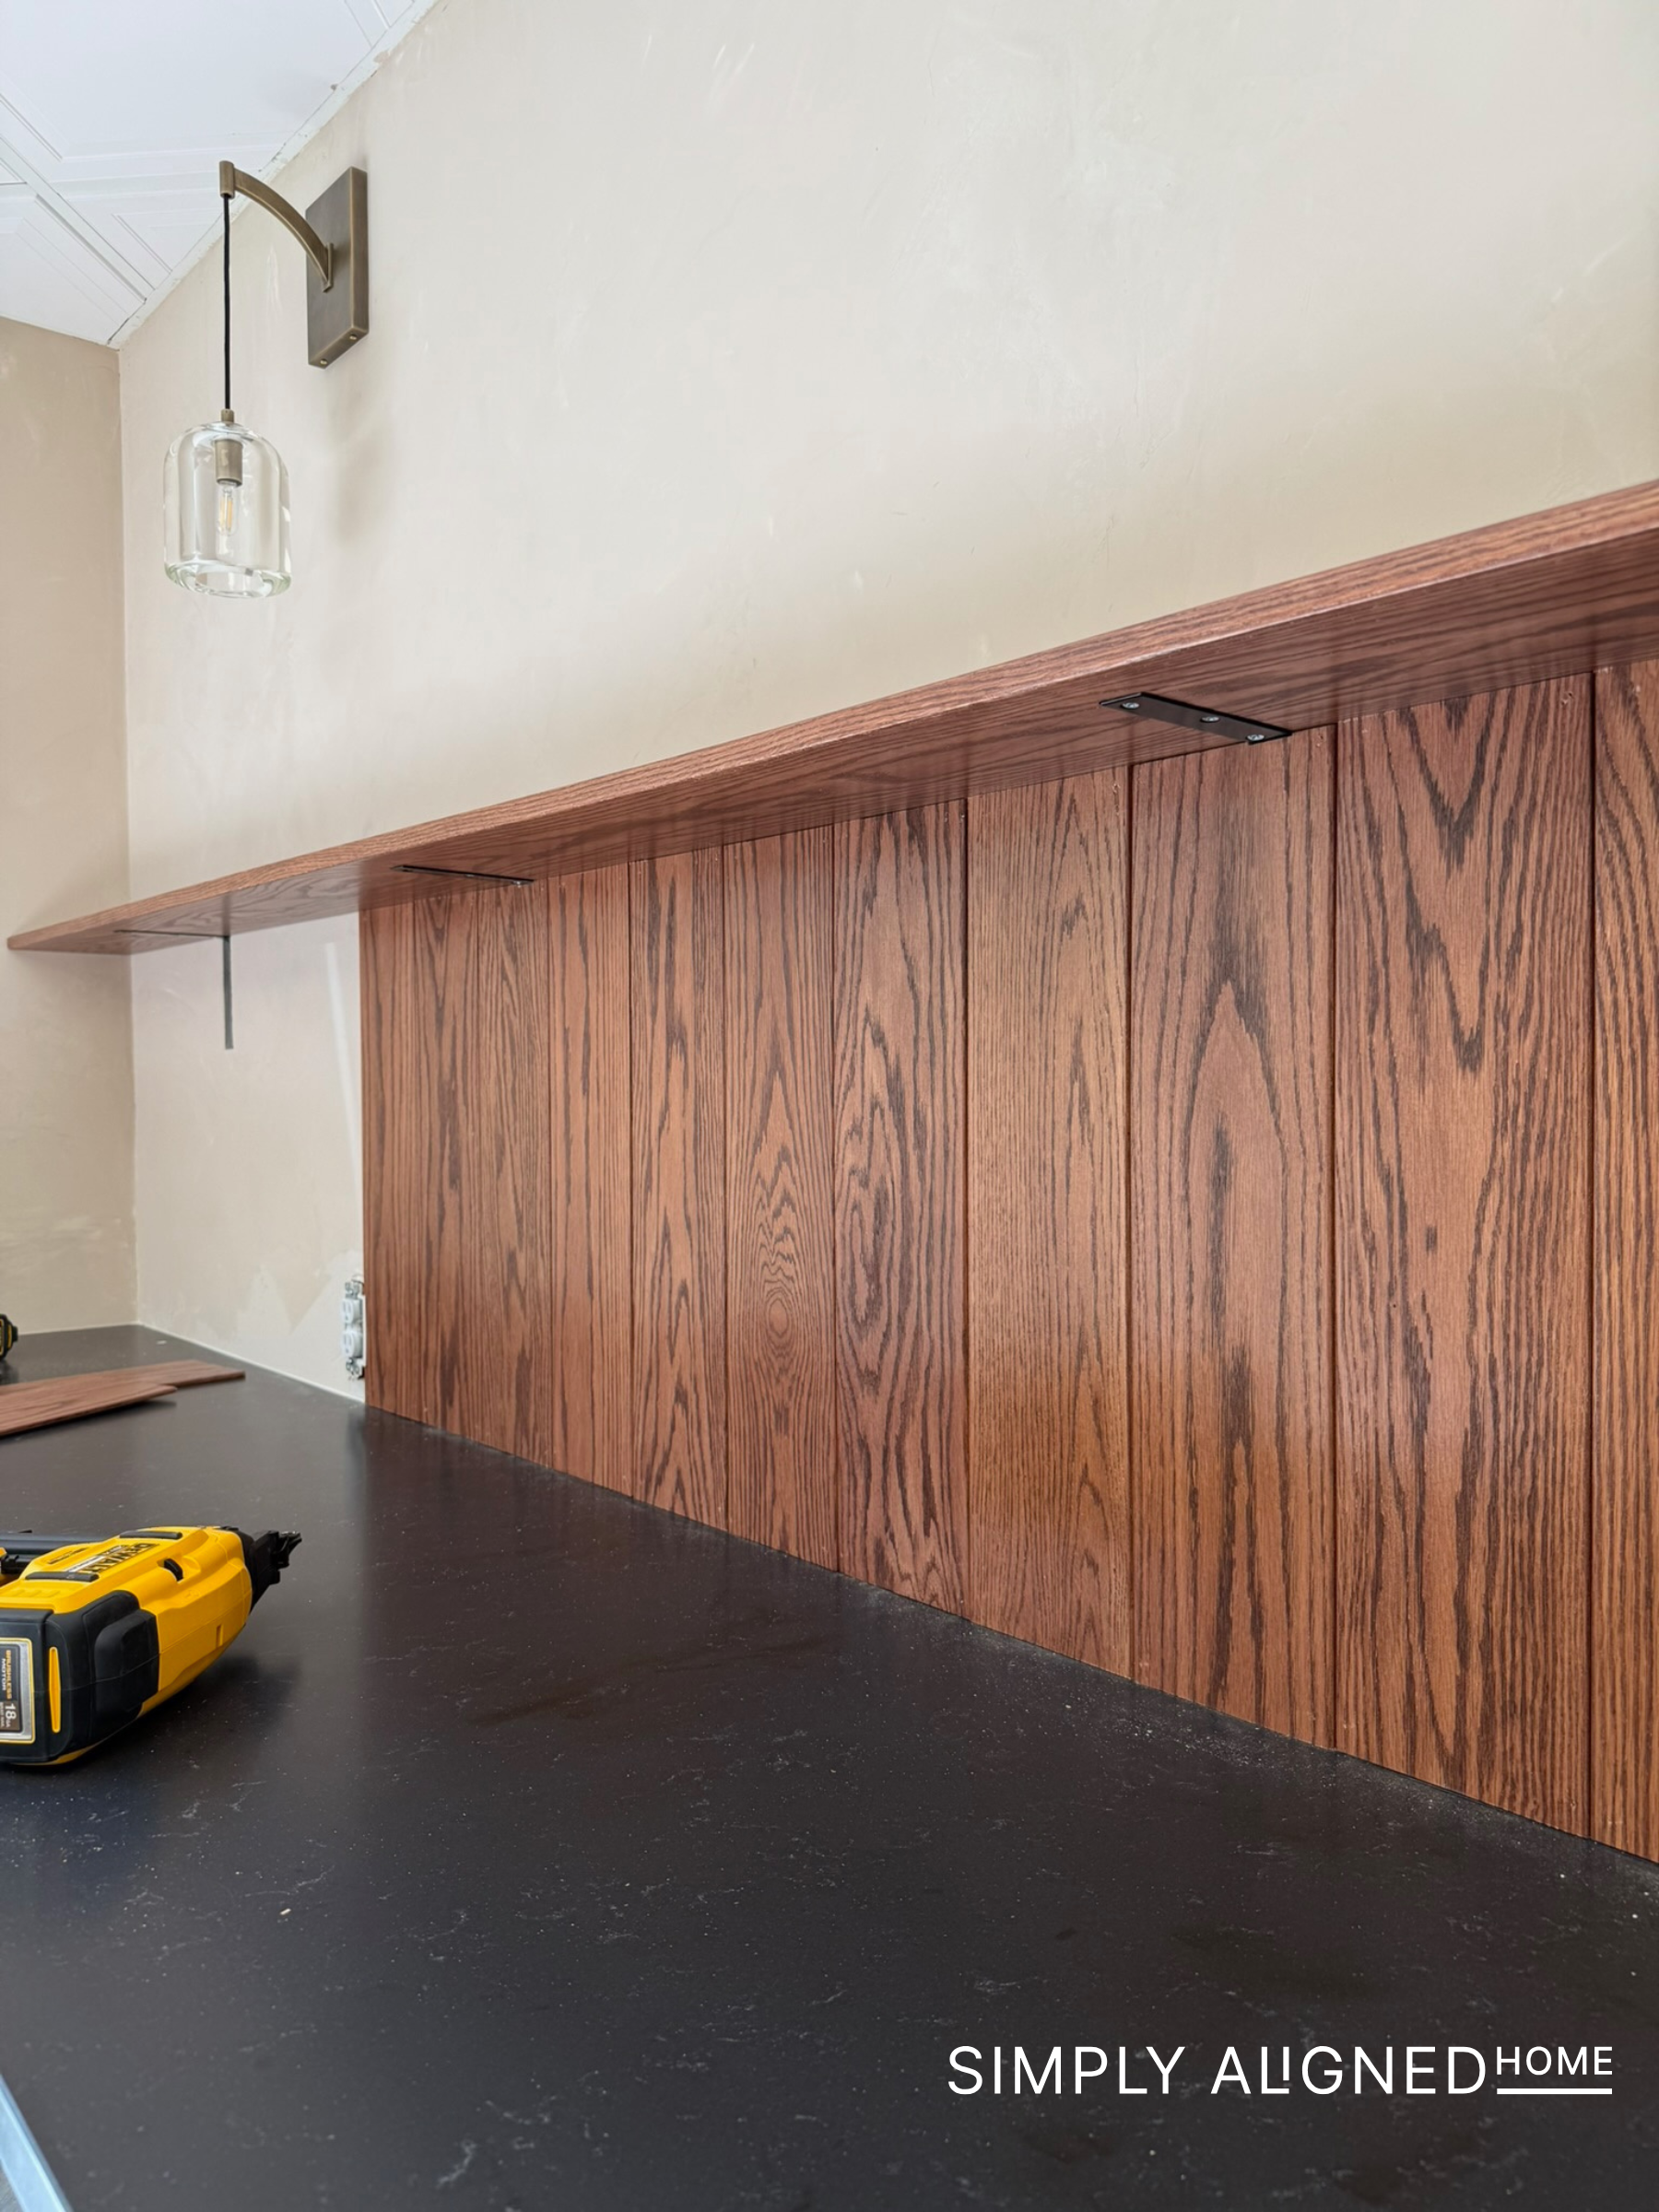
Before installing them, I rounded the edges using my palm router. This added a little dimension between the boards and kept the backsplash from looking too flat.
The wood backsplash ended up being one of my favorite parts of the entire project. It added the perfect amount of warmth, and I love how cozy it looks with the sconce lights above it.
Updating the Drop Ceiling Tiles
While I was working on the basement bar, I decided I could not leave the old drop ceiling tiles. They were not doing the space any favors…
I would love to eventually replace the drop ceiling completely, but I do like having easy access to the plumbing and wiring for the floor above. Since this is a basement, that access is really helpful.
Instead of removing the drop ceiling, I replaced the old tiles with more modern drop ceiling tiles. This was a simple update, but it made the space feel much cleaner and more updated.
Finishing Touches
After the main pieces were installed, I added a few finishing touches that made the dry bar feel complete.
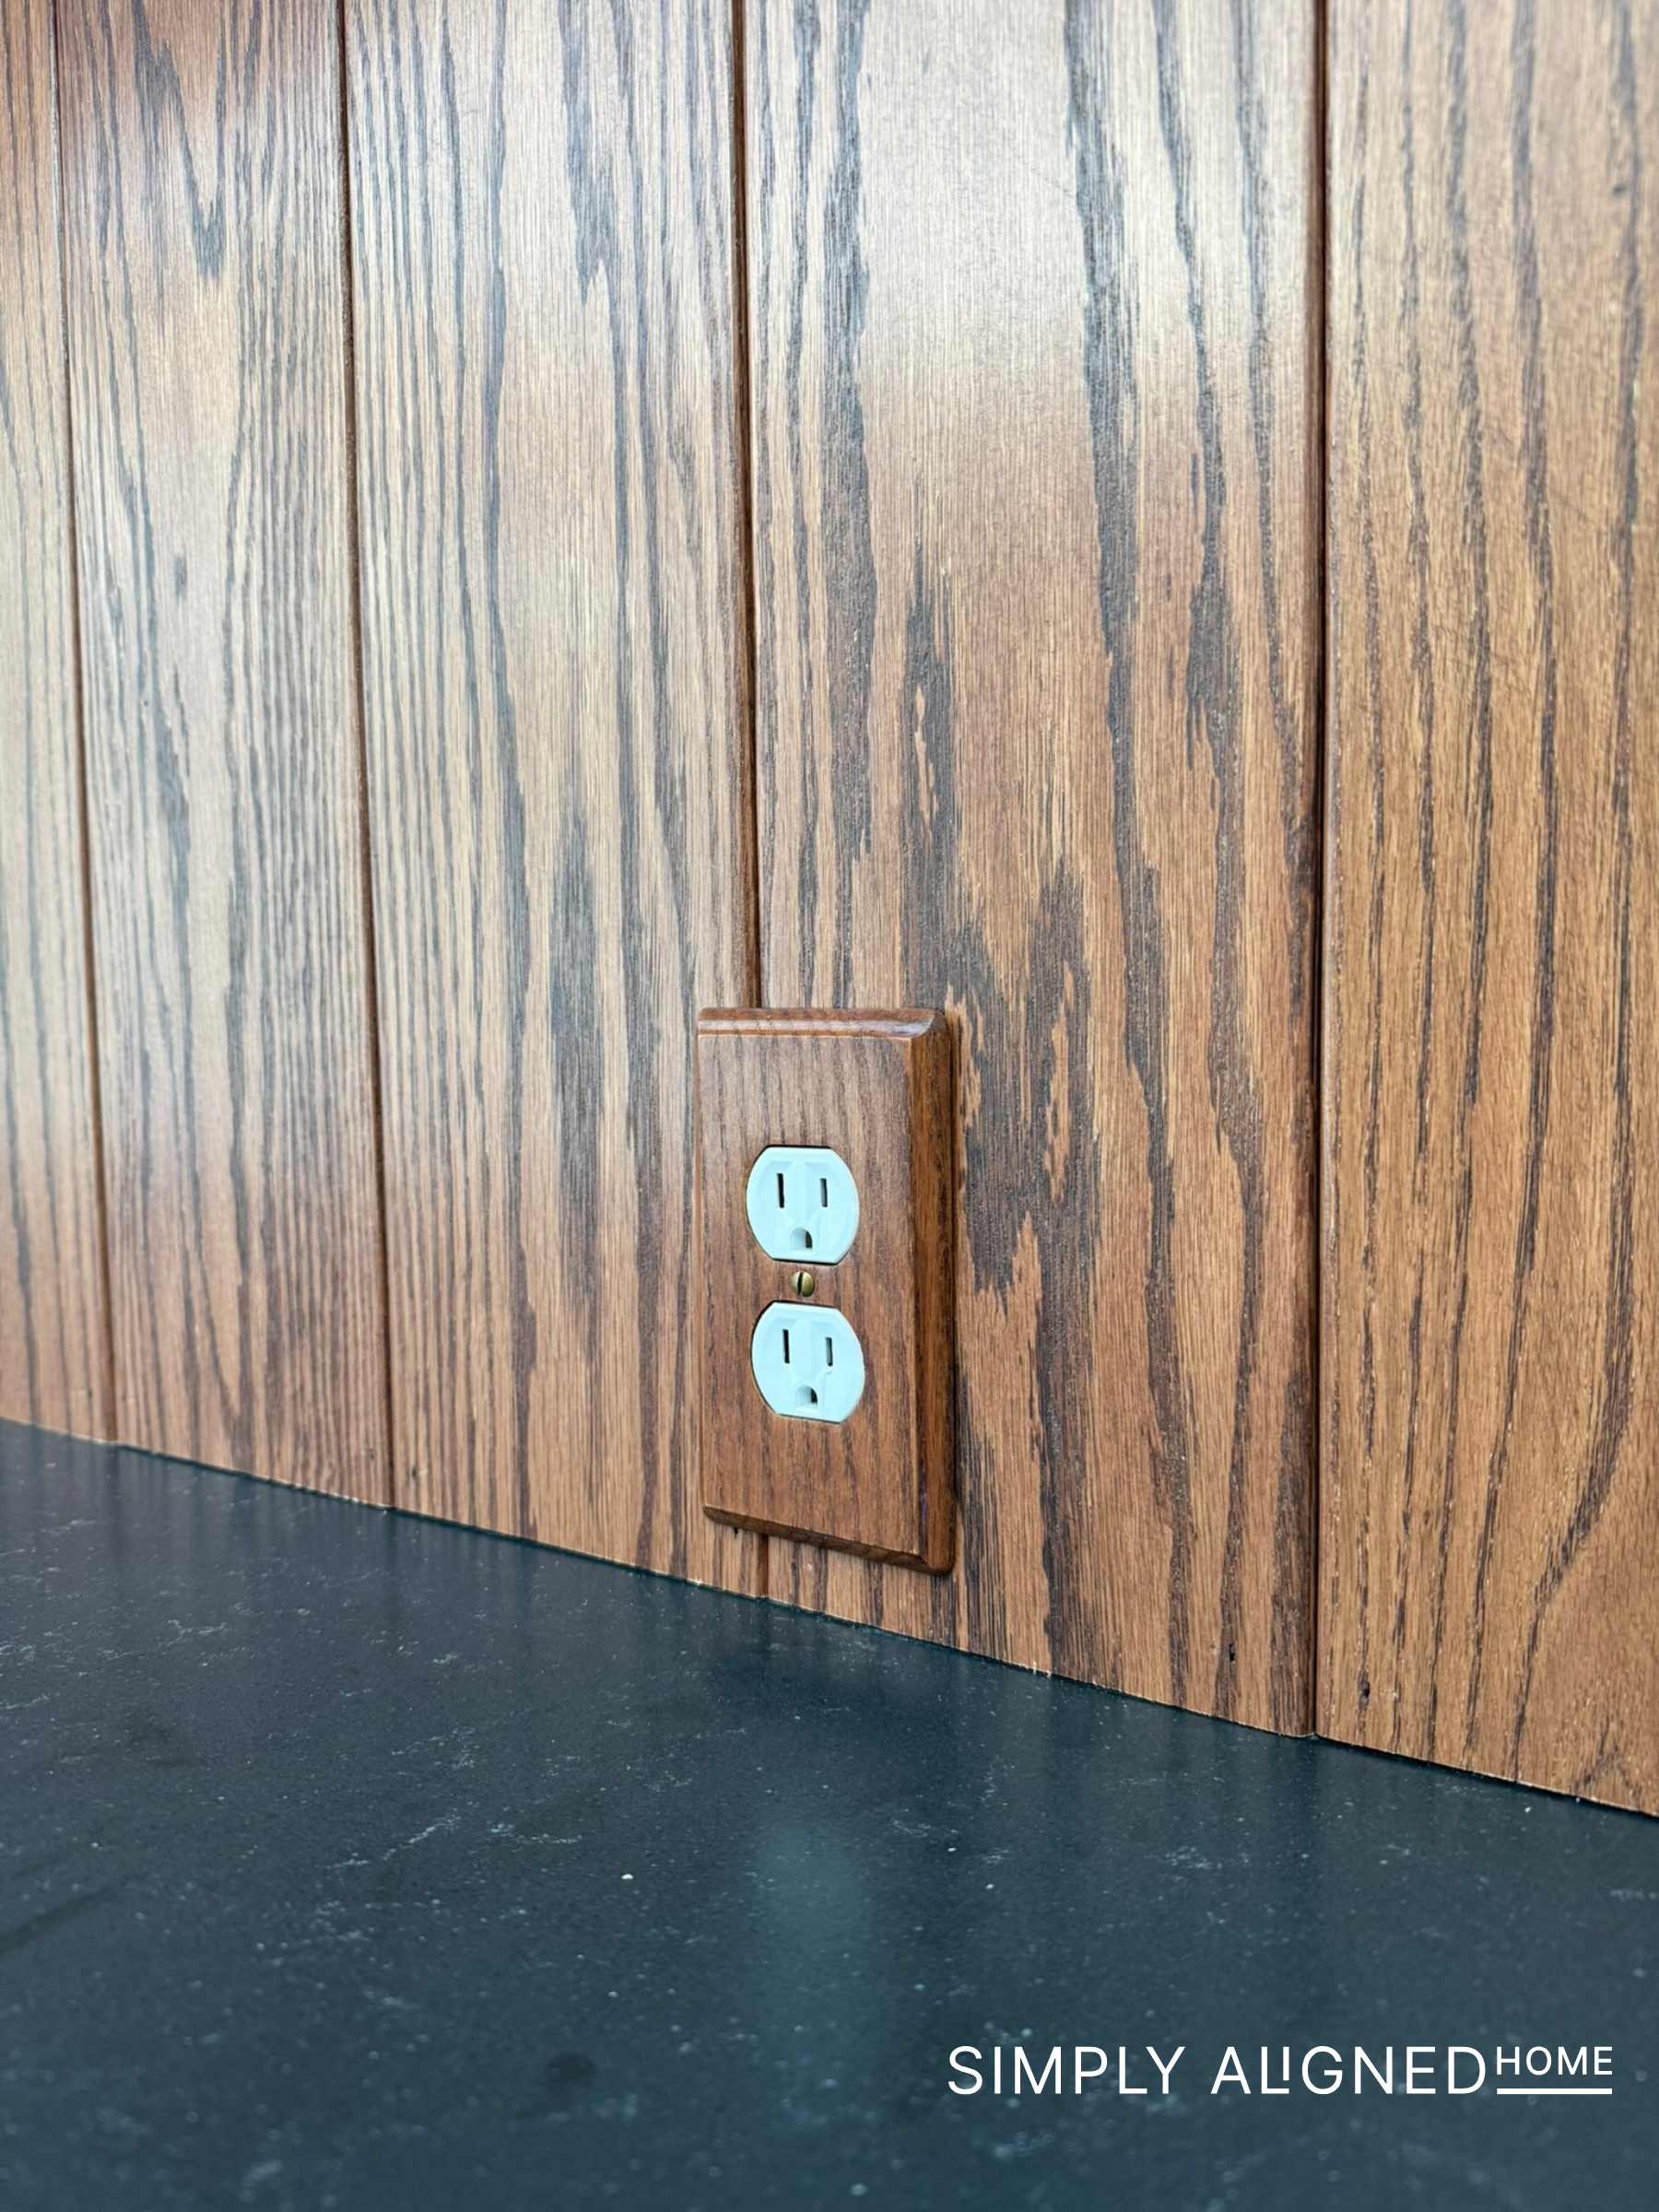
I sanded and stained the outlet covers to match the wood backsplash, which helped them blend in instead of standing out against the wood.
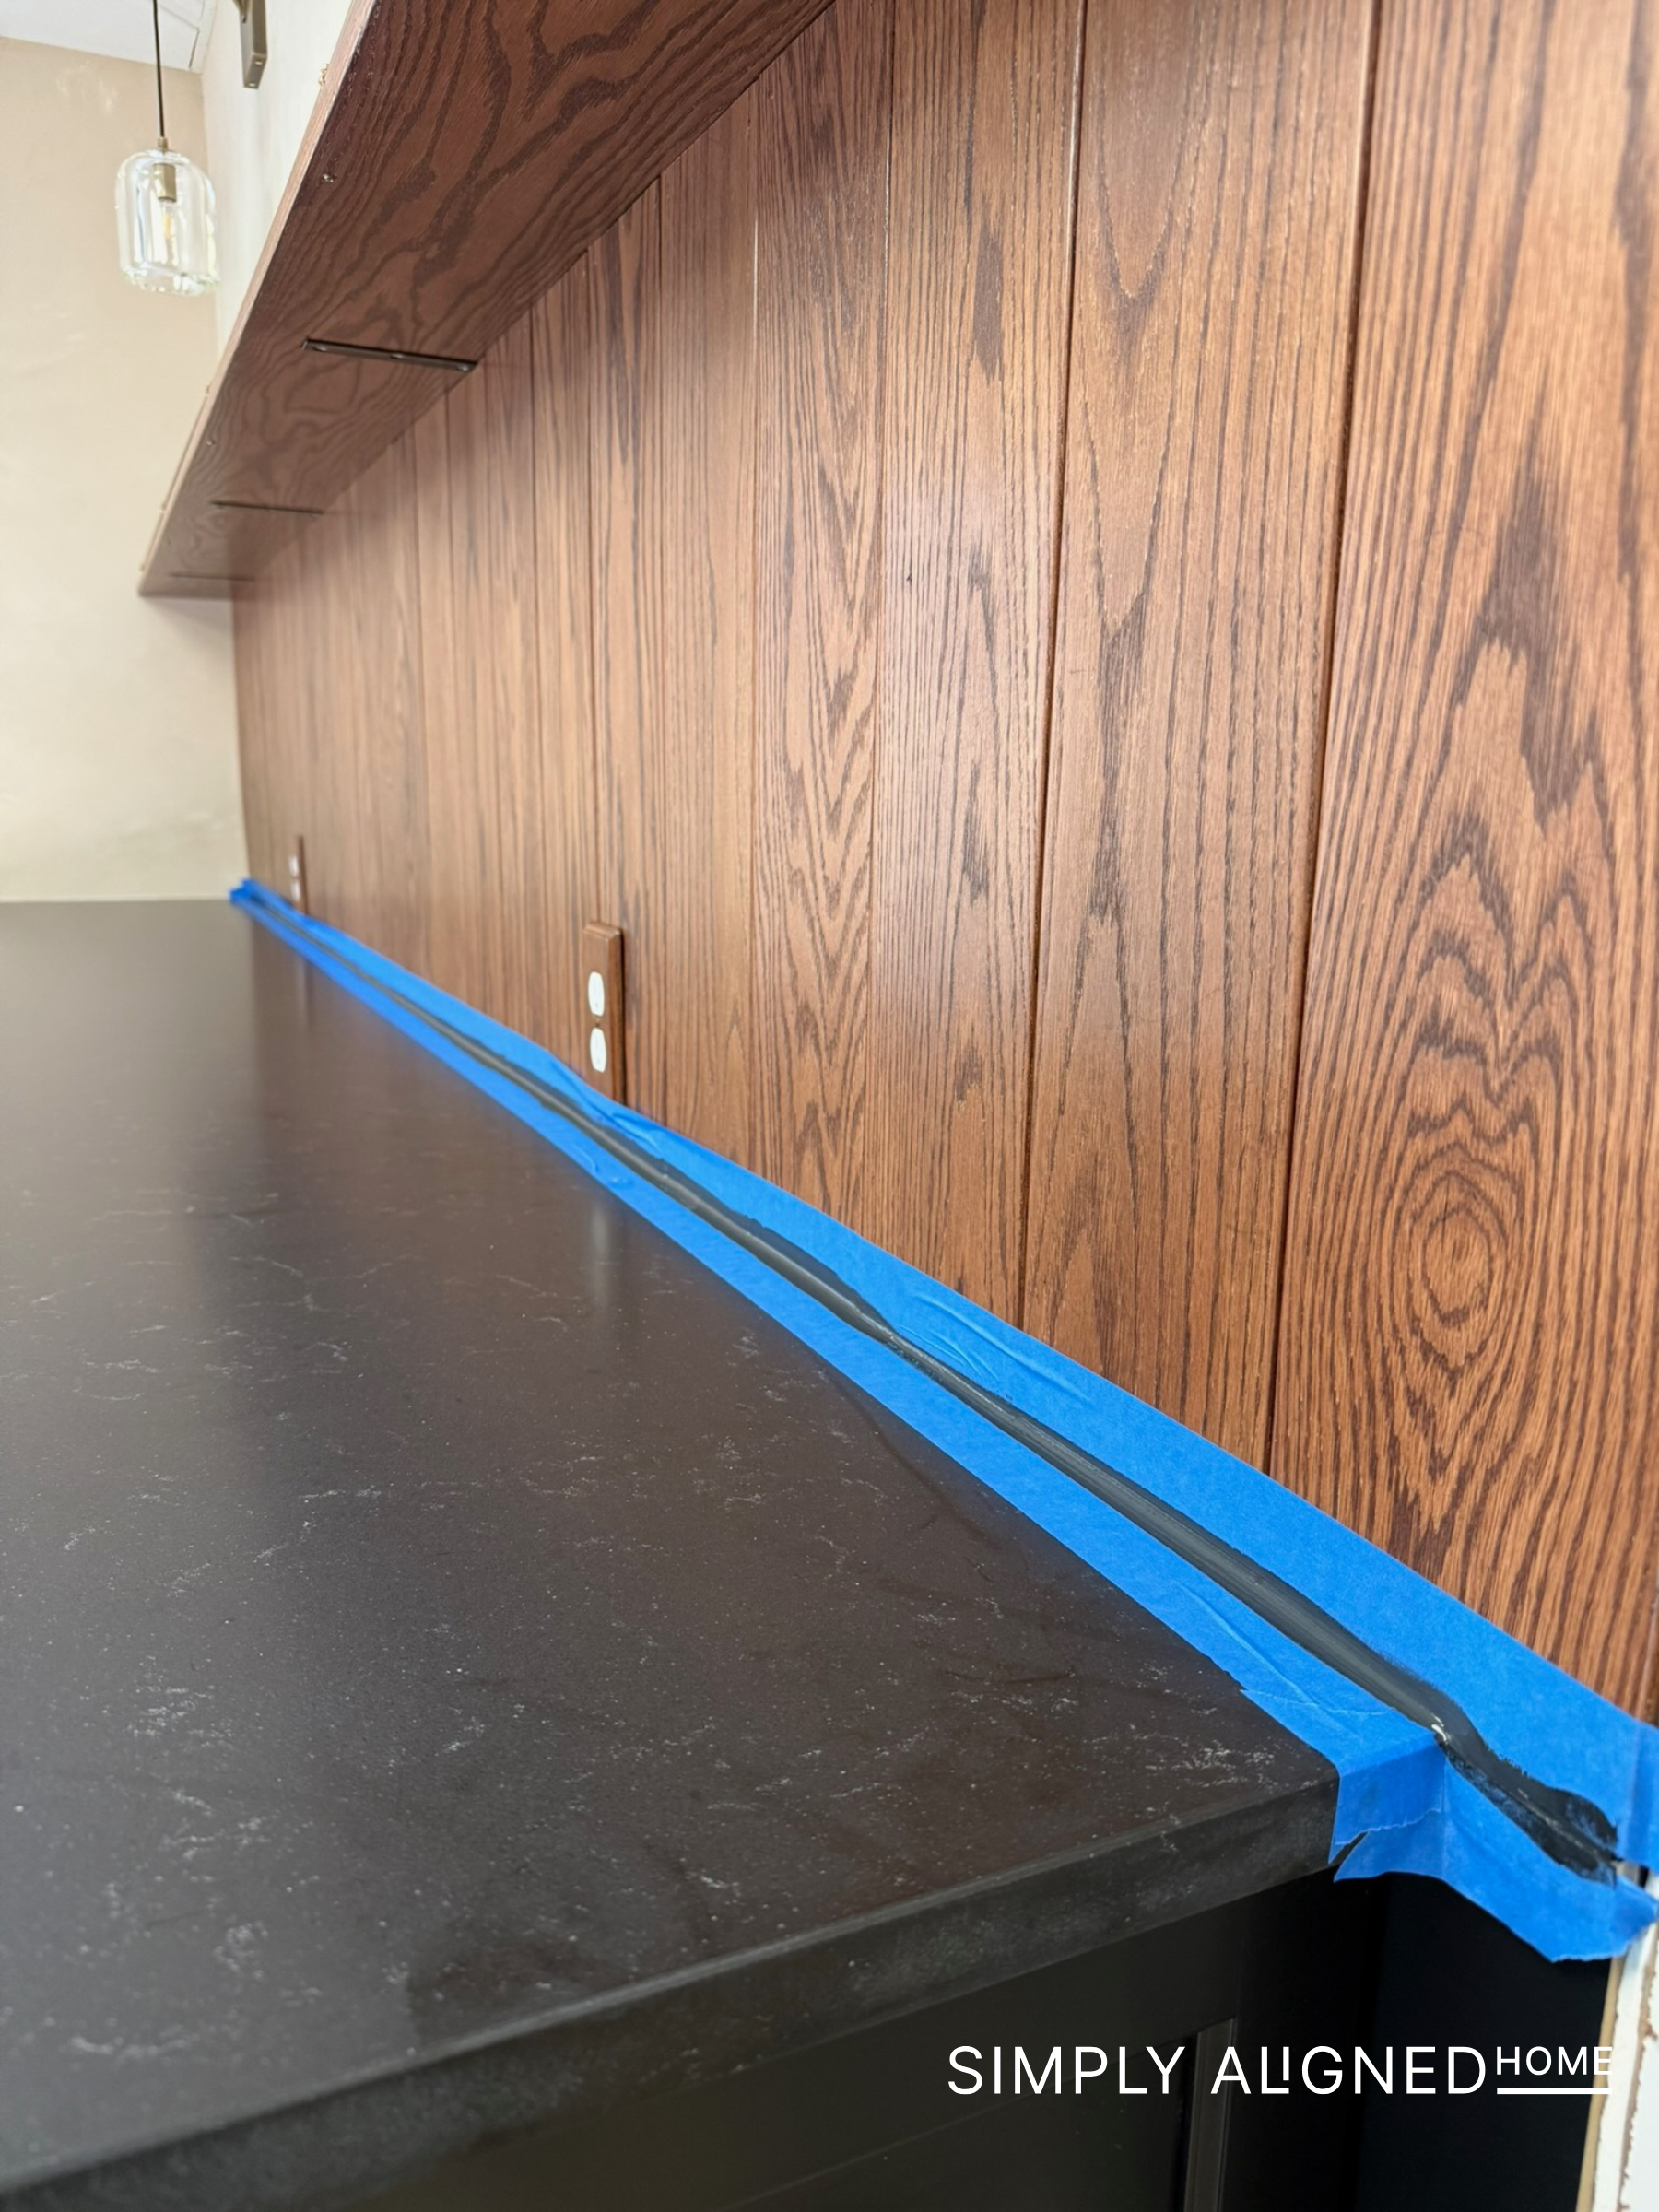
I also used black caulk to hide the seam between the backsplash and the countertop. This gave everything a cleaner, more finished look.
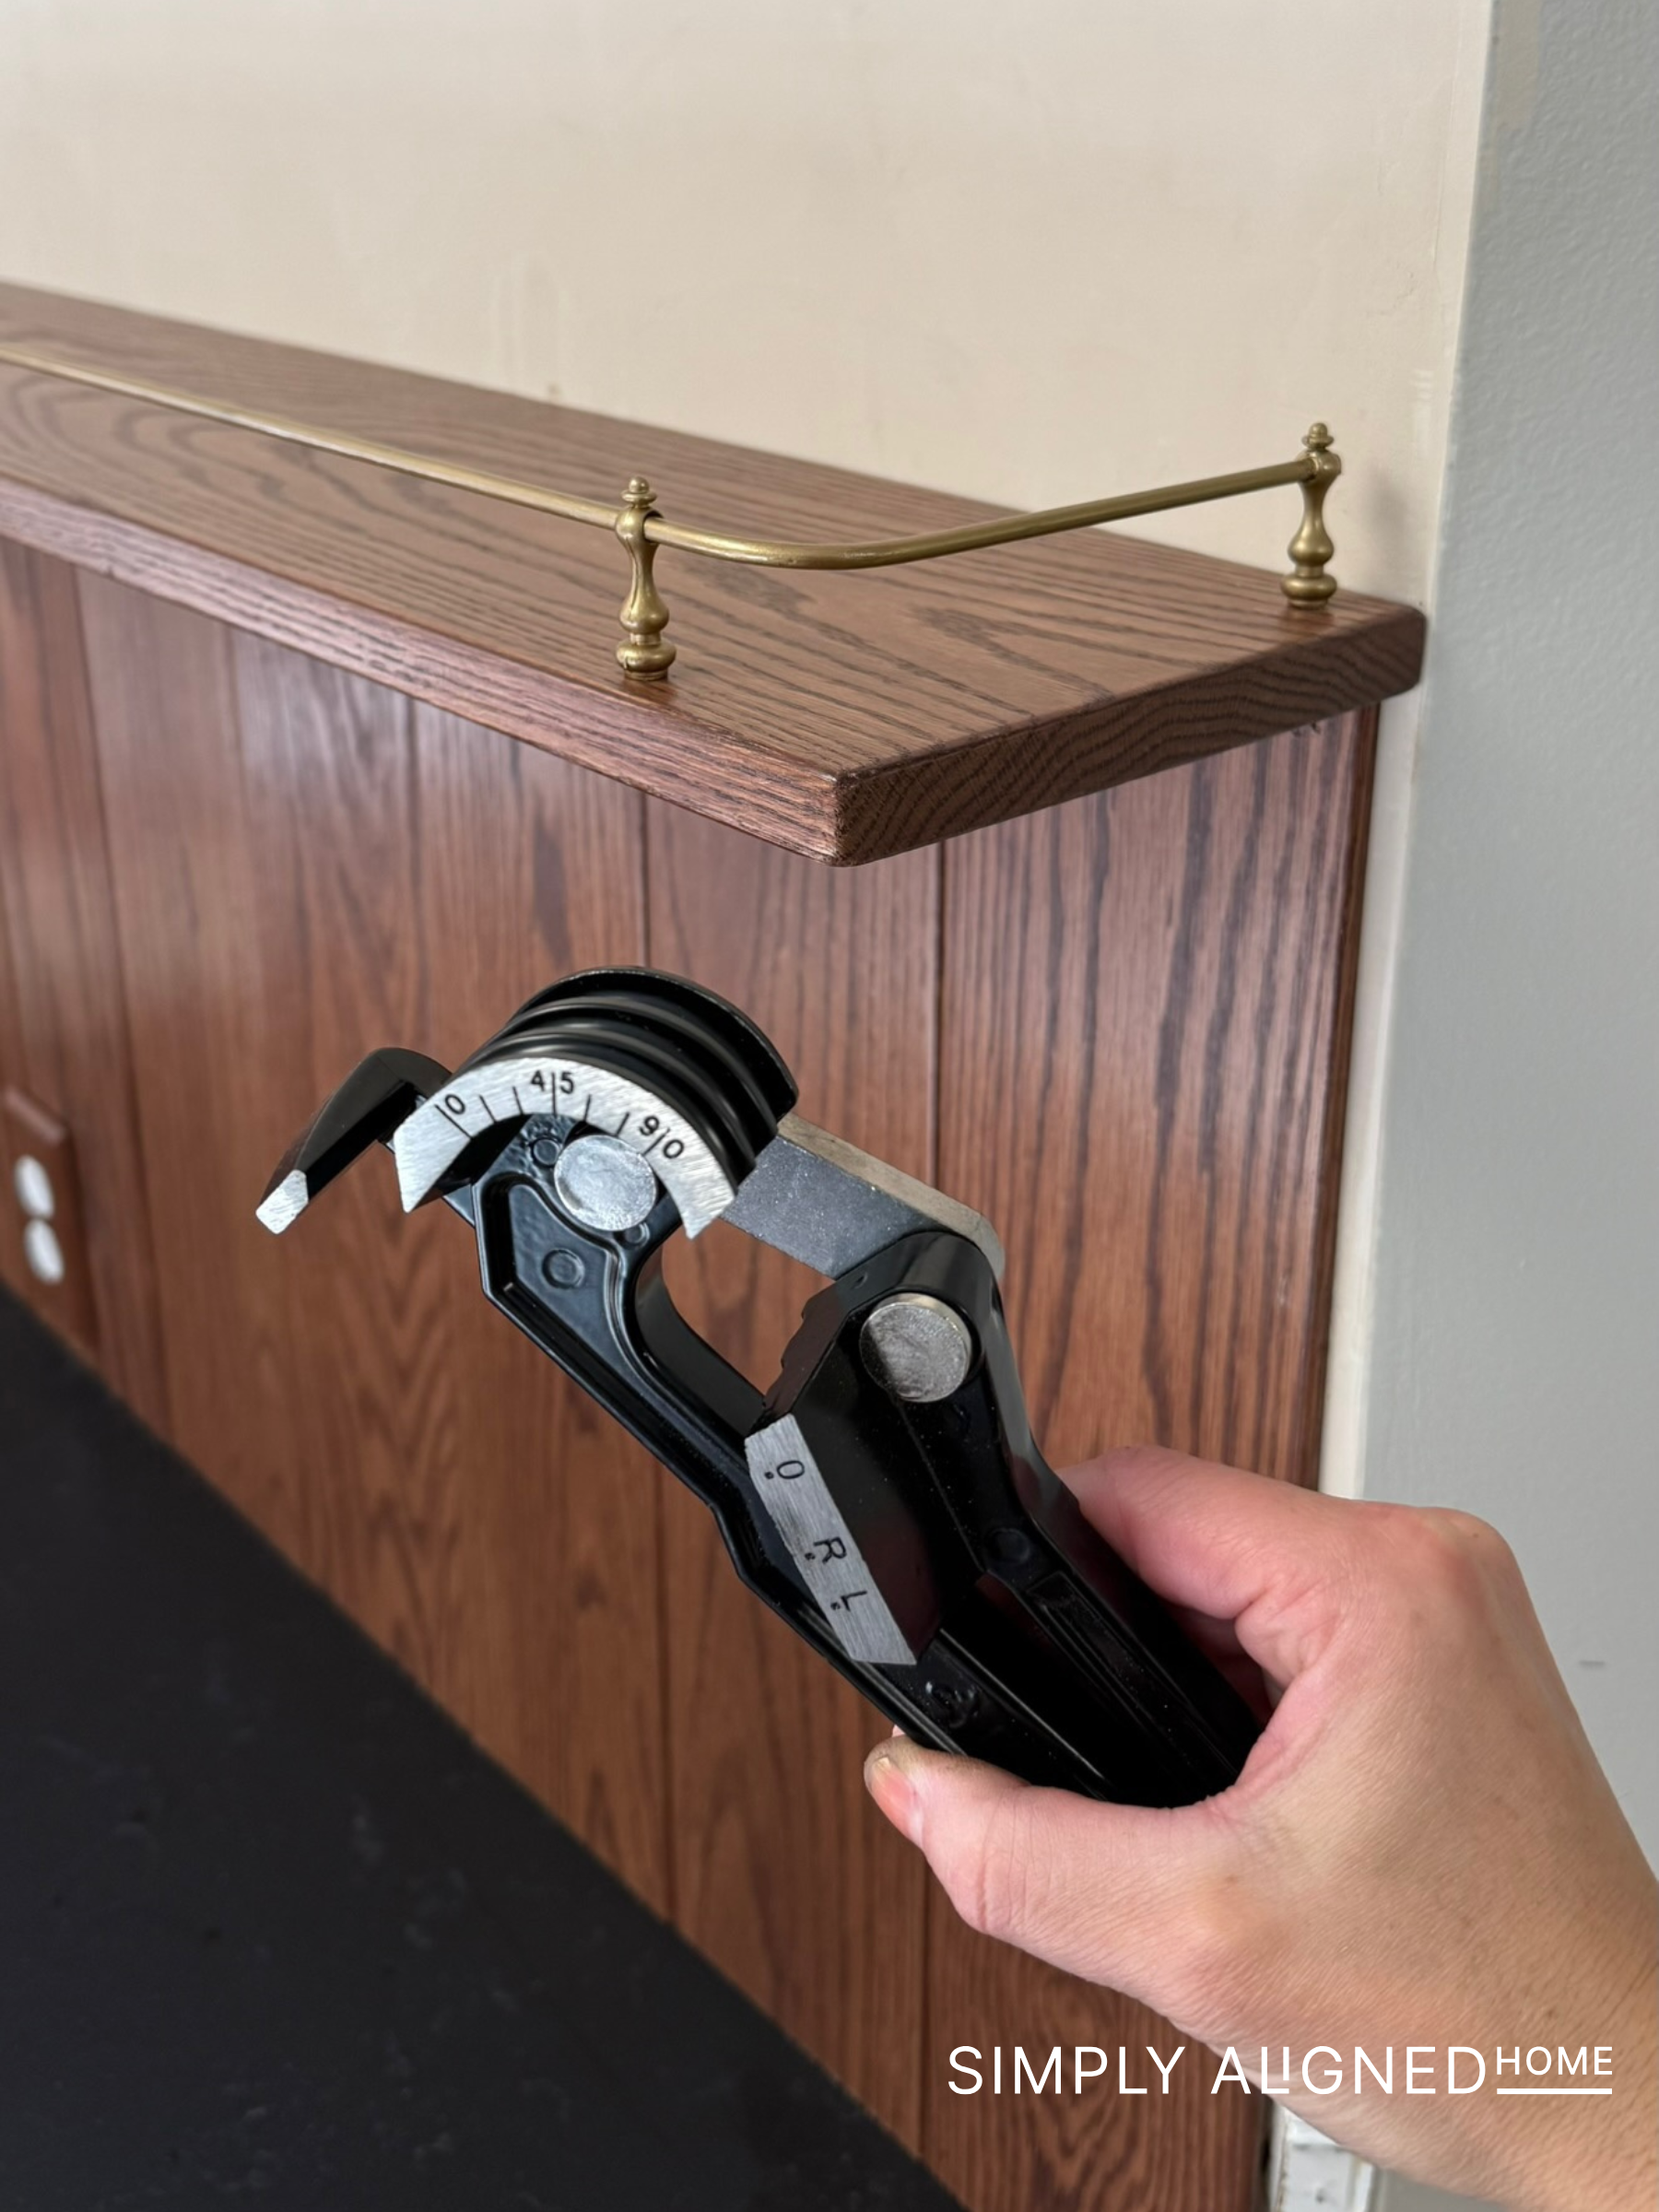
To finish off the floating shelf, I made a simple and affordable shelf rail. This was an easy detail that added a little character and function to the shelf. You can find that tutorial here in this blog post.
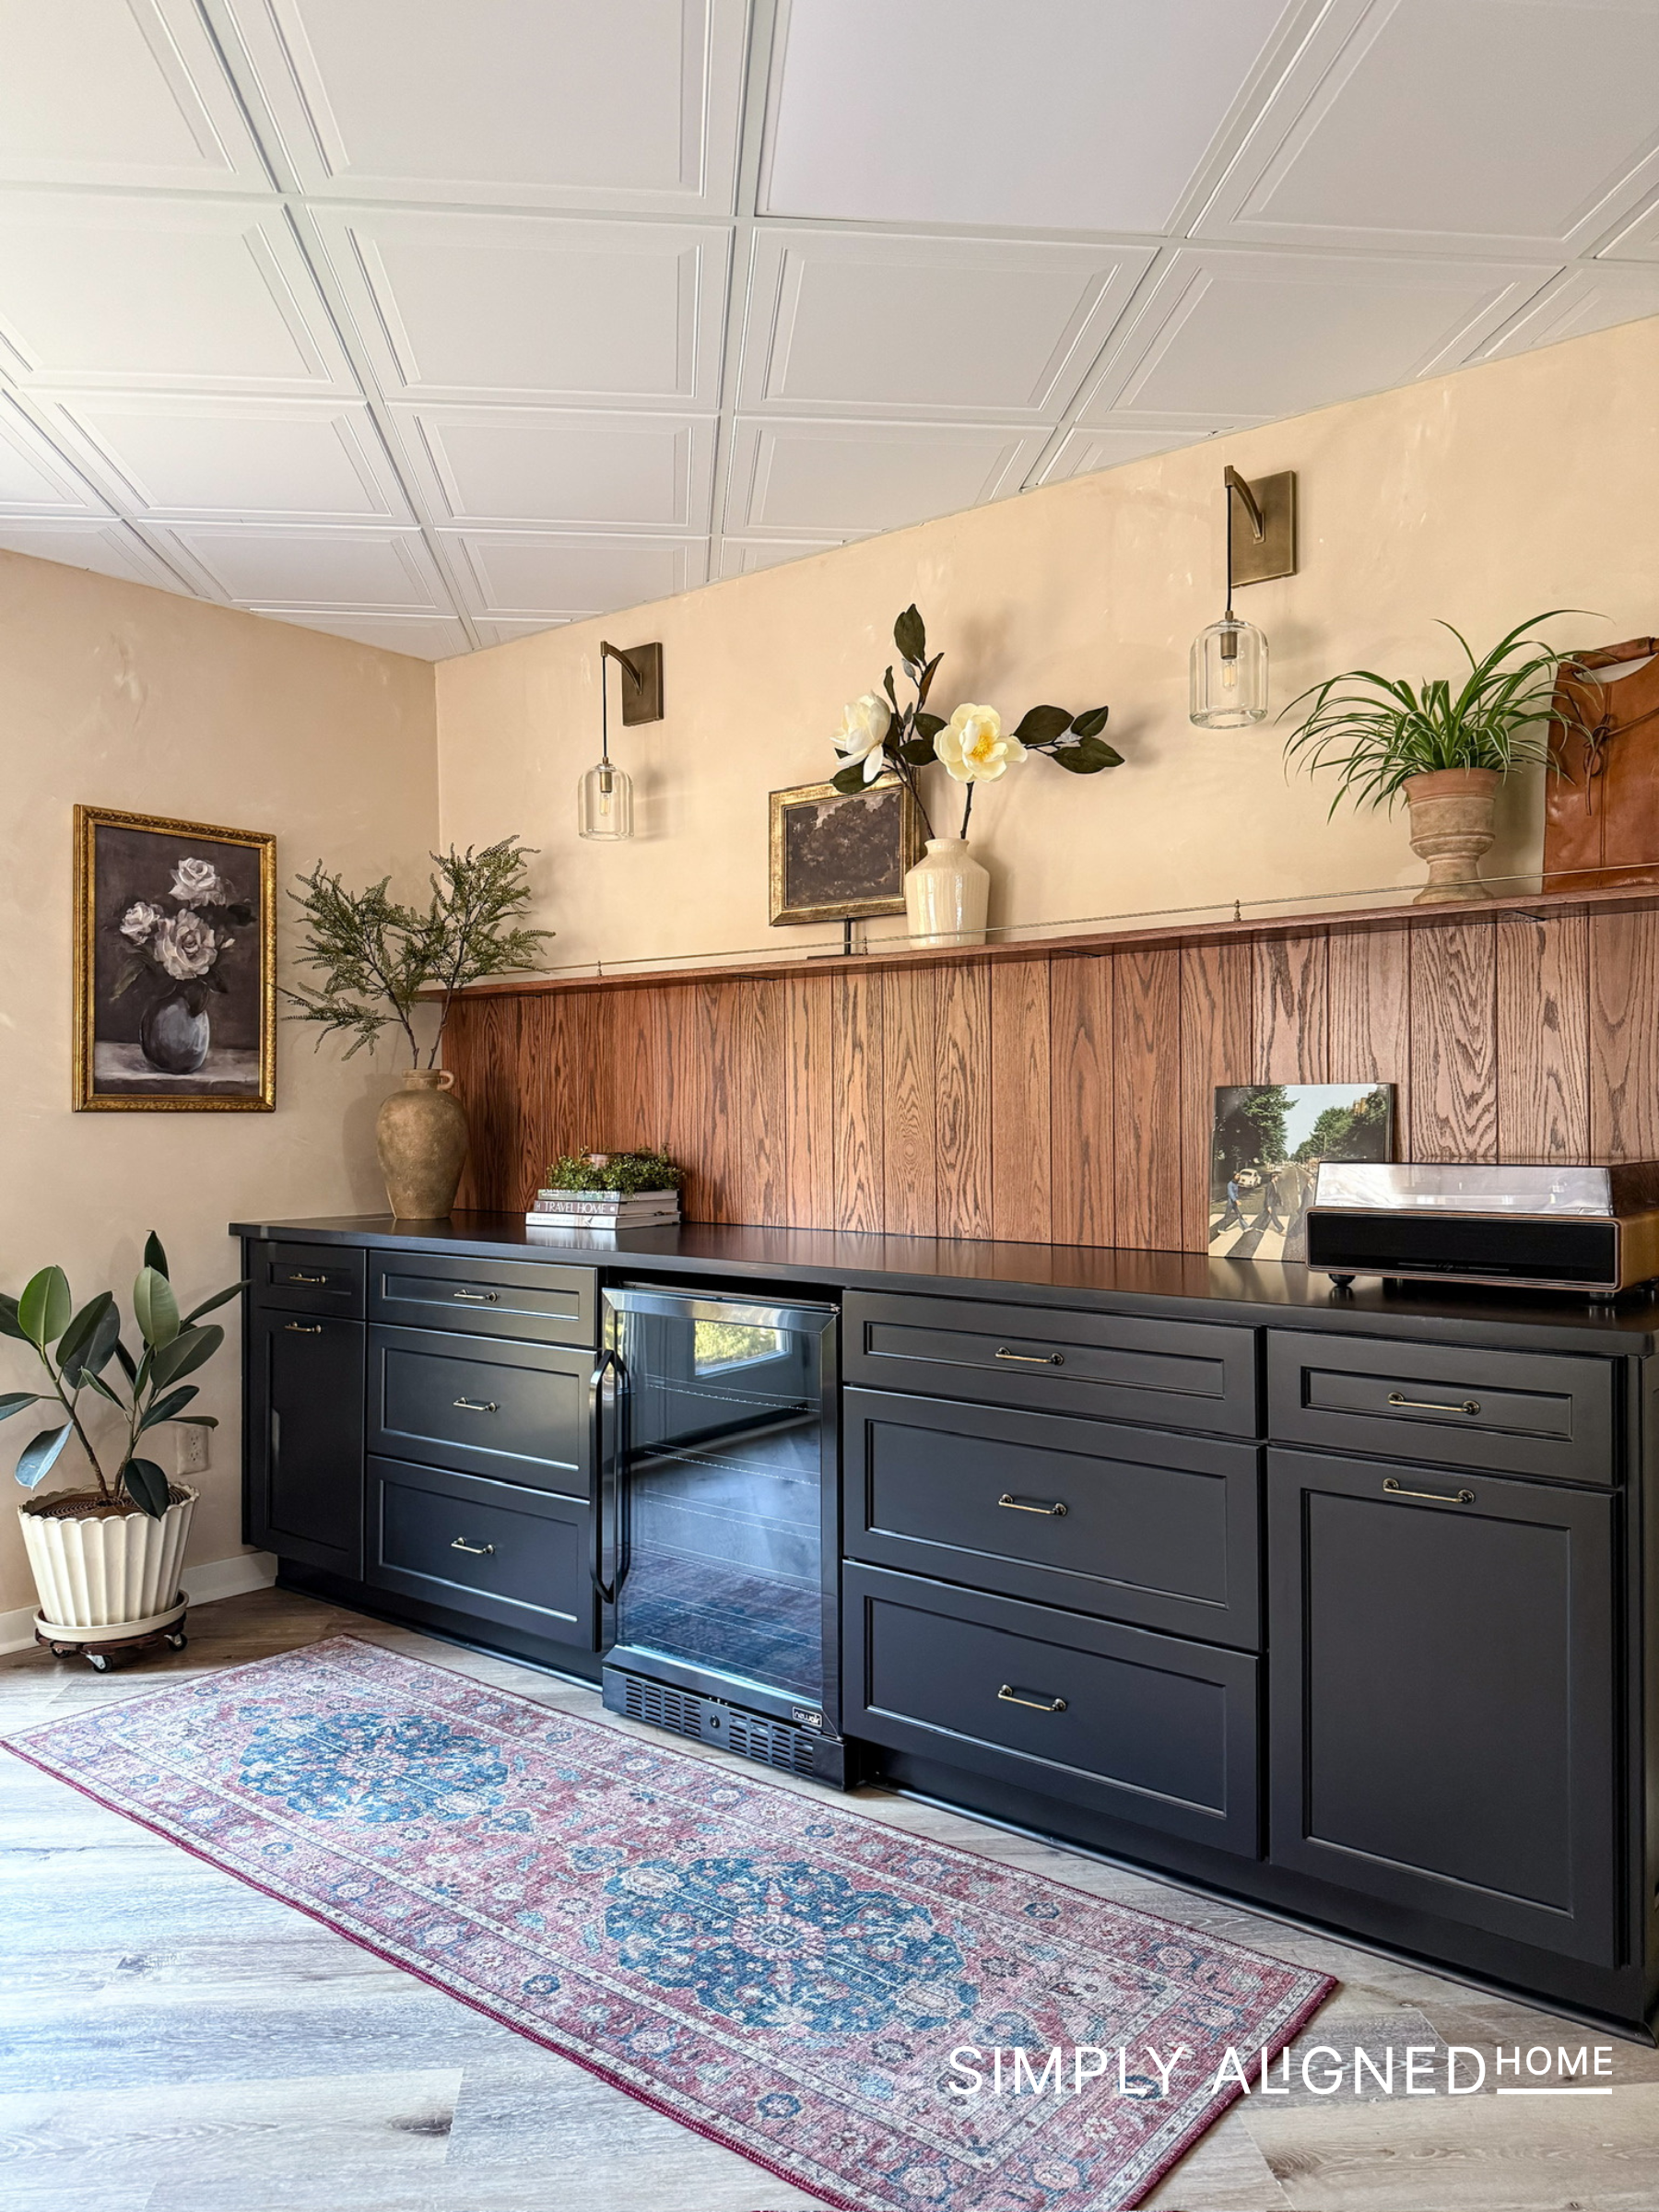
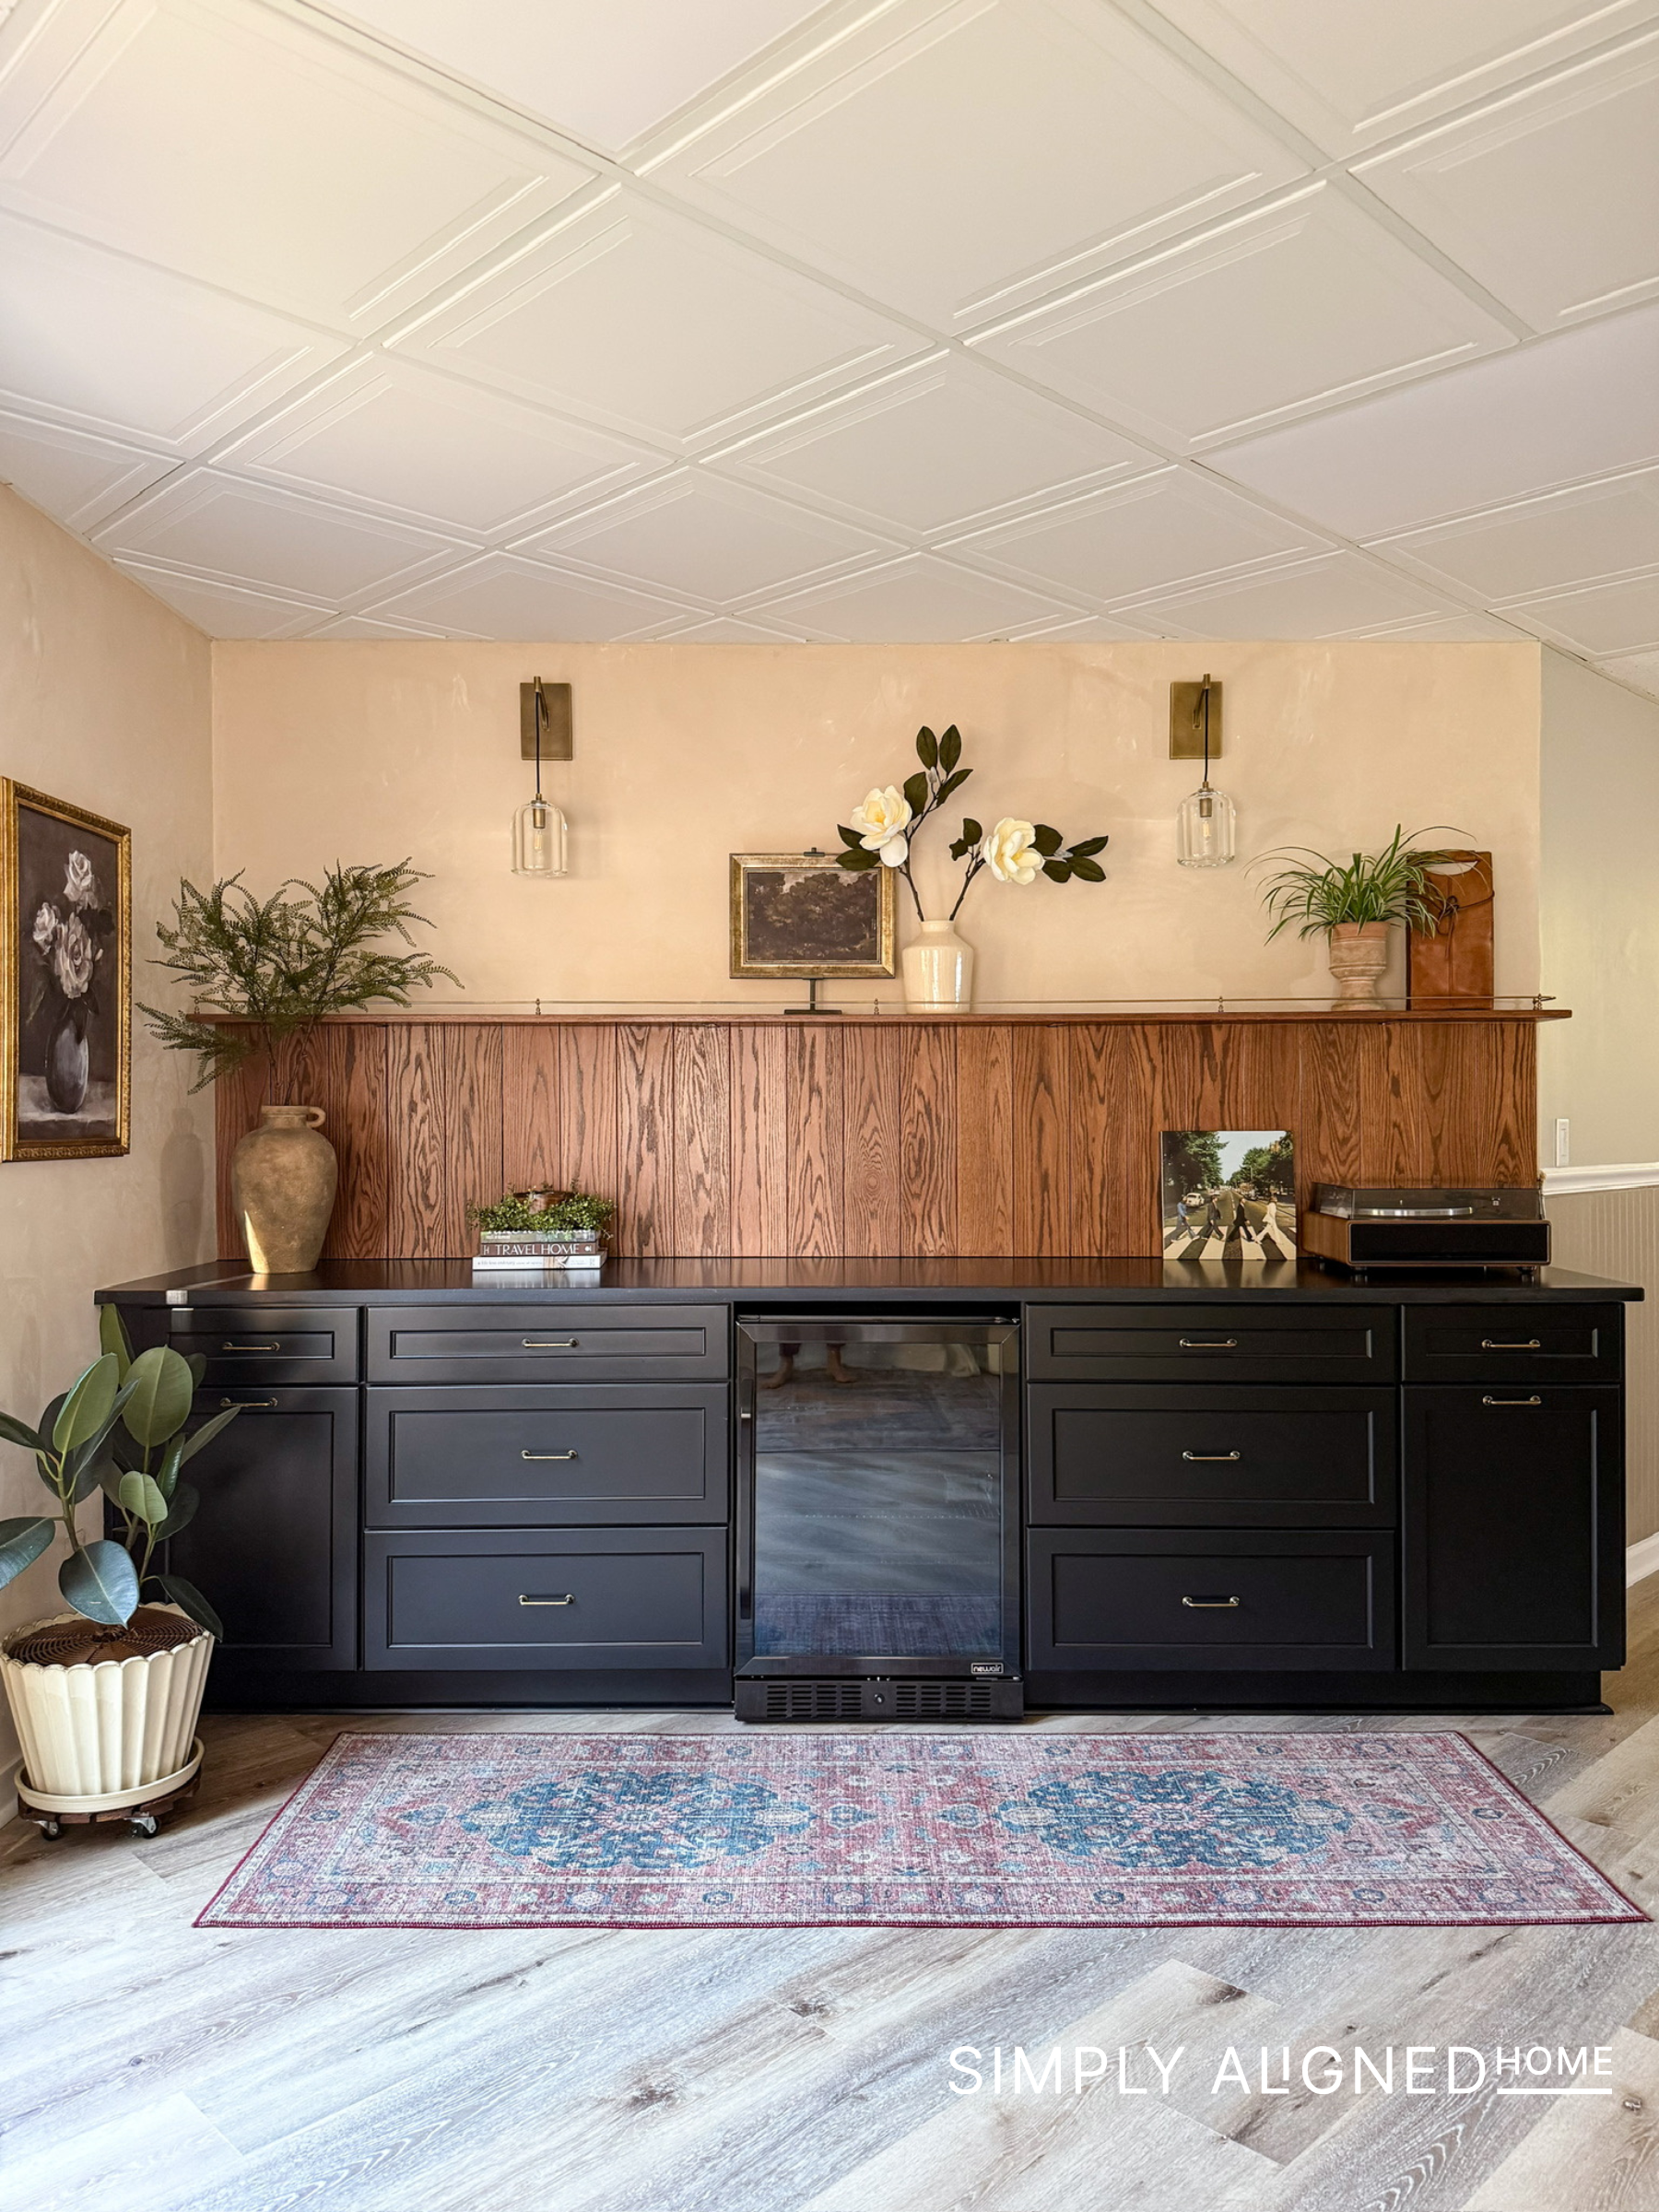
The Finished Product
This basement dry bar completely transformed an awkward, unused space into something functional and beautiful! I love that we now have a dedicated spot for drinks and extra storage. It makes the basement feel like a space that we actually want to hang out in now!
This project is also very customizable. You could use custom cabinets like I did, or you could make it more budget-friendly with stock cabinets. You could add a tile backsplash, wood backsplash, floating shelves, or keep it really simple.
If you have an awkward corner, basement wall, or unused nook in your home, a small dry bar is such a great way to make the space feel intentional.

It does not have to be a huge renovation to make a big difference!

**Note: I am not a professional and do not claim to be an expert. Please be sure to always read instructions for all tools and products. Safety is very important and should be your top priority. Wear necessary protection when using tools (eye wear, hearing protection, gloves, etc.) and dust masks when sanding or cutting. Simply Aligned Home is not responsible for any injury or damage. All of my designs are not professionally designed and are for private use only.**
Tools & Materials Used