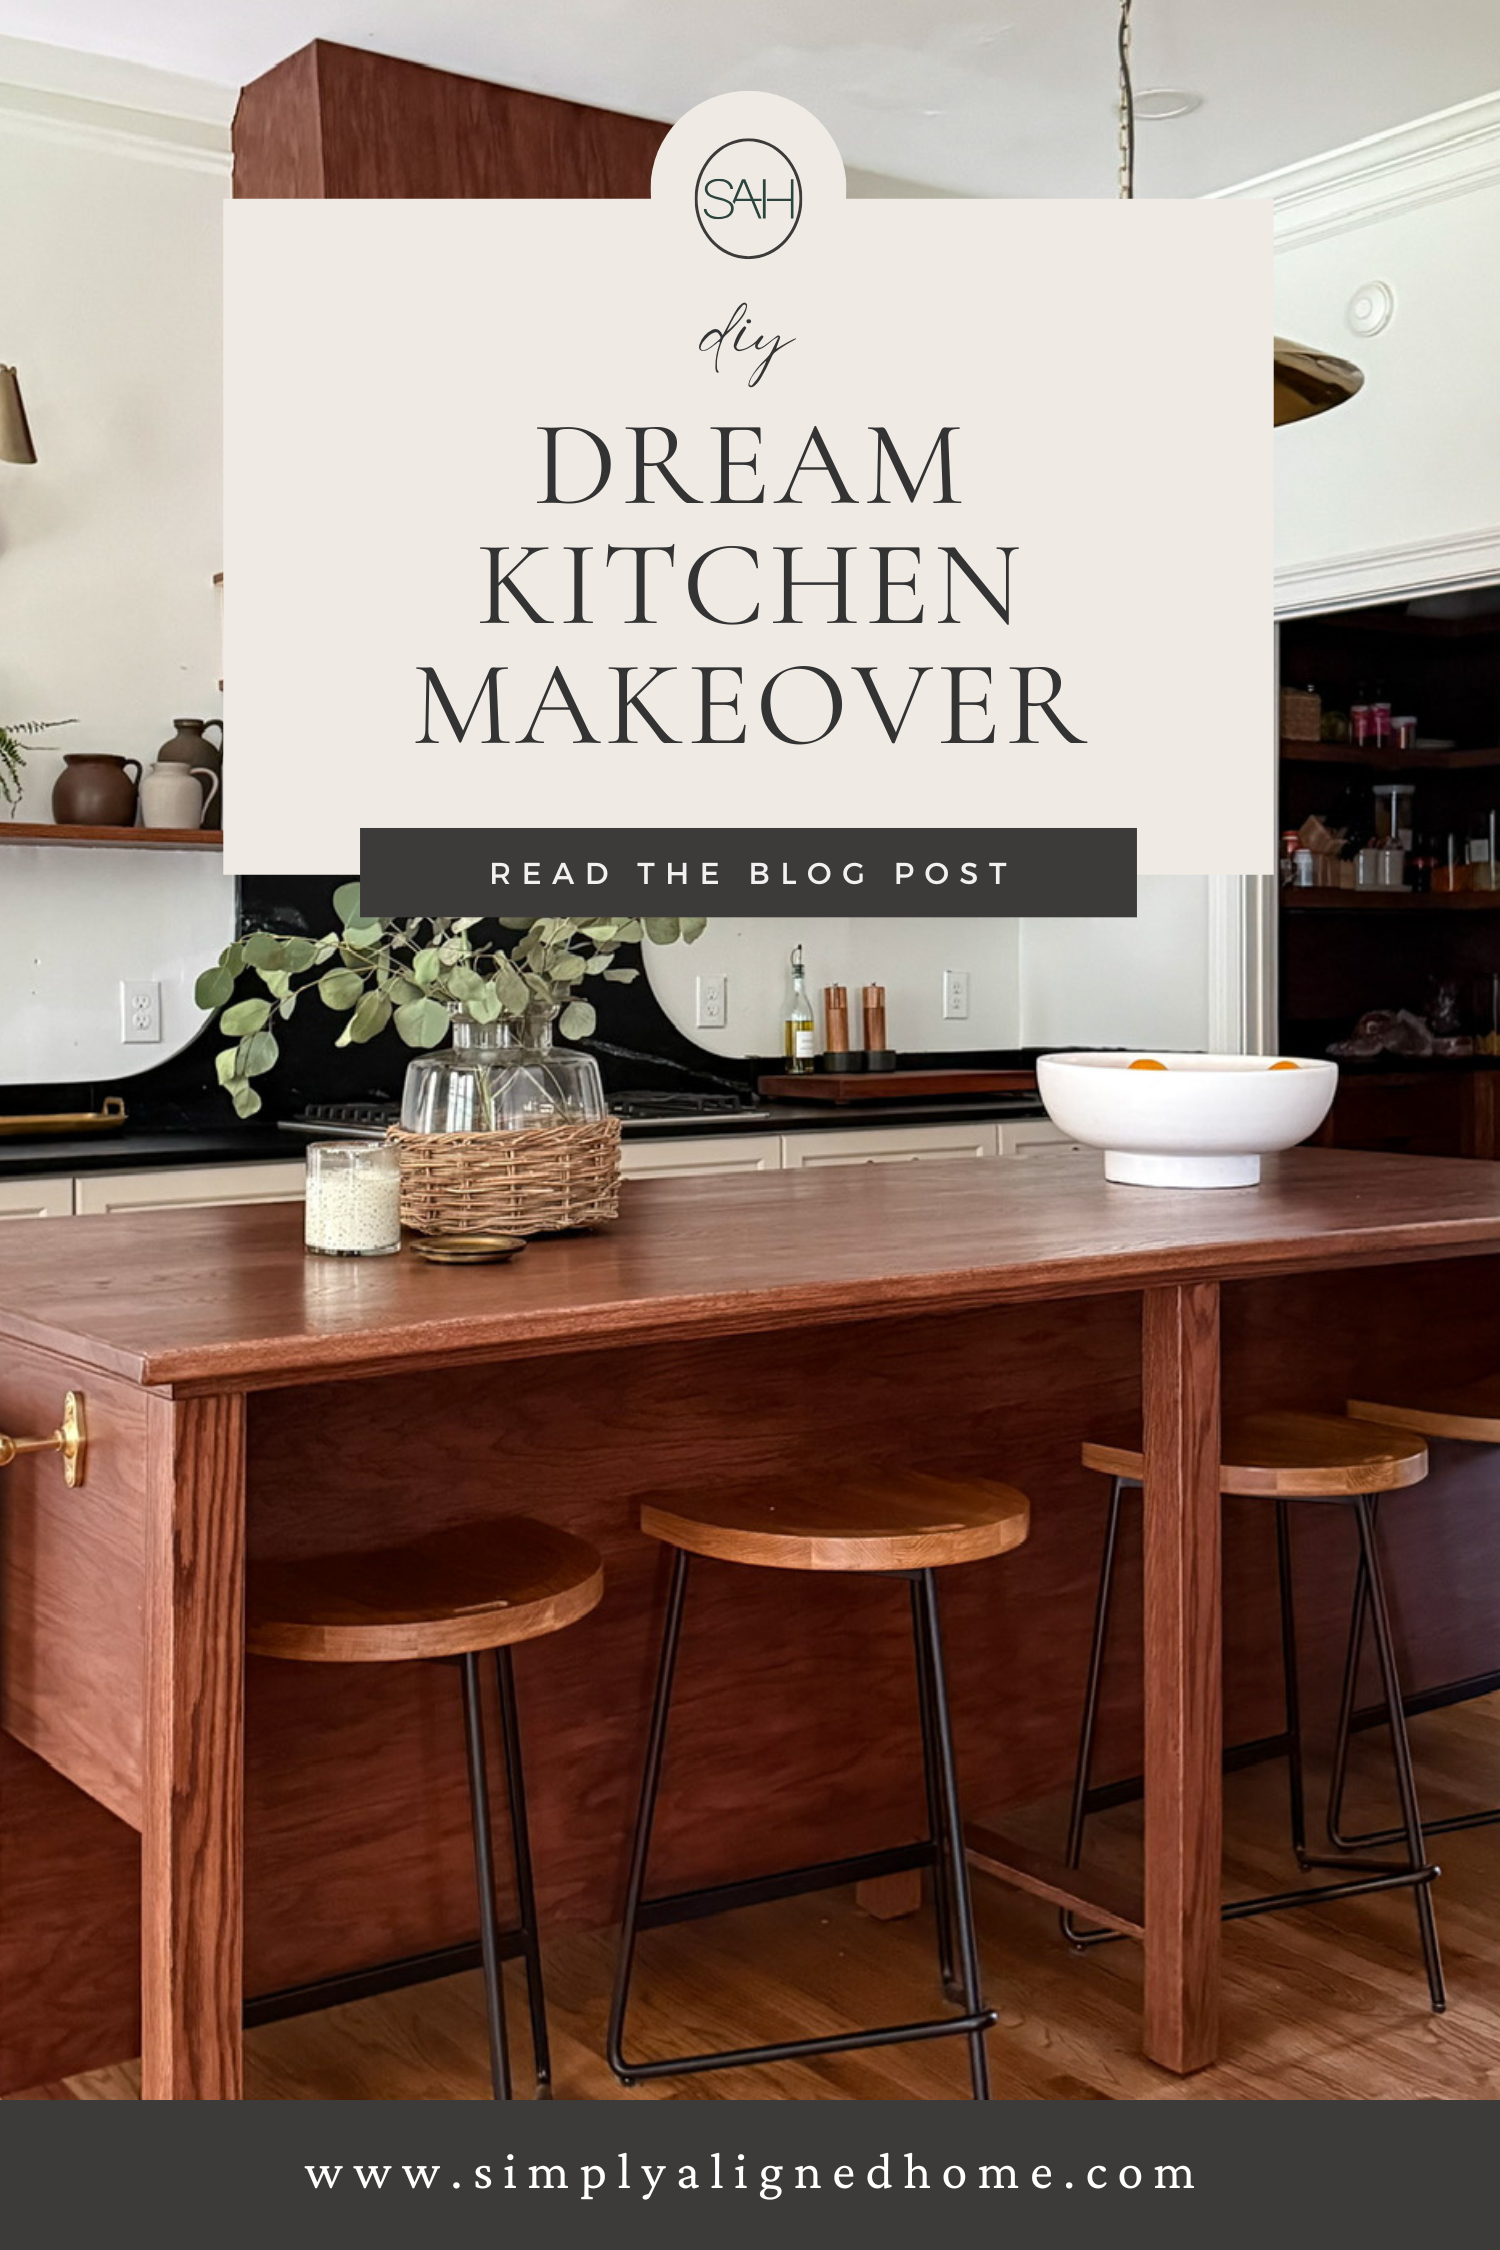
When we first saw this house, I knew the kitchen had potential. It needed more than a quick cosmetic makeover. Time for a full on kitchen renovation!
It had good bones, plenty of natural light, and a layout that I could immediately picture transforming. But after actually living here for a while, it became clear that the kitchen just was not working for our family. It felt cramped, the storage was not functional for the way we live, and it never really felt like us.
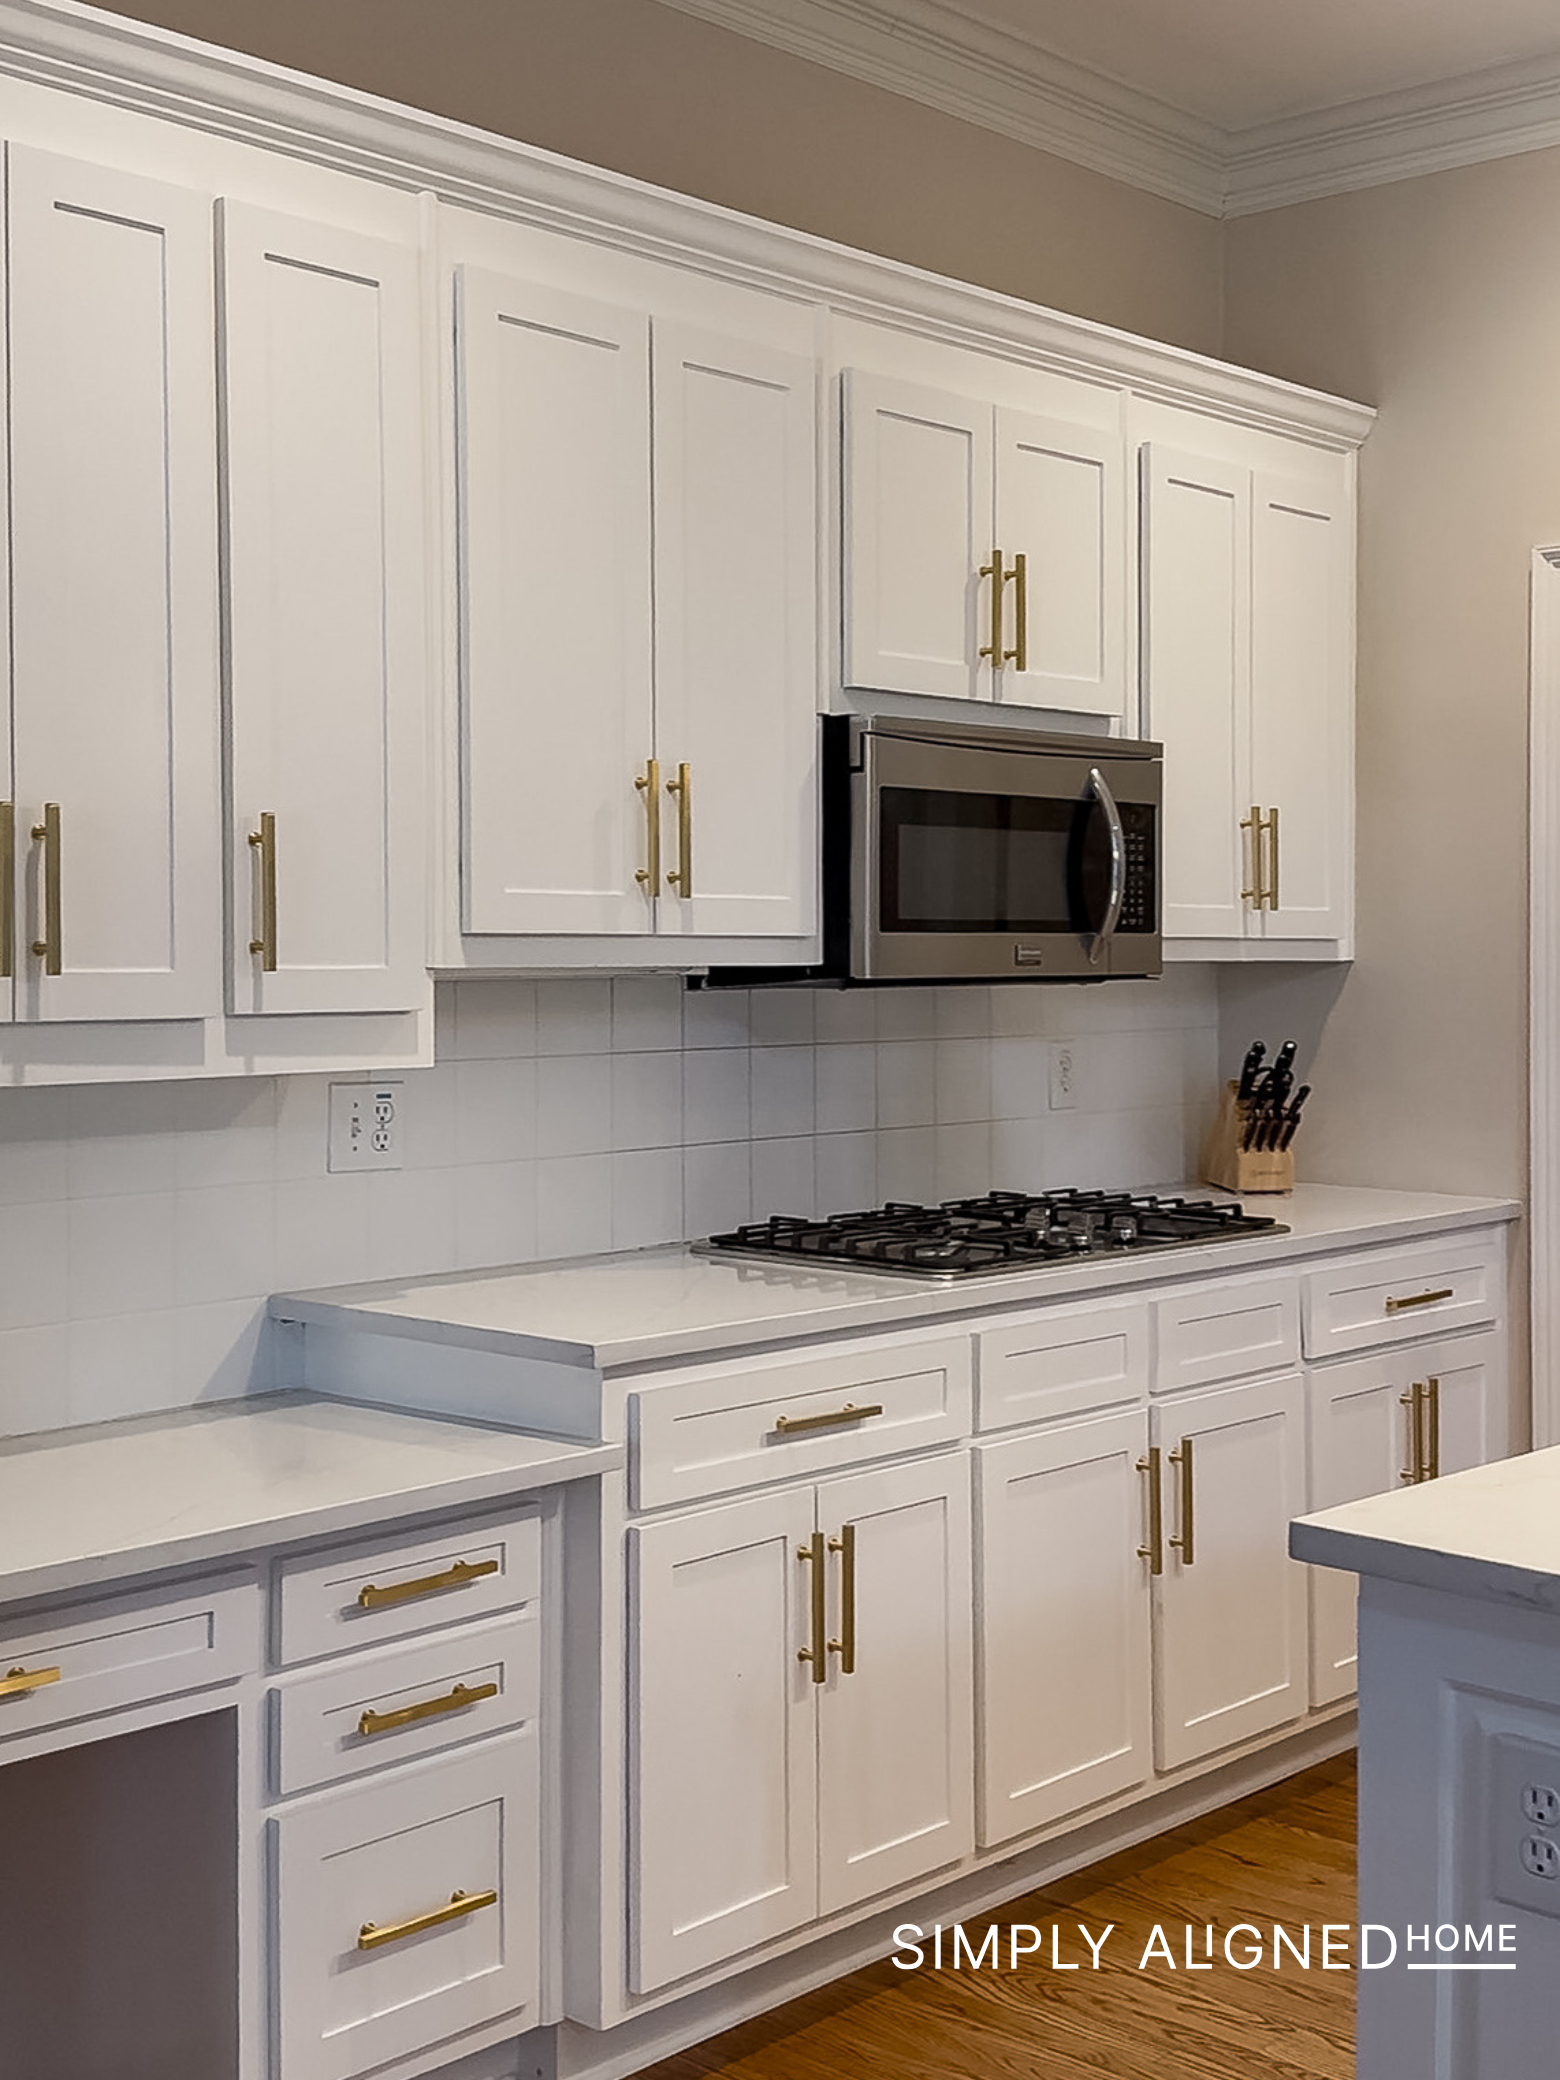
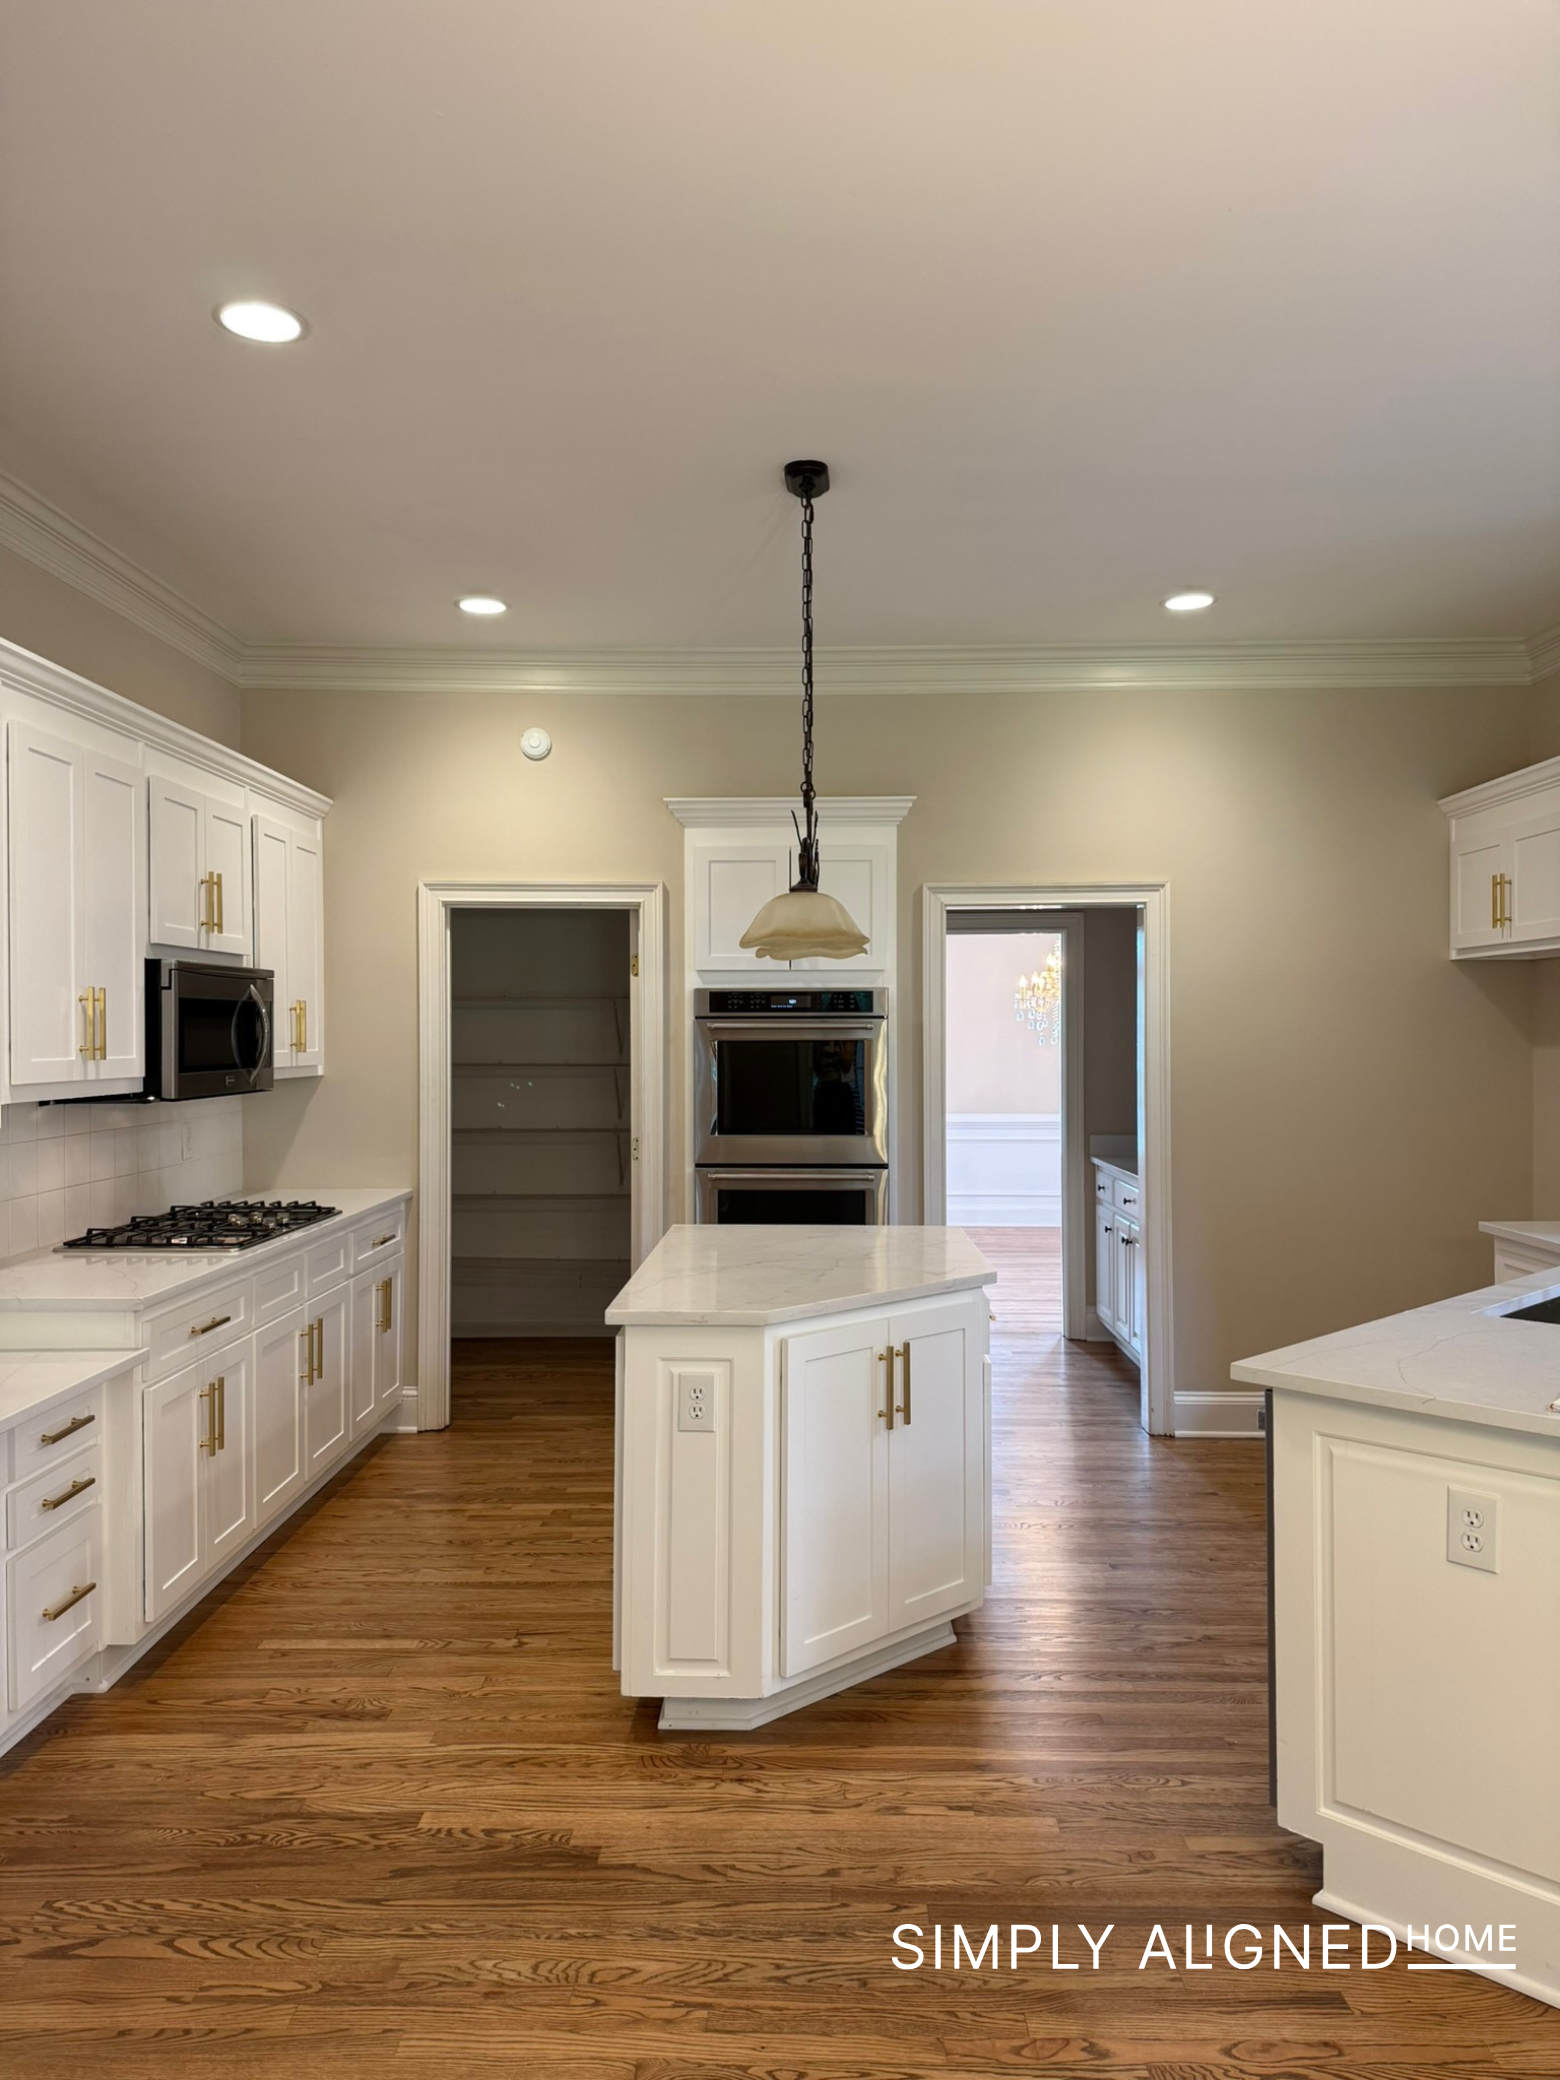
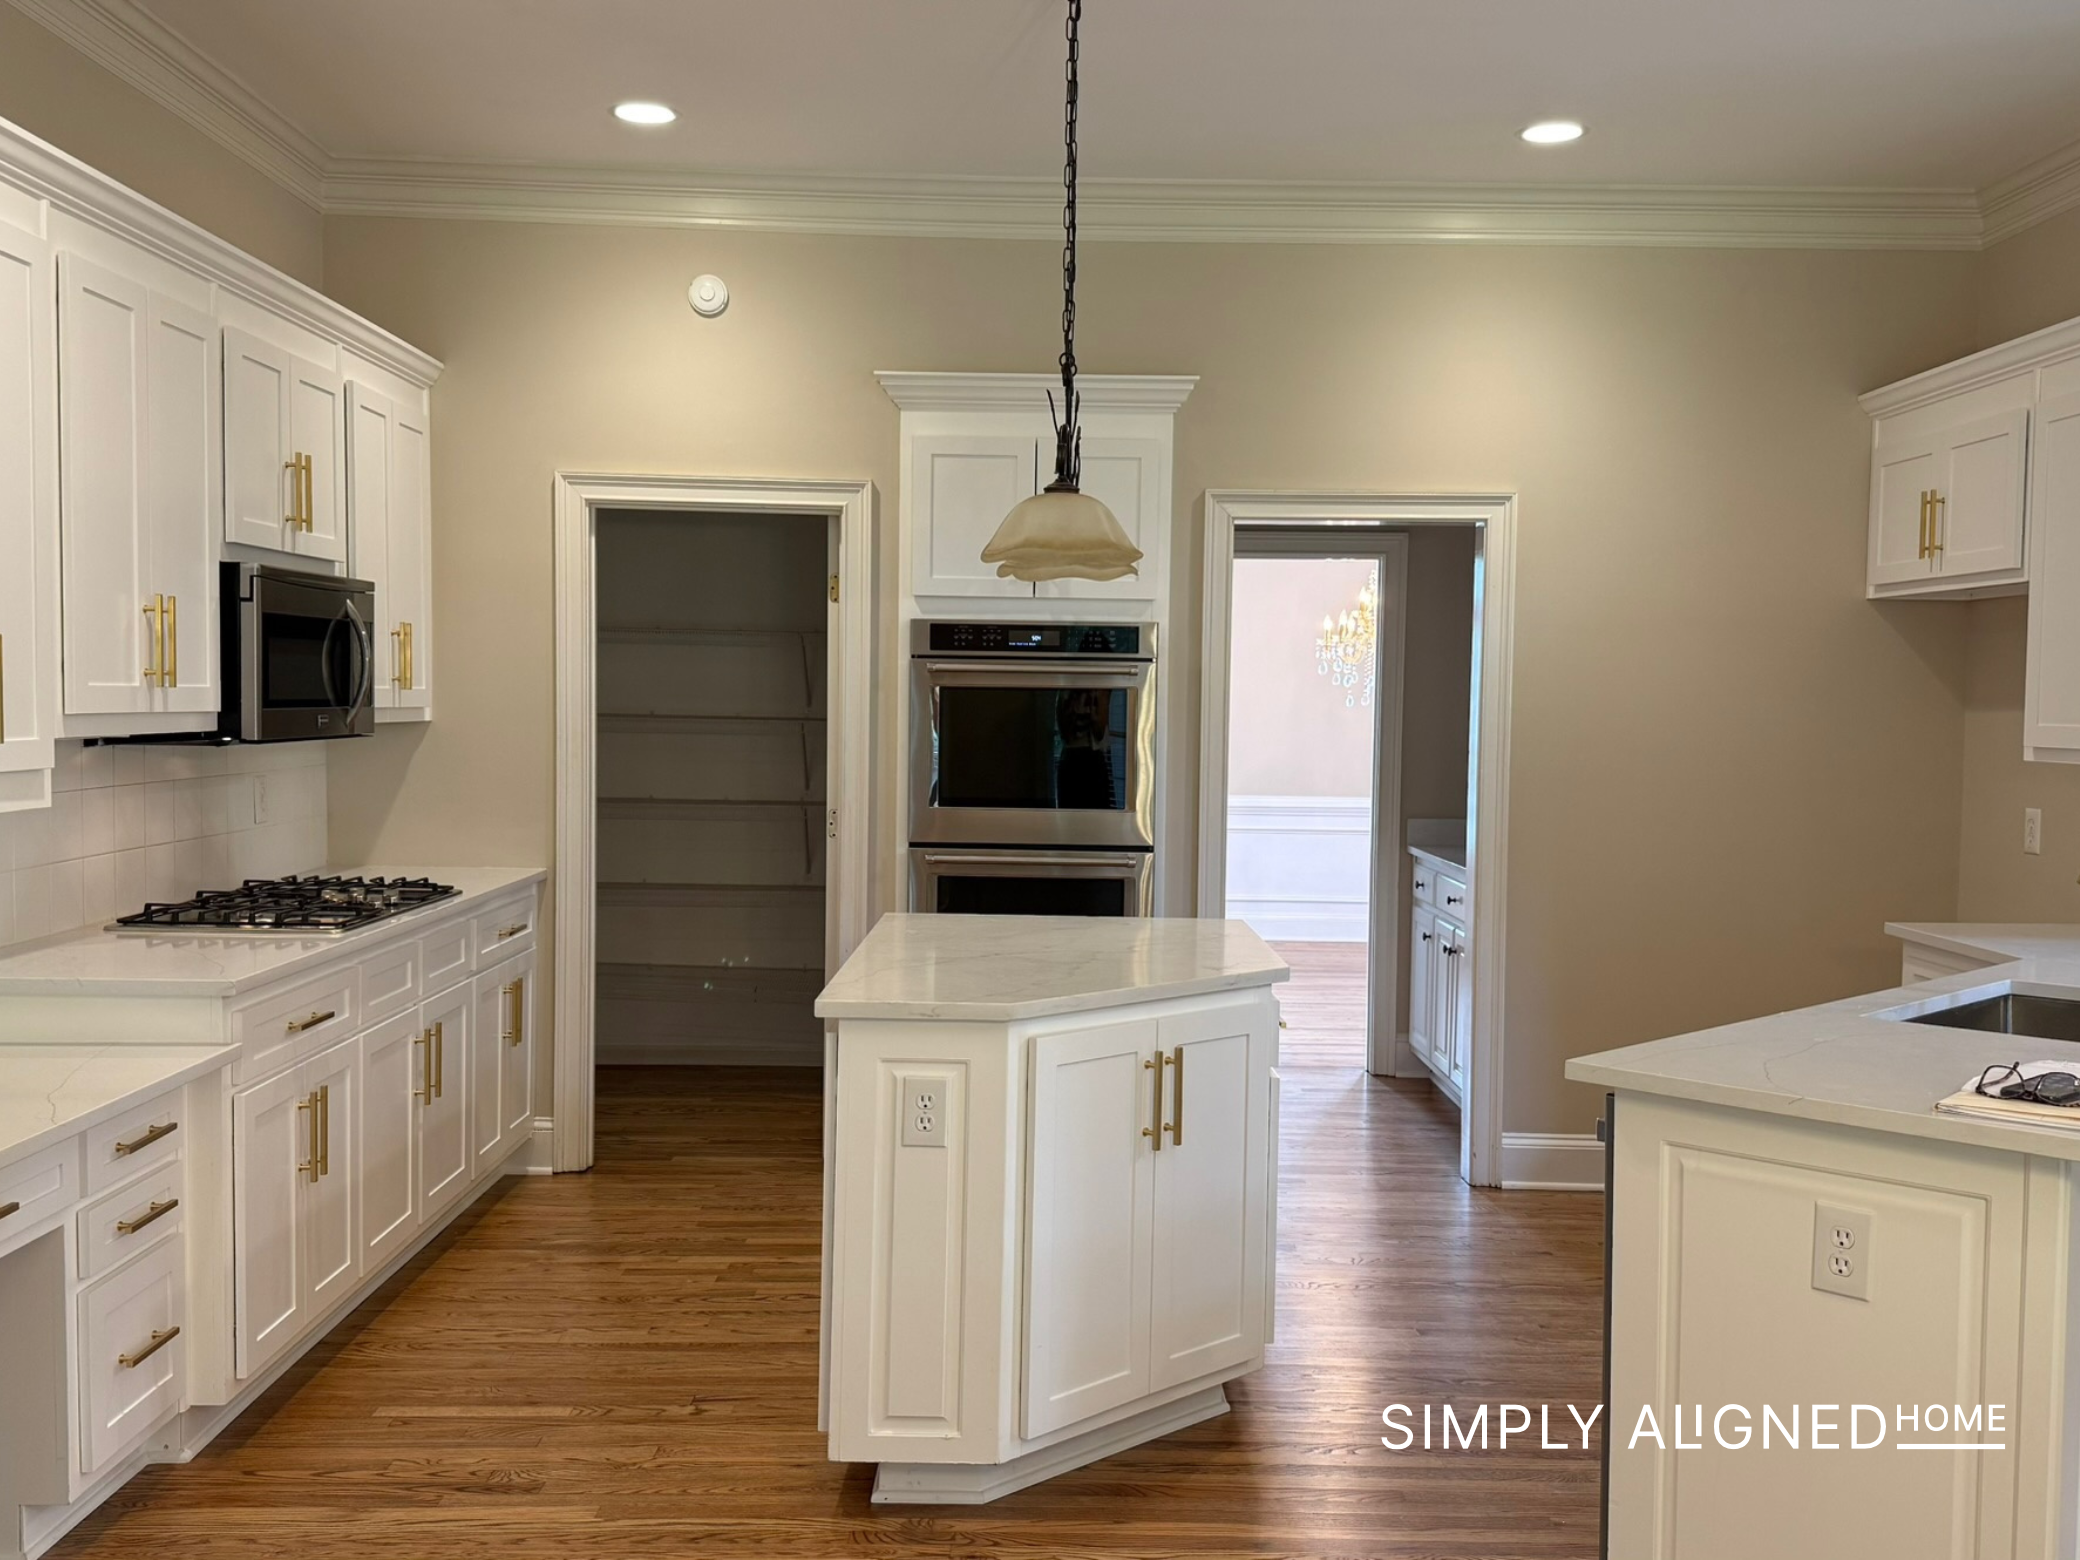
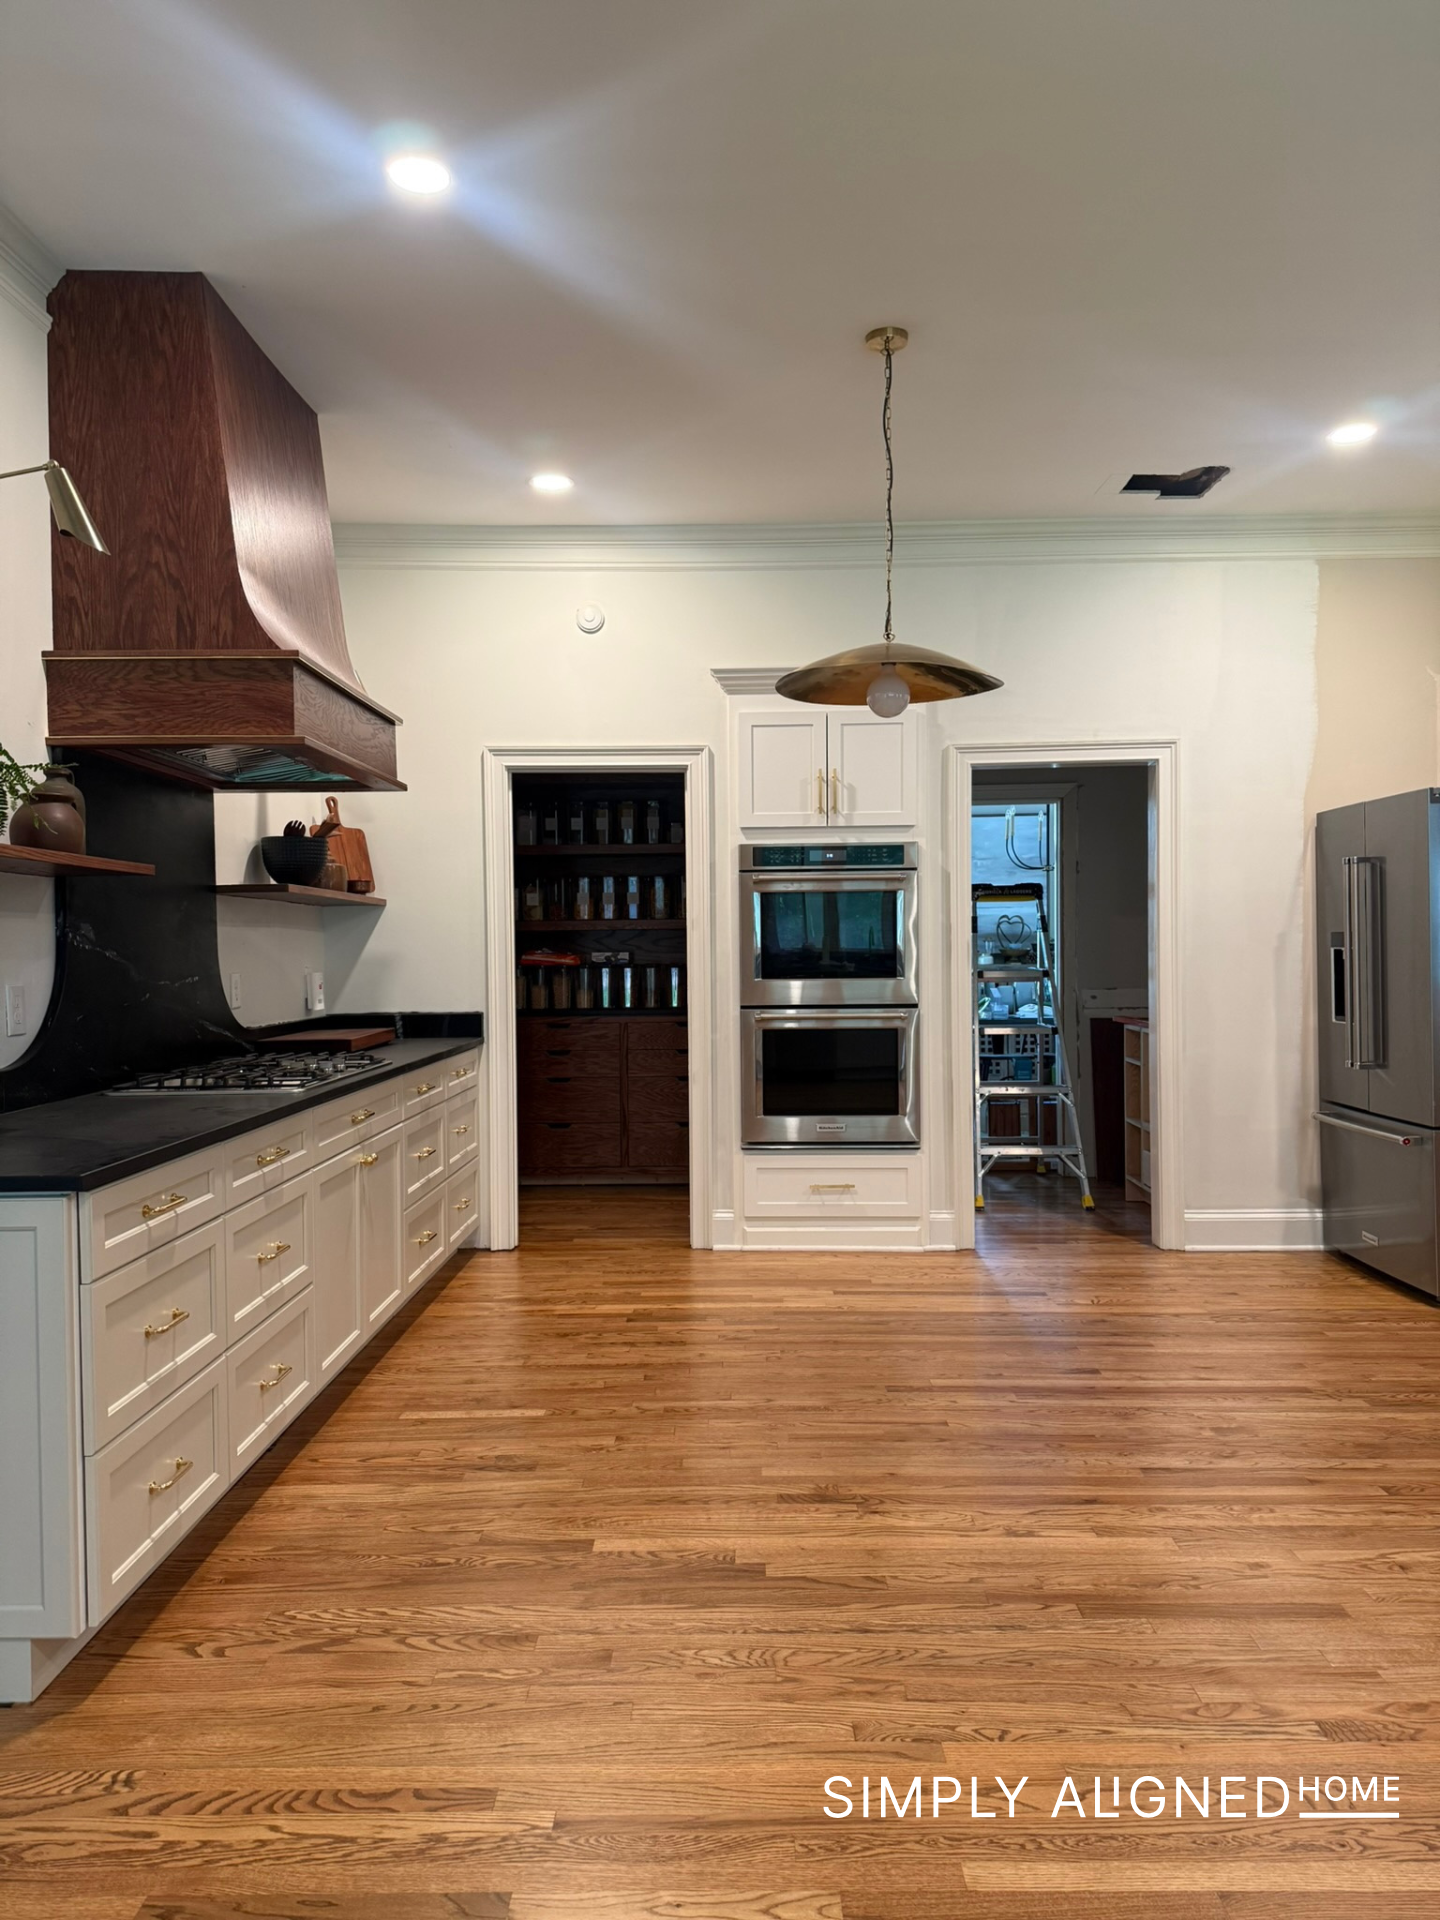
Instead of simply painting cabinets or swapping out a few finishes, I decided to completely rethink the kitchen layout and build a space that felt warmer, more functional, and more intentional from the ground up. This has been the biggest renovation project I have taken on in this house so far, and it has definitely come with its fair share of surprises along the way. Here’s what our kitchen looked like before I got my hands on it!
**This post contains affiliate links to products that I used or recommend. If you purchase something through an affiliate link, I may receive a small percentage of the sale at no extra cost to you. I really appreciate your support!**
Starting With the Pantry
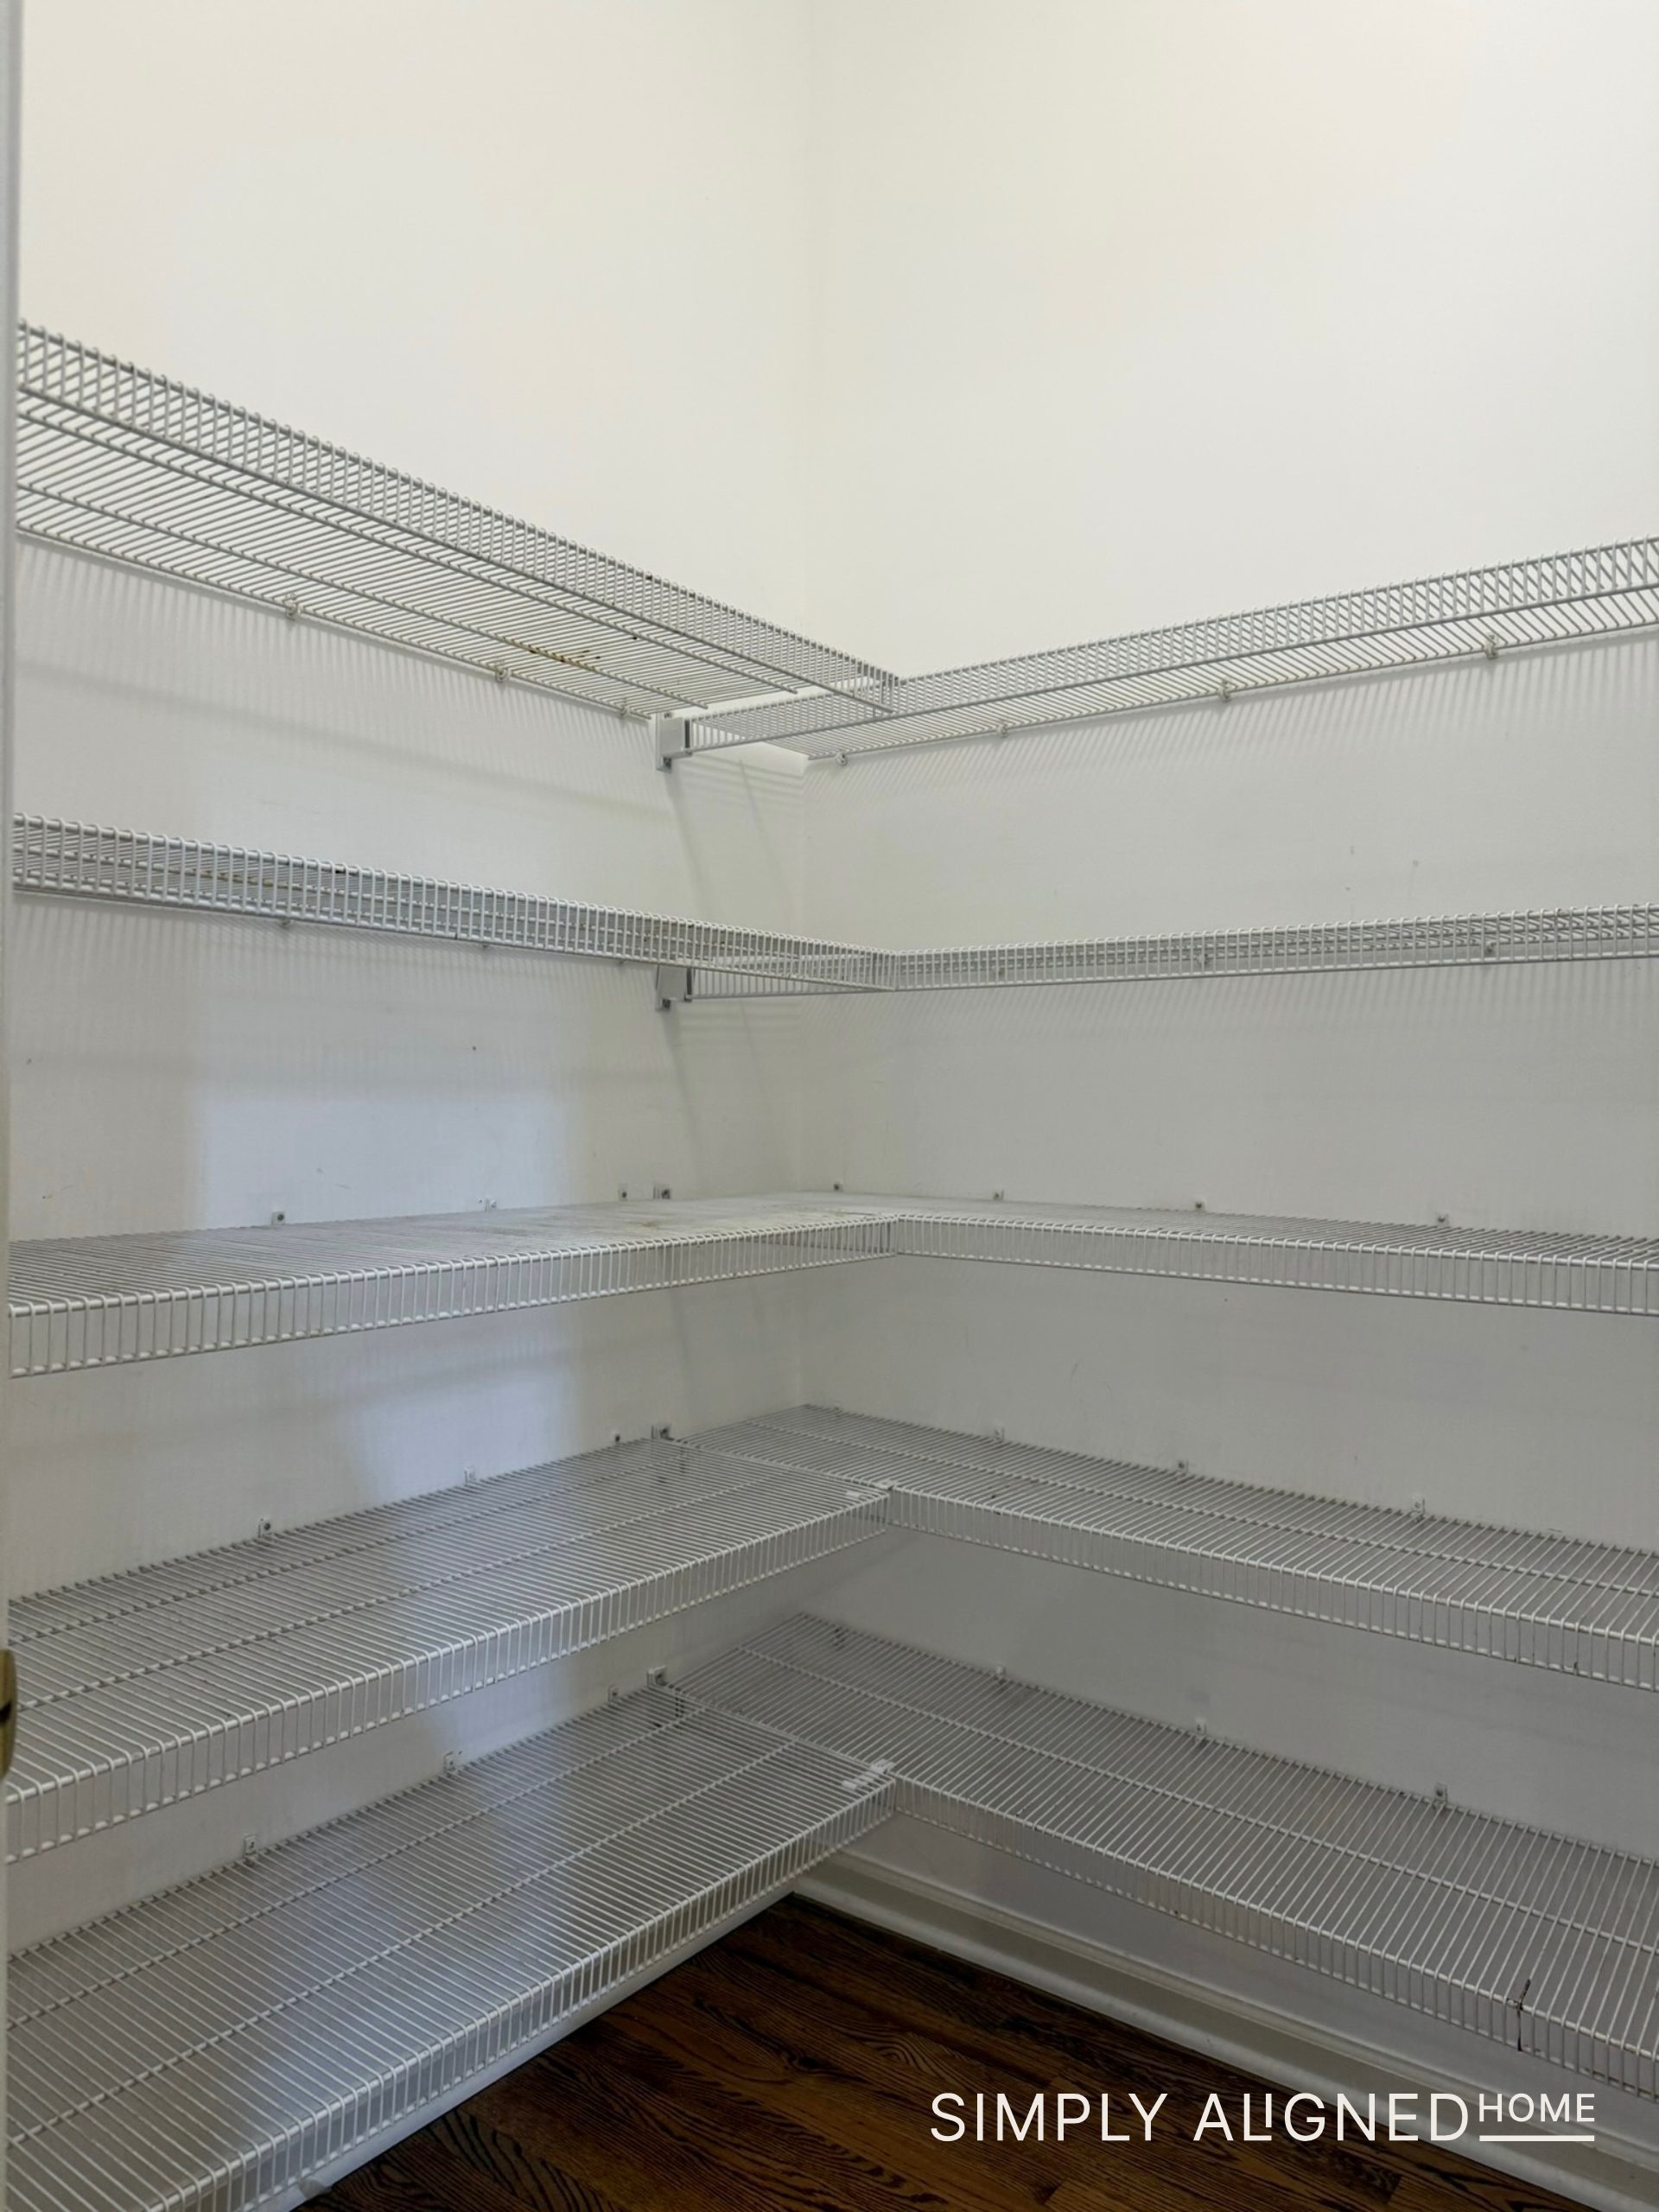
Before I fully demoed the kitchen, I decided to tackle the pantry first! The pantry had standard builder-grade wire shelving, and while it technically provided storage, it was not especially useful. I wanted to create a space that felt like an extension of the kitchen instead of an afterthought.
First, I removed the wire shelving and built new cabinet boxes from scratch to fit the space. I added custom drawers for better organization, built floating shelves for everyday items, and created a more intentional layout that gave us so much more usable storage!
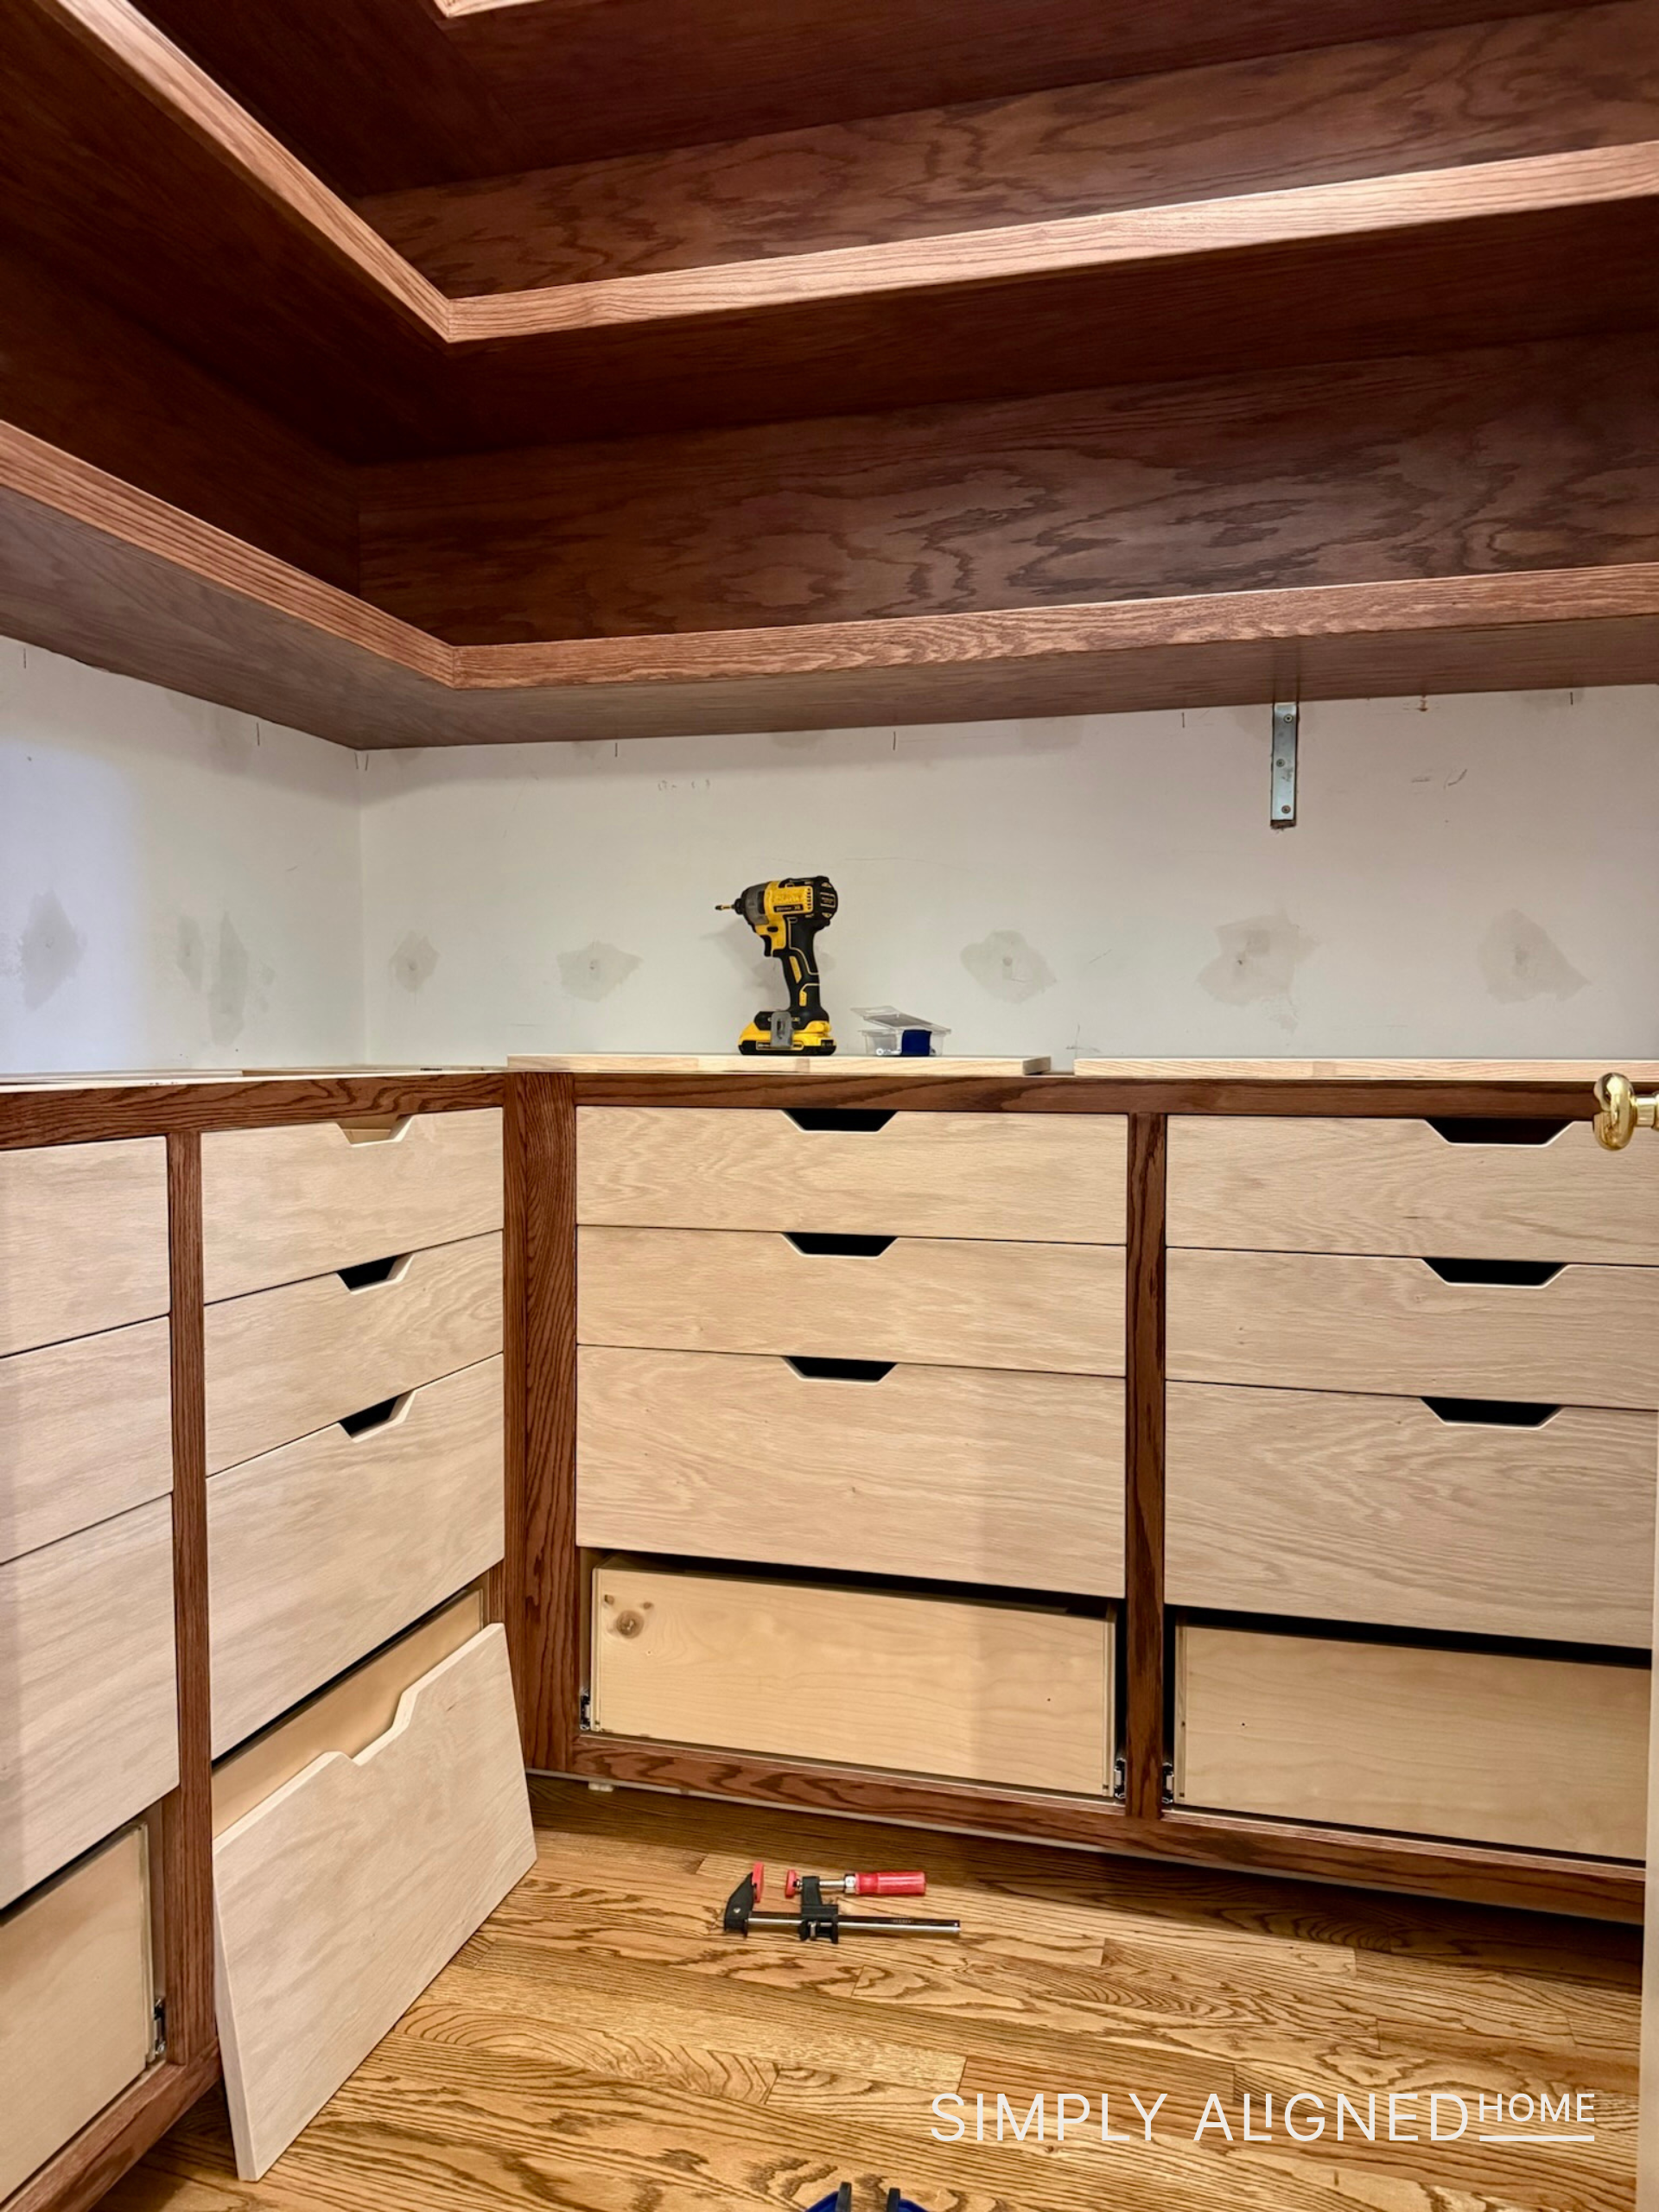
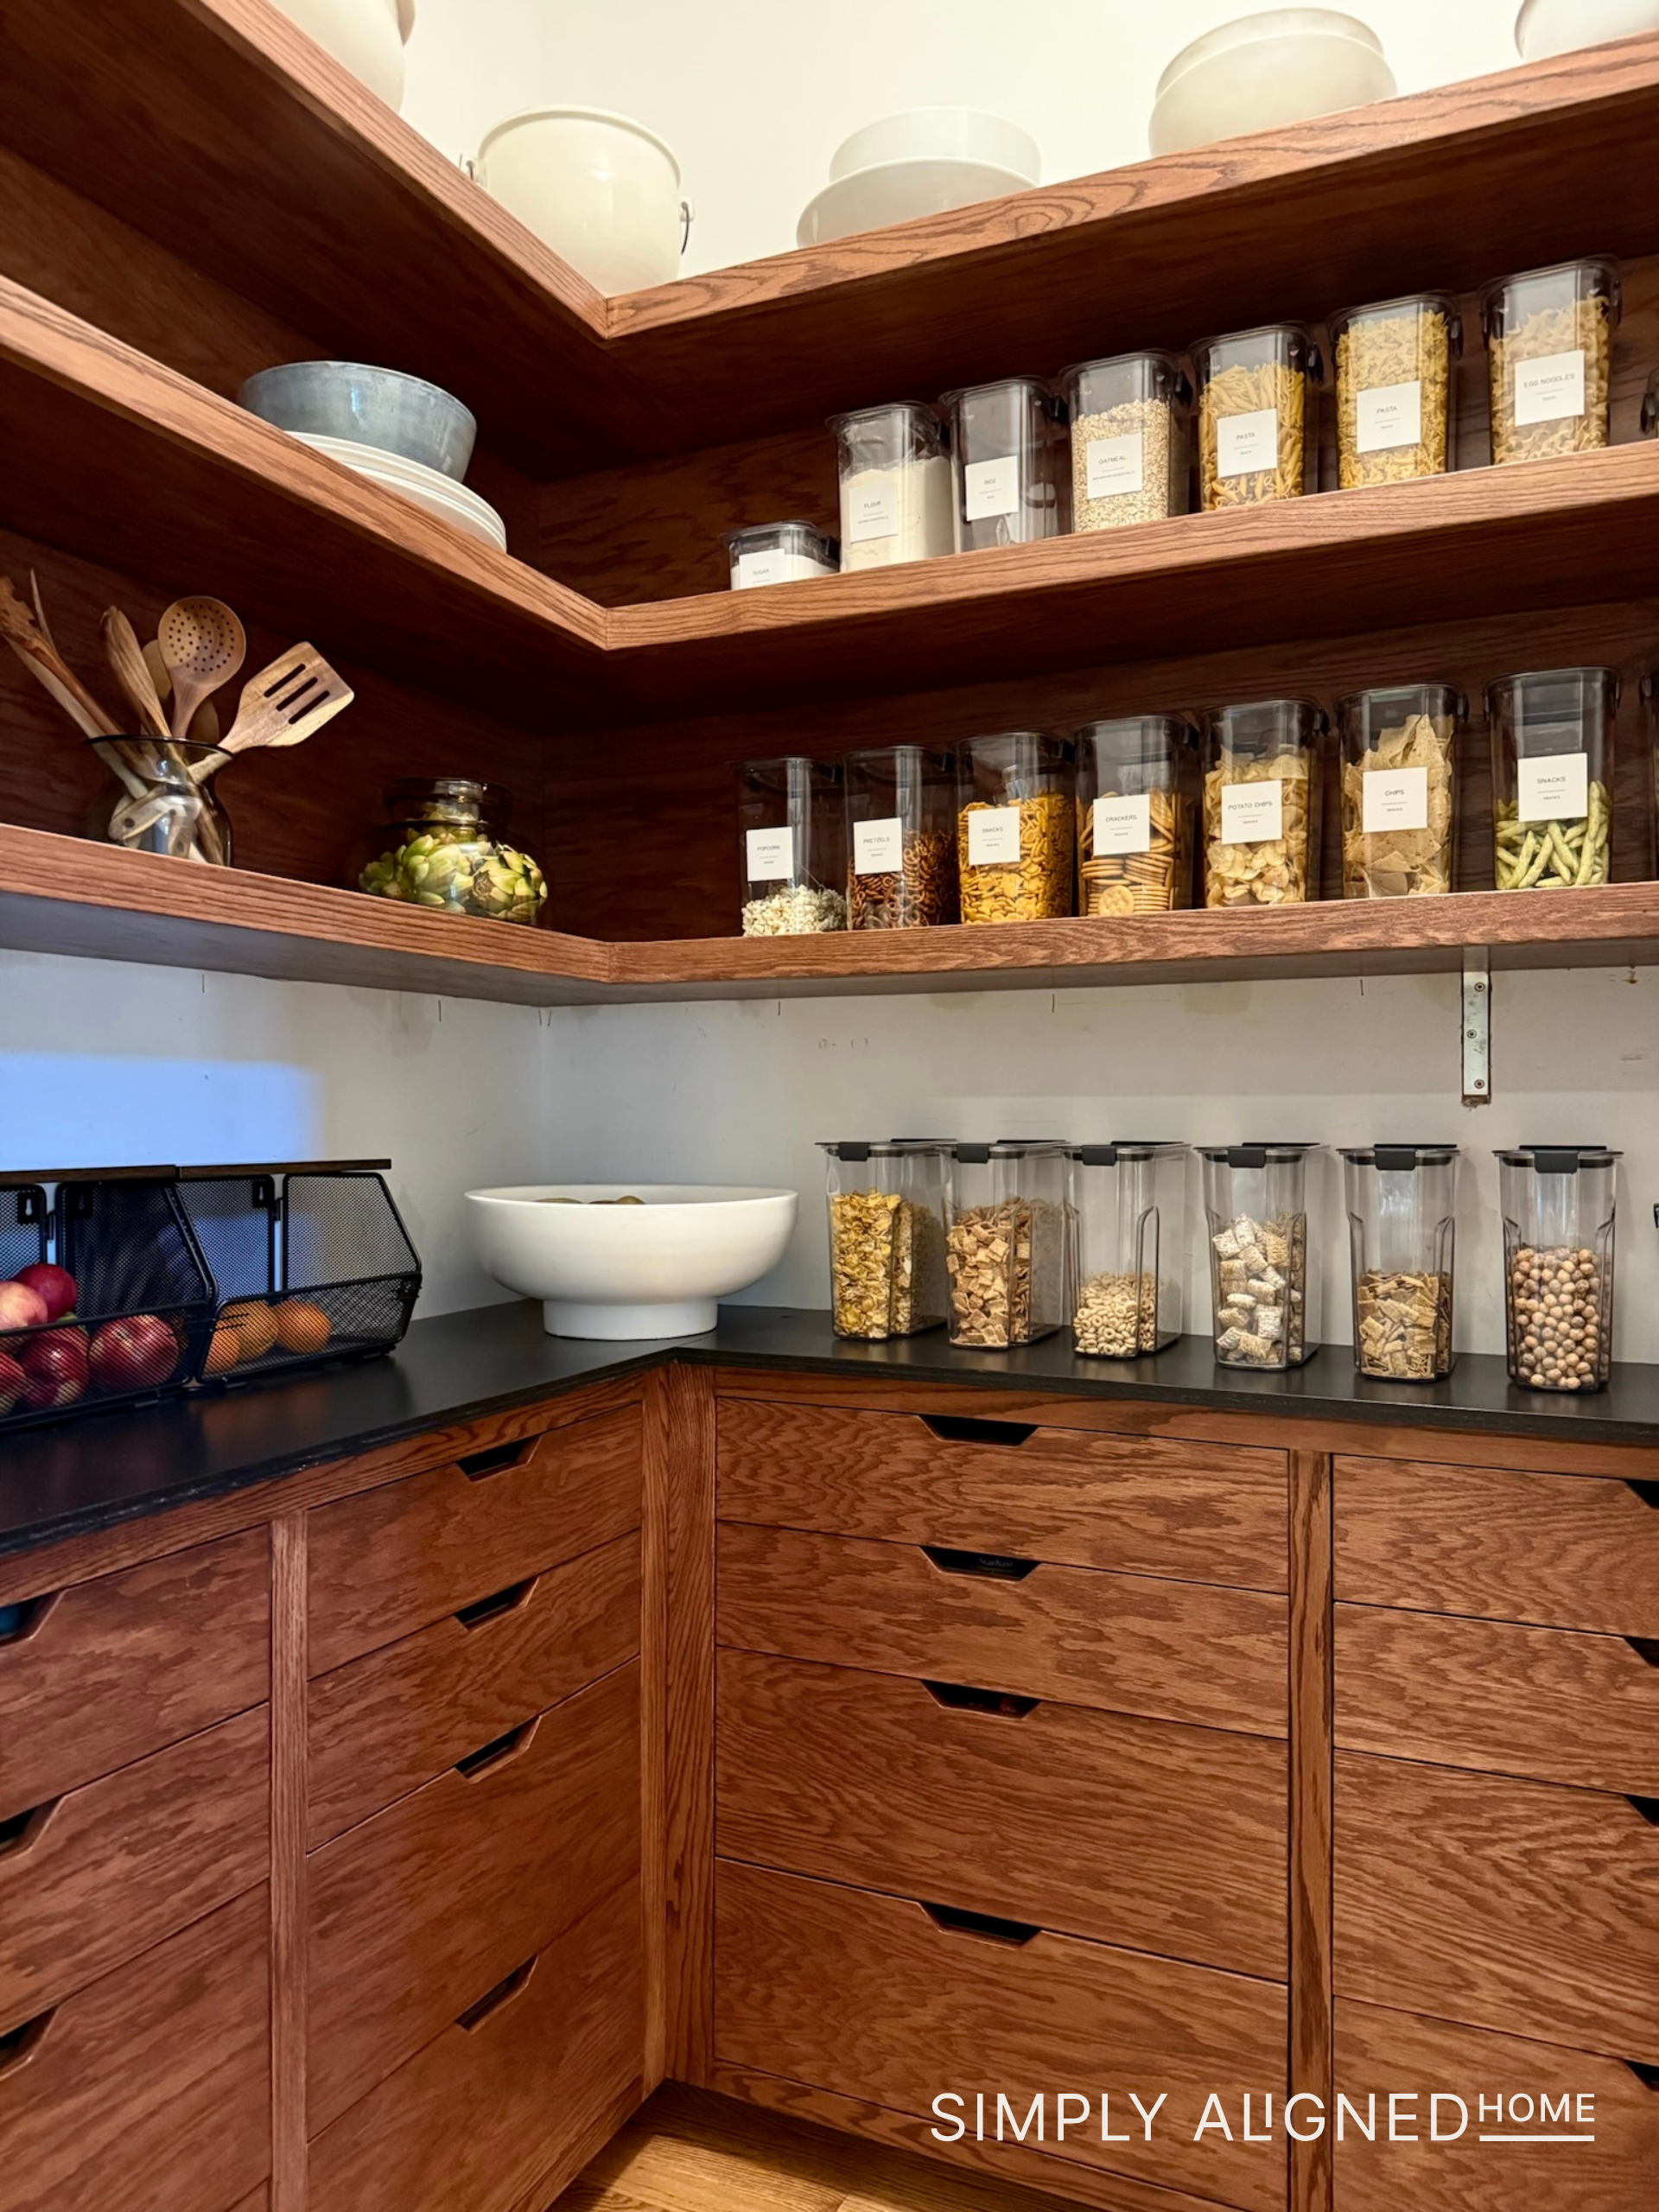
I also added custom drawer fronts with routed pulls so there would not be hardware sticking out into the already narrow pantry. The wood shelves and drawer fronts added so much warmth and helped set the tone for the rest of the kitchen.
You can read the full pantry build tutorial here: How to Build a Built-In Pantry with Drawers and Floating Shelves.
Reimagining the Kitchen Layout
One of the biggest changes in this renovation was moving the kitchen sink! If you remember, I initially built a banquette here that I ended up rehoming!
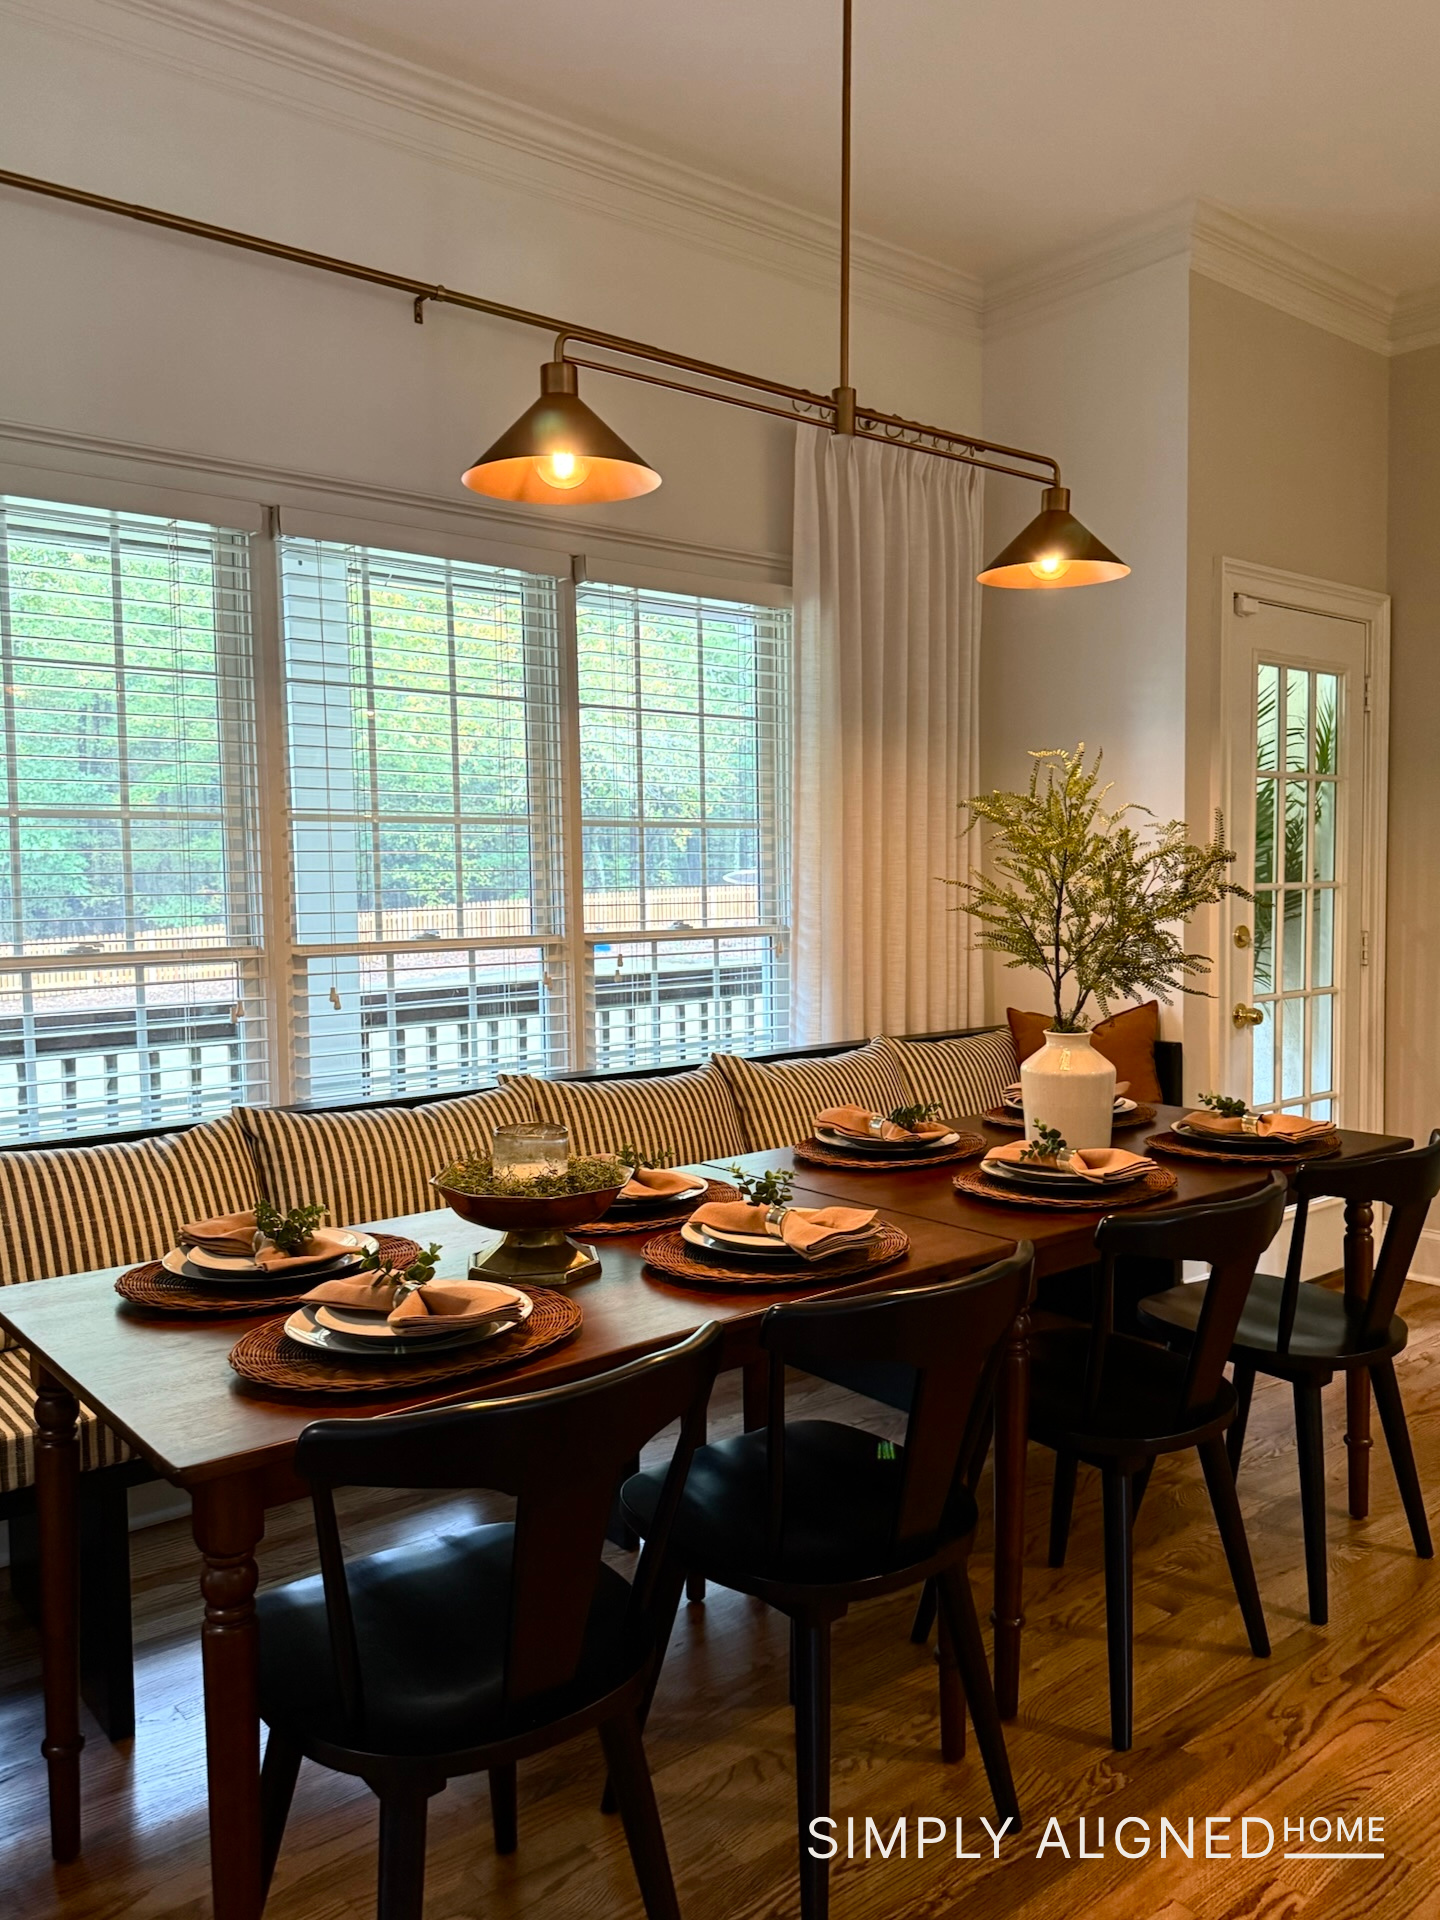
The original sink placement did not make much sense for the way the kitchen flowed, and I kept coming back to the idea of being able to look out into our backyard while doing dishes. That simple change ended up affecting much more of the kitchen than I originally expected!
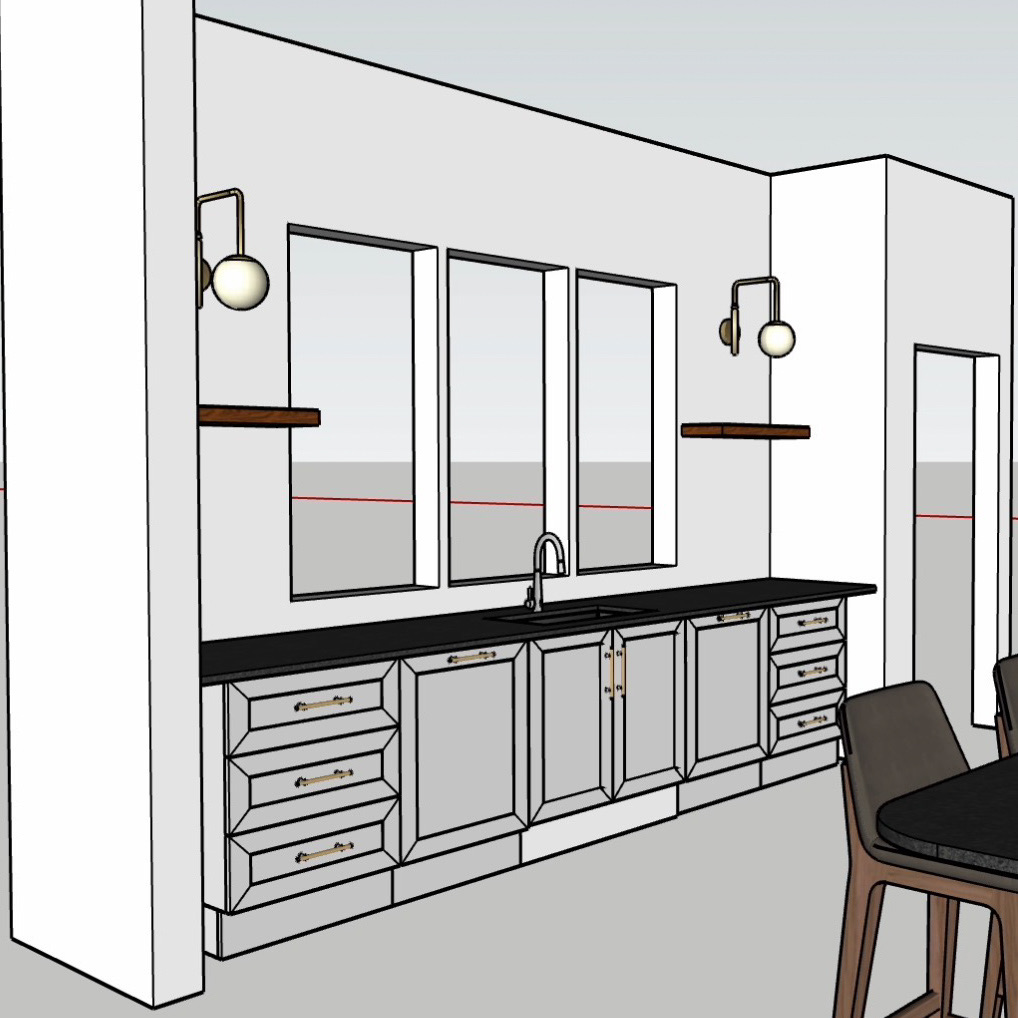
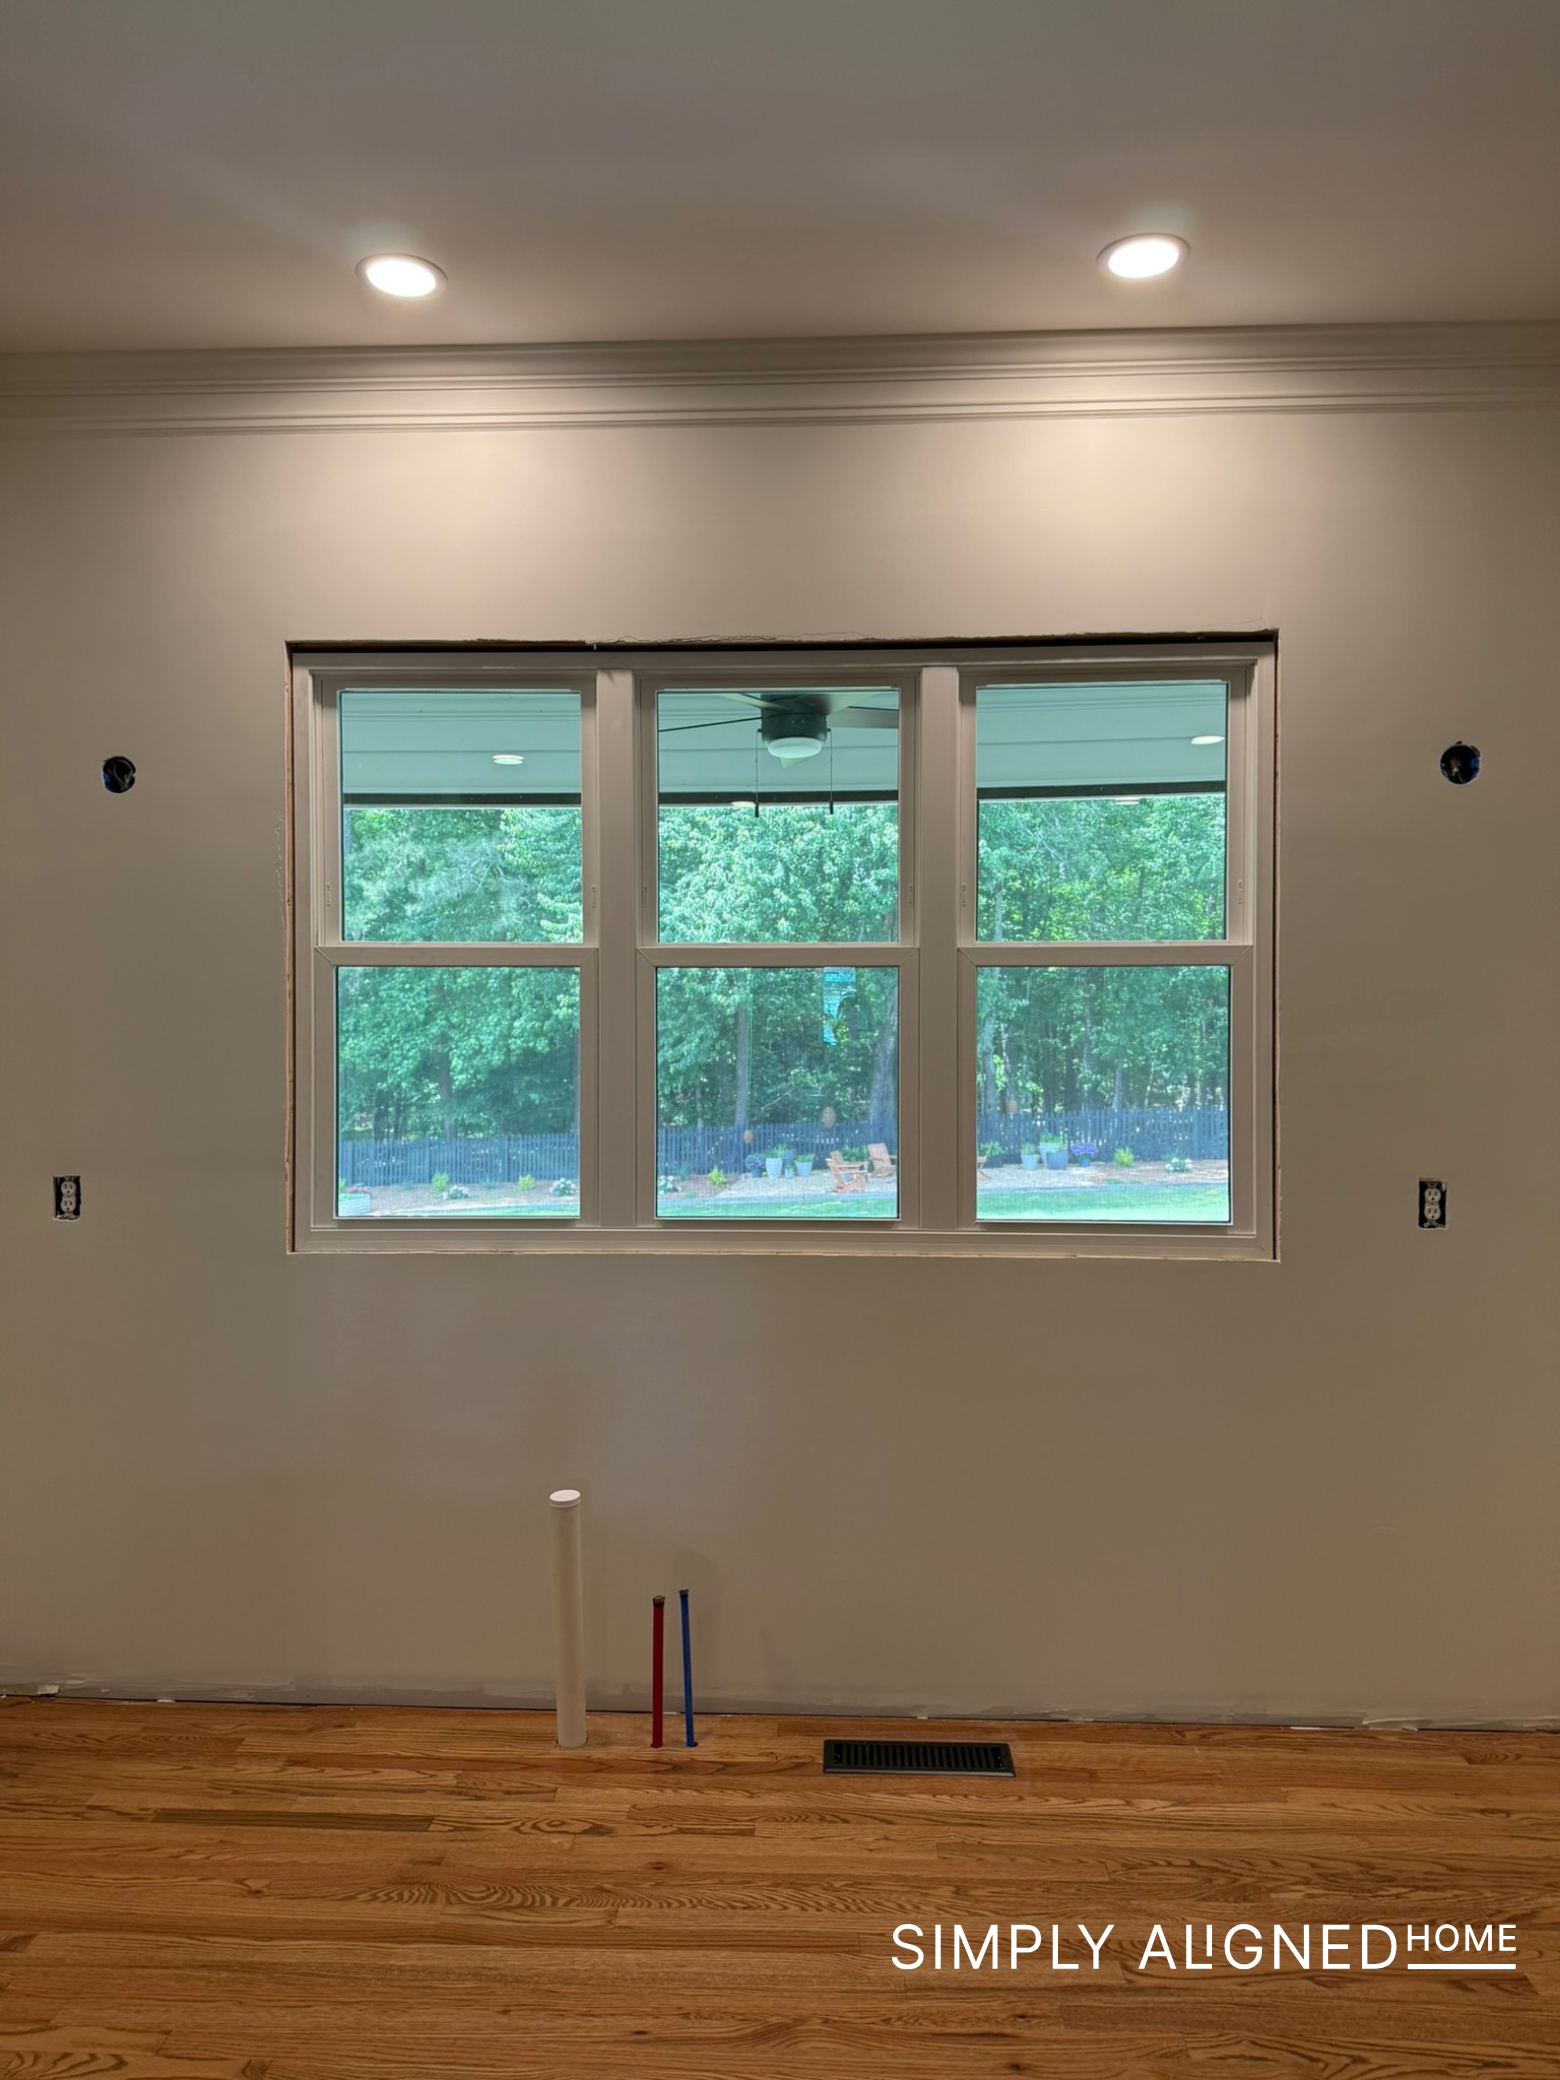
In order to make it happen, we replaced the existing windows with new countertop-height windows. It was a big decision, but the new windows completely changed the feel of the room. They created the perfect spot for the future kitchen sink!
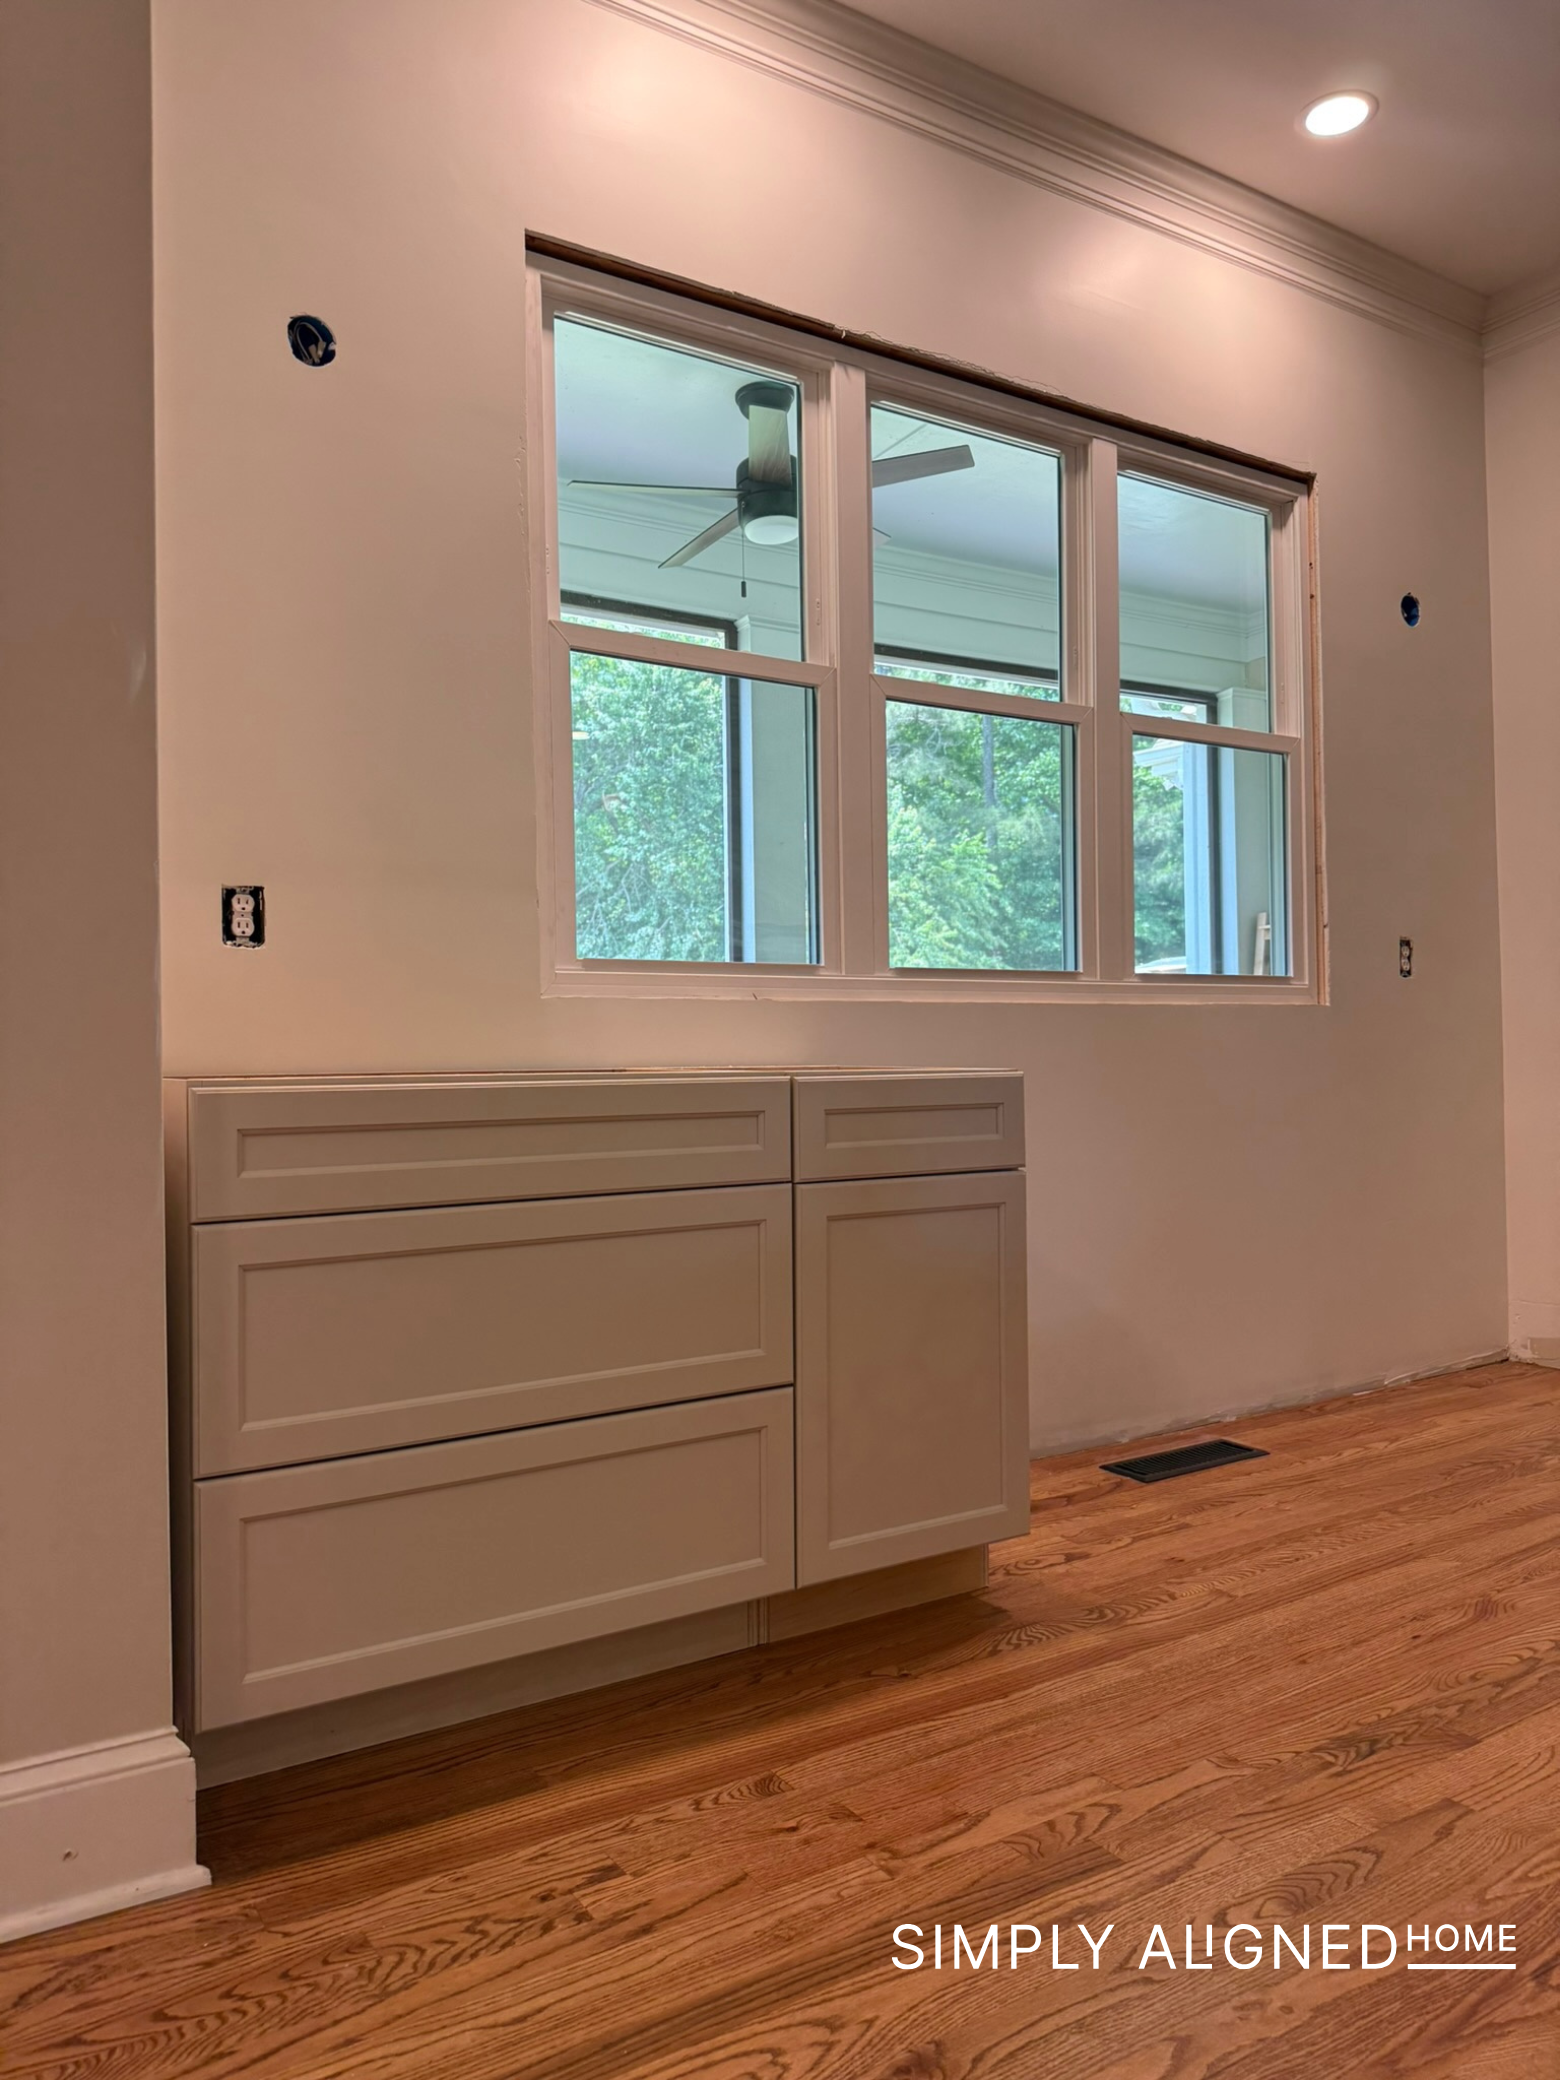
The cabinets finally arrived, and I was so excited to start installing them. A few pieces showed up damaged, which meant I had to piece the kitchen together one section at a time while waiting for replacement parts. That’s pretty much how renovations go, though, right? Instead of letting the delays stop progress completely, I focused on the details I could work on while I waited!
Installing Cabinets and Adding the Details
Once the cabinet pieces began arriving, I started getting everything installed. Seeing the cabinet layout come together made such a huge difference. Even before countertops or backsplash were installed, the room finally started to look like a real kitchen again instead of a construction zone.
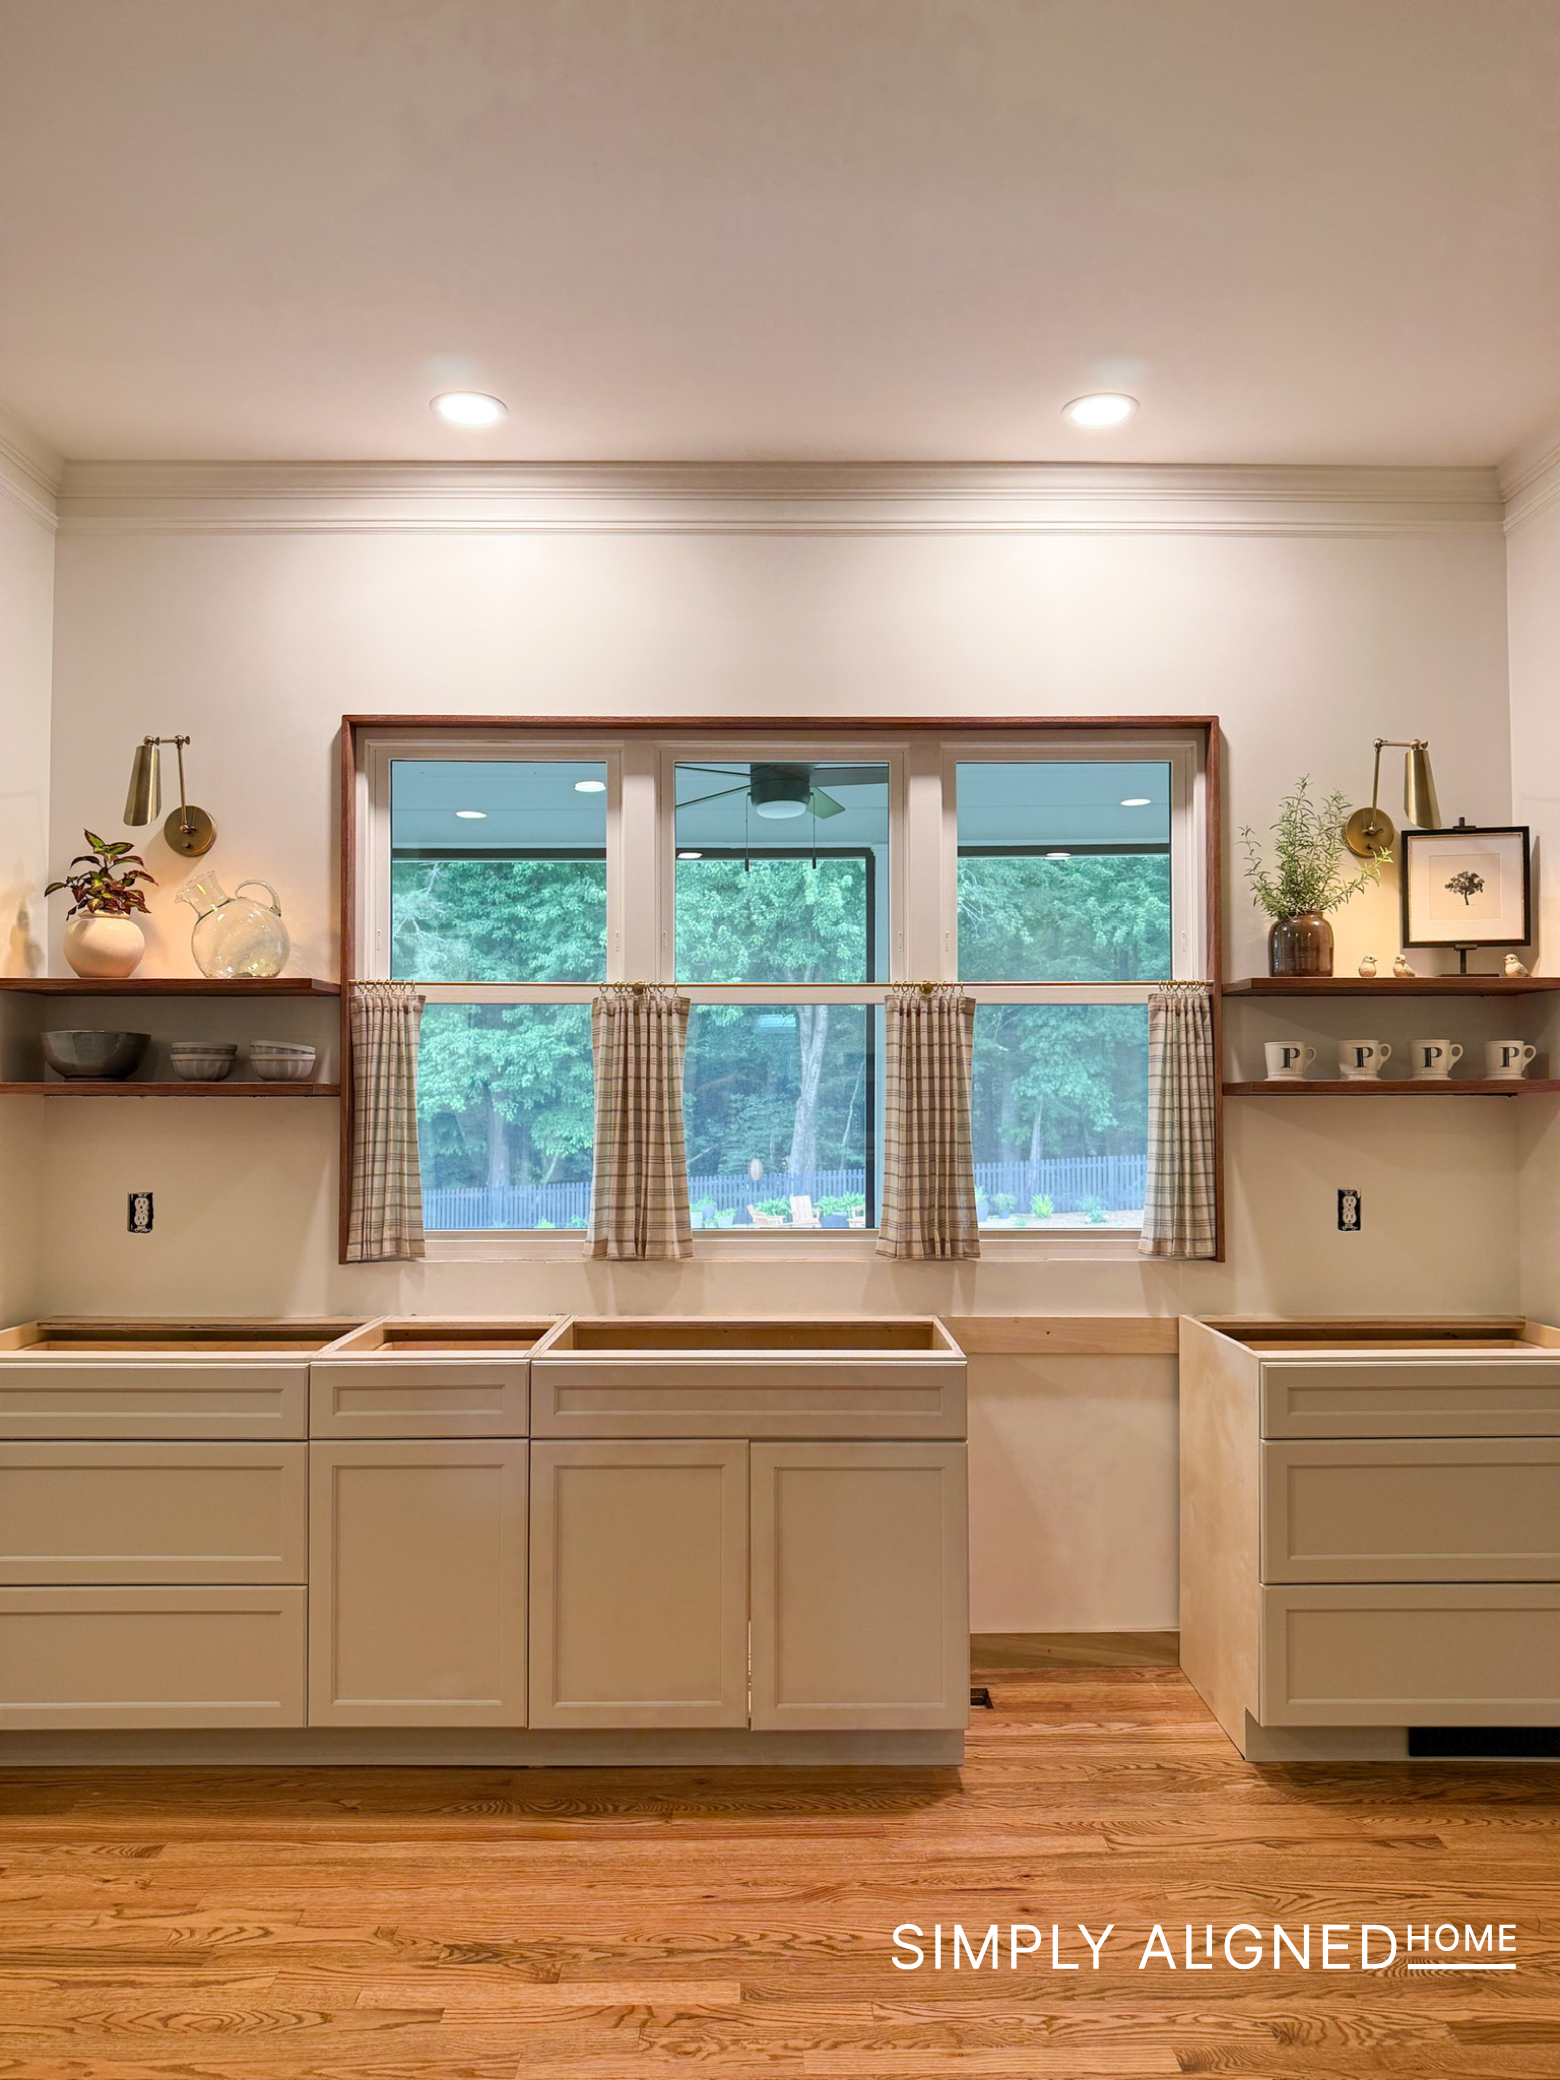
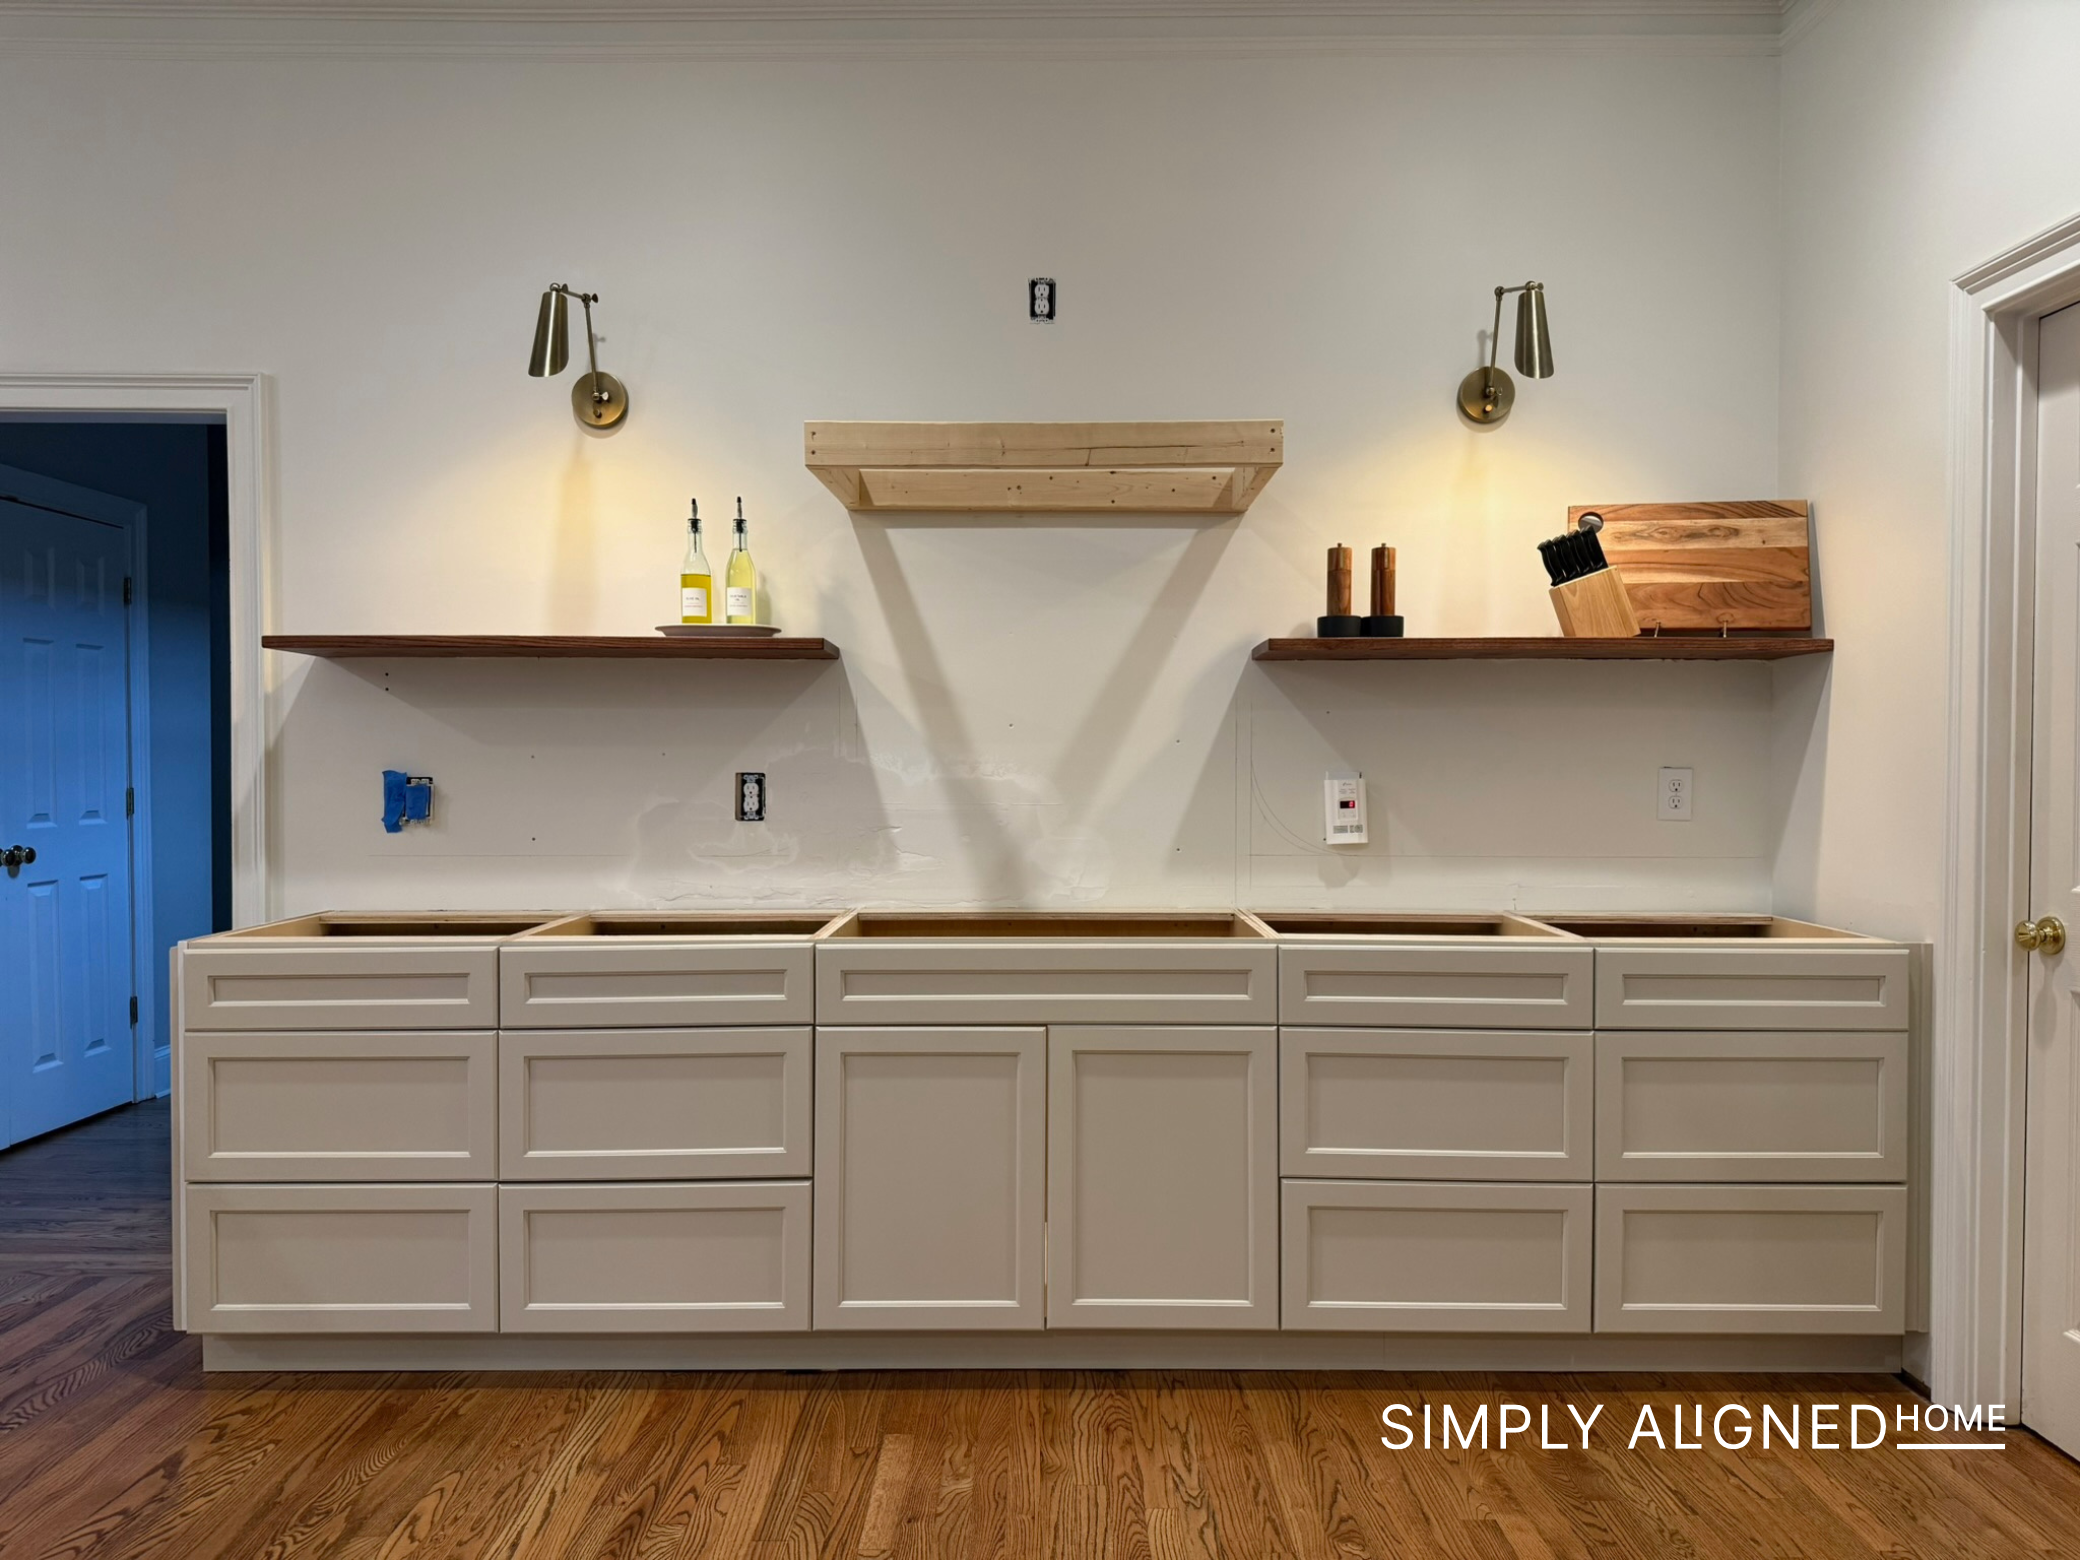
One of my favorite parts of the cabinet installation was adding all of the final trim pieces. There is something so satisfying about watching a project go from looking unfinished to looking intentional.
Trying Floating Shelves for the First Time
While I waited on cabinet replacements, I decided to tackle something I had been nervous about: floating shelves.
I have always loved the look of wood floating shelves, especially in kitchens, but hidden metal brackets always intimidated me a little. I ended up buying rough lumber from a local lumberyard, which was much more affordable than ordering custom shelves, and got to work!
The most intimidating part was drilling the holes for the metal rods. If the drill bit catches the wood the wrong way, it will absolutely try to take the drill out of your hands. But once I got started, the shelves were actually much easier to make than I expected!
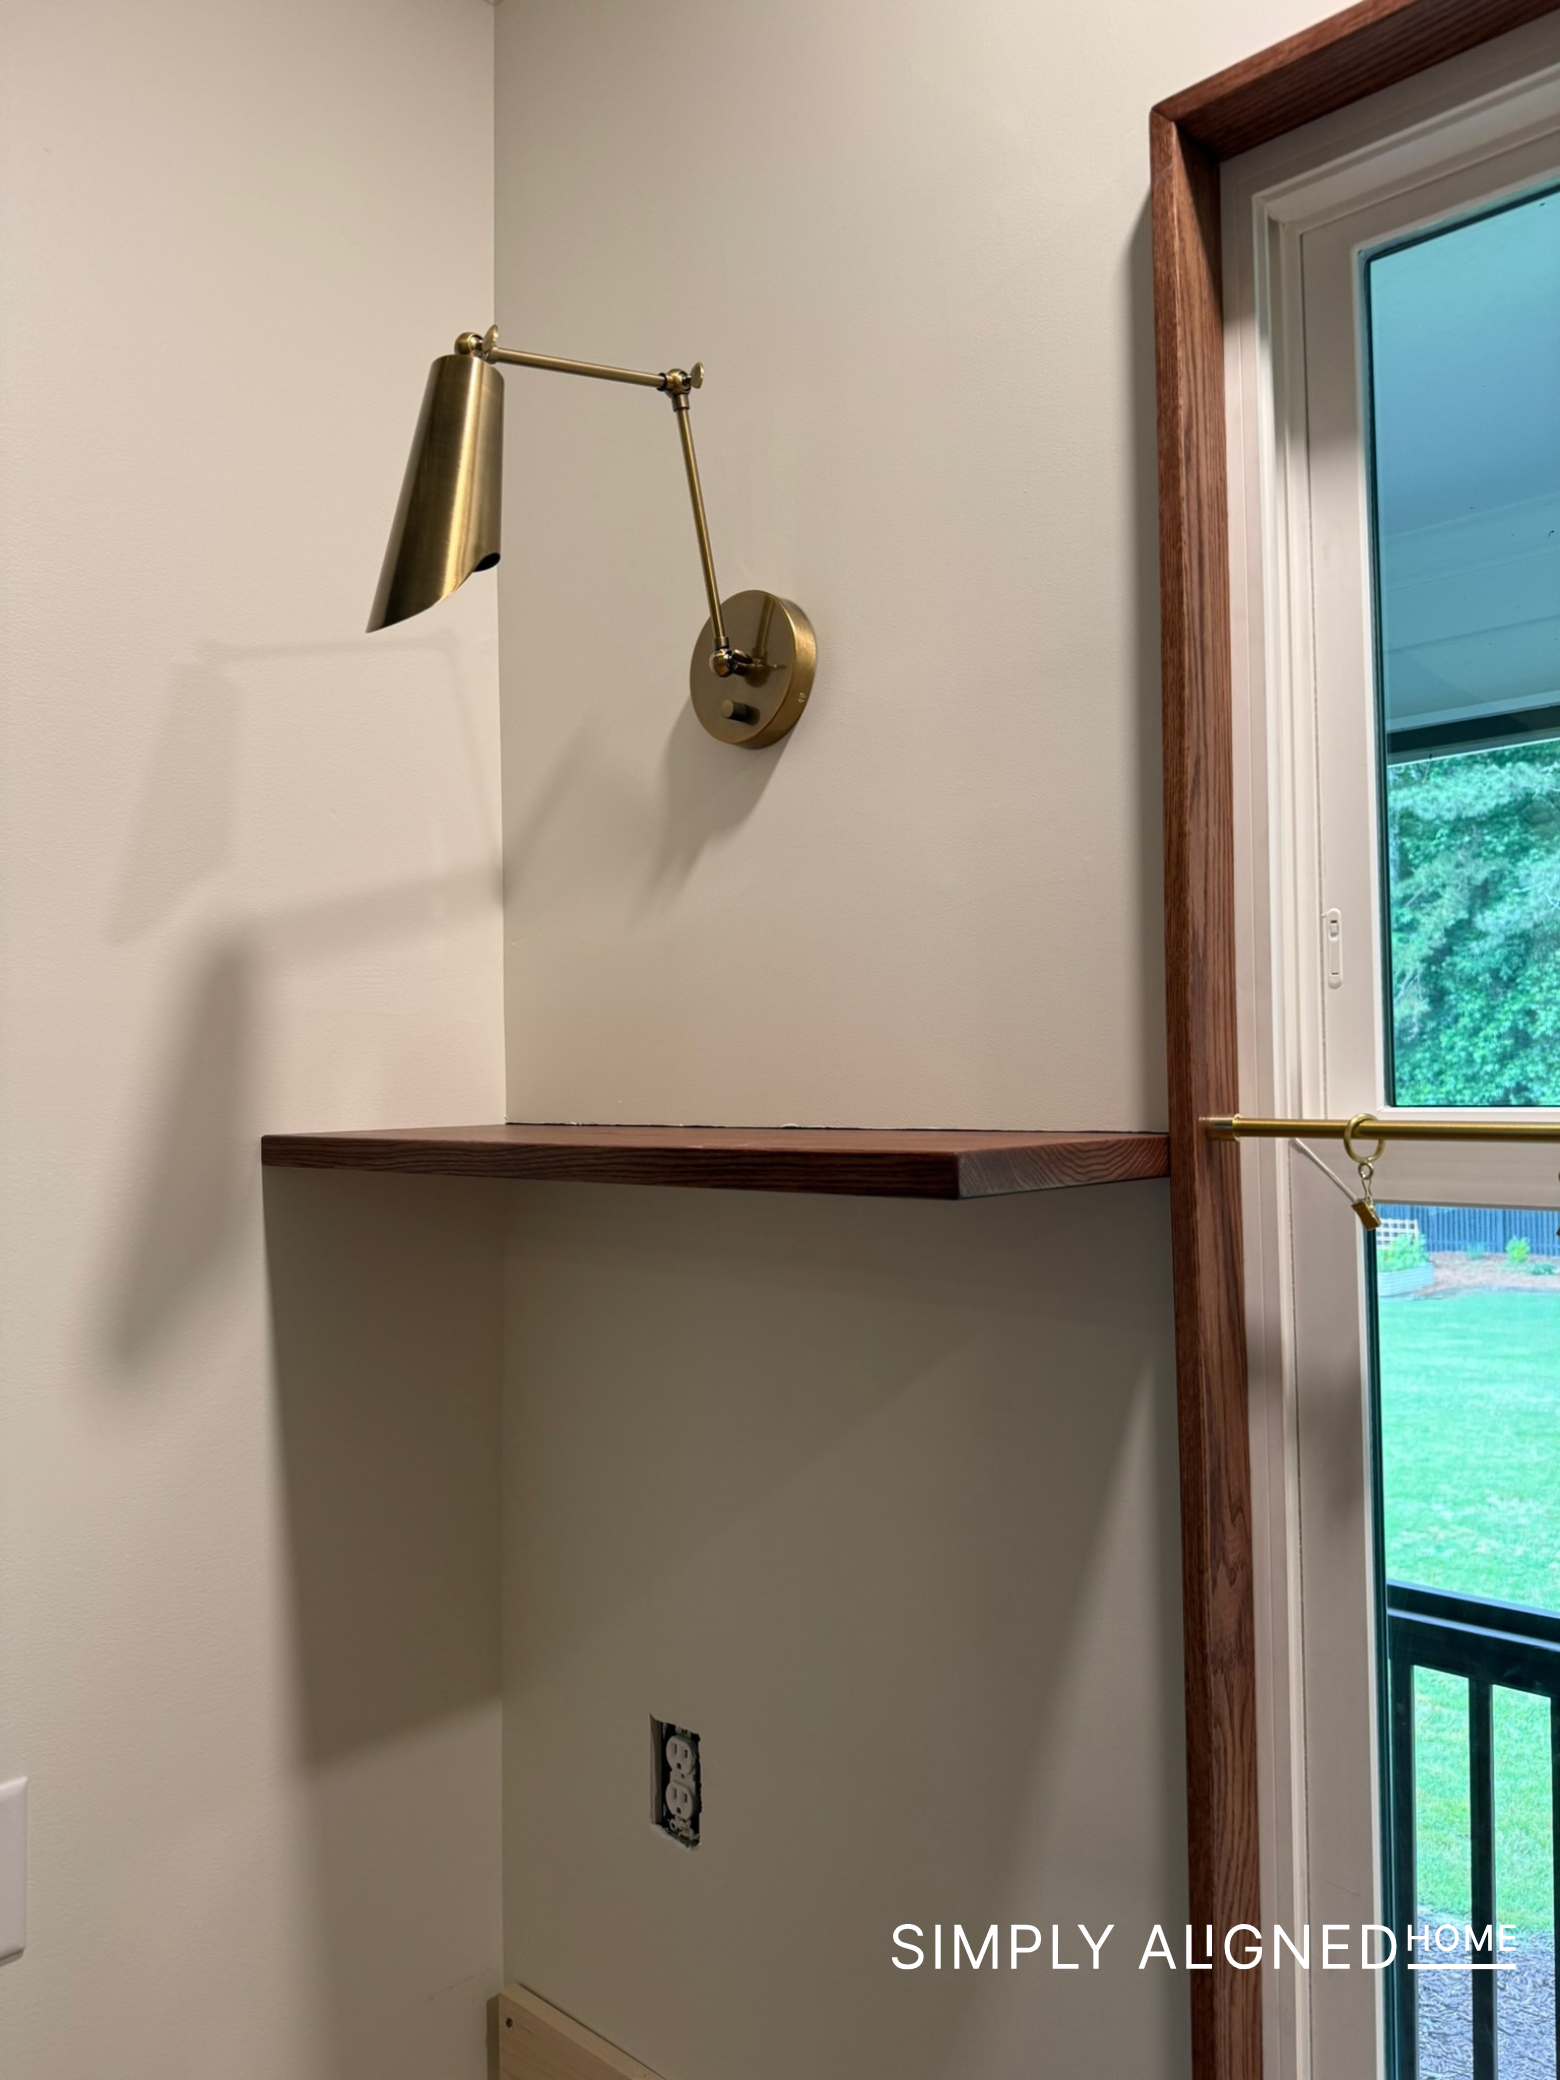
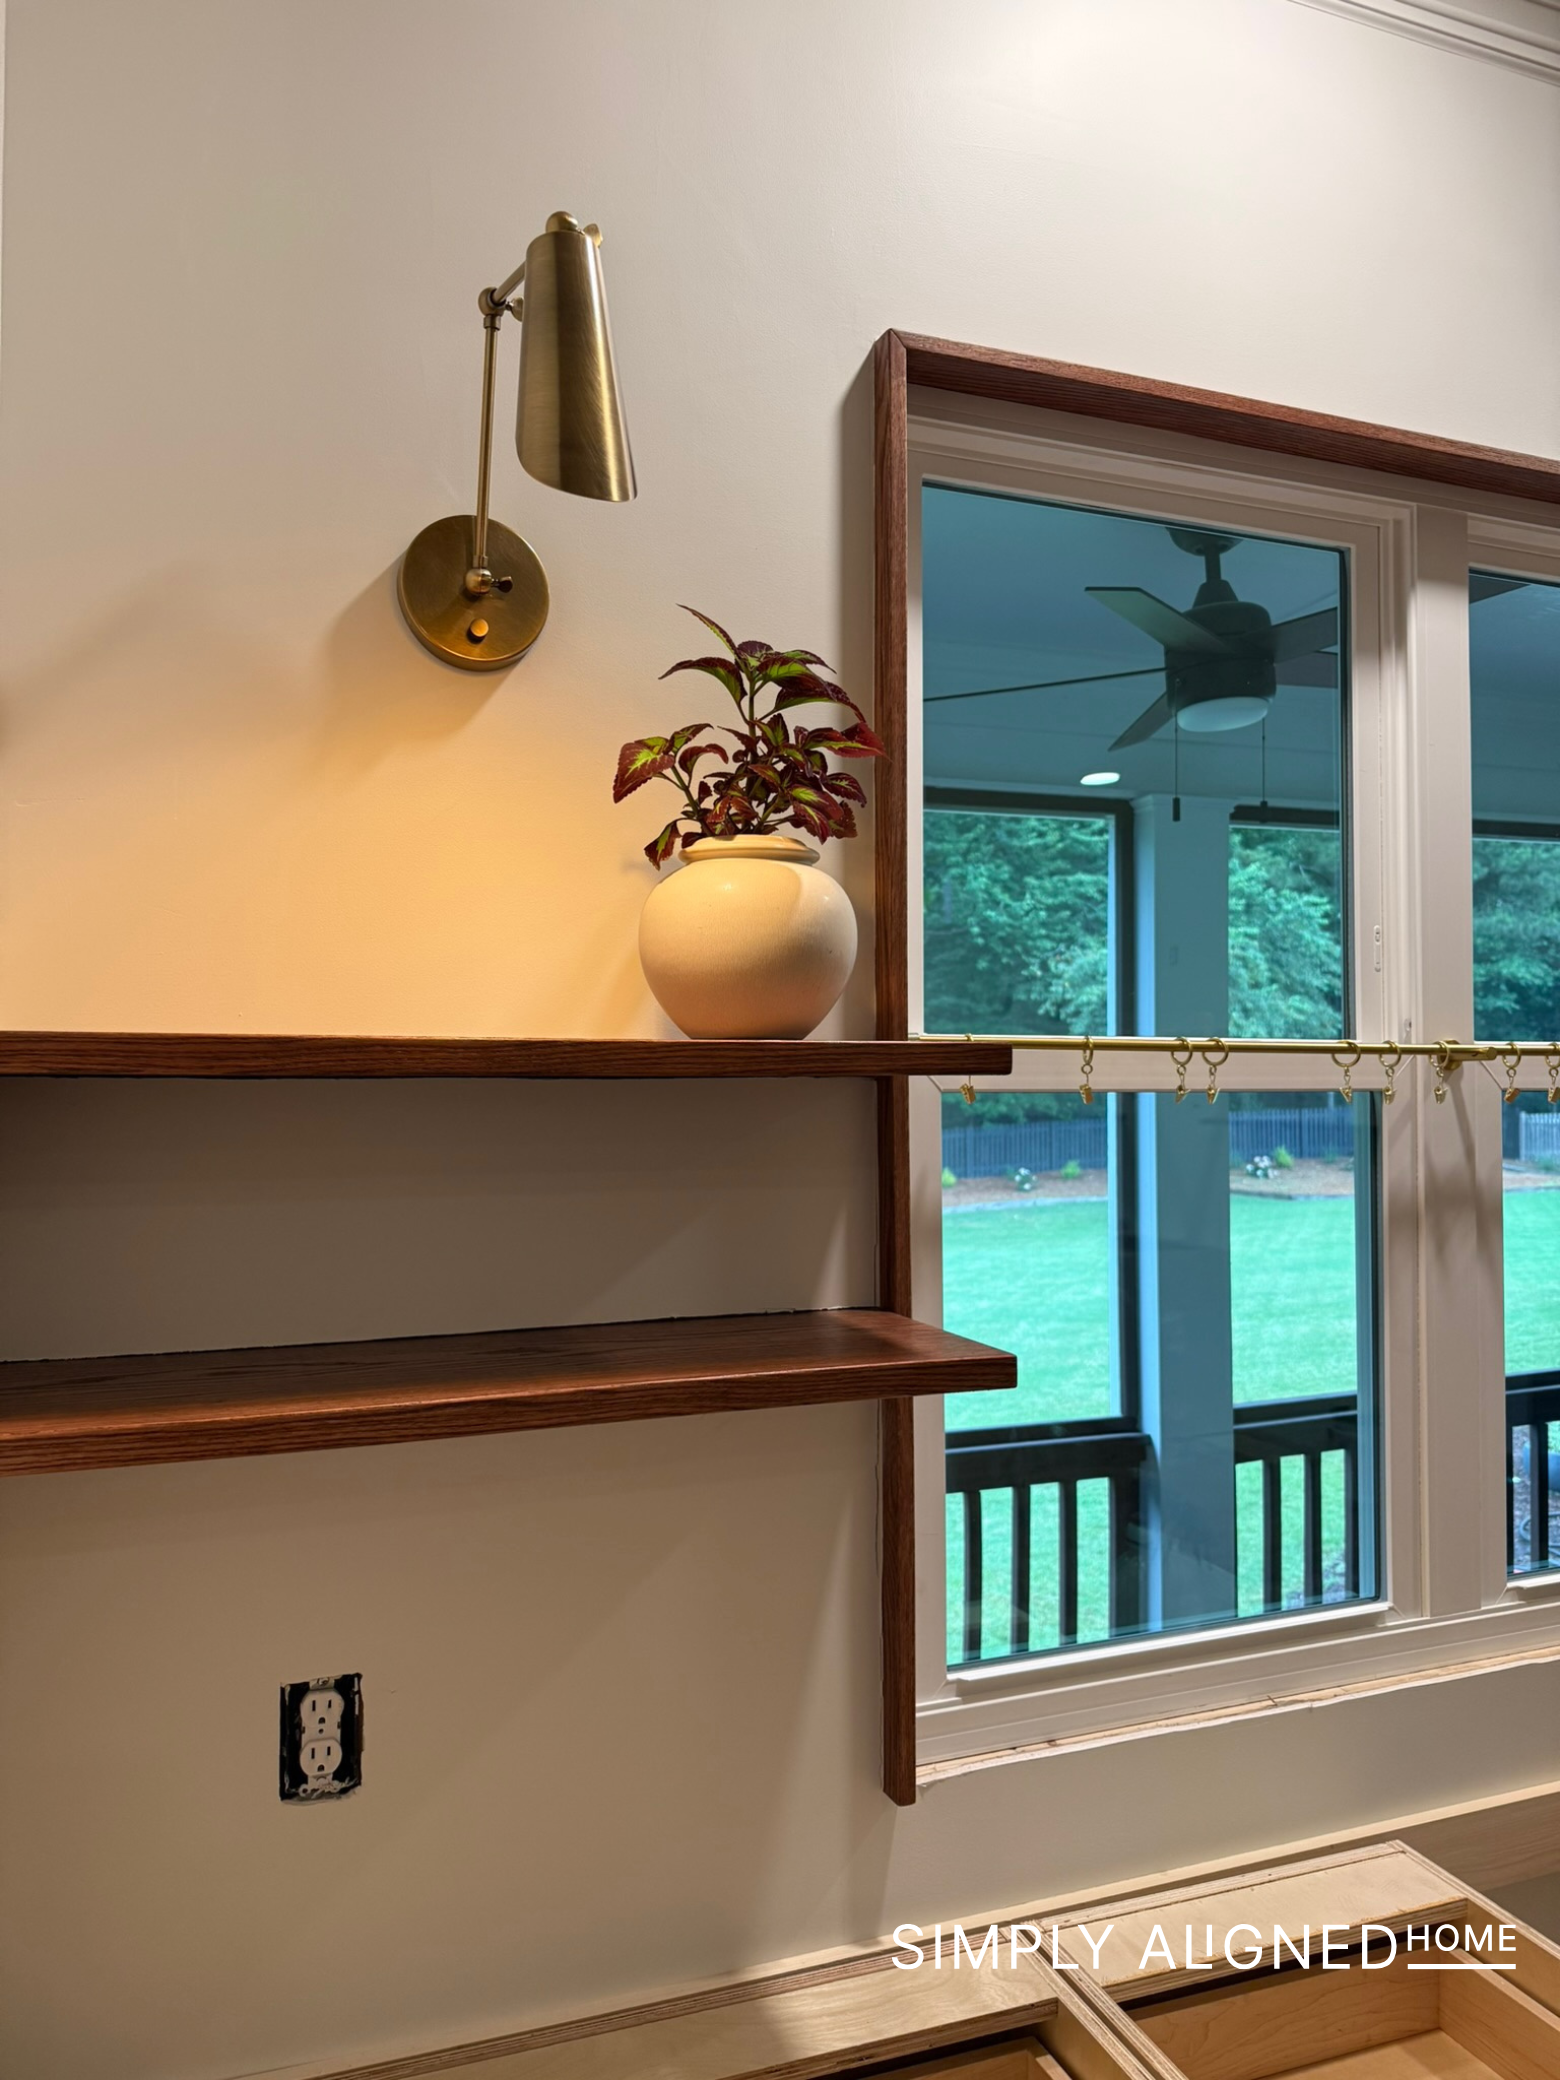
The wood added so much warmth against the cabinets, and once the shelves and sconces were installed, I could finally start to see the kitchen I had been dreaming about for so long.
Choosing Soapstone Countertops
Choosing countertops was probably one of the most exciting parts of this entire renovation! I’d wanted soapstone countertops for years, so getting to choose them for my own kitchen felt a little surreal. I went to my fabricator and looked through several options before finding the slabs that felt perfect for this space.
I loved the movement, the color, and the character in the stone. Soapstone has such a timeless, natural feel, and it felt like the right choice for a kitchen that I wanted to feel warm, lived-in, and classic.
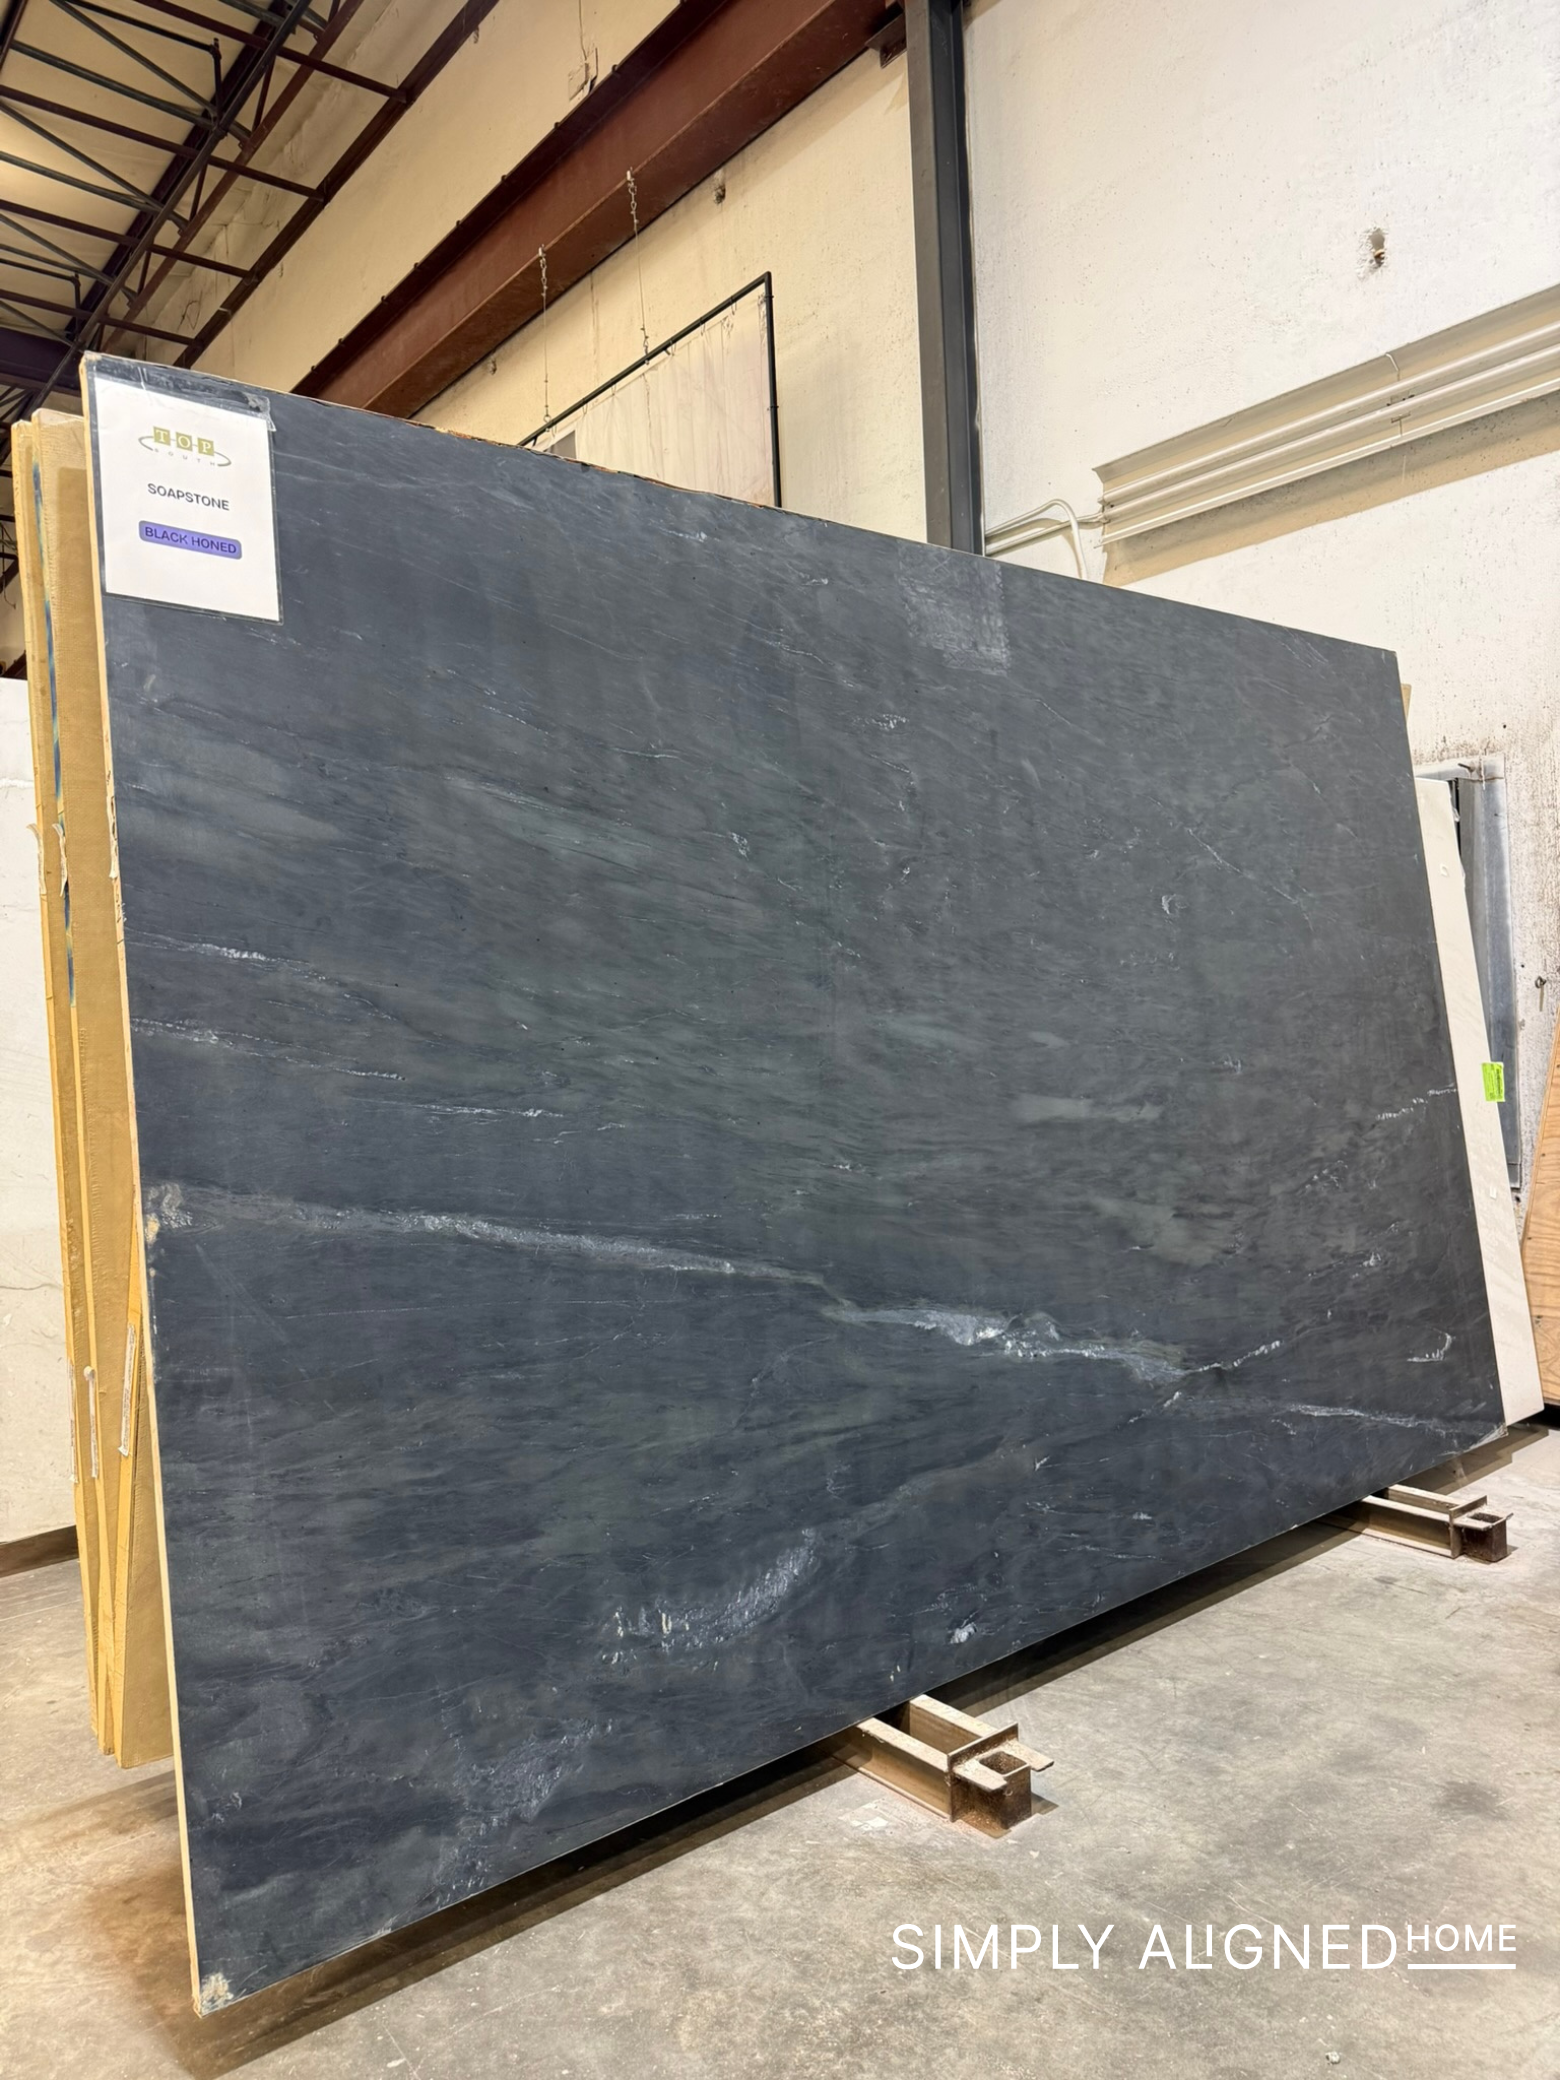
After template day, I got a first look at how everything would be laid out. Then came slab layout day, where I could see how the individual pieces would work together throughout the kitchen. Countertop installation day was the moment I had really been waiting for!
Because some of the runs were too long to bring in as one piece, the countertops had to be installed in sections. The installers carefully positioned each slab, applied epoxy to the seams, and used vacuum seam setters to pull everything tightly together while keeping the countertops level. Once the seams were finished, they cleaned the countertops and applied oil, which brought the soapstone to life immediately!
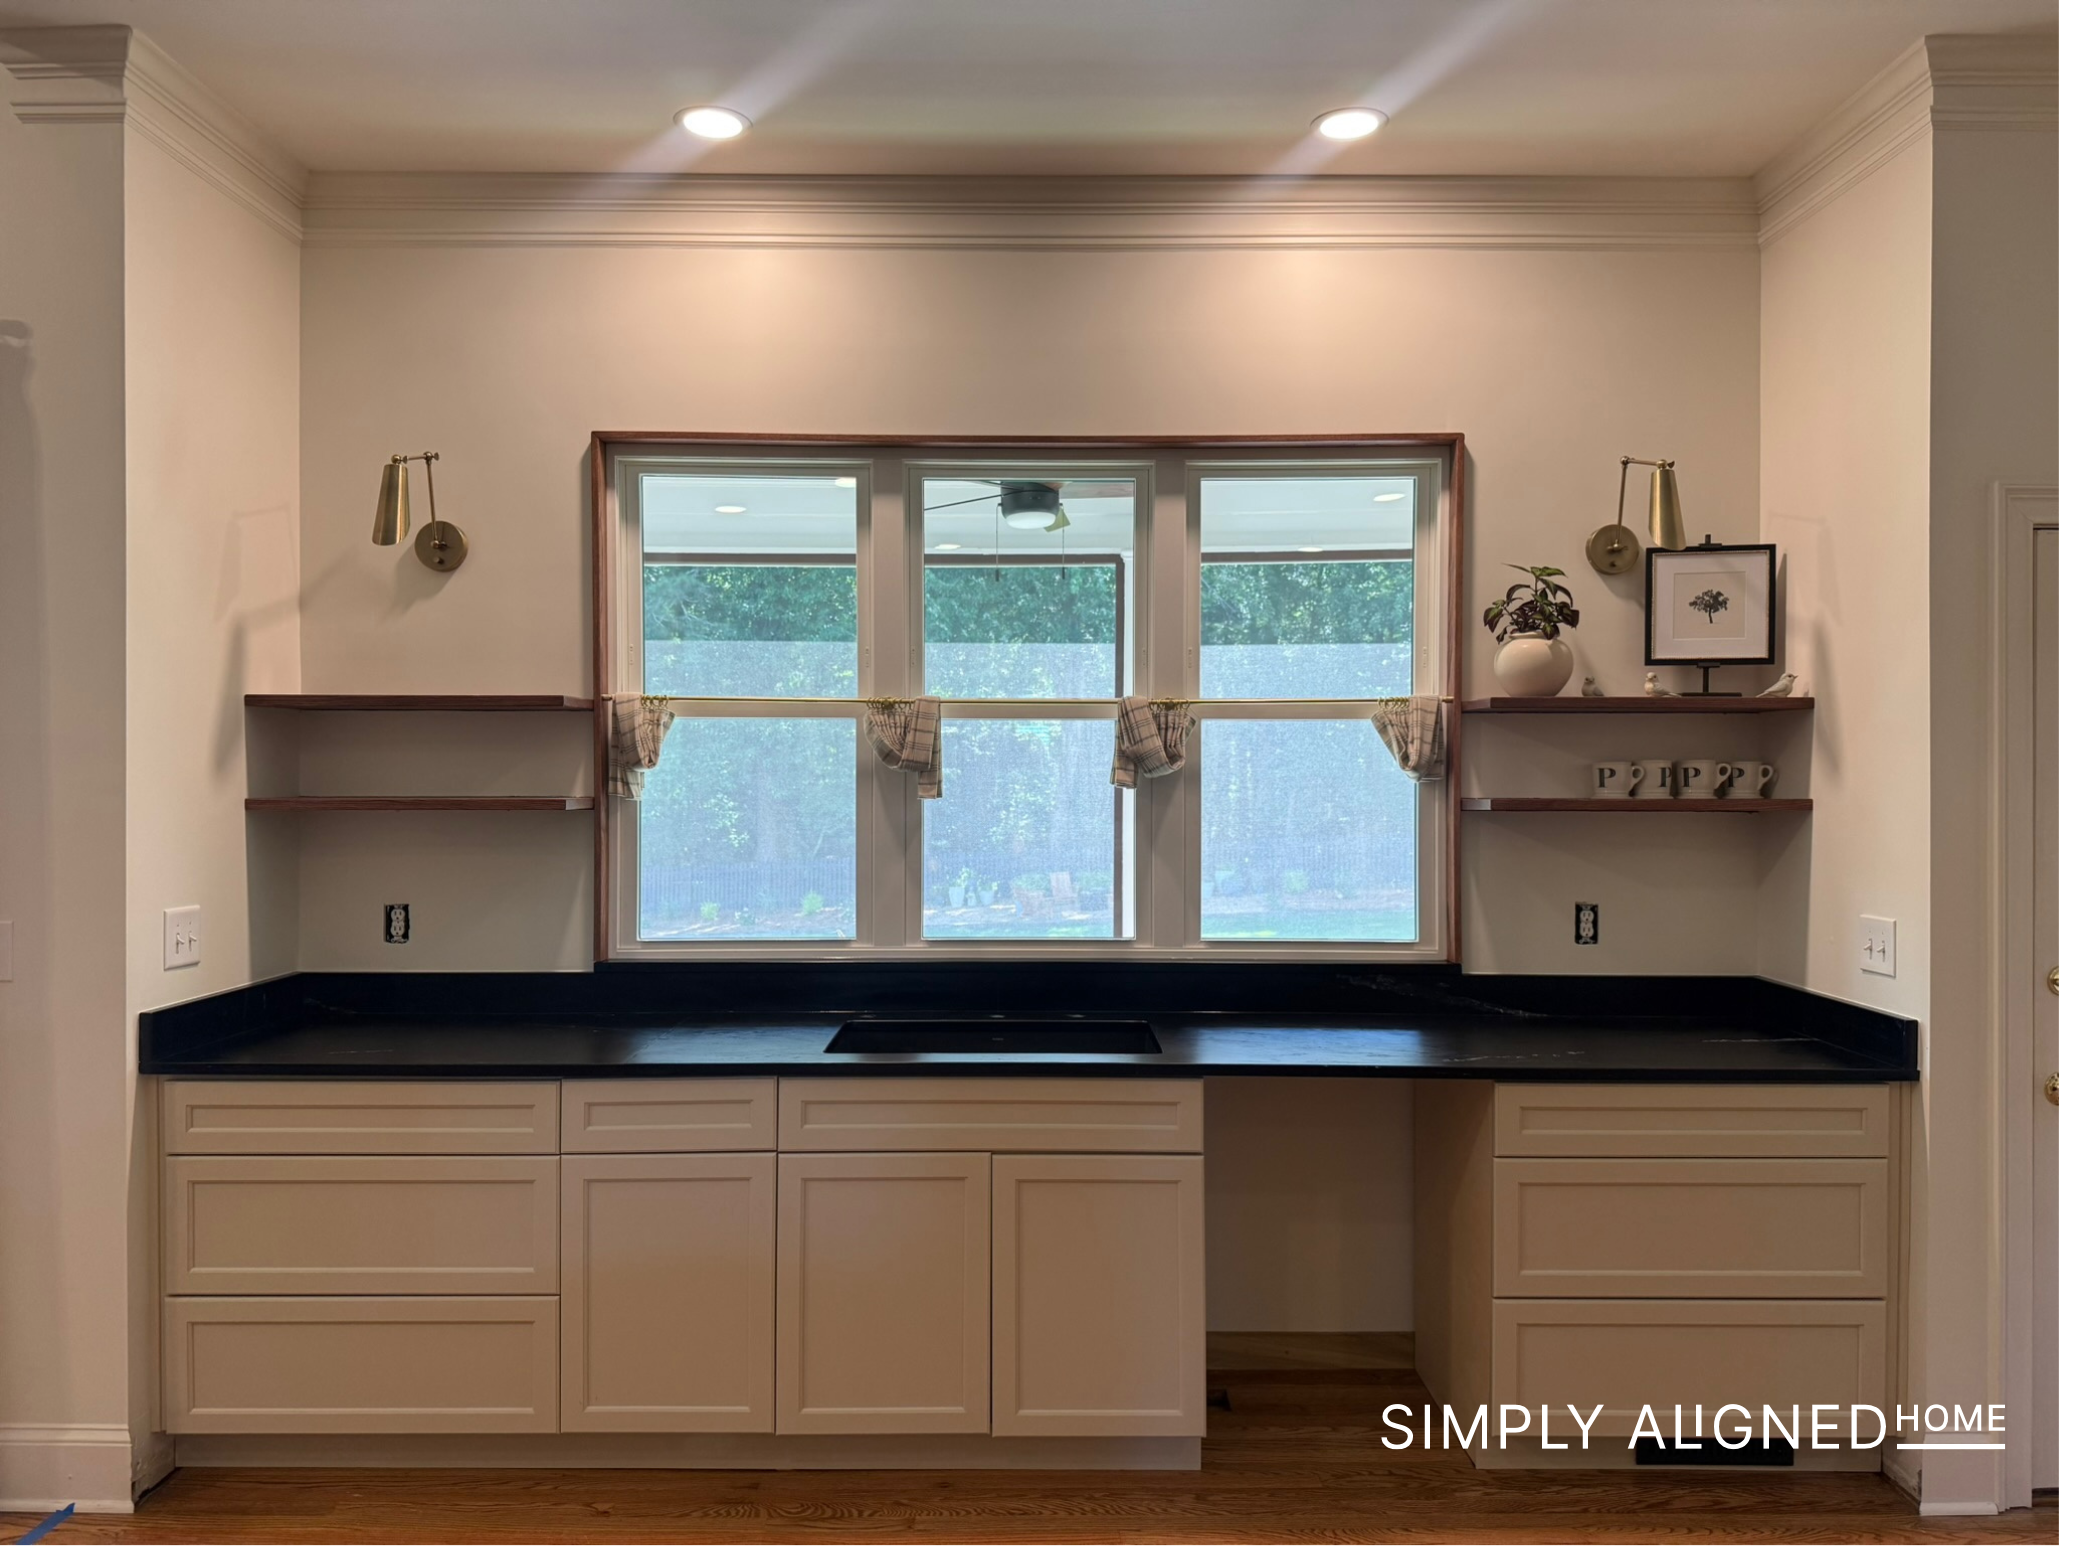
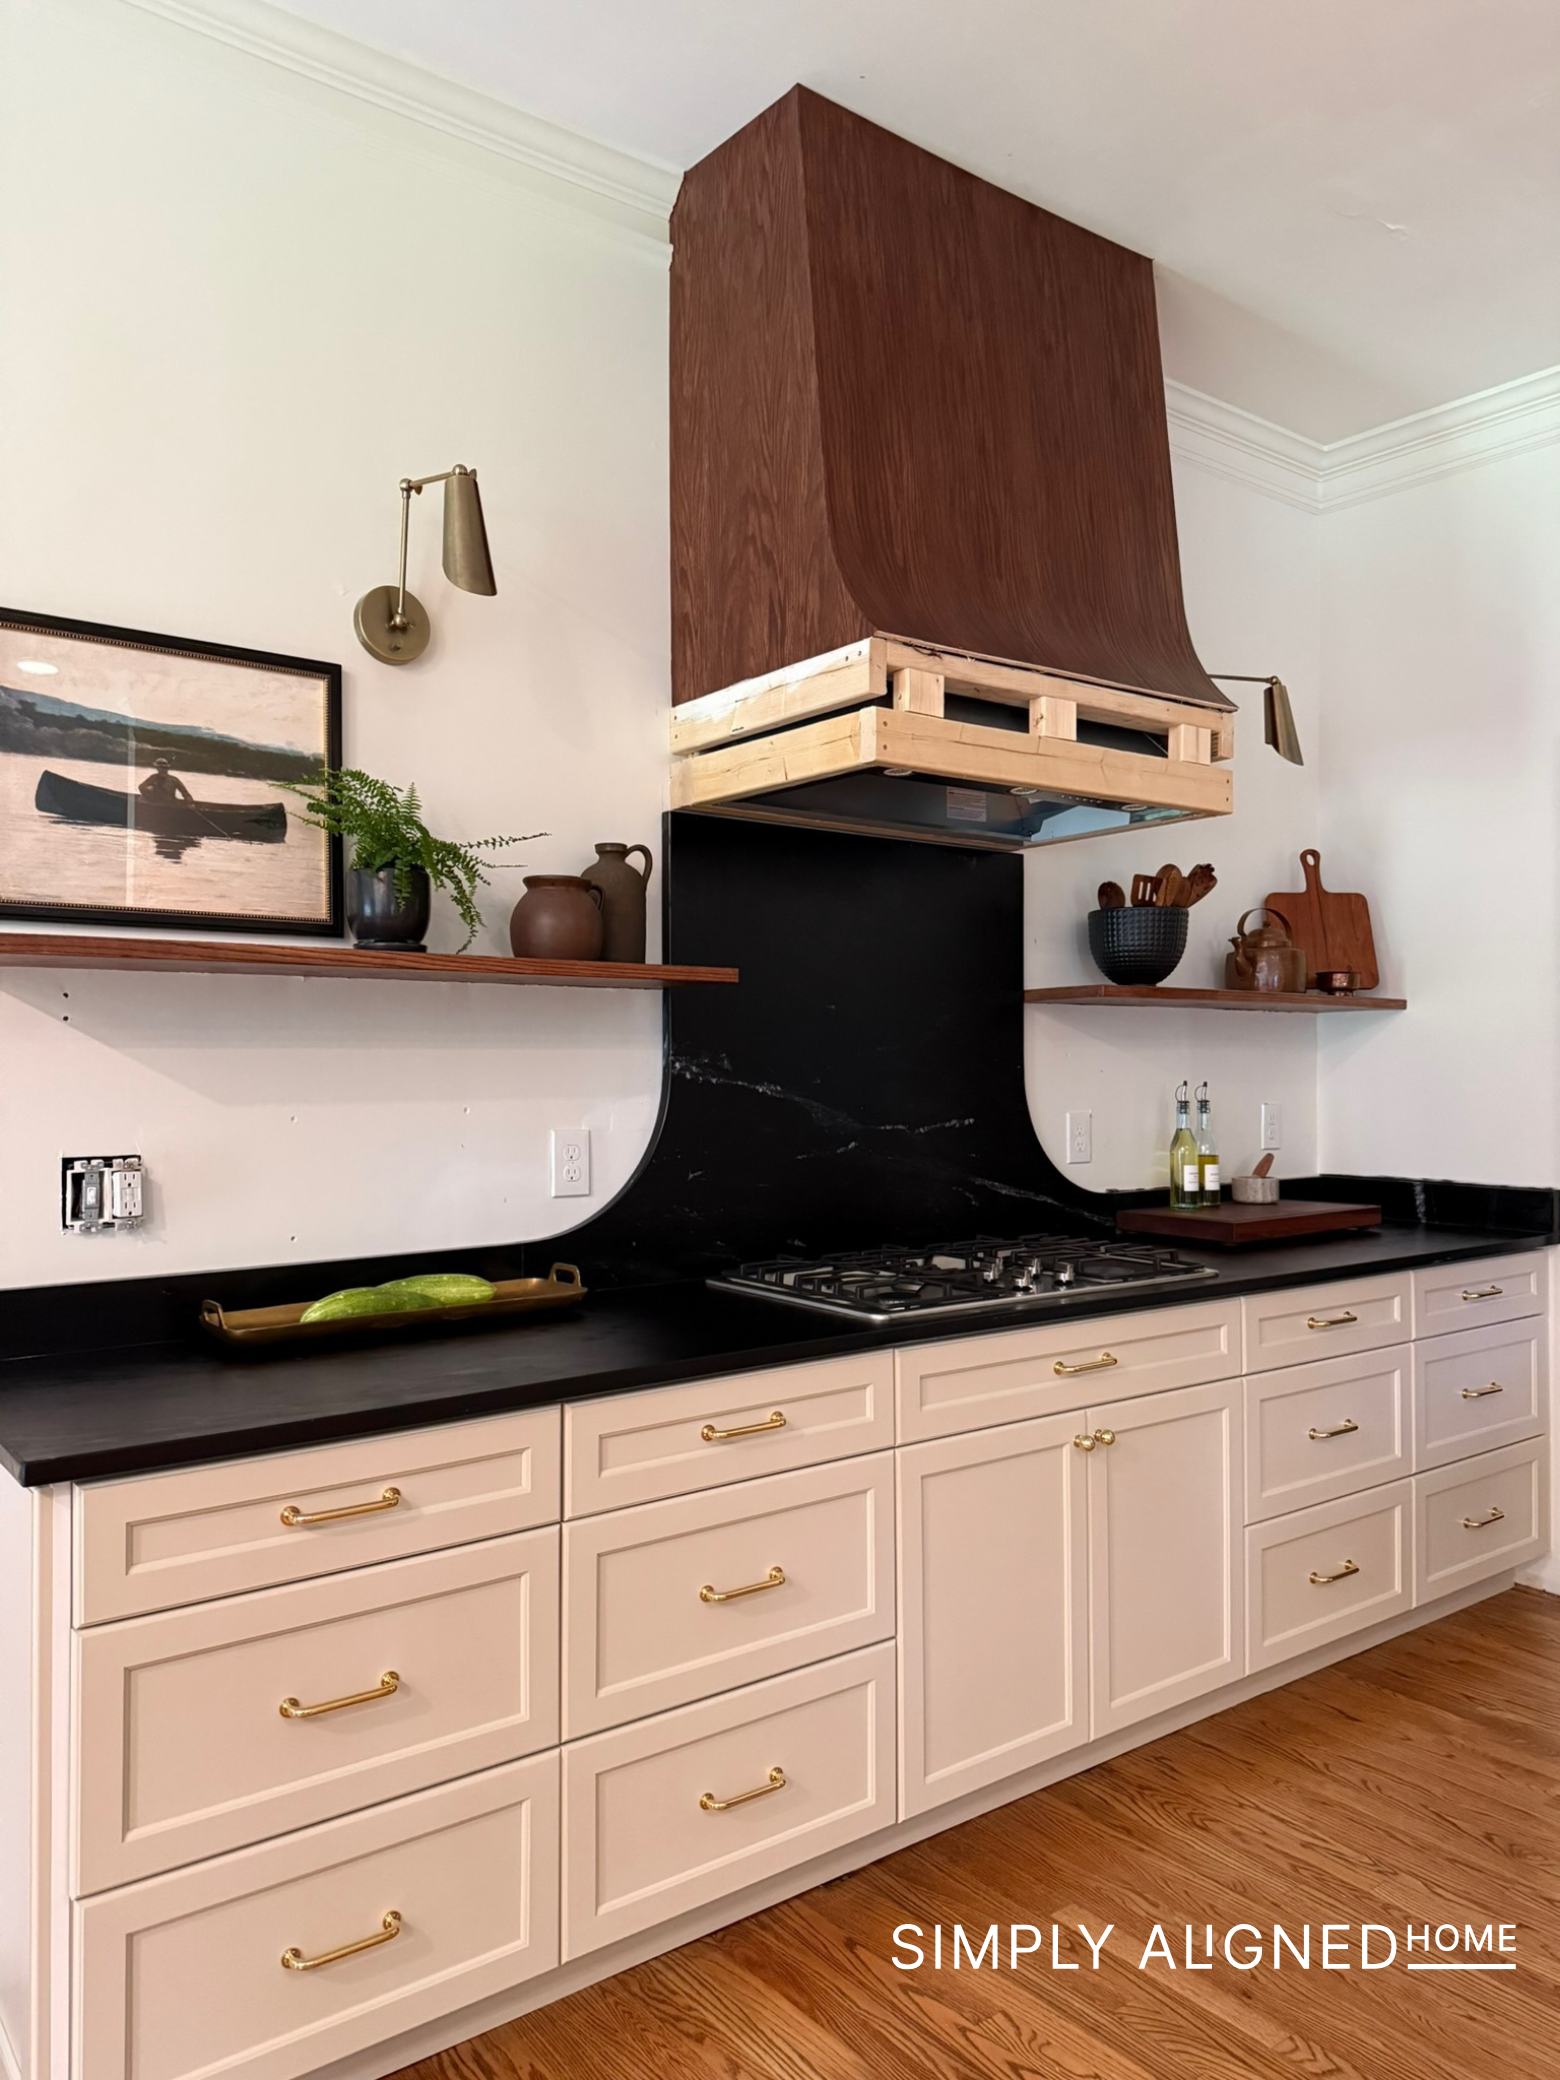
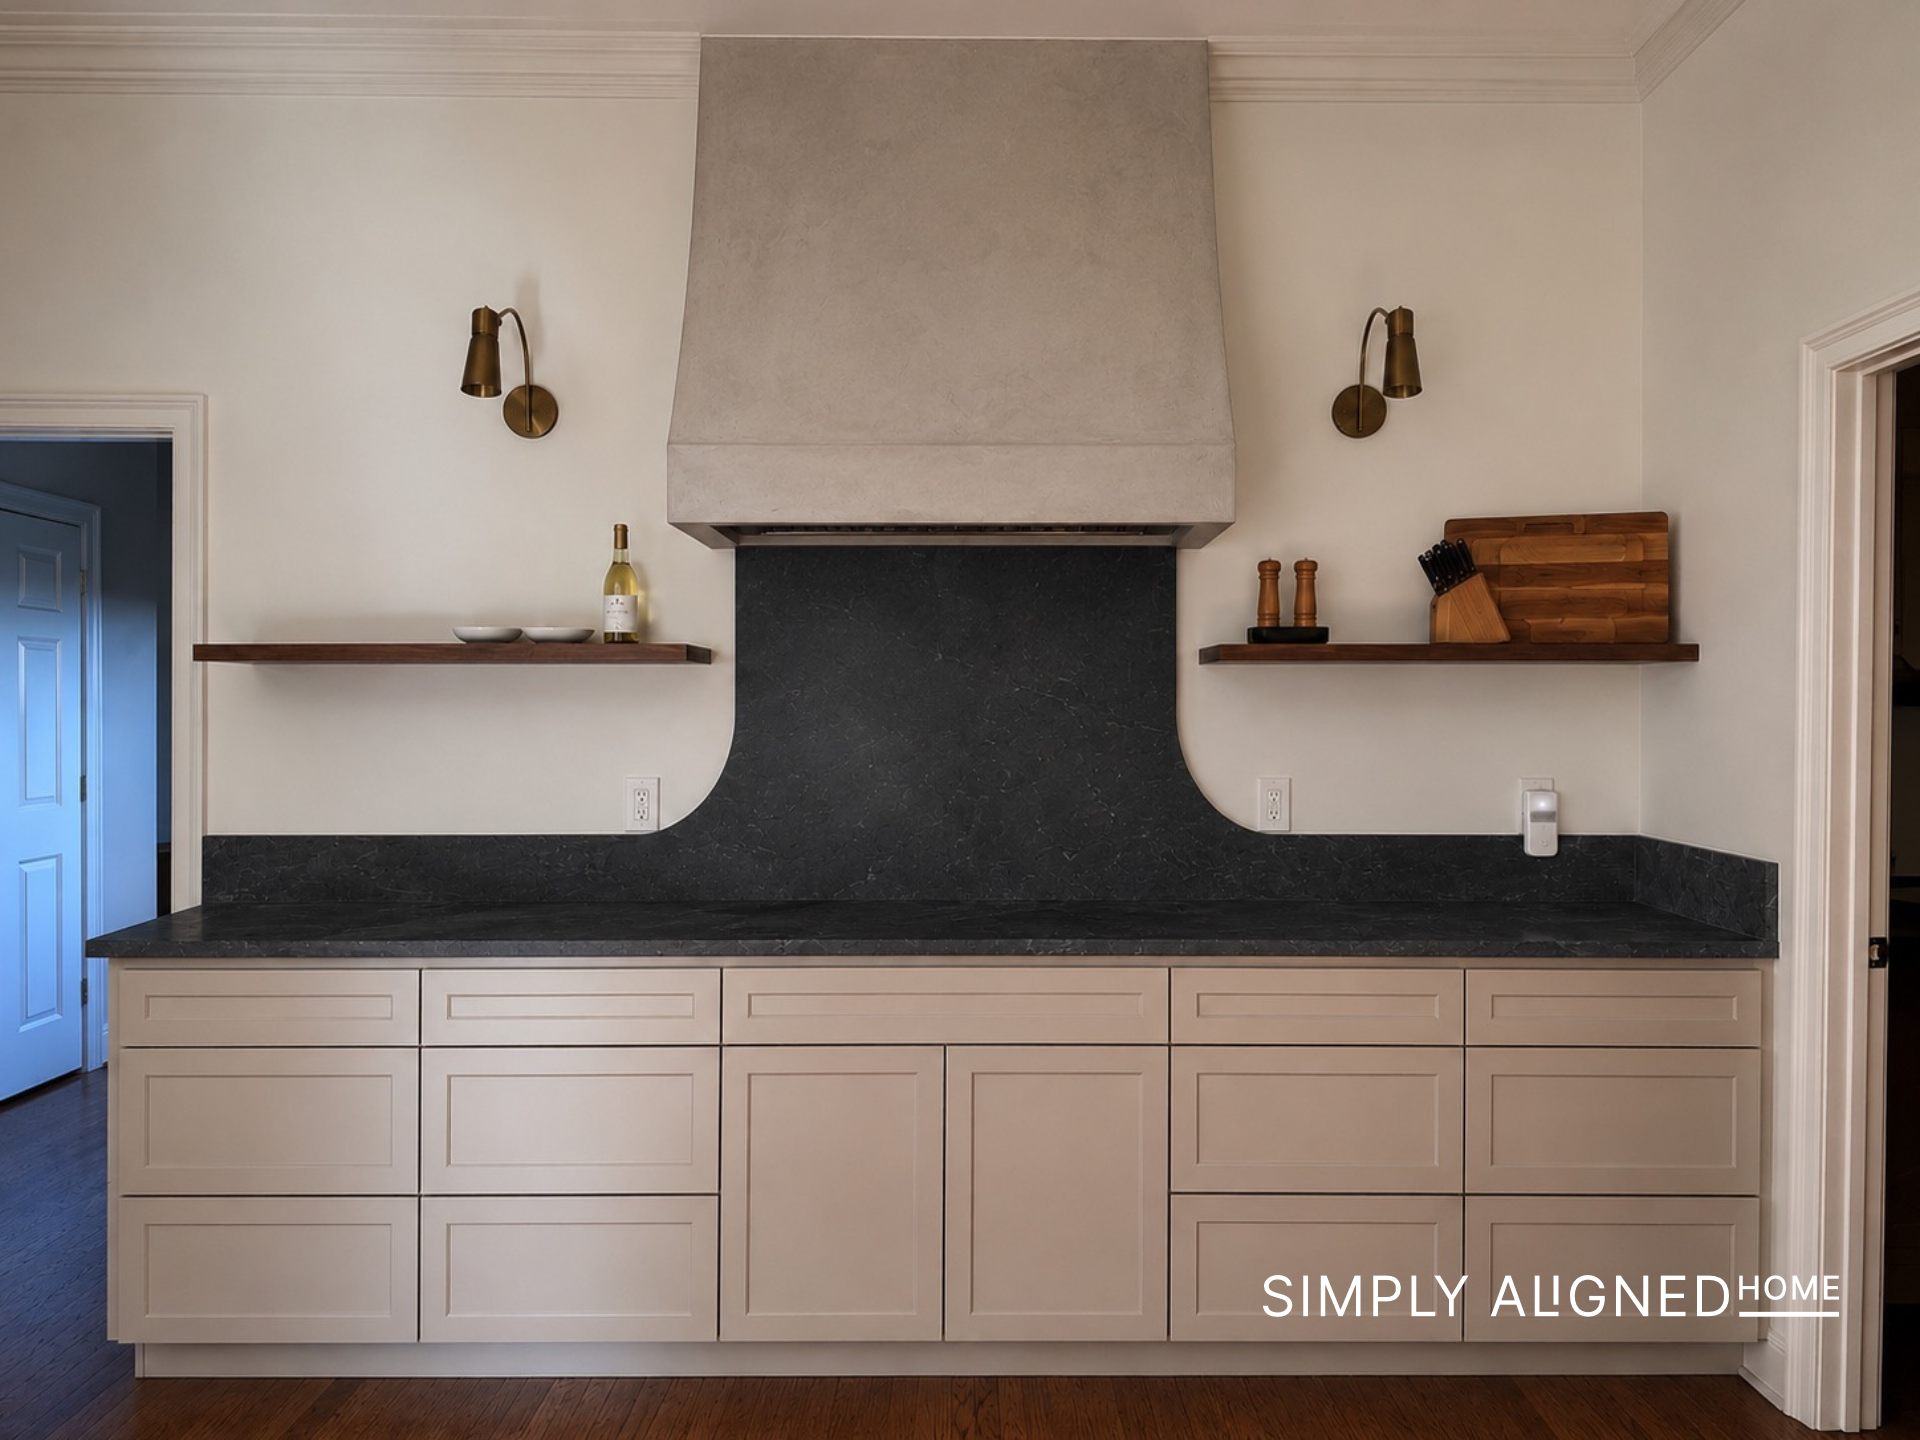
I also chose a full-height piece of the same soapstone to continue up behind the range. That detail is one of my favorite parts of the whole kitchen.
Building a Custom Wood Range Hood
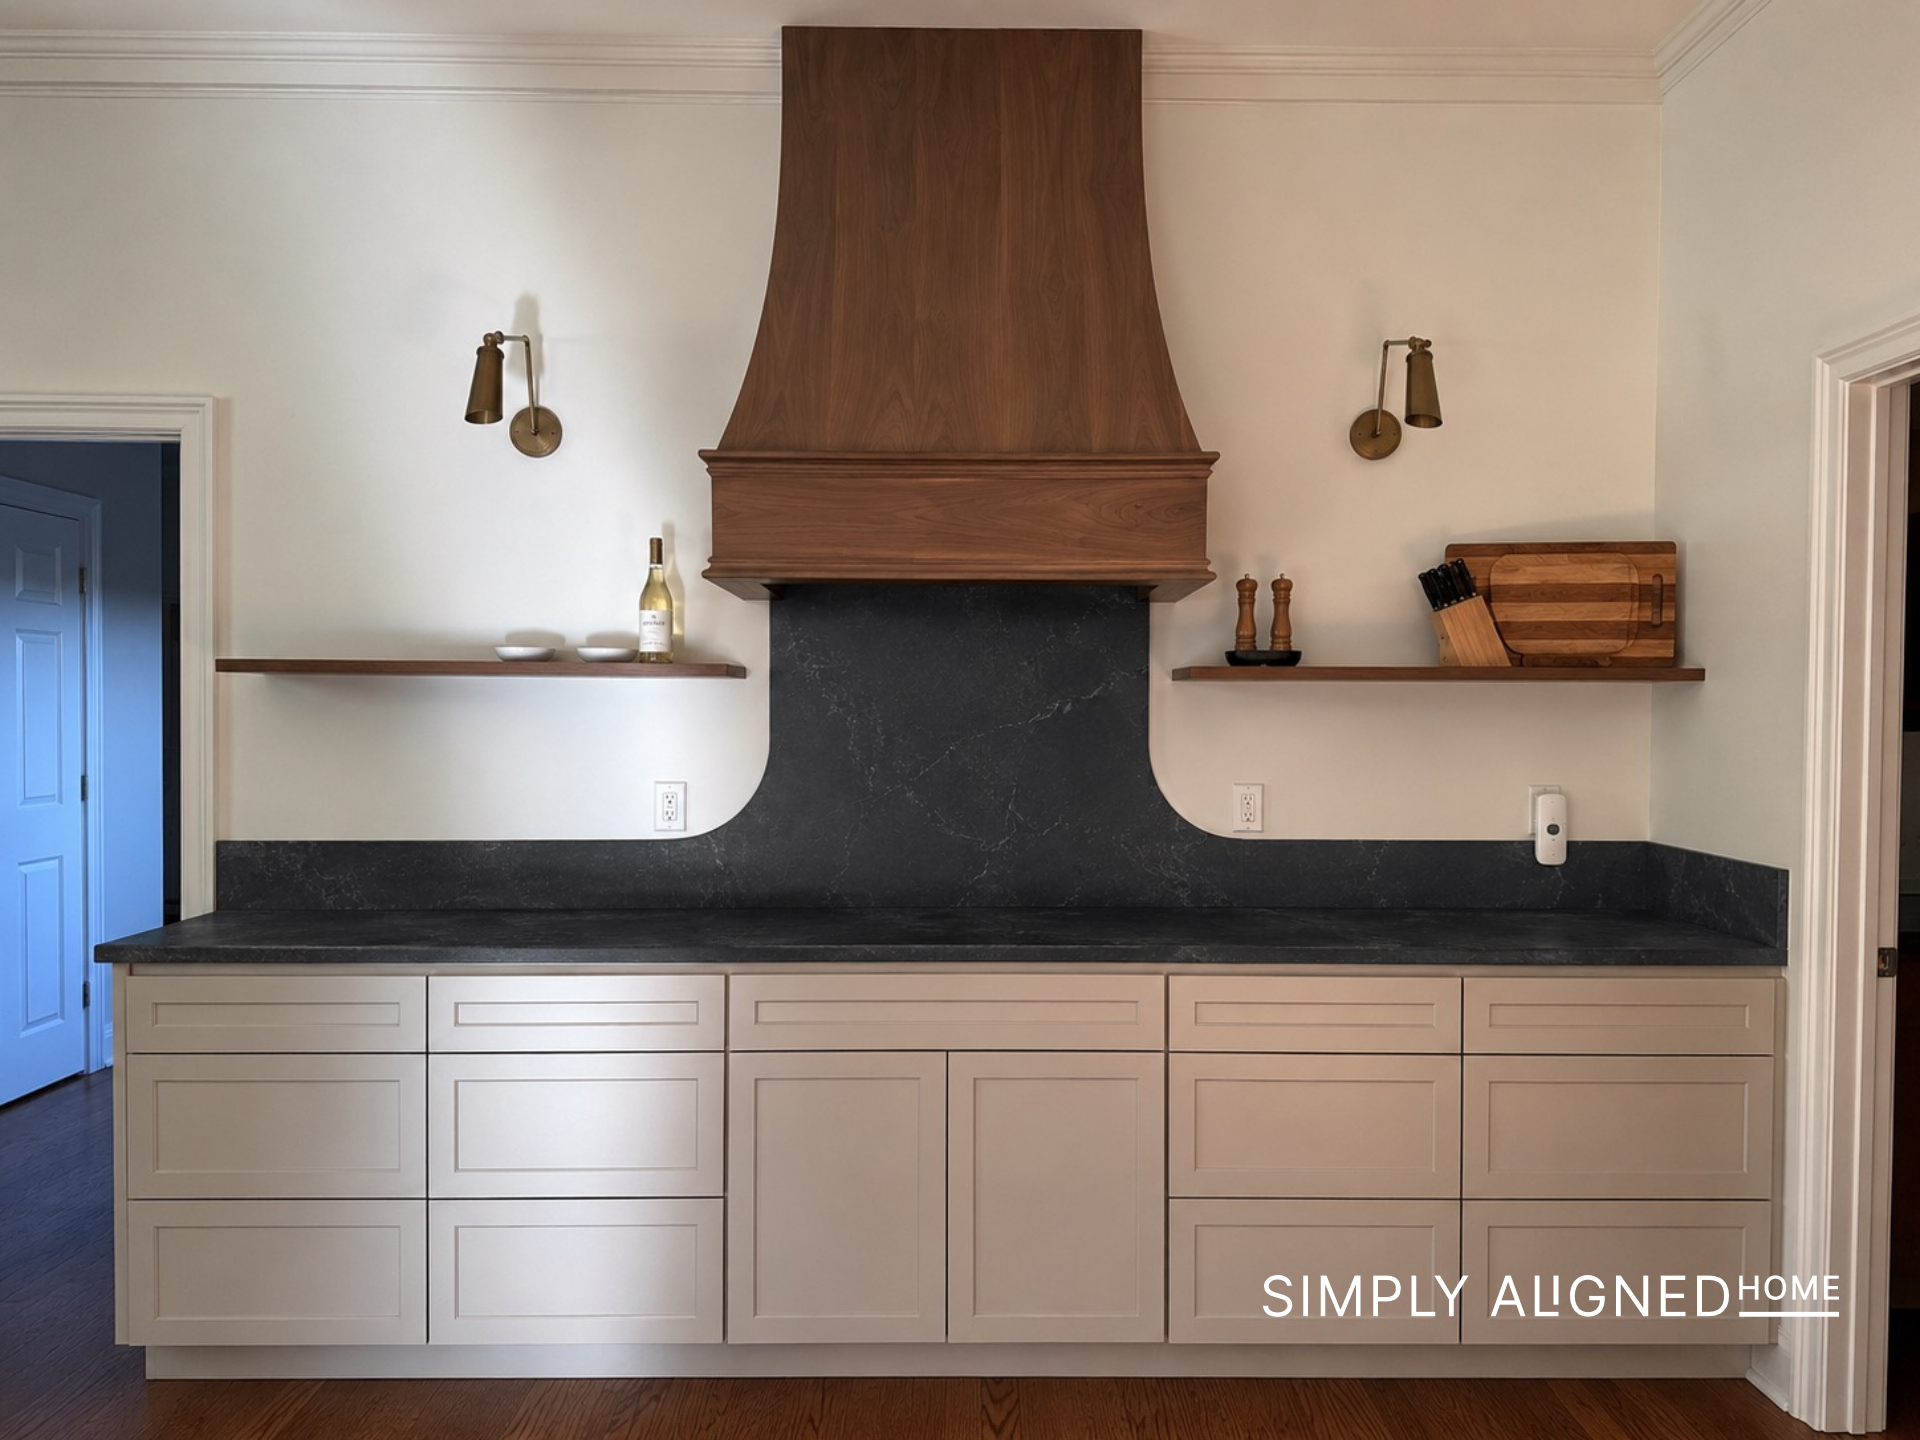
For my range hood, I shared two different design options….and the wood range hood won by a landslide! I knew I wanted something that felt warm, timeless, and like it had always been a part of this house so this was the perfect choice!
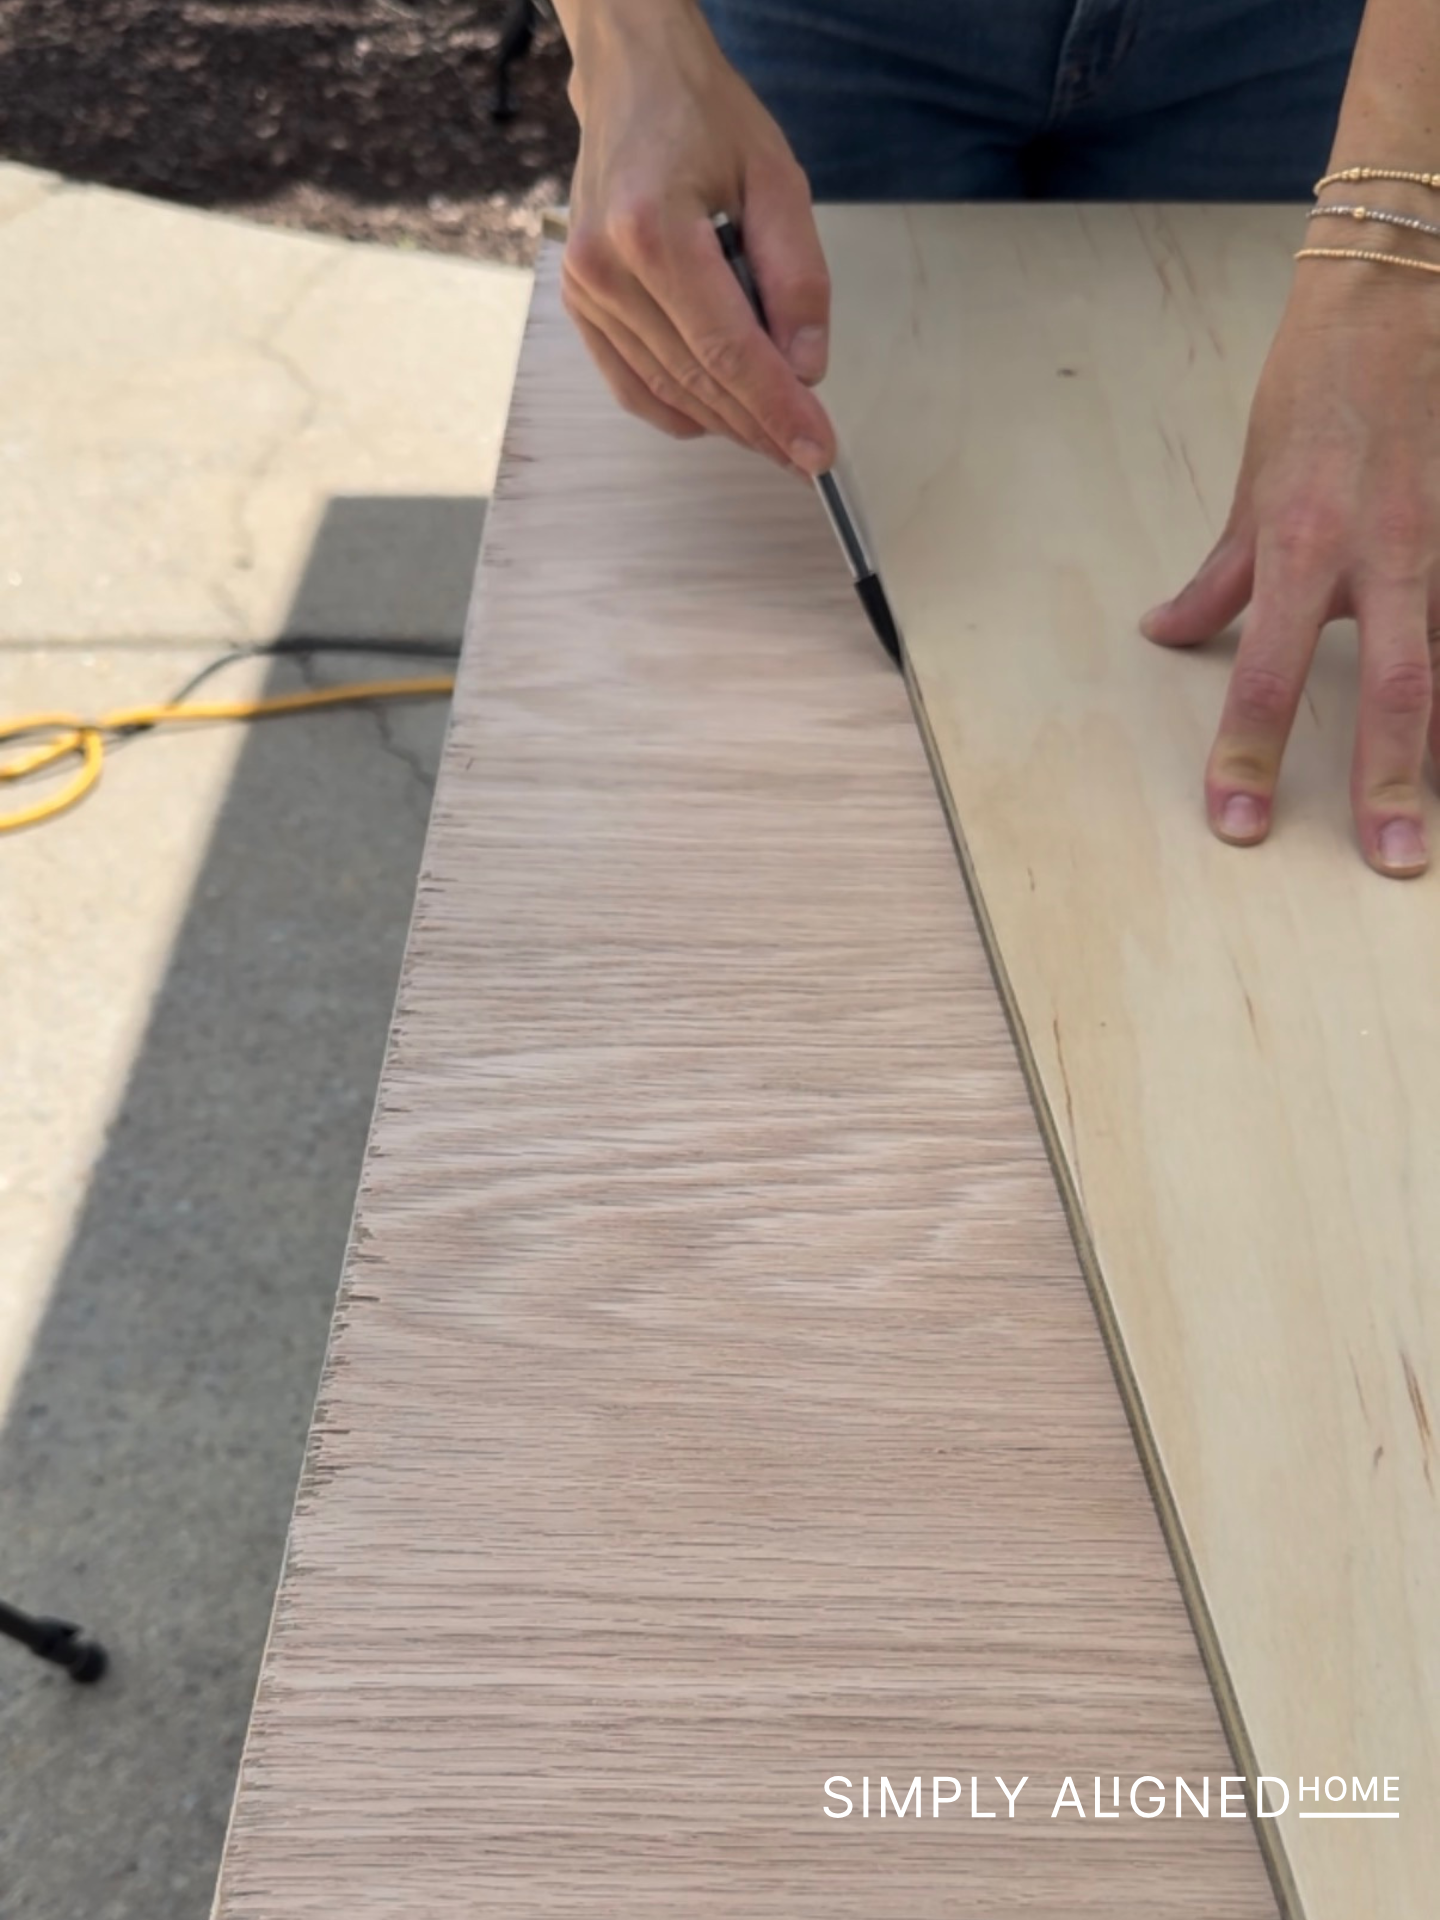
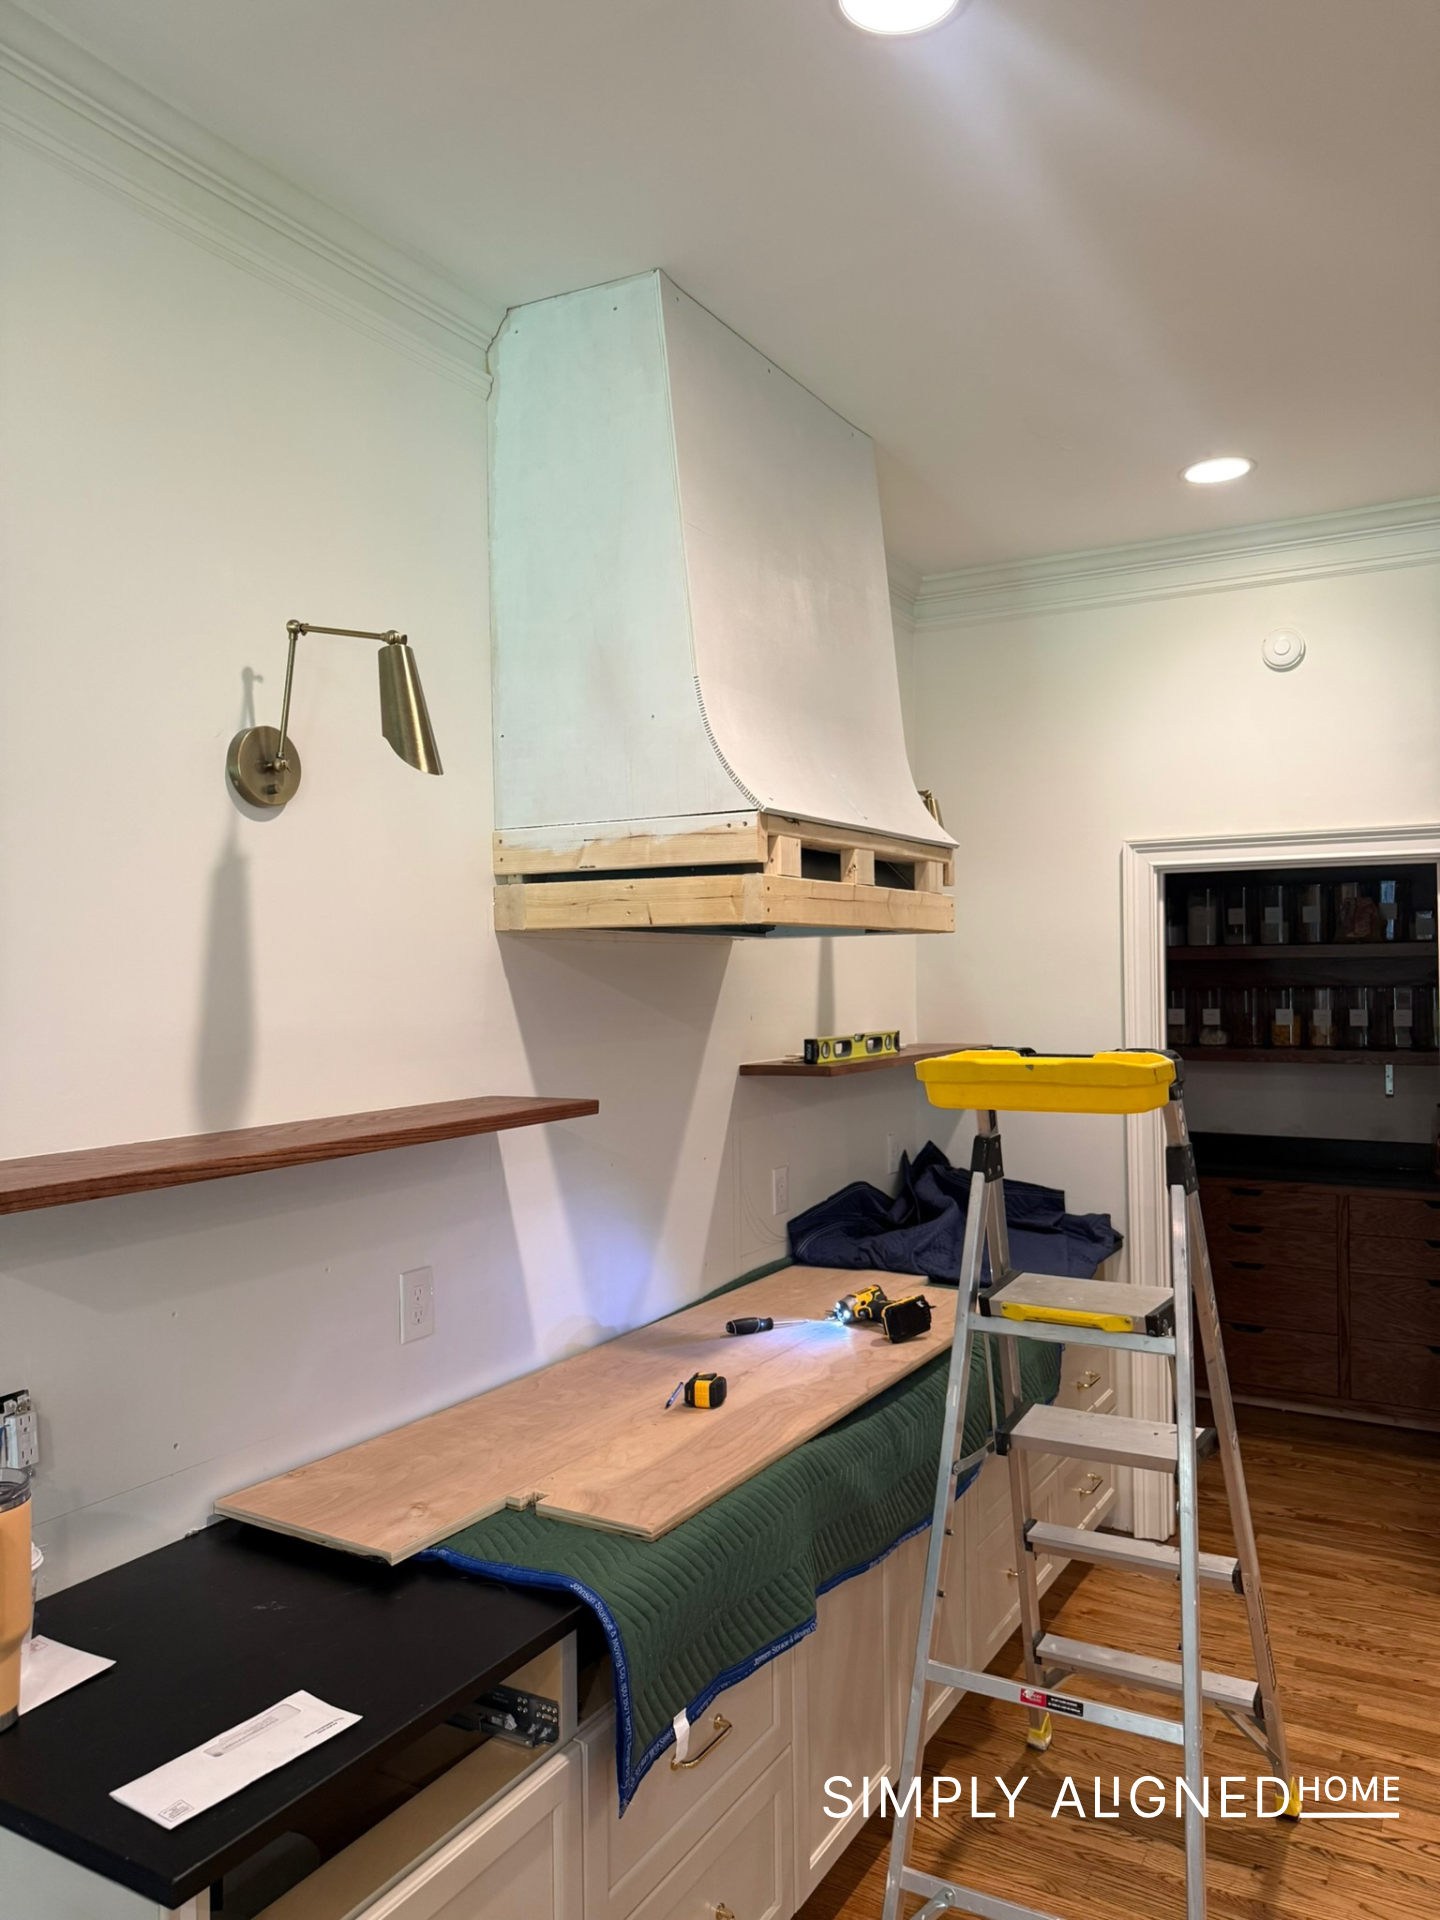
I started by making a template for the hood so I could figure out the shape before cutting into the plywood. Once I was happy with the design, I traced the outline onto the wood and cut several rounded pieces. I first used my jigsaw to get close to the traced line, then used my palm router to make the final cuts clean and precise.
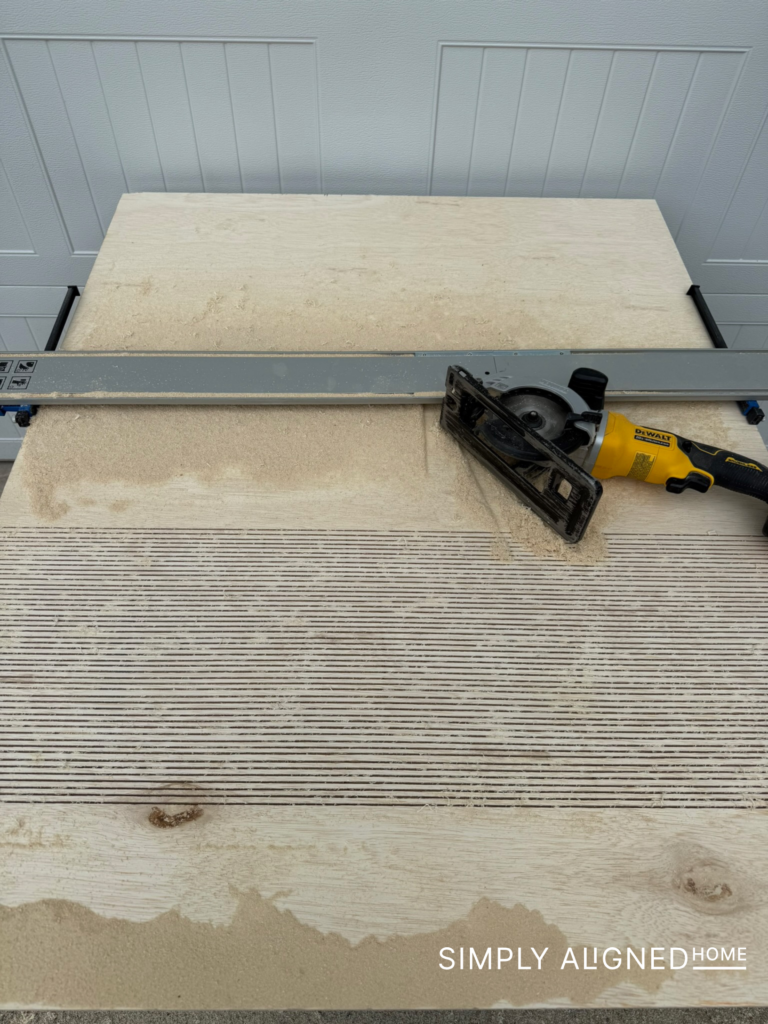
One part of the build that was new to me was creating a kerf cut in plywood. I made several shallow cuts through the back side of the plywood, cutting through all but about 1/16-inch of the material. This allowed the plywood to bend where I needed it to, creating the curved shape for the front of the hood.
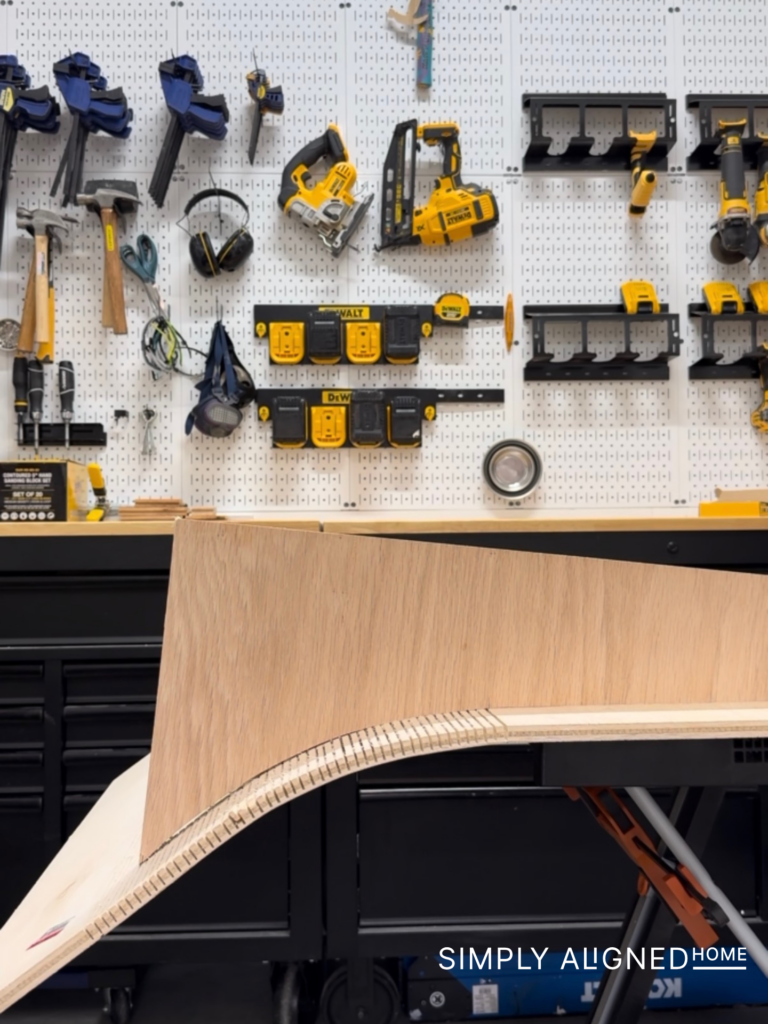
Once the plywood was flexible, I secured supports to the back side to hold everything in place and create the final shape. Then, I attached the range hood to the framing using screws.
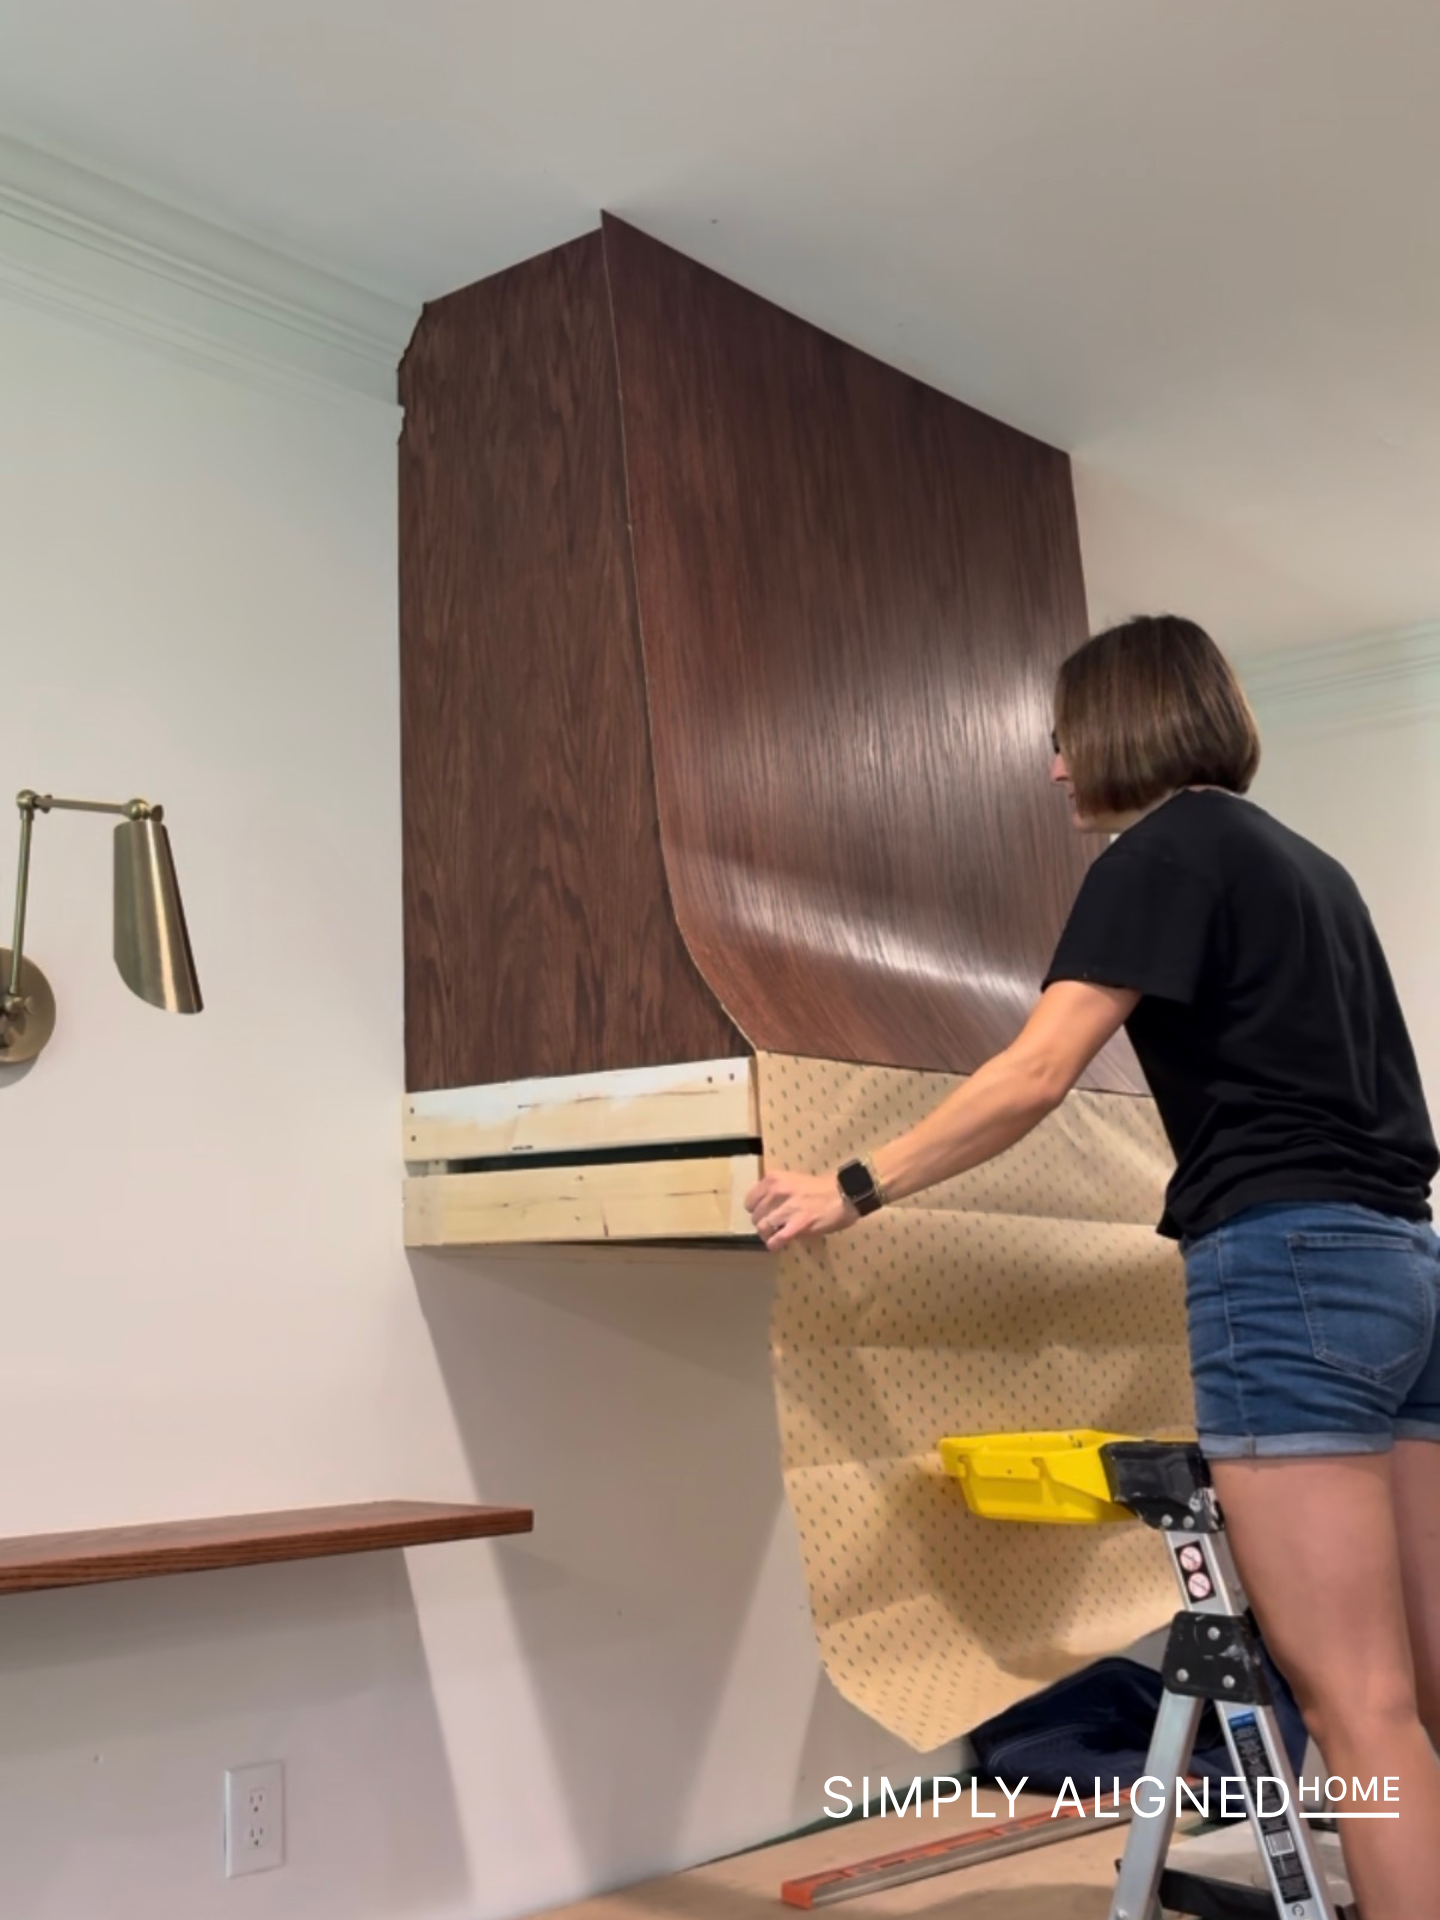
To give the hood the warm wood finish I wanted, I used red oak veneer with an adhesive backing. I stained and sealed the veneer before installing it, then carefully applied it to the finished hood!
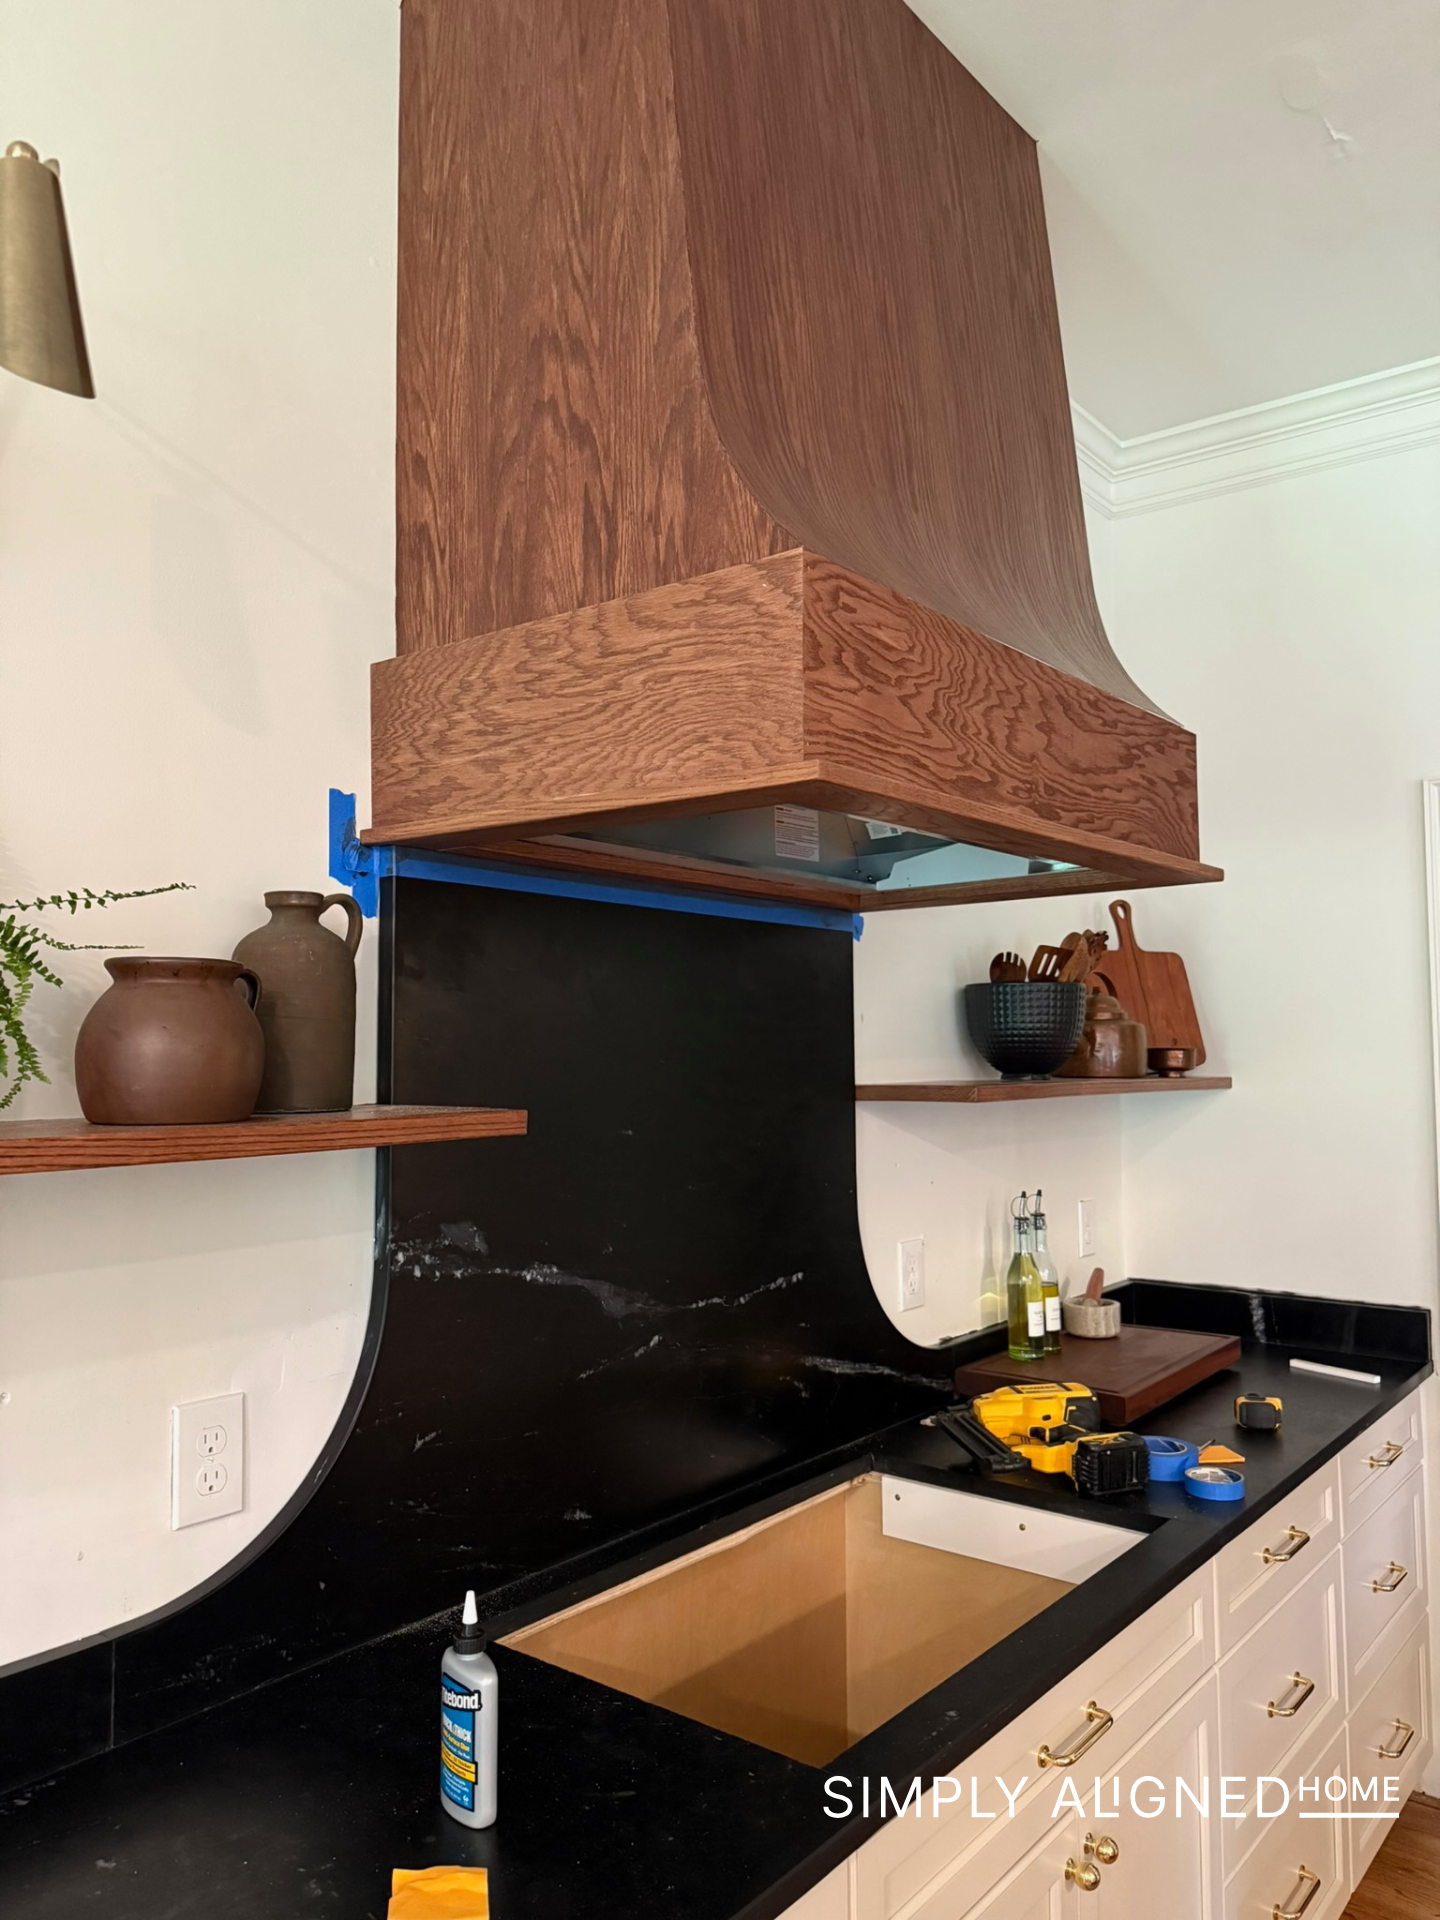
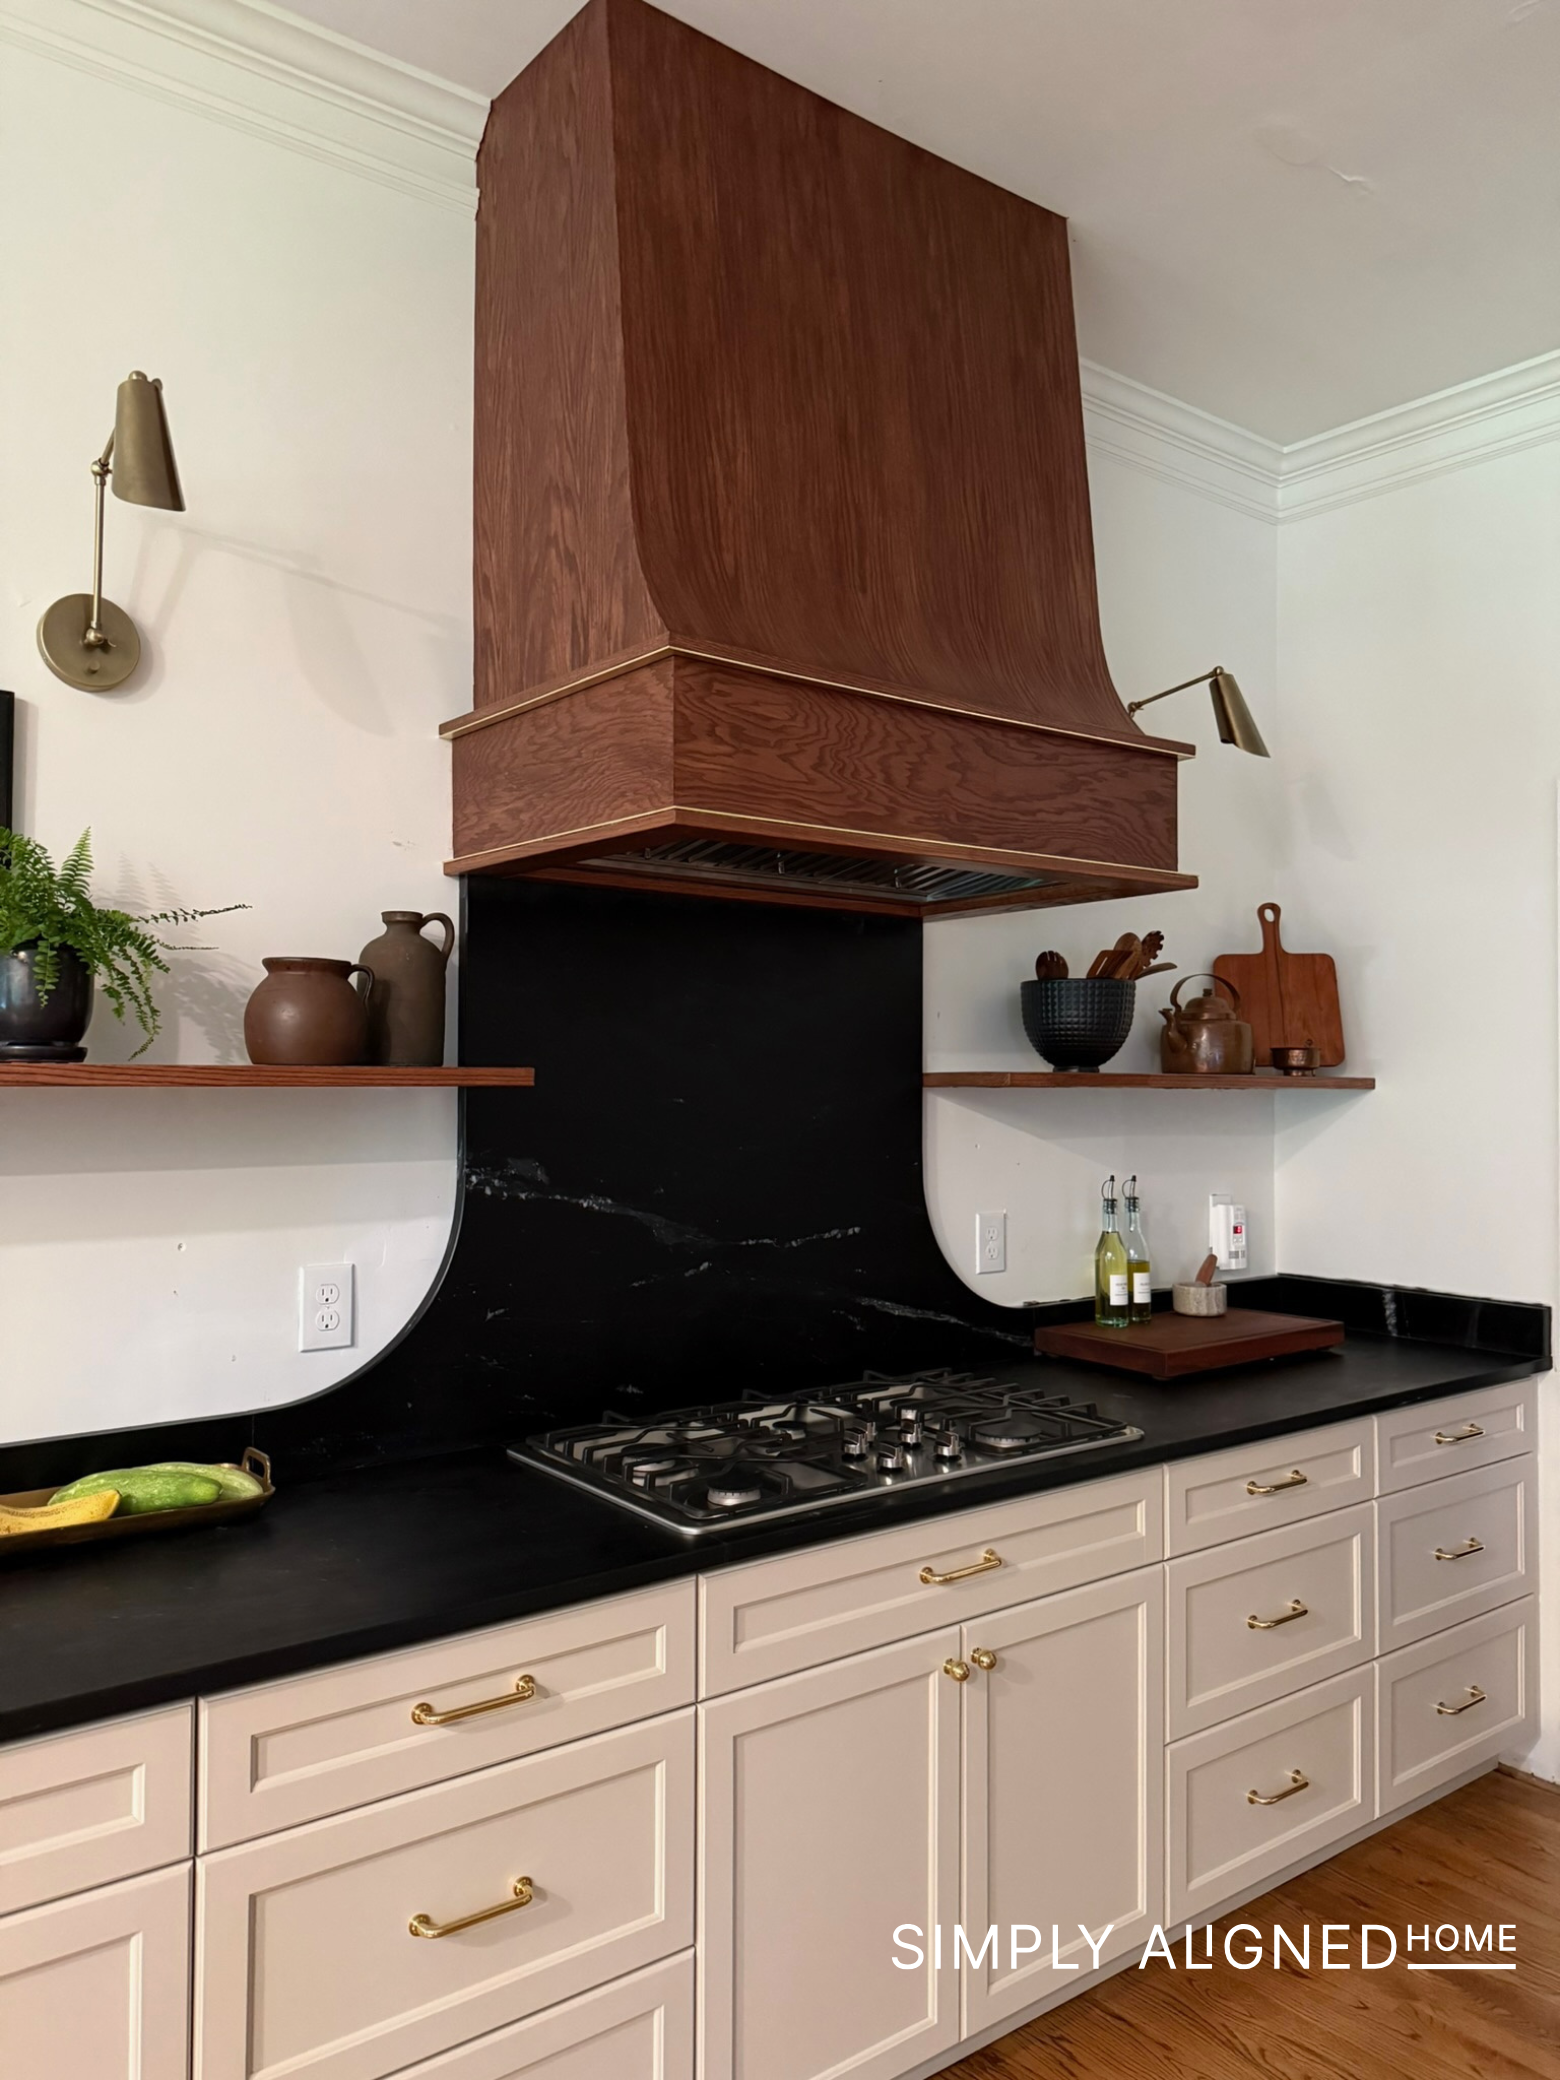
Trim truly makes everything look so much better. It covered the edges, gave the hood a more finished look, and made the entire piece feel more intentional. I also added a small brass detail that I absolutely love. It is a subtle touch, but those little custom details are what make a space feel special!
Building a Custom Kitchen Island
When I demo’d the old kitchen, I was left with a few holes in the hardwoods. I hired a flooring contractor to patch the holes and refinish the kitchen floors to make the patches blend in.
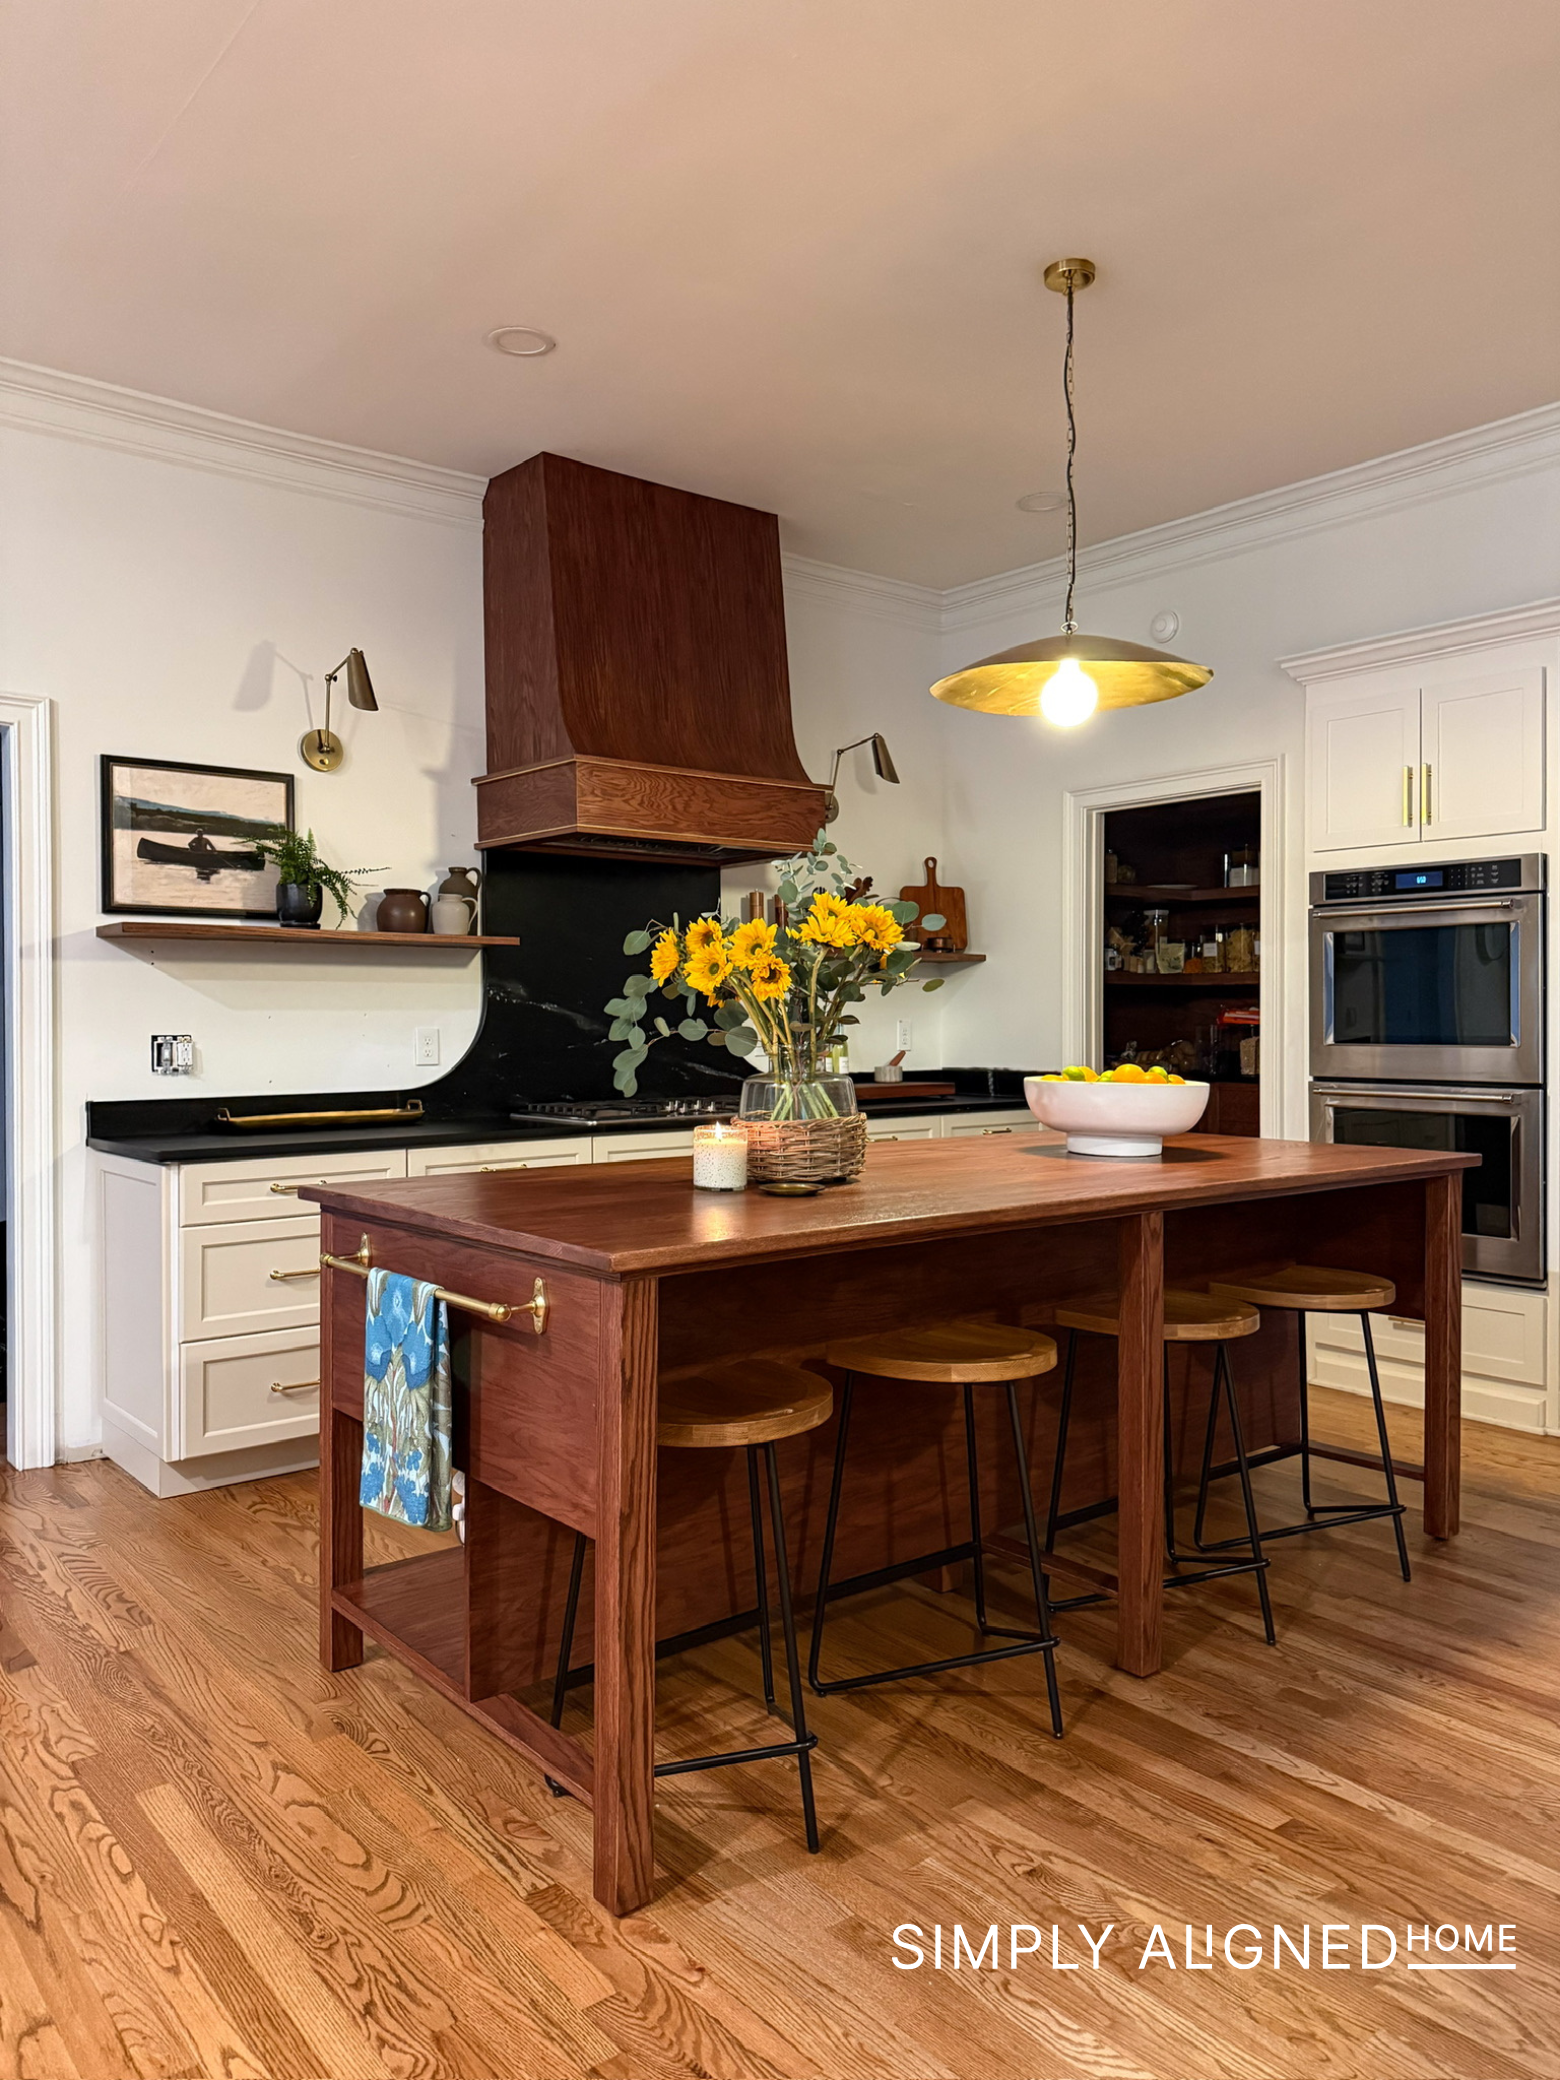
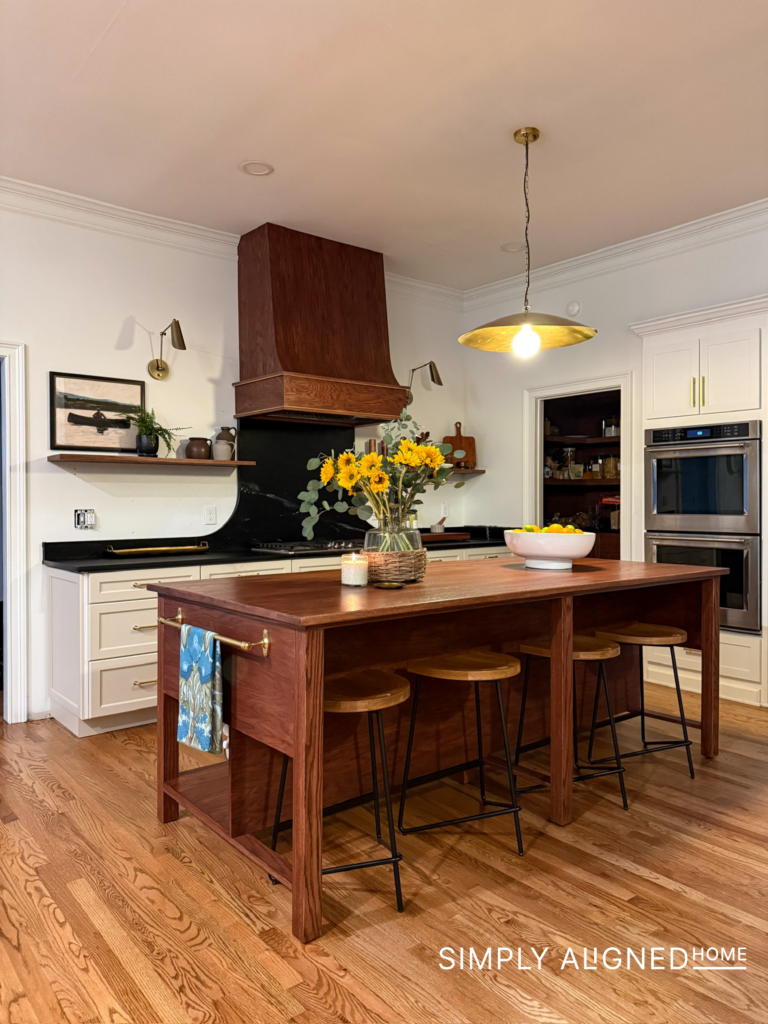
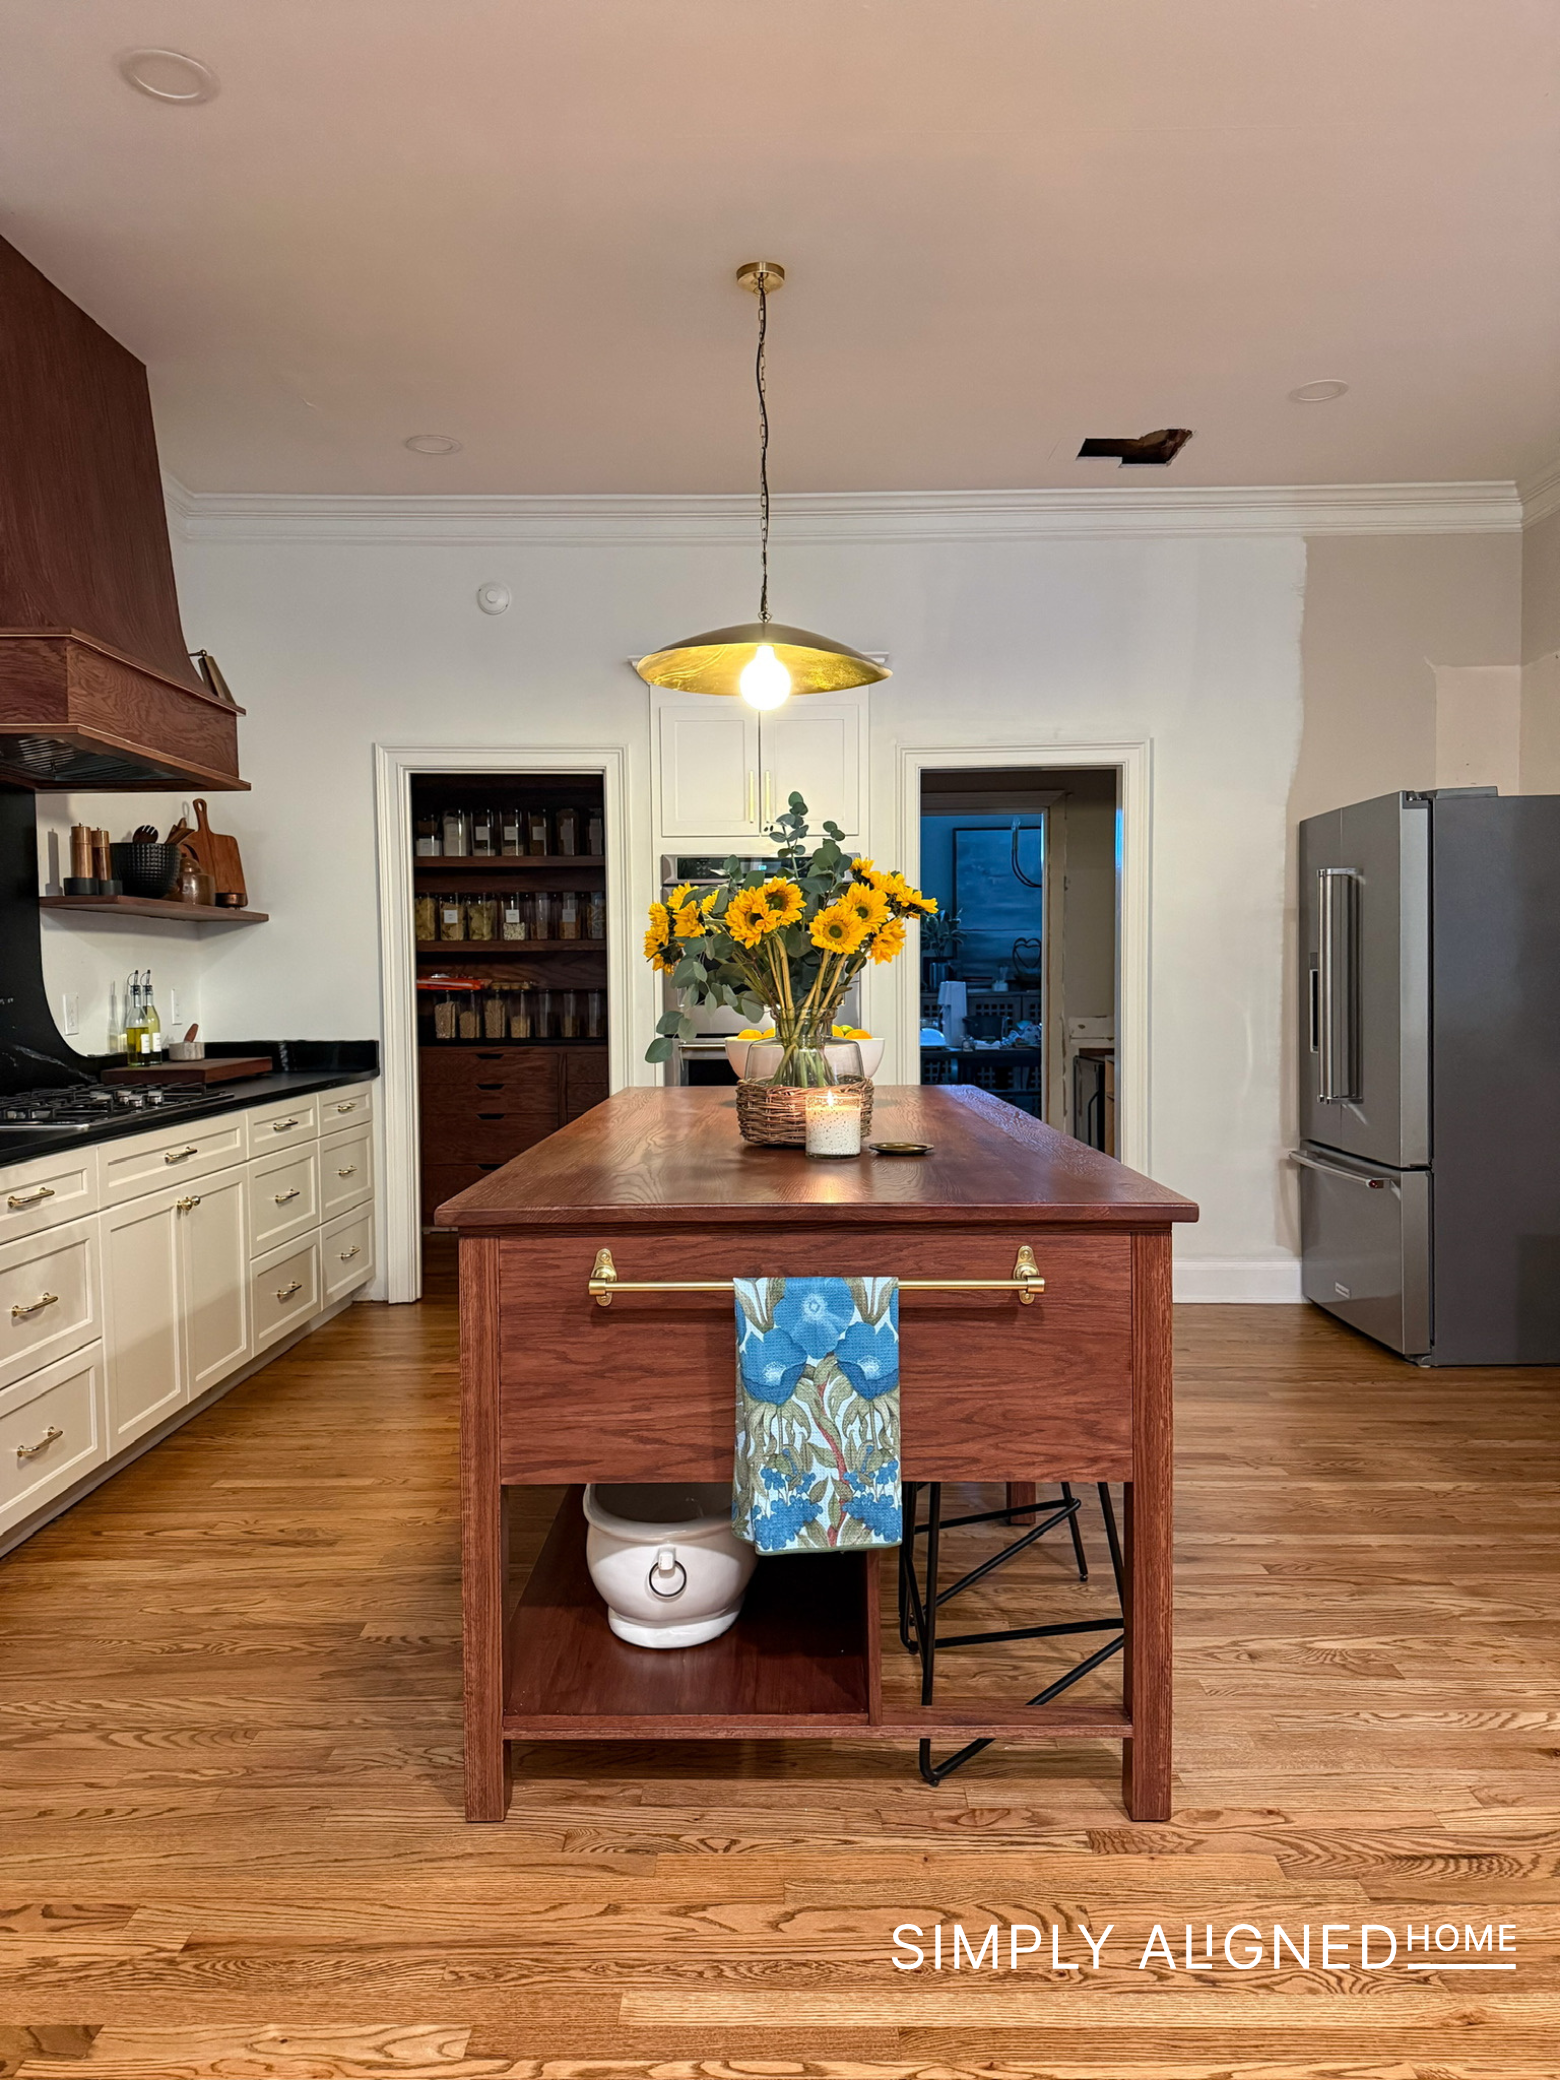
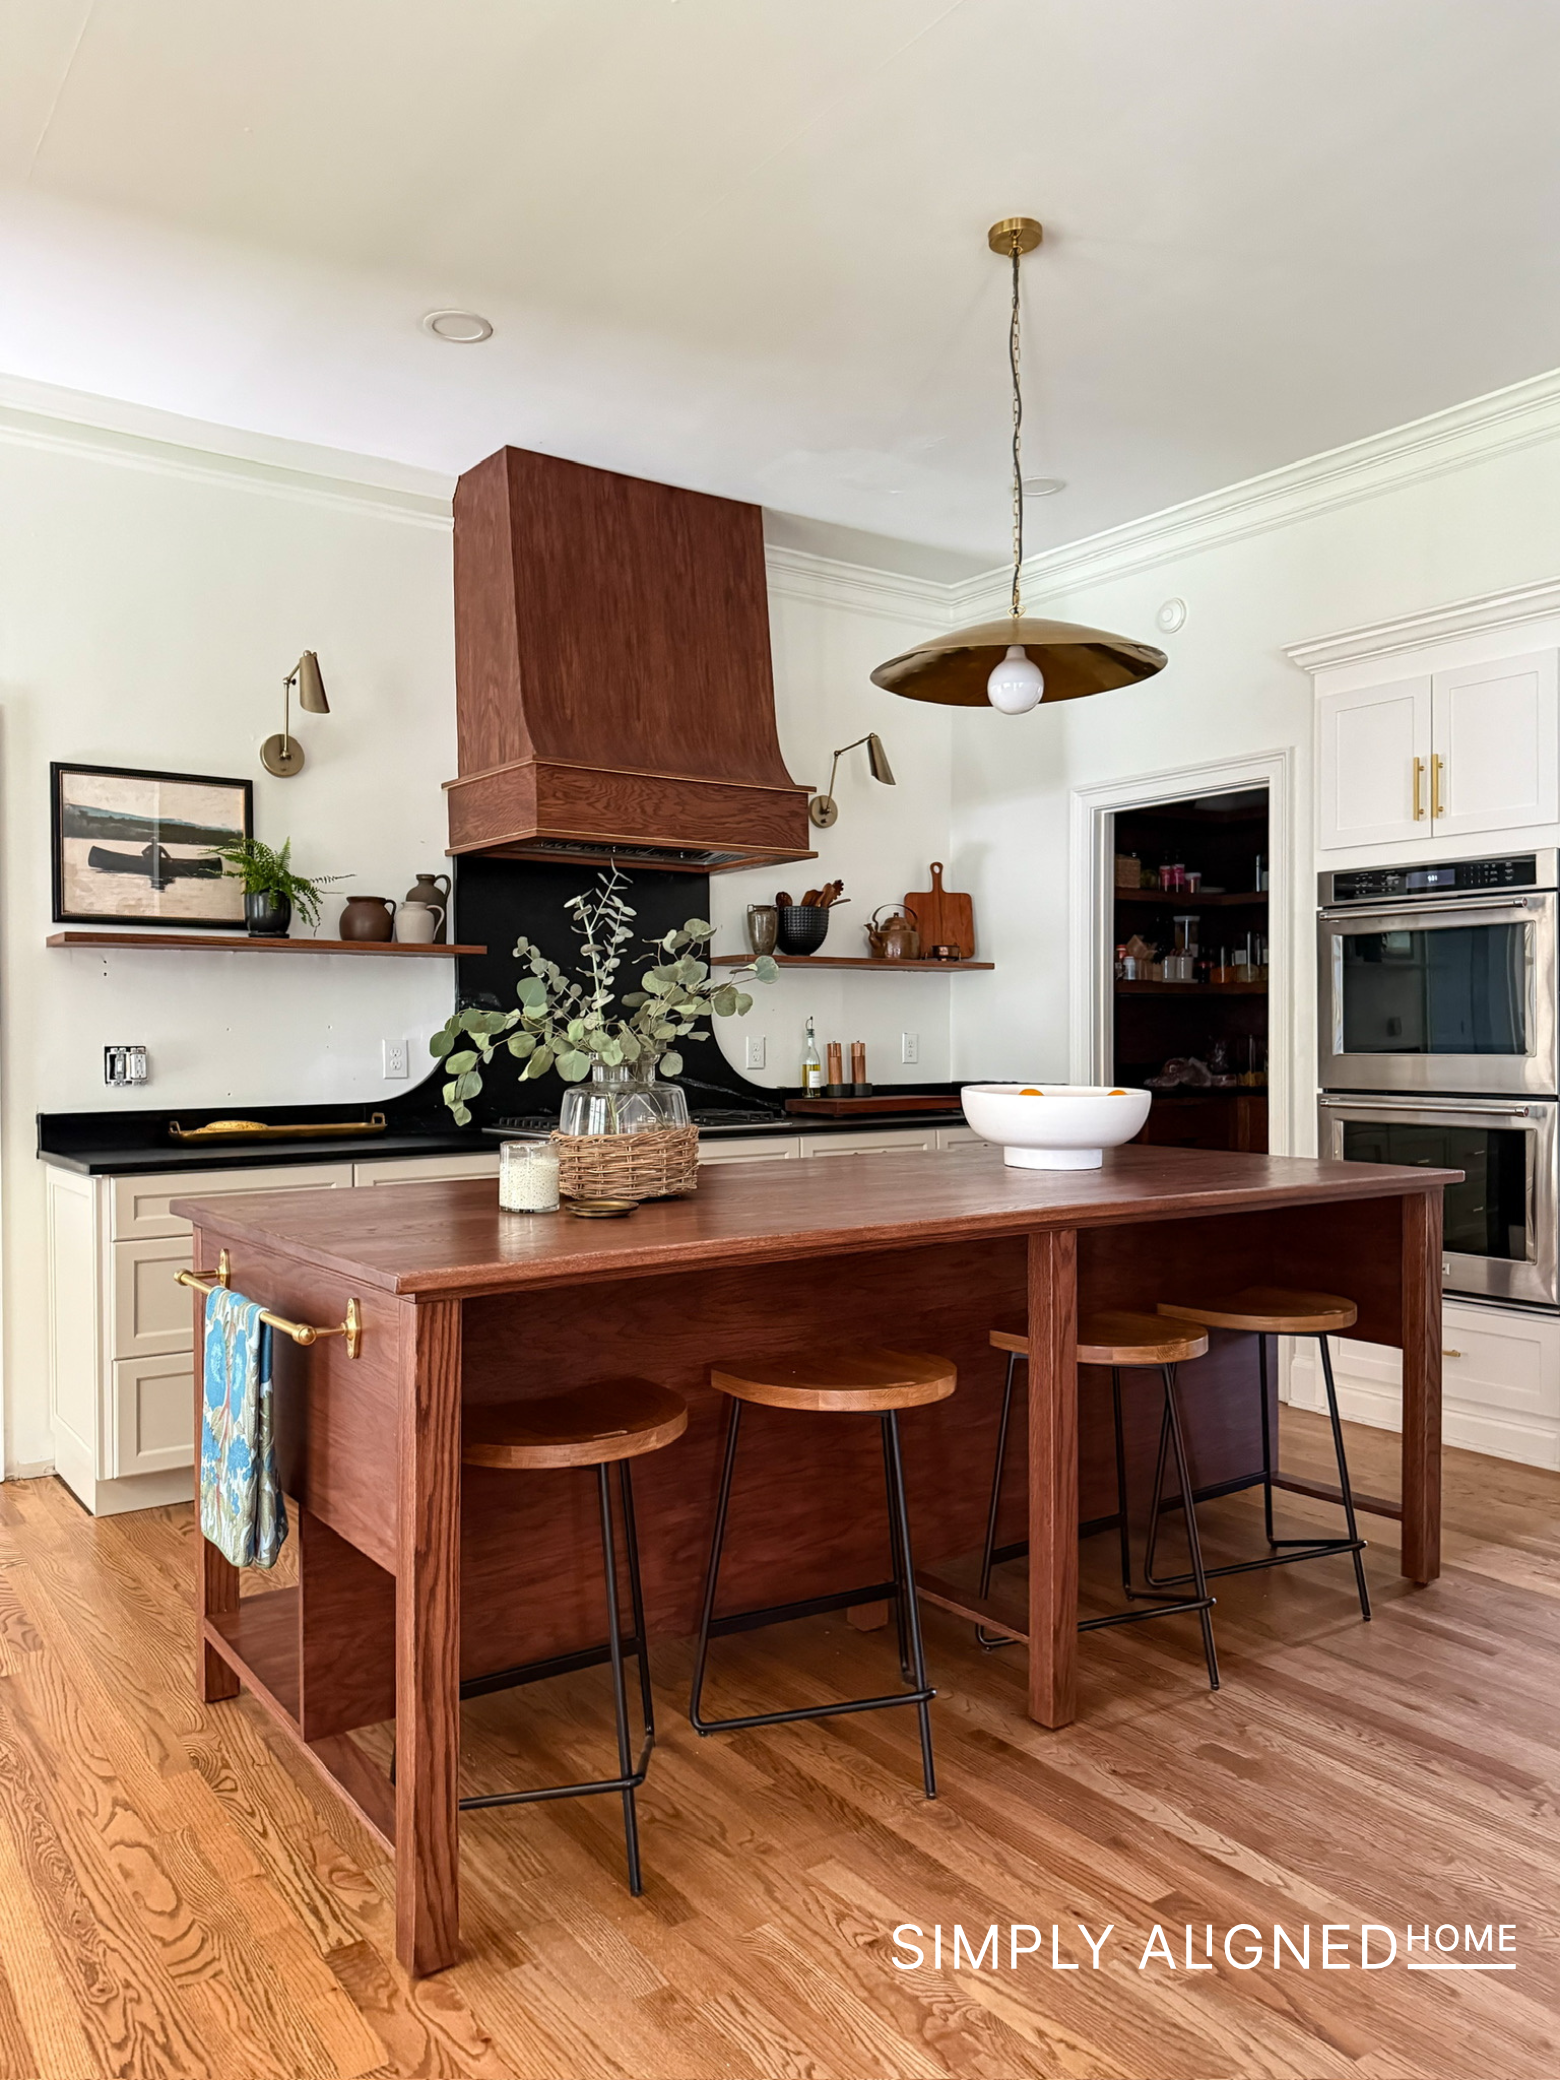
While the floors were being refinished, I got to work building the kitchen island. I wanted the island to feel more like a large table than a traditional cabinet island, so I built it with red oak and stained it the same color as the range hood to tie the wood tones together.
I had sketched out most of the design, but I ended up figuring out some of the details as I built. For the tabletop, I used 5/4 red oak boards. After we brought the top inside, I stained and sealed it in place. The finished island adds so much warmth to the kitchen and gives the space the custom, furniture-style feel I was hoping for.
A Kitchen That Finally Feels Like Home
This renovation has taken time, patience, and a lot of problem-solving. But every step brought the space closer to the kitchen I had pictured from the beginning.

**Note: I am not a professional and do not claim to be an expert. Please be sure to always read instructions for all tools and products. Safety is very important and should be your top priority. Wear necessary protection when using tools (eye wear, hearing protection, gloves, etc.) and dust masks when sanding or cutting. Simply Aligned Home is not responsible for any injury or damage. All of my designs are not professionally designed and are for private use only.**
Tools & Materials Used