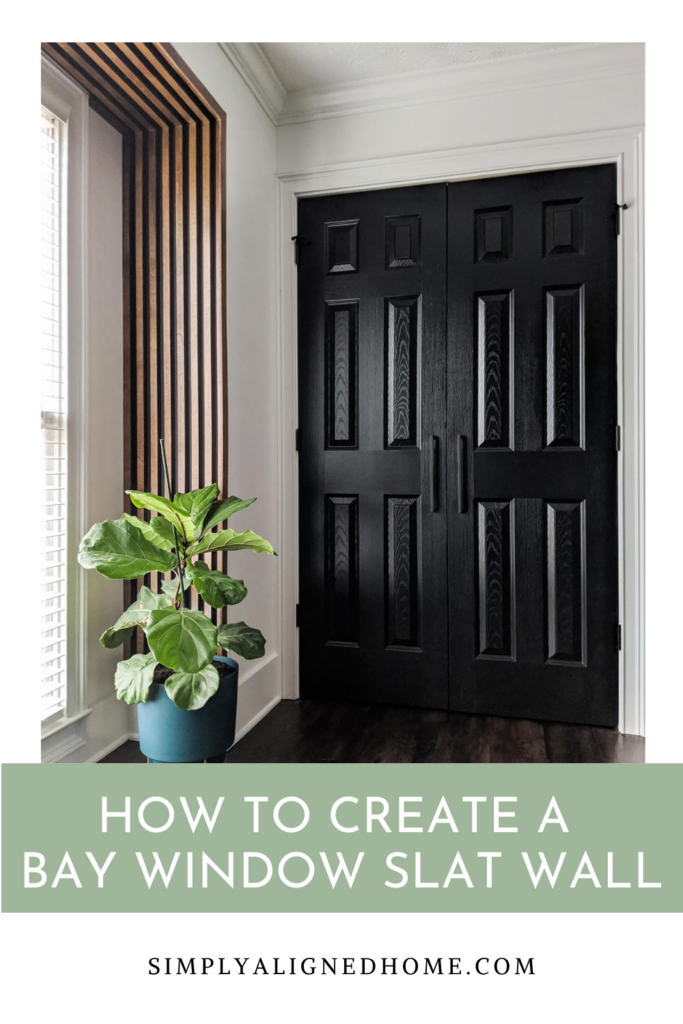
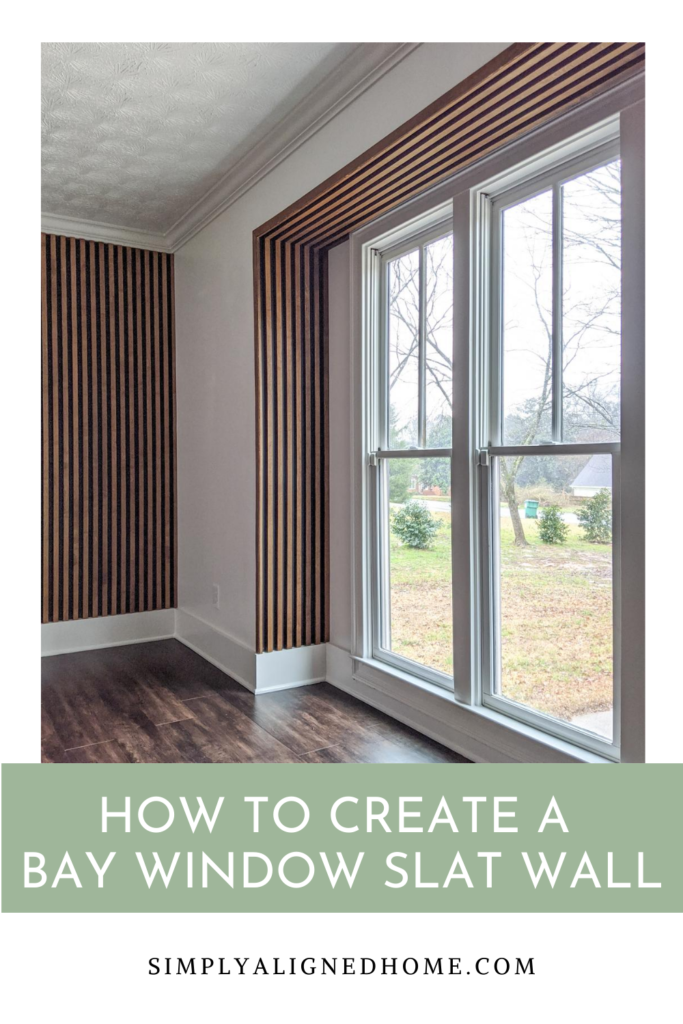
I always love finding new ways to use current trends. I recently installed a slat wall as an accent wall in my boys’ room and loved it so much that I wanted to find another place to install it. Their room also has a bay window which seemed very plain once the slat wall was installed…so what better place to install a wood slat wall than around the bay windows?!

If you didn’t see my post about the slat wall that I did, here is how I prep’d the slats for the slat wall. If you did, feel free to skip down to the installation section.
**This post contains affiliate links to products that I recommend. If you purchase something through an affiliate link, I may receive a small percentage of the sale at no extra cost to you. I really appreciate your support.**
Determine Amount and Type of Plywood
For easy of planning, I went with both 1″ wood slats and 1″ spaces. I divided the width of the wall by two and this was the total number of slats I would need per wall.
In order to account for waste from the saw blade cuts and to make sure I had a few extra slats, I purchased slightly more plywood than I thought I needed. I chose to use 3/4″ x 4′ x 8′ birch plywood since I would be staining it. Any stain grade plywood would work.
Cut the Plywood
I had my local hardware store cut the plywood in half when I purchased it. This made it easier for me to handle.

Luckily, I had a little help from my husband when cutting the plywood. A second set of hands is super helpful when running plywood through a table saw! We cut both sheets of plywood into 1″ slats.

Safety is obviously key when working with power tools. It is very important to keep your hands away from the saw blade and use a push stick or pushblock with the table saw. We were extra careful when we got to the last few slats on each piece of plywood.

Sand the Plywood
I started by sanding the cut edges of the plywood. I mainly wanted to get rid of the rough edges since I knew it would be nearly impossible to make them smooth. It was easiest to line all of the pieces up and sand them at once using my orbital sander.

As soon as the top and sides were sanded, I hand sanded the edges with a sanding sponge to smooth them out. I didn’t bother sanding the face of the plywood that would be up against the wall.

Stain the Plywood
For the original slat wall, I tested two different stains. I ended up using my favorite stain, Special Walnut. It added the warmth I wanted to the room and complimented the dark floors well.
I started by lining up several slats on their side. I used a paint brush to apply stain to the two cut sides first. The brush did a much better job of getting stain in all of the cracks than a rag. These sides really sucked up the stain.

Once the sides were stained, I applied a light coat of stain to the front surfaces using a rag. I allowed the stain to dry overnight.

I decided to wait until the slats were on the wall to seal them…which might not have been the best decision.

Paint around the Bay Windows
I painted the surfaces where I would be installing the slat wall…the side walls and the ceiling. Since the wall would not really be seen beneath the slats, I used a cheap matte black paint and applied two quick coats to the accent wall. I allowed the paint to dry before installing the slats.

Cut the Slats to Length
The floors in our home are not quite level, so the distance between the baseboards and ceiling vary slightly. I only cut a few of slats at a time. I cut the length of the wood slats using a miter saw. This ensured that the slats weren’t too long or short.
Install Slat Wall around Windows
As with the main slat wall, I used both construction adhesive and my finish nailer to install the slats. The trim around our doors and windows is rather thick…and was actually really close to the thickness of the slats. I decided to install the first wood slats up against the wall so that they would dead end into the window trim. I then spaced the second slat 1″ from the first.

I cut all of the corners on a 45 degree angle. The edges that intersected the baseboard were cut straight. I installed the slat on the side wall and then installed the slat on the ceiling.

Once the the first row was done, I installed the remaining slats using the same spacing that I used on the accent wall. I found that the install was super quick using the pre-cut spacer.

The width of the bay window was larger than 8′. This meant I would need to piece together the slats for the ceiling. I cut the slats on a 45 degree angle where the two pieces met in an attempt to hide the joint.

Based on the depth of the bay window and my spacing, the last slats closest to the interior of the room needed to be 1/2″ wide as opposed to 1″. I ripped down a few pieces and installed them flush with the outside of the wall. I wanted to get these installed so that I could see the actual spacing I was working with to finish off the bay window slat wall. No matter how exact I am with my measurements, there is always a little discrepancy in the end. This way, I could account for the difference in spacing before I put in the last slats.

Trim Out the Window Slats
I have accepted the fact that no walls are straight…the walls around the bay window were no exception. Once the slats were installed, the wall imperfections were accentuated. Therefore, I decided to trim the entire window with 1-1/2″ wide lattice. This allowed me to trim up the outer edge of the slats and make clean, straight lines on the bedroom wall.

I cut the corners of the lattice on a 45 degree angle. I secured it to the slats that were already installed using construction adhesive and nailed it to the wall using finishing nails.

Air Out the Room
Just a fair warning…the stain from the slat wall did smell for quite a few days after installing it. I aired the room out, used an odor absorber, and made sure the smell was gone before I allowed my sons to sleep in this room. If you are not able to keep the room clear until the smell dissipates, I recommend allowing the slats to cure elsewhere before you install them.

The finished product was quite stunning! It was the perfect compliment to the accent wall! I think this slat wall treatment would look amazing around any bay window. I’m actually thinking about installing it around the bay windows in my dining room too!

Be sure to check out the finished boys’ room!