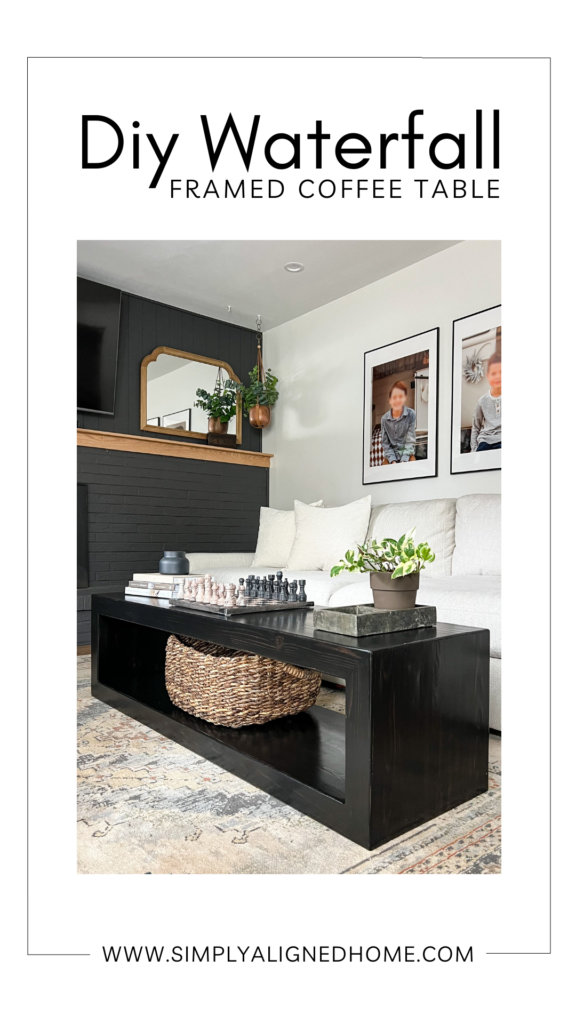
In this step-by-step tutorial, I’ll walk you through the process of creating a stylish and modern centerpiece for your living space.
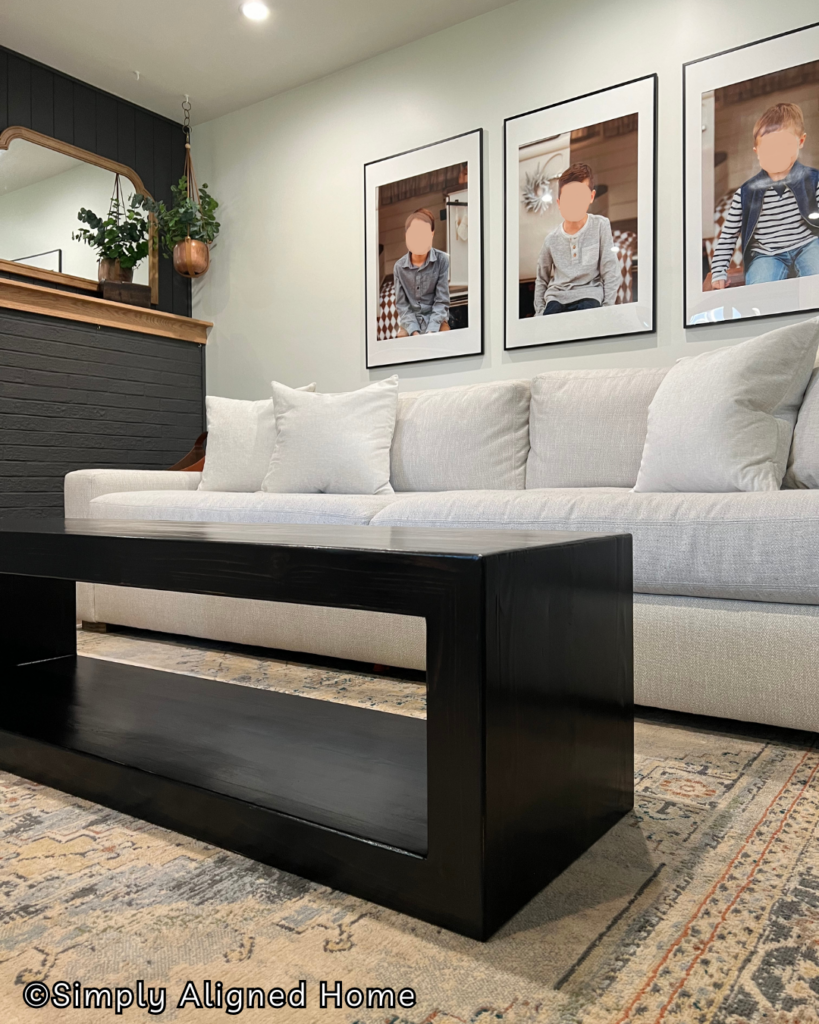
The other day, I stumbled upon a designer coffee table that stole my heart, but the price tag of $800 for a pine table left me hesitant. Determined not to break the bank, I opted to create a replica myself! I managed to design and build my own DIY waterfall frame coffee table for approximately $60!
Below, I’ll guide you through the steps so you can save money and create your own table as well.
**This post contains affiliate links to products that I used or recommend. If you purchase something through an affiliate link, I may receive a small percentage of the sale at no extra cost to you. I really appreciate your support!**
How To Build A Waterfall Console Table
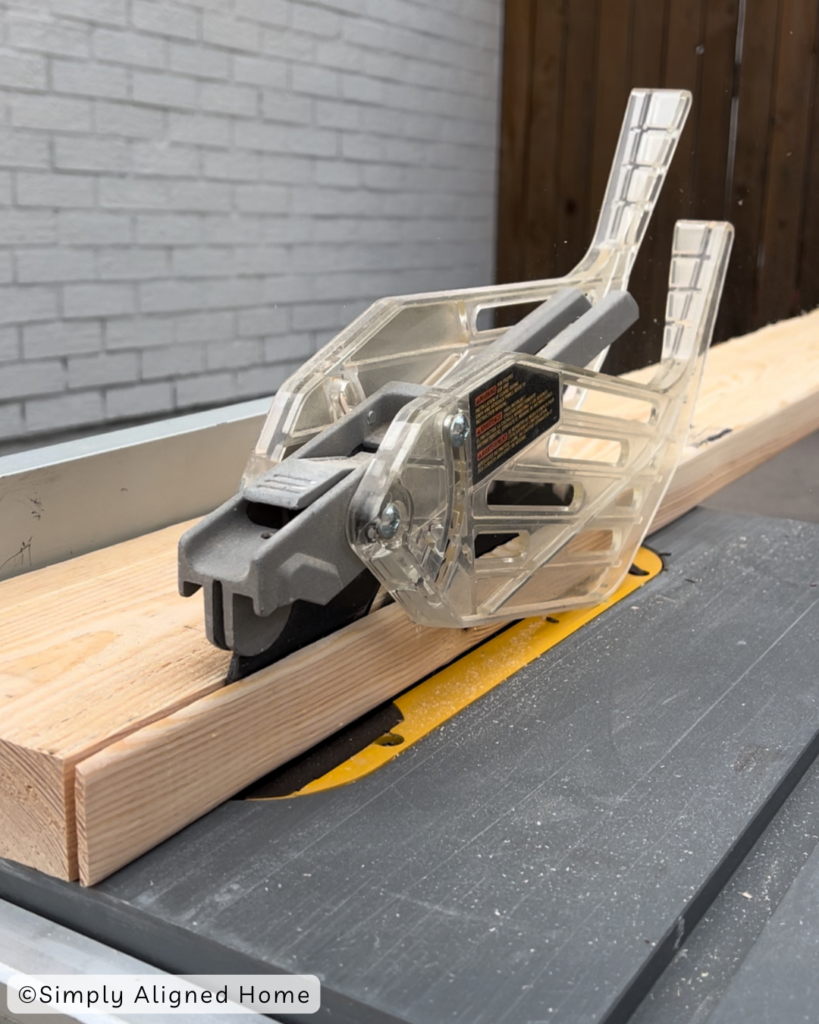
Make the Wood Panels
Alright, let’s dive into the first step of building your coffee table! Grab your 2×6 and 2×4 lumber and head over to your table saw. Here, you’ll want to carefully rip about 1/4″ off each side of the board to eliminate the rounded edges. This ensures a smooth fit when you later glue the boards together.
Now that you’ve squared off your lumber, it’s time to assemble the wood panels. Depending on your desired size, you may choose to glue up multiple boards. For my project, I opted for (3) 2×6’s for each side.
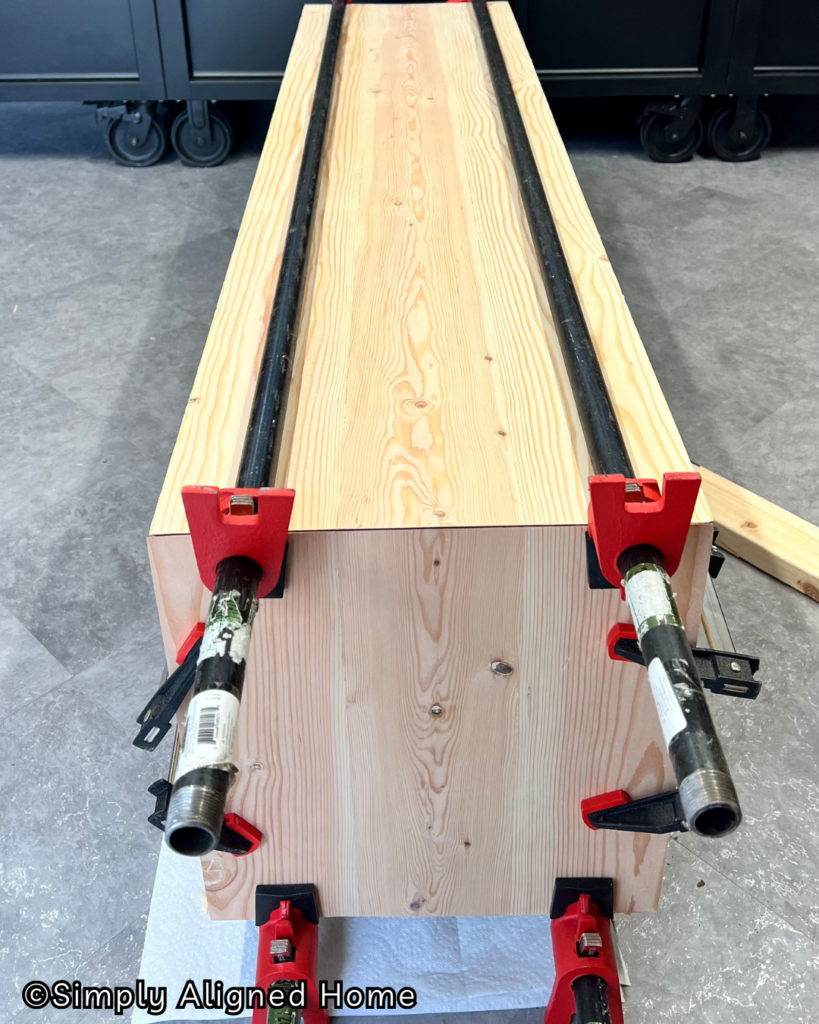
Grab those trusty pipe clamps – they’re going to be your best friends for this part! I glued up my boards in sets of three. If you’re short on clamps like I was, don’t fret! You can use one set of clamps to glue up two panels, just ensure they don’t stick together. For this table, I could have made it out of just two panels. I made an additional panel just in case if one of the other two were warped once the glue dried.
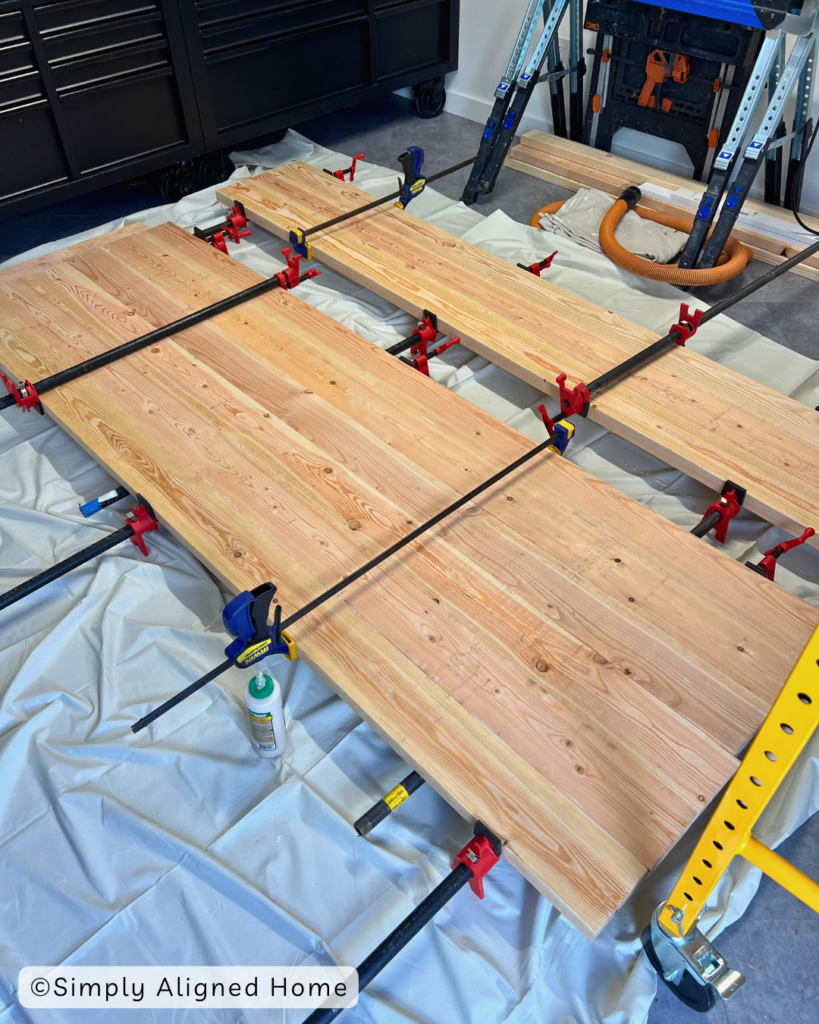
A nice tip for gluing and clamping boards, take painters tape and tape the pipes where the wood will touch them. That way the pipes don’t discolor the wood from the wood glue sitting on them!
Once everything’s glued and clamped, it’s time to exercise some patience. Leave your glued-up boards to set overnight, allowing ample time for a sturdy bond to form.
Level Out The Seams
After patiently letting your glued-up boards set overnight, it’s time for the next step! Carefully remove them from the clamps and get ready to even out those surfaces. You have a couple of options here: if you have a hand planer handy, it’ll speed up the process, but fear not if you don’t – a palm sander will do the trick just fine.
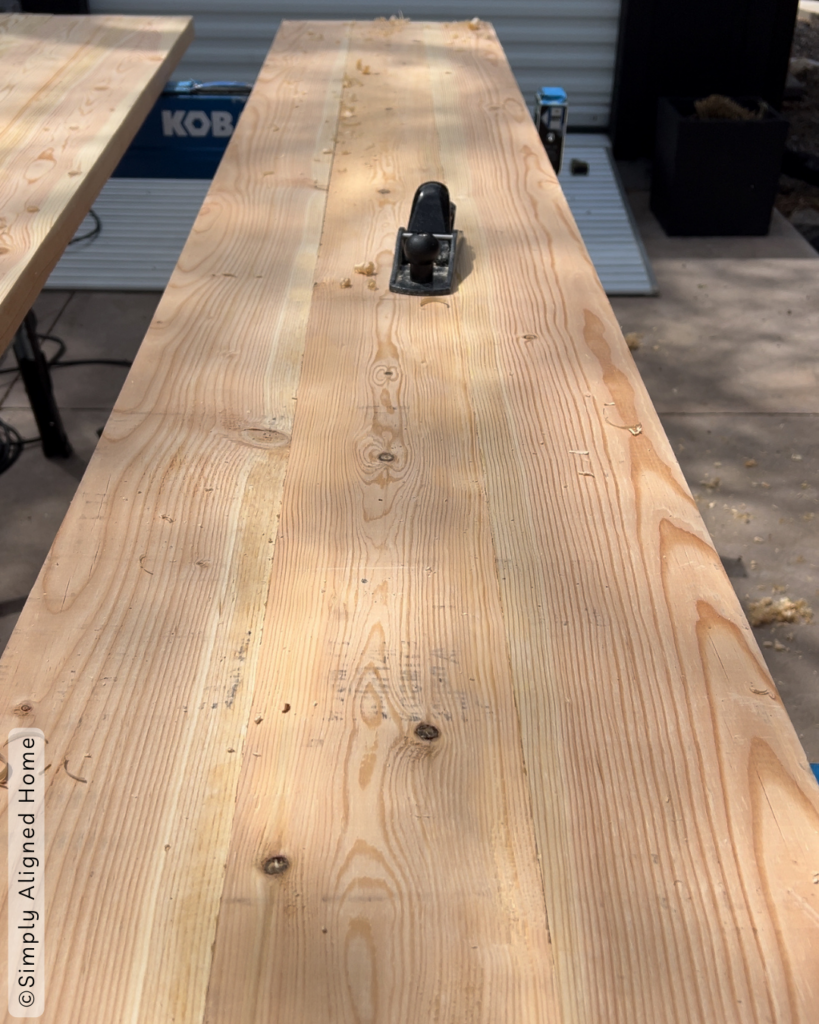
Now, whether you’re using a hand planer, automatic planer or a palm sander, focus on those seams where the boards were glued together. Gently chip away any excess wood glue and smooth out any uneven spots to ensure a beautifully polished finish. It’s all about making those surfaces as sleek and seamless as possible, while keeping the panel level.
Miter The Edges & Assemble The Coffee Table
After you have everything flat and even it’s time to make your cuts. For the bottom of the coffee table, you are going to cut everything with a straight edge. After you have the bottom cut you are going to take some 2×4’s and add three pieces across the bottom.
I used wood glue and construction screws to secure them together.
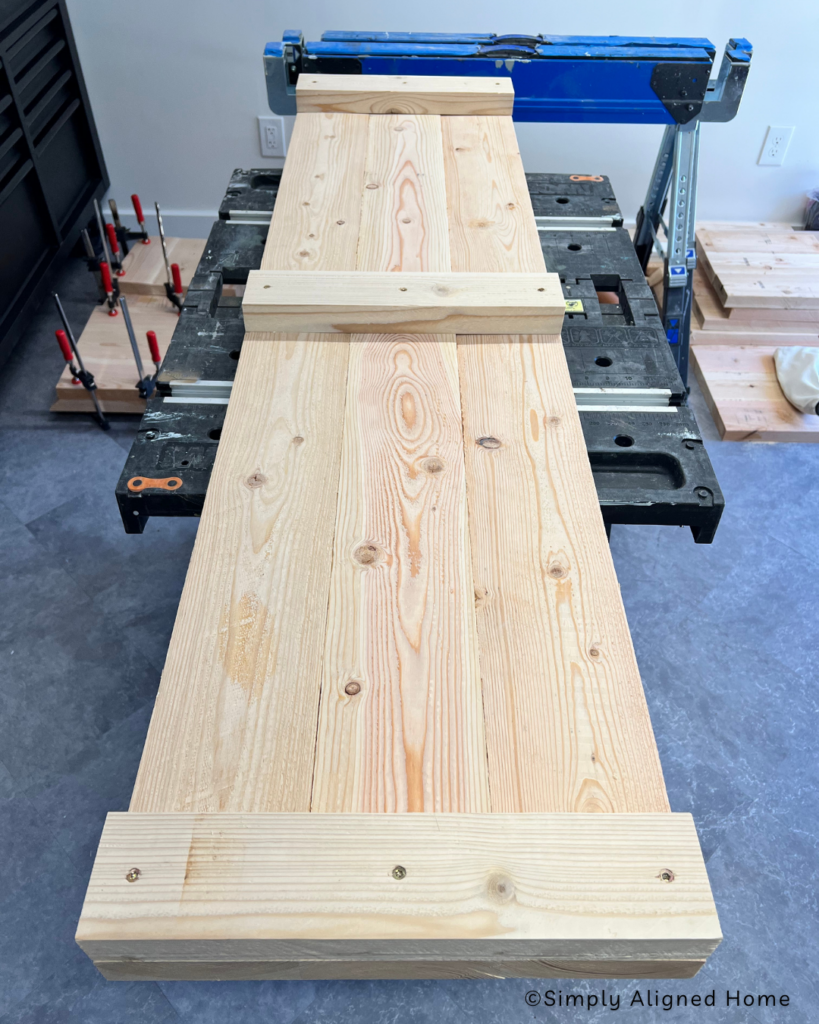
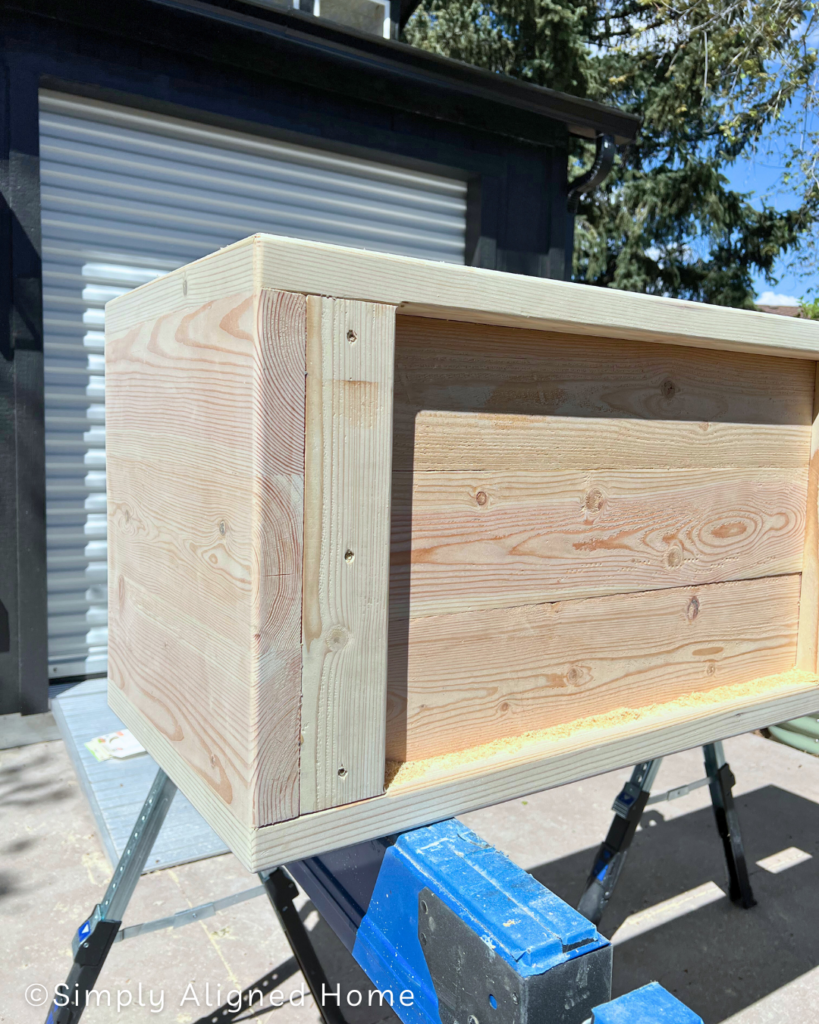
The sides of the table we are going to make it out of two pieces. One straight cut board and another taller one with a 45 degree angle.
You can see from the picture below that you will glue them up and create your sides to the coffee table.

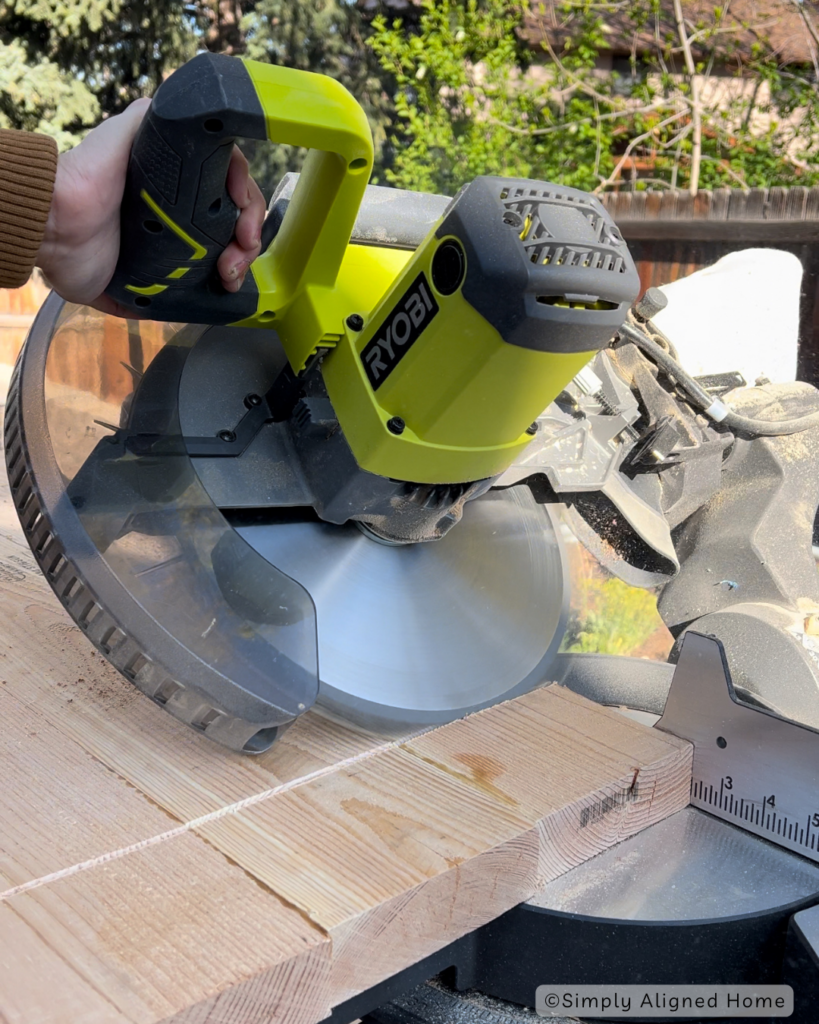
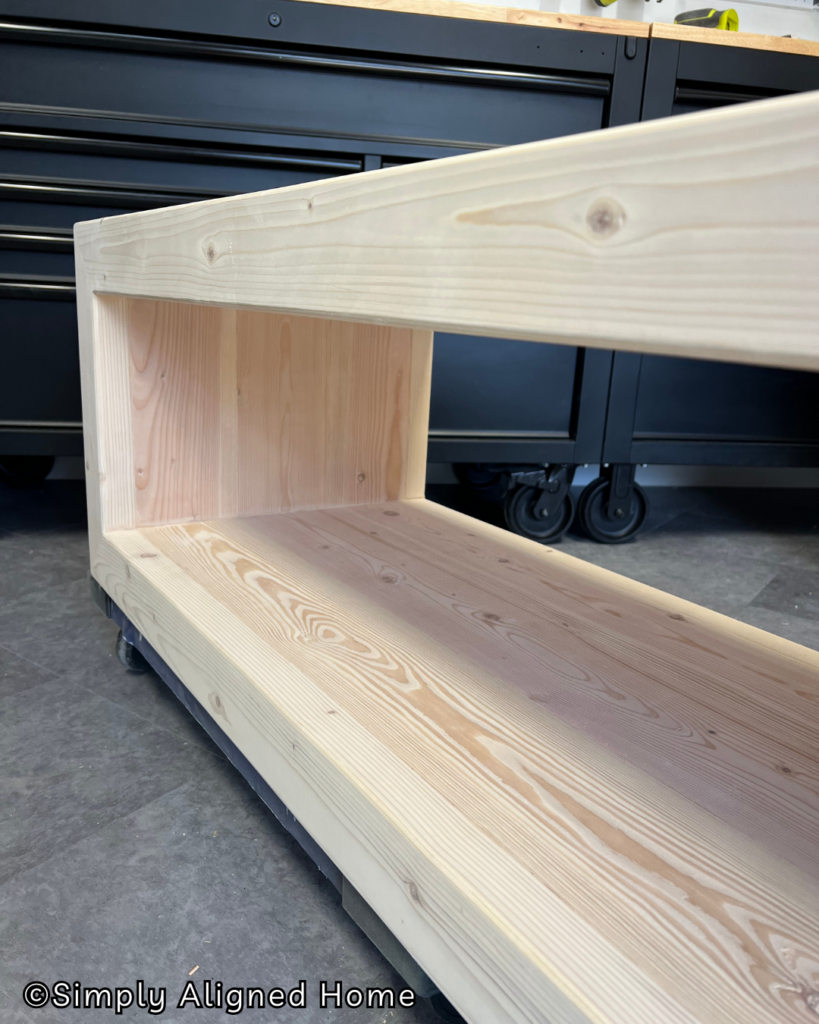
Once you have your bottom and side pieces cut, you will need to cut your top piece. Since your sides are mitered you will want to miter your top piece to fit together.
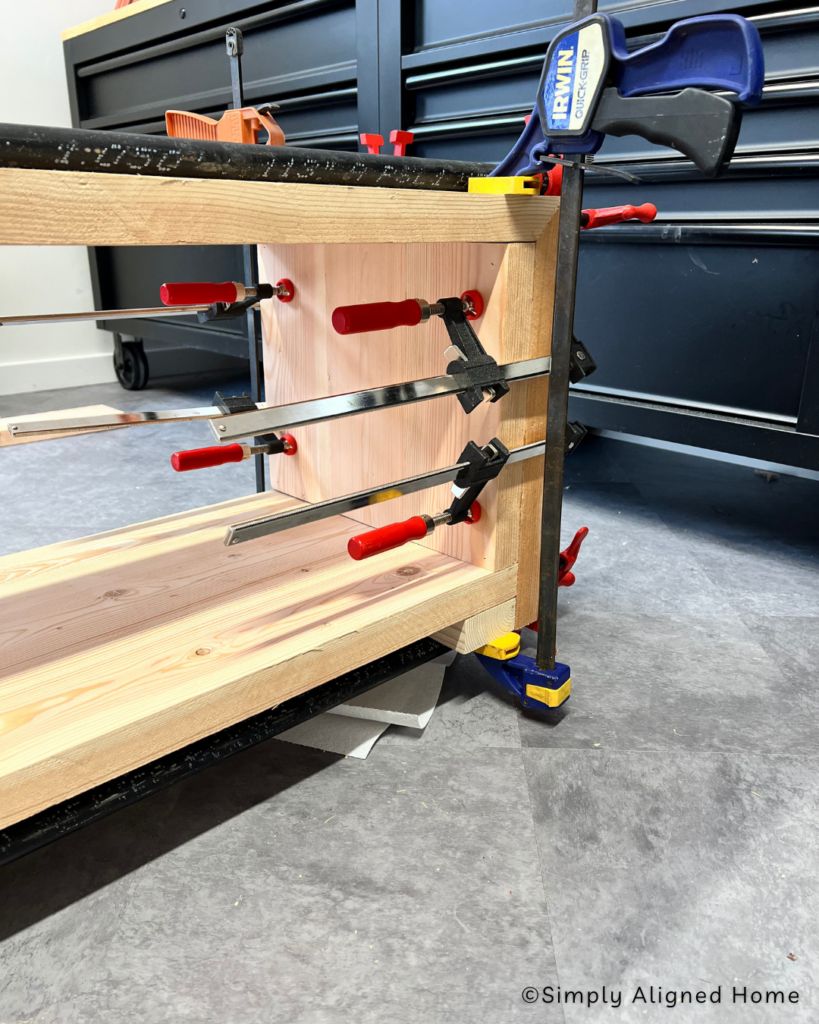
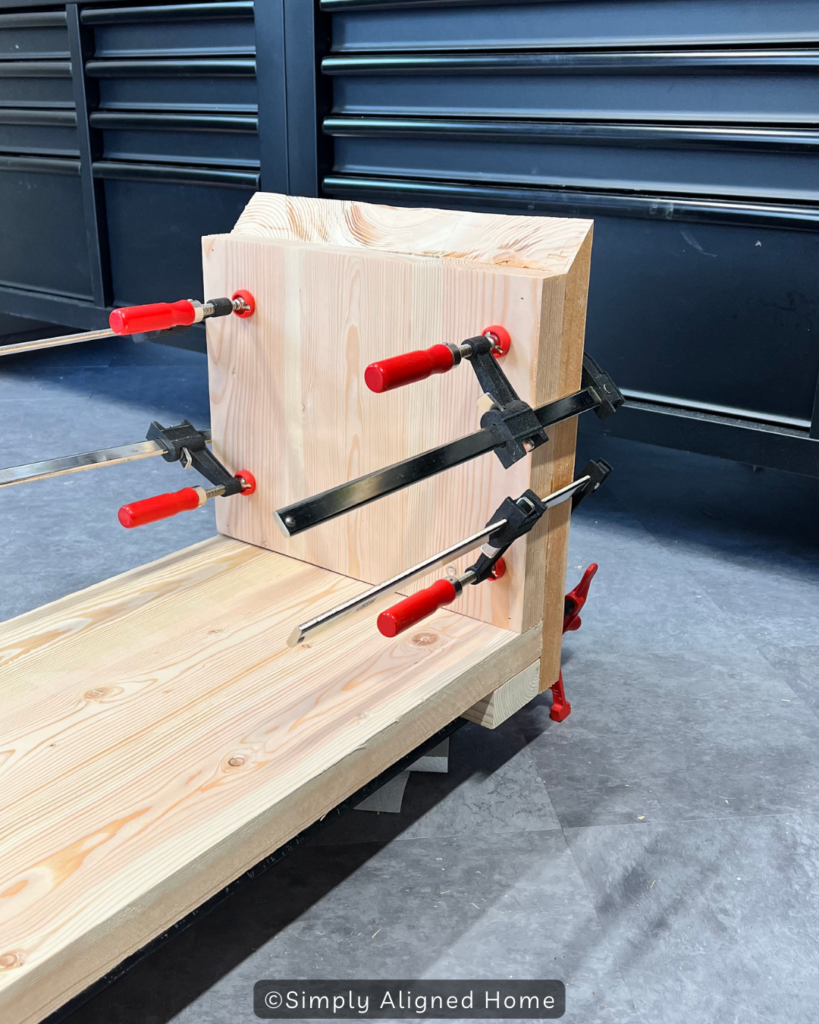
To attach everything together, use wood glue and your trusty pipe clamps once more!
Add Face Frame
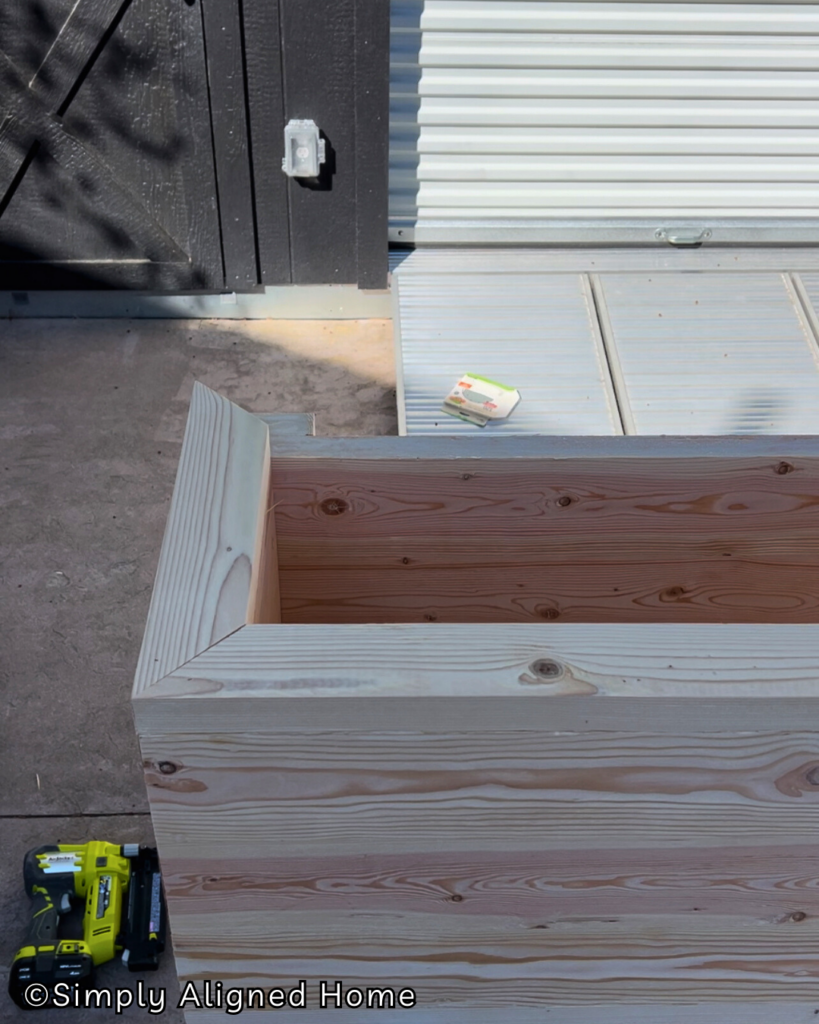
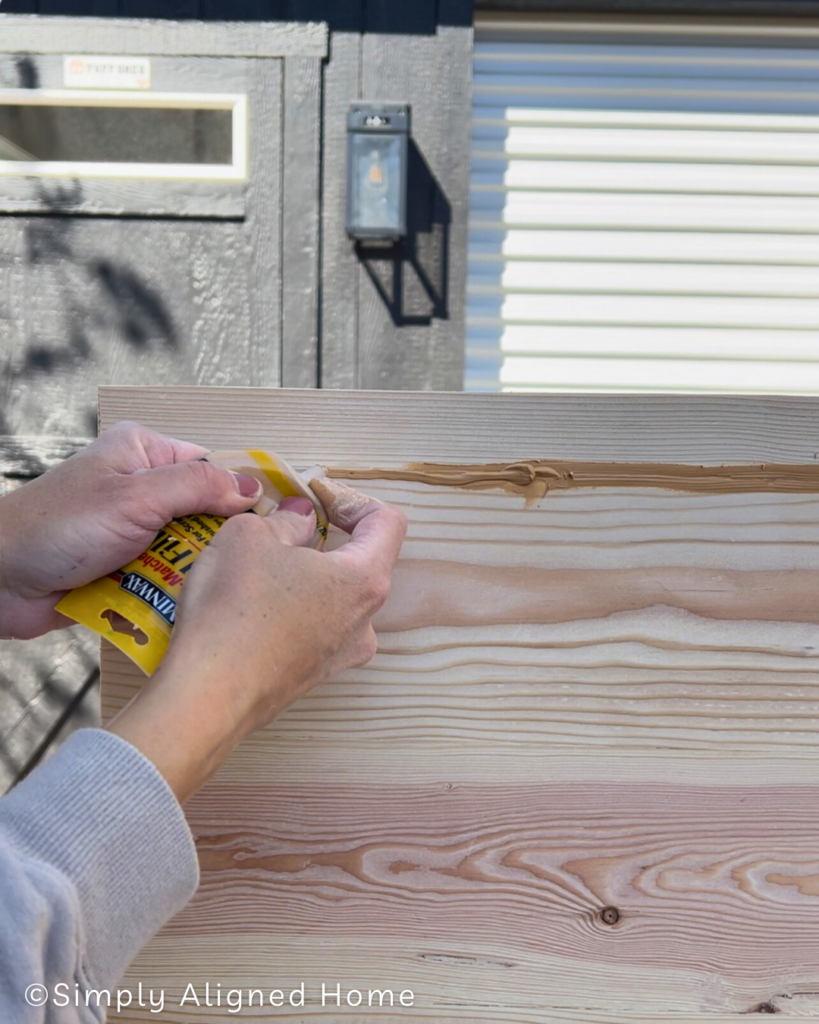
When I constructed my waterfall framed coffee table, I added a face frame to give the illusion that all of the pieces were one big piece and not a ton of wood put together. To do so, I took my 2×4’s and mitered the corners and added it to the face frame of the table.
With a lot of wood glue and some brad nails I attached them and used wood filler for the seams. A good tip for adding wood filler is sand it before it dries. This will add a small thin layer of sawdust on top which will stain better.
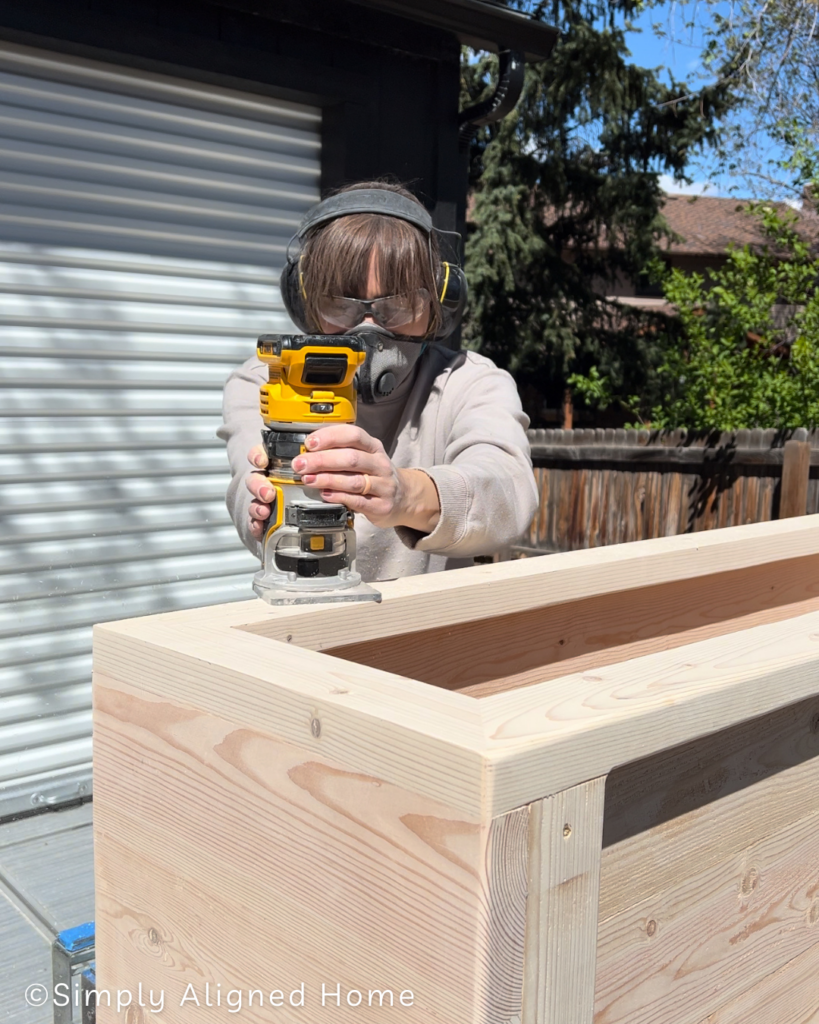
Router The Coffee Table Edges
One of the last things I did before staining the coffee table was taking a router and a roundover bit to round the edges. I did this on all sides of the table to give it a more custom look!
Stain Coffee Table
Last, but not least, once all the hard work is done it’s time to stain your piece. I chose to go with a dark black stain but you can choose any color you like!

**Note: I am not a professional and do not claim to be an expert. Please be sure to always read instructions for all tools and products. Safety is very important and should be your top priority. Wear necessary protection when using tools (eye wear, hearing protection, gloves, etc.) and dust masks when sanding or cutting. Simply Aligned Home is not responsible for any injury or damage. All of my designs are not professionally designed and are for private use only.**
Materials Used
- Wood Glue
- Wood Filler
- 2×6 Lumber
- 2×4 Lumber
- Brad Nails
- Sand Paper
- Construction Screws
- Stain of your choice
Tools Used
- Table Saw
- Miter Saw
- Brad Nailer
- Palm Router
- Roundover Bit
- Palm Sander
- Pipe Clamps
- Wood Glue Brush
- Hand Planer
- Automatic Planer
- Impact Driver and Drill