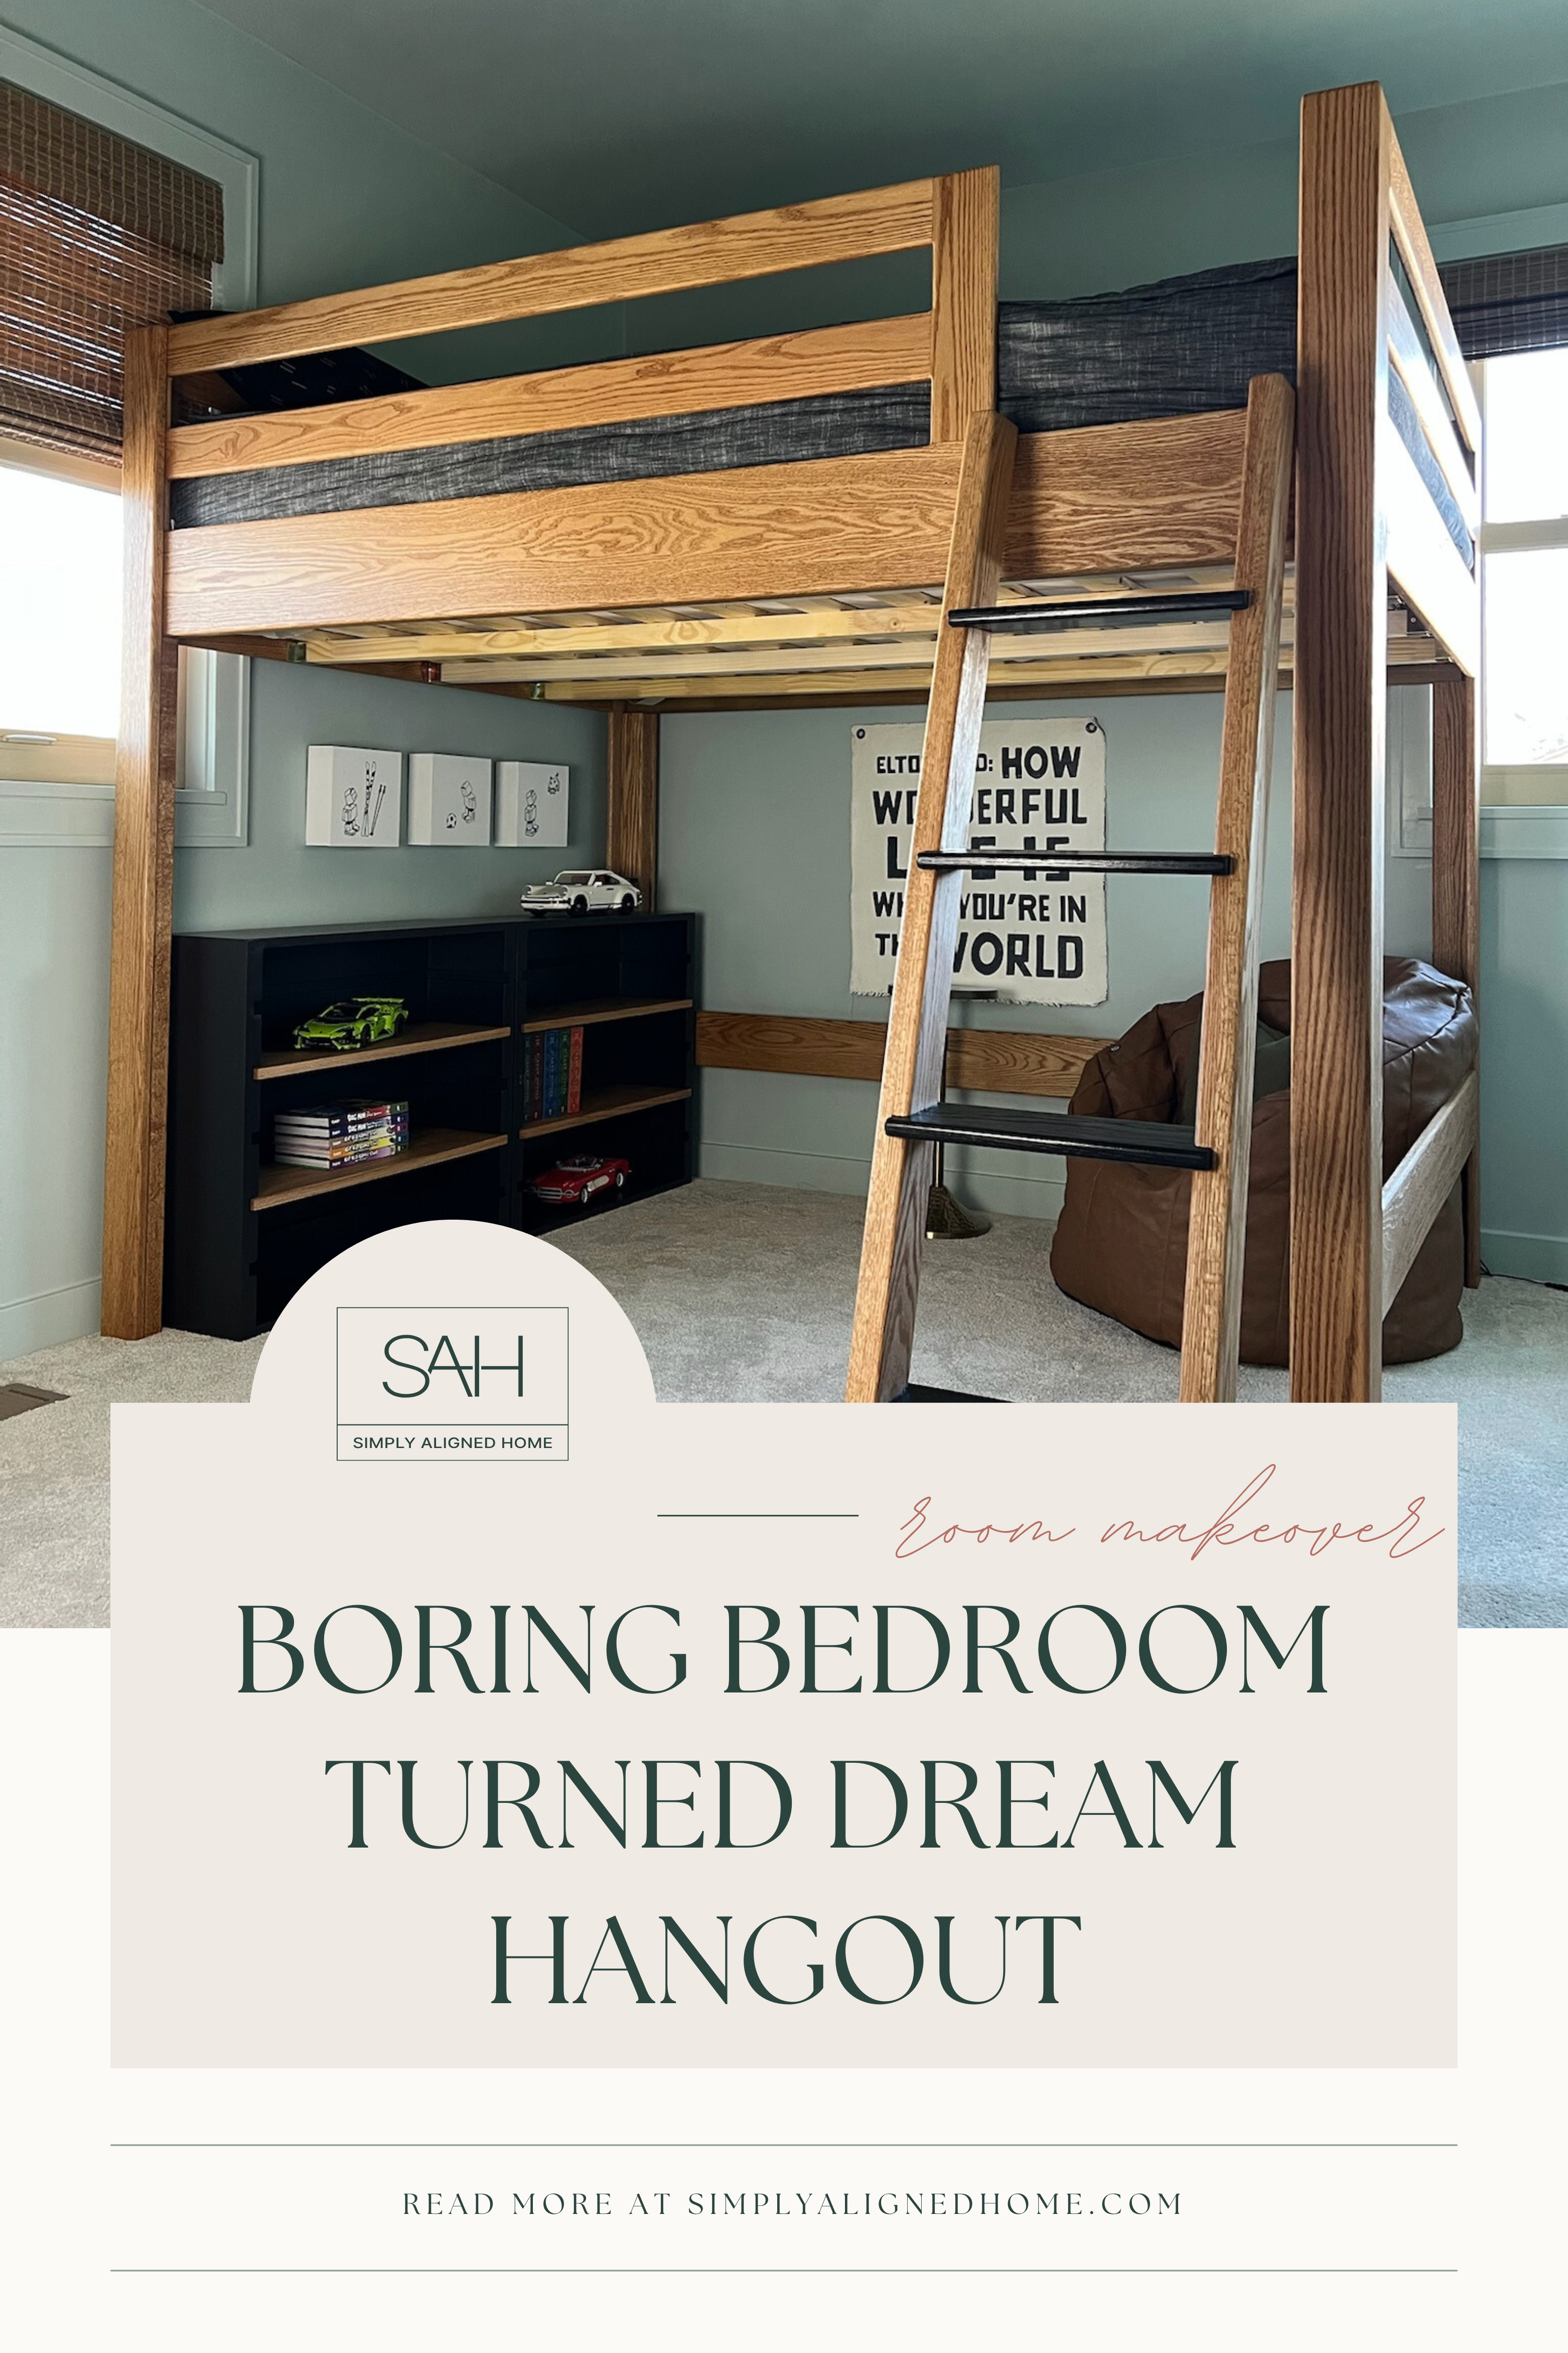
My son asked for a lofted, queen sized bed. Naturally, as I started plotting and planning for this project, I ended up finding myself knee deep in a full bedroom makeover! Here’s an overview how I scraped the popcorn ceilings, skim coated the walls, trimmed everything out and added a lofted queen sized bed to make the dream hangout for my son.

Scraped Popcorn Ceilings
I started off by scraping the popcorn ceilings. Before you consider touching popcorn ceilings, have them tested for asbestos! I got the ceiling tested for asbestos and it came back negative. I removed the popcorn ceiling by just spraying warm water, waiting 10 minutes, and coming back to scrape! This is easily the most satisfying DIY project ever.

Skim Coated Walls
After I removed the popcorn ceiling, I came back to skim coat the ceiling to fill any voids. Call me crazy, but I actually enjoy skim coating! After all the skim coat on the ceiling was dry, I primed the ceiling and walls.

My approach to skim coating is to apply a decent amount of joint compound for the first coat and make it as smooth as possible. Once dried, I sanded it and applied one more coat. I decided to hand sand because I didn’t want to throw dust all over the room with a powdered sanding. My arms better be toned by the end of this project…
Installed New Trim
Removing the trim is so easy with a trim puller! You just score the caulk with a knife and use a hammer to wedge the trim puller between the wall and trim.
I installed new baseboards using my brad nailer and stud finder. I trimmed out the windows as well to match the rest of the trim in our home. They didn’t have any trim before this and they looked bare to me!
Color Drenched the Room
For my son’s room, I used SW Rainwashed. I decided to color drench the room. This means to use the same color for everything, ceiling, walls, and trim. I love the look this gives! The ceiling paint had a flat sheen and would hide all imperfections while the wall sheen was satin. I finished off the trim with a semi-gloss enamel designed for trim.


I applied two coats of paint on everything!
Custom Built Lofted Queen Bed
Next, I built a lofted queen bed! I bought all of my red oak lumber from Austin a local lumber yard. If you aren’t shopping at a lumber yard for your larger projects, you definitely should! I’ll share the full tutorial of this lofted bed in another blog post.


Bookcase
I also built my son a bookcase with adjustable shelves for the space under the bed!

I’m so happy with how this bedroom makeover turned out. My son loves it too!
Here’s all the decor I used in my son’s room:
*all images are clickable
