This post is sponsored by Woodgrain, but all views and opinions shared in this post are my own.
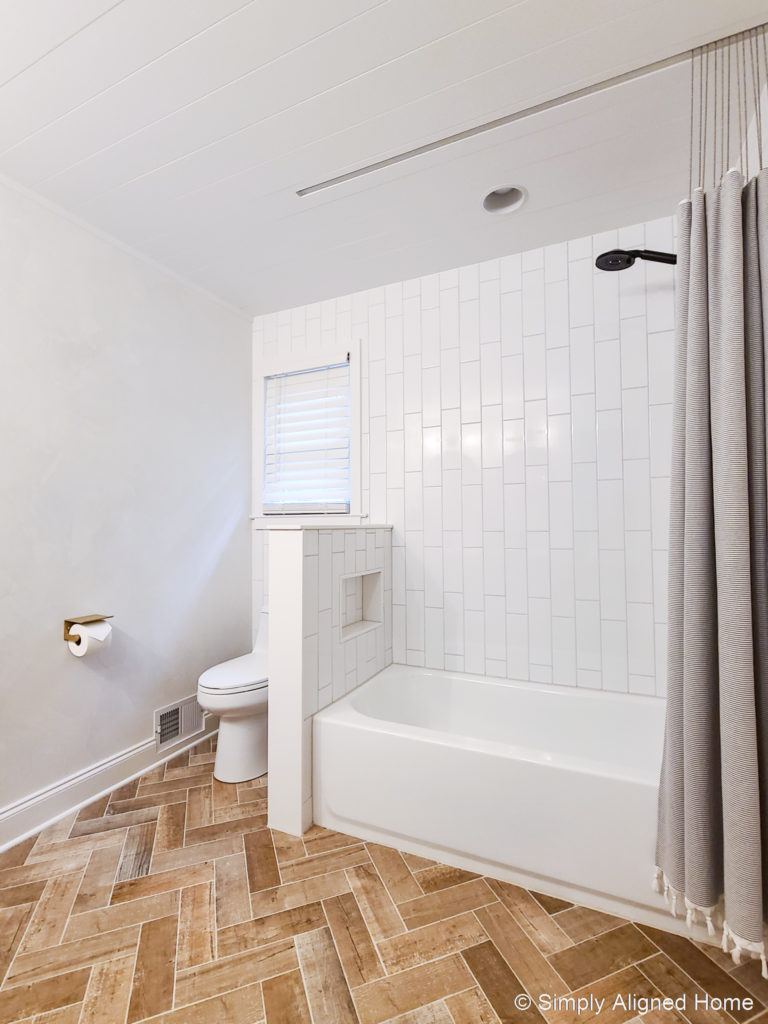
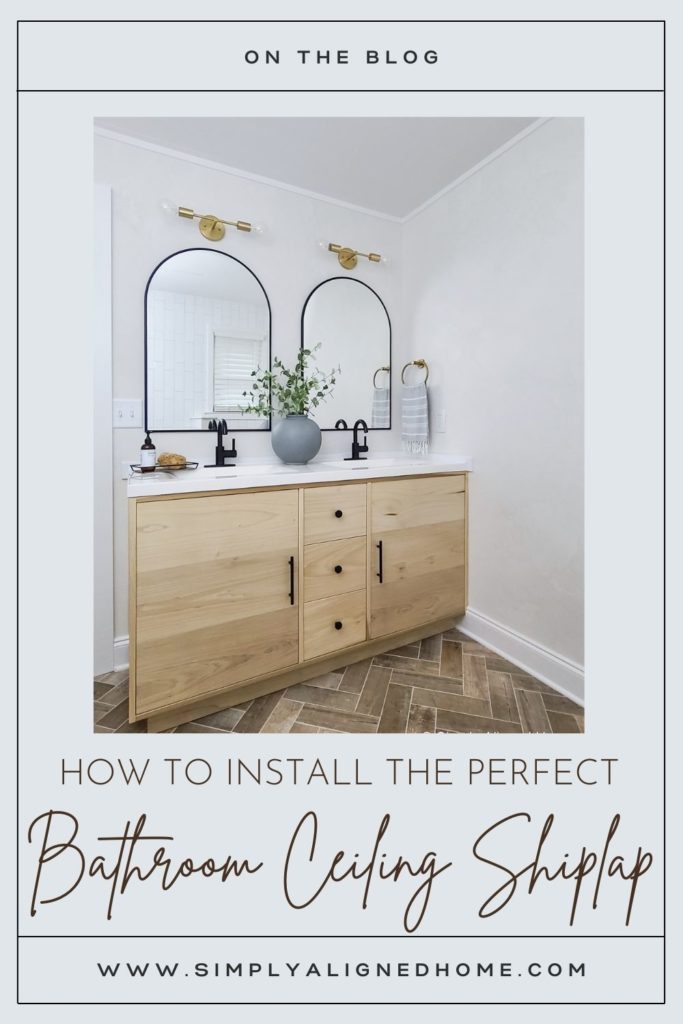
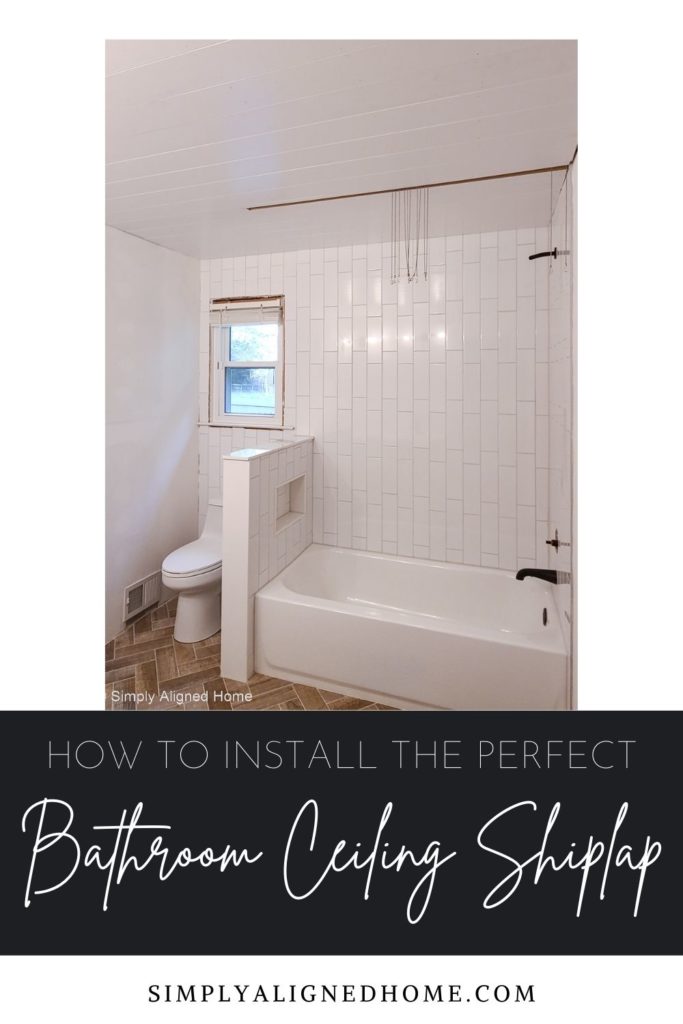
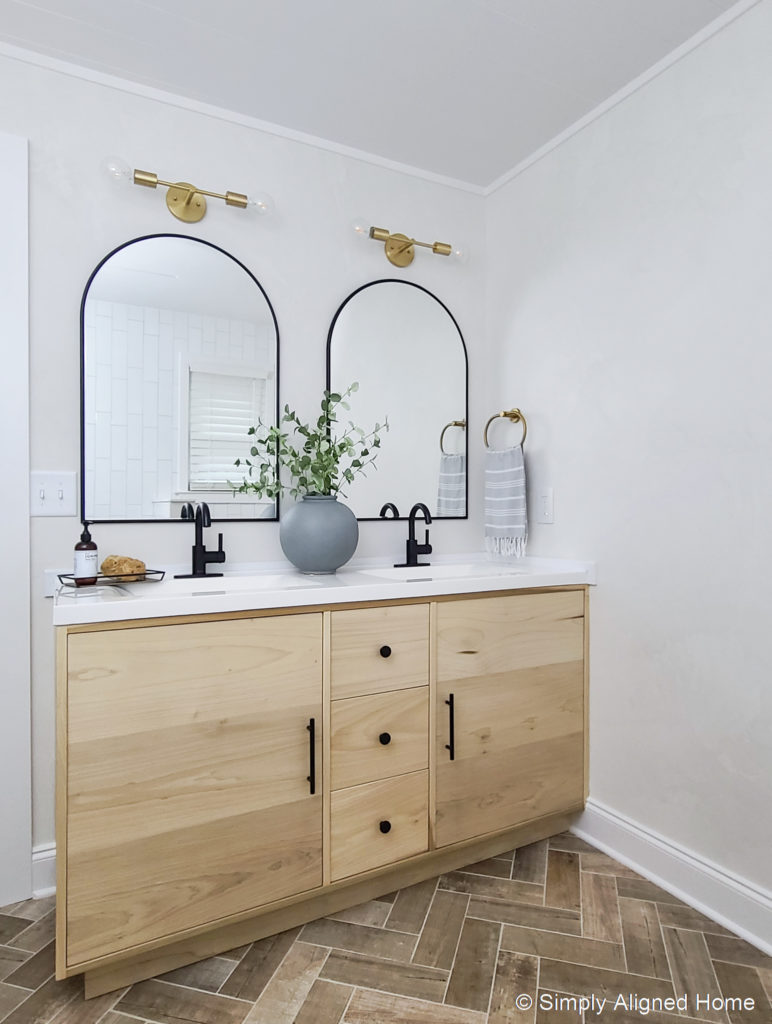
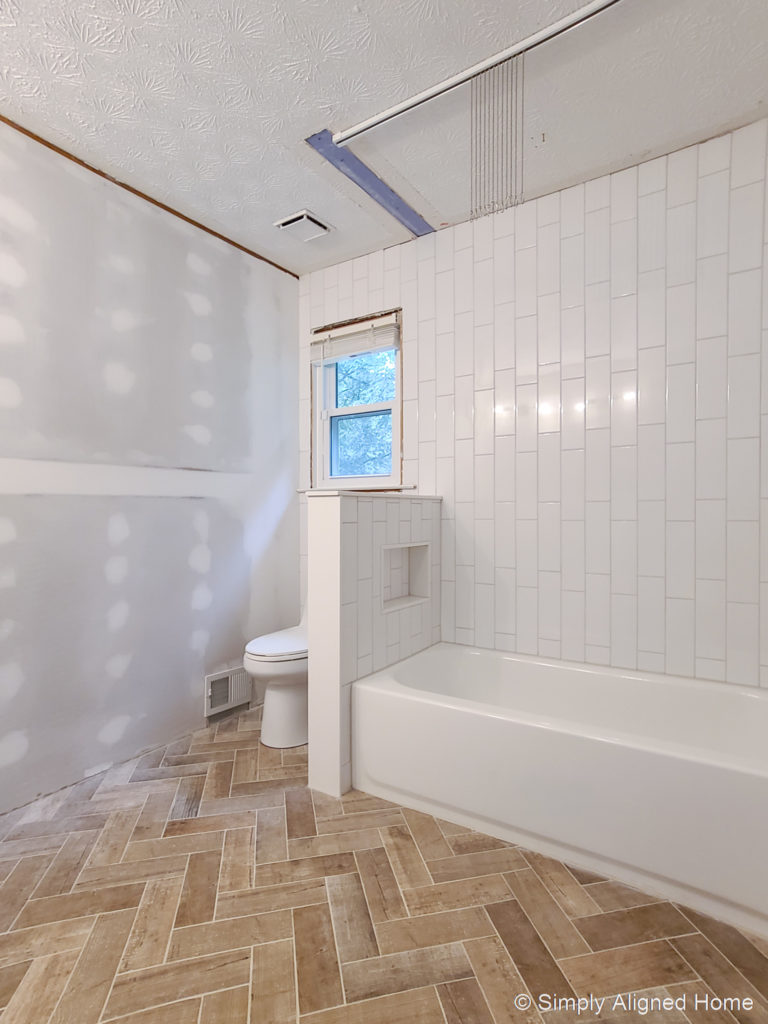
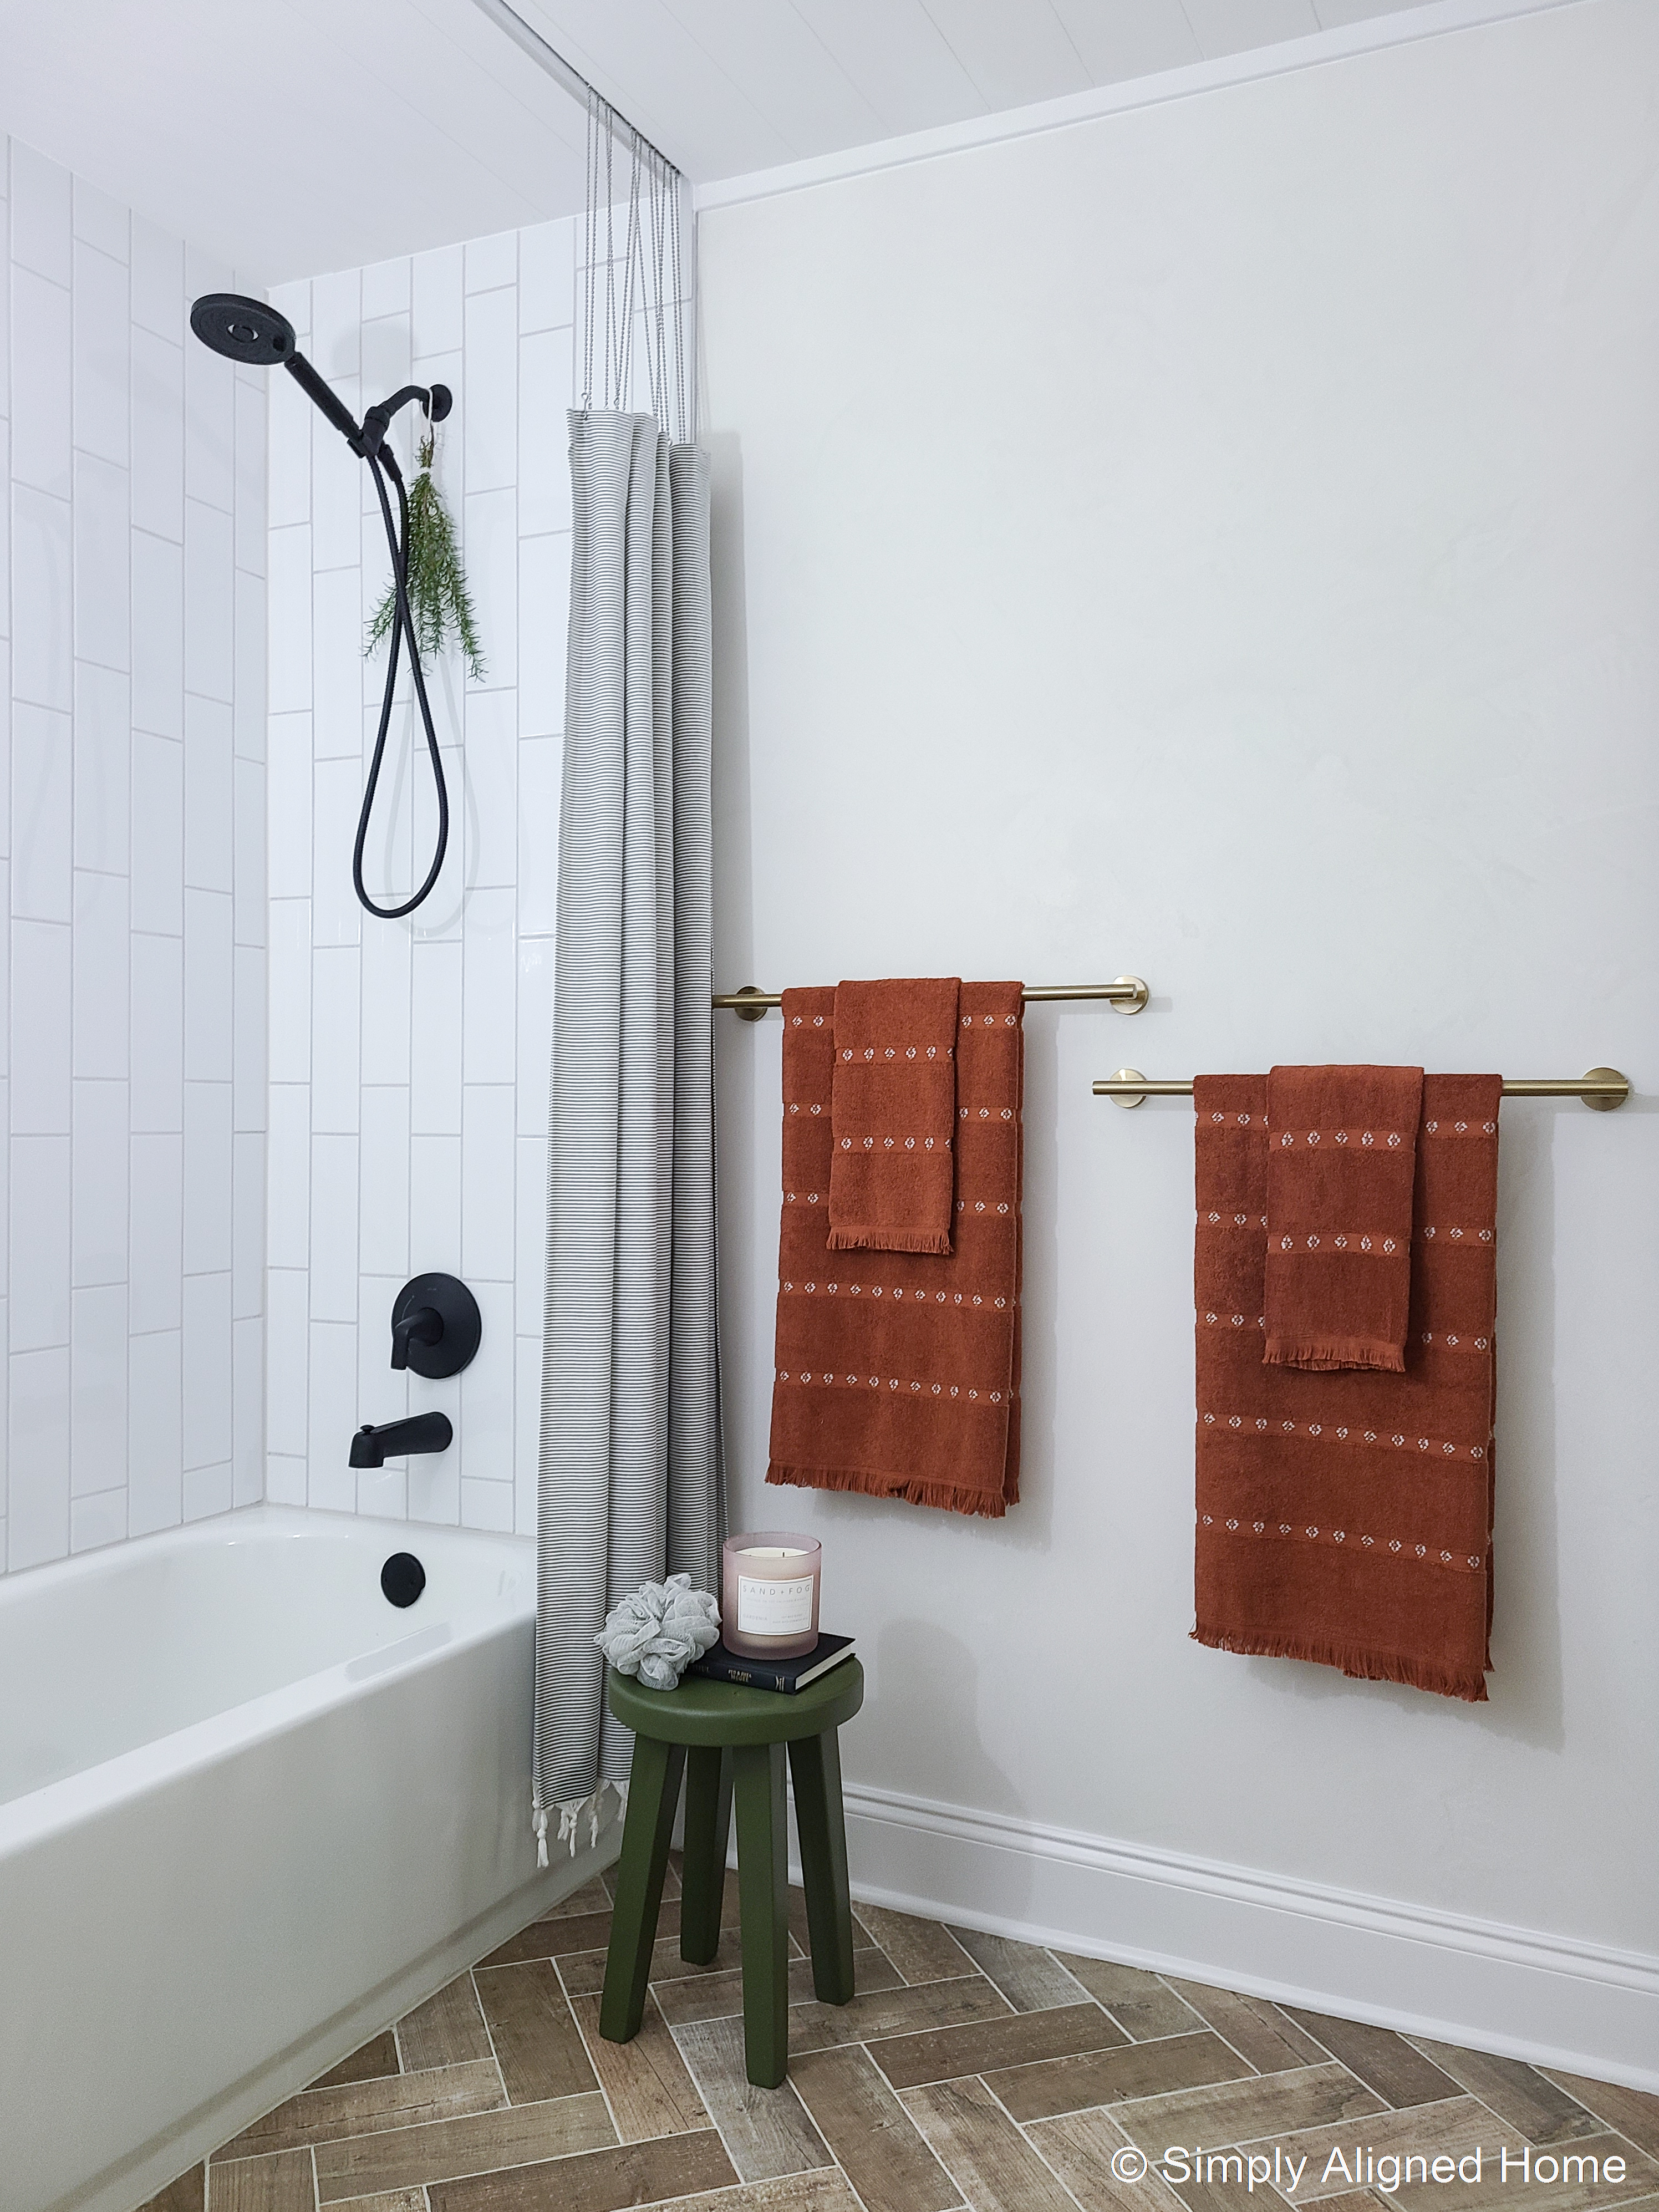
I recently updated our guest bathroom with a complete renovation. I replaced everything down to the studs and joists. The only thing I did not tear out was the ceiling. With everything else updated, I had to do something about the stippled ceiling! Here’s how I installed the perfect shiplap on our guest bathroom ceiling.
**This post contains affiliate links to products that I recommend. If you purchase something through an affiliate link, I may receive a small percentage of the sale at no extra cost to you. I really appreciate your support.**
Finished Elegance Collection Trim
Since this is a bathroom and I plan to install the trim over the shower, I need a trim that would be able to withstand moisture. A traditional wood trim or shiplap would have required me to paint and seal the trim. Instead, I decided to use the 1×6 2EE Boards from the Woodgrain’s Finished Elegance Collection that is already moisture resistant!

The Finished Elegance Collection is moulding that is coated on all four sides. This makes it very durable and moisture resistant…therefore, perfect for a bathroom!
I decided to use their 1×6 boards to create a modern shiplap look. I used several other types of trim to finish off the entire bathroom.
Determine the Direction of the Ceiling Joists
Before I could install the moulding, I needed to find my ceiling joists. I did this by using The StudBuddy, a magnetic joist finder…it’s just a strong magnet that finds the drywall screws. I marked the location of all of the joists on the ceiling using a sharpie.
If the joists were running the opposite direction as moulding, I could simply nail the moulding to the joists. Unfortunately, that was not the case. I had to install supports before I could install the moulding.
Install Cross Supports
I decided to use furring strips for the cross supports. Furring strips are just thin strips of wood that are used to level or raise walls or ceilings. I started by screwing furring strips to the joists using long construction screws. I placed them approximately 10″ apart the full length of the wall.

Once all of the furring strips were secured to the ceiling, I could begin installing the moulding!
Install the Ceiling Moulding
I used 2″ finish nails to attach the moulding to the furring strips. In order to ensure no moisture could get beyond the moulding, I butted the moulding pieces together. This gave the ceiling a more modern look than traditional shiplap.
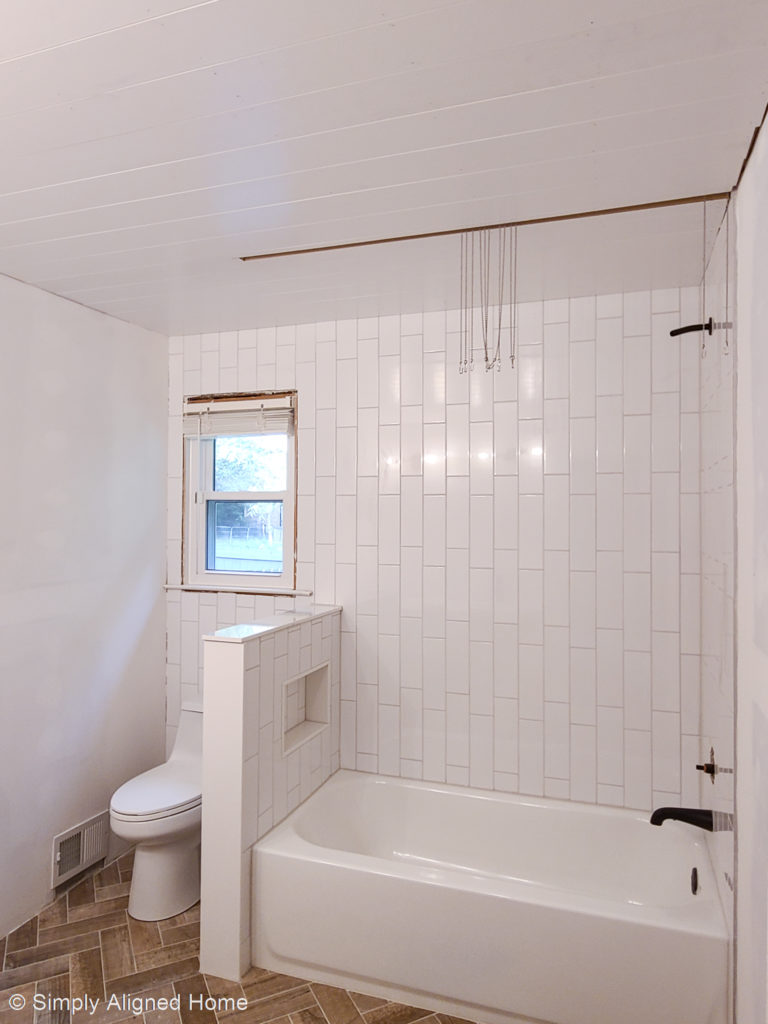
Install Surrounding Trim
To give the ceiling a nice, finished look, I used the door and window stop moulding to trim out the ceiling. I wanted a smaller trim than the traditional 3/4″ trim, so this was perfect!
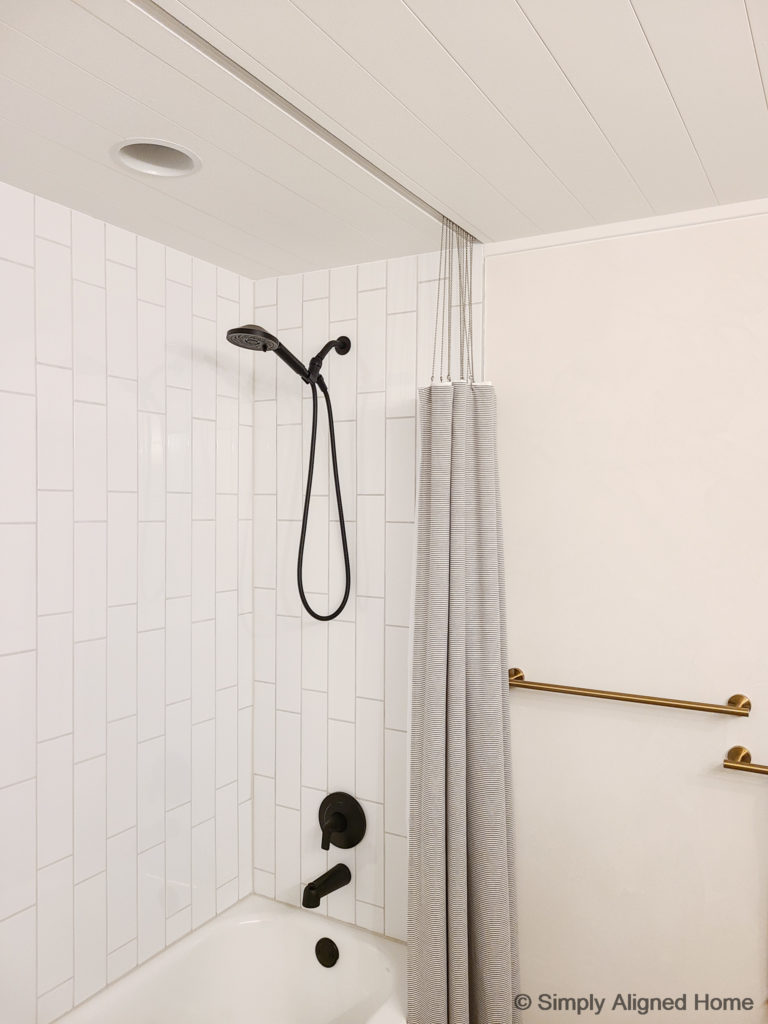
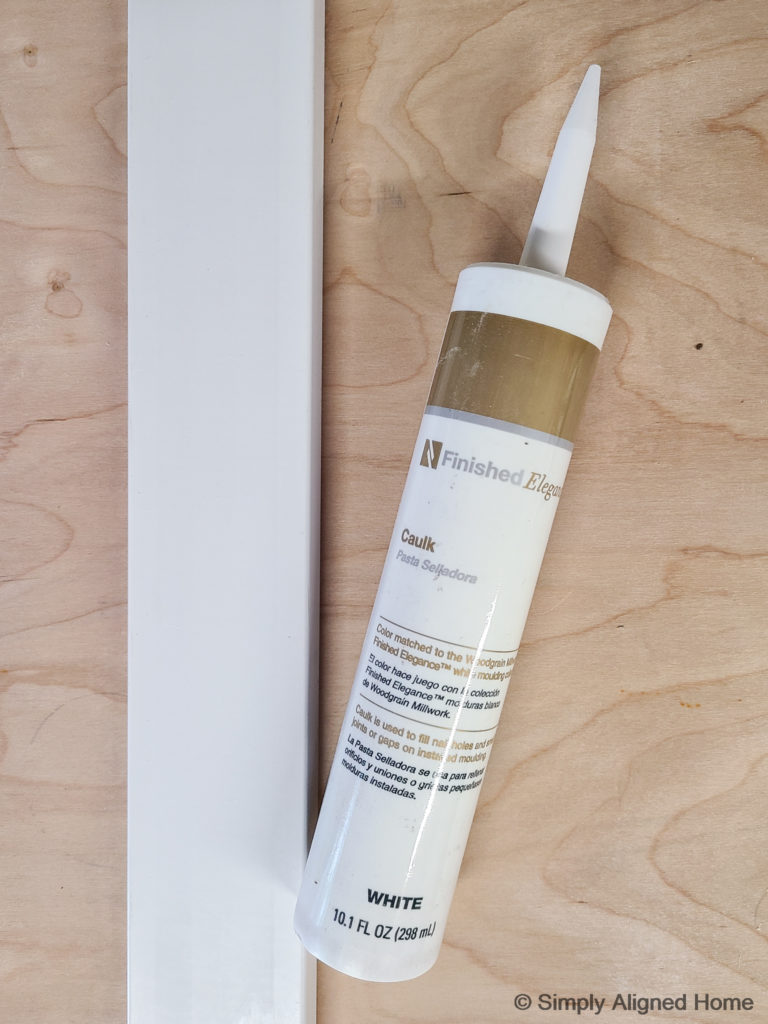
Caulk Holes and Seams
Another great thing about the Finished Elegance Collection is that they even have caulk to match the color of the trim! I filled all of my nail holes and the surrounding trim seams with the matching caulk.
Paint the Moulding (Optional)
The Finished Elegance Collection moulding doesn’t even require paint! The finish is beautiful as it is and does not require a coat of paint, especially if you use the matching caulk to fill holes and seams.
I did choose to paint the ceiling and trim because I needed an off white trim color to match my walls. I used a flat finish paint and applied two coats with a roller.
That’s it!! I now have a shiplap ceiling that is moisture resistant and beautiful!