This post is sponsored by The Home Depot, but all views and opinions shared in this post are my own.
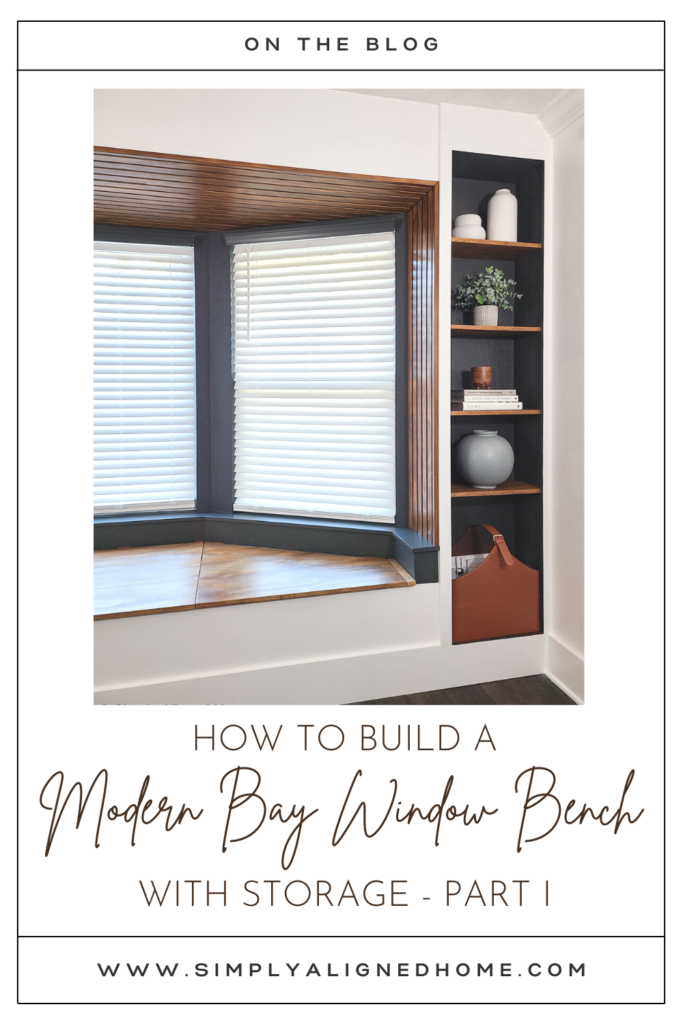
Is a bay window really complete without a cozy bench?! I don’t think so…which is why I decided to build a bench seat in the bay window of our master bedroom. Built-in benches and bookcases really aren’t that difficult to build. Here is how I built our bay window bench complete with storage and bookcases.
**This post contains affiliate links to products that I recommend. If you purchase something through an affiliate link, I may receive a small percentage of the sale at no extra cost to you. I really appreciate your support.**
Tools Used for this Project
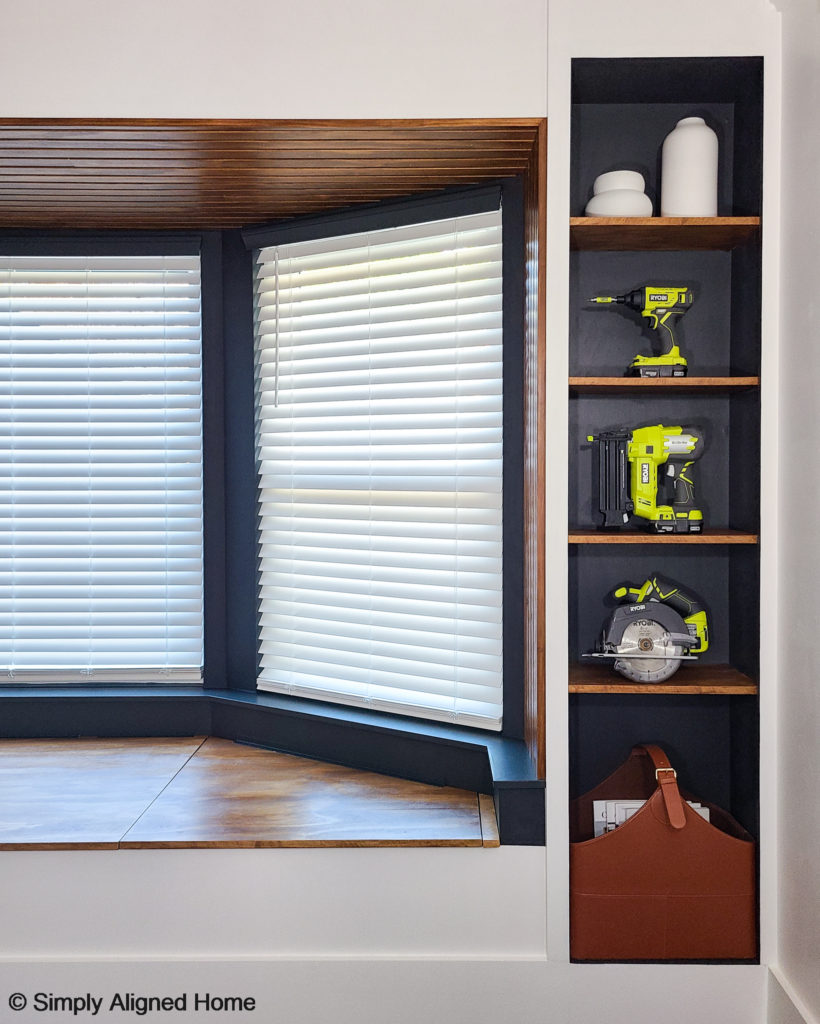
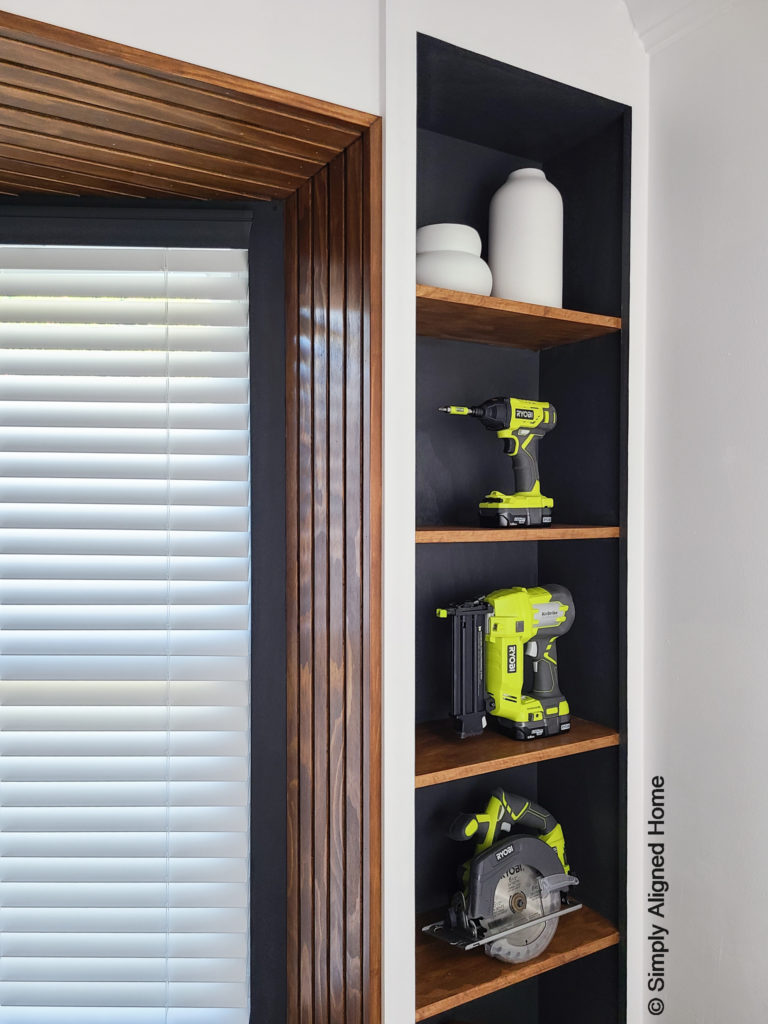
I used three main tools for the entire bay window built-in…an impact driver, brad nailer and circular saw. All of these tools are from the Ryobi ONE+ 18V line and use the same batteries! I always had a charged battery on hand, which kept the project moving!
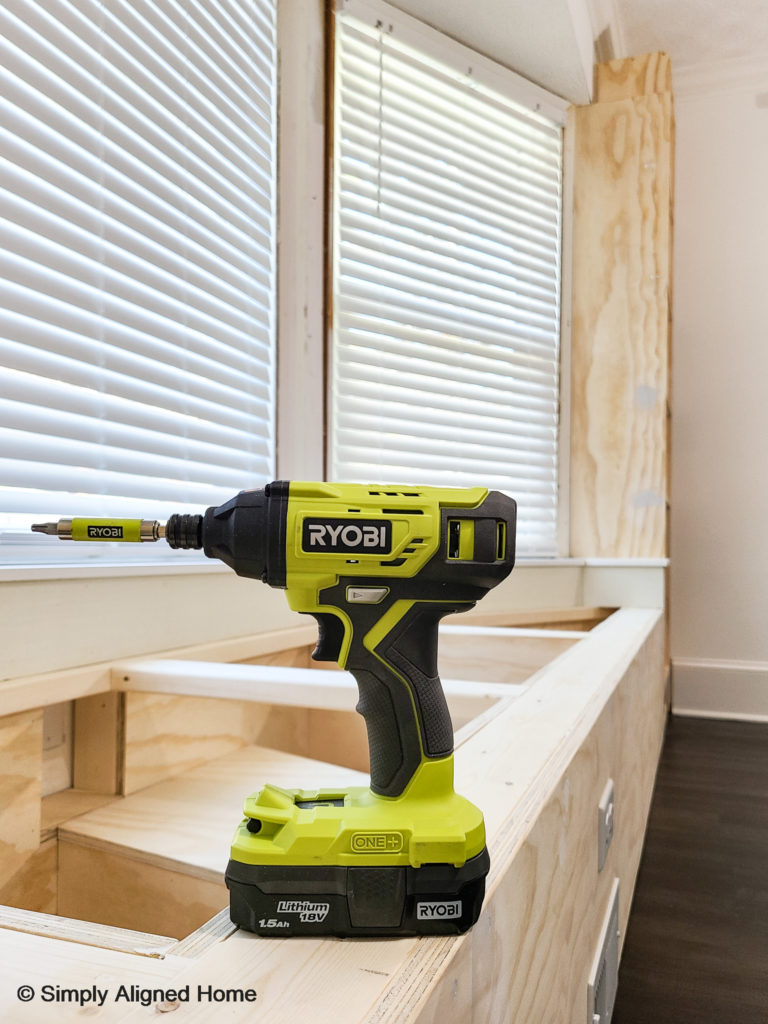
Ryobi 18V Impact Driver
An impact driver is a tool that any DIYer should have on hand. It is great for all projects, from hanging wall decor to building a bay window bench seat. It provides more power than a drill when driving a screw, which also saves on time…I’m all about saving time and energy!
Ryobi 18V AirStrike Brad Nailer
A brad nailer uses a slightly smaller nail than a finish nailer. Brad nails are perfect for installing trim and decorative pieces because of the small hole that it leaves behind. The 18V AirStrike Brad Nailer is compact, lightweight and packs a punch, making it a great nailer!
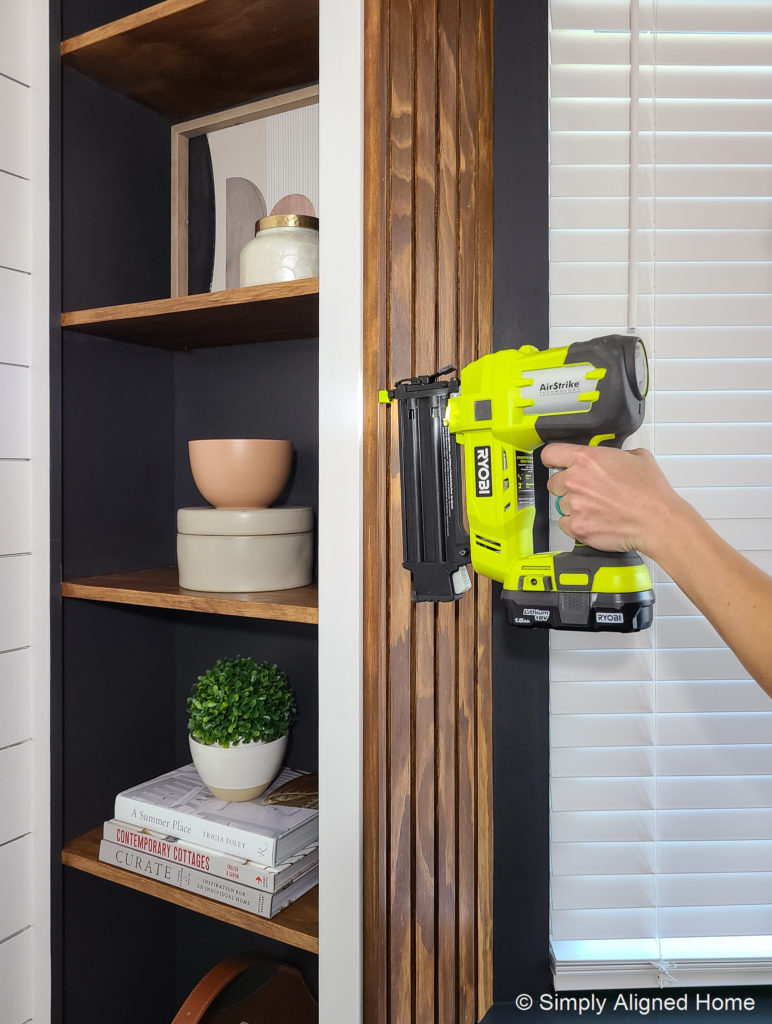
Having a cordless nailer, to me, is a must. I usually use my nailer to finish off my projects. By this point, I am exhausted and just want to finish things up. The last thing I want to do is carry around a loud, awkward air compressor. If you don’t already have a battery powered nailer, I highly recommend getting the 18V AirStrike Brad Nailer!
Ryobi 18V Circular Saw
If you’ve ever tried to rip a full sheet of 3/4″ plywood on a table saw by yourself, you know what a challenge it can be! I had way too many sheets of plywood to cut for this project. Instead, I cut all of my plywood for this project with my Ryobi 18V Circular Saw.

I placed a sheet of 1″ thick insulation foam board on the ground and laid the plywood on top of the foam. I set the depth of my saw blade to slightly deeper than the thickness of the plywood. This would allow me to fully cut through the plywood without totally destroying the foam board. I will be able to use the same foam board for several projects!
One thing to note when using the 18V circular saw…it does pull more power than the other tools. It will drain a 1.5 Ah battery fairly quickly. It is recommended that you use a 4.0+ Ah battery for the circular saw.
Now on to the project…
Make and Install Bookcases
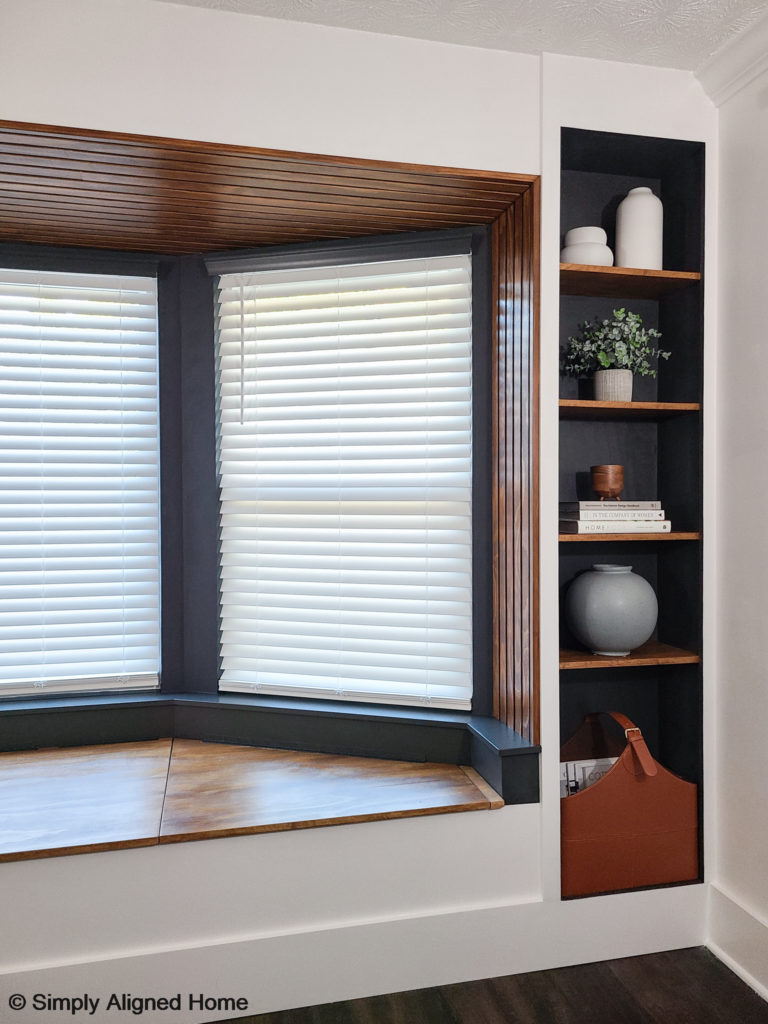
I decided to add bookcases to my bay window built-in because the bay window itself was not deep enough for a bench seat. If you simply want to build a bench without bookcases, you can skip this step!
I made the bookcases out of a 3/4″ plywood. First, I secured the shelves to one side of the bookcase using wood glue and construction screws. Once the shelves were attached to the one side, I added the other side piece. I finished them off with the back panel, which I secured in the same manner as the shelves. My impact driver was the only tool that I used to assemble the bookcases, aside from my corner clamps.
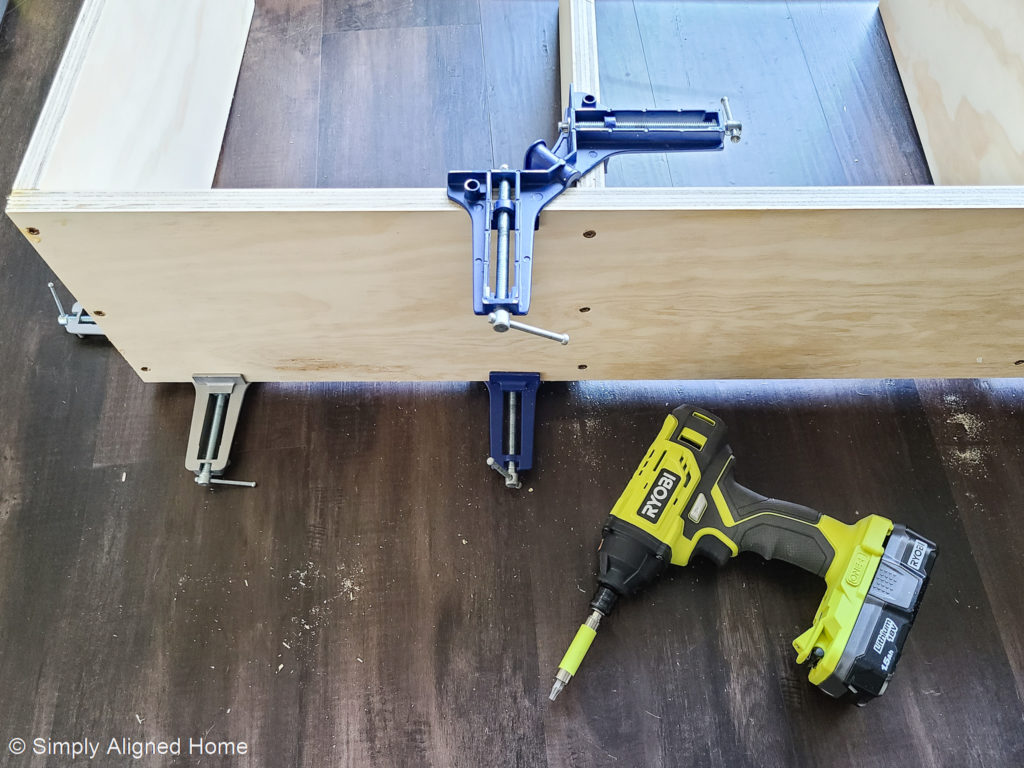
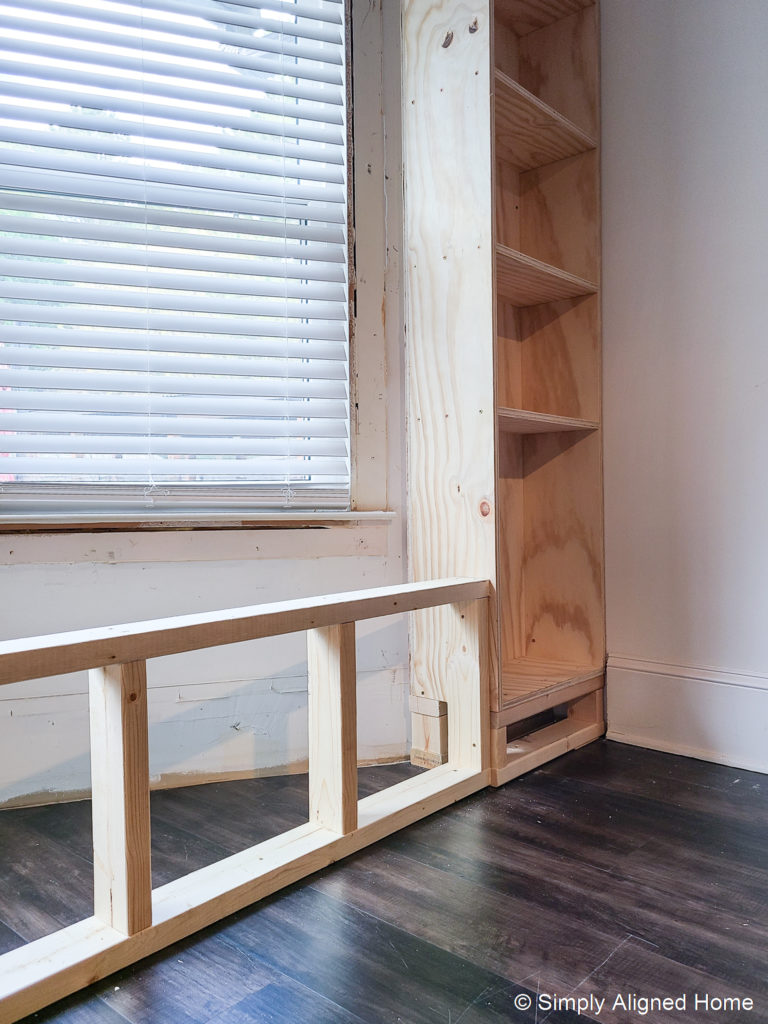
Once the bookcases were assembled, I screwed two standoffs that I made out of 2x4s to the bottom of the bookcases. The standoffs elevated the bookcases to the same height as my existing baseboards.
I then set the bookcases in place, leveled them with shims and secured them to the studs in the side and back walls. With the bookcases installed, I was able to measure for the bay window bench.
Frame Out Window Bench
The first thing I did was build the front frame of the bench. My bench seat was roughly 12′ long, so I used 12′ long 2x4s. I put vertical support members every 16″ to support the weight of someone sitting on the bench. When the front frame was complete, I secured it to the floor and bookcases using construction screws and my Ryobi impact driver.
After I finished and installed the front frame, I began working on the back frames. I did this in three sections due to the angled bay window. I chose to add a little ledge all the way around the back of the bench seat so that I could place a drink on it. Therefore, I built the back frames in two pieces…one that matched the height of the front frame and one that was slightly taller. I also added two cross framing pieces to connect the front to the back frame. These cross framing pieces will also provide additional support for the bench top.
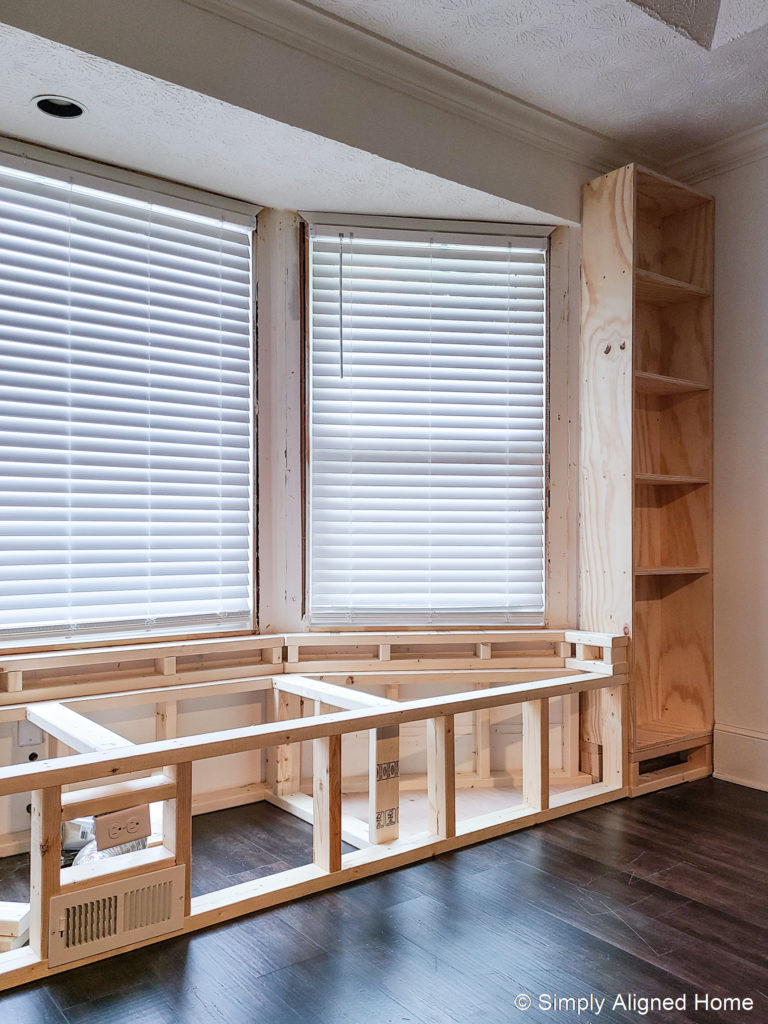
I have seen people use pocket screws when making frames like this. That is not necessary and tends to provide a weaker joint than just screwing straight through the horizontal 2×4 an into the vertical members. The Ryobi 18V impact driver has enough power to quickly and easily drive the screws through the 2×4’s for a structurally sound design!
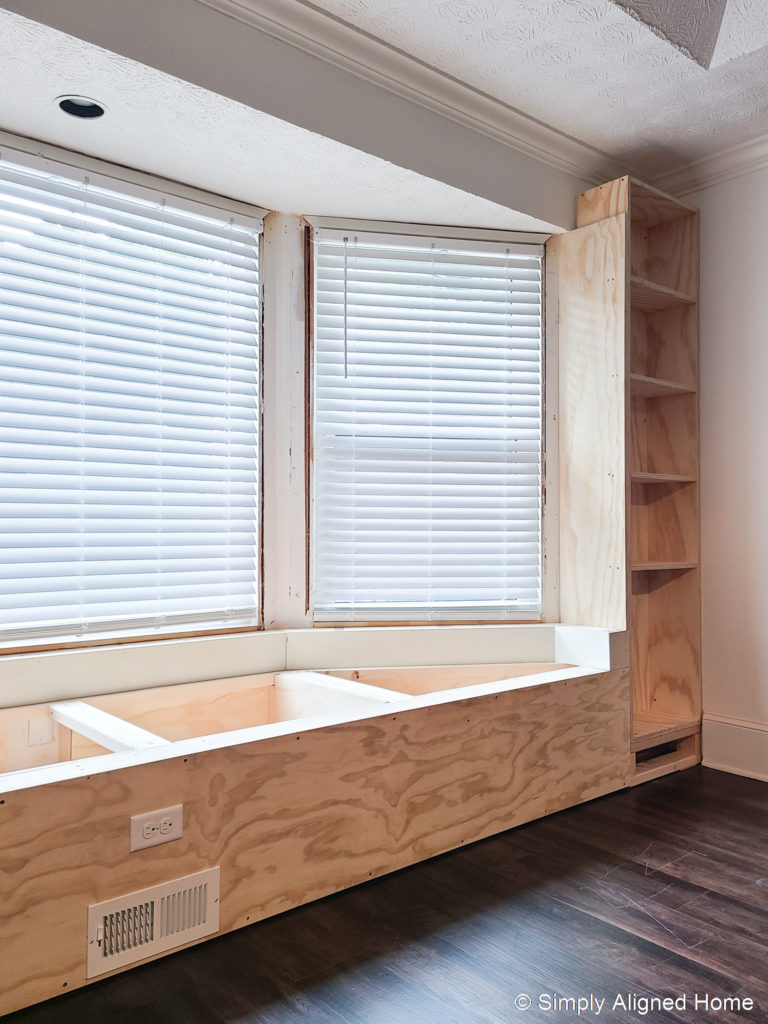
Line Window Bench with Plywood
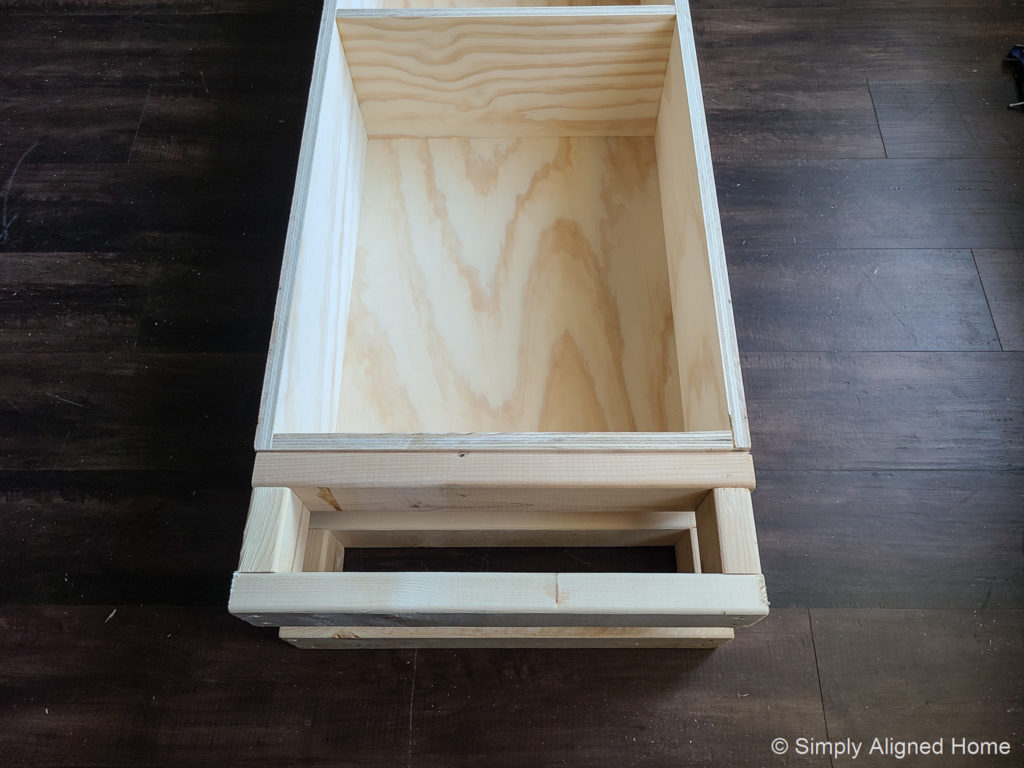
To me, one of the main benefits of a bay window bench was built-in storage! I wanted a place to store extra blankets and pillows. The way that I framed the bench seat out allowed me to have three different compartments for storage. Although it’s just storage, I wanted the inside of the bench seat to be nice and clean. Therefore, I decided to line the inside with plywood.
We are currently experiencing a plywood shortage and I was only able to get 3/4″ plywood. It definitely is not necessary to line the inside of the bench with 3/4″ plywood, but that’s all that I had! I did have enough scrap pieces of 1/4″ plywood for the floor, so I cut those pieces first. I cut these pieces to fit snuggly in the openings between the 2x4s and simply placed the 1/4″ plywood on the floor.
Next, I ripped the 3/4″ plywood to the height of the inside of the bench seat and cut them to the correct widths. I secured the pieces of 3/4″ plywood to the inside frame using my 18V AirStrike brad nailer.
For the front face of the bench seat, I secured a piece of 3/4″ plywood to the frame using my impact driver and construction screws.
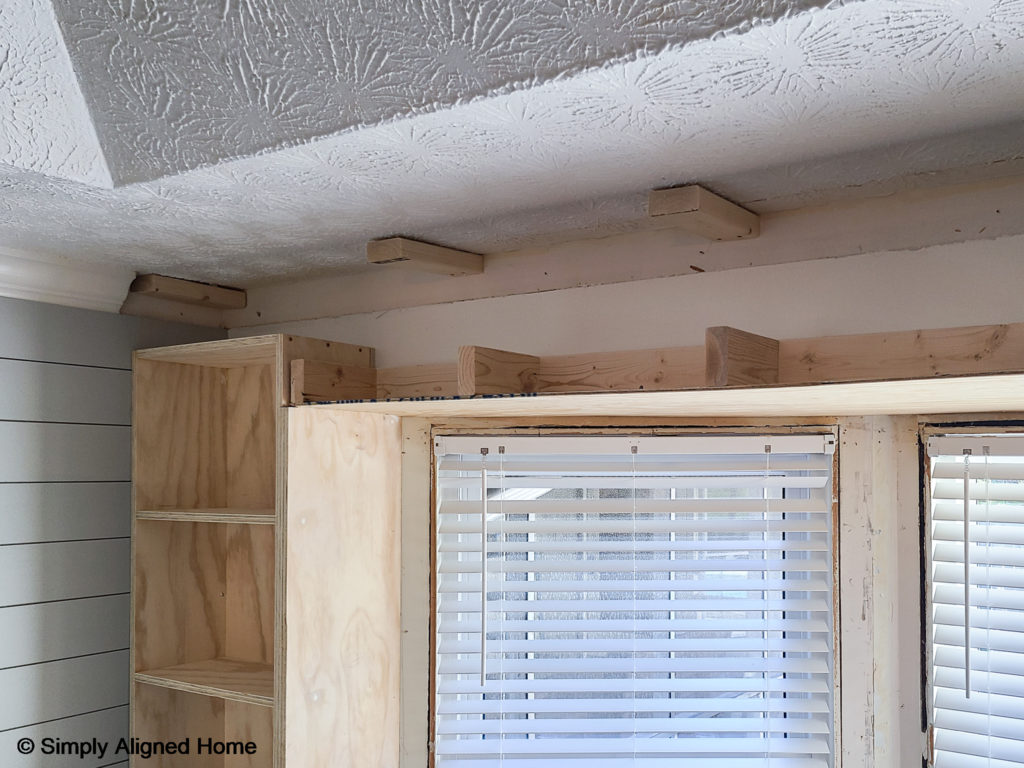
Build Out Ceiling (if necessary)
My bay window had a ceiling that was lower than the rest of the room. Once I built the bookcases, I decided I needed to build out the ceiling as well. It would have looked really awkward if I had two different ceiling heights over the bench. Plus, I wanted to hide the stippled ceiling..
I started by making a header out of 2x4s. I secured the header to the studs, making sure the bottom of the header was flush with the existing ceiling. I also secured a few 2×4’s to the ceiling joists to be able to properly space out the front of the new ceiling.
Next, I cut out two pieces of 1/4″ plywood for the ceiling and secured it to both the ceiling and 2×4 support with construction screws. Once the that was in place, I cut two pieces of 3/4″ plywood for the front face of the new ceiling.

This was such a large build that I thought it would be best to share the process in two posts. Be sure to check out the Part II to see how I finished off this modern bay window built-in!