There’s something about a fireplace that just makes a home feel more cozy! I love that we have a large fireplace in the center of our home. I wrapped it in shiplap to make it feel clean and modern…but it felt like it was missing something. Cue the mantel!
While decorating for Christmas this year, I made the executive decision that it was time for our fireplace to have a mantel! (Most of my projects begin with me making an executive decision…luckily, my husband tolerates my ideas!)
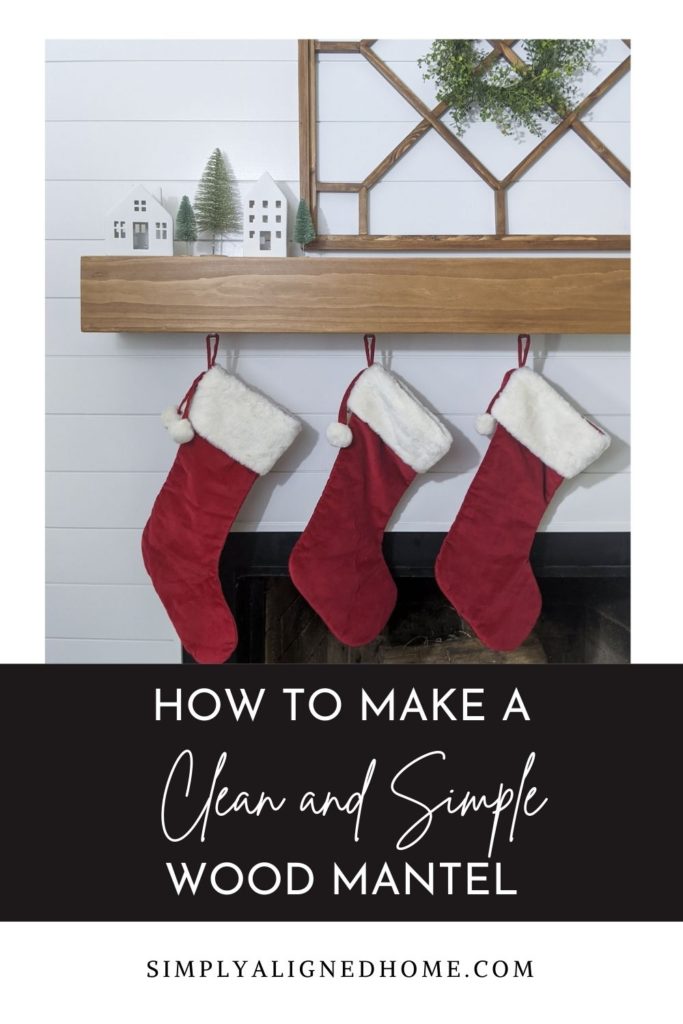
I’m not big on ornate or detailed mantels. Instead, I just wanted a very clean and simple mantel box. This was probably one of the easiest projects I’ve done and it made a huge difference! Here’s how I made it..
**This post contains affiliate links to products that I recommend. If you purchase something through an affiliate link, I may receive a small percentage of the sale at no extra cost to you. I really appreciate your support.**
Cut Wood for the Mantel Box
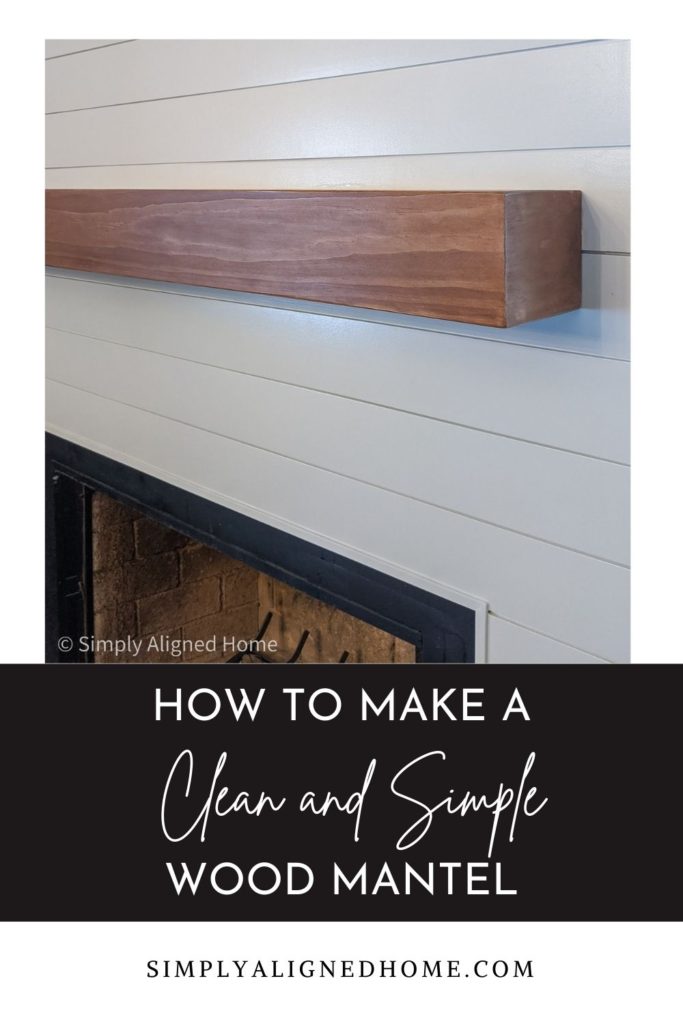
In order to have a seamless look, I decided to use miter cuts to make the mantel box. The top, bottom and side pieces all had one straight edge (to go against the fireplace) and the rest were mitered. The front piece is the only one that was mitered on all sides.
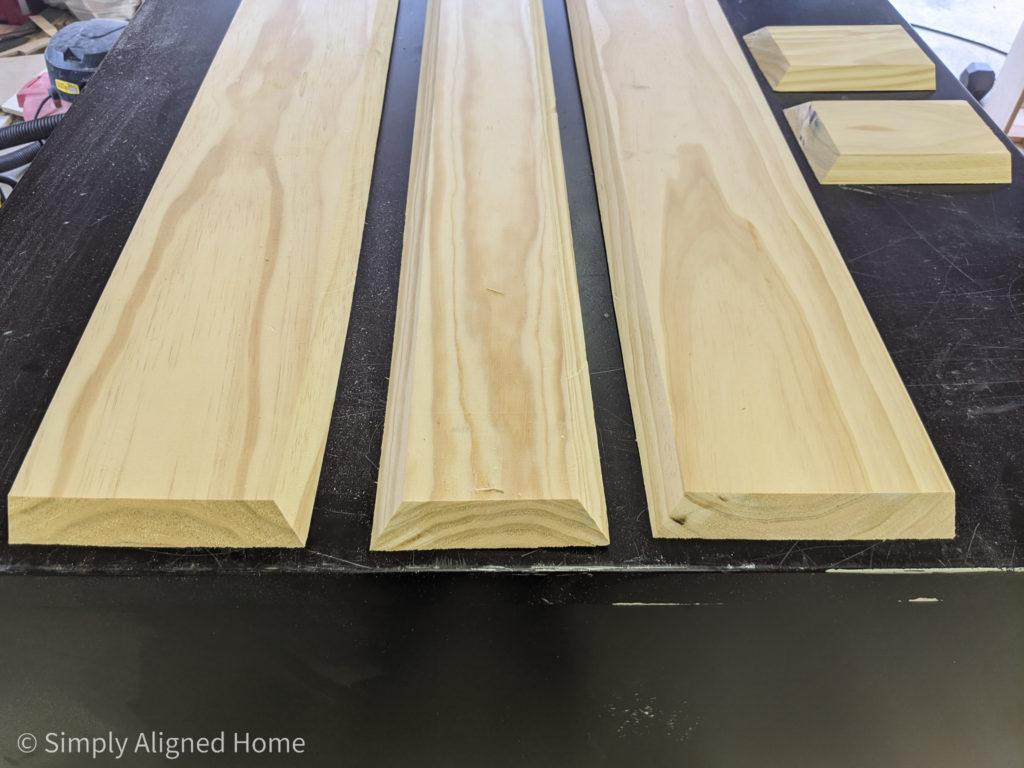
I made the mantel box This was based on the width of my fireplace.
The height of the mantel box was determined by the support I chose to make. I will be using 2x4s for the support, so the inside of the mantel box needed to be just slightly larger than the 2x4s.
Assemble the Mantel Box
I used wood glue and finishing nails to assemble the mantel box. I first attached the top and bottom pieces to the front piece. The side pieces were the final piece of the mantel box.
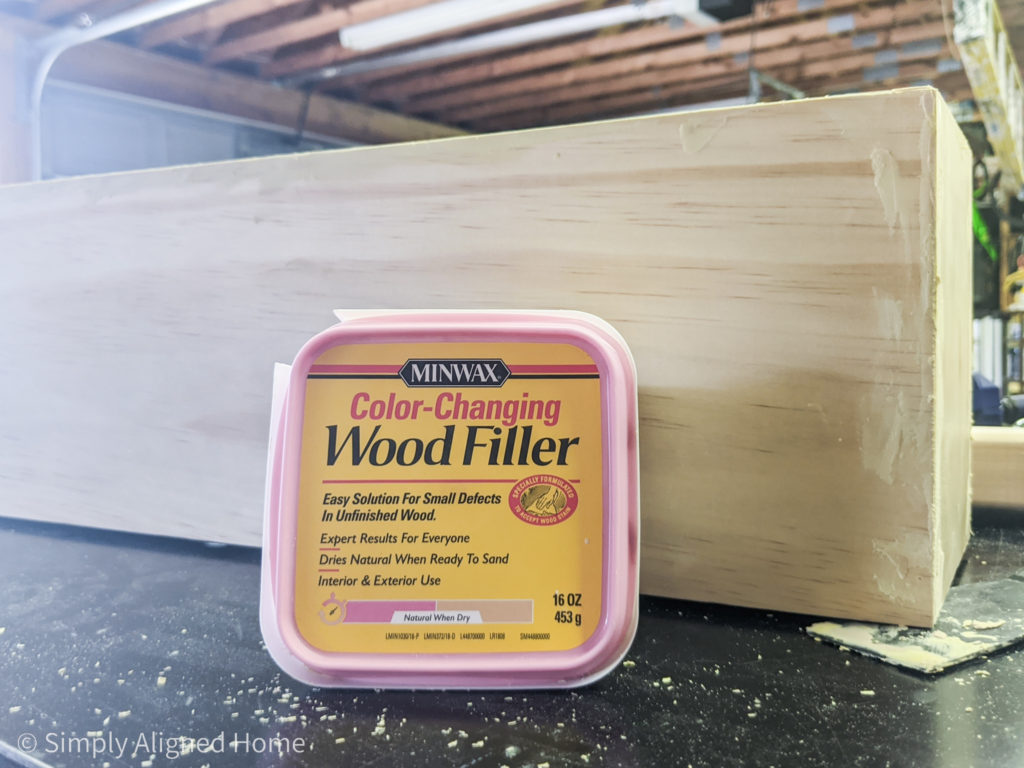
I filled any gaps with stainable wood filler and finished it off by sanding it with 220 grit sandpaper.
Assemble and Install Mantel Box Support
As stated above, I decided to use 2x4s for the mantel box support. I cut one 2×4 just slightly shorter than the inside width of the mantel box. I then cut six pieces of 2×4 for the cleats.

I secured the cleats to the main 2×4 support using construction screws. I screwed through the back of the support into the cleats using two screws per cleat.
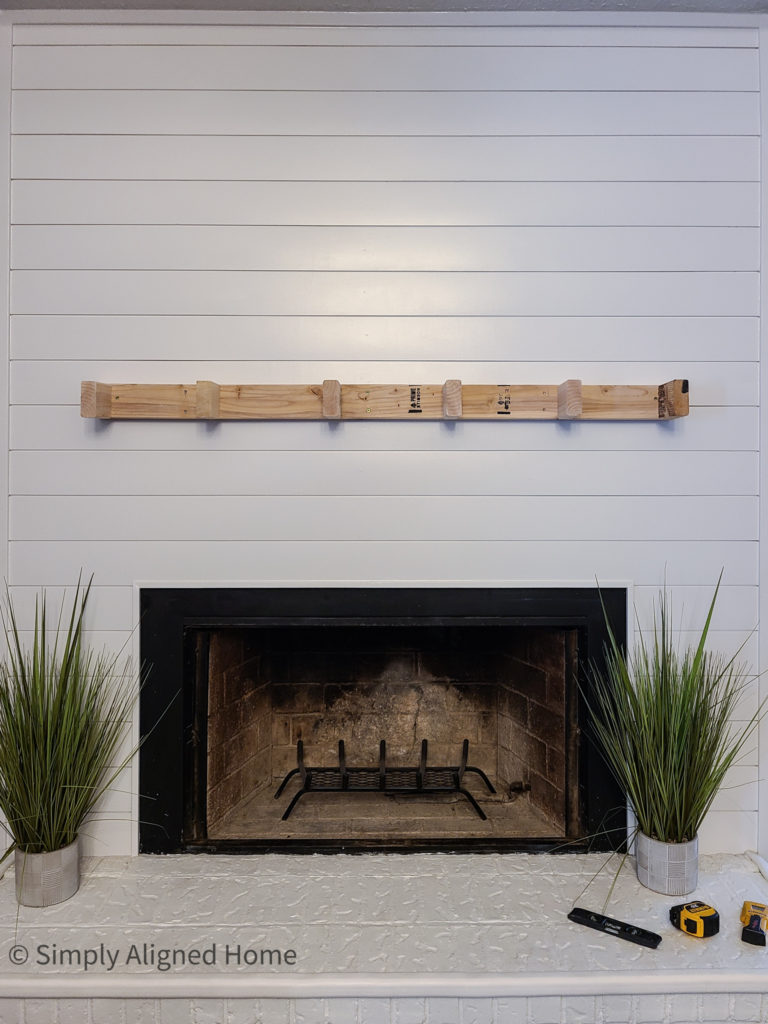
Once the full support was assembled, I secured it to the fireplace by screwing through the 2×4 support into the studs.
Install Mantel Box
With everything built and the support installed, it was time to install the mantel box! I simply slid the box onto the support, making sure it was centered on the fireplace.
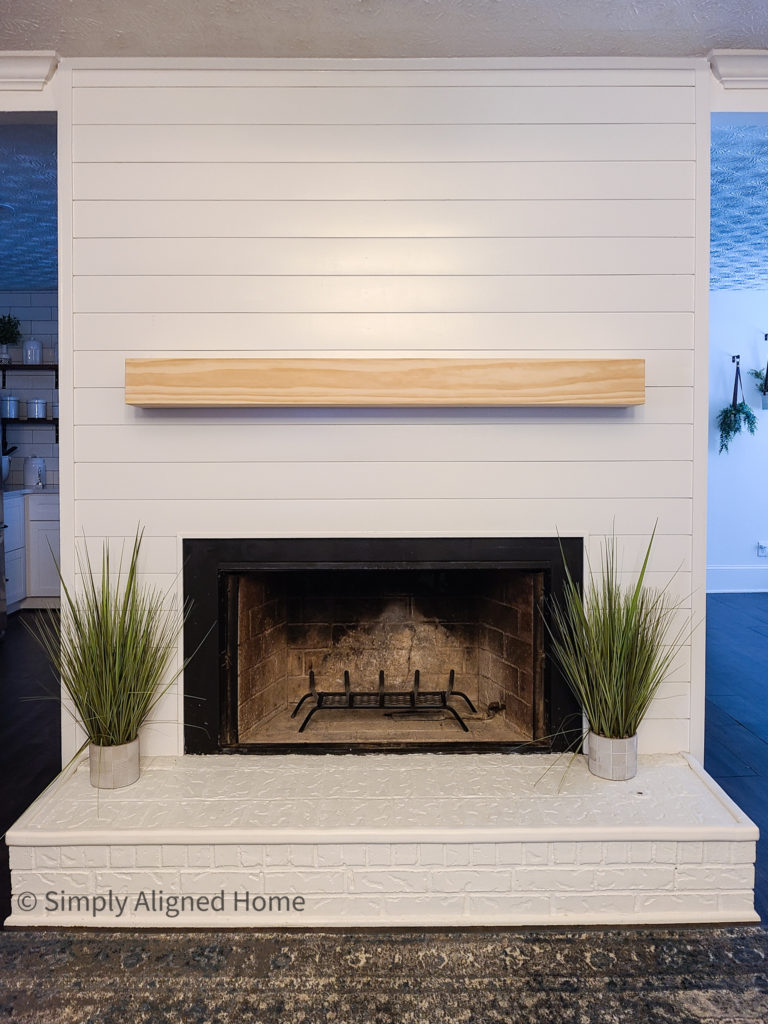
Using construction screws, I secured the mantel box to the support in several spots. I used a little wood filler to hide the construction screws.
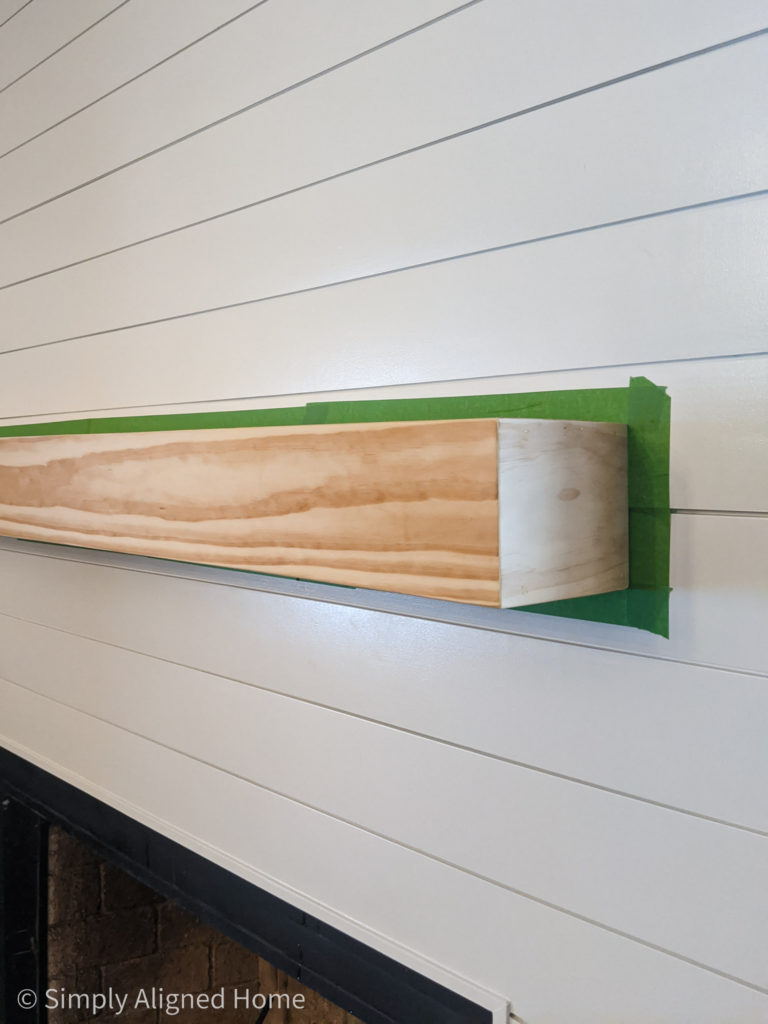
Stain and Seal Mantel Box
I probably should have done this step before I installed the mantel box…but I can be a little impatient with my projects. Since I decided to stain it in place, I taped off the shiplap around the mantel.
I applied two coats of Behr water based stain in Early American. Once the stain was dried, I applied two coats of the water based polyurethane with a light sanding between coats.
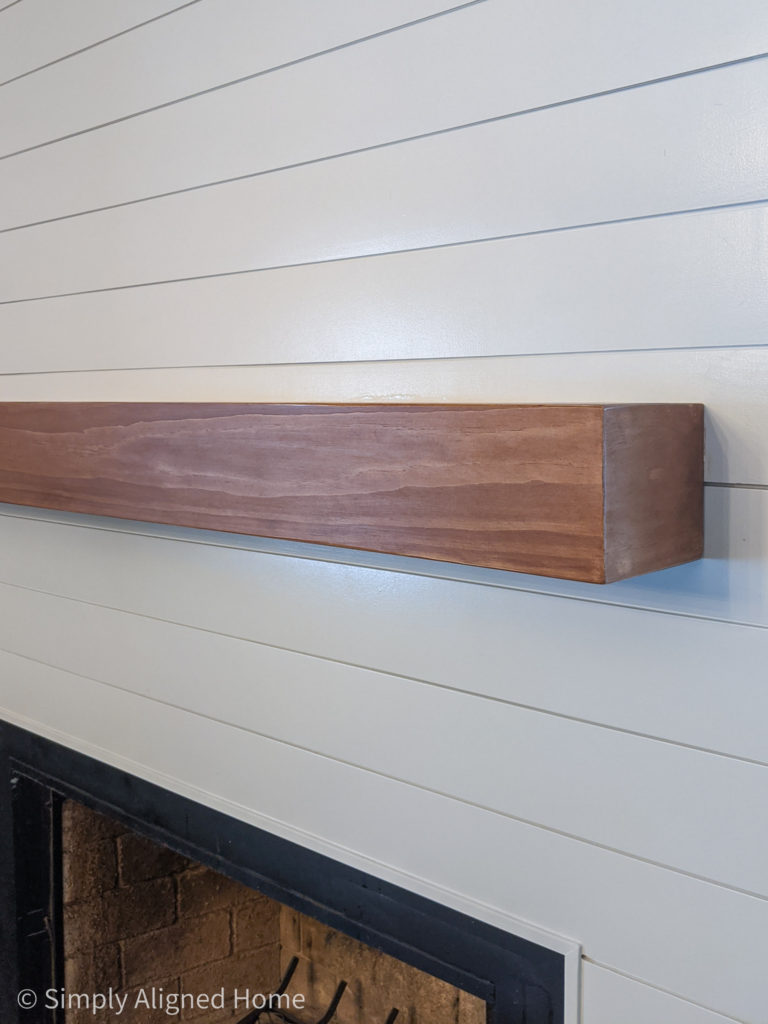
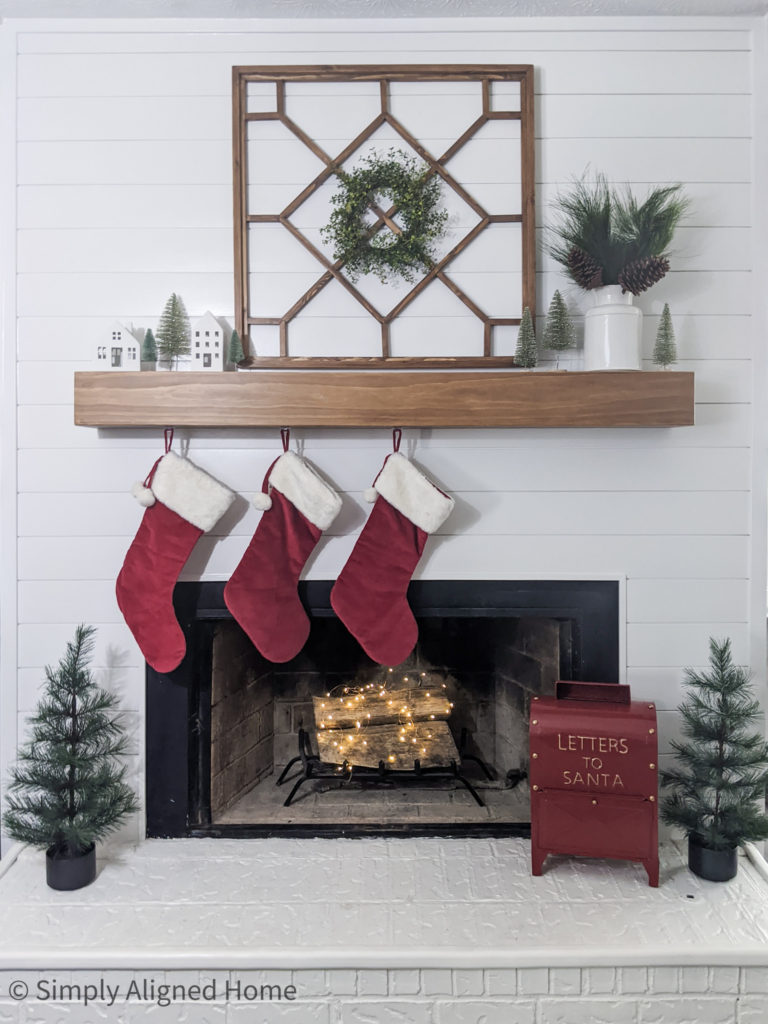
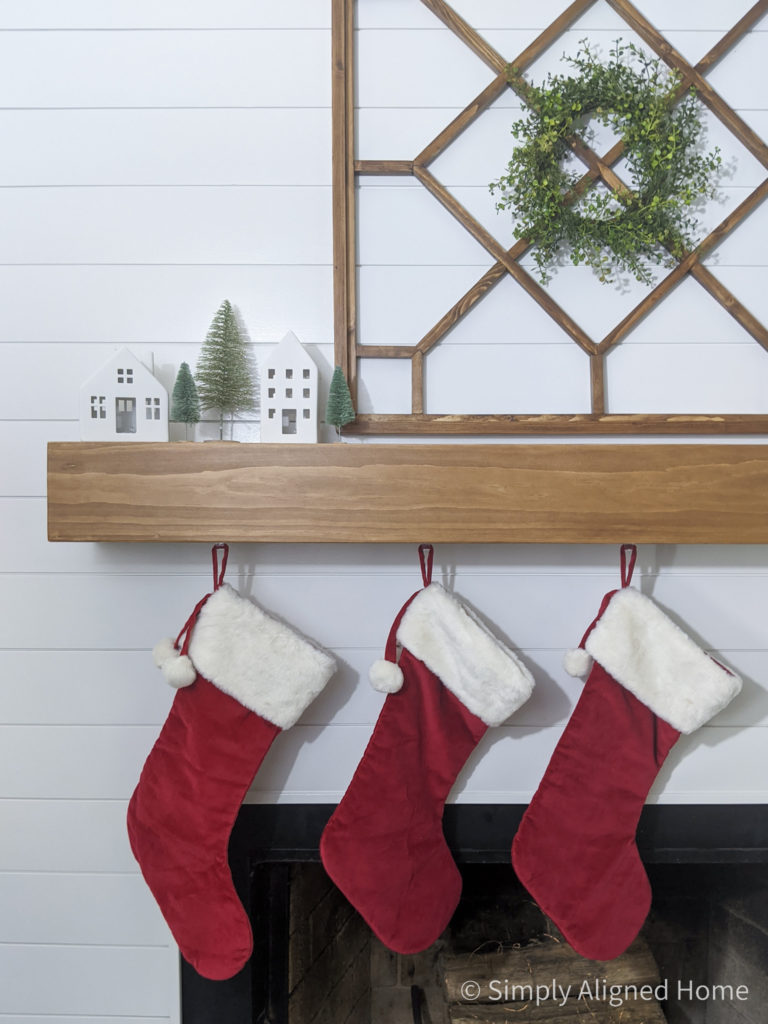
The stained wood mantel warmed the fireplace up perfectly! Now that I had a beautiful mantel, I could finish my Christmas decorating. It sure is fun to hang stockings from my new mantel!