With more people working from home these days, home offices have become very popular. I have been working from home for a while and don’t have an official “home office” space. I finally decided it was time to make a nice office space with plenty of room to work!
In an attempt to not break the bank on a large desk, I decided to make my own! Here is how I made this 8′ long desk top out of lumber that you can get from any home improvement store.
Rip Edges of the Wood
**This post contains affiliate links to products that I recommend. If you purchase something through an affiliate link, I may receive a small percentage of the sale at no extra cost to you. I really appreciate your support.**
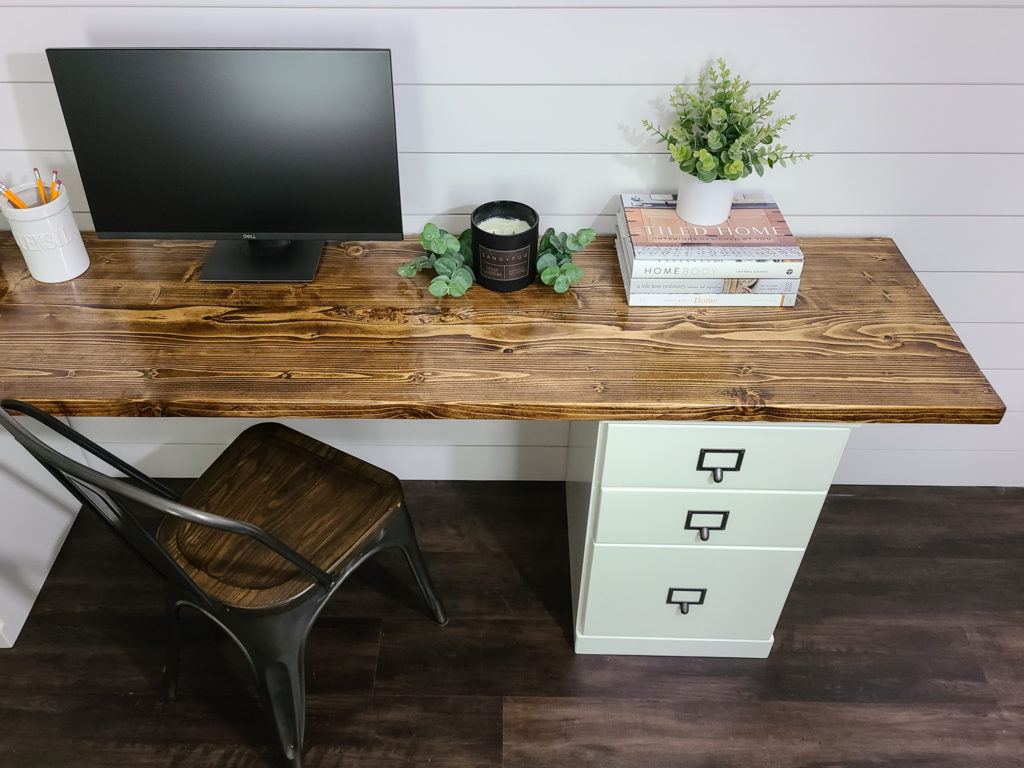
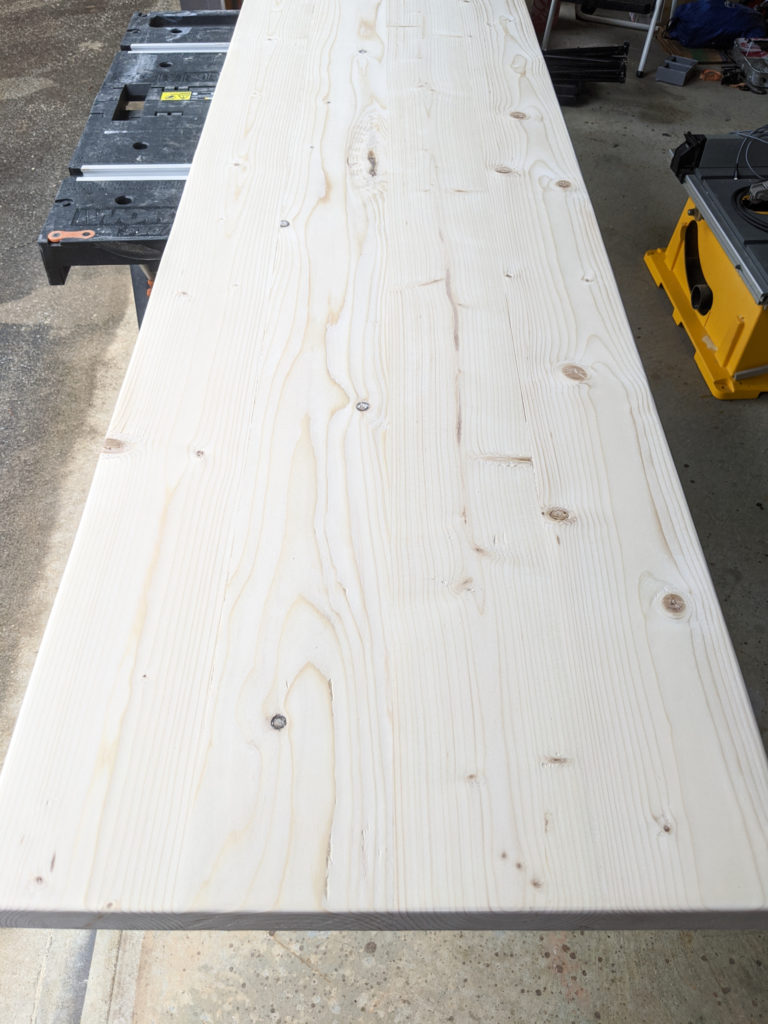
For desk top, I decided to use four pieces of 2″ x 6″ x 8′ long lumber. Lumber typically comes with rounded edges. In order to get a nice clean edge, without the rounded edges, I ran the wood through my table saw to make a nice straight cut.
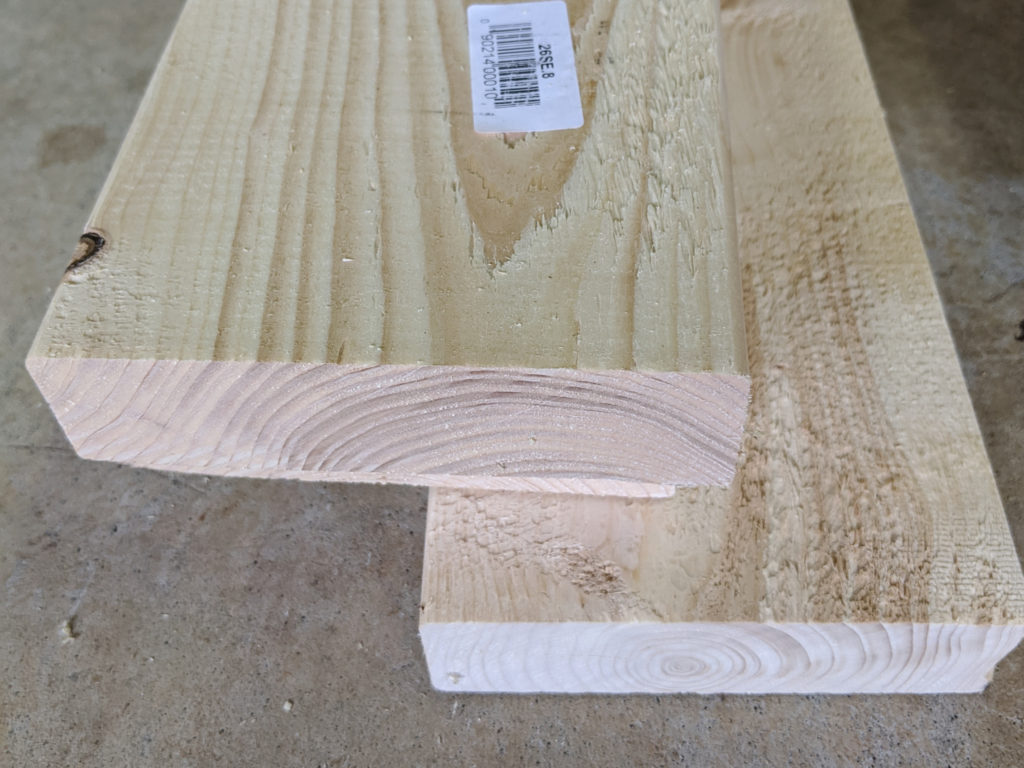
You can see the difference between the edges in the picture below. The right side of each board has been run through the table saw and the left side still has the rounded edges before being cut.
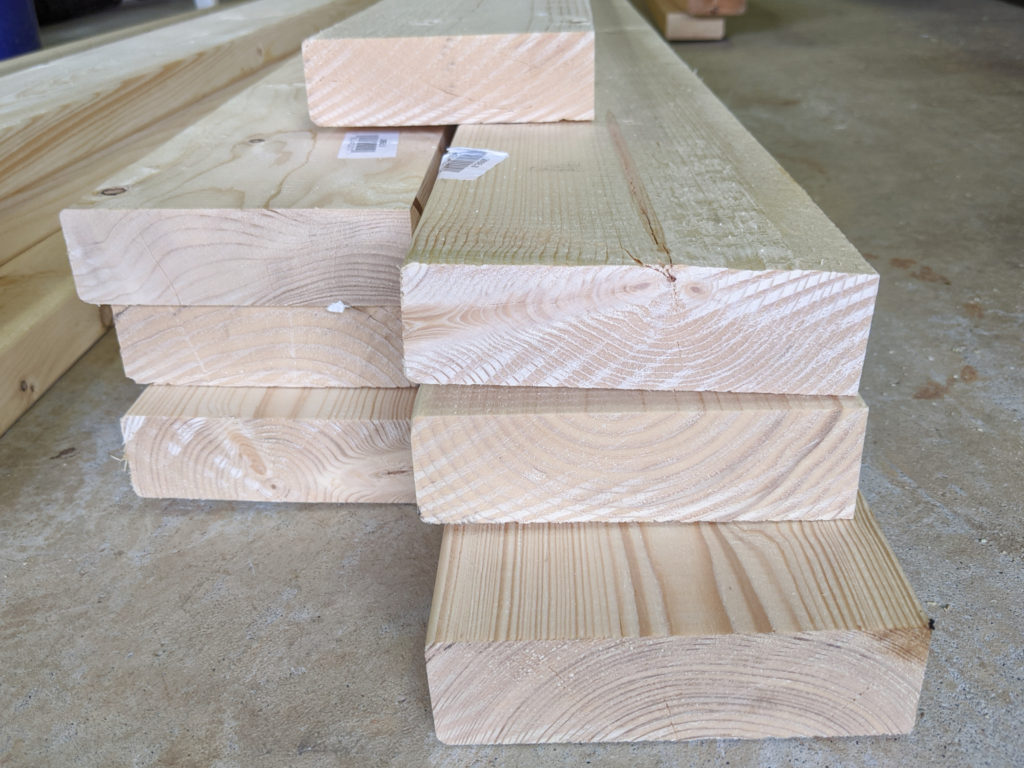
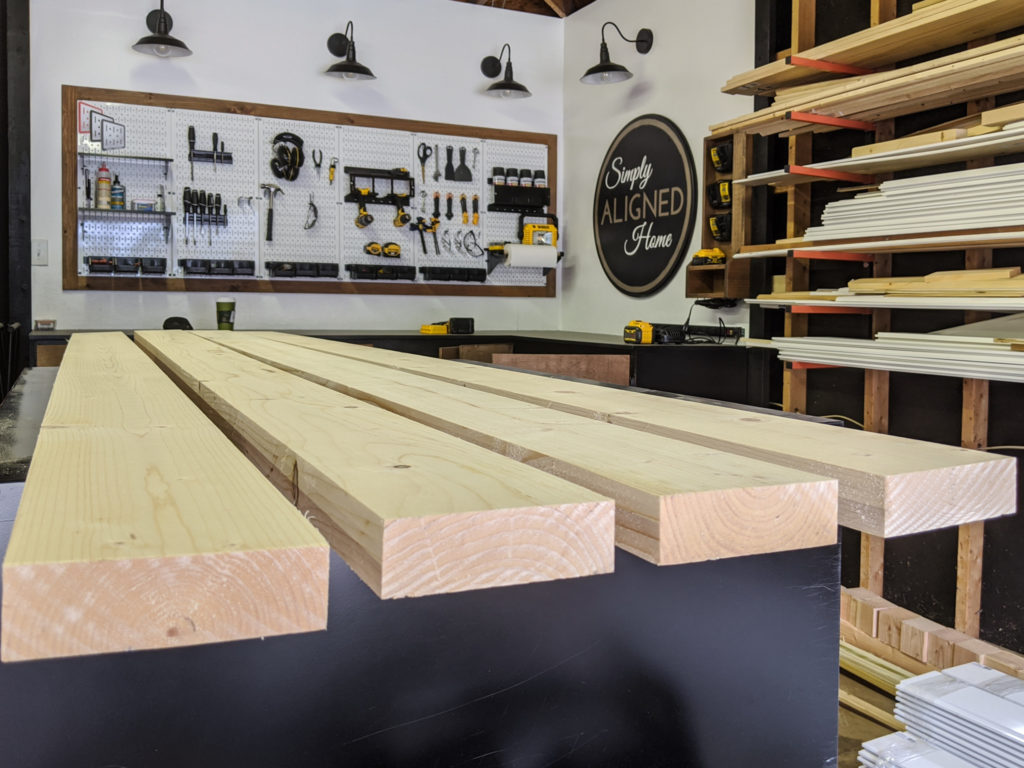
Once I removed the rounded edges from the four pieces of wood, I laid them out and determined which pieces fit best together.
Drill Holes for Pocket Screws
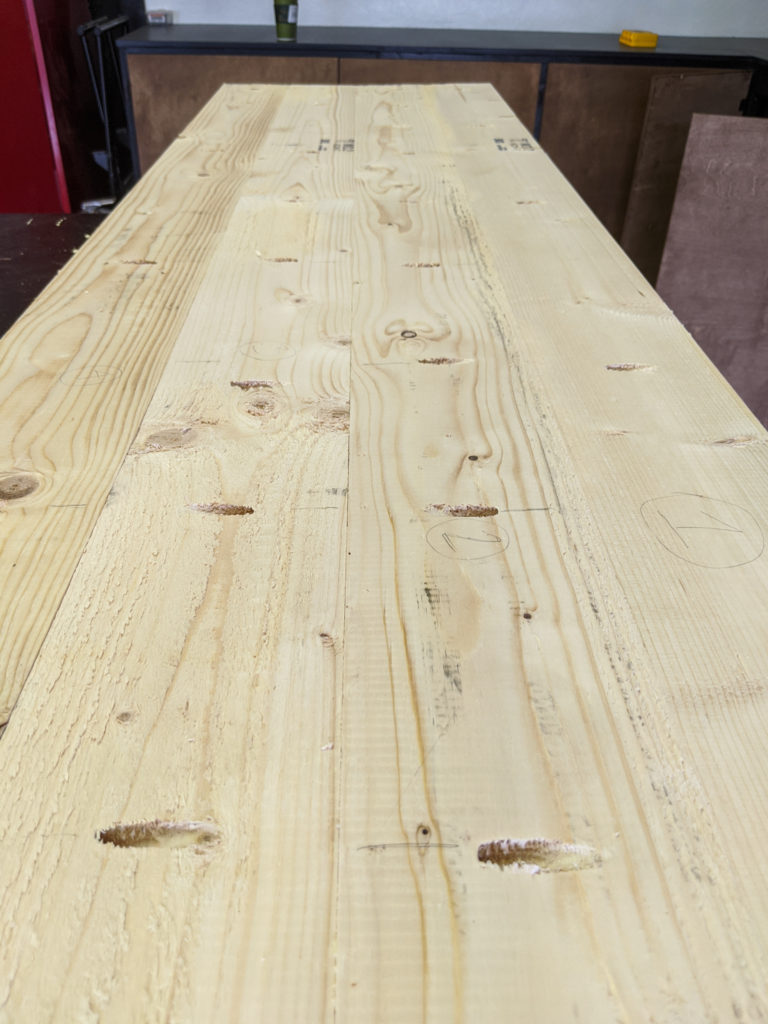
To secure the pieces of wood together, I used both wood glue and 2-1/2″ pocket screws. I used my Kreg pocket hole jig to quickly drill the holes on the bottom of each board.
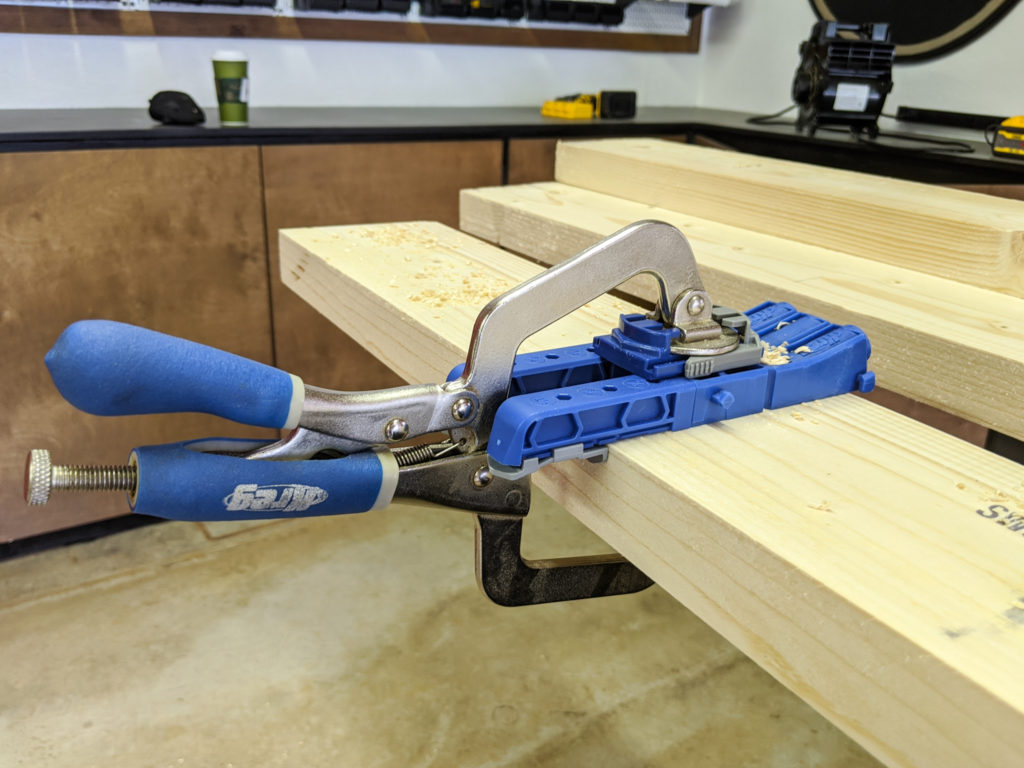
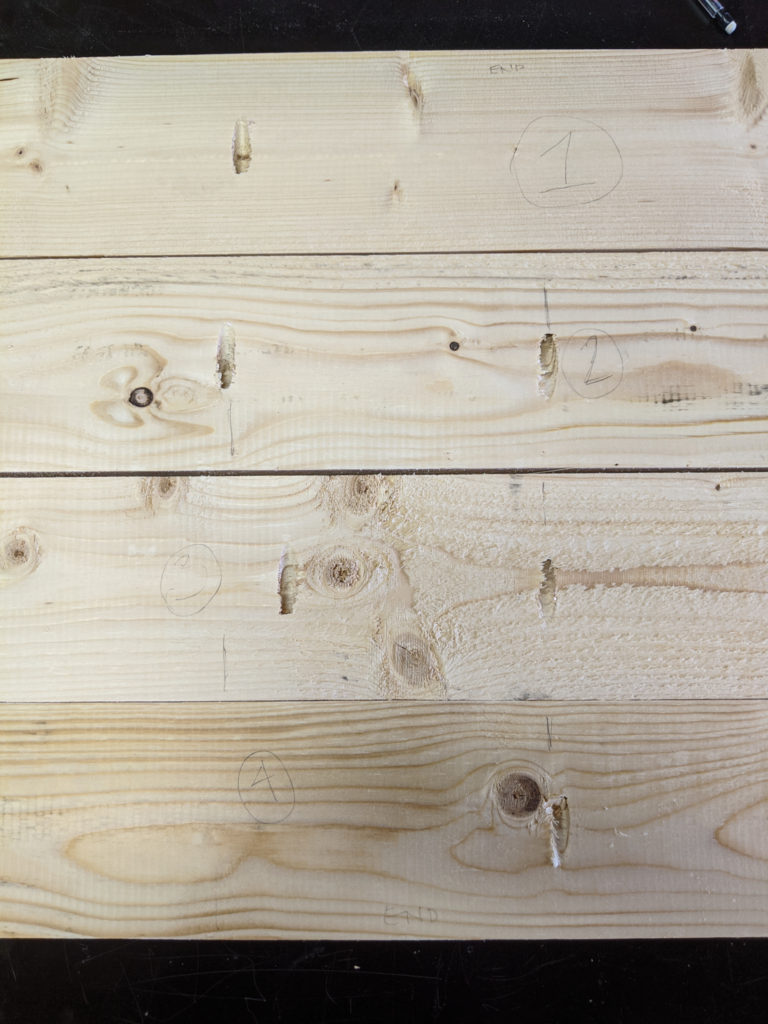
One thing that I’ve discovered is helpful when working with several pieces of wood is to label everything. I numbered each board and marked where I wanted the pocket hole screws. This allowed me to quickly drill the holes without worrying if the placement was correct.
Secure the Boards Together
After all of the holes were drilled, I applied wood glue to one board edge, clamped it to the next board and screwed in the pocket screws. Once you glue and screw the first, just repeat for each additional board.
Cut the Ends of the Desk Top
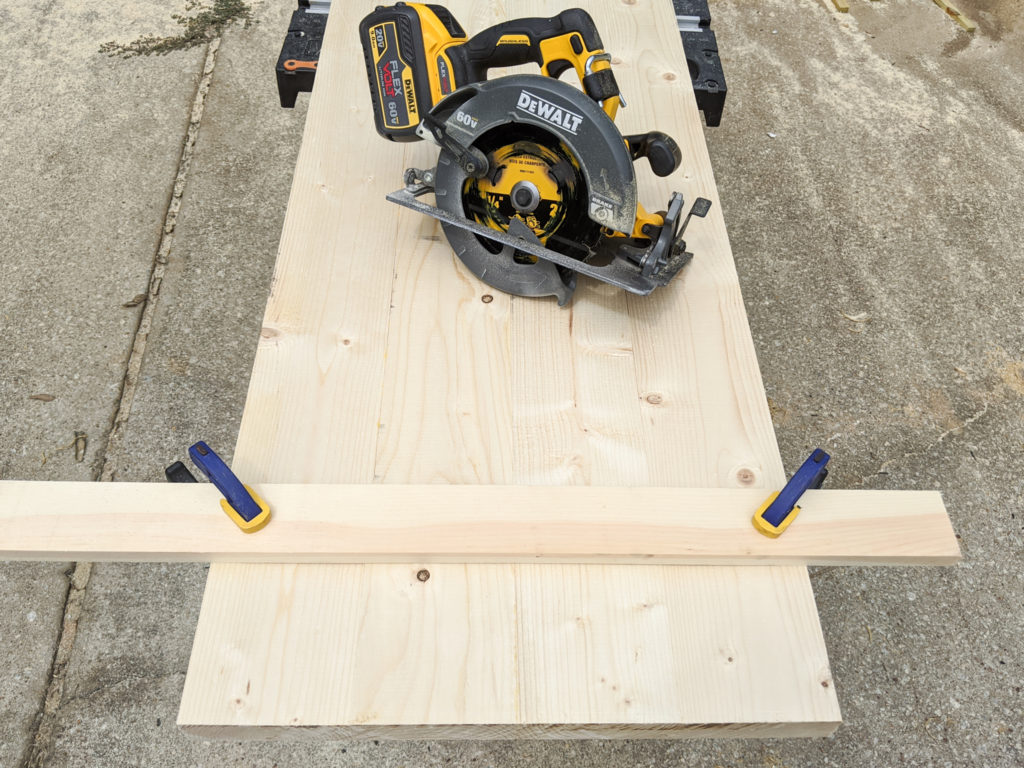
Although I lined up the ends of each board, the ends of the assembled desk top were not perfect. I used my circular saw to get a nice clean line on each end. I clamped a piece of wood to the desk top for a straight edge guide and to cut off as little material as possible.
Sand, Stain and Seal the Desk Top
I don’t have a planer and the seams were not perfect. I simply sanded down any ridges with coarse sandpaper. After the ridges were sanded, I filled any small gaps or voids with a stainable plastic wood filler.
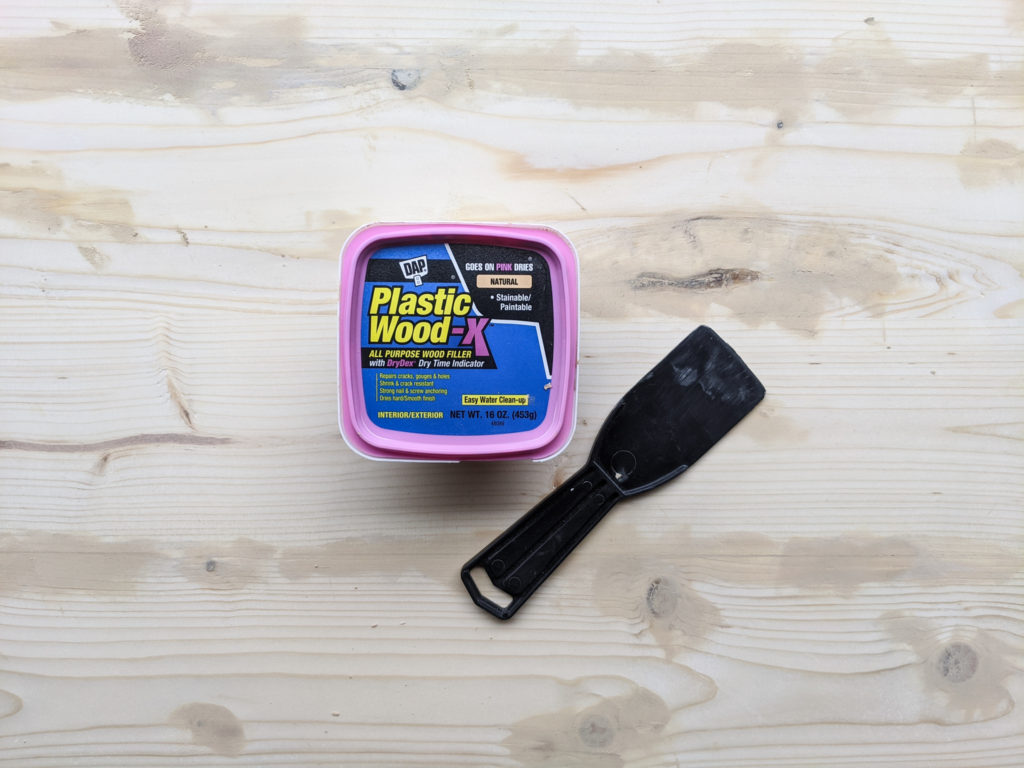
Once the wood filler was dry, I sanded the desk top with 220 grit sand paper to get a nice, smooth finish.
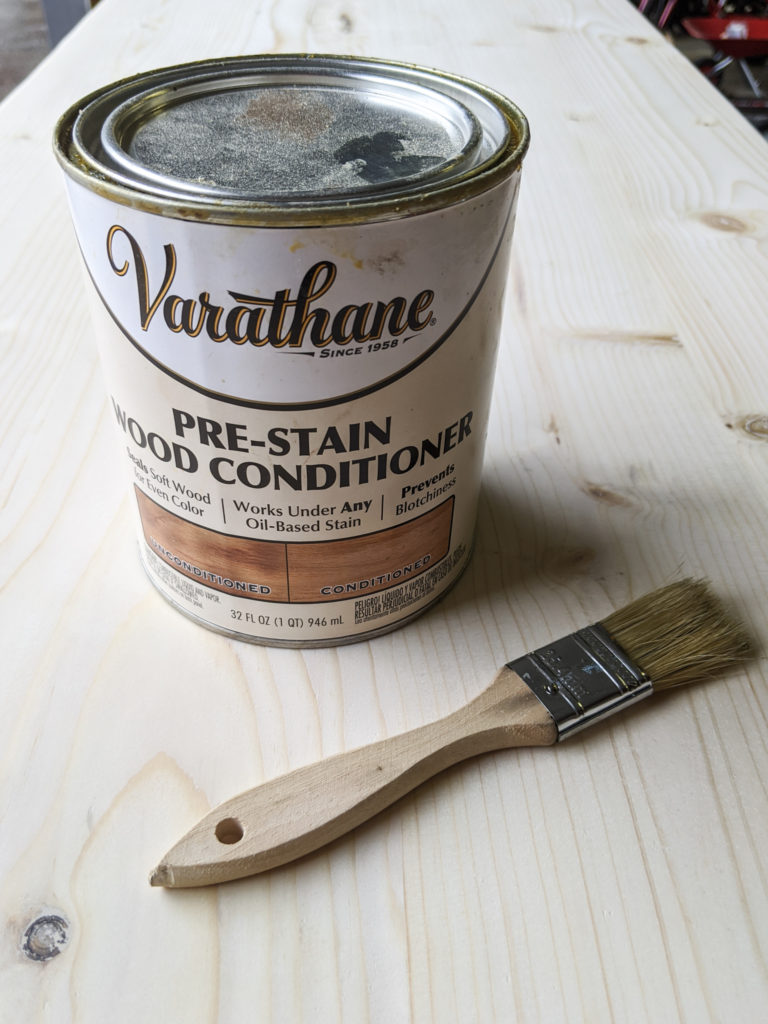
In order to get a nice, consistent finish, I first applied a pre-stain wood conditioner. This helps prevent the stain from looking uneven or splotchy.
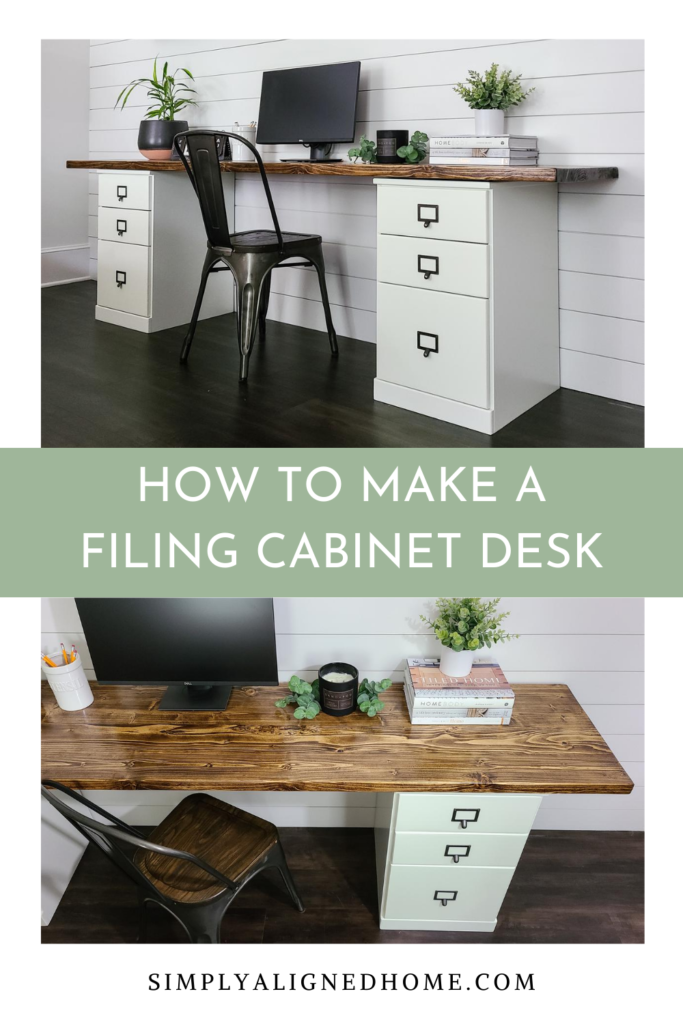
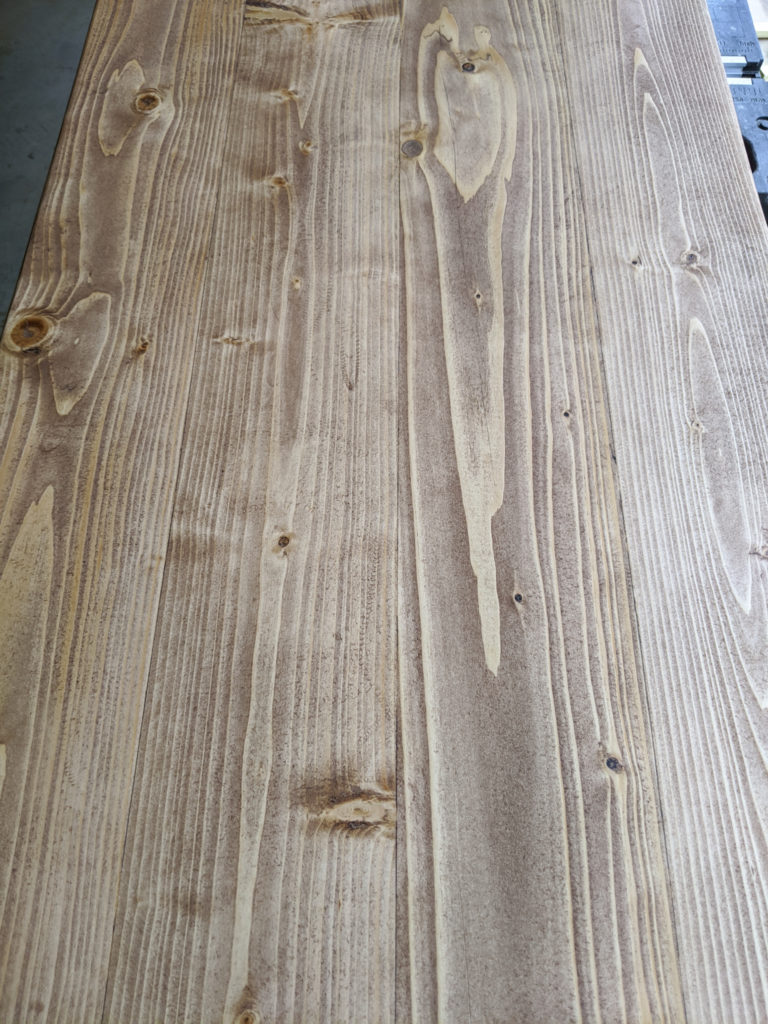
After the pre-stain wood conditioner dried, I applied a special walnut stain. The desk top was much lighter than I hoped even with two coats of the stain.
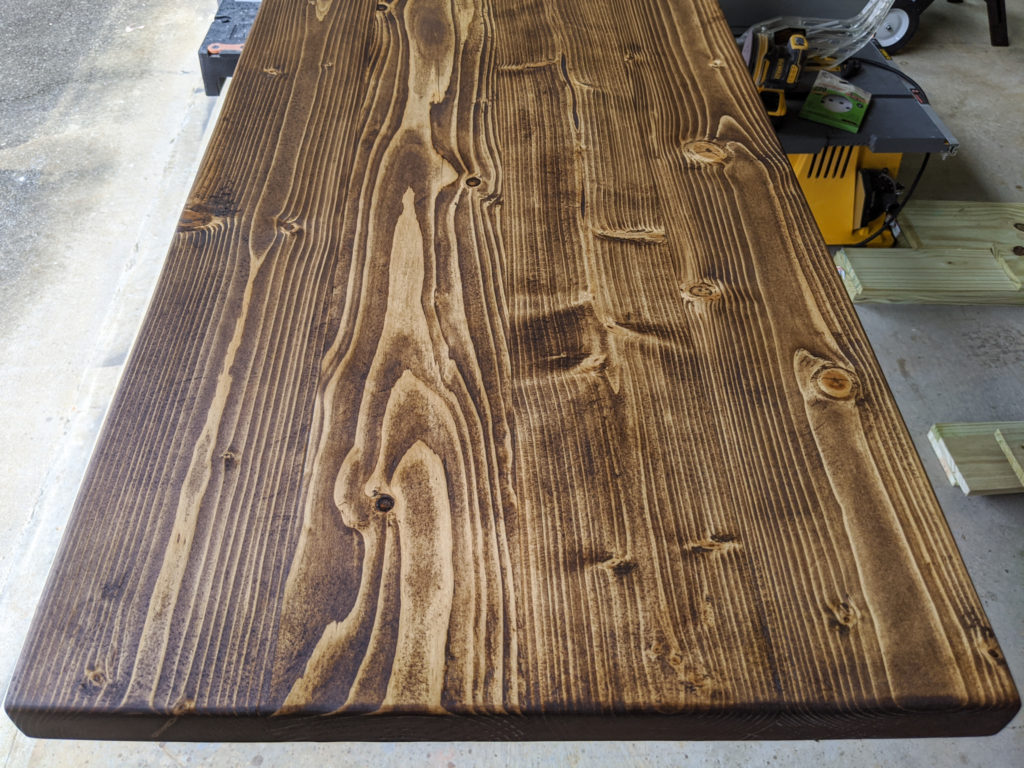
In order to darken the stain just a little, I applied one coat of dark walnut. I finished it off with two coats of polyurethane.
Install the Desk Top on the Filing Cabinets
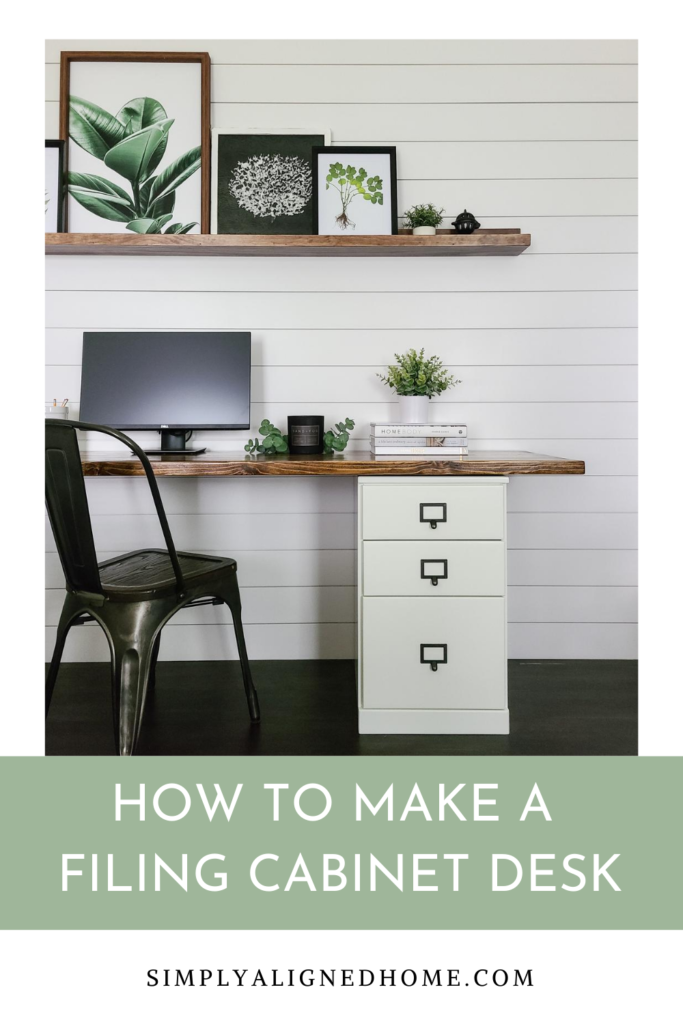
Now that the desk top was complete, it was time to get rid of the folding table! I recently made a picture ledge for this space with the idea of making a desk to place under it. I couldn’t wait to see how the space would come together!
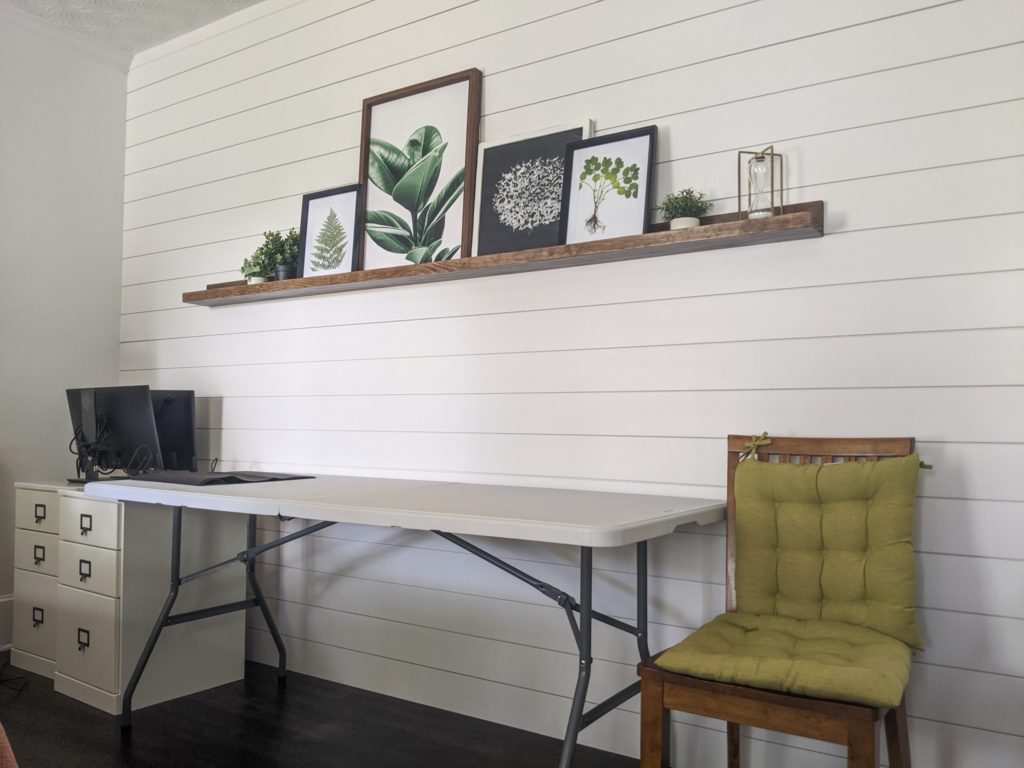
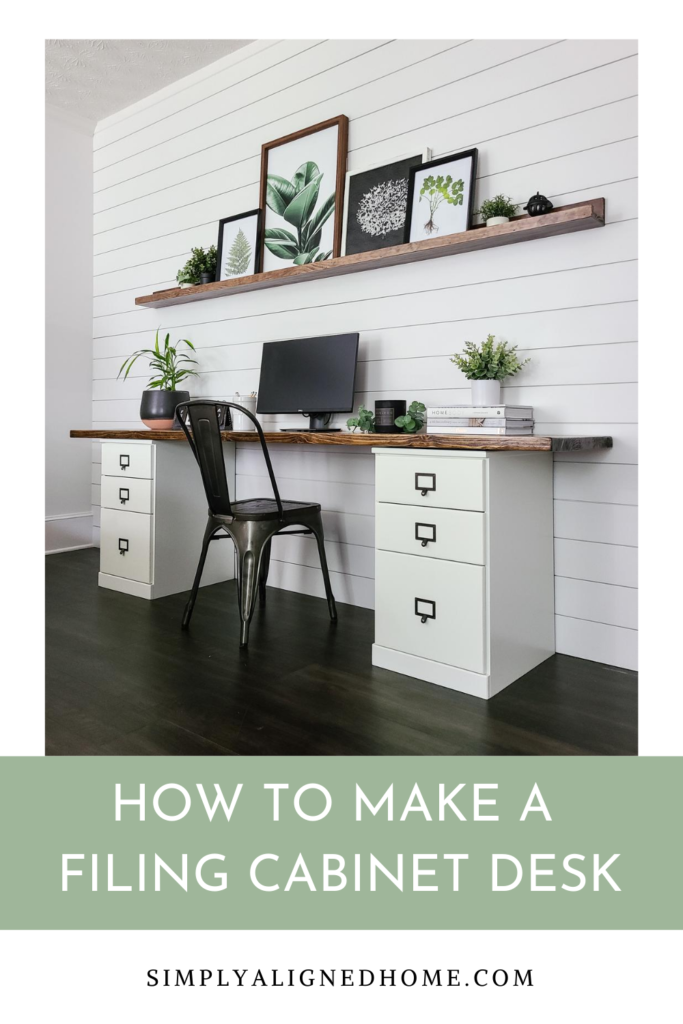
I decided to support the desk top with two filing cabinets. I placed rubber drawer liners on the tops of the filing cabinets to ensure the desk top wouldn’t slide around. The filing cabinets added both character and storage. I’m all about more storage!
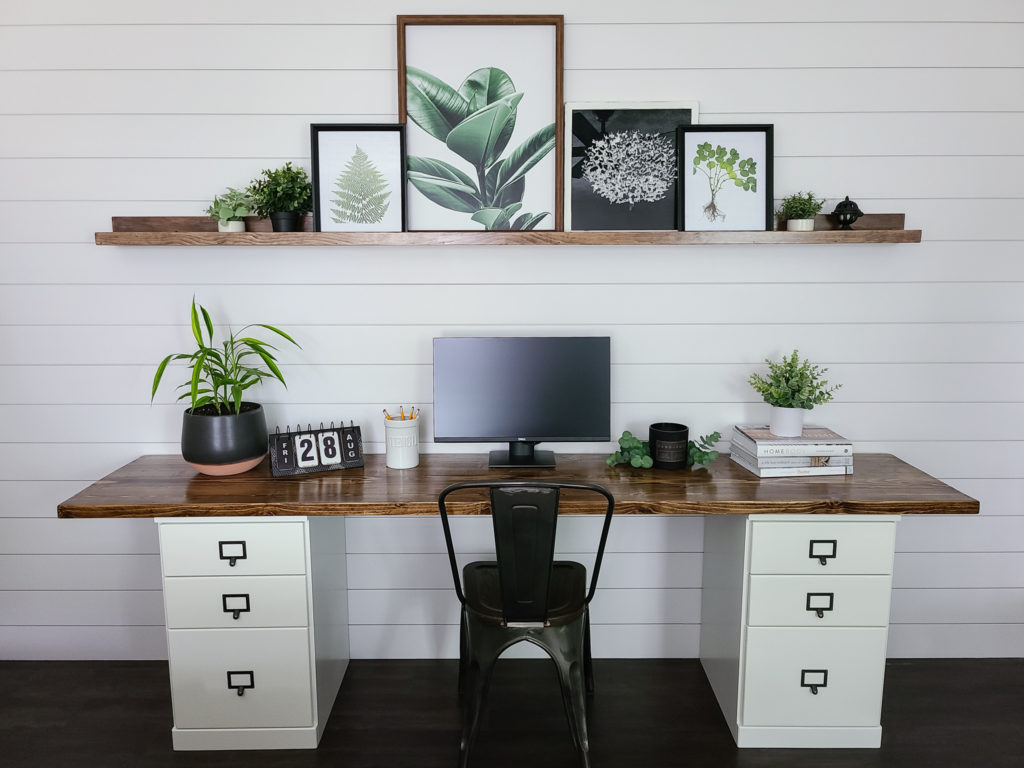
I can’t wait to start using my new office space! I already feel more productive just looking at it!

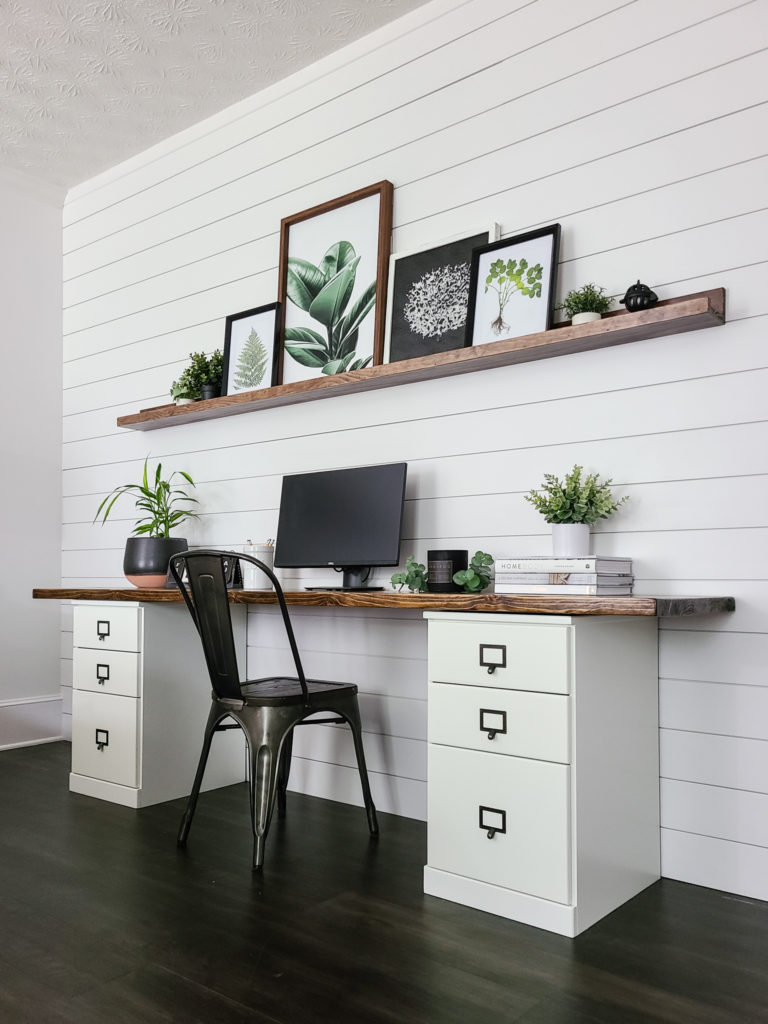
I hope you enjoy this clean and simple office space!