
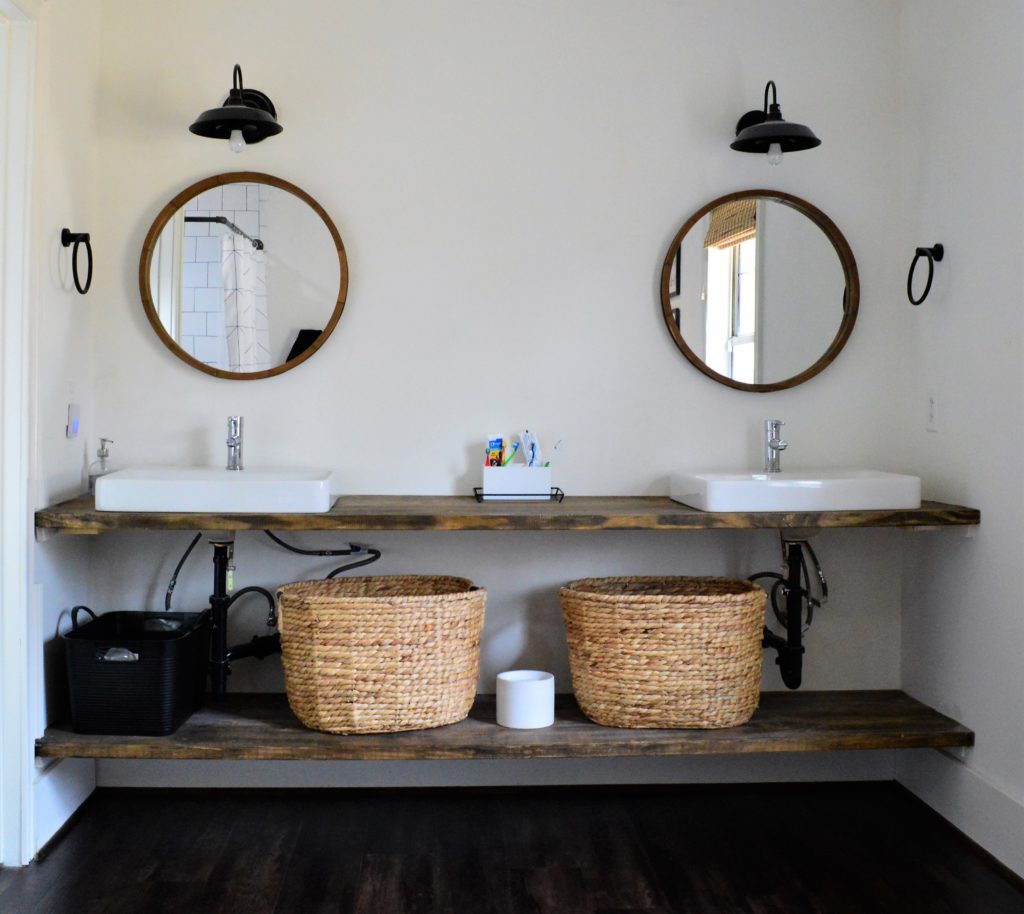
Our home had open shelving in the master bathroom when we purchased it. I liked the look, but it didn’t take long for me to realize this would not work for us. You don’t realize how many things you store under your sink until you have to look at it each day. I used large baskets to hide what I could and the rest was stored away in the bedroom closet. When the shelves were clean, it looked fine, but it often still looked cluttered.
I had been searching for the perfect vanity for a while. The main issue I ran into was the width of our space…it is just shy of 8′. I could not find one vanity that was wide enough and I wanted to use the full space.
After exhausting my search, I stumbled upon the Angela Rose DIY Home bathroom vanity plans. I purchased plans for the largest vanity and modified them to fit my needs. The main changes that I made to the plans were the overall width of the vanity, the third row of drawers, and the drop down doors under the sinks. These simple changes made it perfect!
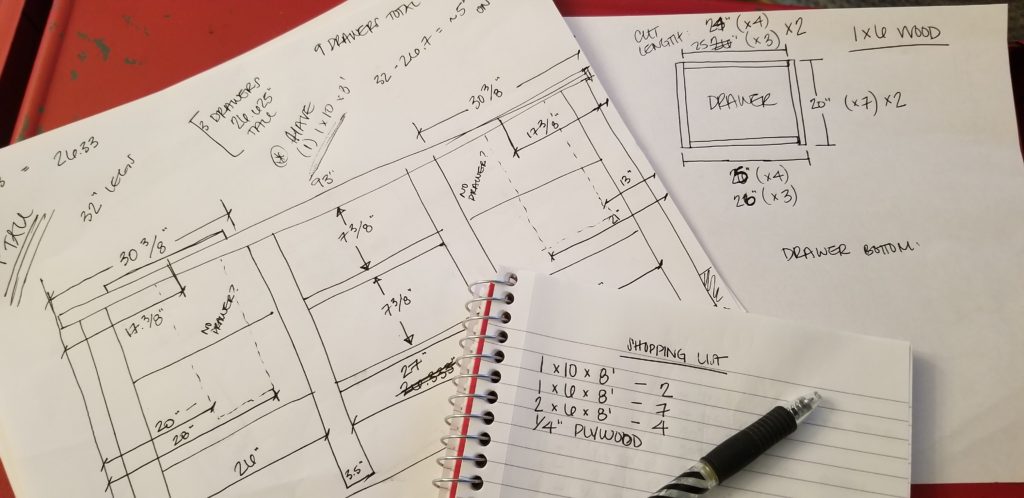
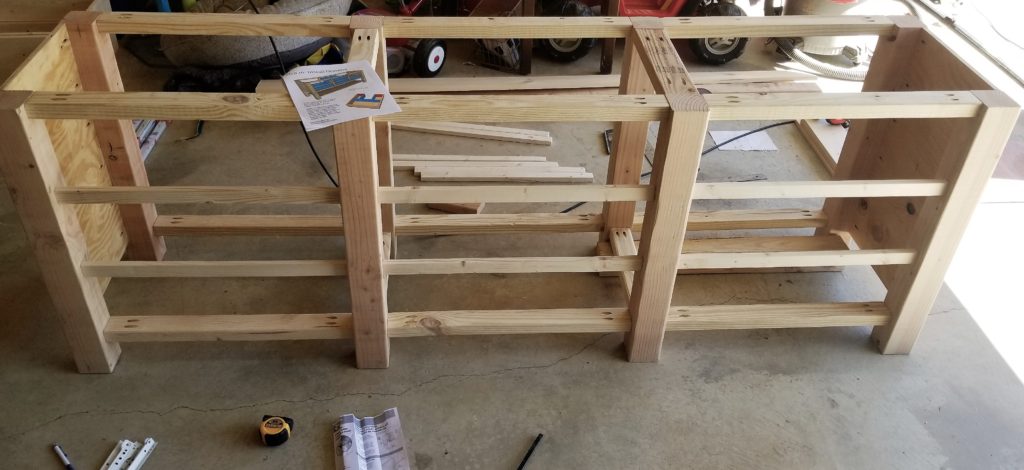
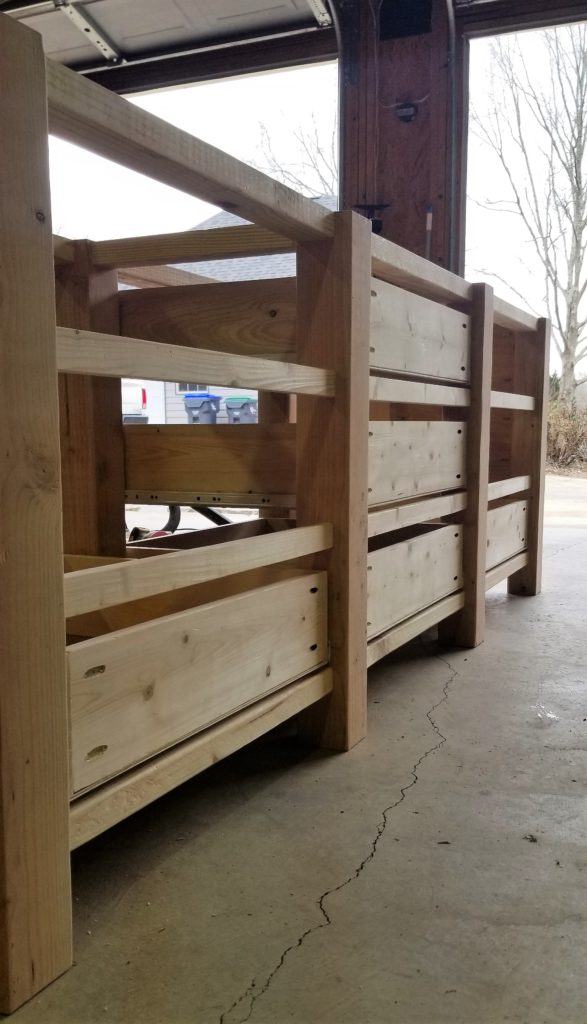
I purchased plans for a 72″ vanity and I modified them to be 94″. With the additional length, I chose to modify the main structure to include four additional posts. I was concerned that the vanity might sag in the middle with the additional length and weight of the additional drawers. The engineer in me tends to over design things, so it might have been overkill..
The original plans called for two rows of drawers with an open shelf on the bottom. Since I was trying to get rid of the open shelving I currently have, I decided to remove the shelving and replace it with additional drawers. It was easy to duplicate what was done for the top two rows of drawers for the third. I am very glad I decided to make this change, because it gave us so much more storage!
I cut all of my wood using a miter saw. It was a little tricky cutting the wood for the drawer fronts…I recommend using a table saw to cut them. As for the plywood, I discovered the amazing service that Home Depot offers. The will cut the wood FOR FREE!! It literally took 5 minutes and the pieces were cut perfectly! I will never cut plywood by myself again!
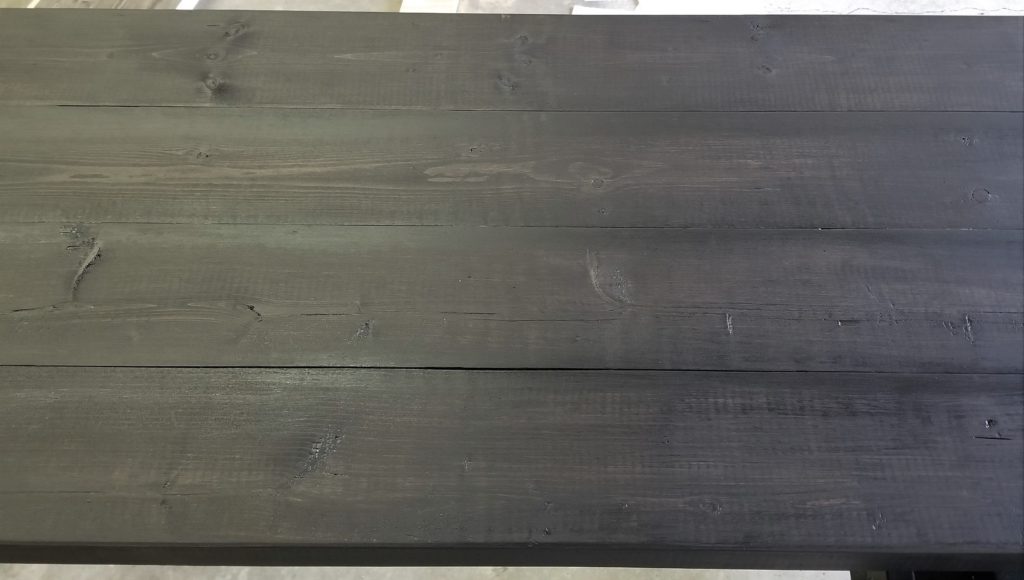
Once I had the frame and drawers assembled, I began working on the finish. I tried several different stains, but did not like how they looked. I considered using an ebony wood stain, however, it didn’t look as dark as I had hoped. After several attempts, I gave up on stain and tried paint. I ended up going with a light coat of black paint.
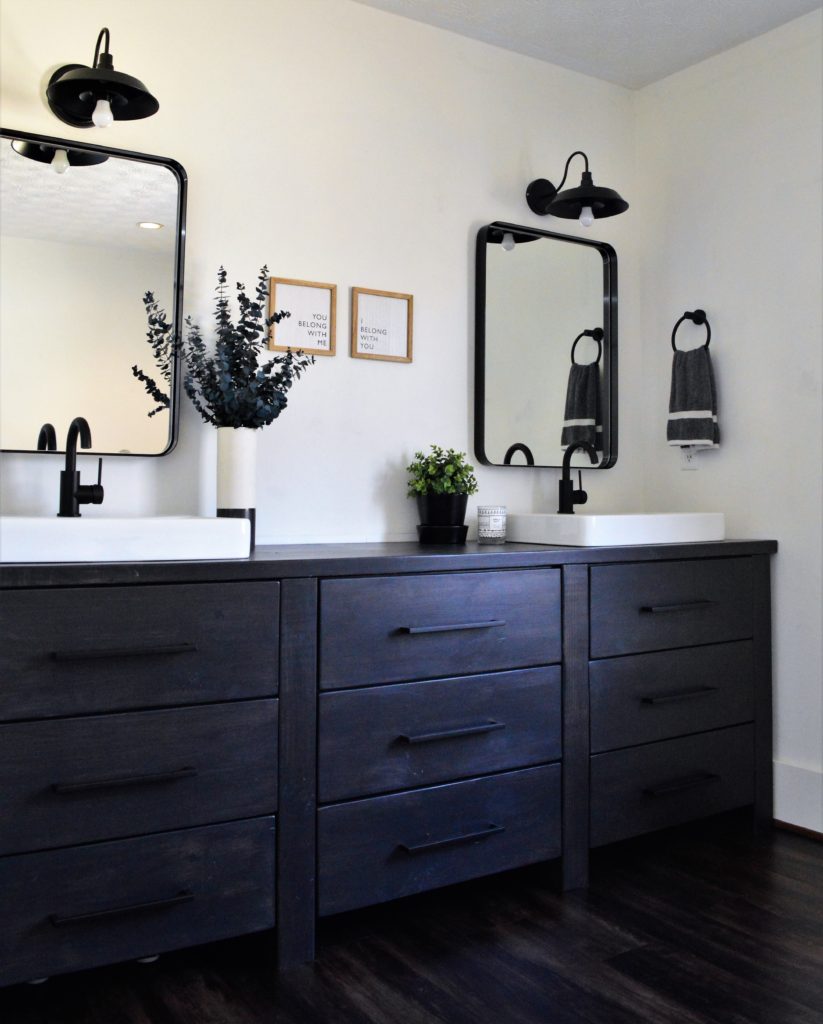
I finished everything off with three coats of Varathane Polyurethane Clear Matte Finish. The combination of the light coat of paint and polyurethane allows some wood grain to show through, but also provides the dark color I was looking for with a waterproof protective finish I need for my kids and husband. For the drawers, I chose to go with black square bar cabinet pull drawer handles. I absolutely love how it turned out!
You should have seen me and my husband getting the base of the vanity in place! If you have every tried to move a big piece of furniture into a tight corner of a room, you know the struggle. It was quite an entertaining sight. I think we had about two inches of clearance to get it into the house and then had to remove some base trim in the bathroom to get it to fit. We finally got it into place by standing in the sink holes and shuffling it in to place.
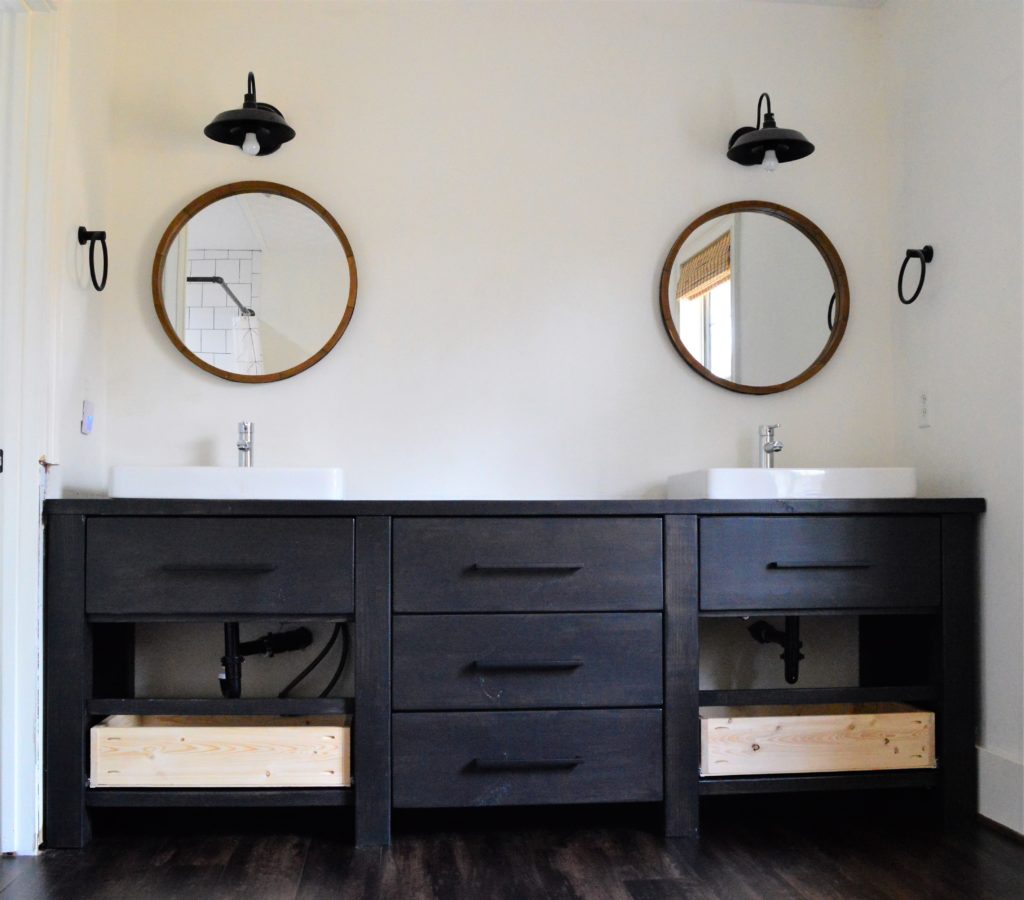
As soon as we got the base into place, I had my husband install the sinks (he gets the dirty work). Luckily, I was able to use the sinks that were originally installed (KOHLER K-2660-1-0 Vox Rectangle Vessel Bathroom Sink, White). They fit perfectly in the new top and the white sinks look great on the black counter!
There is one thing that my husband is quickly learning about my projects…they are compounding. I find it hard to change just one part of a room and not touch everything else. That being said, I decided I had to change out the bathroom mirrors. I found these amazing brushed metal mirrors. They compliment the vanity so well!
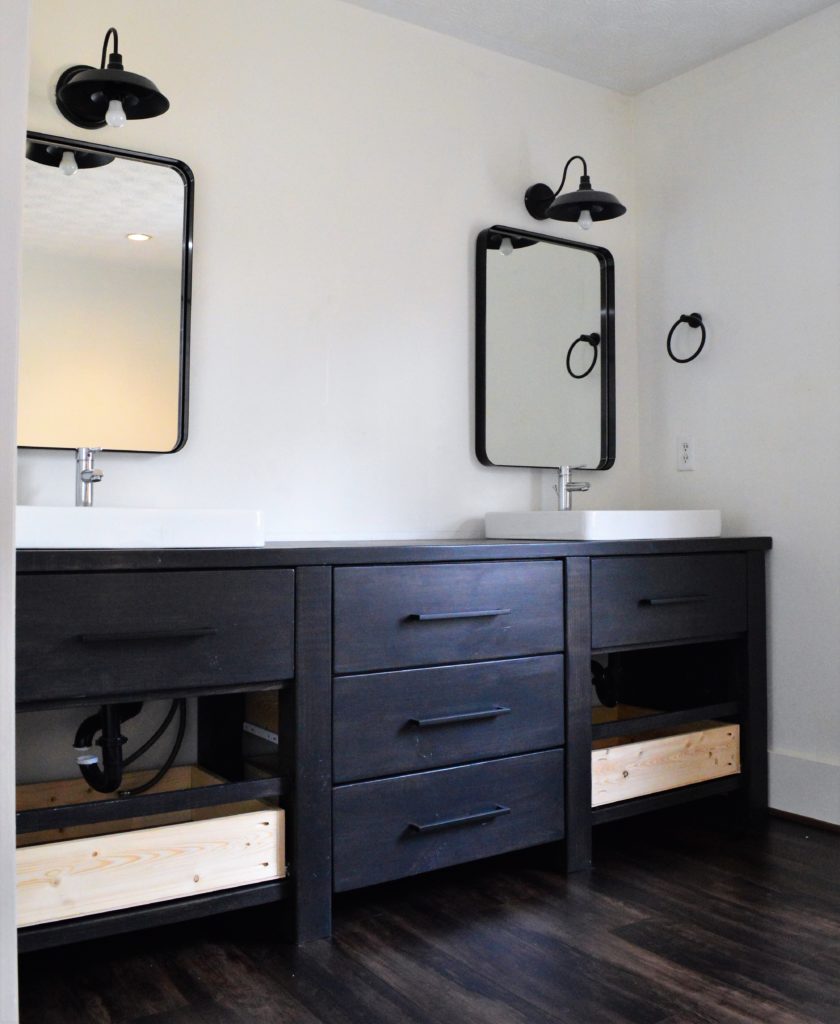
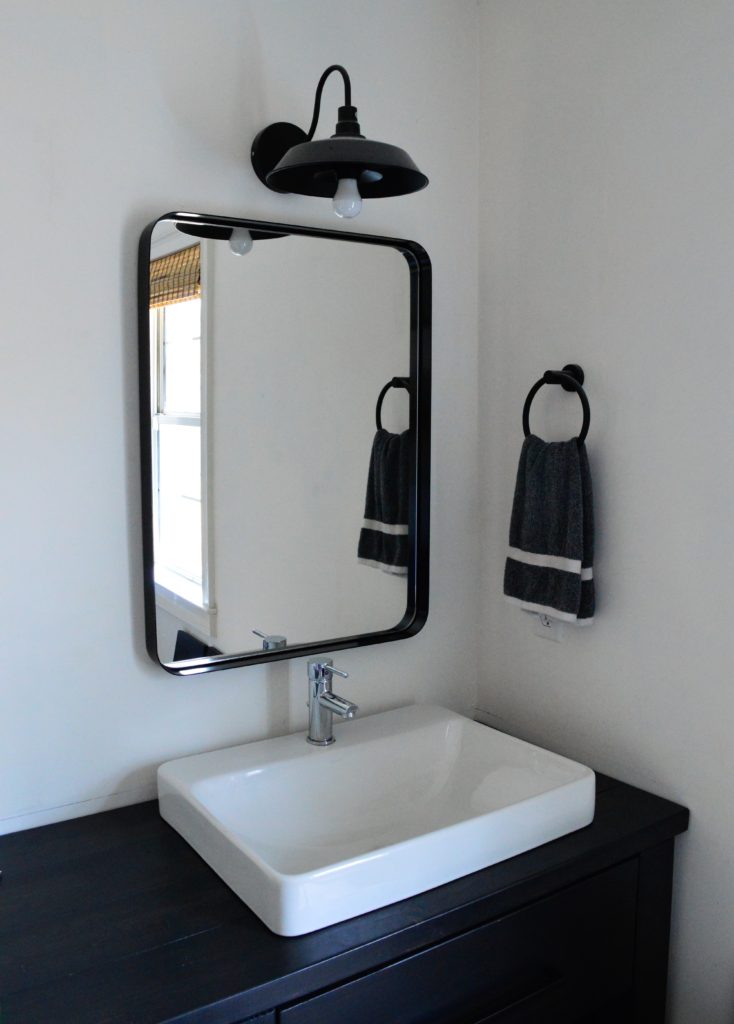
As soon as I installed the sinks on the new bathroom vanity, I decided they needed a matte black sink faucet. The chrome looked a little out of place and I thought that black faucets would really pop on the white sinks. The new faucets were both affordable and really nice!
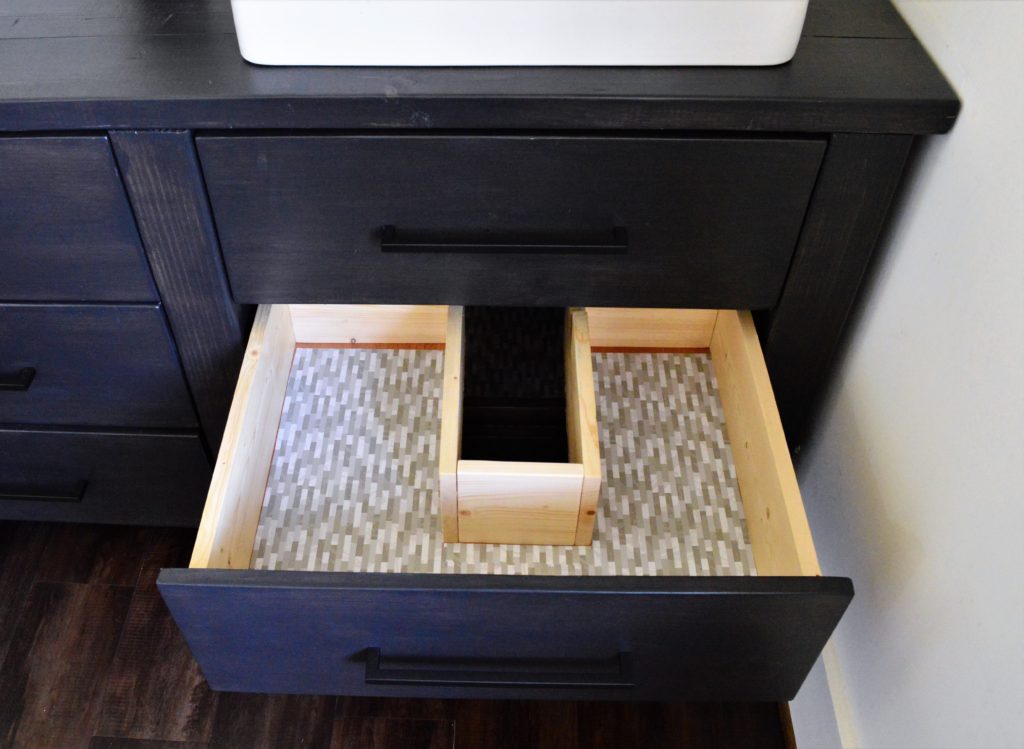
The new mirrors and faucets might have been a way for me to postpone finishing the vanity. I easily installed the three middle drawers and two drop down doors, but ran into problems with the remaining four drawers. The two in the middle row had to be modified to clear the plumbing and water valves under the sinks and the lower two didn’t want to line up with the others. After a few cuts and minor adjustments, the vanity was done!
TIPS AND LESSONS LEARNED
If you decide to modify existing plans, create one complete set of marked up plans with the new dimensions. I was working off of a few rough sketches and had to recalculate my dimensions several times. It would have been so much easier and saved time if I just marked up the plans.
It is much easier if you have the right tools. For example, it’s really helpful to have corner clamps when making drawers. You don’t even want to know how I did it before I bought a corner clamp.
Triple check your measurements when modifying plans. It is always important to double check your measurements, but it is really easy to mess up measurements when you modify existing plans.
Remember to take progress pictures. I love to see all steps of the project, but I am too impatient to stop working to take pictures. It is great to see pictures throughout the entire project from the same or similar angles. Always be sure to take more pictures than necessary…you will want to have lots to choose from later on.
Making furniture from existing plans is really quite simple. I certainly surprised myself by making this vanity and can’t wait to make more furniture! Give it a try!

Do you know where those sinks came from?
They are KOHLER. I believe this is the sink: KOHLER K-2660-1-0 Vox Rectangle Vessel Bathroom Sink, White