Week 4 of the Jeffrey Court Renovation Challenge started off a little different than all of the other weeks for me. After a long week of tiling, I was exhausted and feeling a little defeated. I am a perfectionist and hate when I make mistakes. At the same time, I like to be transparent with all of my projects in hopes that I might help others avoid making the same mistakes.
Tile
In my exhausted state after tiling, I was so excited to grout the tile that I forgot to seal it first. The Basalt Herringbone and Basalt Field Tiles are natural stone. It is recommended to use a penetrating sealer prior to grouting. I used a really light color grout and it lightened the color of the tile.

After lots of scrubbing (I hoped it might just be a residue from the grout) and research, I came up with a solution! I found a sealer that would both seal and enrich the tile. After one application, the tile was back to the original color!! I can’t tell you how excited and relieved I was to see the beautiful rich grey color of the basalt tile!

Now that my project was back on track, I could breathe a little easier and get back to work on my next phase of the project…the built-in! What good would a mudroom be without storage?!

Building the Built-In
Any spare moment that I have had during this renovation challenge (which has been very little), I have been working on the built-in. I am creating this in three different pieces. Now that the tile is complete (and looks amazing), I will be able to spend more time on all parts of the built-in.
The three different parts of the built-in are the base, bench top and top organizer. The base will have five large drawers to store shoes. The top organizer will have five cubbies to store jackets and five baskets for extra storage.

This week, I finished assembling the base of the built-in and moved it into the mudroom. I wanted to get it in place as soon as possible to ensure that it fit how I expected. I also wanted to get an idea of the final trim work that would be needed.
Side note: When assembling this unit, I discovered how difficult it was to take pictures of it since it is 8′ long. I assembled it in my garage and was not able to get any pictures without also getting pictures of our super messy garage. I think I know what my next project will be…
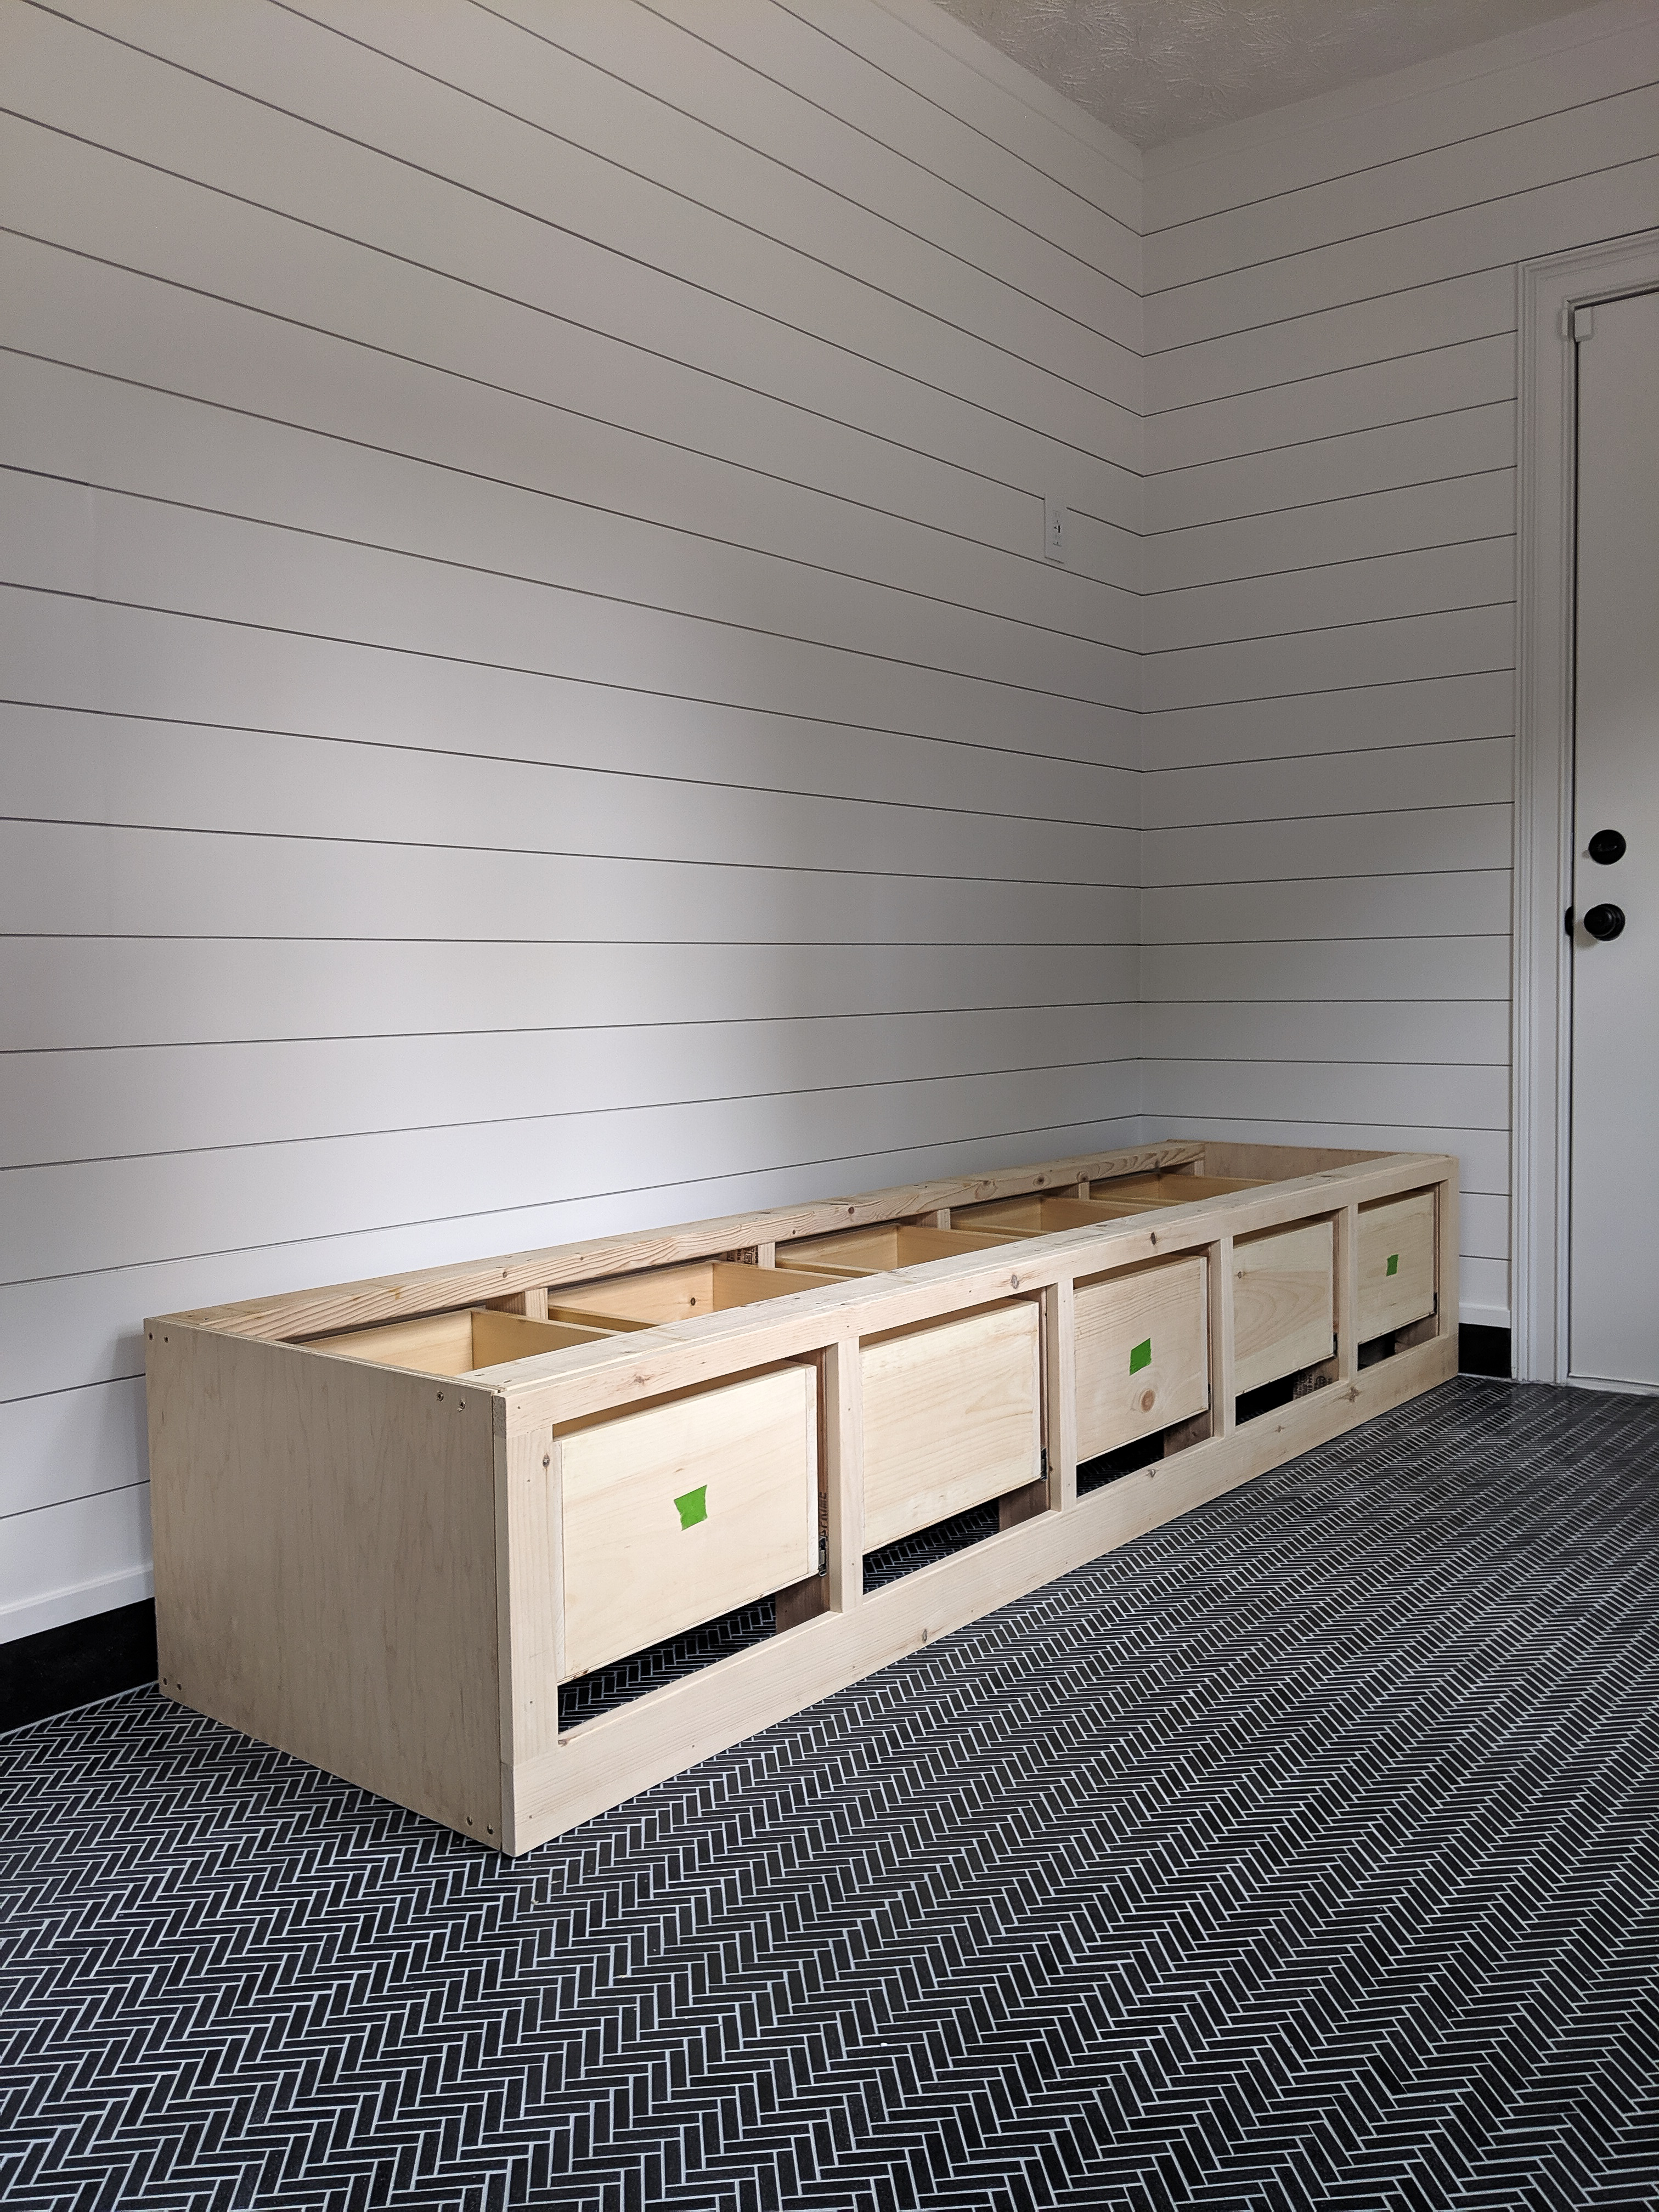
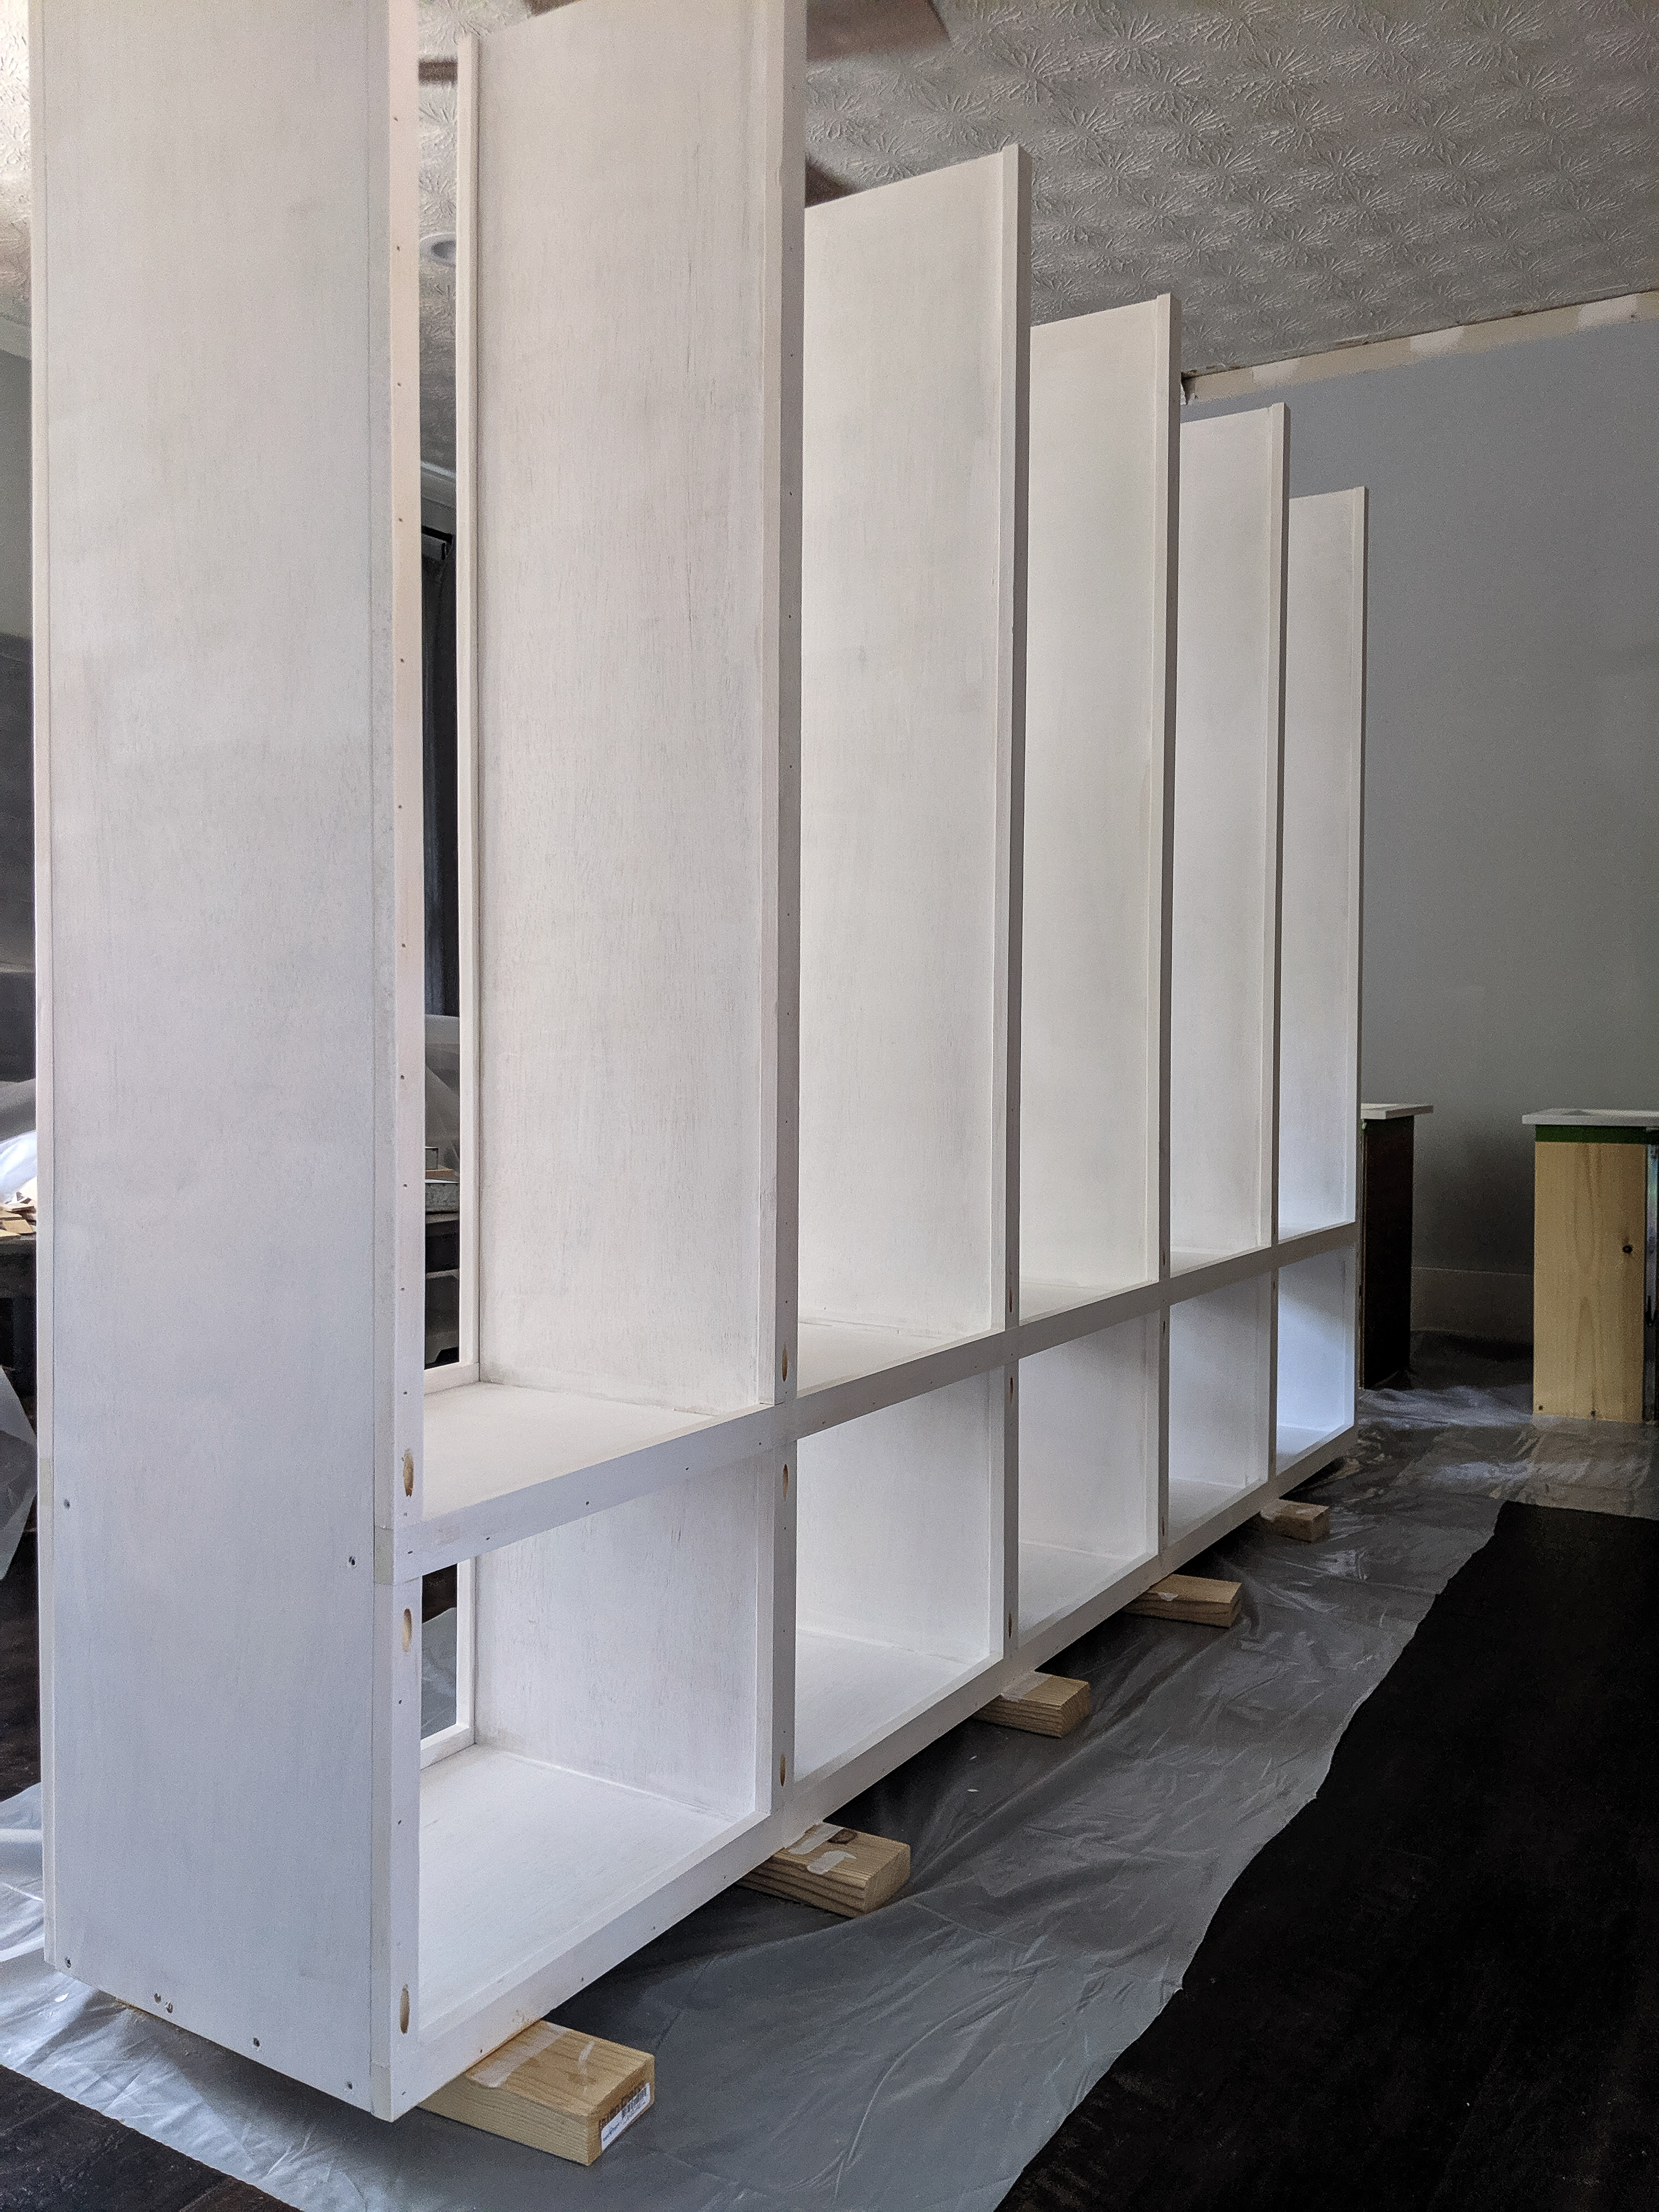
Once it was in place, I put the drawers in and attached the trim to the faces of the drawers using wood glue and finishing nails. I have really put my nail gun to the test with this project! Before painting the faces of the drawers and unit, I patched all of the nail holes with spackle.

I tested the paint on the base of the built-in. When I originally did my paint samples, I used primed pieces of shiplap. I loved the color on the paint sample, but it didn’t quite look the same on the base of the unit. I ultimately decided to prime my wood before painting. This is a standard step when painting bare wood, but I was hoping that since my paint is paint+primer that I might be able to skip this step…I guess not!
While I was waiting for the primer to dry, I jumped on the bench top. I used several pieces of wood that I secured together using Kreg pocket screws and wood glue. I do not have large clamps, so the boards moved a little when I screwed them together. I also do not have a planer (and this is why I am a DIYer…not a carpenter), so I had to get creative. Better yet…my husband got creative. Any time that my husband has an opinion about how things should be done, I let him do it. I think he’s learning not to chime in on my projects…

So, my wonderful husband built a sled for our router. He was able to face the top of the boards and get rid of the differences in height.

Once he was done, it was back to work for me! I used 40 grit sandpaper to smooth out the surface. I went back over it with both 80 and 120 grit after it was smooth.

Next up…STAIN! I feel like the end is near when I start applying paint or stain. I was so excited to finally get to this point with the built-in! I decided to use Special Walnut for the stain. Everything in my house is black or white, so I wanted to add a little warmth with the bench top. I started by applying a pre-stain wood conditioner. Using a pre-stain conditioner is necessary to achieve an even finish.

I ended up doing two coats of stain…I love how it turned out!
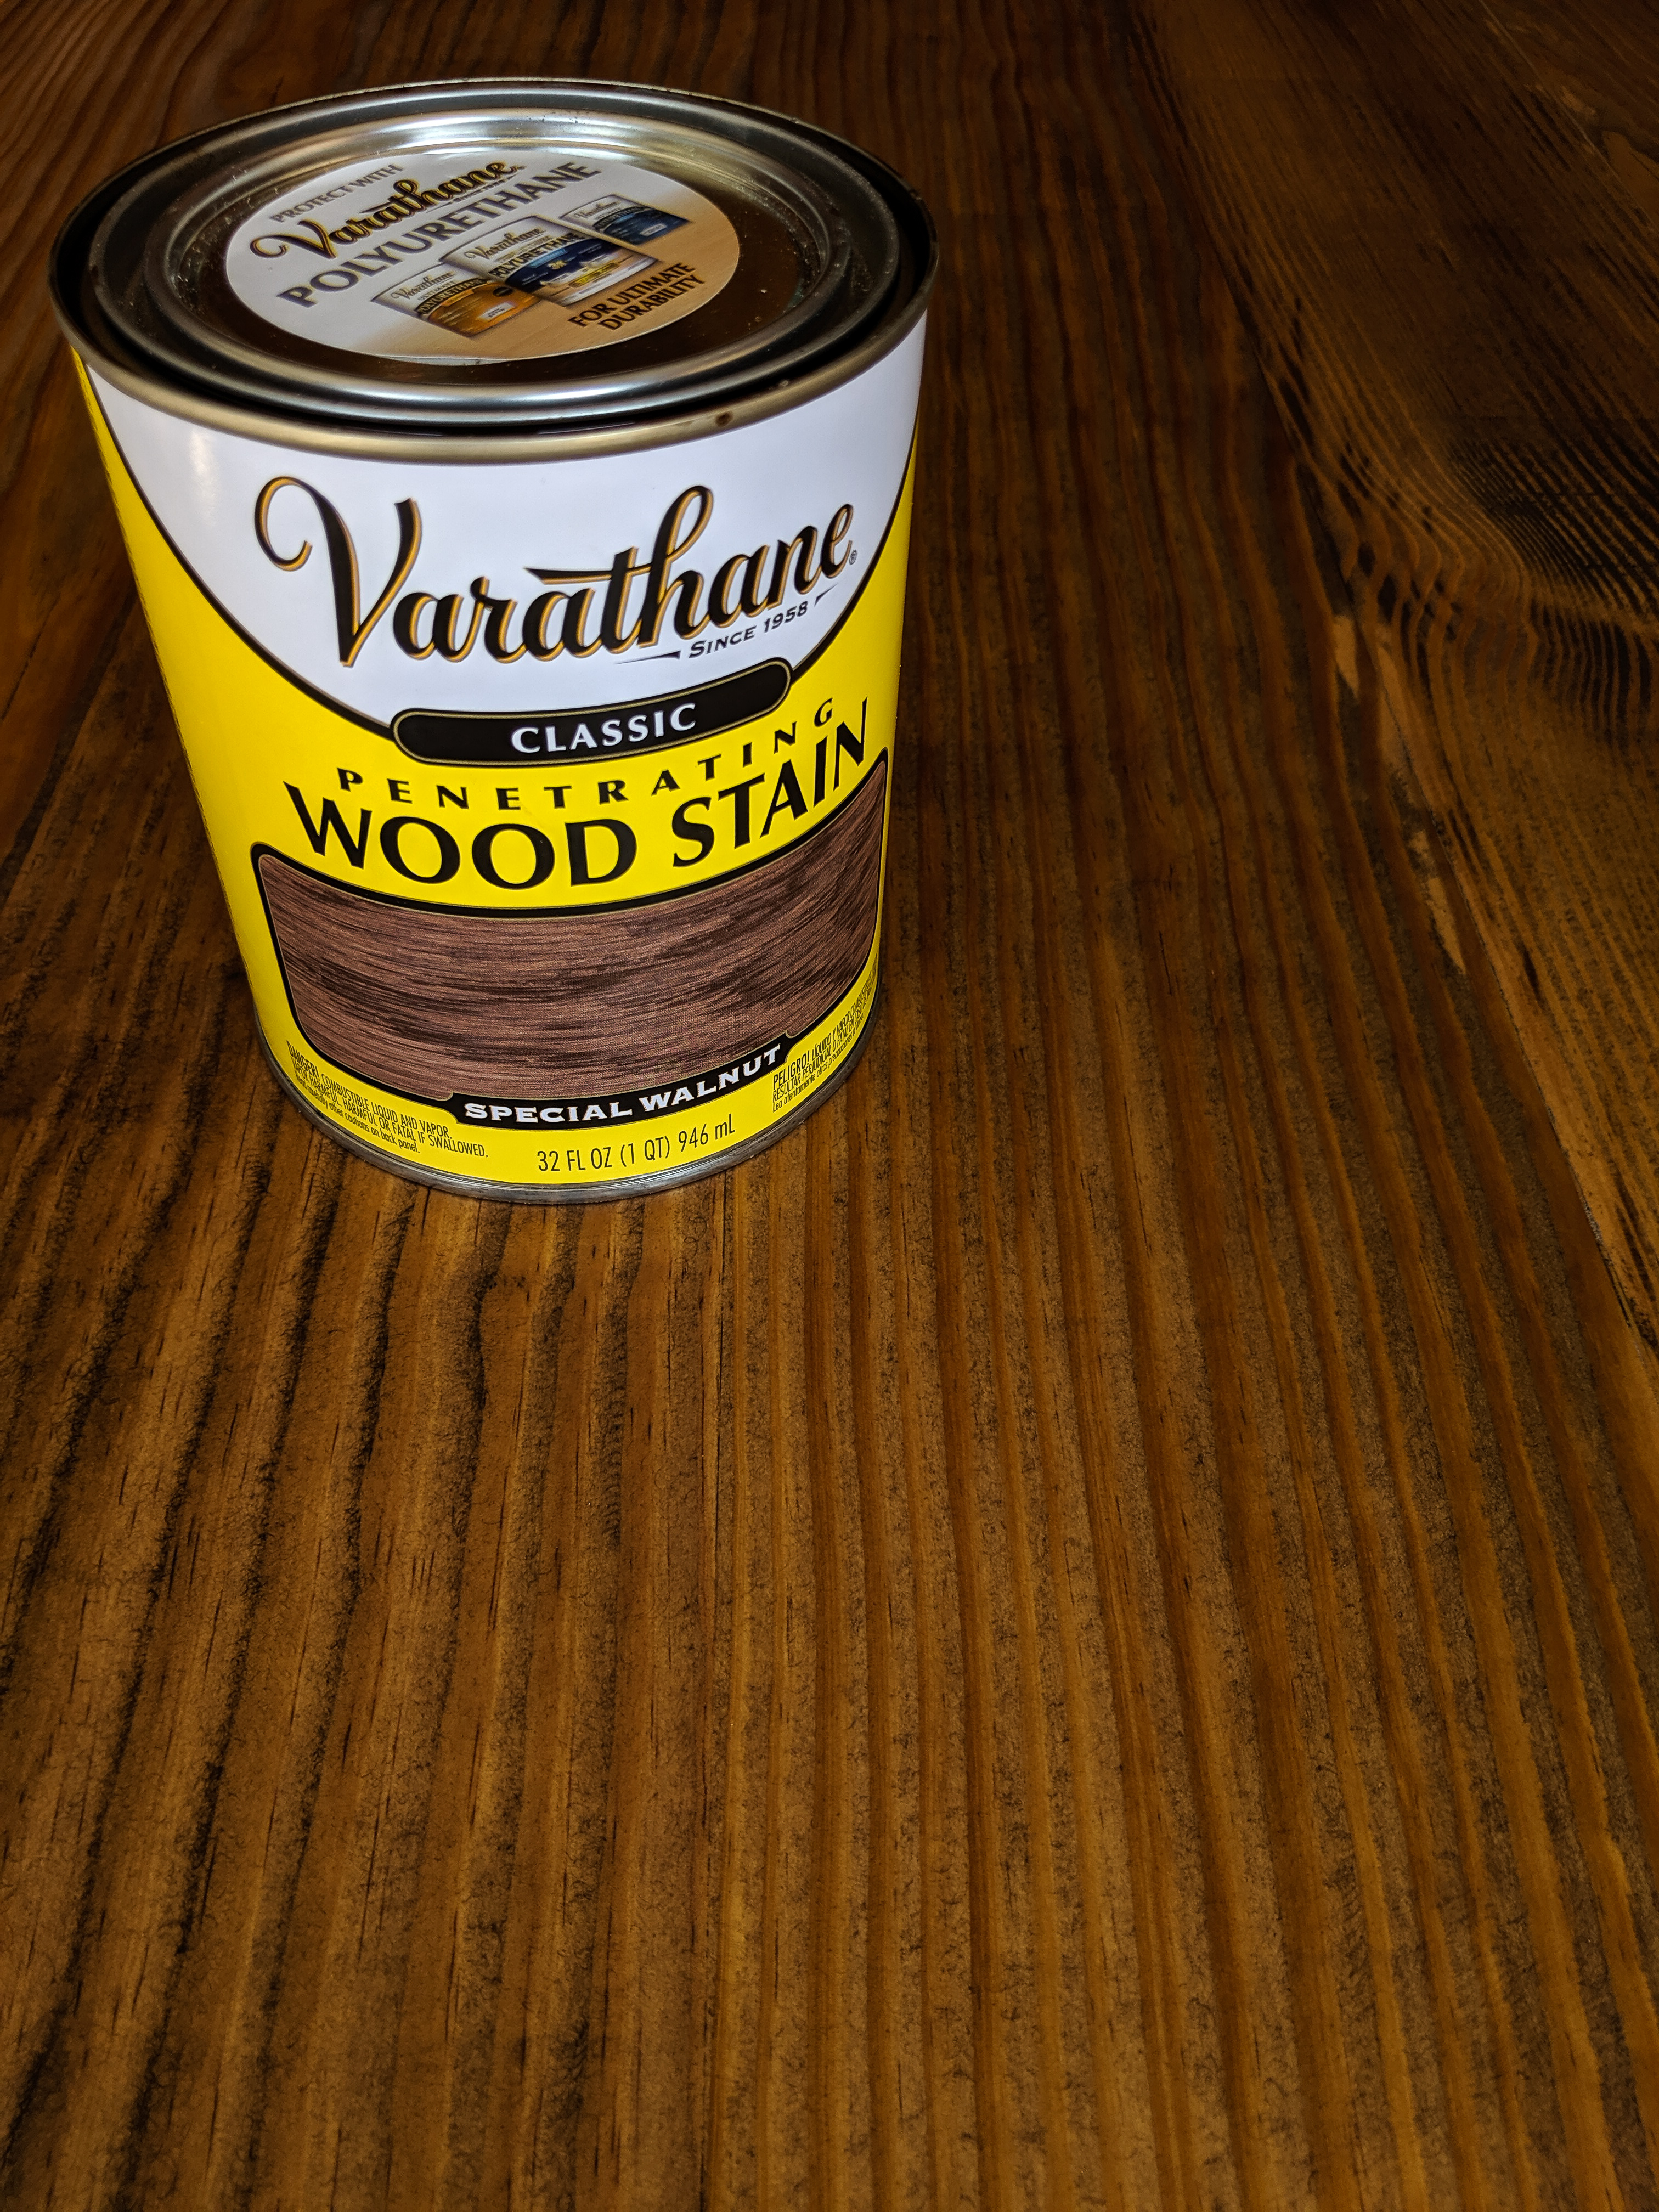
Once the stain dried, I applied two coats of Polycrylic to give it the perfect finish.

I designed this built-in from several different plans and don’t exactly know how it will look once assembled. I found plans on Ana White for the base of the built-in. As usual, I modified the plans to fit my space. In this case, I made it much bigger than the plans. I did not follow any plans for the top organizer. I simply looked at pictures of other built-ins and was inspired to make my own plans. I am now at the point where I just hope it all comes together…otherwise, I will be frantically shopping around for a built-in!
Next week I hope to be sharing the finished built-in (fingers crossed). Please don’t forget to vote! I have been working so hard on this mudroom and would love to win a vacation!!