
I seriously cannot believe that it’s already Week 5 of the Jeffrey Court Renovation Challenge! Time flies when you’re having fun! This challenge has been an amazing experience and I am loving my new mudroom!!
This was the week when everything started to come together! My tile is complete and looks amazing, my built-in is done, and I finalized my plans for another corner of the mudroom.
Time for Some Color
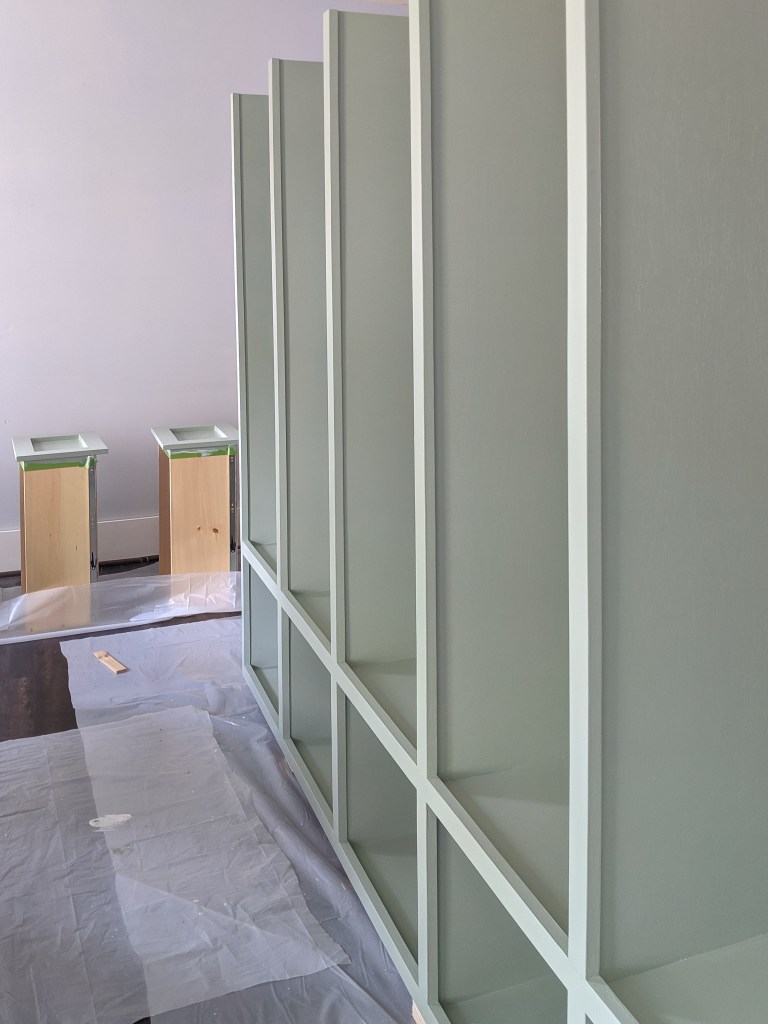
Normally, I will pick a paint color without trying a paint sample. That was not the case for the built-in…I’m pretty sure I painted at least ten different samples for this project before picking a color. I ultimately decided upon Sherwin Williams Coastal Plain.

Last week, I prepared the built-in for paint with a quick coat of primer. As soon as I started to apply the first coat of paint, I was extremely happy with my color choice! I wanted a subtle shade of green. Coastal Plain was the perfect pop of color for the mudroom!
It All Comes Together
I ended last week not certain if my built-in would piece together like I had hoped. I built it in three pieces and successfully installed the bench top on the base. My biggest concern was securing the top portion to the bench top.

From the beginning, my plan was to install the top unit using pocket screws. I spent at least a week stressing over this minor detail and ultimately decided to change my installation plan. I should probably note that I’m an engineer and I tend to err on the side of caution when it comes to my projects. Therefore, I decided to install each of the sections using metal brackets. I used two metal angle brackets and one straight metal bracket per vertical section for the top piece.


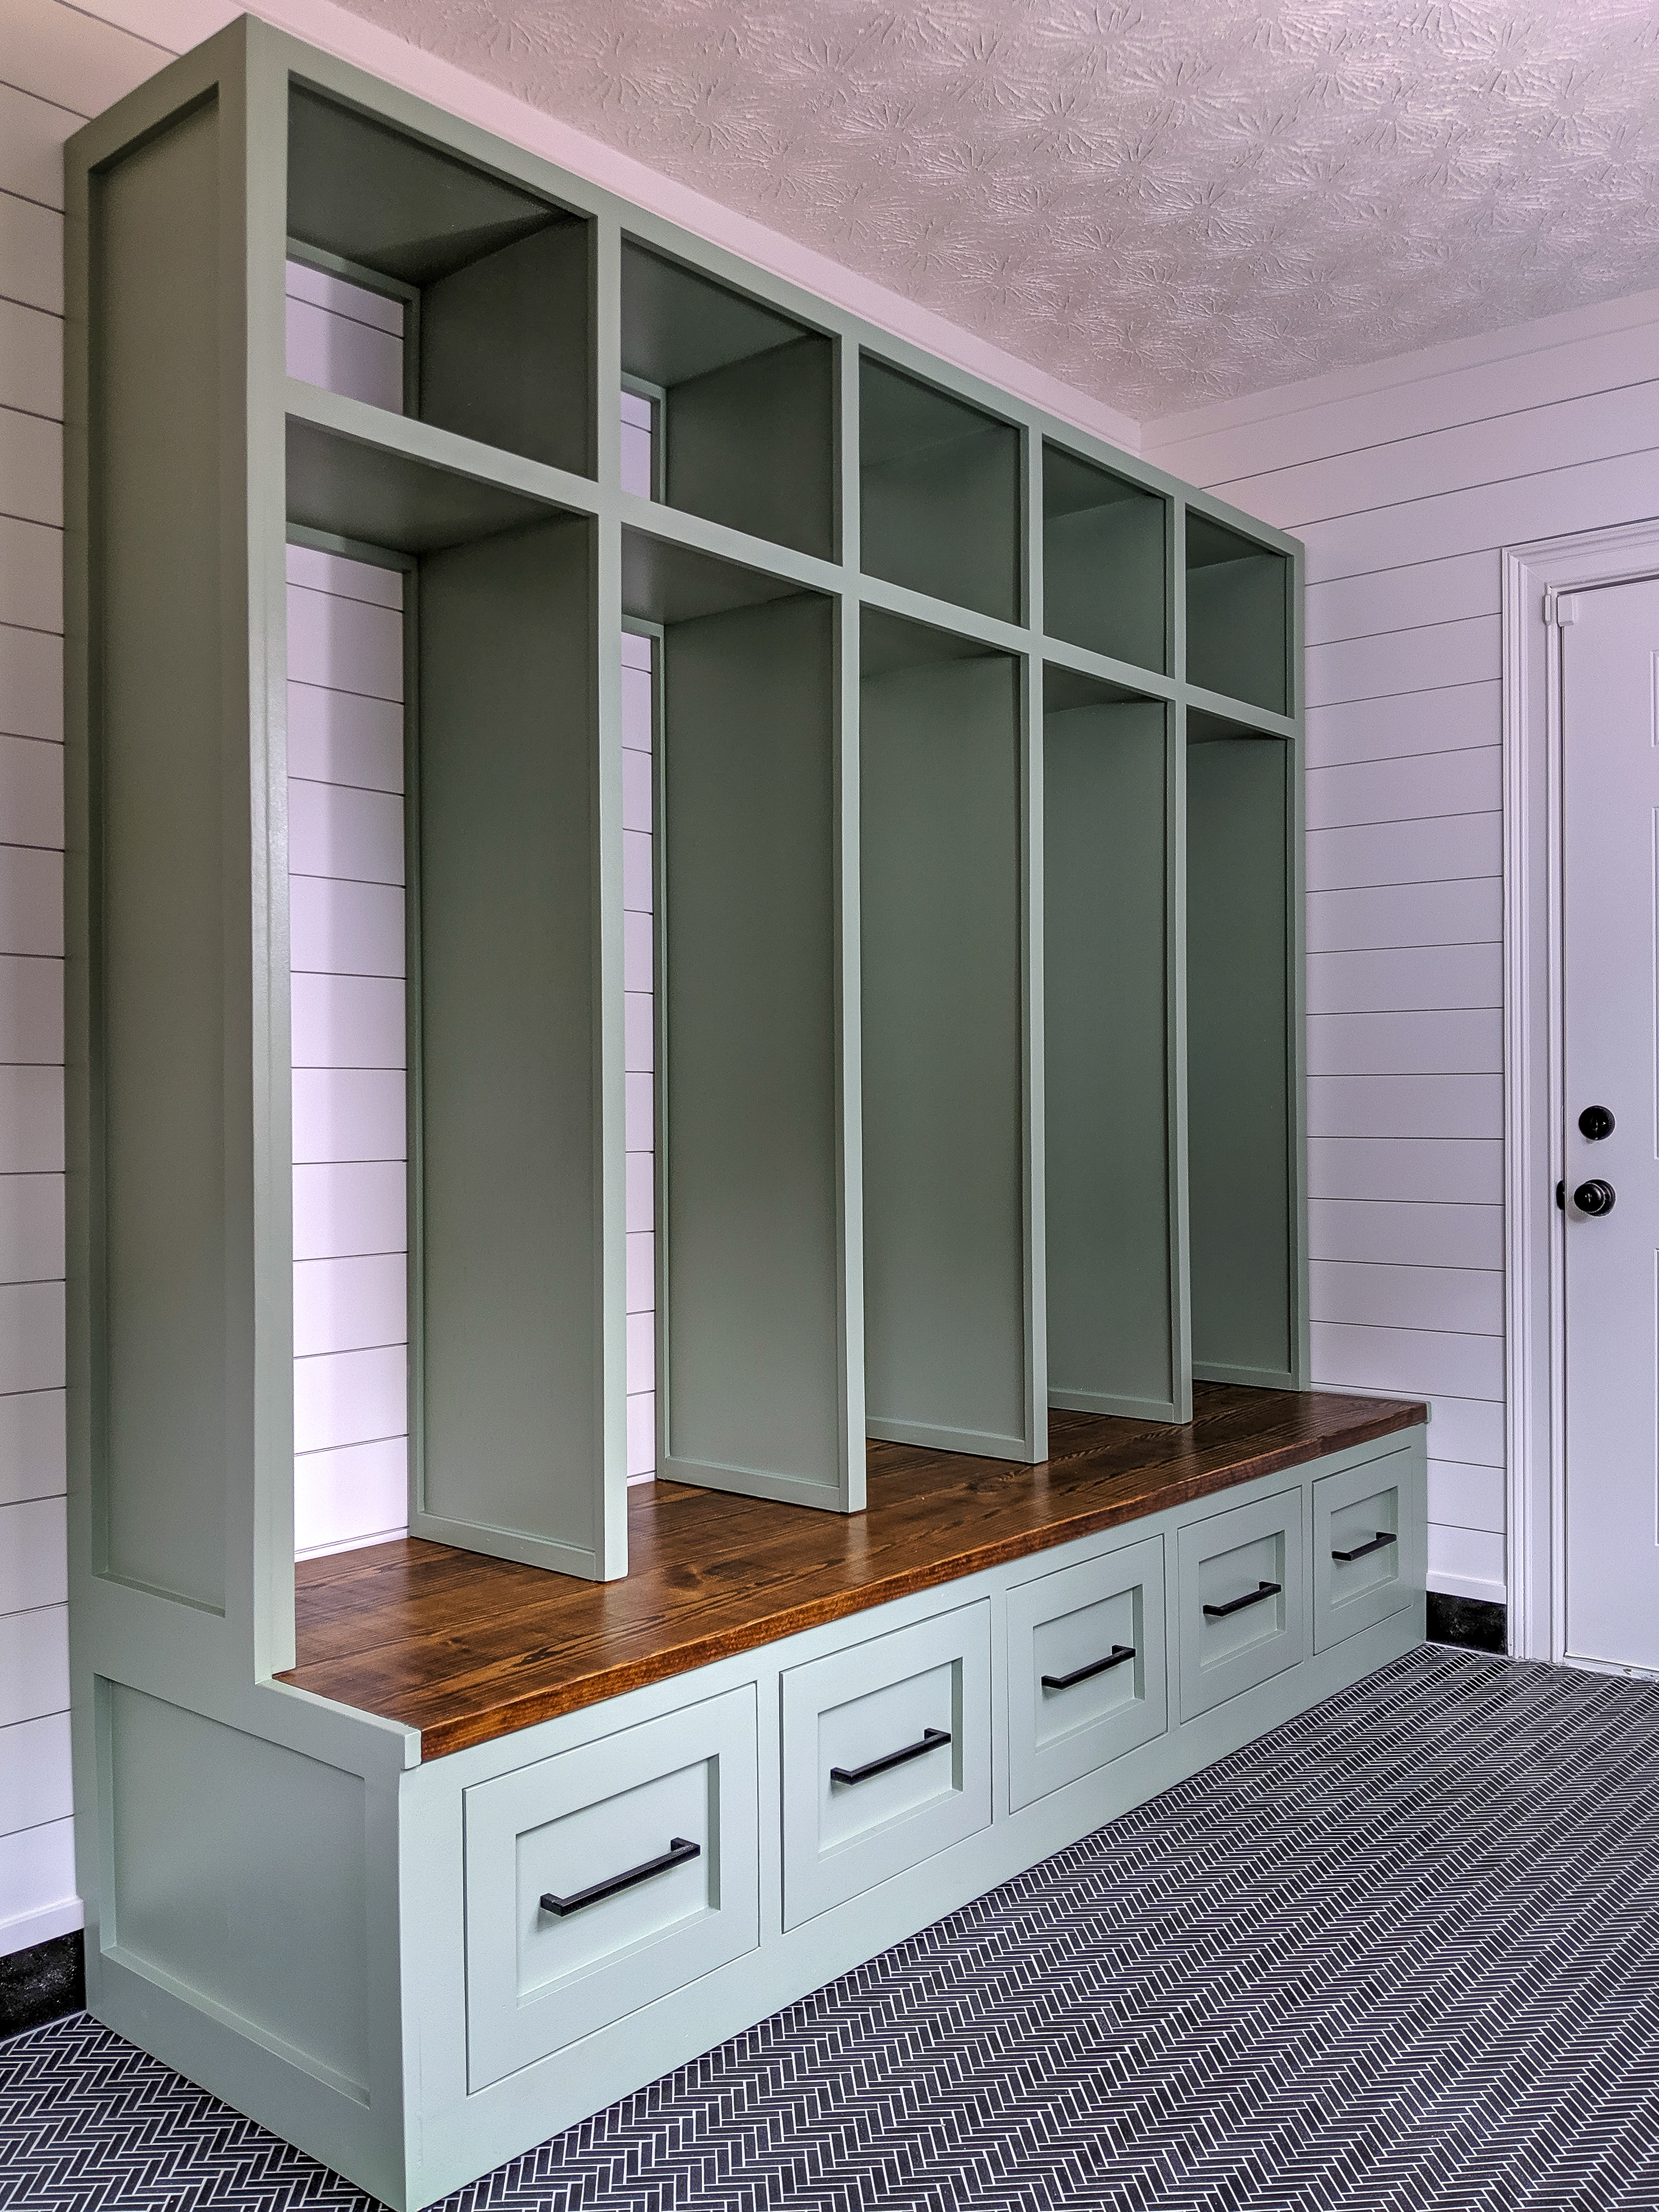
With a little help from my husband to get the top unit on the bench top, I quickly and easily secured it using the metal brackets. My mind was put to ease as soon as I had it installed! It was SAFE, secure, and looked amazing!!

Once the built-in was fully assembled, I was able to add the final trim work. I have learned that the trim looks much better if you fully assemble it prior to installation. I assembled the frame using wood glue and pocket screws. I sanded the face of the trim before I installed it on the unit.

To finish off the trim, I patched all of the nail holes and caulked the seams. Once everything was dry, I applied a few quick coats of paint.

My husband and I got the built-in into place and I secured it to the wall using angle brackets. You can never be too safe when it comes to securing furniture to the wall, especially when you have little ones. Every piece of furniture in my home is secured to the wall and this large unit was not going to be an exception.

Home Value Boost
Let’s talk about one of my favorite things…home value! Call me crazy, but I am a huge fan of moving. I love the entire process from house hunting to pairing down our belongings before the move and then making a new house our home. The thing I love the most about moving is seeing the value my projects and improvements add to the overall value and sale of our home.
Before I start any project, I consider if it is going to add value to our home. If the answer is no, but it will make me like a space just a little bit more, I will still go forward with the project while spending as little as possible (I certainly don’t hire out any of the work for these projects). I have partnered with Homes.com to share how creating this mudroom for the Jeffrey Court Renovation Challenge is adding value to our home.
Mudrooms are not a necessity for most people, but are definitely a “nice-to-have” feature. I knew that we would be adding value and functionality by creating the mudroom. Since it would be adding value, I did not want to cut costs or corners.
While some installations should absolutely be performed by a professional, you can add value and save money by doing some of the work yourself. For this project, I chose to hire an electrician to modify our existing electrical and add new outlets and switches. I feel comfortable switching out existing lights and outlets, but like to hire an electrician for any new installations.
Aside from the electrical, I performed all of the other work myself, which adds sweat equity. Not only does sweat equity add value to your home without having to pay for labor (which can sometimes be surprisingly expensive), I appreciate the work so much more when I do it myself!
Be sure to check out Homes.com for home improvement ideas or your next fixer upper!
It has been fun keeping up with all of the other designers and their renovations. Head over to the Jeffrey Court Renovation Challenge page to see everyone else’s progress…and please don’t forget to vote! A dream vacation is sounding really good right about now! Next week is our final reveal…I can’t wait to share the mudroom of my dreams!!

Hi Nicole,
Your new unit looks really good and I love the color. Am curious about why you didn’t add a back to the upper portion? The tile floor really looks good and I am glad you dropped some new power lines in your new room.
Well done!
Thank you so much! I wanted the shiplap to show through the upper portion, so I did not add a back panel. This made assembling the unit more difficult, but I love the contrast of the shiplap in the unit.