I love coming up with simple design plans for my projects that end up turning into something so much more incredible than I imagined! The entryway of my house is a wide and shallow room that makes it difficult to decorate while not impacting the flow through the room.
I used to have an older table that I made about a year ago. The table was placed along a wall that was too large for the table, it never fit the space well.
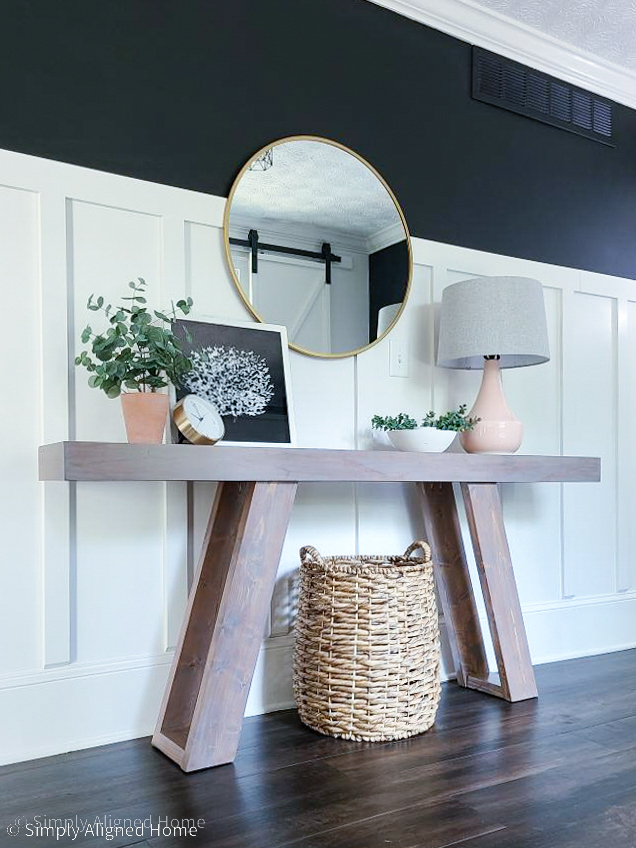
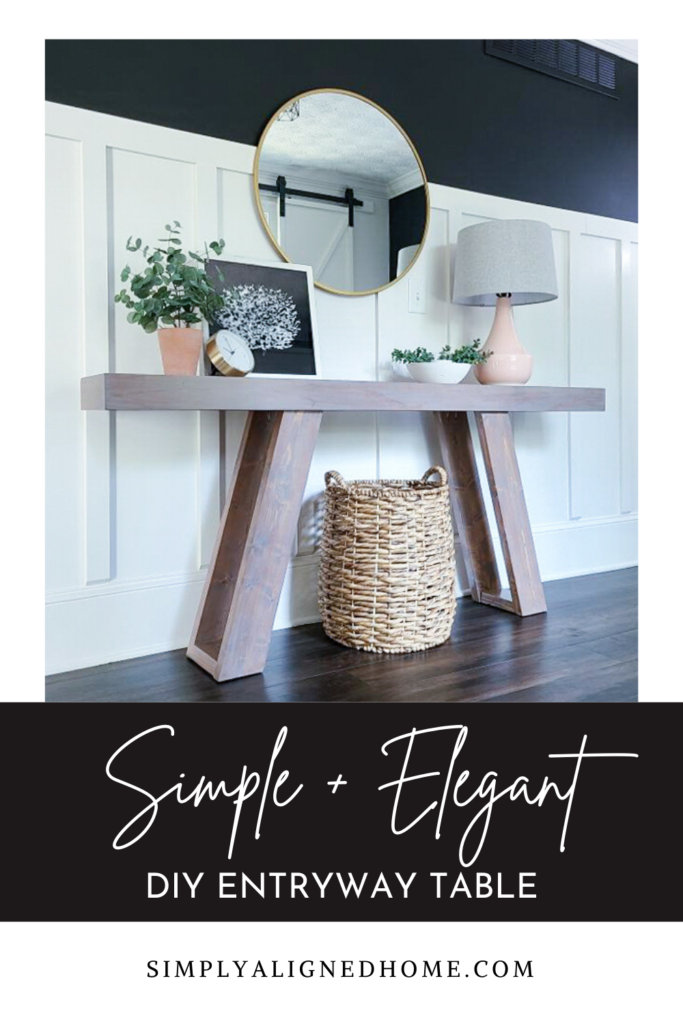
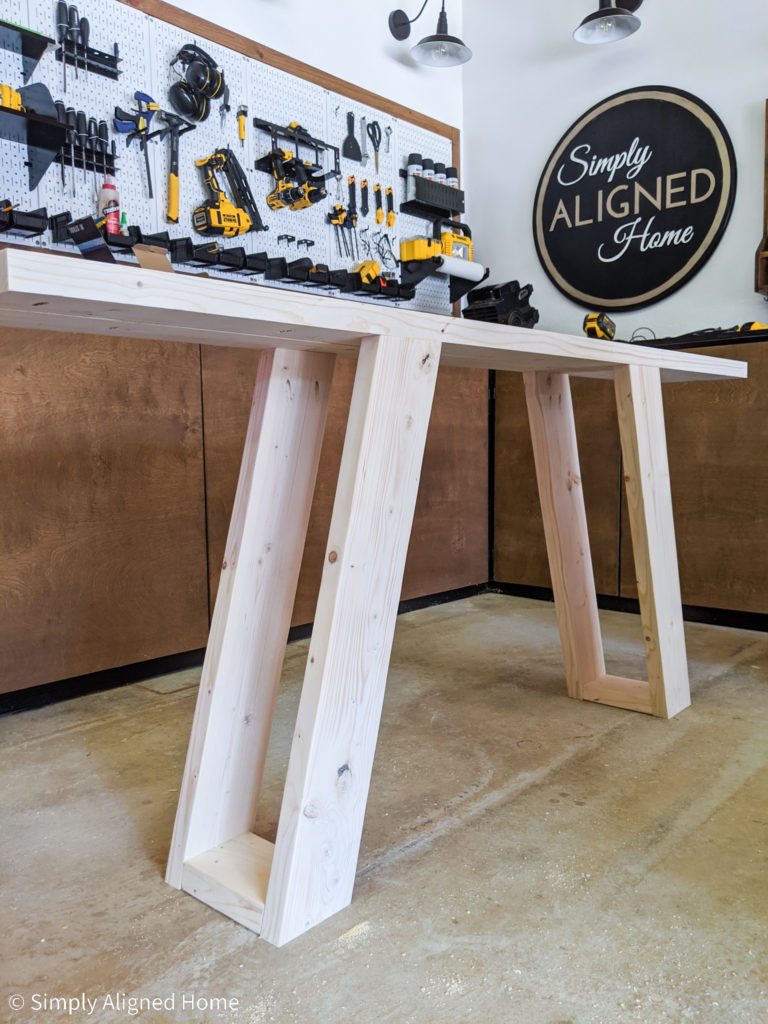
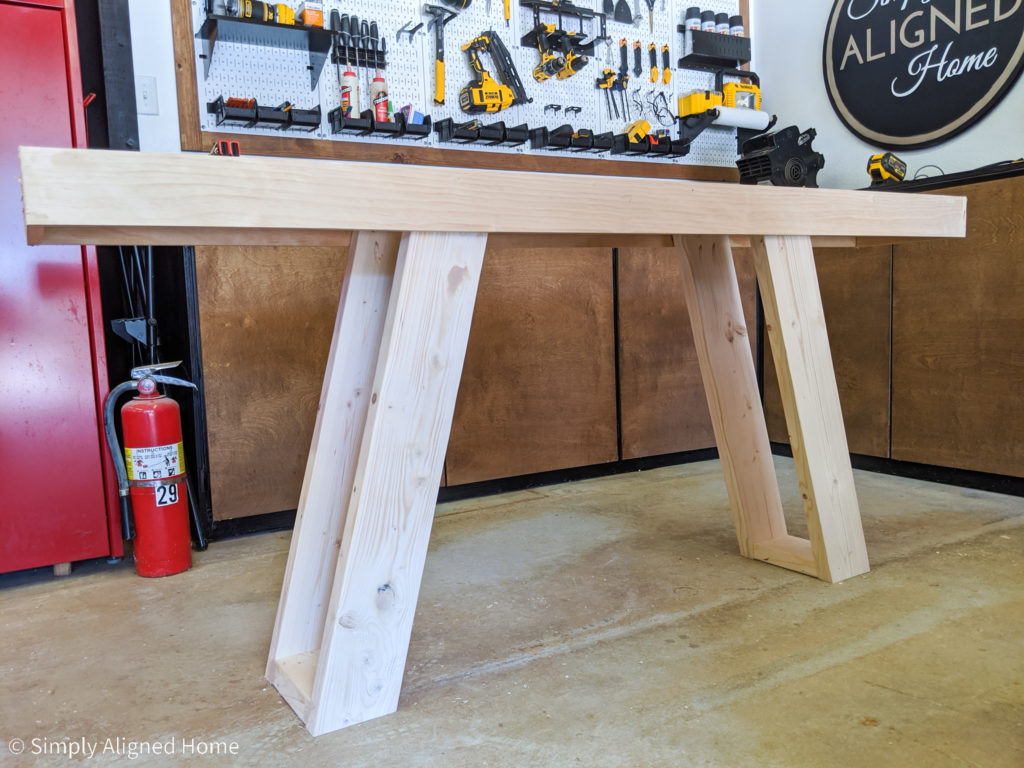
I decided to throw together some plans and build a larger entryway table that is more fitting for the wide space. The angled design and alternative stain finish adds some variation to the style in the room and provides a easy and elegant touch to the room.

**This post contains affiliate links to products that I recommend. If you purchase something through an affiliate link, I may receive a small percentage of the sale at no extra cost to you. I really appreciate your support.**
Rip and Sand the Wood
First, I ripped four (4) 8′ long 2×6’s with my table saw so that they were 5″ wide. I took a little off of each side to get rid of the rounded edges. These boards will make up the top and legs of the table.
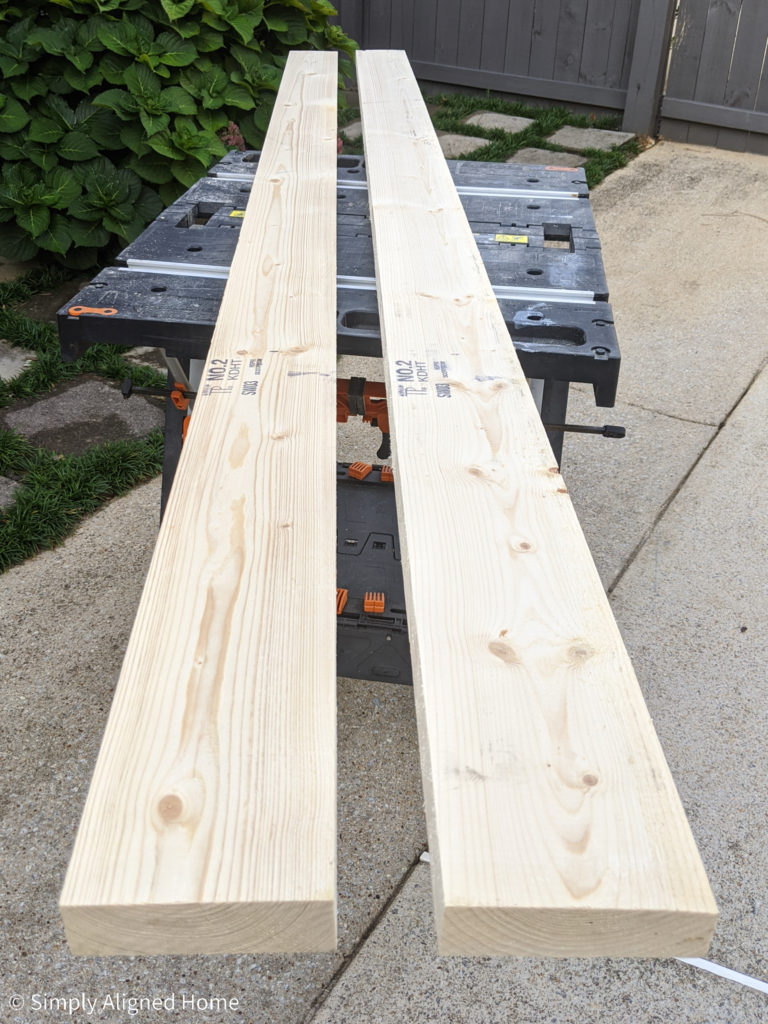
Before I cut the wood down, I sanded the full pieces of wood with my orbital sander. With the faces sanded, I only needed to sand the cut ends as I went.
Make the Table Top
The first thing I did was make the table top. I cut two (2) of the ripped pieces of 2×6 wood 6′ long. These can be cut shorter for a smaller table…I just needed a long table to fit my entryway.
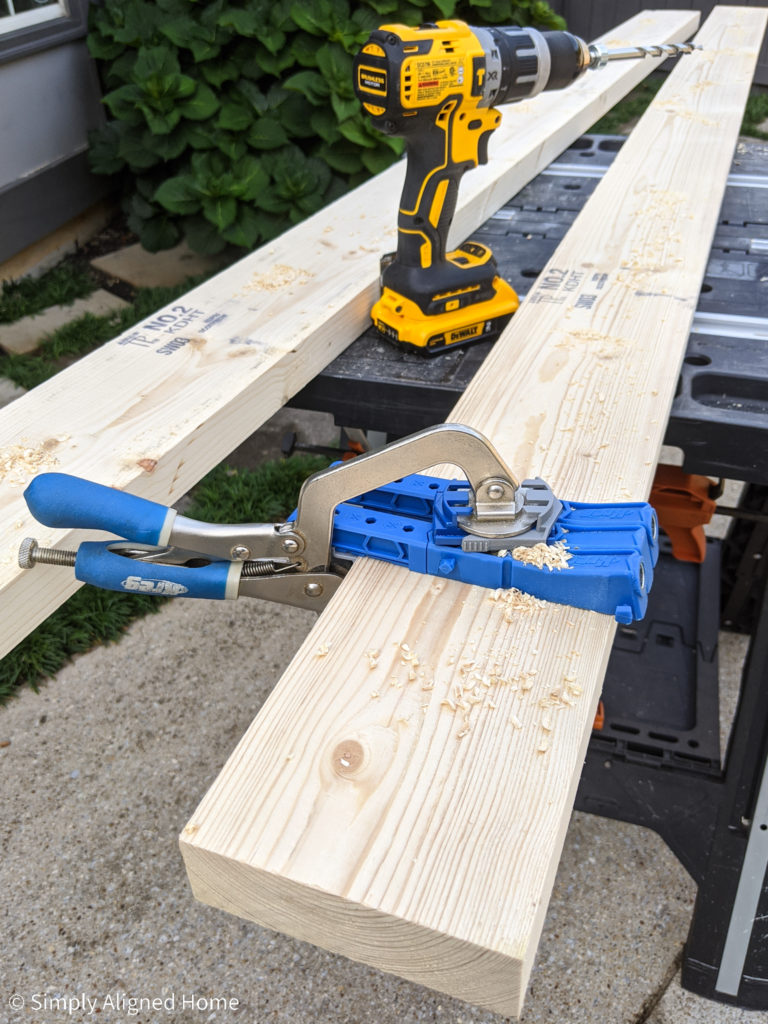
I made several pocket screw holes using my Kreg jig and secured the two boards together using wood glue and pocket screws. Since the boards are 1-1/2″ thick, I used 2-1/2″ pocket screws.
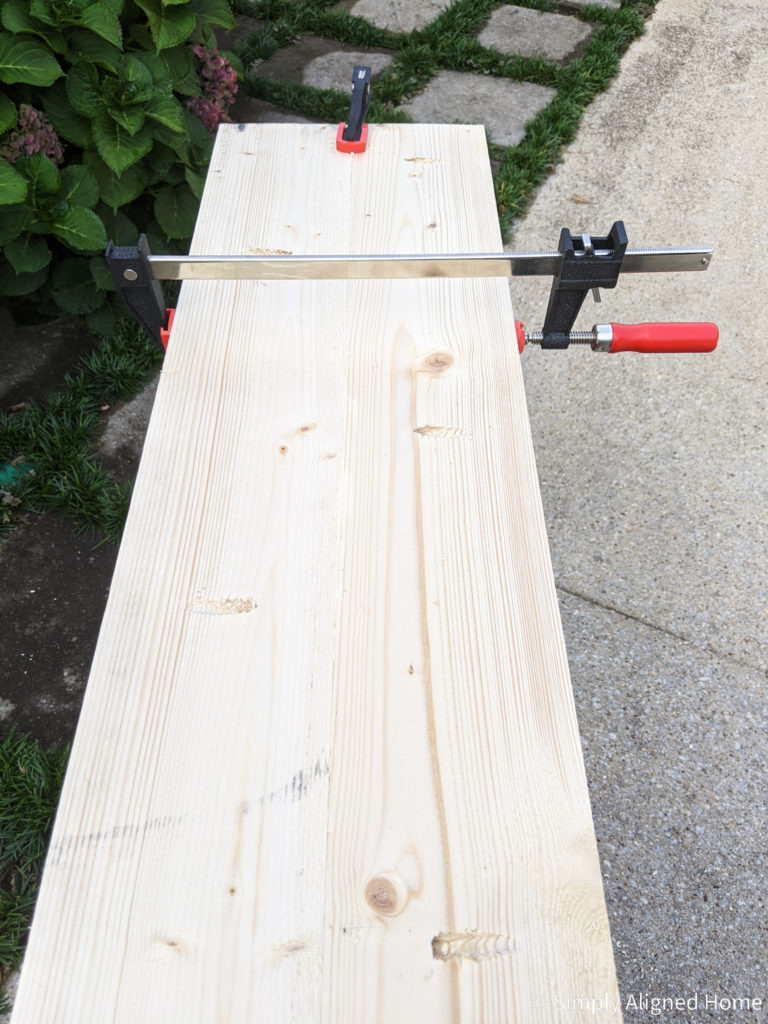
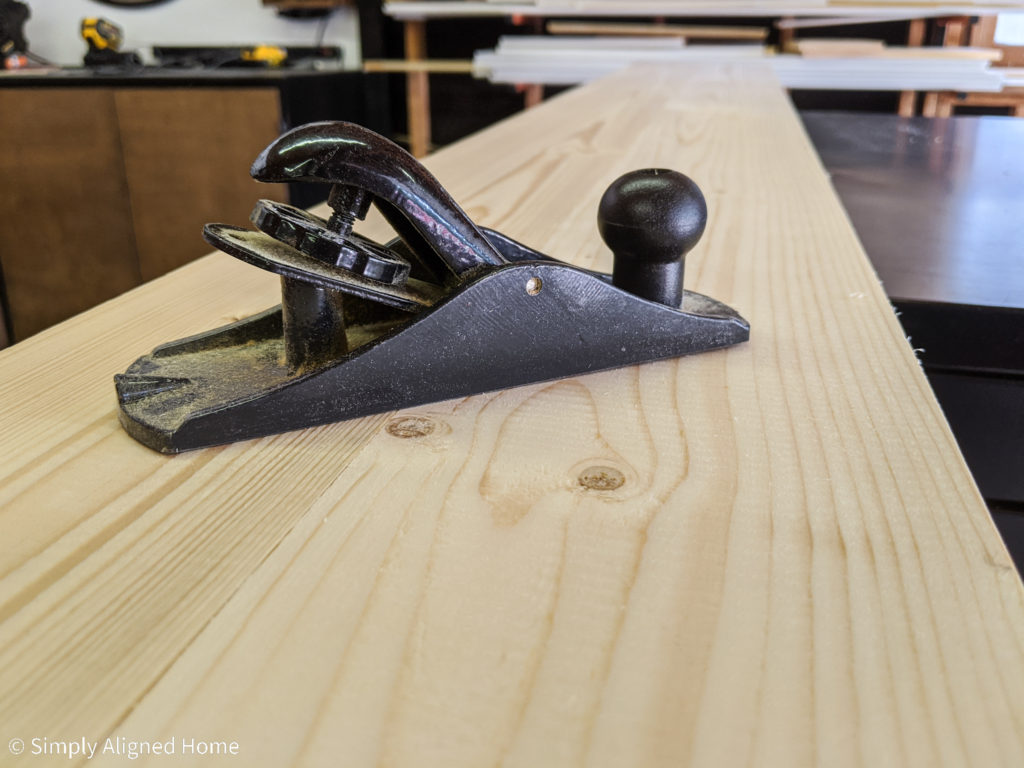
Unless if you run the boards through a planer first or have great clamping skills, it is not easy to perfectly align the boards. One of the boards sat slightly higher than the other. I fixed this by using a hand planer to level out the two boards. This can also be accomplished with a lot of sanding..
Now on to the legs!
Cut Wood for the Table Legs
Using the two remaining pieces of ripped 2×6’s, I cut the four legs. I cut the top and bottom of the legs on a 15 degree angle with my miter saw. The legs were 31.5″ long (this will make a 32″ tall table).

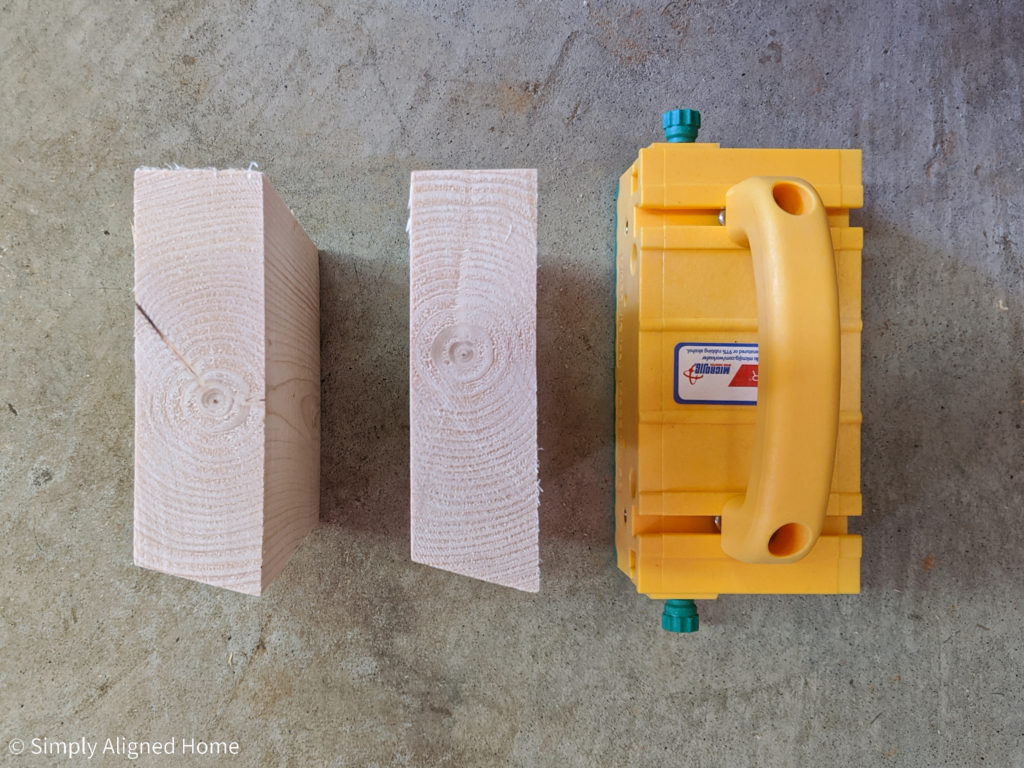
With that was left over, I cut the two bottom supports. These were 7″ long. In order to have the outside edge of the support follow the angle of the legs, I ran them both through the table saw on a 15 degree angle using my push block. I kept the bottom of the support the full width of the wood.
Assemble the Table Legs
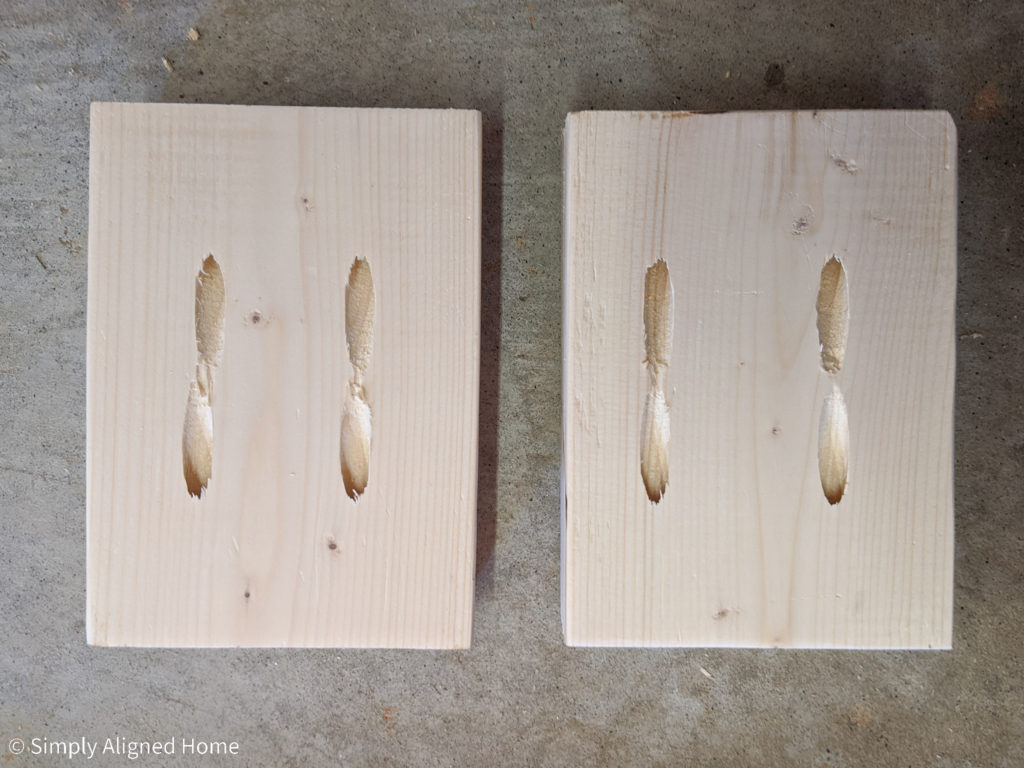
On the underside of the bottom supports, I made four (4) pocket holes.
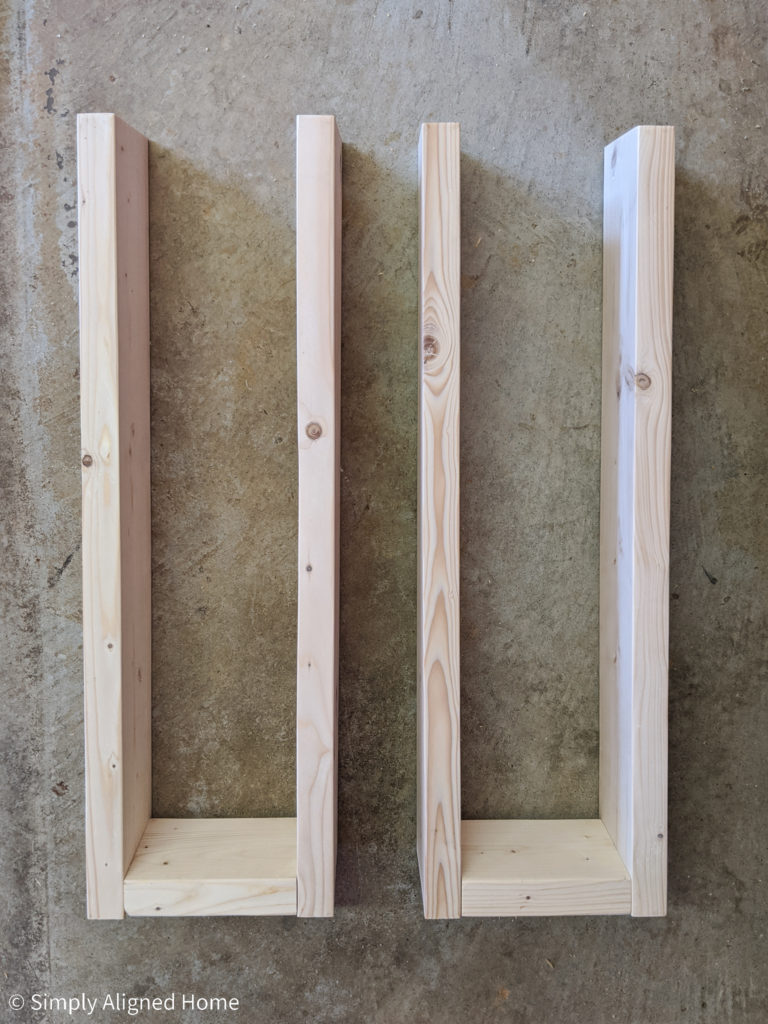
I then secured them to the bottom of the legs using wood glue and pocket screws.
Secure the Legs to the Top
I made two (2) pocket holes on the inside of the top of each of the legs.
On the underside of the table top, I marked 19″ in from each end. This is where the outside edge of the legs will sit. I then secured the legs to the top using wood glue and pocket screws.
Add the Top Trim
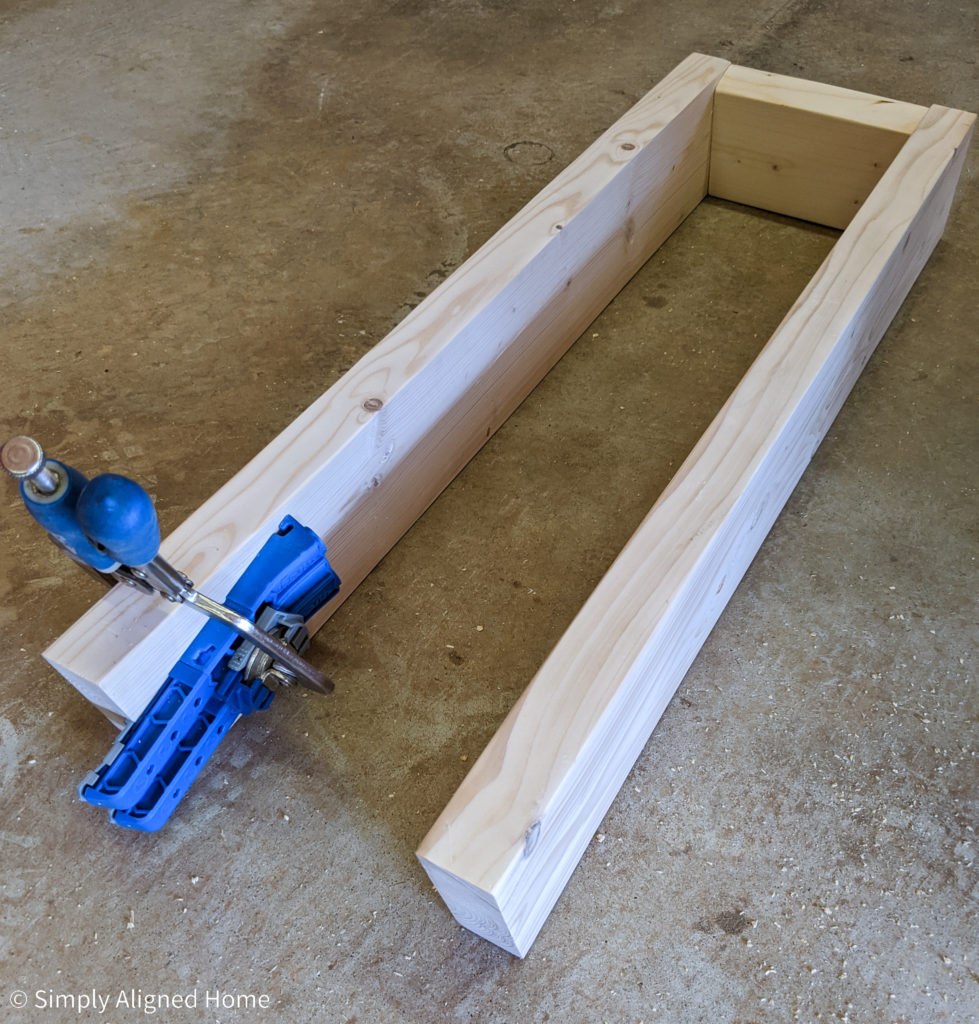
For the top trim, I decided to use 1×4 select pine. I mitered the ends (cut on a 45 degree angle) for a nice clean look. The two sides were 6′ long on the inside and the ends were 10″ long on the inside.

I secured the trim to the top using wood glue and finishing nails. I also secured the pieces of trim together at the corners with finishing nails.
Plane and Sand the Top
With the trim attached to the top, I used my hand planer to smooth out the top one more time. Once everything was level, I sanded the table using my orbital sander and 120 grit sandpaper. I finished it off with a 220 grit sanding.
Fill Gaps and Voids
Using wood filler, I filled any gaps and voids in the top. This will make the top of the entryway table have a nice, smooth finish.
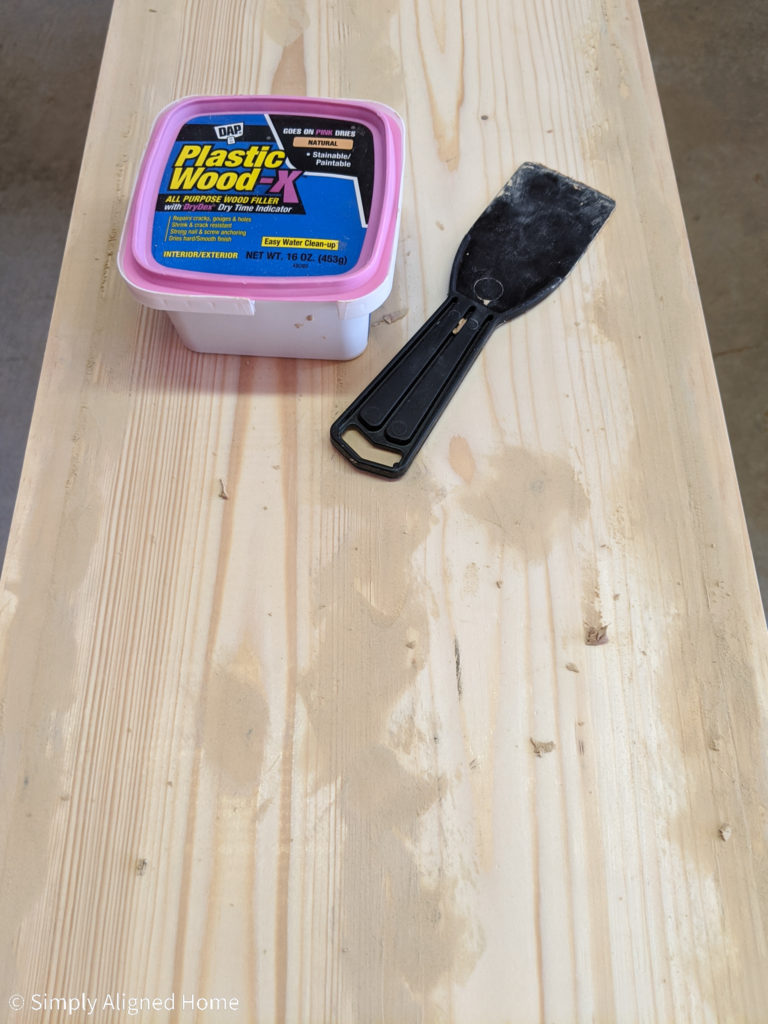
Once the wood filler was dry, I sanded the entire entryway table using 220 grit sandpaper.
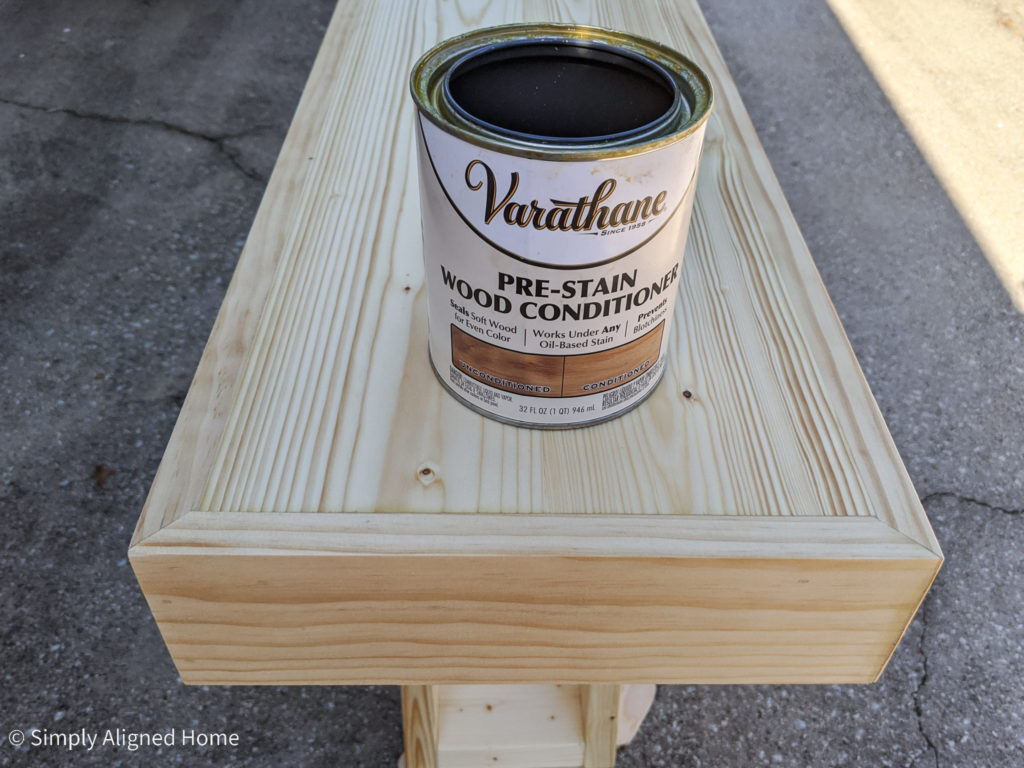
Stain and Seal the Table
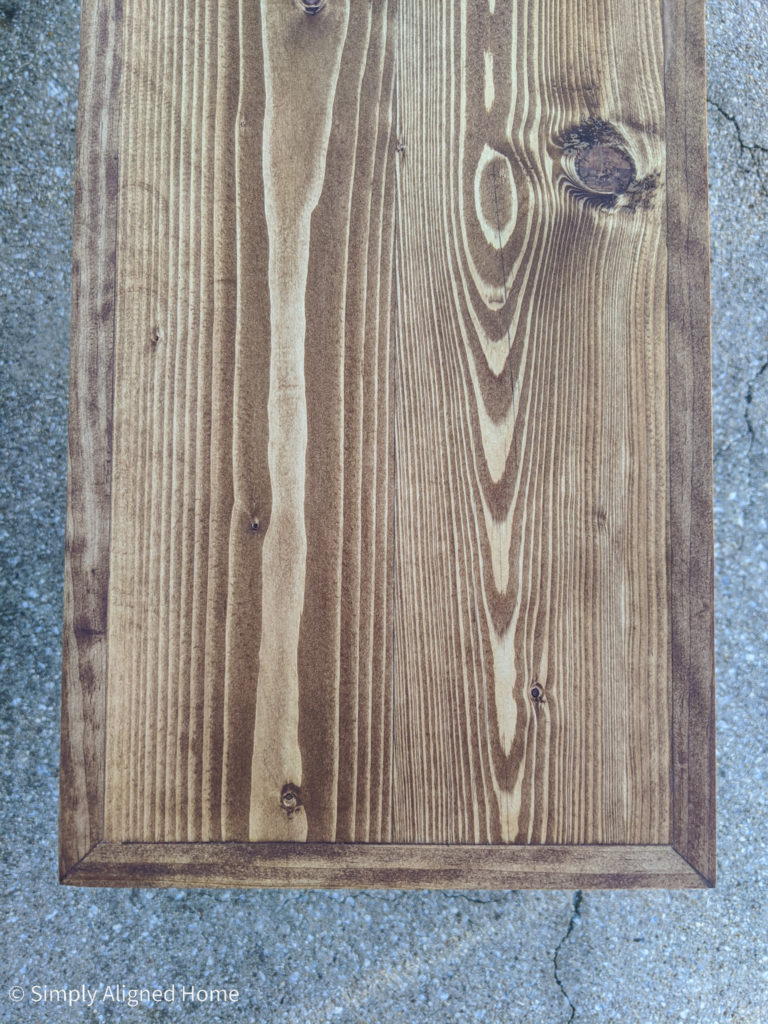
As with all of my stain projects, I started by applying a pre-stain wood conditioner to the table. The wood conditioner will help prevent the stain from looking blotchy.
I then applied two coats of Early American stain.
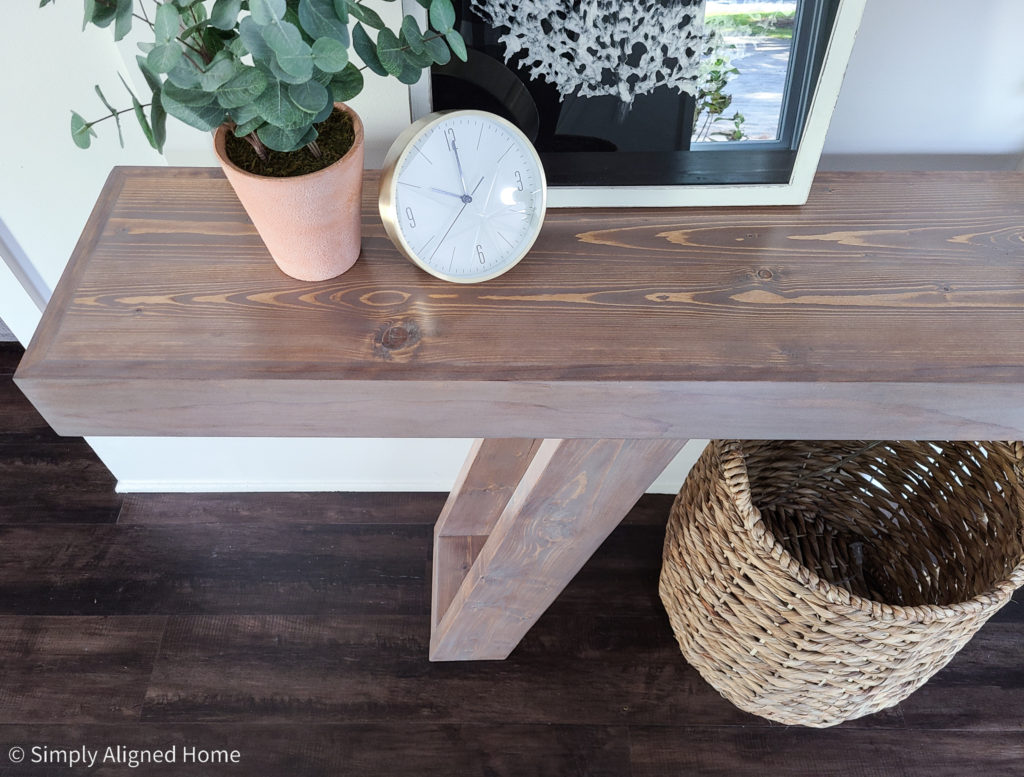
Although I love the look of stained wood, I wanted something just a little different. I had been wanting to try Sunbleached stain on a project and thought this would be the perfect one!
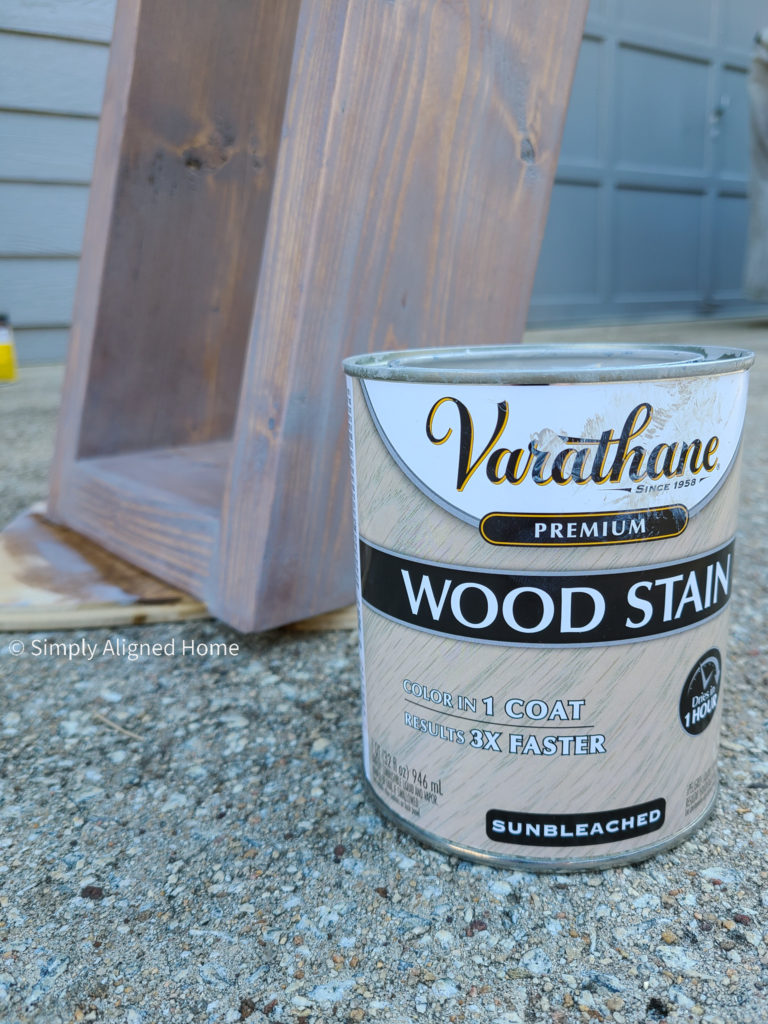
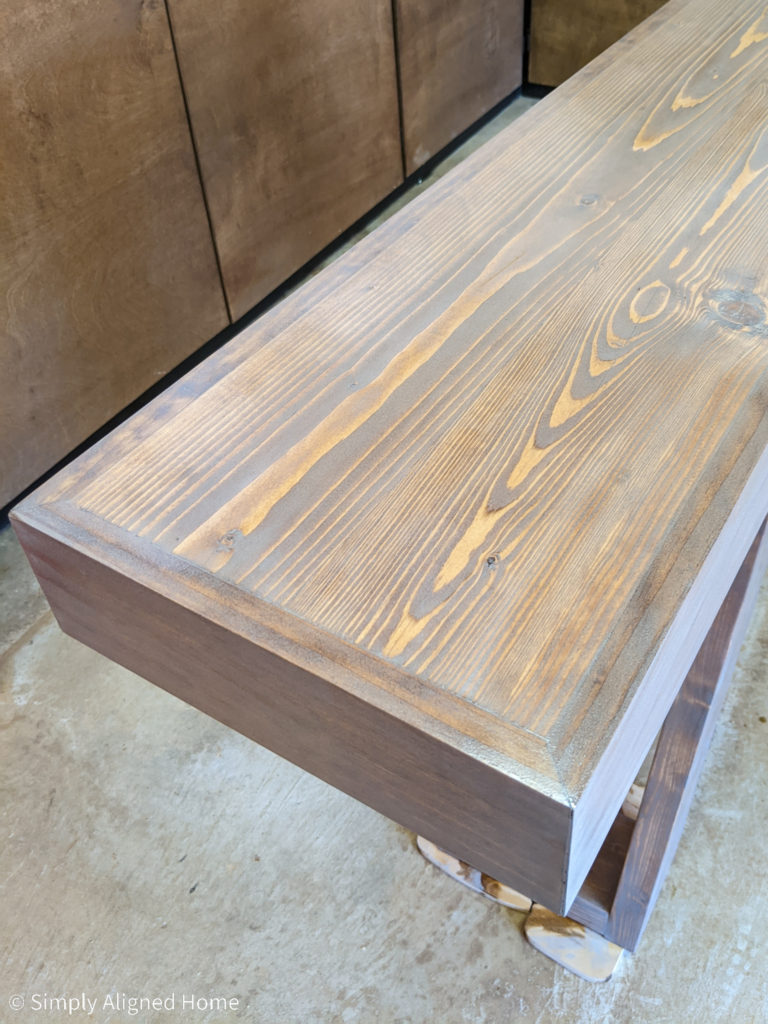
I applied one thin coat of Sunbleached using a rag. It goes on as a milky grey finish and adds so much character!
Once the Sunbleached was dry, I applied two coats of polyurethane to the table with a light sanding between coats.
I absolutely love how this table turned out!! I didn’t need it, but my entryway looks so much better with it! It filled up the space, lightened up the room and looks great against my modern board and batten wall!