I have always been curious about indoor battery powered lights. It is obviously much easier to install a light that doesn’t require electricity, but how do you actually charge them? Does it need to be installed close to an outlet? Do you still have to screw them to the wall? I decided to test one out…and I am so glad I did! Here is what I discovered about battery powered picture lights.
**This post contains affiliate links to products that I used or recommend. If you purchase something through an affiliate link, I may receive a small percentage of the sale at no extra cost to you. I really appreciate your support.**
My Battery Powered Picture Light
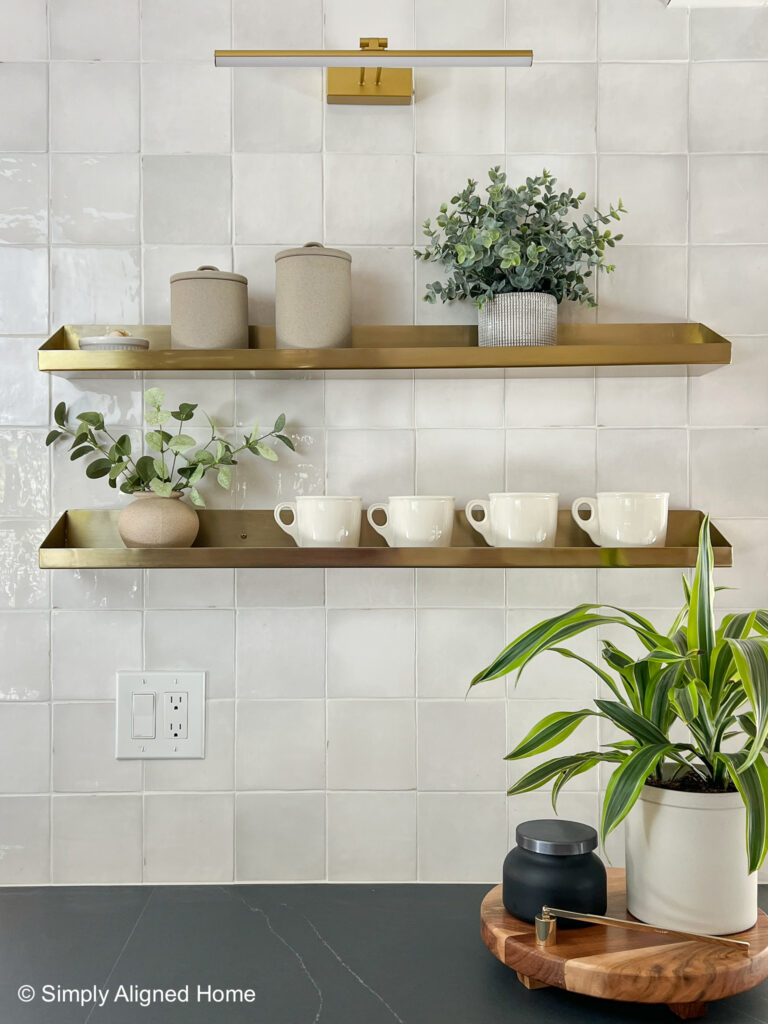
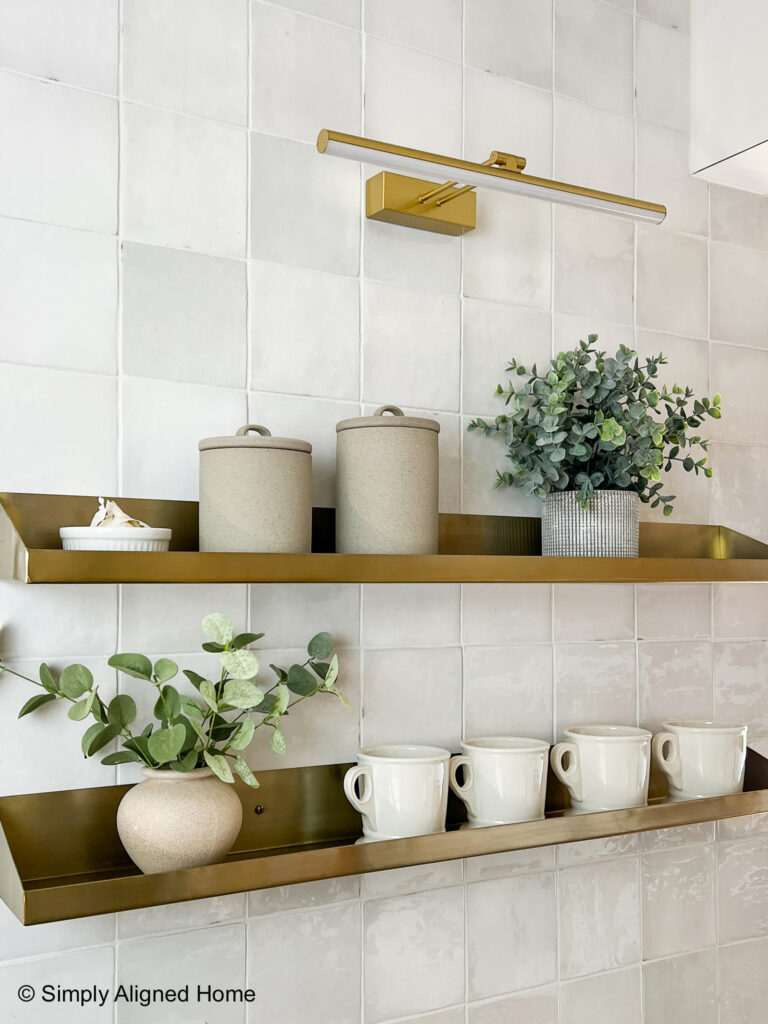
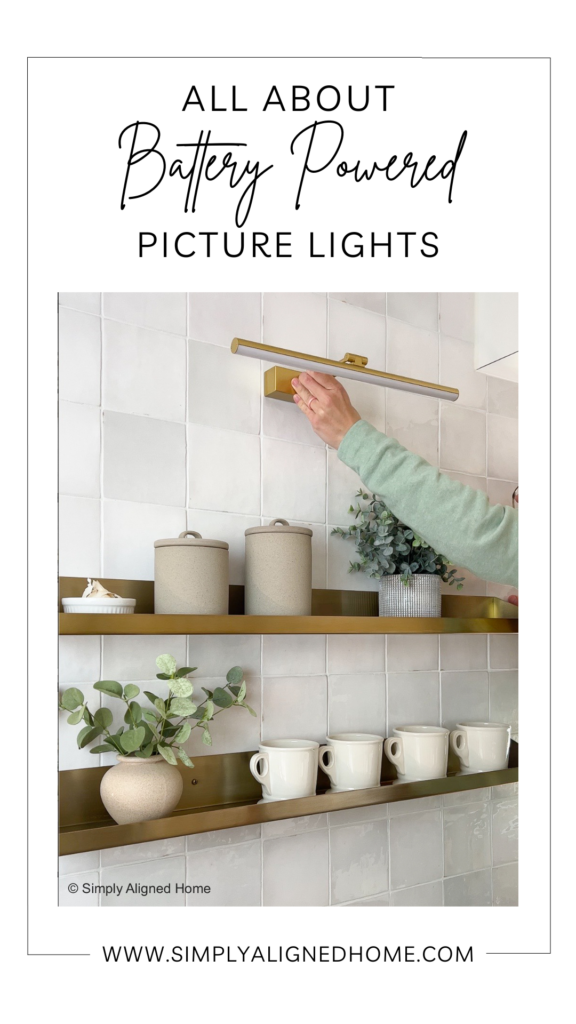
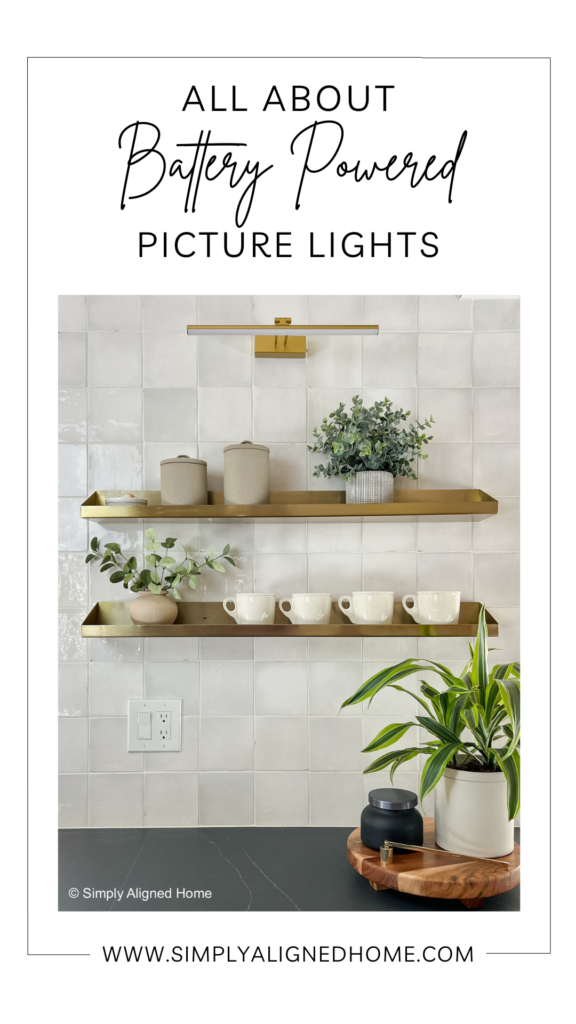
My kitchen floating shelves needed one more thing…a light! I wanted to not only add lighting to the shelves, but also add a little mood lighting to our kitchen. Since my walls were already tiled, running a wire to the area was out of the question. Therefore, I settled on a battery powered picture light.
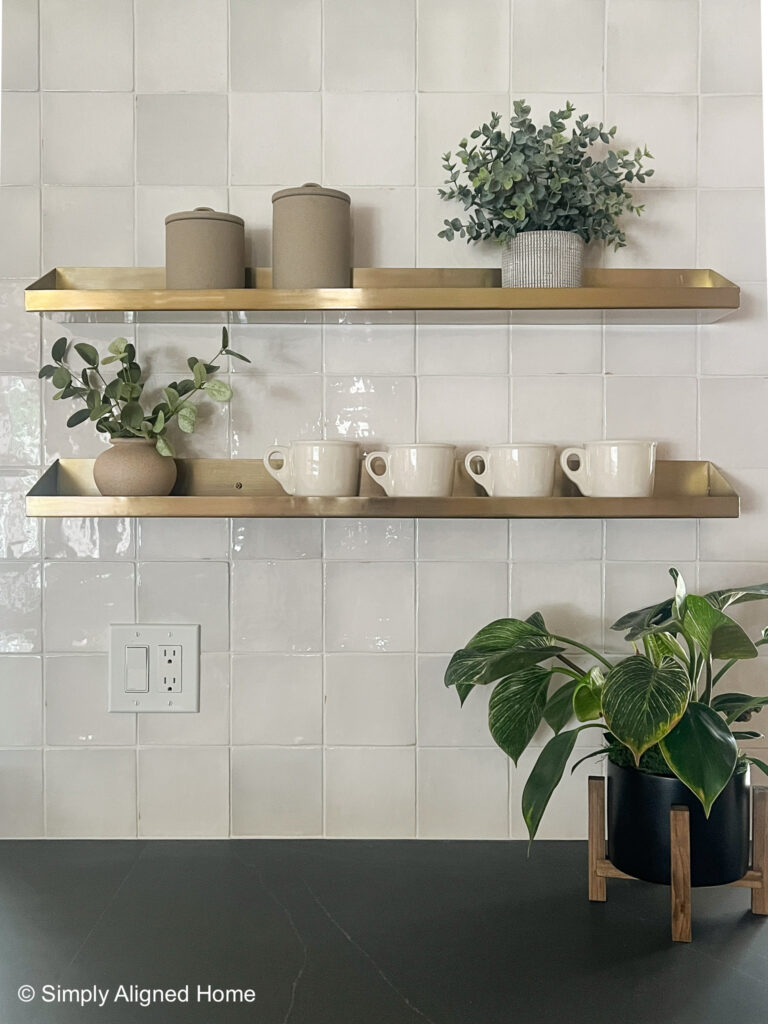
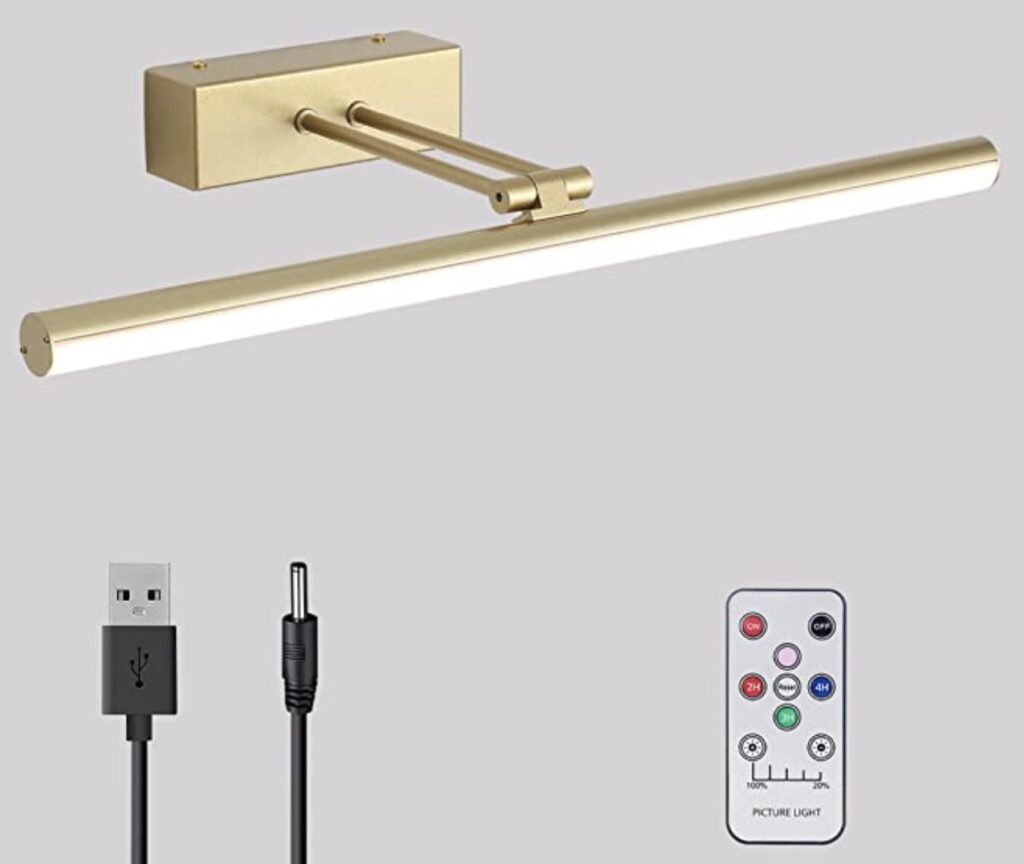
I purchased this battery powered light because it was simple and understated. I didn’t want a light that distracted from the shelving or beautiful tiles. This one was perfect!
How to Install the Picture Light
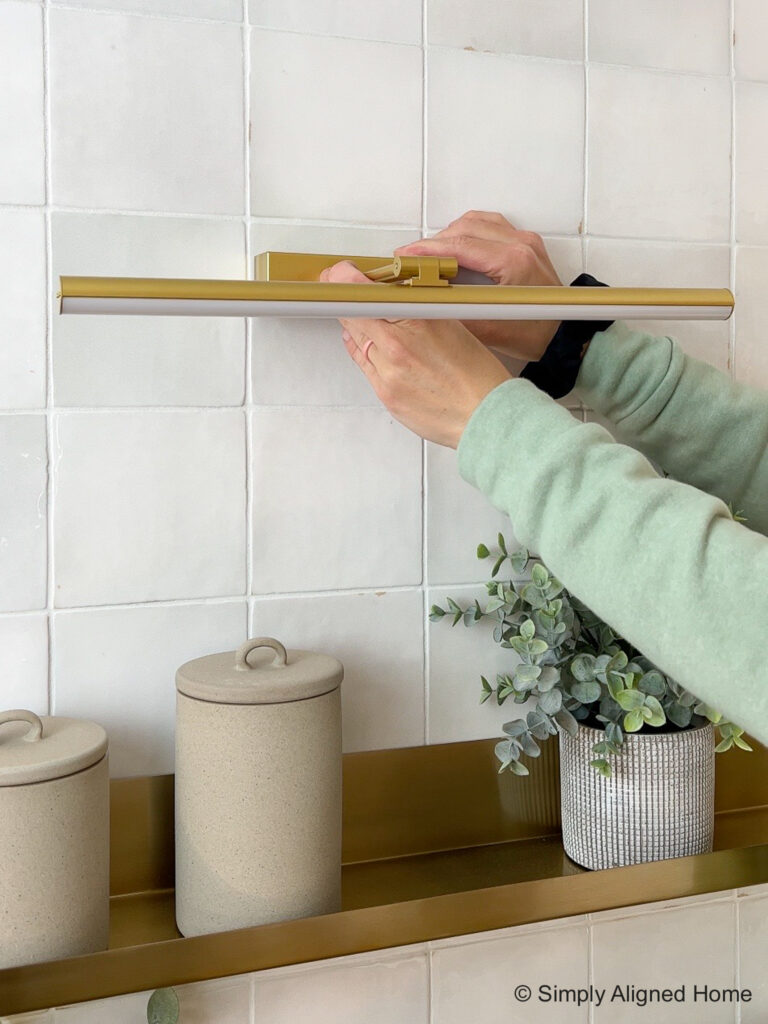
My picture light came with a mounting bracket and both screws and a piece of double sided tape. They provided the option to either screw it to the wall or secure it with tape. Since I didn’t want to drill holes in my brand new tile, the double sided tape was the clear choice!
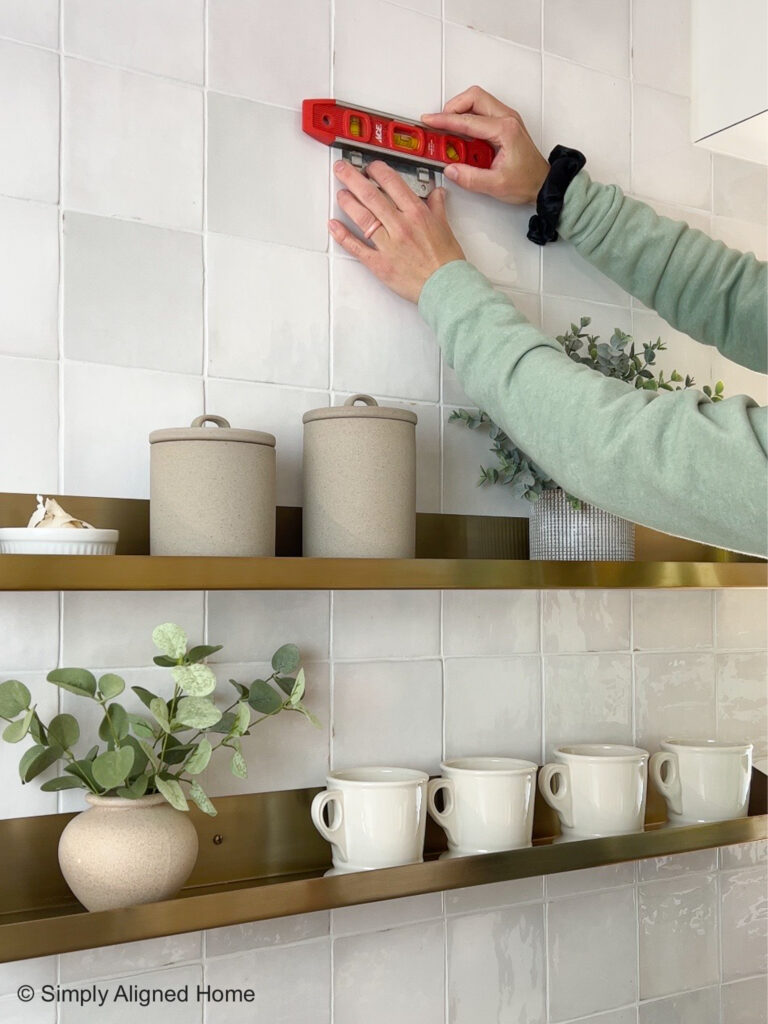
I simply cleaned off my tile, applied the double sided tape to the bracket and secured it to the wall. I centered the bracket on the shelving and made sure it was level before securing it to the tile.
Once the bracket was up, I just had to install the light on the bracket. The bracket has two little tabs that stick out, so I just slid the light onto the tabs. This install was so simple!!
How to Charge the Battery Powered Light
This was the part I was concerned about. Did I need to install the light close to an outlet or do I need to have an extension cord on hand to charge it?
The answer was neither! Since the light is easily removable from the mounting bracket, I simply removed it from the bracket for charging. I plugged it into an outlet in my kitchen and kept it on my counter until it was done charging.
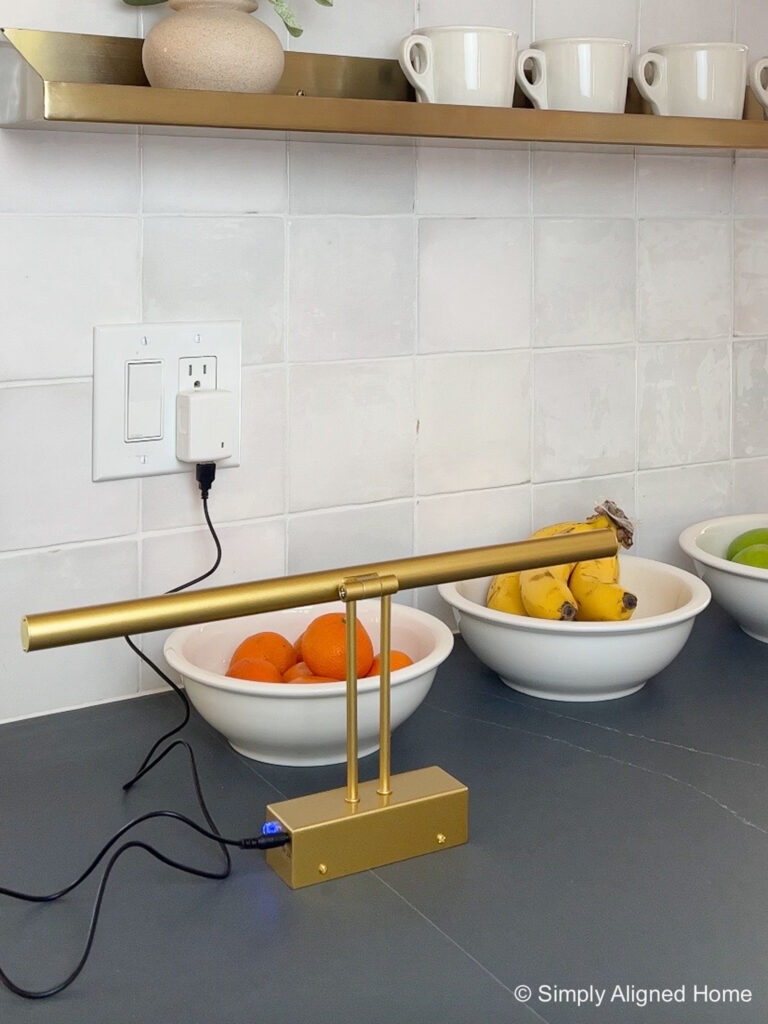
Once it was done charging, I reinstalled it on the mounting bracket. It really was so simple!!
How to Operate the Picture Light
There are two ways to operate the light. There is a button on the side of the light and it also came with a remote. You can turn the light on and off by touching the button on the light. If you hold down on the button, it will also adjust the brightness.
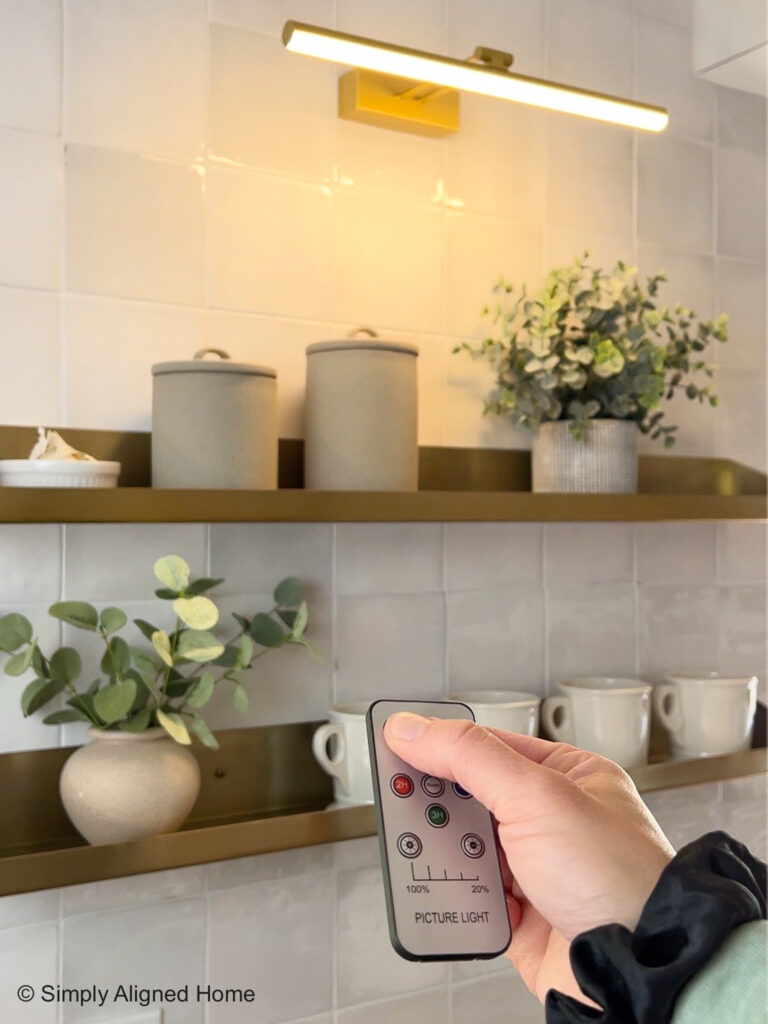
The remote that was included with the light can turn the light on, off or dim it. It also has timer settings if you want to have your light turn off automatically.
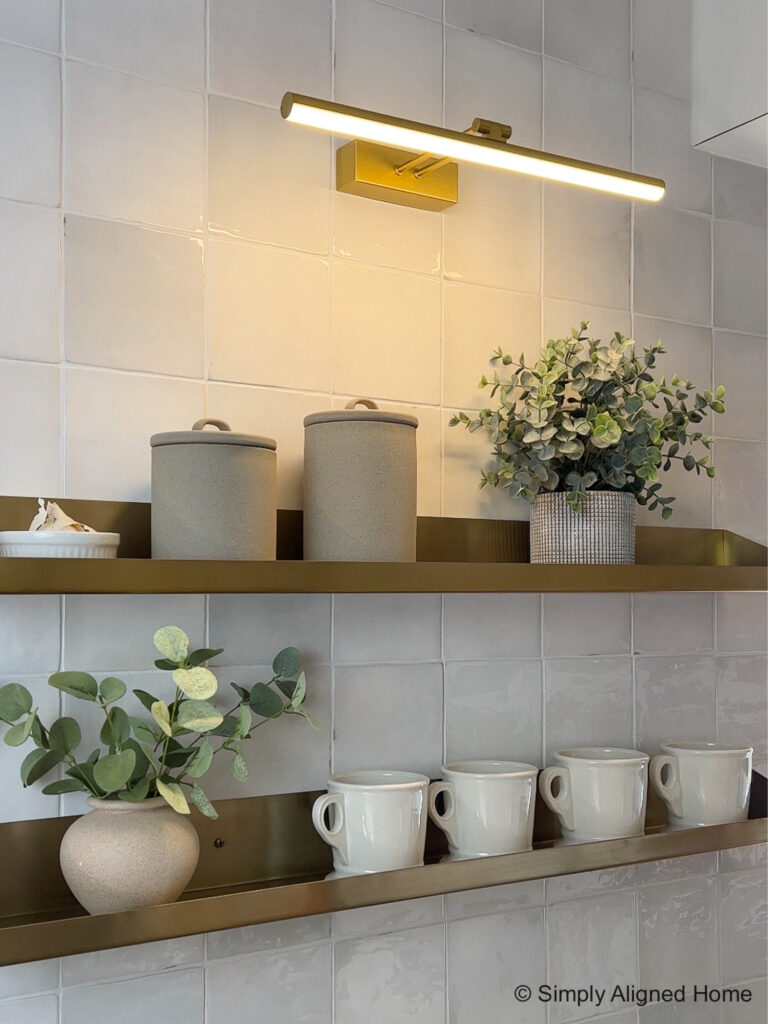
I am really impressed with this battery powered picture light! They thought of everything from a no tools required installation to easy charging.
I tried to buy more of these picture lights for other areas in my home, but they were sold out. Below are a few other options for battery powered lights that I found.
Other Battery Powered Picture Lights
I do not know if the installation and charging for these picture lights is the same as the light that I purchased. Be sure to read the installation and operating instructions before purchasing.
Rose Gold Picture Light
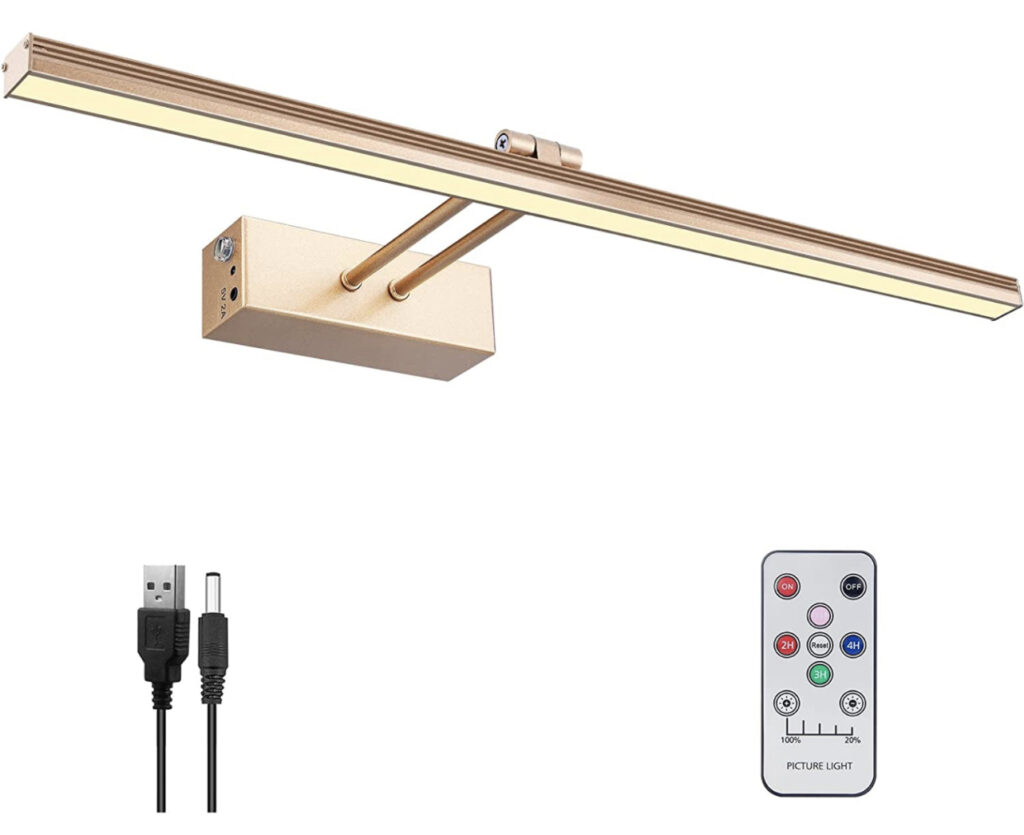
This rose gold picture light is very similar to the light that I installed in my kitchen. It has a similar mounting plate that makes it easy to remove from the wall for charging.
The main differences between this light and mine are the colors (mine is a true gold) and the shape of the light. This one has a rectangular light, while mine is round.
Black Battery Powered Picture Light
If you like the look of the light above, but aren’t crazy about the color, here is a similar picture light in black.
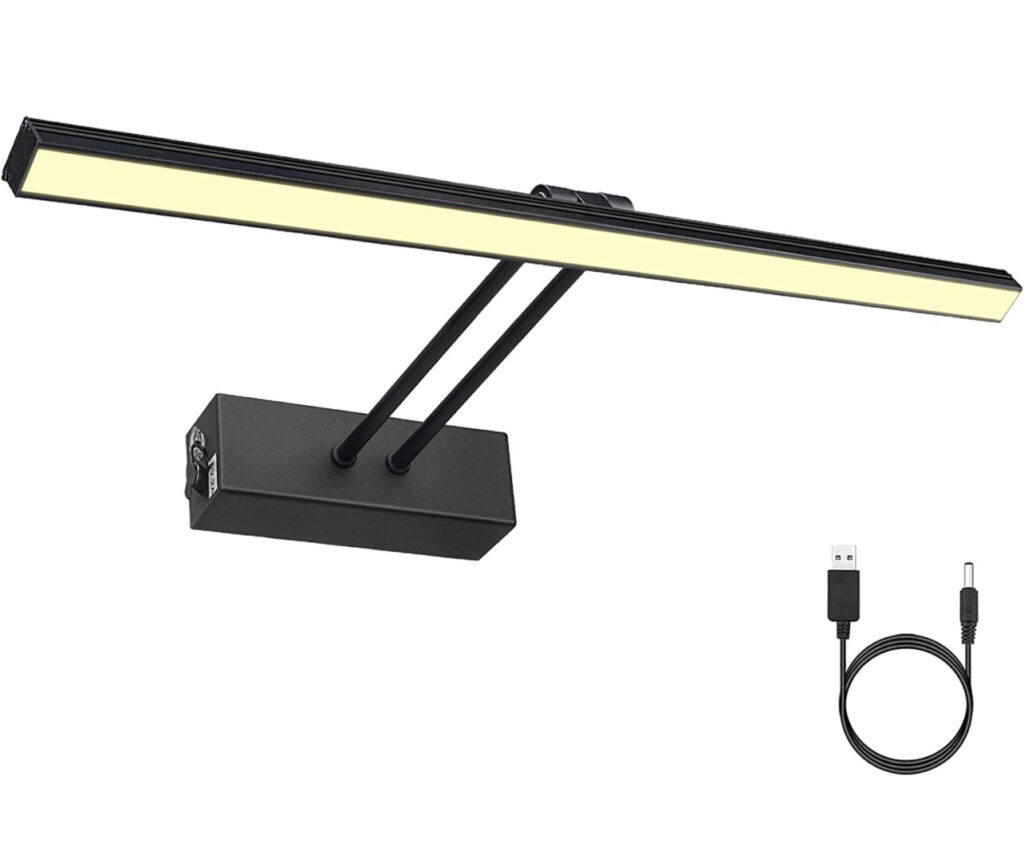
This one is more modern than the gold picture lights. It would look great on a white built-in or bookcase!
Arched Gold Picture Light
This gold picture light is so fun with the arched arm!
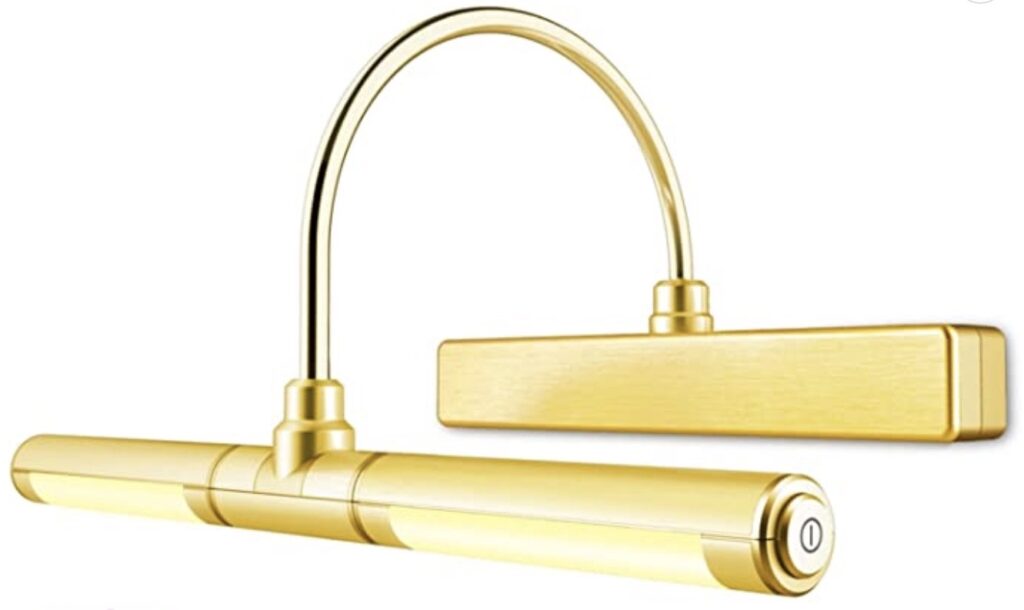
While I do love the style of the light, I am not crazy about the color. I feel like this could easily be changed with some Rub ‘N Buff. I’m even thinking about using it on my light to darken the gold just a little bit. If you don’t like gold, they also offer this light in black and silver.
A True Picture Light
The lights that I shared above are more of a sconce style. They have a nice mounting plate and can be installed on a wall without being covered. Here is an option for a true picture light, where the mounting arm will be covered by a picture frame. The intention of this light is to actually light artwork.
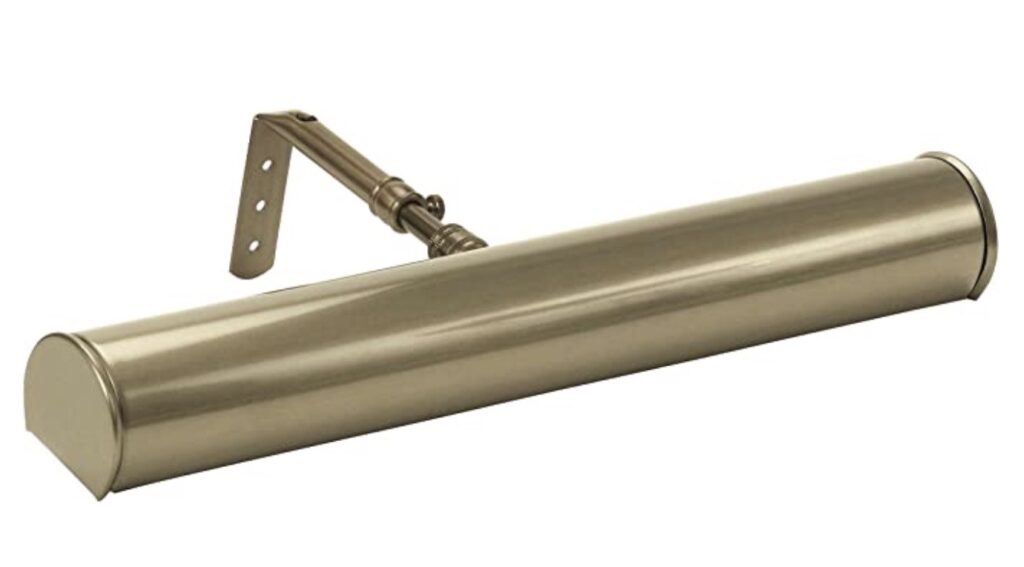
While this one might not look great installed on the wall by itself, you could make a nice little block to cover the bracket. That way, it would look more like the other picture lights.
One down side to this light is that you do have to secure it to the wall with screws.
Beautiful Antique Brass Picture Light
Warning: Picture lights greatly range in price! I was shocked by how few affordable battery powered picture lights there are…I was even more shocked that they jumped from roughly $50 to $200/$300! That being said, there is a clear difference between the appearance. The expensive ones look much nicer!
I absolutely love this classic antique brass picture light! It looks elegant and rich! It also comes in different sizes and colors.
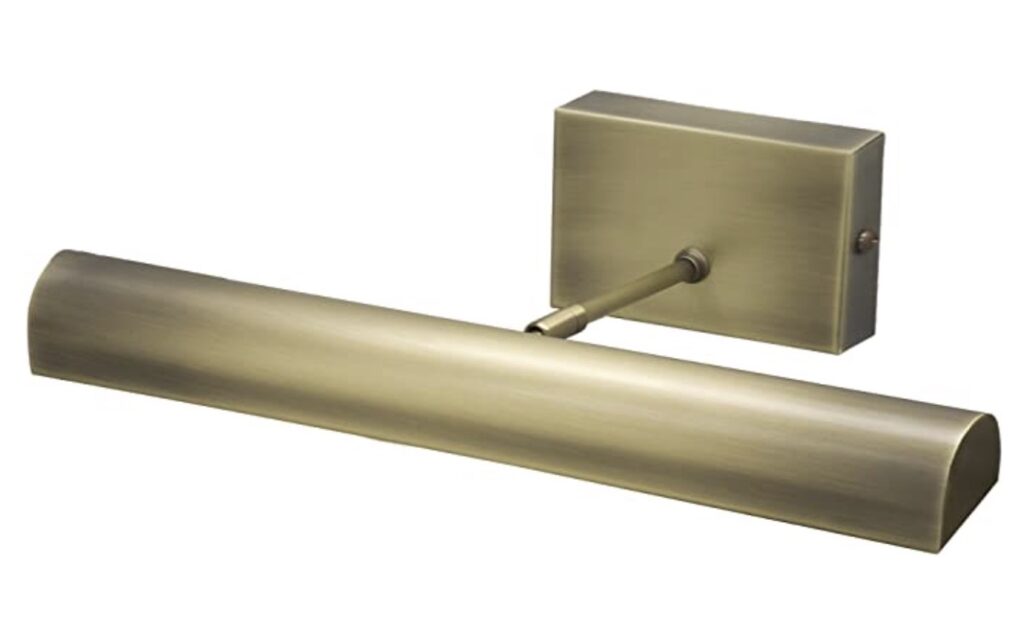
The first thing that caught my eye about this one is that it actually requires batteries…it is not rechargeable like my picture light. This seems to be pretty common with the more expensive battery powered picture lights.
There are plenty of other picture light options that can be hardwired or plugged in. While battery powered picture lights are much easier to install than hardwired lights, you do have to worry about charging them.
Since I recently purchased my light, I am not sure how long the charge lasts. I will be sure to update once I’ve had time to actually use it. For now, I’m going to enjoy this sweet corner of my kitchen!


Love the shelves and the battery powered light. Are you able to provide a source for the shelving? Thanks.
Thank you!! I got the shelves from West Elm.