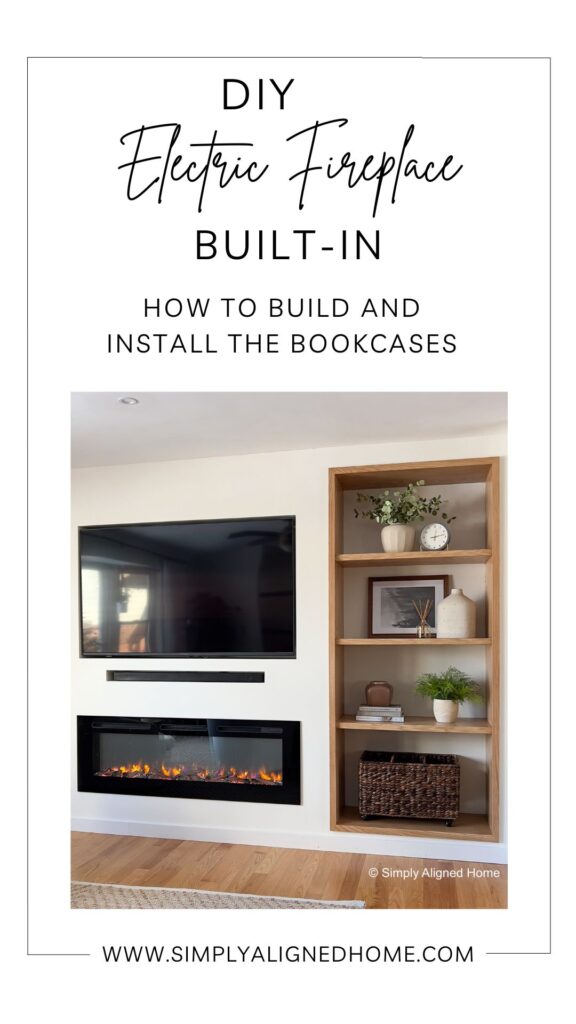
One of the first changes I made to our split-level home was expanding the small kitchen. I made an open concept kitchen and living space. While the living room was cozy, it needed a little something more. Therefore, I decided to make an electric fireplace built-in! I shared how to frame and install the electric fireplace in a previous post. In this post, I will share how I built and installed the bookcases for either side of the fireplace.
**This post contains affiliate links to products that I used or recommend. If you purchase something through an affiliate link, I may receive a small percentage of the sale at no extra cost to you. I really appreciate your support!**
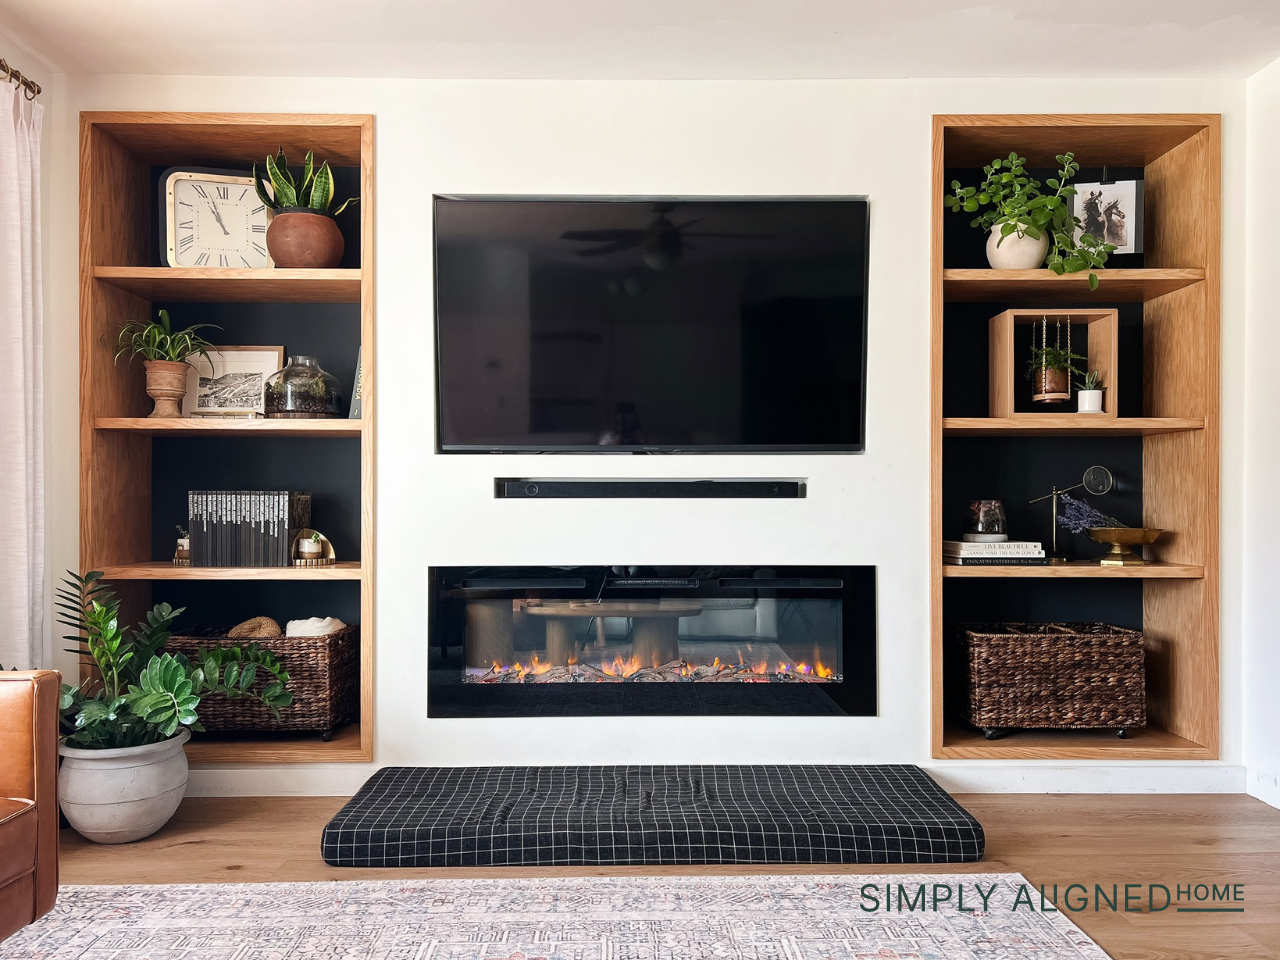
ELECTRIC FIREPLACE | SOUND BAR | TELEVISION | TELEVISION MOUNT | AREA RUG | LARGE HANDWOVEN BASKET
Determine Size and Number of Shelves
The overall size of the bookcase was determined by the opening of the framing. I made the bookcase 1/4″ smaller than the opening. This will give me enough clearance to be able to easily install the bookcases once they are assembled.
As for the number of shelves, I decided that I wanted a lot of space between each shelf. I will decorate them with a few large pieces as opposed to a bunch of small pieces. Based on this, I decided that I wanted four shelves total per bookcase.
I divided the overall height of the bookcase by four to determine the rough spacing between each shelf. I adjusted this slightly to allow me to have a larger space on the bottom.
Cut Plywood for Bookcase
Rip Plywood for Frame
I started by ripping plywood for the side, top and bottom pieces of the bookcases. I set my table saw to 15-3/4″ and ripped six pieces to this width (this is enough for both bookcases).
Rip Plywood for Shelves
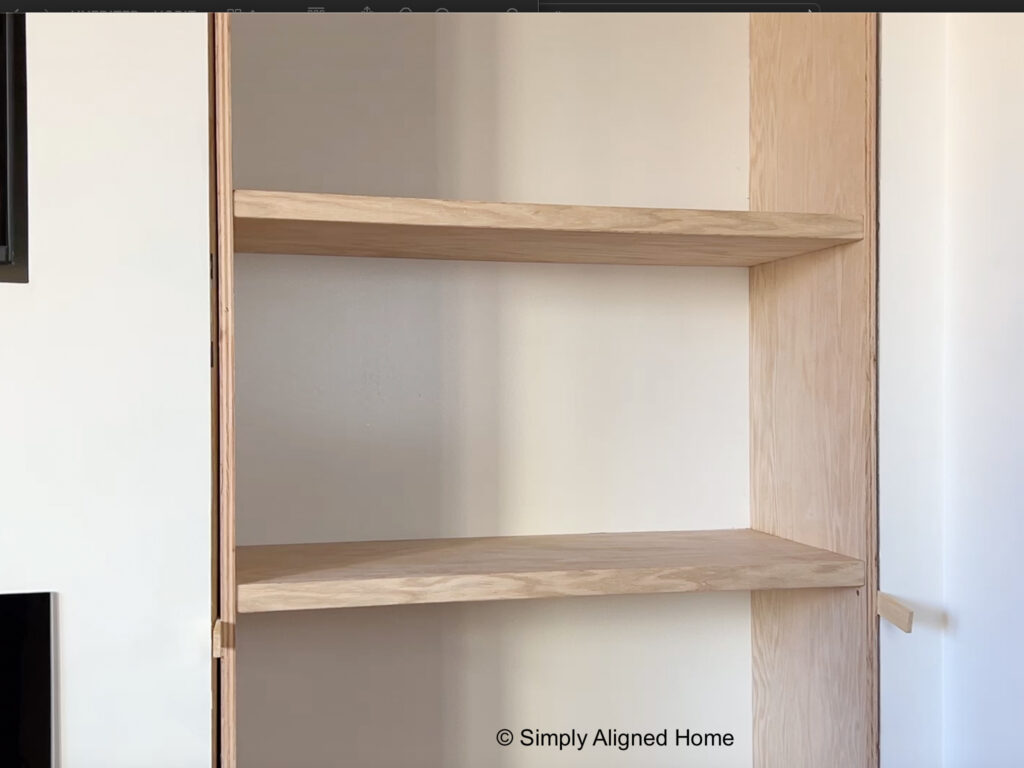
For the shelves, I ripped the plywood so that the front edge of the shelf would have a miter cut. I ripped the shelves about 1/8″ shorter than the frame. This will allow the shelves to be slightly inset once assembled.
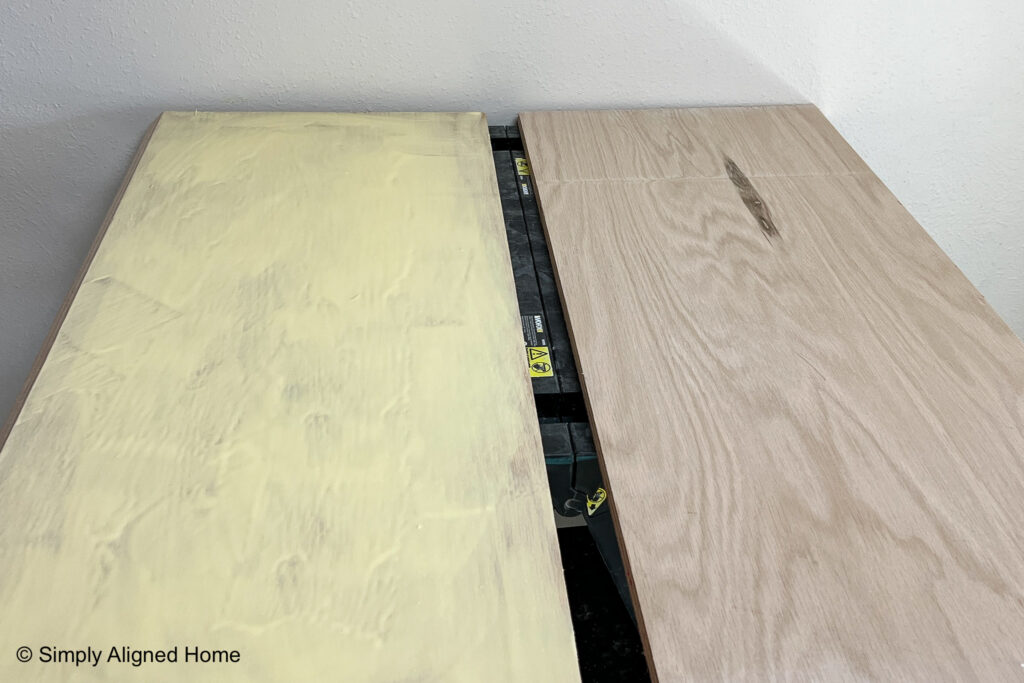
Rip Front Face for Shelves
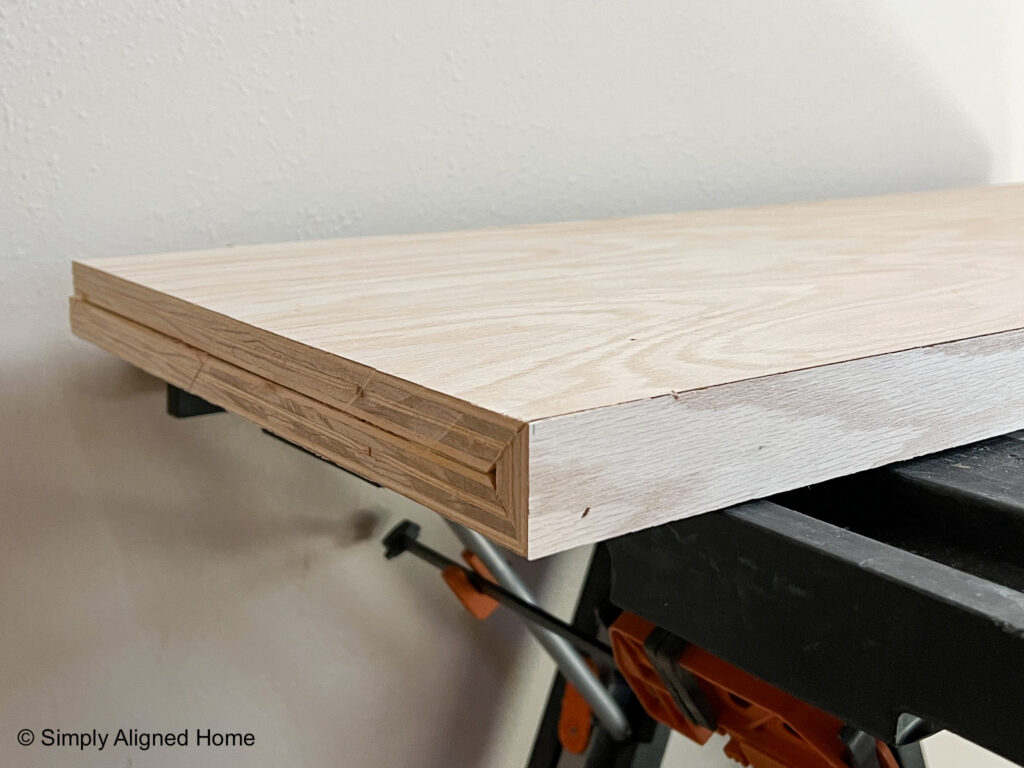
I wanted to make the shelves look like a solid piece of 1-1/2″ wood. In order to do this, I needed a front piece. This piece looks like a triangle, but has a 1-1/2″ thick front face. I made this piece by ripping the plywood in one direction. I then flipped it over, adjusted the table saw guide and ran it through again.
Cut Plywood to Length
Using my miter saw, I cut my pieces down to length. I started by cutting the long sides of the frame. These pieces were the full height of the bookcase.
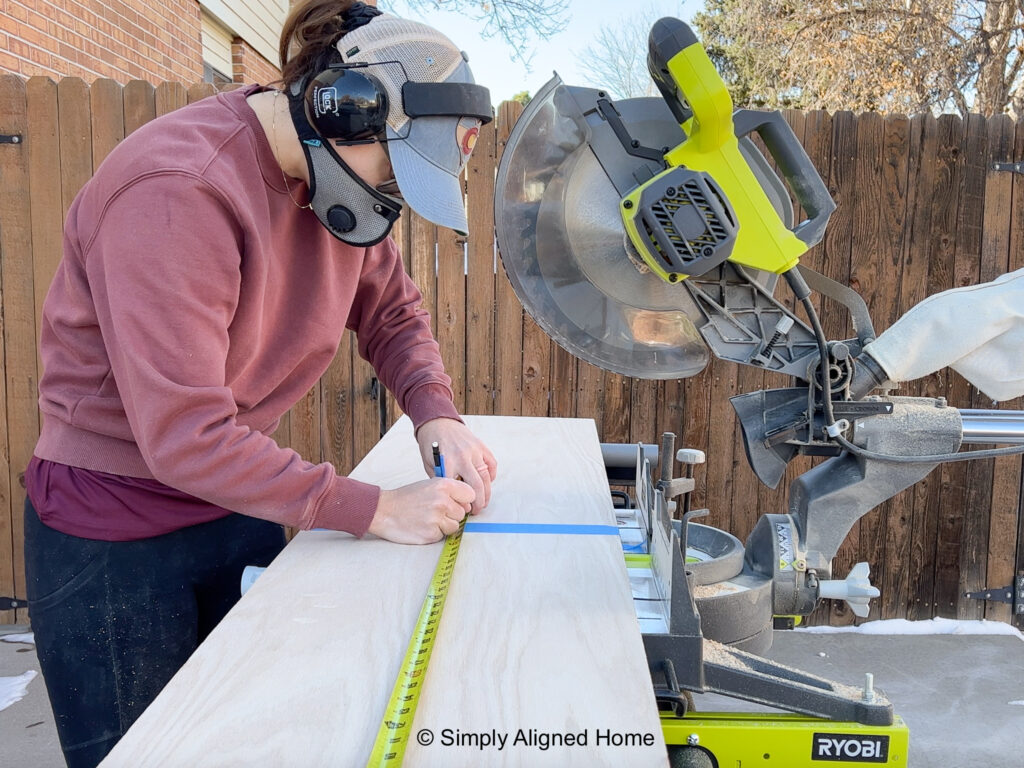
The top, bottom, shelving and front face pieces were all cut to the same lengths. This dimension was the overall width of the bookcase minus 1-1/2″ to account for the side pieces.
Assemble Shelves
Once everything was cut, I assembled the shelves. I did this by applying a generous amount of wood glue to the inside of one of the shelving pieces. I evenly spread the wood glue using a foam paint roller.
I then placed the other side of the shelf on top of the glue. I held the pieces together with a few brad nails while the wood glue dried.
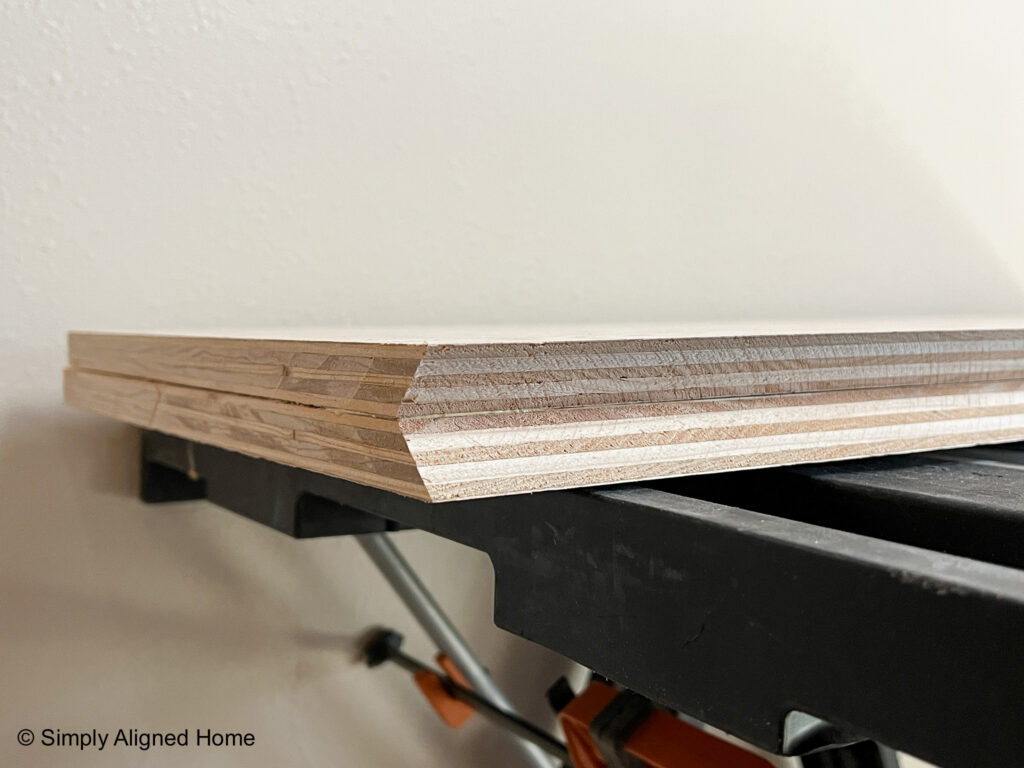
The final piece was the front face of the shelf. I used wood glue and brad nails to secure it.
Fill Holes and Seams in Shelves
I allowed the wood glue on the shelves to set for 24 hours before moving on to this step. I filled the small nail holes with a stainable wood filler.
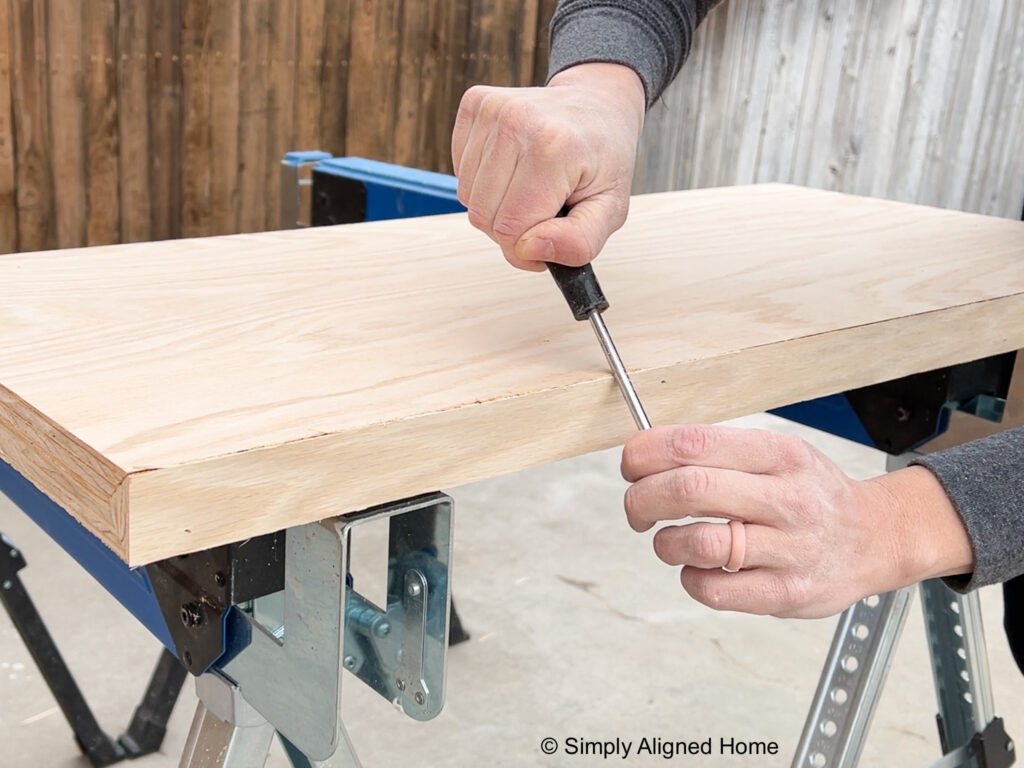
Before I added wood filler to the seams of the shelves, I used a screw driver to round the corners. I did this by applying a small amount of pressure while running the screw driver back and forth along the corner. Once it was slightly rounded, I used wood filler to fill in any gaps.
Sand All Bookcase Pieces
I sanded all sides of the shelves as soon as I applied the wood filler using 220 grit sandpaper and an orbital sander. I have found that if I sand the wood filler smooth before it dries, it tends to stain better as it creates a thin layer of saw dust on the wood filler.
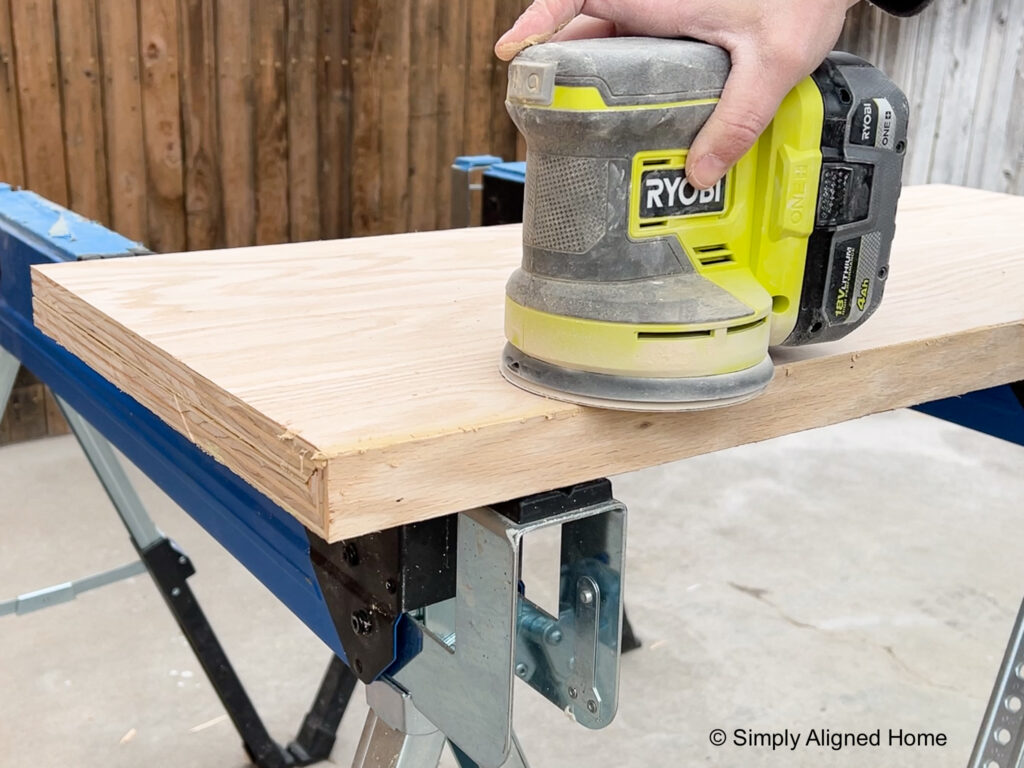
I also sanded the faces of the frame pieces of the bookcases that will be seen once assembled. It is usually easier to sand all of the individual pieces before you assemble it.
Assemble Bookcase
There are several different ways to secure the shelves to the side pieces of the bookcase. I, personally, like to assemble them with wood glue and construction screws. You can also use pocket screws or any of the more advanced methods that woodworkers will use when assembling furniture.
Before I assembled anything, I marked the location of the bottom of each shelf on the both sides of the side pieces. I will use this to not only place the shelves, but to also know where to place the screws. Taking time to plan out the assembly beforehand makes the actual assembly a lot easier and quicker.
Once I had everything marked, I secured the top, bottom and shelves to one of the side pieces. I held the horizontal members in place using corner clamps while I secured them to the side piece.
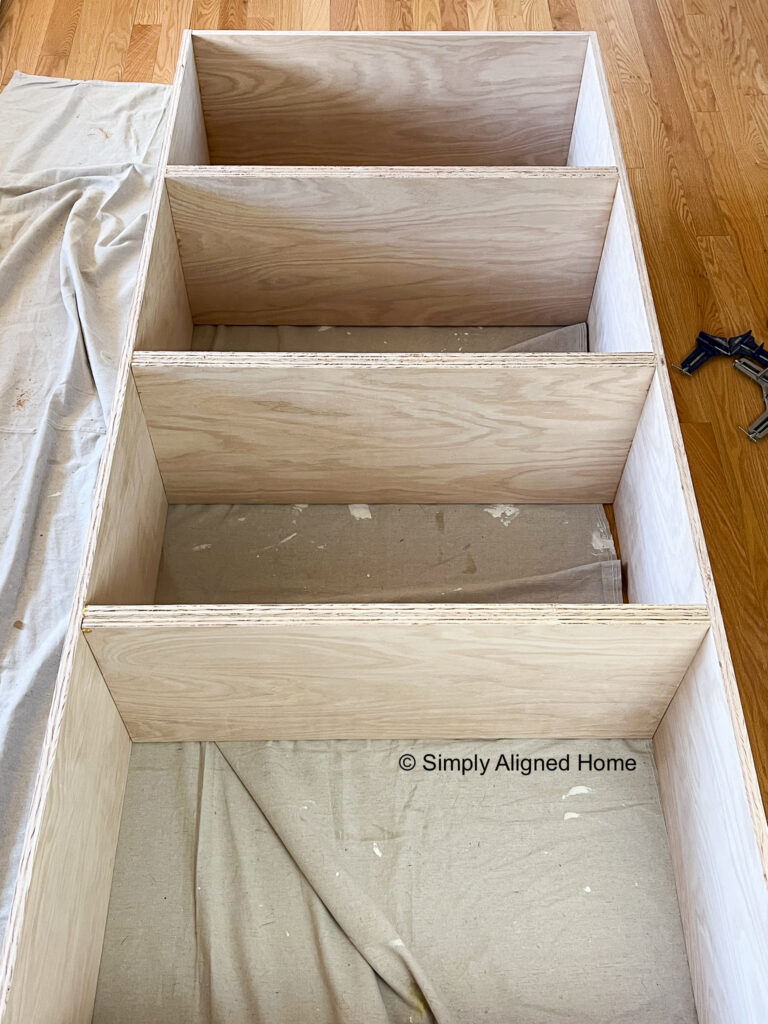
I applied wood glue to the end of the horizontal member and evenly spread it using a wood glue brush. I then drilled a pilot hole through the side piece and into the horizontal member. I screwed through the side piece and into the horizontal member. The screws will not be visible once the bookcases are installed. The screws are used to hold the bookcase together until the wood glue has time to dry.
Stain and Seal Bookcases
Now would be the ideal time to stain and seal the inside and shelving of the bookcases. I was in a hurry to get the bookcases installed and stained them after I had them fully assembled. I feel like it would have been much easier to stain and seal them before I attached the back panel (since I wanted the back panel to be painted white).
Stain Combination
Before I stained anything in my kitchen, I tested out several different stain combinations. I wanted my red oak to be warm, but not red. Below is the stain combination that I settled on and love!
- 1 Part – Golden Pecan Water Based Stain
- 1 Part – White Wash Pickling Water Based Stain
- 1/2 Part – Early American Water Based Stain
I mixed the water based stains together before applying it to the wood.
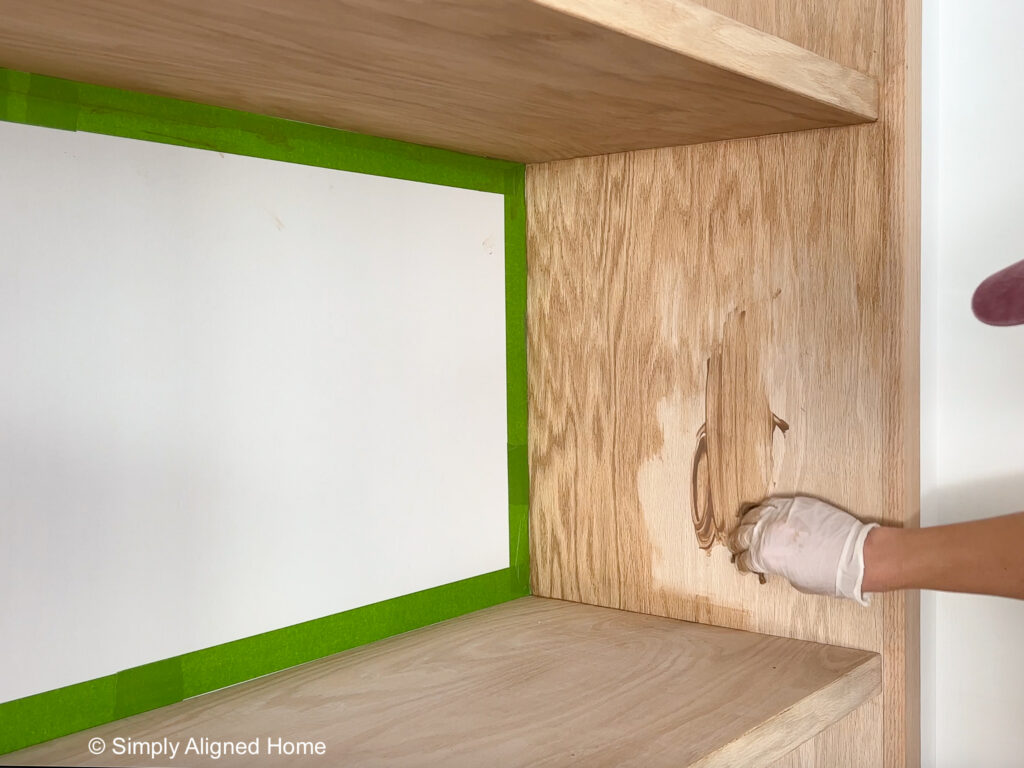
Water Based Stain Application
I have tried several different types of stains and I really love water based stains! They are easy to work with, don’t stink up my house and dry quickly. The application can be a little tricky because they do dry so quickly.
With water based stains, I only apply a small amount of stain. Using a cloth or rag, I apply it in the direction of the grain, the full length of the grain. I immediately wipe off any excess stain, making sure that the stain looks nice and not blotchy. The stain color will darken slightly with the sealer.
Once the stain was dry, I applied three coats of a water based polyurethane to the bookcases.
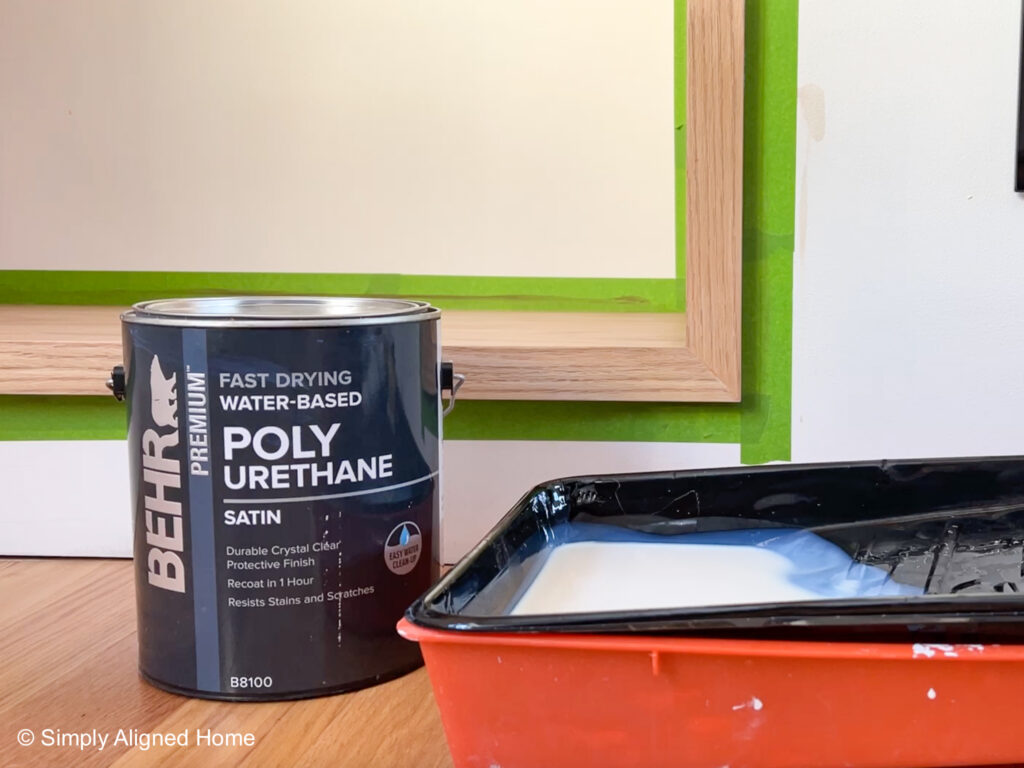
I did a light hand sanding using a sanding sponge between coats and wiped off the sanding dust with a tack cloth. Sanding between coats will give it a nice, smooth finish.
Cut Back Panel to Size
With the bookcases now assembled, I was ready to cut the back panels. I cut the panels roughly 1/8″ smaller than assembled bookcases. I didn’t want the back panel to overhang any of the bookcase sides.
I used a primed paneling because I wanted the back of the bookcases to be white.
Attach Back Panel to Bookcase
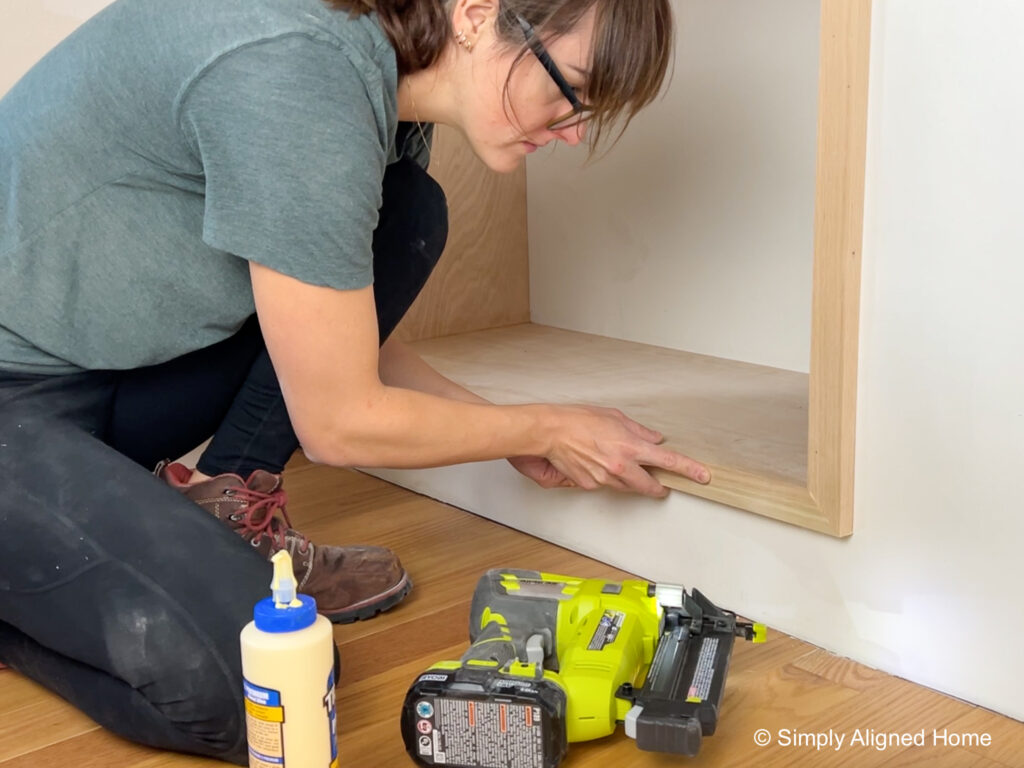
I secured the back panel to the bookcase using a clear construction adhesive and a brad nailer. I applied a bead of glue along the entire surface of the back of the bookcase. I then laid the back panel on top of the bookcase.

I began by nailing the panel around the perimeter of the bookcase. I then drew lines across the back of the panel where the shelves were location. Following the line, I nailed into the back of the shelves.
Install Bookcases in Built-In
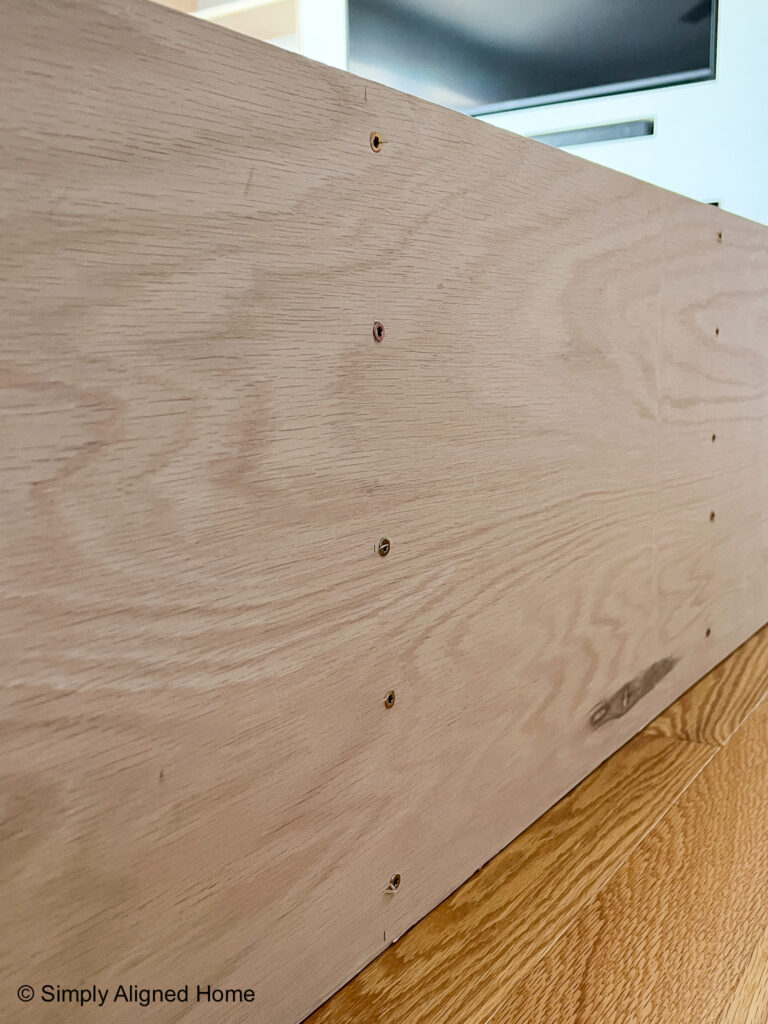
The bookcases could now be installed in the framing. I set the bookcases in the openings and used wood shims to level it and space it from the framing. I then secured the bookcases to framing using construction screws.
I took the easy way out and filled the screw holes with wood filler. I made sure to place the screws just below the shelving so that it wouldn’t be easily seen. If you want to have a nicer finish, you can pre-drill holes for the screws and use a plug to fill the hole.
Trim Out Front of Bookcase
There was a small gap between the drywall and bookcase all the way around. I covered this gap by installing a 1×2 trim all the way around. I made sure that the trim overhung into the bookcases approximately 1/16″. The overhang will give the bookcase a clean, finished look.
I secured the trim to the bookcase using wood glue and brad nails. I then filled the nail holes with wood filler.
Stain, Seal and Caulk Trim
To finish off the bookcases, I just needed to stain and seal the trim. I followed the same steps that I did when staining and sealing the bookcases.
In order to give the trim a nice clean look against the drywall, I caulked it. You can skip this step if you have no blemishes or gaps showing between the drywall and trim.
Install, Caulk and Paint Baseboard
The last step to complete this built in was to install the baseboards. I used 1×4 primed pine boards for a modern look. I secured it using brad nails. I filled the holes, caulked the seams and painted the trim.
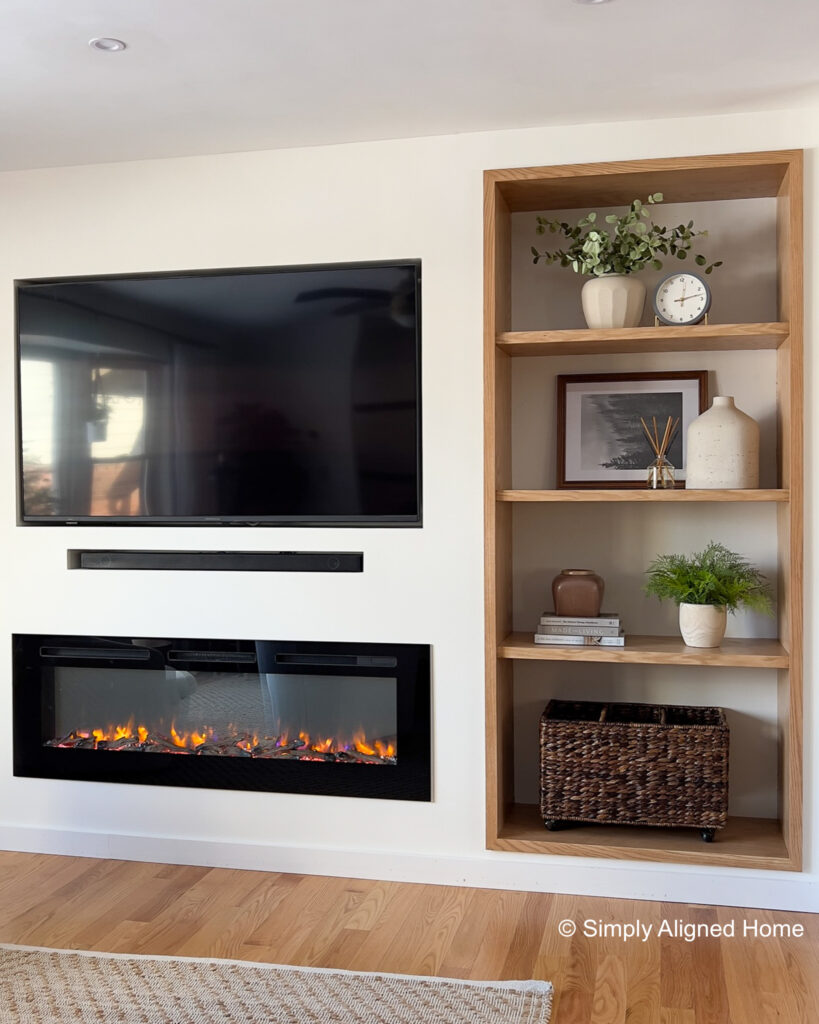
I could not be happier with how this built-in turned out!

**Note: I am not a professional and do not claim to be an expert. Please be sure to always read instructions for all tools and products. Safety is very important and should be your top priority. Wear necessary protection when using tools (eye wear, hearing protection, gloves, etc.) and dust masks when sanding or cutting. Simply Aligned Home is not responsible for any injury or damage. All of my designs are not professionally designed and are for private use only.**
Tools Used
- Table Saw
- Miter Saw and Miter Saw Stand
- Orbital Sander
- Wood Glue Brush
- Corner Clamps
- Impact Driver and Drill
- Brad Nailer
Materials Used
- 3/4″ Oak Plywood
- Construction Screws
- Wood Filler
- Golden Pecan Water Based Stain
- White Wash Pickling Water Based Stain
- Early American Water Based Stain
- Water Based Polyurethane
- 220 Grit Sandpaper
- 220 Grit Sanding Sponge
- Tack Cloth
- Construction Adhesive
- Brad Nails