
Do you have a tiny room in your home that you wish was more functional?! That’s exactly what I was dealing with in our new home! We had a tiny bedroom that was just collecting junk. I decided to transform it into a beautiful and functional home office! There were a few phases to my home office transformation, but I will highlight how I made my built in desk with shelving in this post.
**This post contains affiliate links to products that I used or recommend. If you purchase something through an affiliate link, I may receive a small percentage of the sale at no extra cost to you. I really appreciate your support!**
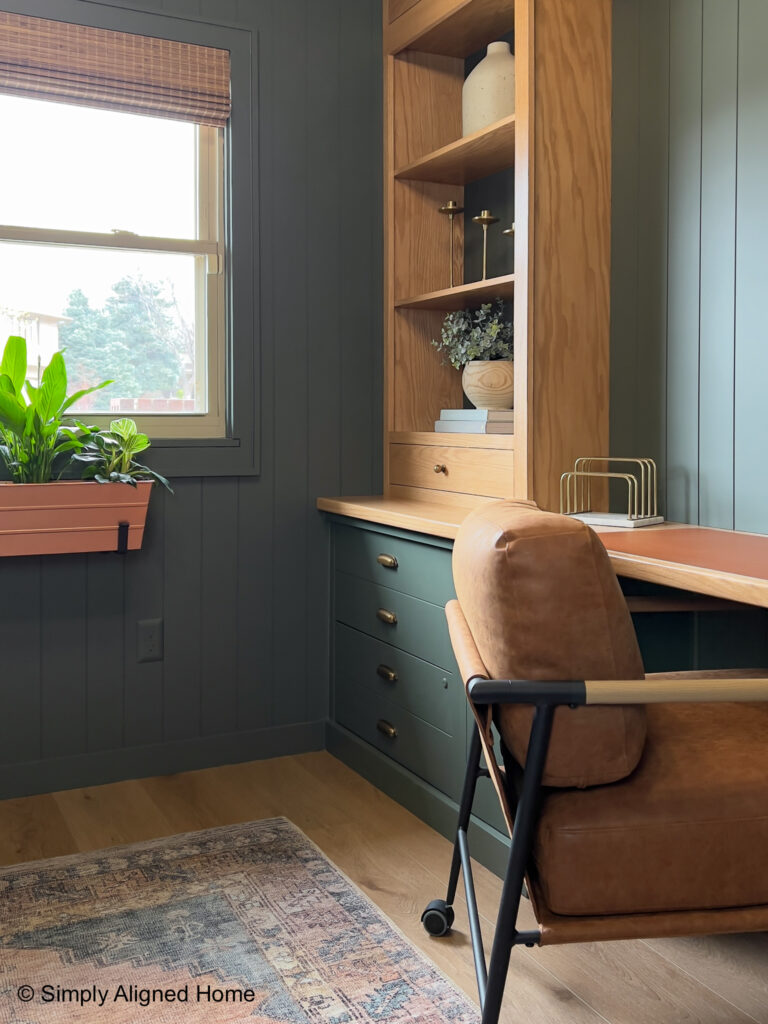
AREA RUG | OFFICE CHAIR | PLANTER BOX | DRAWER CUP PULLS | DRAWER KNOBS | WINDOW TREATMENTS | DESK MAT | LETTER HOLDER
PAINT COLOR: Sherwin-Williams Pewter Green
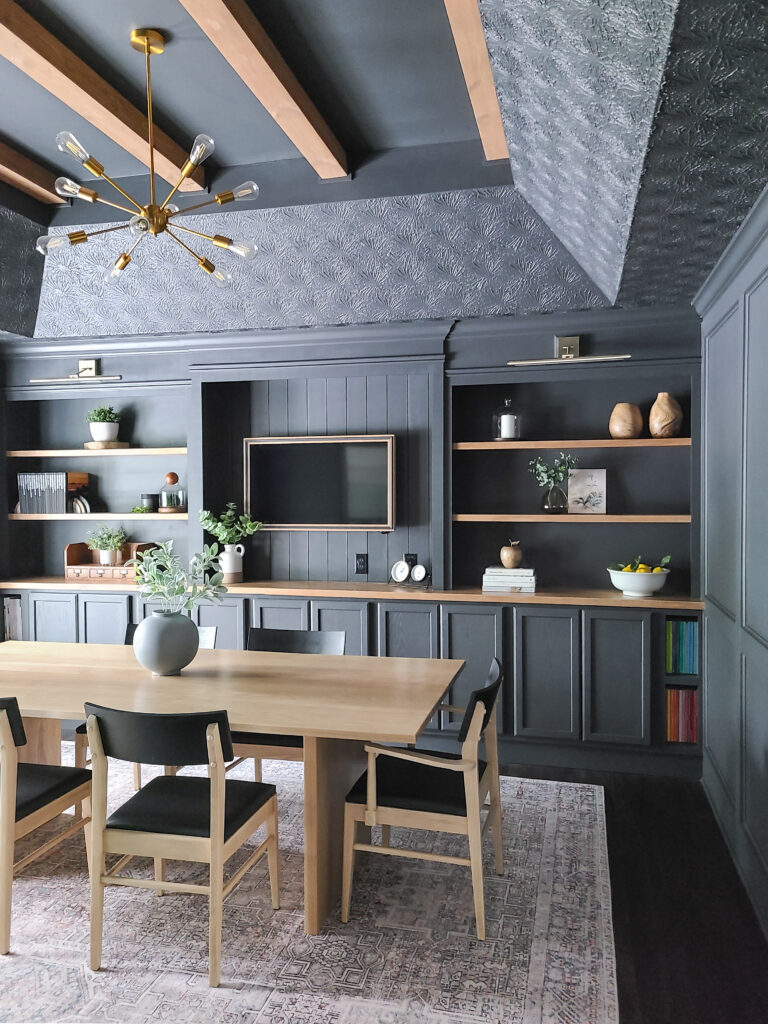
I transformed a dining room in our last home into a home office/dining room. I really loved how that office turned out and used it as a foundation for the design of my new home office! I detailed the last build in several posts, but started by installing base cabinets for more storage. That’s exactly where I started with my new office project!
Install Base Cabinets
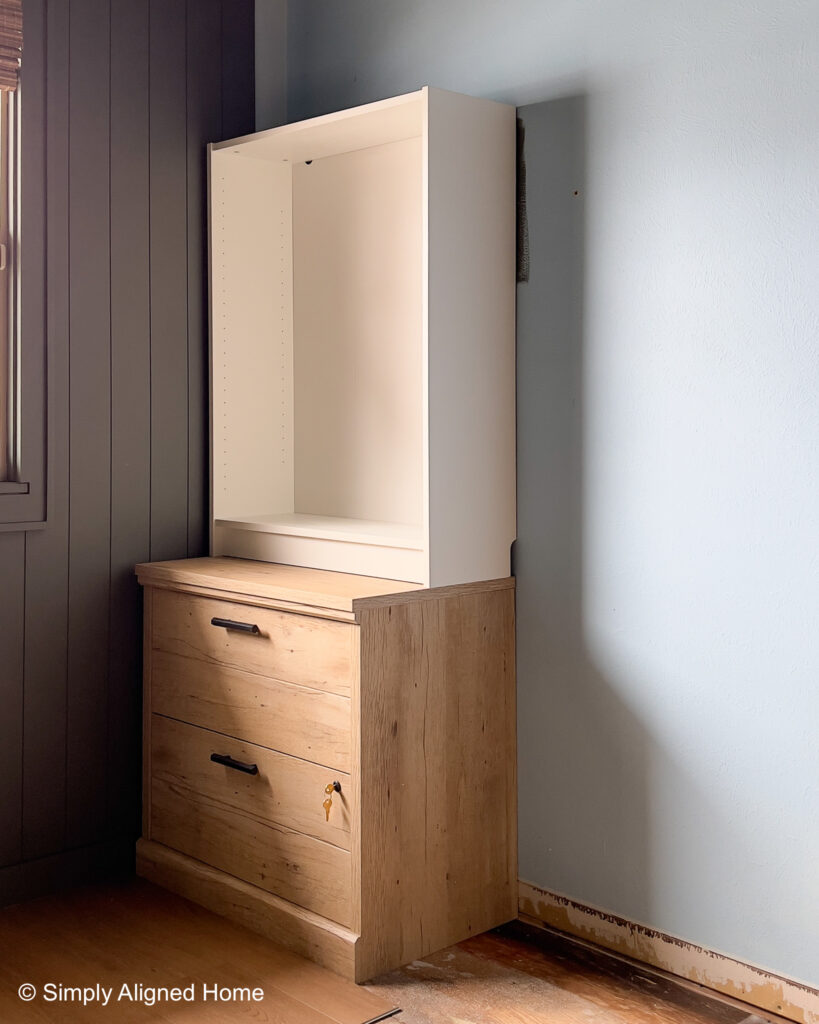
For this step, I decided to purchase filing cabinets to use as my base cabinets. I didn’t feel like going through the trouble of making my own and found some that would work perfectly!
Assemble and Install Filing Cabinets
Once I assembled the filing cabinets, I set them in place and and determined what size small base cabinets I would need to make. I initially planned on using IKEA bookcases for the upper units, but ultimately decided they weren’t what I wanted. I did still use the IKEA units to help visualize the upper units.
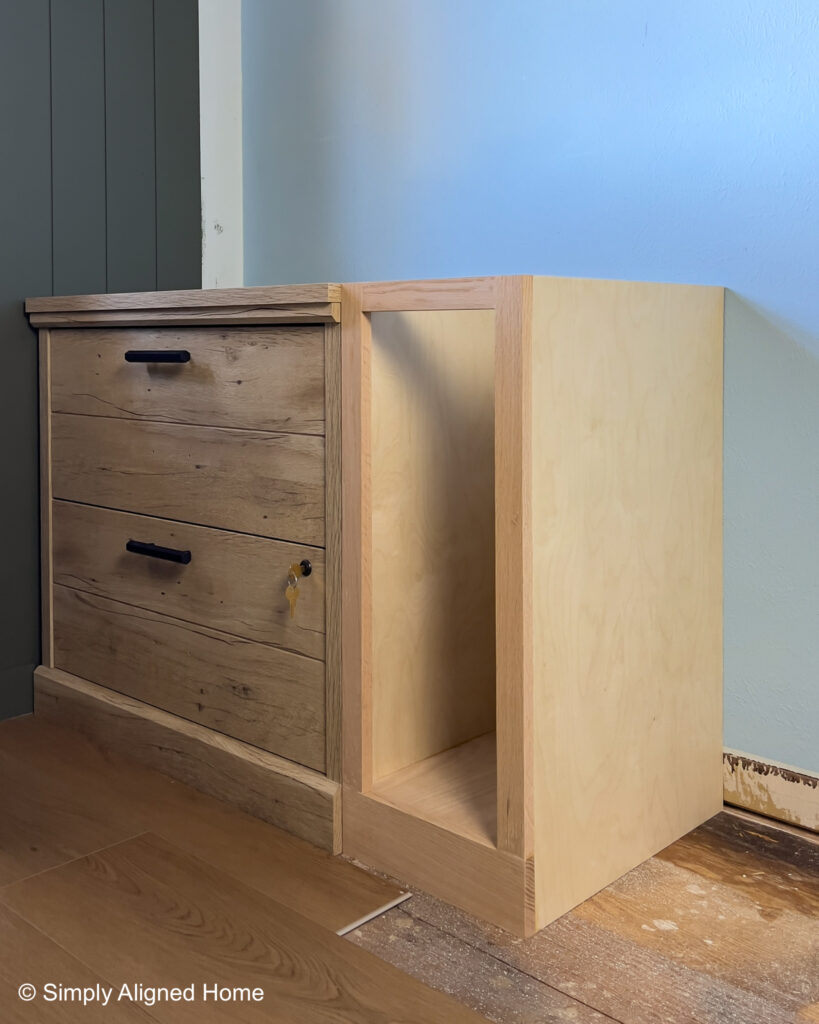
Make Small Base Cabinets
The size of the smaller cabinets was based solely on desk opening for my office chair. I decided that I wanted a little more space to be able to freely move, therefore, I would make the small base cabinets 12″ wide.
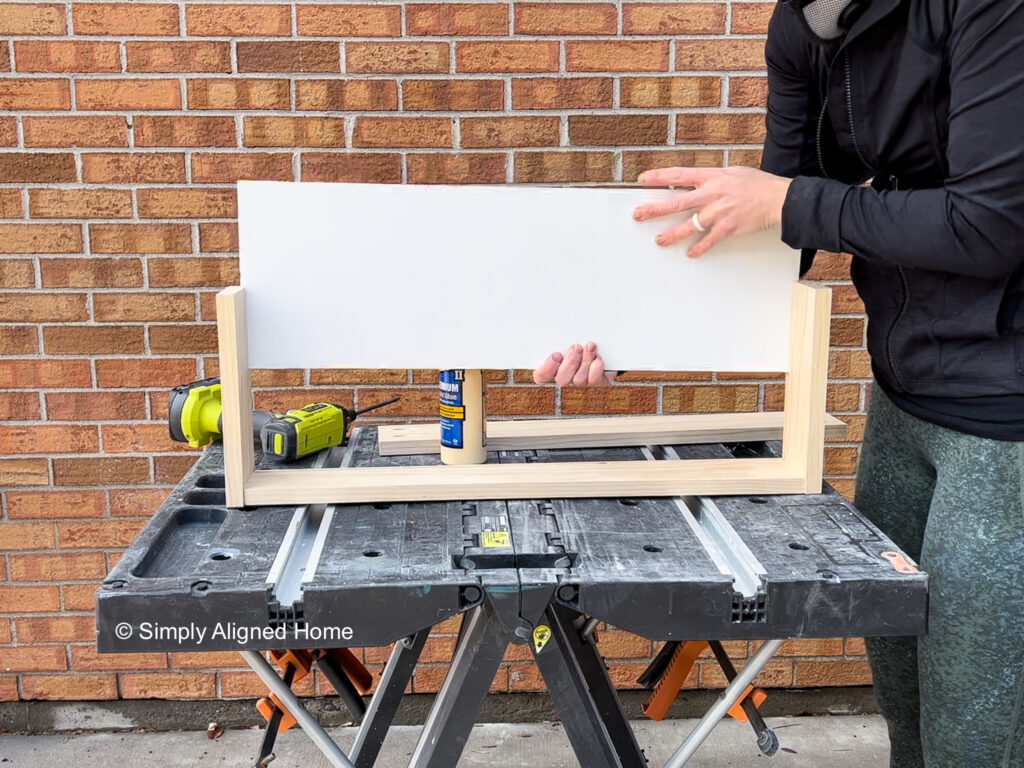
I made the shell of the small cabinets using 3/4″ plywood. I secured the bottom and back panel to the sides using wood glue and pocket screws.
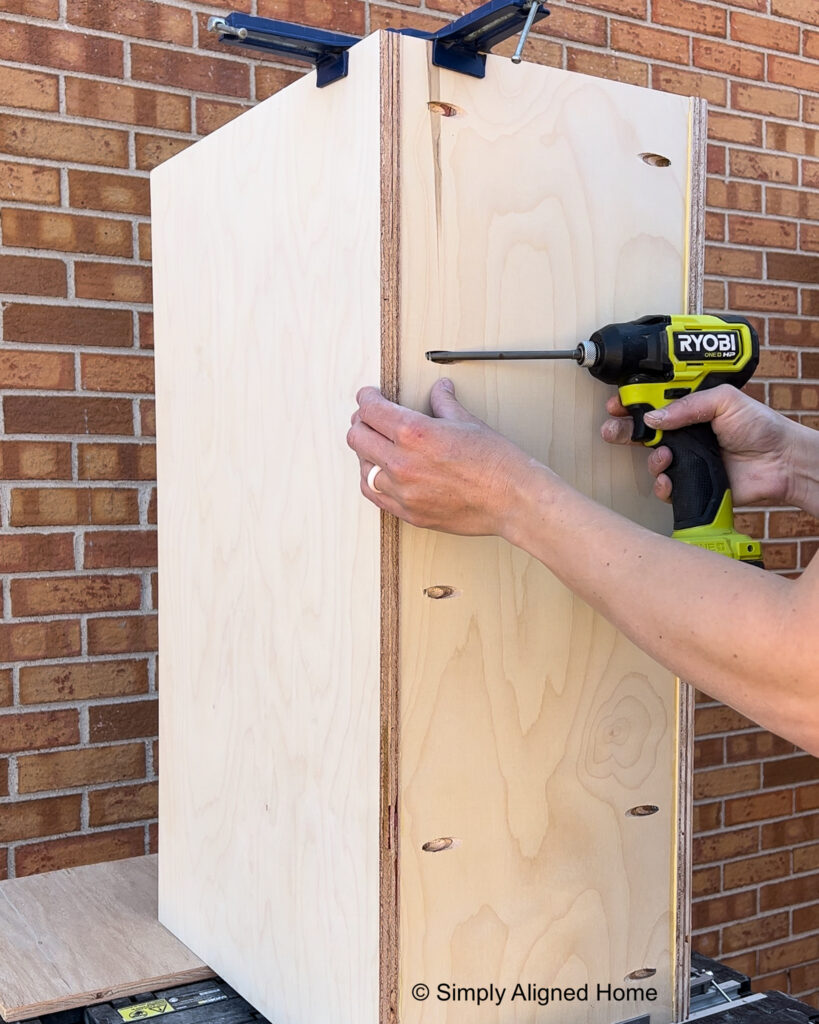
I then added a 1×2 face frame to the front of the cabinet boxes.
Secure Base Cabinets
I started by securing the small base cabinets to the filing cabinets. This was done by drilling a pilot hole through the face frame of one and into the other and screwing them together.
Next, I leveled each set of base cabinets, making sure they were level with each other as well. I then secured them to the wall studs by screwing through the back panels and into the studs.
Make and Install Countertop
With the base cabinets in place, I was able to start on the countertop! Initially, I planned to install an oak butcher block countertop. I needed a 12′ long countertop and was not able to find one in stock anywhere. Unfortunately, I had to change my plan and build my own!
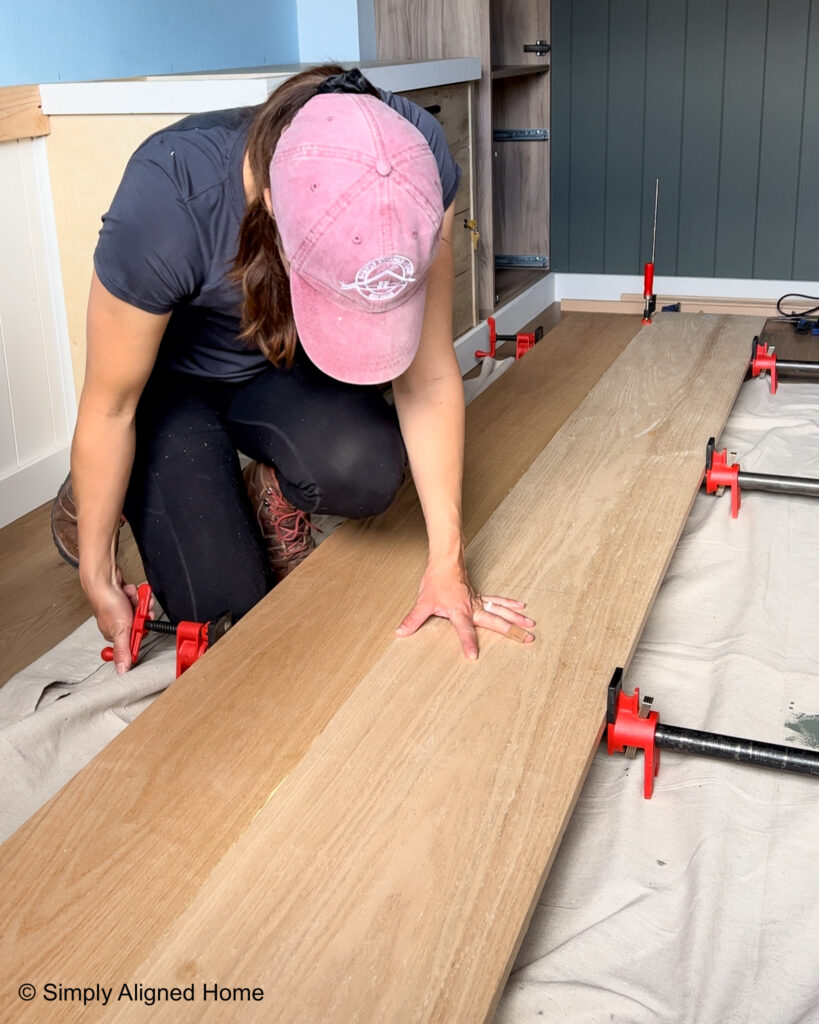
Glue Countertop
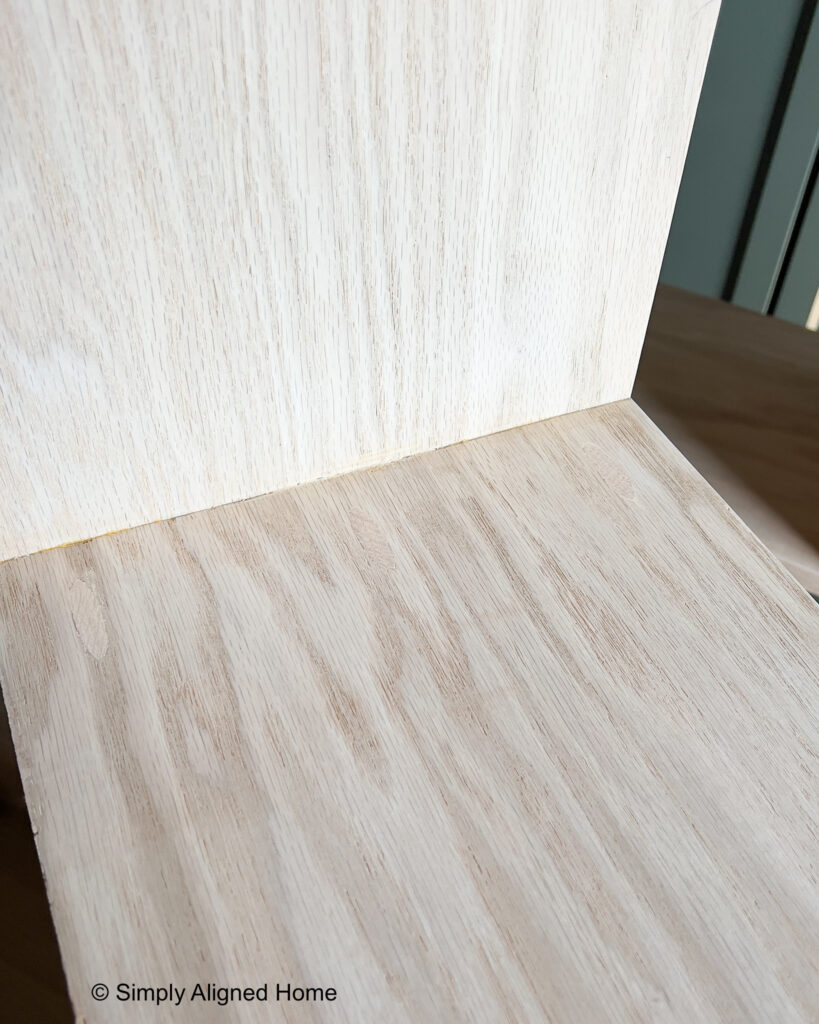
As a way to keep my entire built in unit more cohesive, I chose to make the countertop out of red oak boards. I glued two 1×12 boards together to make the countertop. I did this by simply applying wood glue to the edge of one board and clamping the two boards together with pipe clamps. I allowed the wood glue to dry for 24 hours before removing it from the clamps.
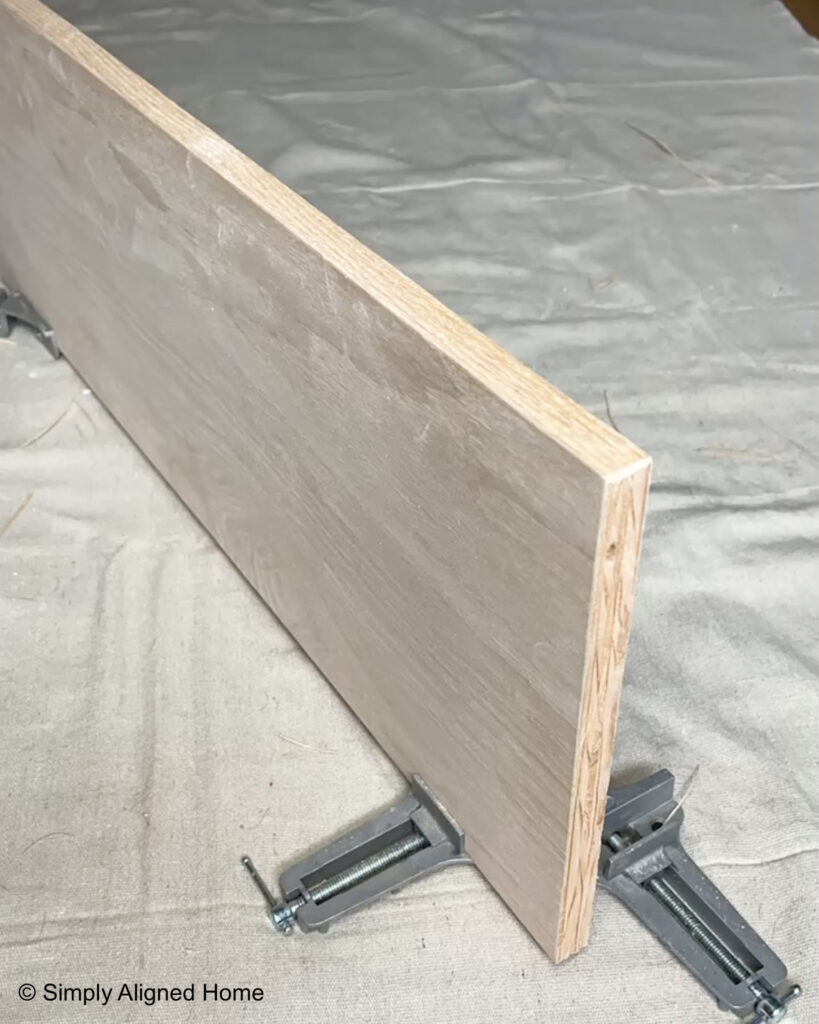
Once the glue was dry, I ripped one edge of the countertop to make it the correct depth.
Install Countertop
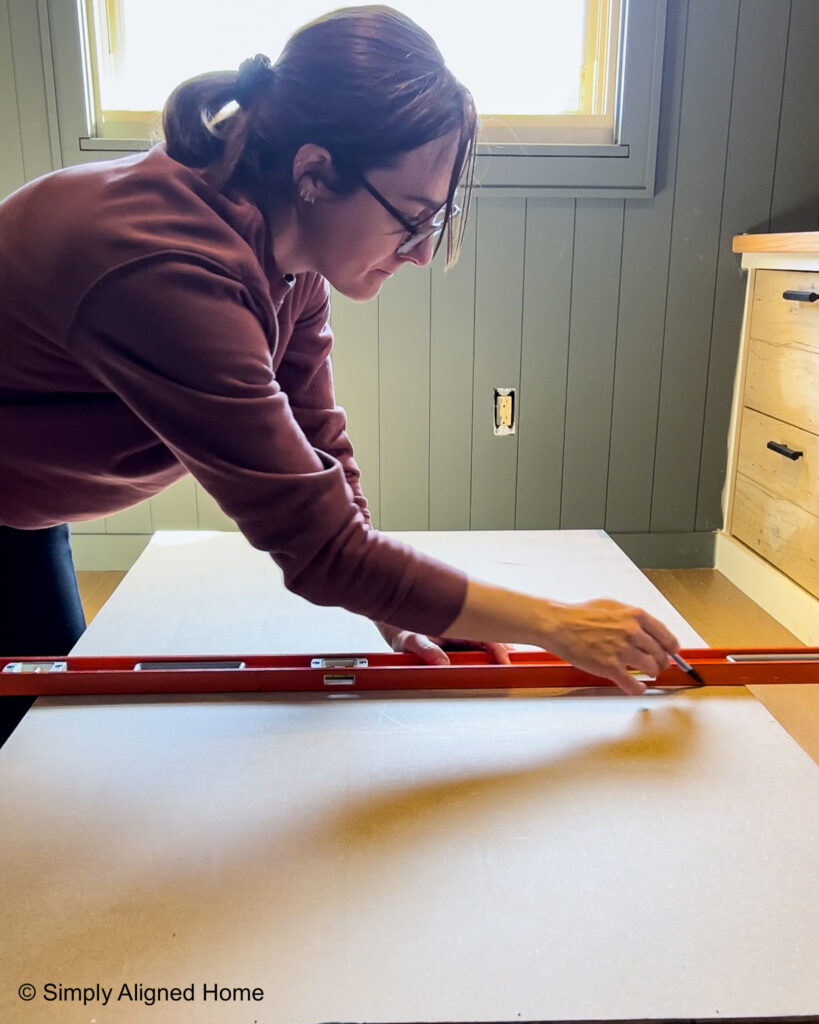
Before I installed the countertop, I added a support to the wall between the two sets of cabinets. I placed a long level across the two cabinets and clamped a 2×4 to the clamp. I then secured the 2×4 to the studs with construction screws. Work smarter…not harder!

With the additional support in place, I was ready to install the countertop. I placed it on the base cabinets and secured it to the cabinets by screwing through the underside of the cabinets and up into the countertop.
In order to make the countertop look like a thicker piece of wood, I added a 1×2 to the front edge of the countertop slab. I secured it with wood glue and brad nails.
Before I installed the upper units, I decided to finish the countertop with stain and poly. I used the stain and sealer process below for all of the stained wood on my built in.
Stain and Sealing Process
I personally like to use a water based stain and sealer. It dries much quicker than oil based and doesn’t make the whole house smell.
Stain Combination
Here is my favorite stain combination for red oak wood:
- 1 Part – Golden Pecan Water Based Stain
- 1 Part – White Wash Pickling Water Based Stain
- 1/2 Part – Early American Water Based Stain
I mixed the water based stains together before applying it to the wood. With water based stains, I only apply a small amount of stain. Using a cloth or rag, I apply it in the direction of the grain, the full length of the grain. I immediately wipe off any excess stain, making sure that the stain looks nice and not blotchy. The stain color will darken slightly with the sealer.
Once the stain was dry, I applied three coats of a water based polyurethane. I did a light hand sanding using a sanding sponge between coats and wiped off the sanding dust with a tack cloth. Sanding between coats will give it a nice, smooth finish.
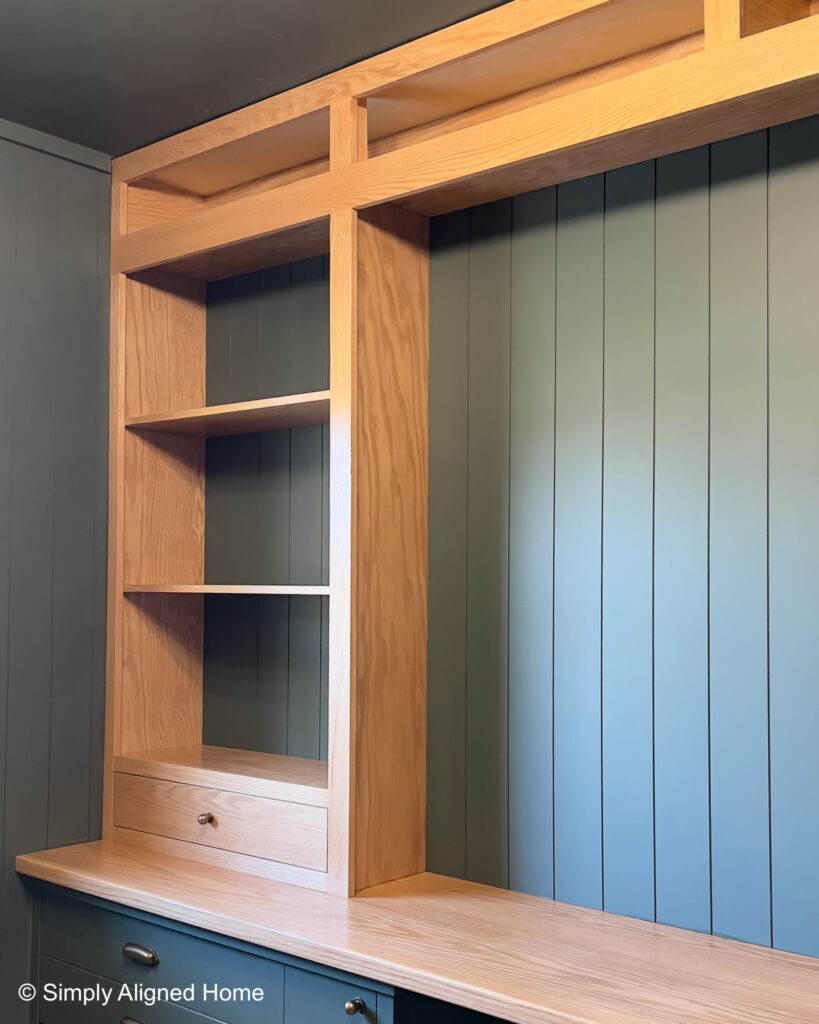
Make and Install Shelving Units
I am all about symmetry and straight lines. I decided to make the upper shelving units the same width as the filing cabinets. In order to give me a little counter space in front of the shelving units, I made them about half of the depth of the countertop.
Make Shelving Unit Frames
Quite possibly my favorite color combo is dark paint against a light stained wood. I just love the contrast! This plate rack that I made is still one of my favorite projects for that exact reason!!

In order to achieve this look, I decided to make the frames of the shelving units out of stained wood and the back panels a dark paint.
I started making the shelving unit frames by ripping 3/4″ red oak plywood 10″ wide. I then cut the ripped pieces down to size for the side panels and shelves of the unit.
Before I assembled the frames, I added edge banding to four of the shelving pieces. I did not plan on adding trim to the front of these shelves and needed to hide the raw plywood edge. Edge banding is a quick and affordable way to make plywood look like a solid piece of wood.
Before I assembled the frames, I lightly sanded all of the plywood pieces. It’s always easier to sand the individual pieces as opposed to sanding the fully assembled piece.
To assemble the frames, I used wood glue and pocket screws. I marked the location of each shelf on the side pieces and held the shelves in place with corner clamps while I screwed them together.
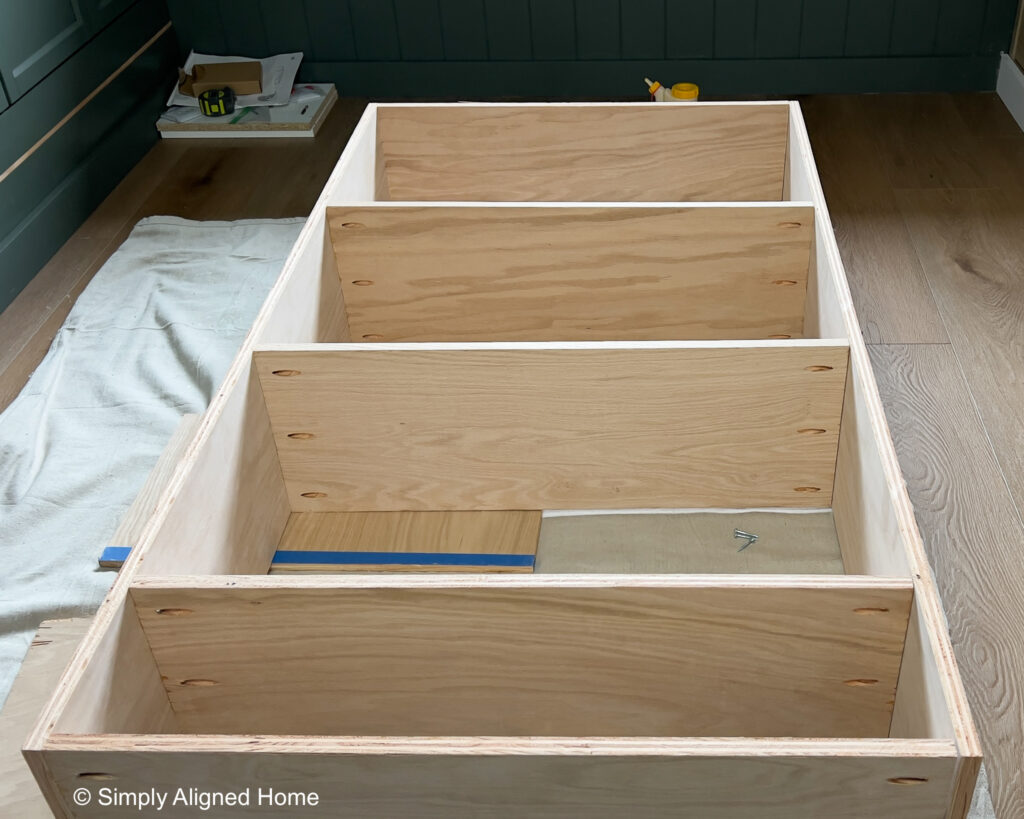
To give the shelving units a nice, clean look, I added oak pocket hole plugs to all of the shelves. I glued them in place and sanded them smooth. Once they are sanded smooth, you can barely even see the plugs!
The shelving units that I made for our living room built in, I stained the shelves after I added the back panel. I found that it was a little difficult and made a mess of the back panel. This time, I decided to stain and seal the shelving unit frames before I added the back panels.
Attach Back Panel to Frames
I added vertical shiplap paneling to a few walls of the home office before I started making the built in desk. I decided that I wanted to carry the shiplap all the way around the room…including the back of the shelving units.
I cut the shiplap paneling down to the size of the shelving unit frames. To make my life easier, I painted these before I secured them to the units.
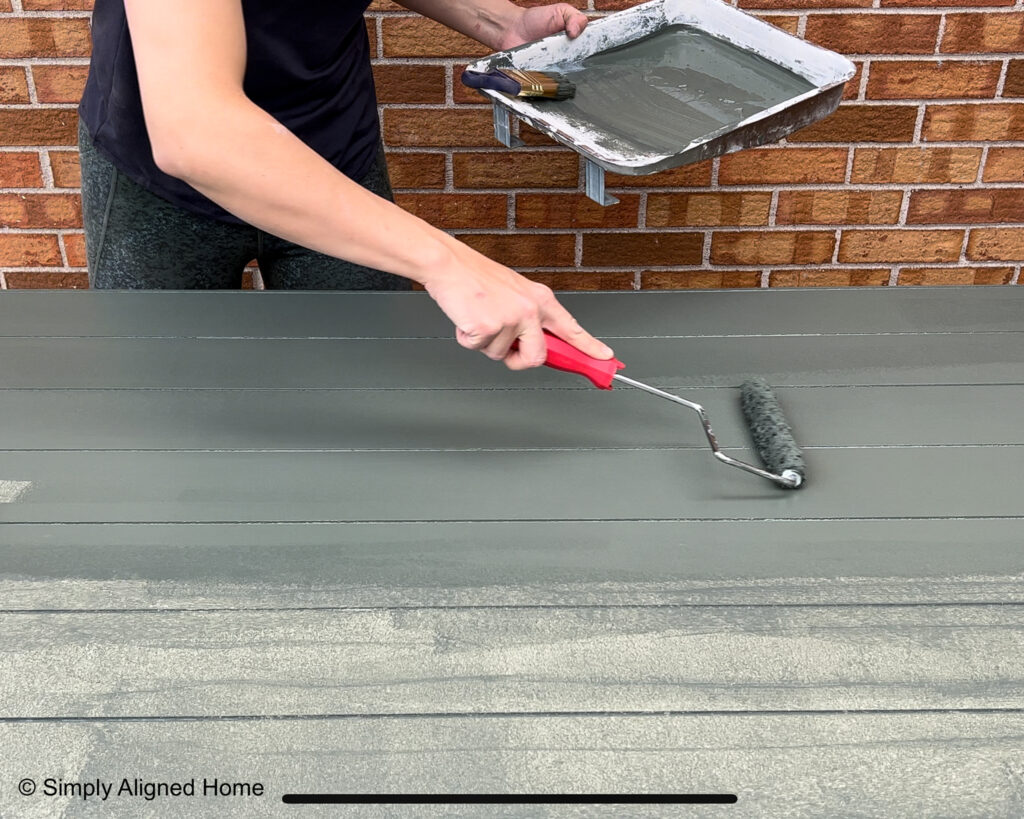
Once the paint was dry, I attached them to the back of the units with clear construction adhesive and brad nails. I first marked the center of each of the shelves on the outside edges of the shelving units. When I placed the back panels down on the shelving unit frames, I drew a line across the back panel where shelves were located. Following these lines, I nailed the back panel to the frame.
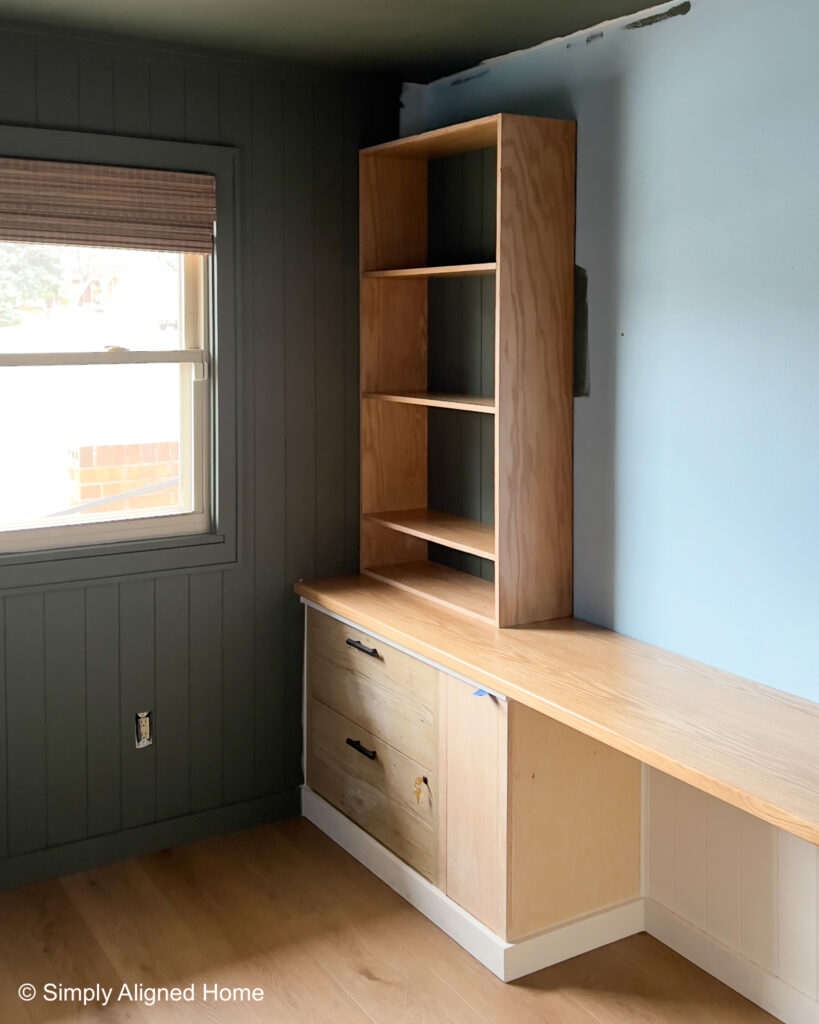
Install Shelving Units
I placed the fully assembled shelving units onto the countertop and secured them in place. I did this by first screwing through the bottom panel of the shelving unit into the countertop below. I had to use my 90 degree attachment for my impact to be able to screw the bottom panel down. My plan was to install a drawer at the bottom of the shelving unit and these screws would be hidden.
To secure the units to the walls, I used L brackets on the top of the unit that I secured to the wall studs. These would also be hidden by the upper units that I planned to install on top of the shelving units.
Add Wall Treatment Between Shelving Units
The best way to hide any gaps between the built in and walls is to either add trim or a wall treatment. No walls are perfectly straight and I had significant gaps once everything was installed. In order to have a more seamless look, I opted to add a wall treatment…shiplap paneling!
The shiplap paneling that I used was pretty thin. It alone would not fill the gaps. I first installed a piece of 1/2″ plywood on the wall, securing it to the studs with screws.
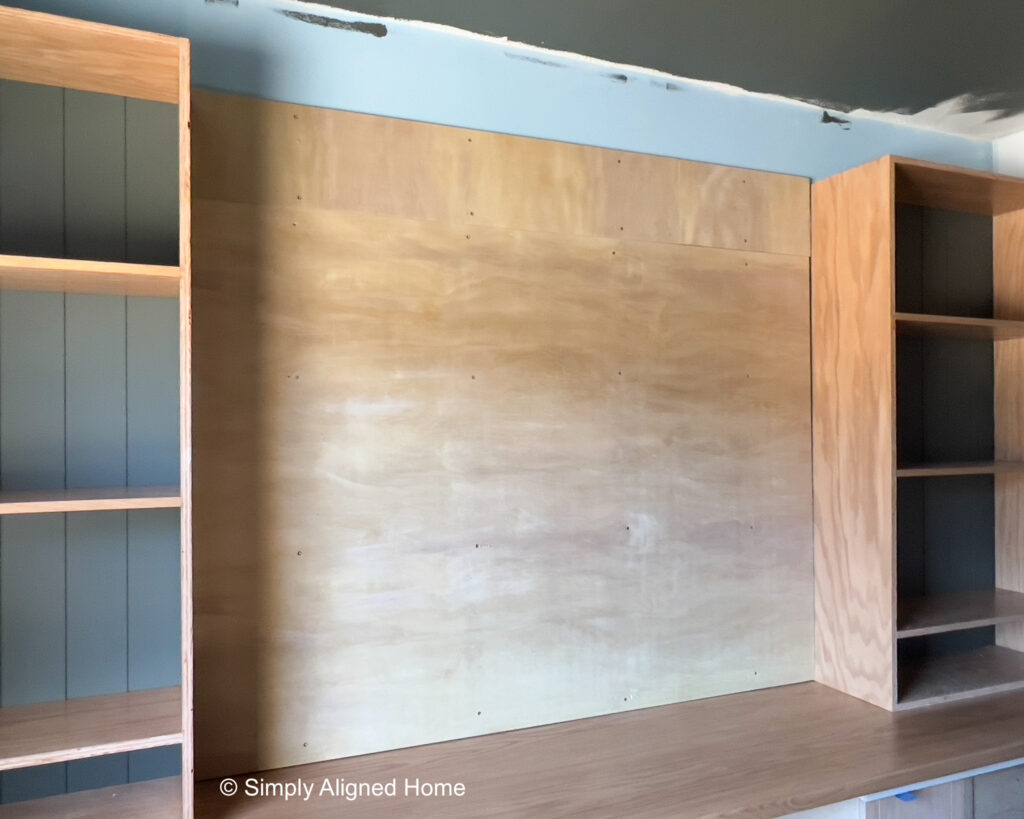
Once the plywood was in place, I added the shiplap paneling. I secured it to the plywood with brad nails.
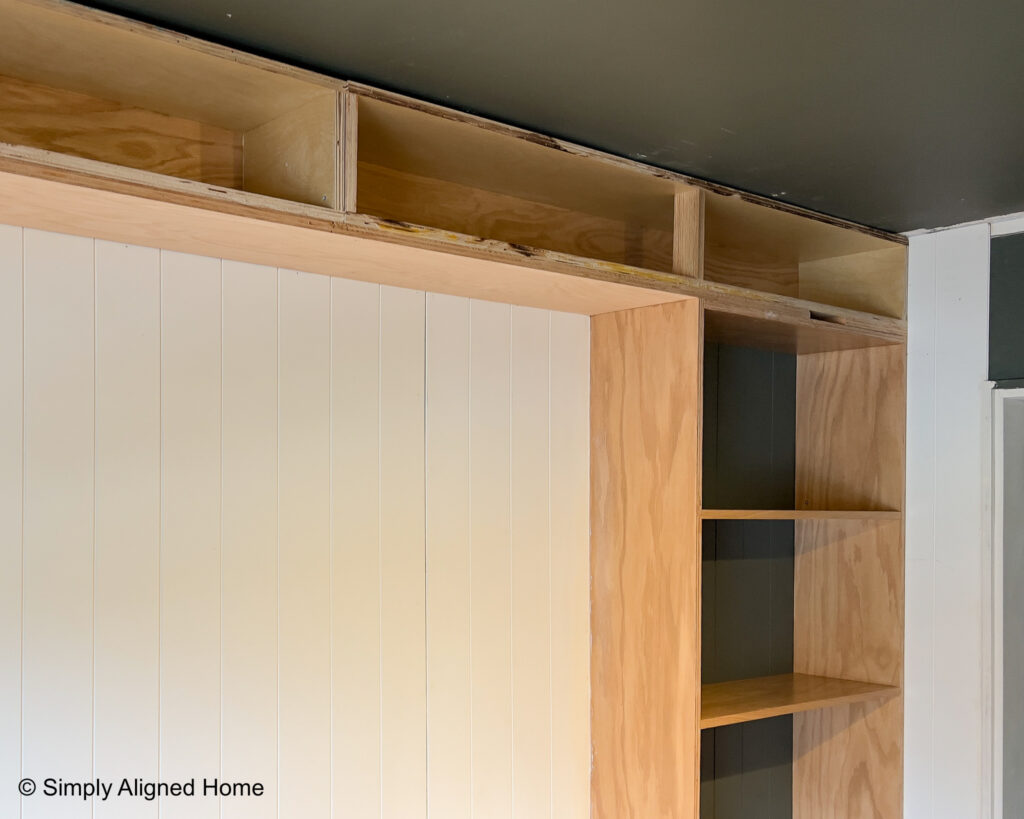
Install Upper Cabinets
If you followed along with this project on social media, my initial plan was to just add trim to the top of the shelving units. I added supports for the trim and had the trim partially installed before I changed my mind. I decided it would look much nicer and more professional if I added small cabinets above the shelving units.
After I removed the trim and supports, I quickly built two cabinet boxes to install above the shelving units. I placed them on top of the shelving units and secured them to the cabinets below and to the wall studs with screws.
Trim Out Upper Unit
Now that all of the upper units were installed, I was able to trim them out! Adding a face frame is easy way to make several different cabinet boxes look like one unit.
Install Trim
I started with the two long horizontal pieces. I used 1×4 oak for the trim directly above the shelving units and 1×3 for along the ceiling. I secured these pieces of trim with wood glue and brad nails.

With the horizontal trim installed, I began installing the vertical trim. I just secured these with brad nails. The last pieces of trim for the shelving units were the two lower horizontal pieces. These will be above and below the drawers.
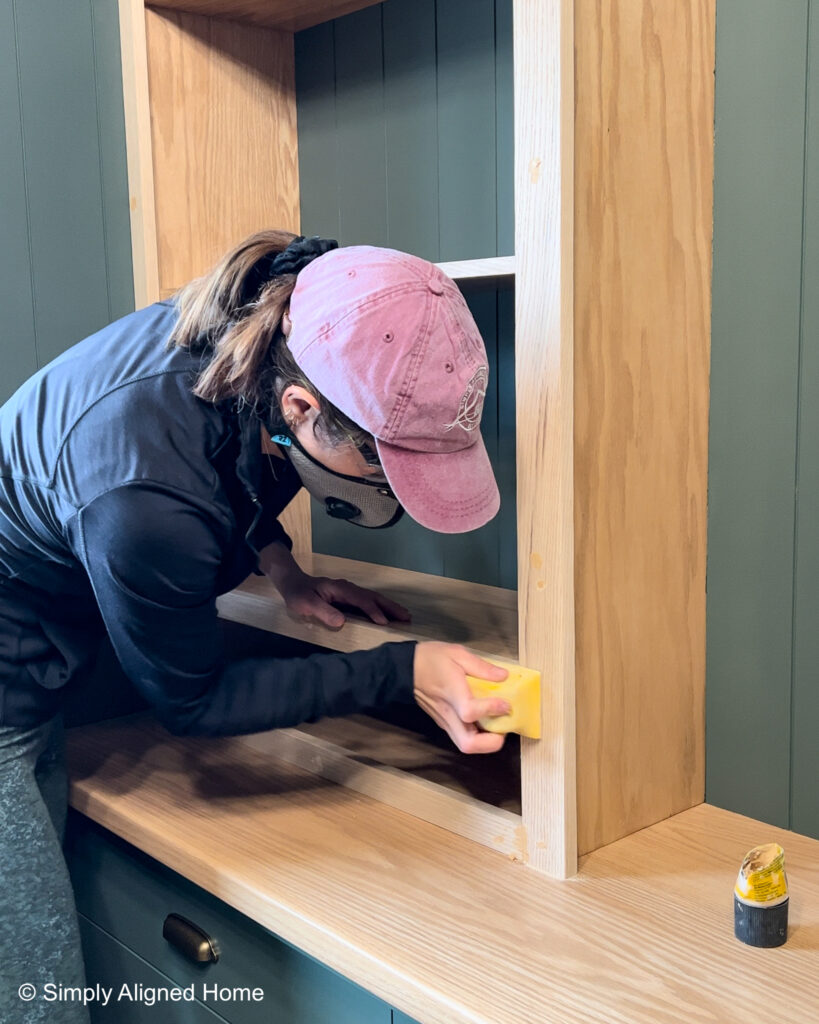
Stain and Seal Trim
Before I could stain and seal the trim, I need to fill all nail holes and joints. I like to use a natural colored wood filler. I sand it smooth before it has time to dry. This will leave a thin layer of dust on the wood filler, which will stain closer to the wood itself.
Make and Install Shelving Unit Drawers
Drawers aren’t all that difficult to build and install! I know they can be intimidating, but they really are simple!
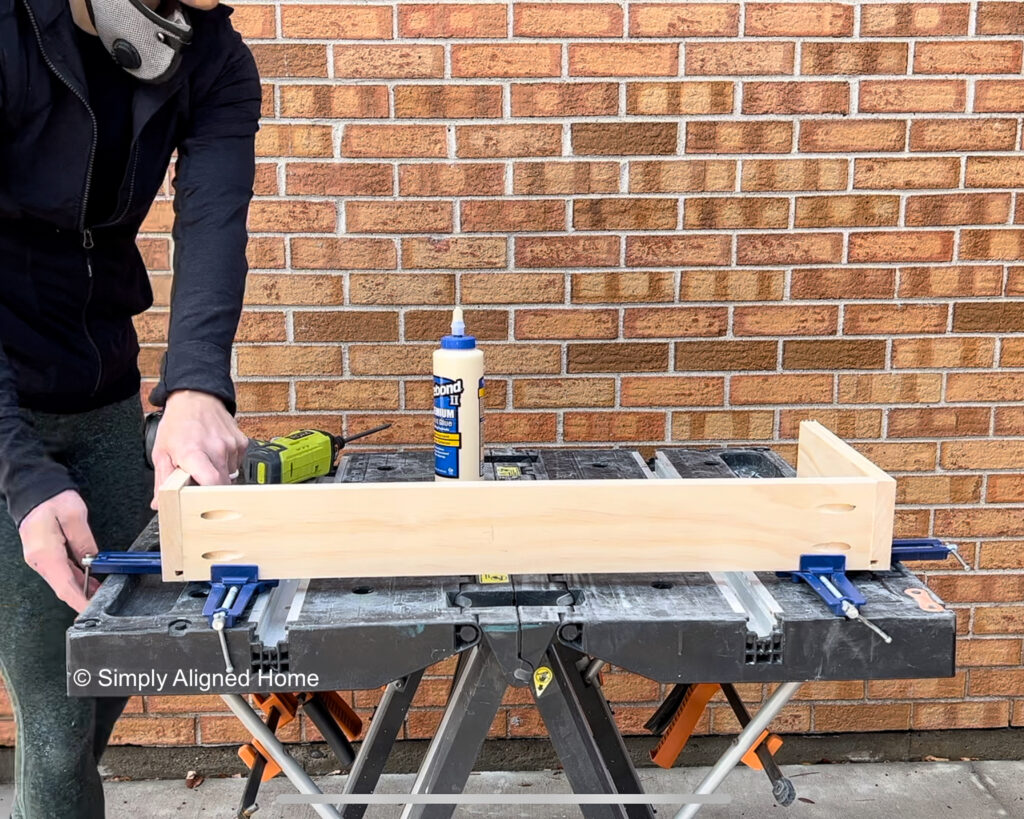
Make Drawer Boxes
For the drawer boxes, I used 1×4 select pine. I started by running the select pine boards through my table saw to make a groove for the bottom of the drawer. I then cut the boards down to size and drilled pocket screw holes in the front and back pieces.
I assembled the drawer boxes with wood glue and pocket screws. I first secured the front piece to the two sides. It’s really helpful to have corner clamps for this part!
Before I added the back piece, I slid the bottom panel into the grooves.
I sealed the drawer box with water based polyurethane before I installed it.
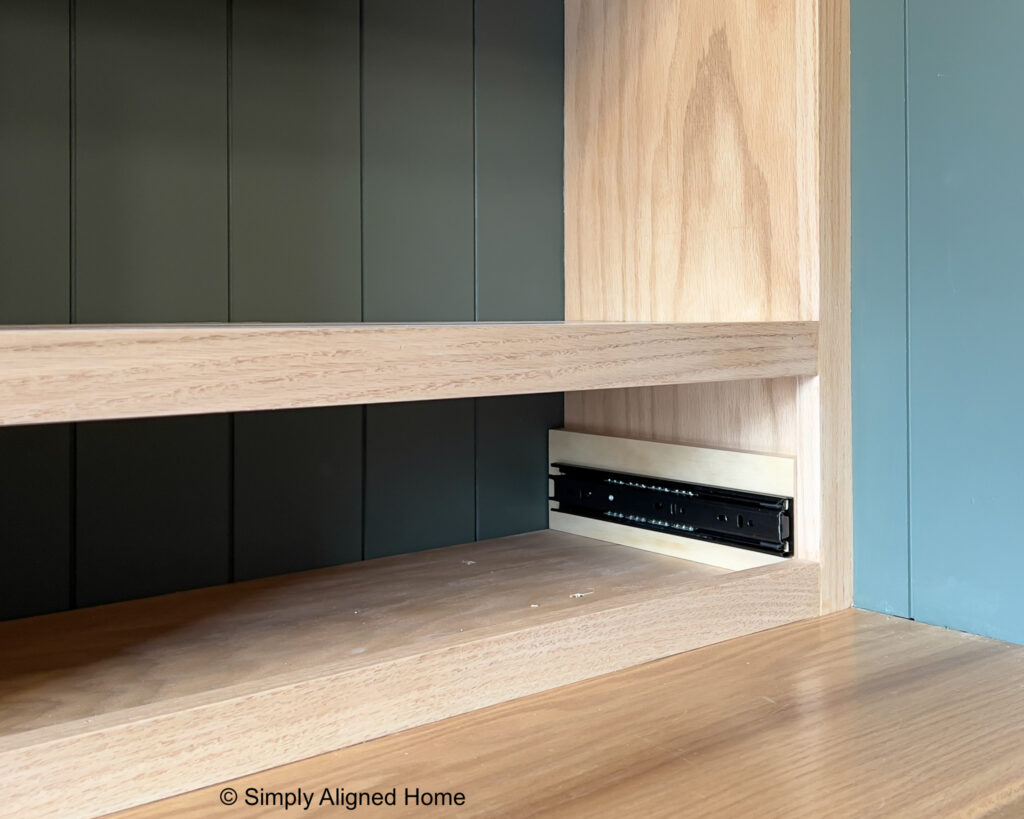
Install Drawer Slides
With the face frame installed, I needed to space the drawer slides in from the shelving unit frame. I secured a scrap piece of 1×4 wood to the sides of the shelving unit frame. I then installed the drawer slides on the 1x4s.
The last part was to install the small part of the drawer slide on the drawer box. I installed this part of the drawer slide flush with the bottom of the drawer box.
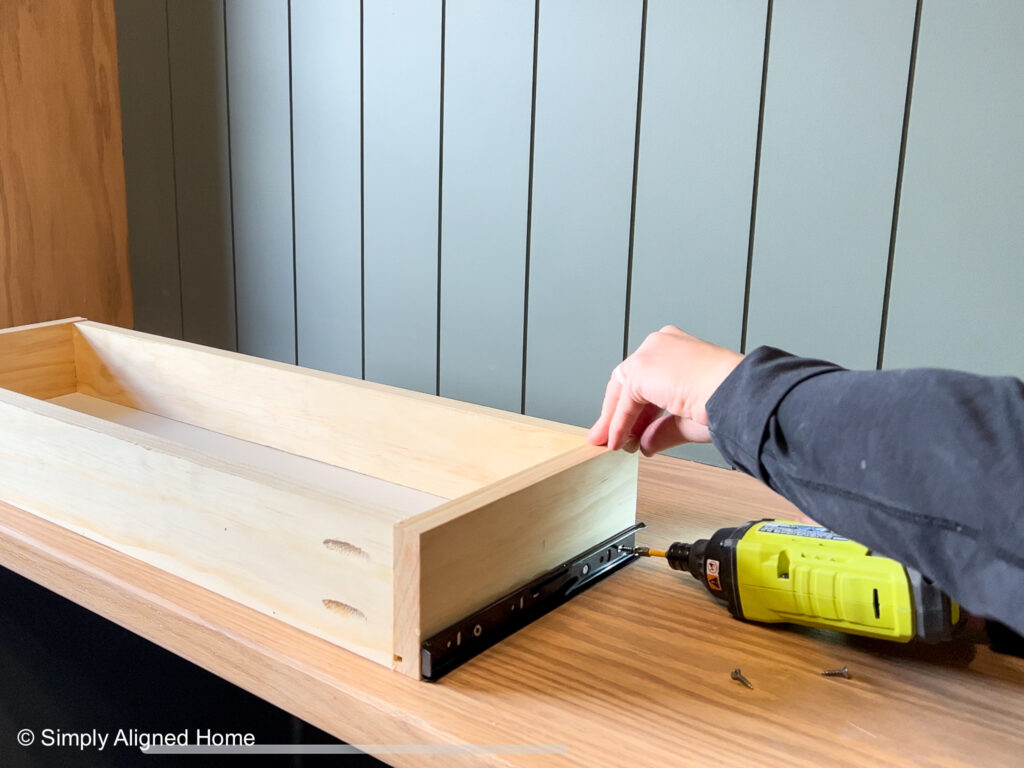
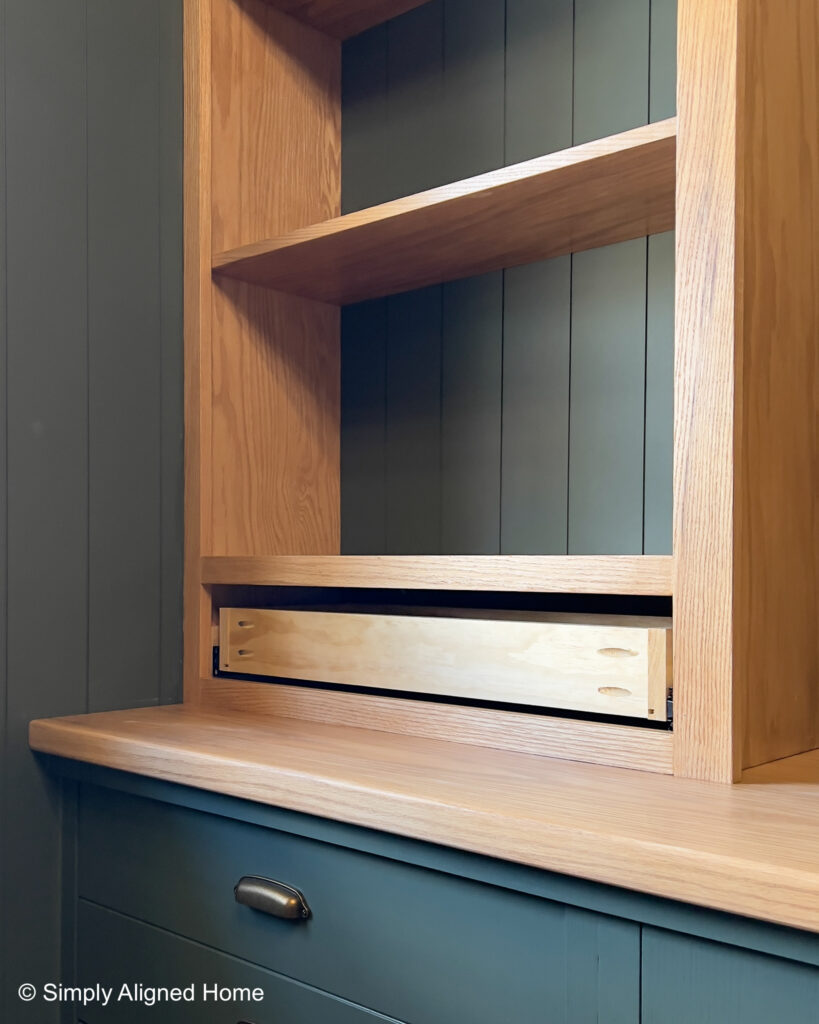
I then installed the drawer boxes, making sure they could freely open and close.
Install Drawer Faces
I wanted a very simple inset drawer face. Using 1×8 oak boards, I cut them down to the correct size for the drawer opening. I like to leave about a 1/16″ gap all the way around the drawer face.
To install the drawer faces, I put double sided tape on the front of the drawer box. I placed the drawer face in place against the double sided tape. I then secured the drawer face by screwing through the inside of the drawer box and into the drawer face.
I finished the drawers off with a simple cabinet knob.
Install Top Cabinet Doors
The final part of the office built in unit were the upper cabinet doors. Using 1×8 oak boards, I cut each door for each of the openings.
I used inset cabinet hinges for a face frame to install the doors. I also installed push to release mechanisms so that I could easily open the doors. I wish I would have used used different hardware for these doors…but they will rarely be used and they look great!
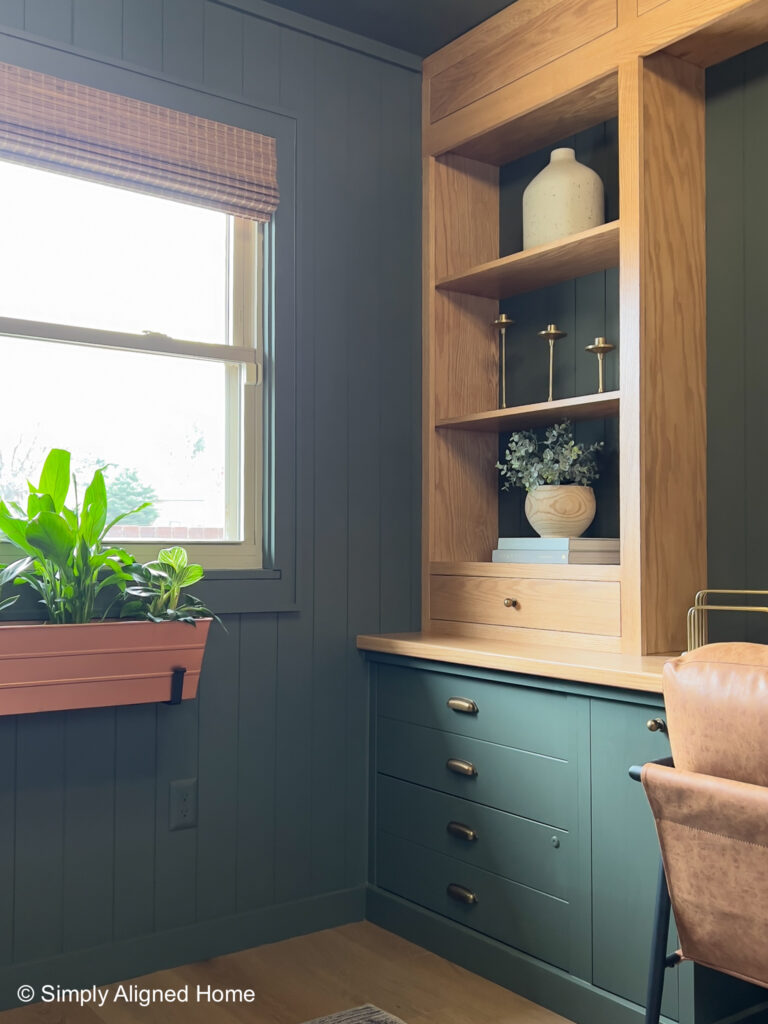
I am so excited with how my home office turned out!! I have a feeling that I am going to be very productive in this space!

Tools Used
- Miter Saw
- Table Saw
- Impact Driver and Drill
- Brad Nailer
- Level
- Corner Clamps
- Pocket Hole Jig
- Pocket Hole Jig – Foreman
- Palm Sander
- Pipe Clamps
- 90 Degree Impact Attachment
- Sanding Sponge
Materials Used
- Filing Cabinets
- 3/4″ Red Oak Plywood
- Red Oak Boards
- Shiplap Paneling
- Wood Glue
- Pocket Screws
- Oak Pocket Hole Plugs
- Construction Screws
- Brad Nails
- Wood Filler
- Clear Construction Adhesive
- Drawer Slides
- Inset Cabinet Door Hinges
- Golden Pecan Water Based Stain
- White Wash Pickling Water Based Stain
- Early American Water Based Stain
- Water Based Polyurethane
- Tack Cloth
Decor and Finishing Touches
- Area Rug
- Office Chair
- Casters for Office Chair
- Planter Box
- Light Fixture
- Drawer Cup Pulls
- Drawer Knobs
- Window Treatments
- Desk Mat
- Letter Holder
