
I feel like I find inspiration for new projects everywhere I go. When I was on a business trip recently, I was having breakfast in the hotel lobby with my coworkers when I noticed these amazing planters. I didn’t want to forget what they liked like, so I very discretely went to take a picture…and then the flash went off. Talk about embarrassing!
The planters were rather tall and held snake plants in them. I considered adding one to my (very small) collection of real plants because they are indestructible (and I tend to kill all plants).
Once I have an idea in my head and decide to make it happen…watch out!
**This post contains affiliate links to products that I recommend. If you purchase something through an affiliate link, I may receive a small percentage of the sale at no extra cost to you. I really appreciate your support.**
Make a Frame
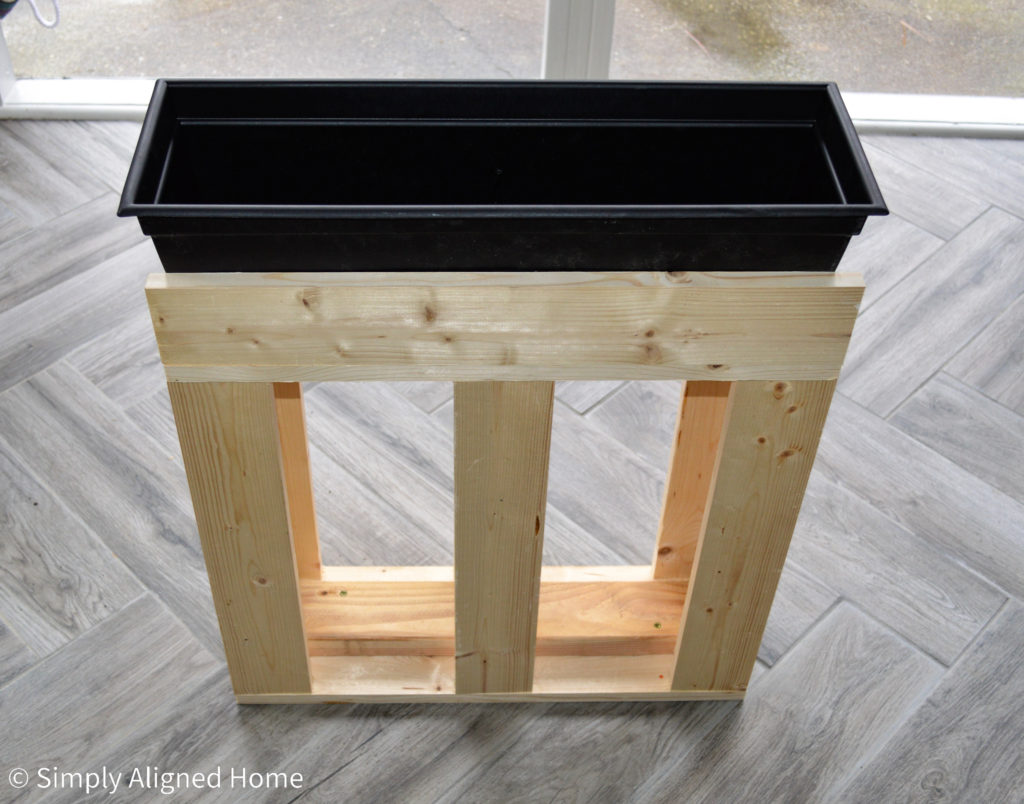
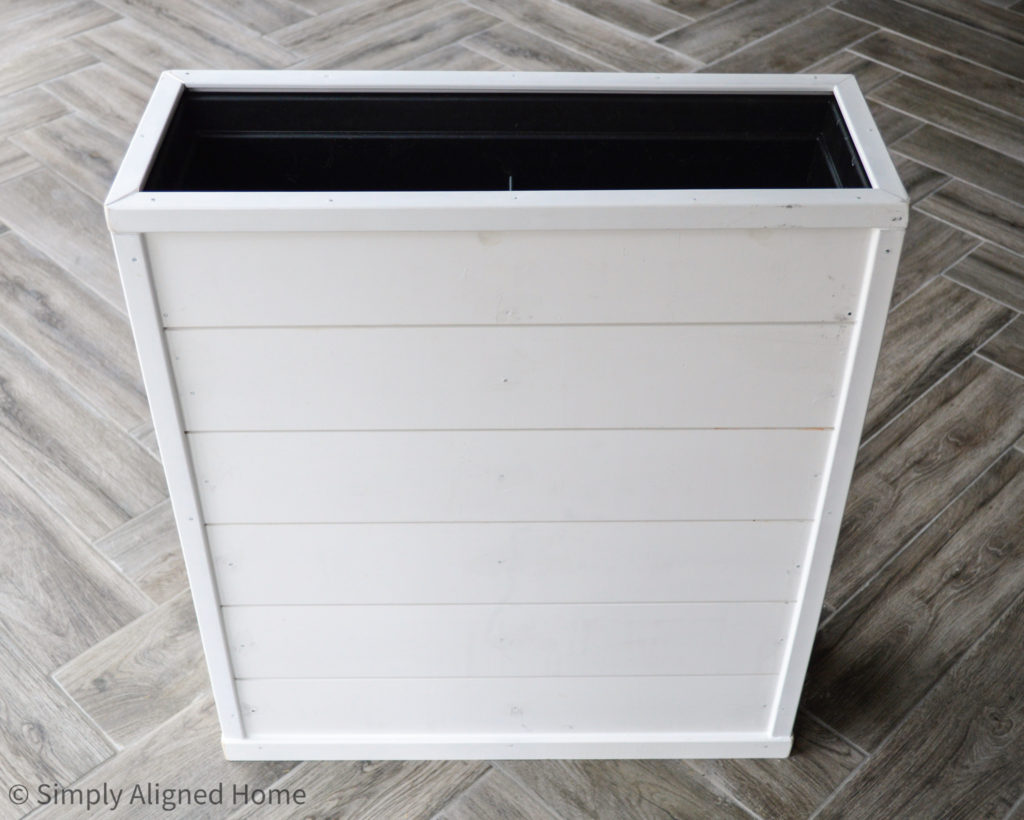
I started with a basic plant window box that set the width and depth of my planter. I suggest using a planter box without any drain holes. If you get one with drain holes, simply plug them.
I had several pieces of shiplap leftover from my kitchen shiplap project and decided to use them for the planter. I didn’t want to cut height off of any of the shiplap, so this determined the height of my planter. I went with six full pieces of shiplap vertically. Once I knew the height of the shiplap, I was able to determine the height of the base that would hold the plant window box.
I tried to use all of the scrap wood that we had laying around the garage. I might have used different wood if I were purchasing it just for this project, but our scrap wood worked great.
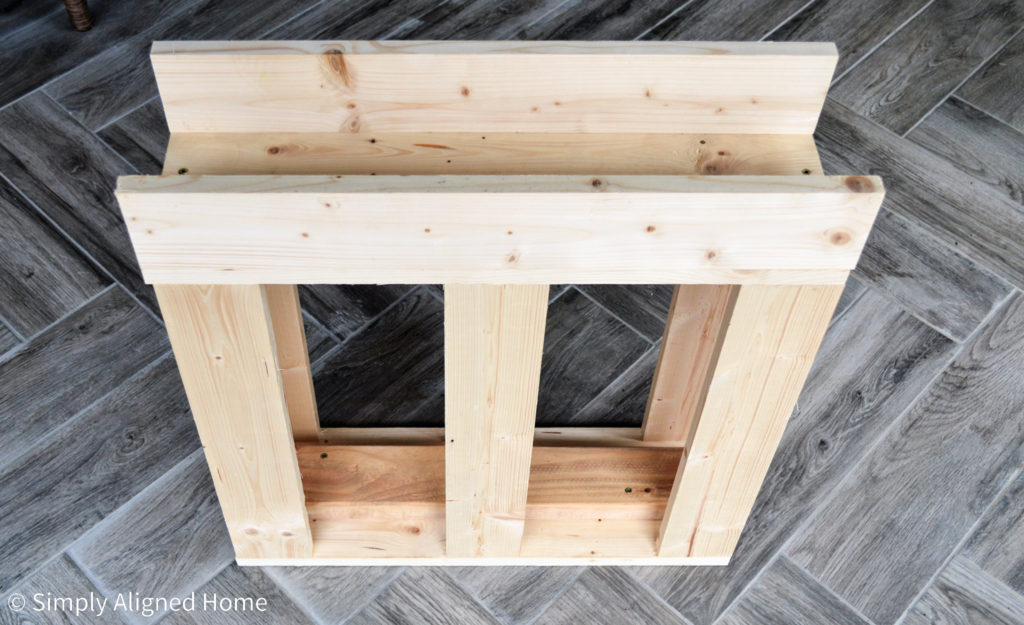
I created a small base that was the full width and depth of the planter using both 1×4 and 2×4 wood. I used the 2×4 as the vertical supports and the 1×4 as the base and to support the shiplap.
SIDE NOTE: I am an engineer and we always tend to over “engineer” things. I am certainly more cautious when it comes to making things “structurally” sound…even when it’s just a planter.
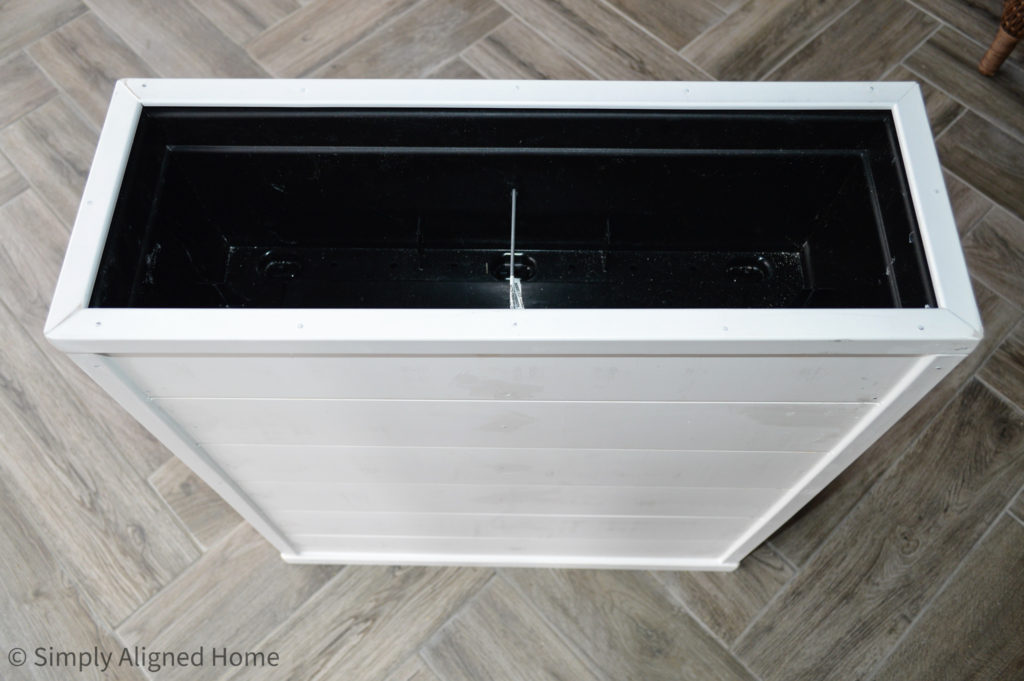
Add a Planter Box
Once the frame was complete, I placed the planter box on top. It fit snugly on top of the frame, so I didn’t bother securing it in any way.
Add Shiplap to the Frame
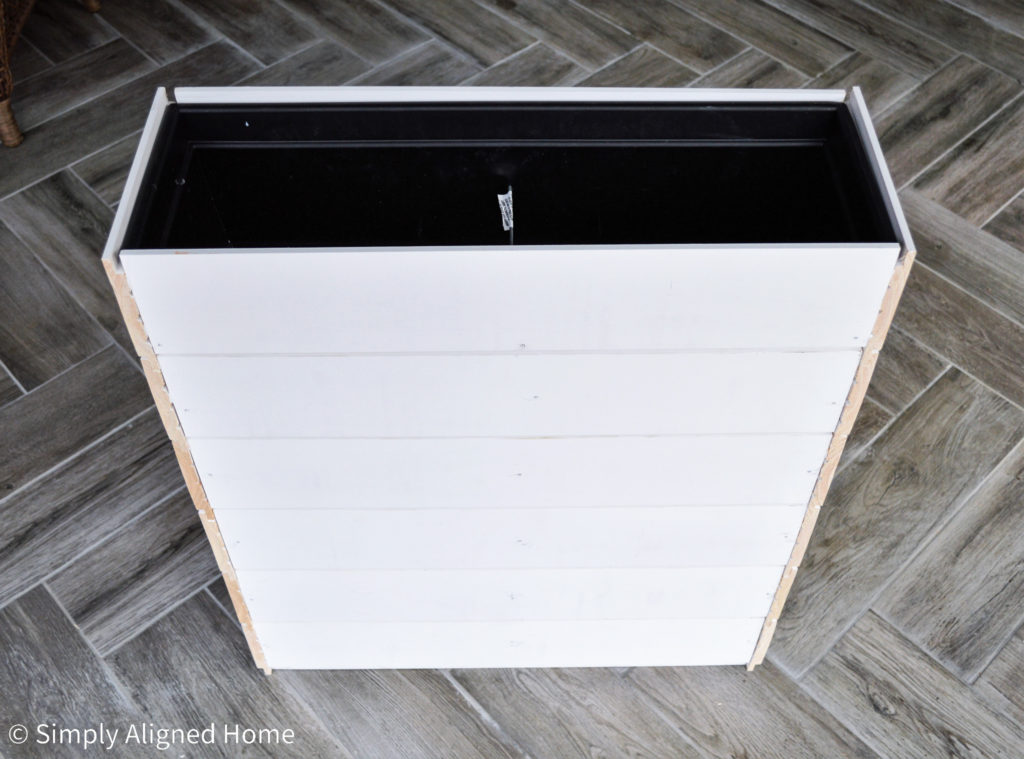
Once I had the base complete, I glued and nailed the shiplap to the base. I made the front and back pieces of shiplap the full width of the frame. I overlapped the end pieces so that they were flush with the front and back shiplap pieces.
Add Trim
I also used the trim pieces that I had left over from my shiplap project to trim the planter. I started by wrapping the base of the planter with flat trim.
I then trimmed out the top of the planter with an outside corner moulding. I added the outside corner moulding to the four corners as well.
As you can see, the top trim also helped secure the planter box in place.
Once all of the trim was on, I caulked all of the joints. I used a flat head screw driver to clean out the caulk from the shiplap spacing. I’m not sure that anyone else would notice this tiny detail…but it would drive me crazy.
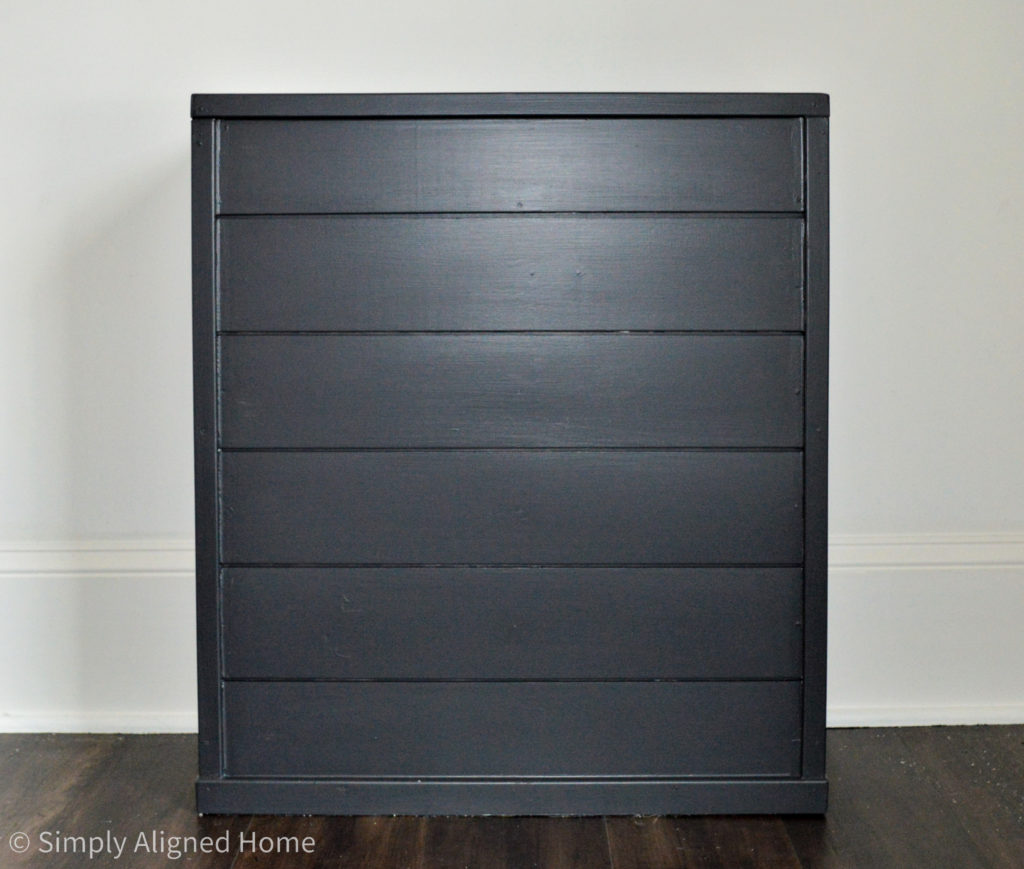
Paint it Black
I finished off the planter with some flat black paint. Most of the walls in our home are white, so I figured that black would be a good contrast. I used a small paint brush for the spaces and a large paint brush for everything else.
Add Plants
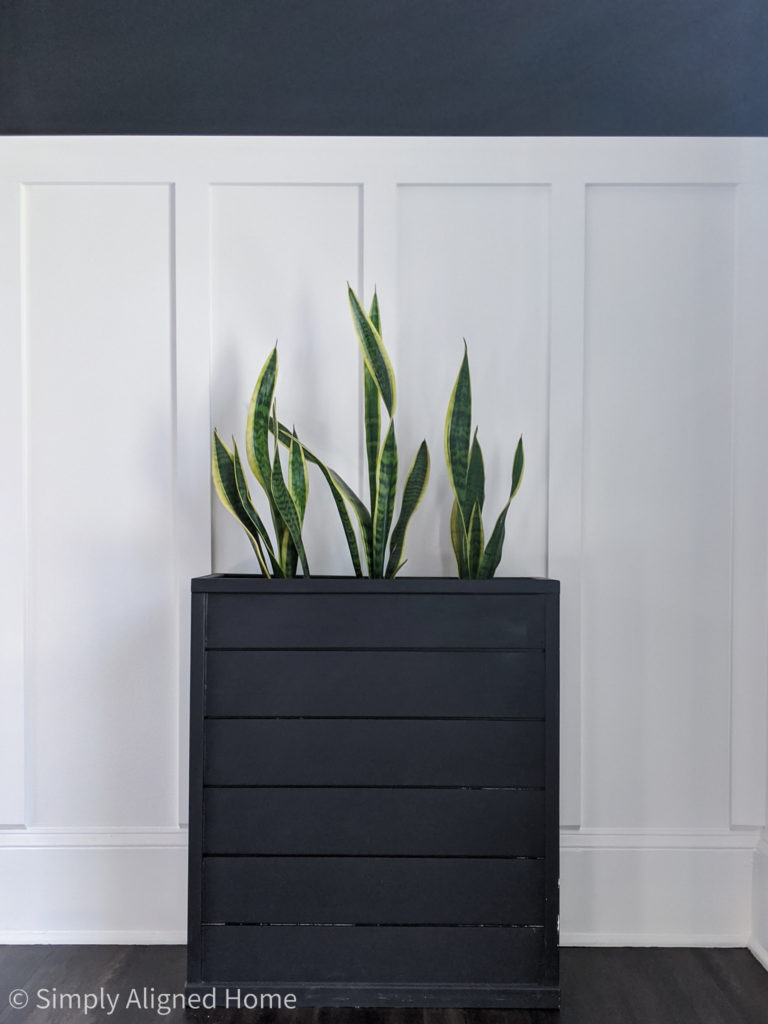
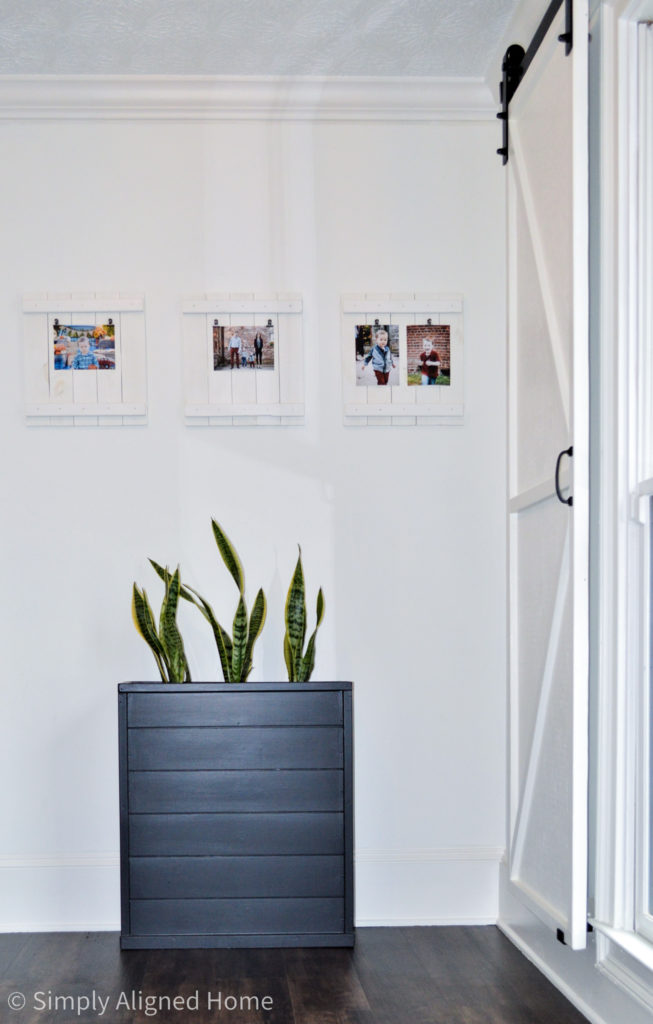
The final piece was the snake plant. I bought a pot that had three different snake plants in it. I separated them and evenly spaced them in the planter.
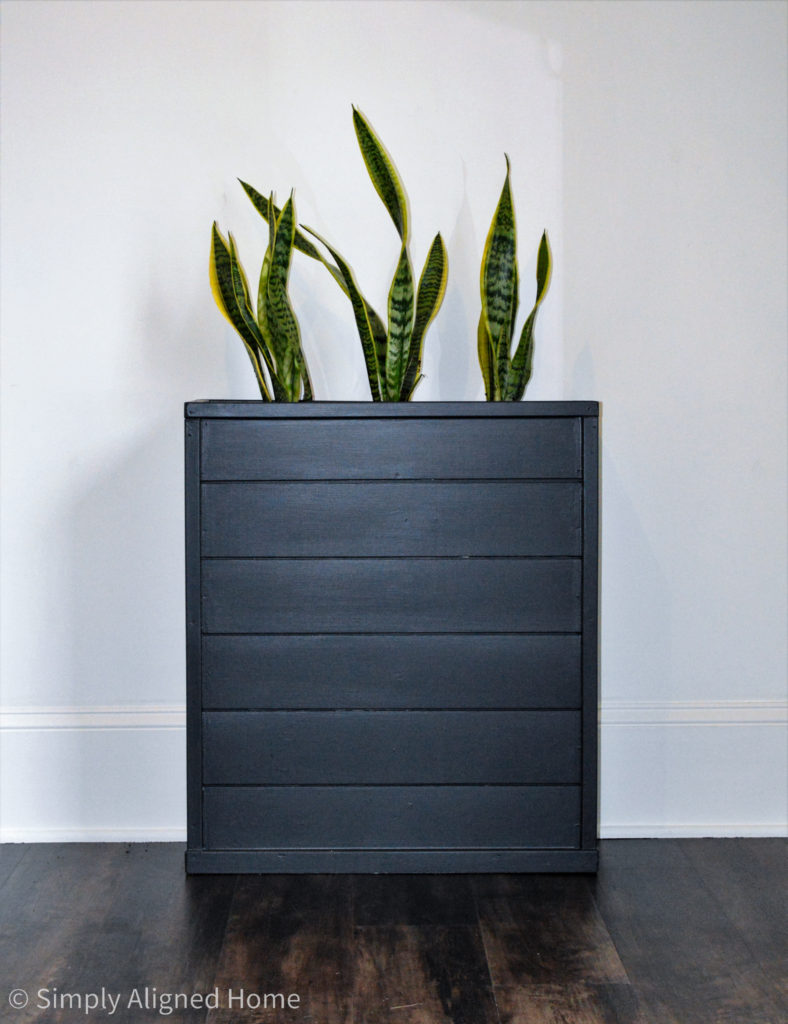
The planter ended up being just under two and a half feet tall. The snake plants complemented the planter well and added just a little more height.
Not long after I made this shiplap planter, I decided to add a little character to our entryway with this modern board and batten. The black shiplap looked amazing against the new wall accent!
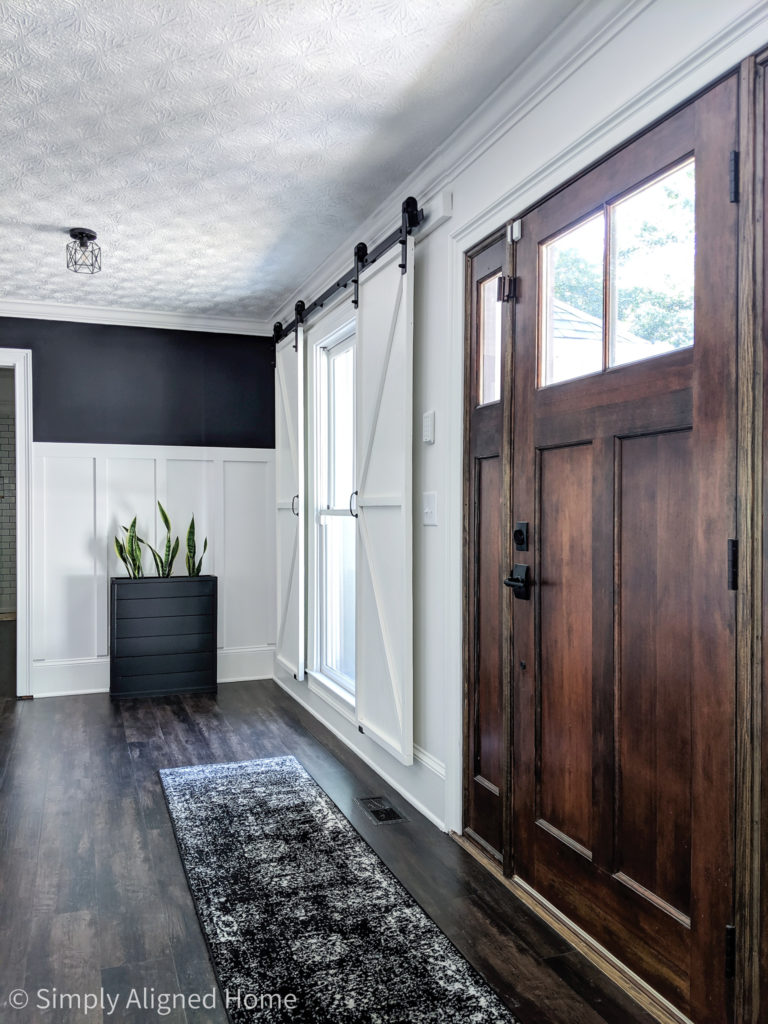
I love how this planter looks in our entryway! It’s incredible what you can do with some scraps from old projects!


Beautifully done. Makes a very attractive feature in your entryway! I’m so impressed with your skill and taste!
Thank you so much!! It certainly was a fun project!