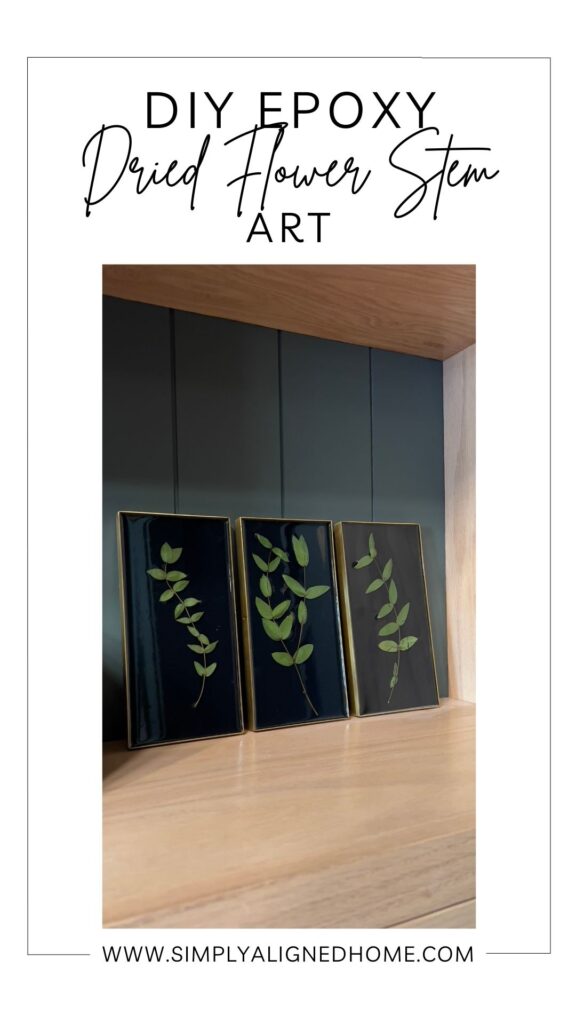
In this tutorial, we’ll show you how to preserve the beauty of dried flowers by encasing them in crystal-clear epoxy, creating a one-of-a-kind masterpiece.

You probably already know this about me, I absolutely adore adding the finishing decorative touches to a freshly transformed space. After I put the final touches on my office, I couldn’t resist the urge to embark on an epoxy project.
Just not long ago, my mom and I had a delightful time picking flowers at a nearby U-pick farm. It struck me, why not use epoxy to create something beautiful with the dried flower stems from our adventure?
No prior experience is needed, so you too can do this same DIY project. It would be a great Christmas, birthday or house warming gift!
**This post contains affiliate links to products that I used or recommend. If you purchase something through an affiliate link, I may receive a small percentage of the sale at no extra cost to you. I really appreciate your support!**
How To Epoxy Dried Flower Art
Mix Epoxy And Gather Supplies
This epoxy dried flower art is pretty straightforward and does not require a lot of steps. First step, to getting started is mixing your epoxy. I chose to use the table top epoxy resin from Promise Epoxy.
Their epoxy is perfect for beginners, thanks to its 1:1 mixing ratio. They prioritize accuracy and simplicity in the mixing process, offering peace of mind for those who are new to working with epoxy.
To mix the epoxy you will need your disposable measuring cups and tongue depressors. Read the instructions provided with your epoxy and have your trays ready to pour.
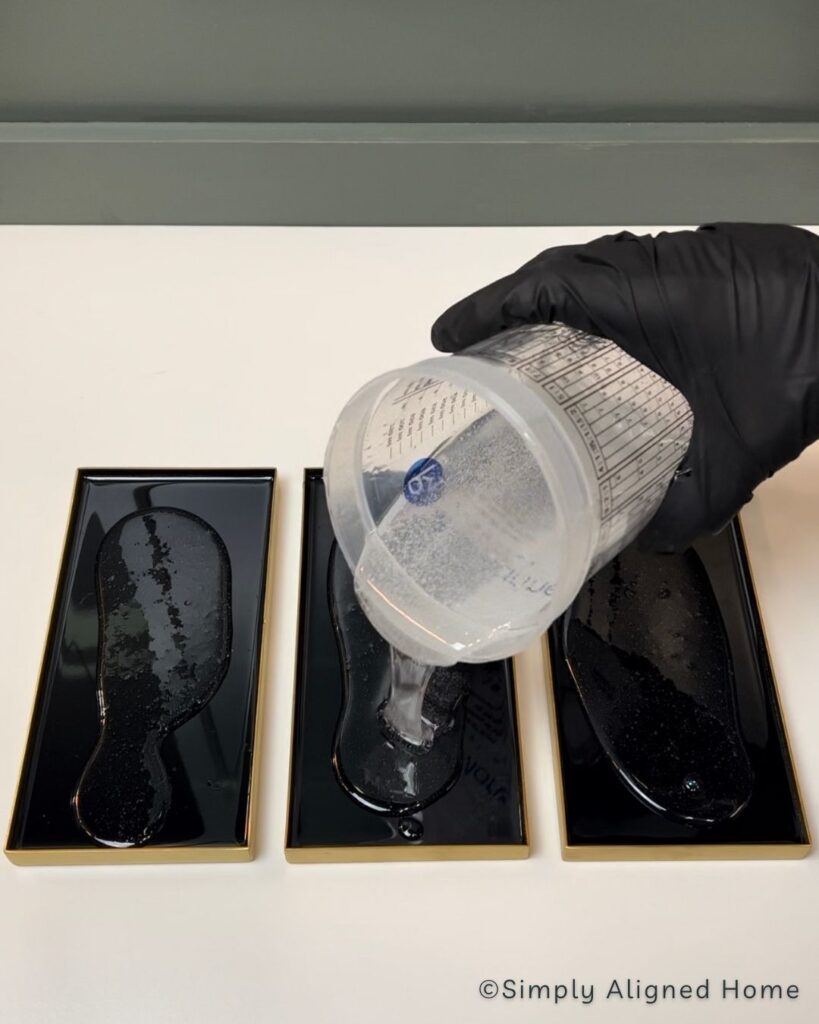
Pour Black Epoxy Base
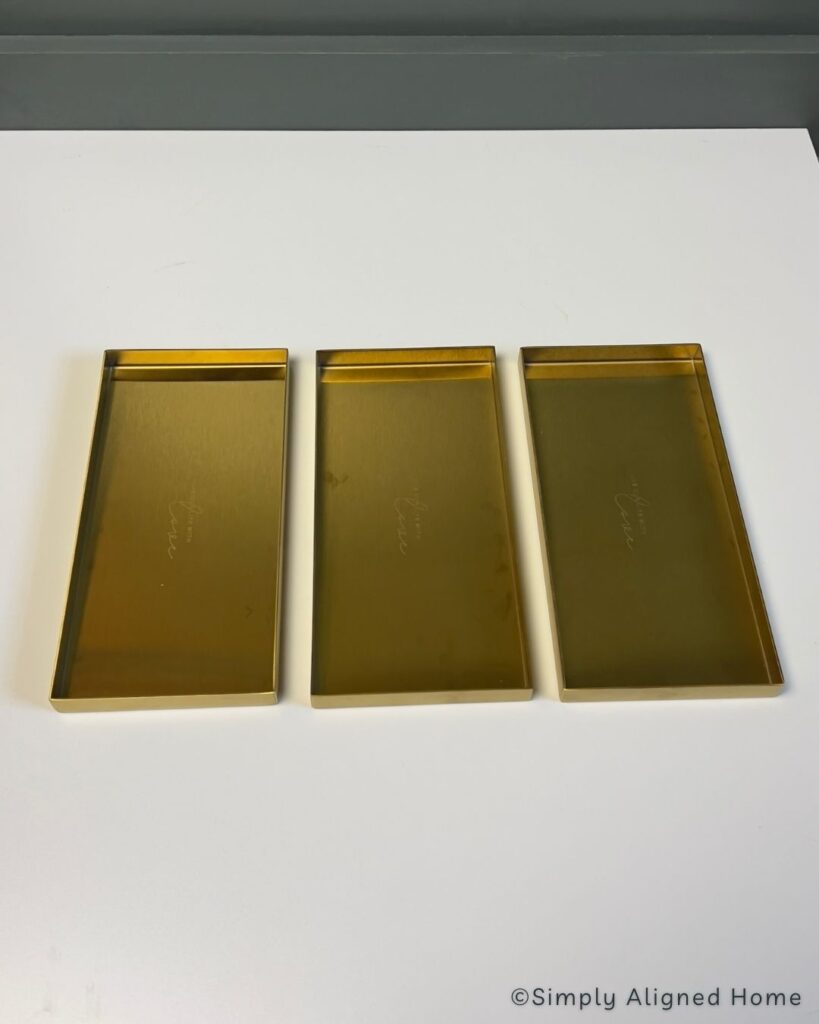
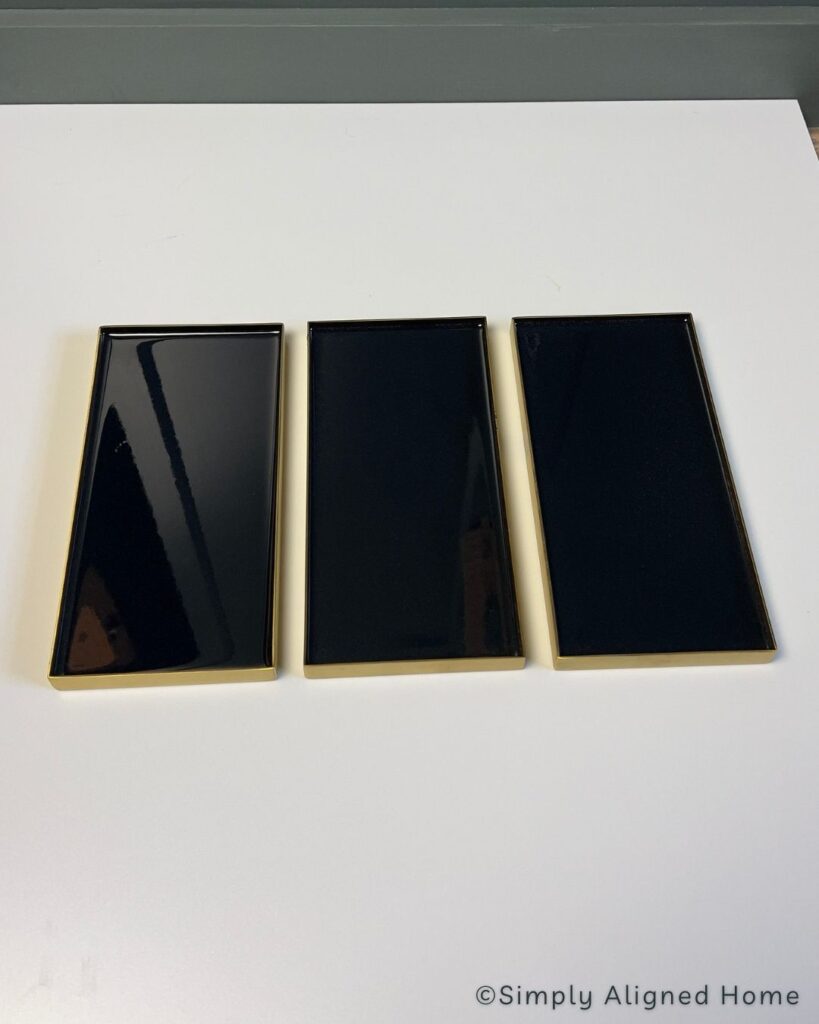
I mixed the black epoxy first then processed to pour it in the gold decorative trays I got from Amazon. When pouring your first round of epoxy only pour enough in to cover half the tray, leaving room for your dried flowers and the clear epoxy.
What’s nice about Promise Epoxy is their resin is self-leveling so no worrying about trying to get everything even when you go to pour. Just make sure after every pour you use your heat gun to get rid of any air bubbles that may have showed up.
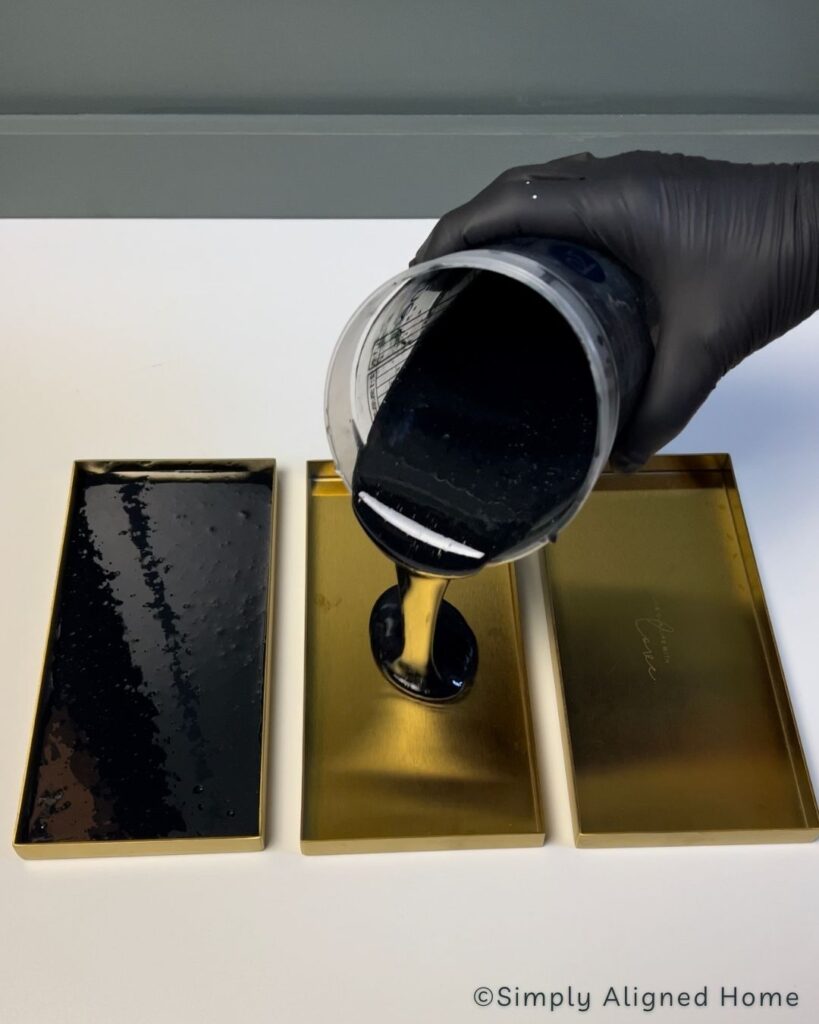
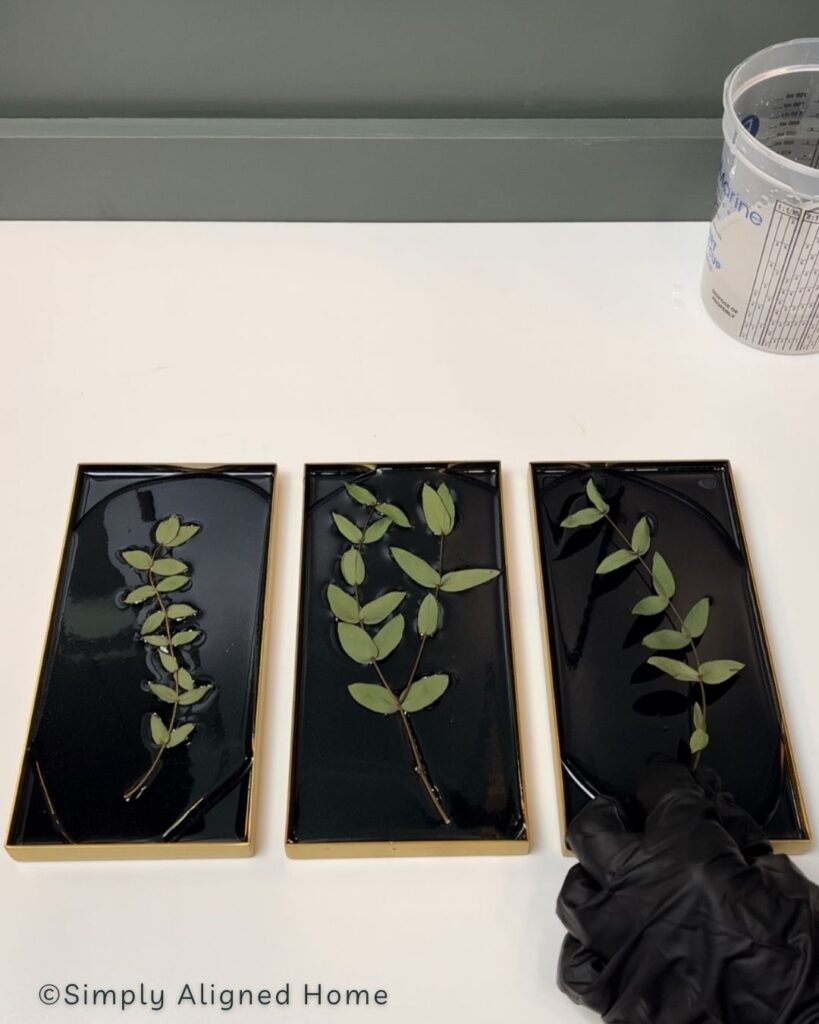
The trick here is to let your black epoxy dry for a little bit but not long enough to let it cure completely before adding your dried flowers. If you let the epoxy dry completely you will have to scuff the surface up with sandpaper before the next step.
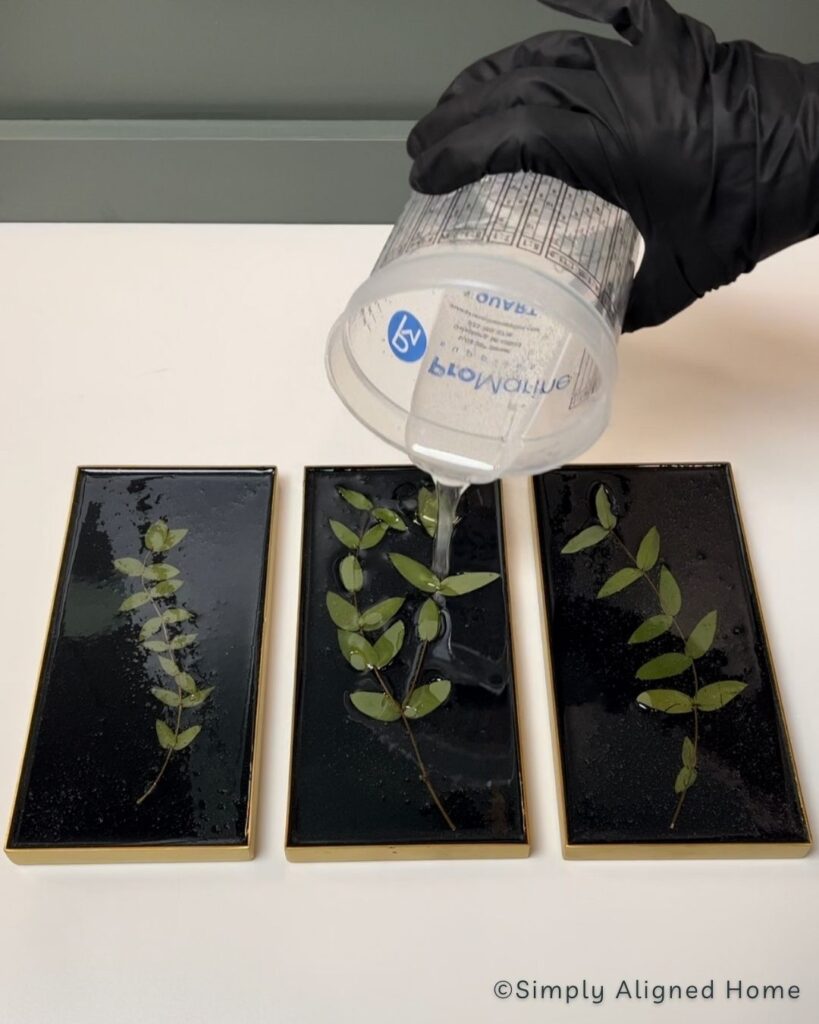
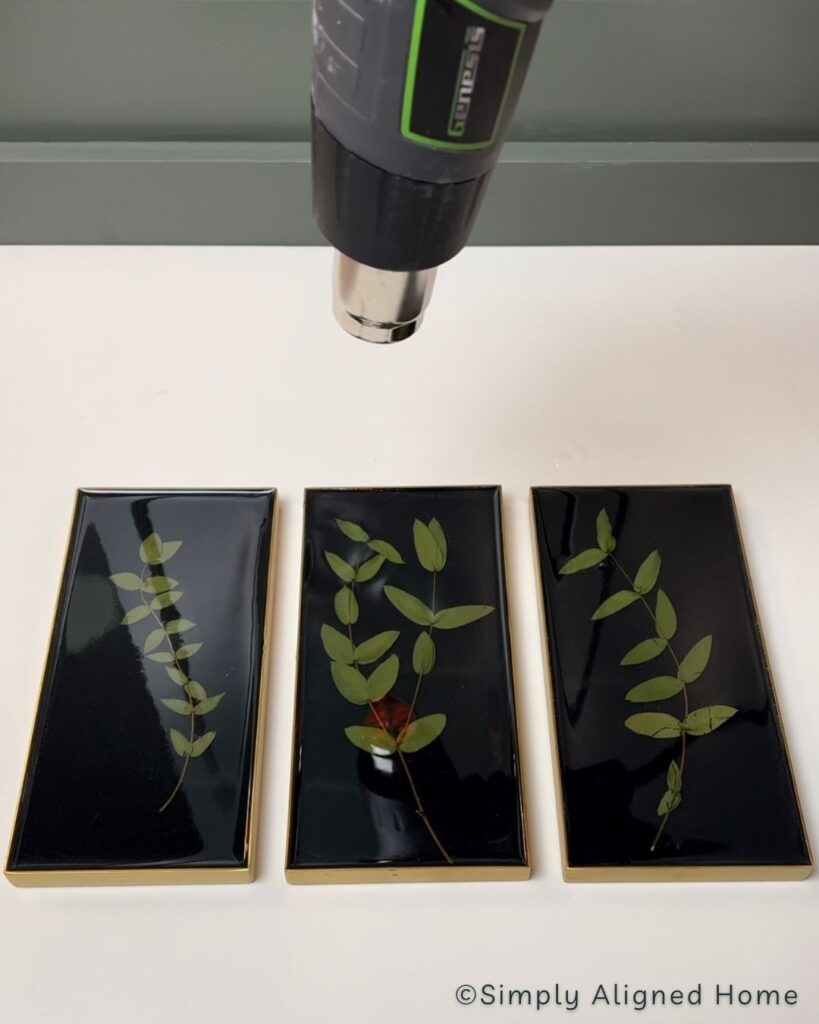
Add Dried Flowers
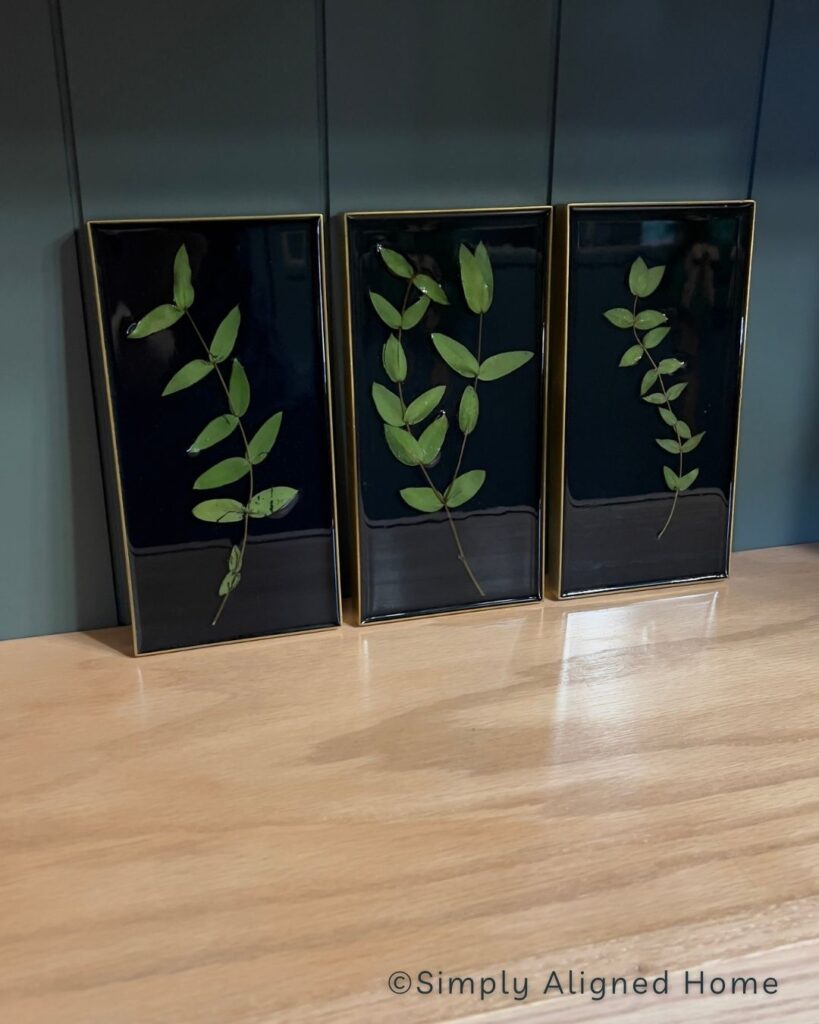
When you’re ready to incorporate your dried flowers, start by pouring a small quantity of clear epoxy over the black epoxy layer. Carefully position your flowers, and then pour the remaining clear resin on top. To ensure a smooth finish, use a heat gun to gently move over the trays and remove any trapped air bubbles. Be patient during the curing process, as the table top epoxy will take a full 72 hours to set completely.
There you have it, you now have your very own DIY dried flower stem art!

**Note: I am not a professional and do not claim to be an expert. Please be sure to always read instructions for all tools and products. Safety is very important and should be your top priority. Wear necessary protection when using tools (eye wear, hearing protection, gloves, etc.) and dust masks when sanding or cutting. Simply Aligned Home is not responsible for any injury or damage. All of my designs are not professionally designed and are for private use only.**
Materials Used
- Disposable Measuring Cups
- Promise Epoxy Clear Table Top Epoxy Resin– Use Code SAH10 for 10% off
- Alcohol Inks
- Wood Mixing Sticks
- Rubber Gloves
- Dried Flowers
- Decorative Tray
Tools Used