This post is sponsored by The Home Depot, but all views and opinions shared in this post are my own.
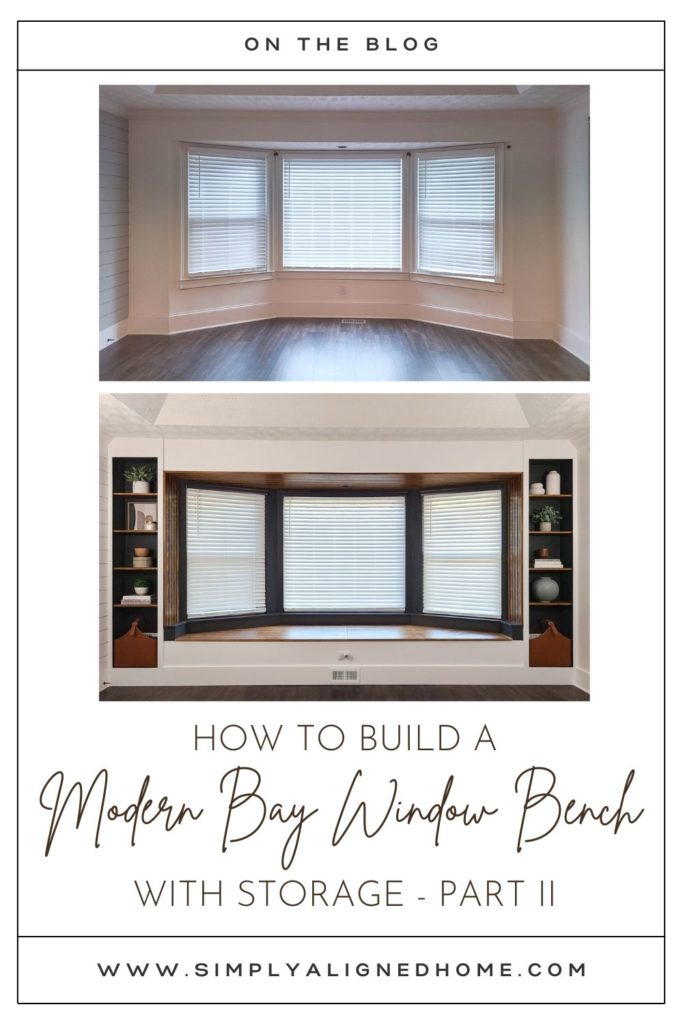
This modern bay window build started with building bookcases and framing out the bench seat with storage. Be sure to check out the Part I of the build for all of the details on the framing. Now, let’s talk about how to make it pretty!
With the framing of the bay window built-in complete, I could focus on all of the details that would finish off the look of the bay window!

Install Trim on Bookcases and Bench
The first piece of trim that I installed was the baseboard. I intentionally spaced the bookcase off of the ground so that the top of the baseboard would be at the same height as the bottom shelf of the bookcase. I secured the baseboard and all of my trim using my Ryobi 18V AirStrike Brad Nailer. As I mentioned in Part I, a brad nailer uses a slightly smaller nail than a finish nailer. Brad nails are perfect for installing trim and decorative pieces because of the small hole that it leaves behind.
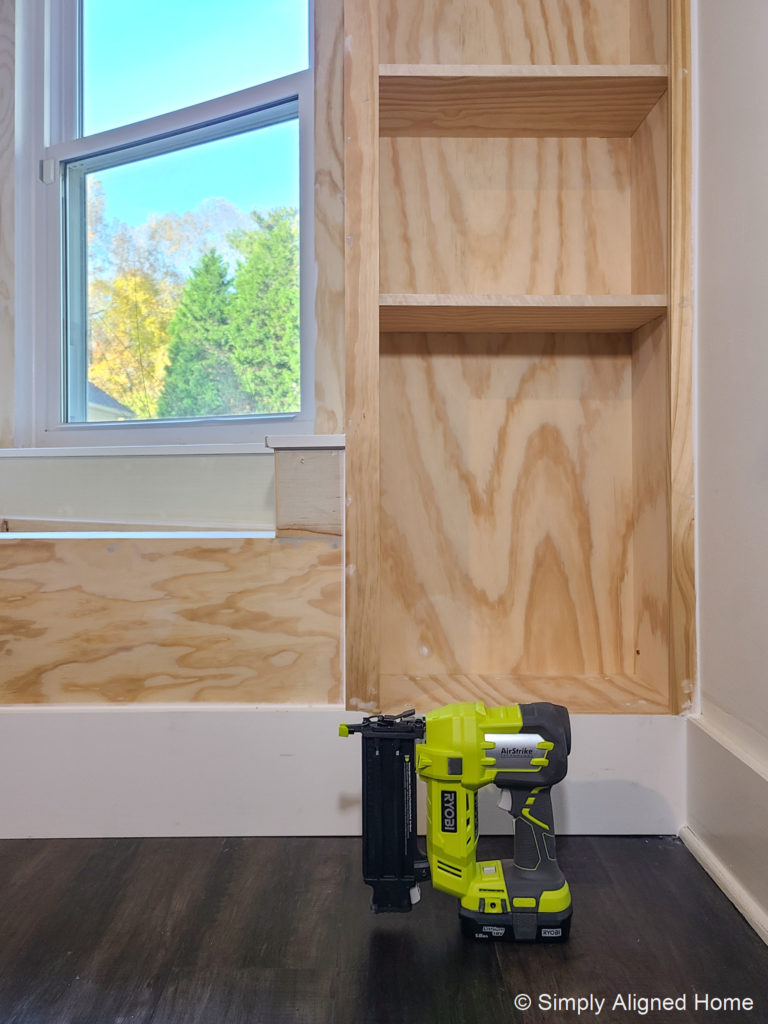
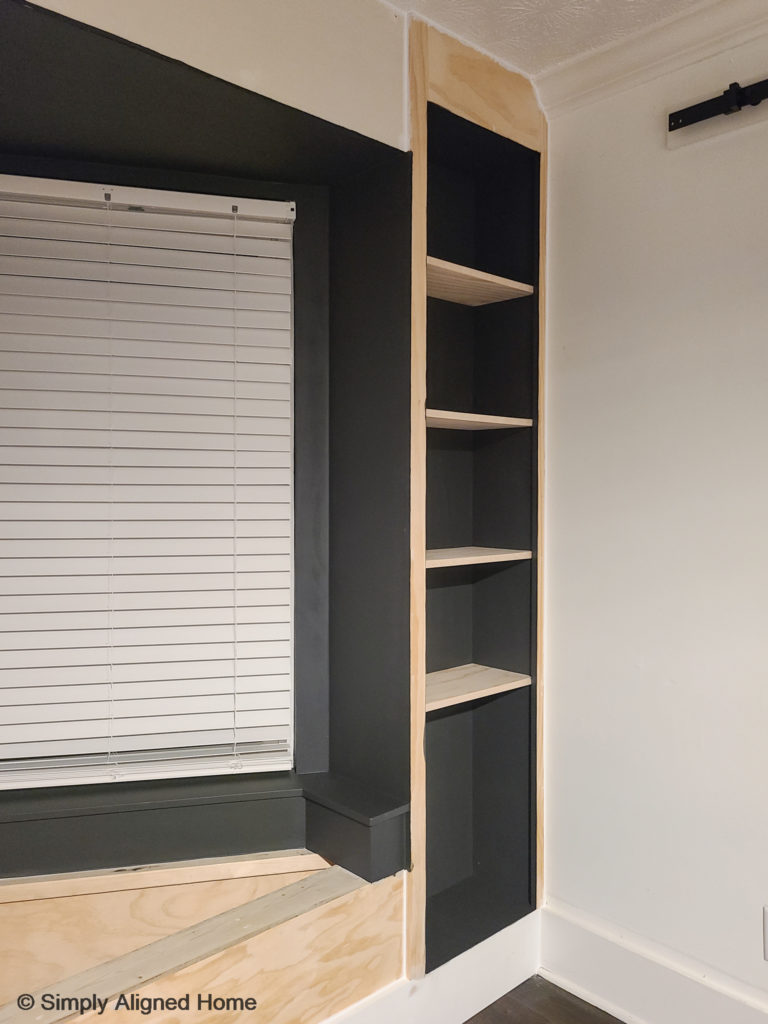
After I installed the baseboard, I installed the vertical trim for the bookcases. I did this using select pine. With the vertical members of trim installed, I had one small section above the bookcases that needed to be bumped out as well. I cut a piece of 3/4″ plywood to fit the opening and installed it between the vertical trim pieces.
Paint the Bench and Bookcases
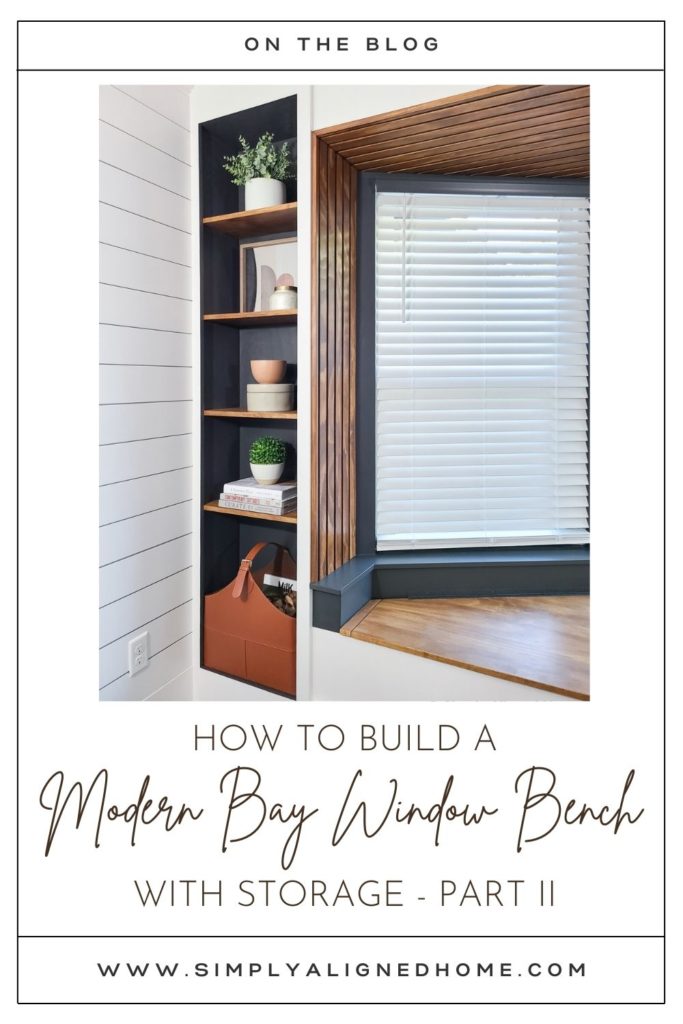
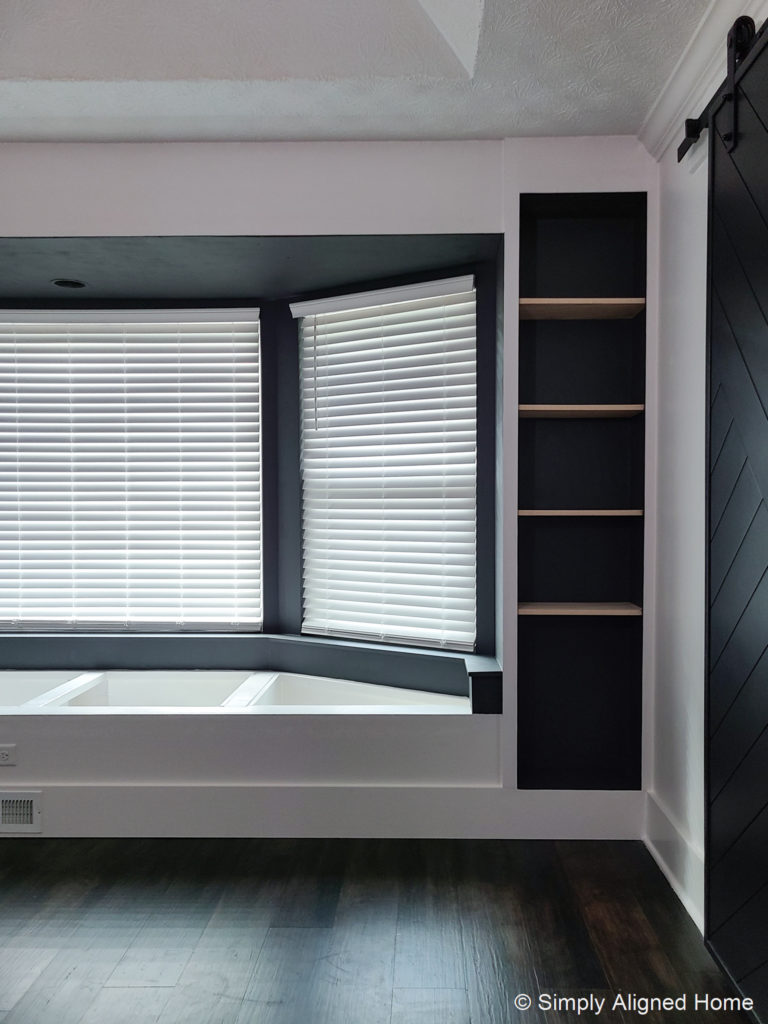
I had a specific vision for this bay window built-in unit. I wanted it to be sleek and modern, yet warm and cozy. I decided to painted the inside of the bookcases and the bay window area Iron Ore for a modern look.
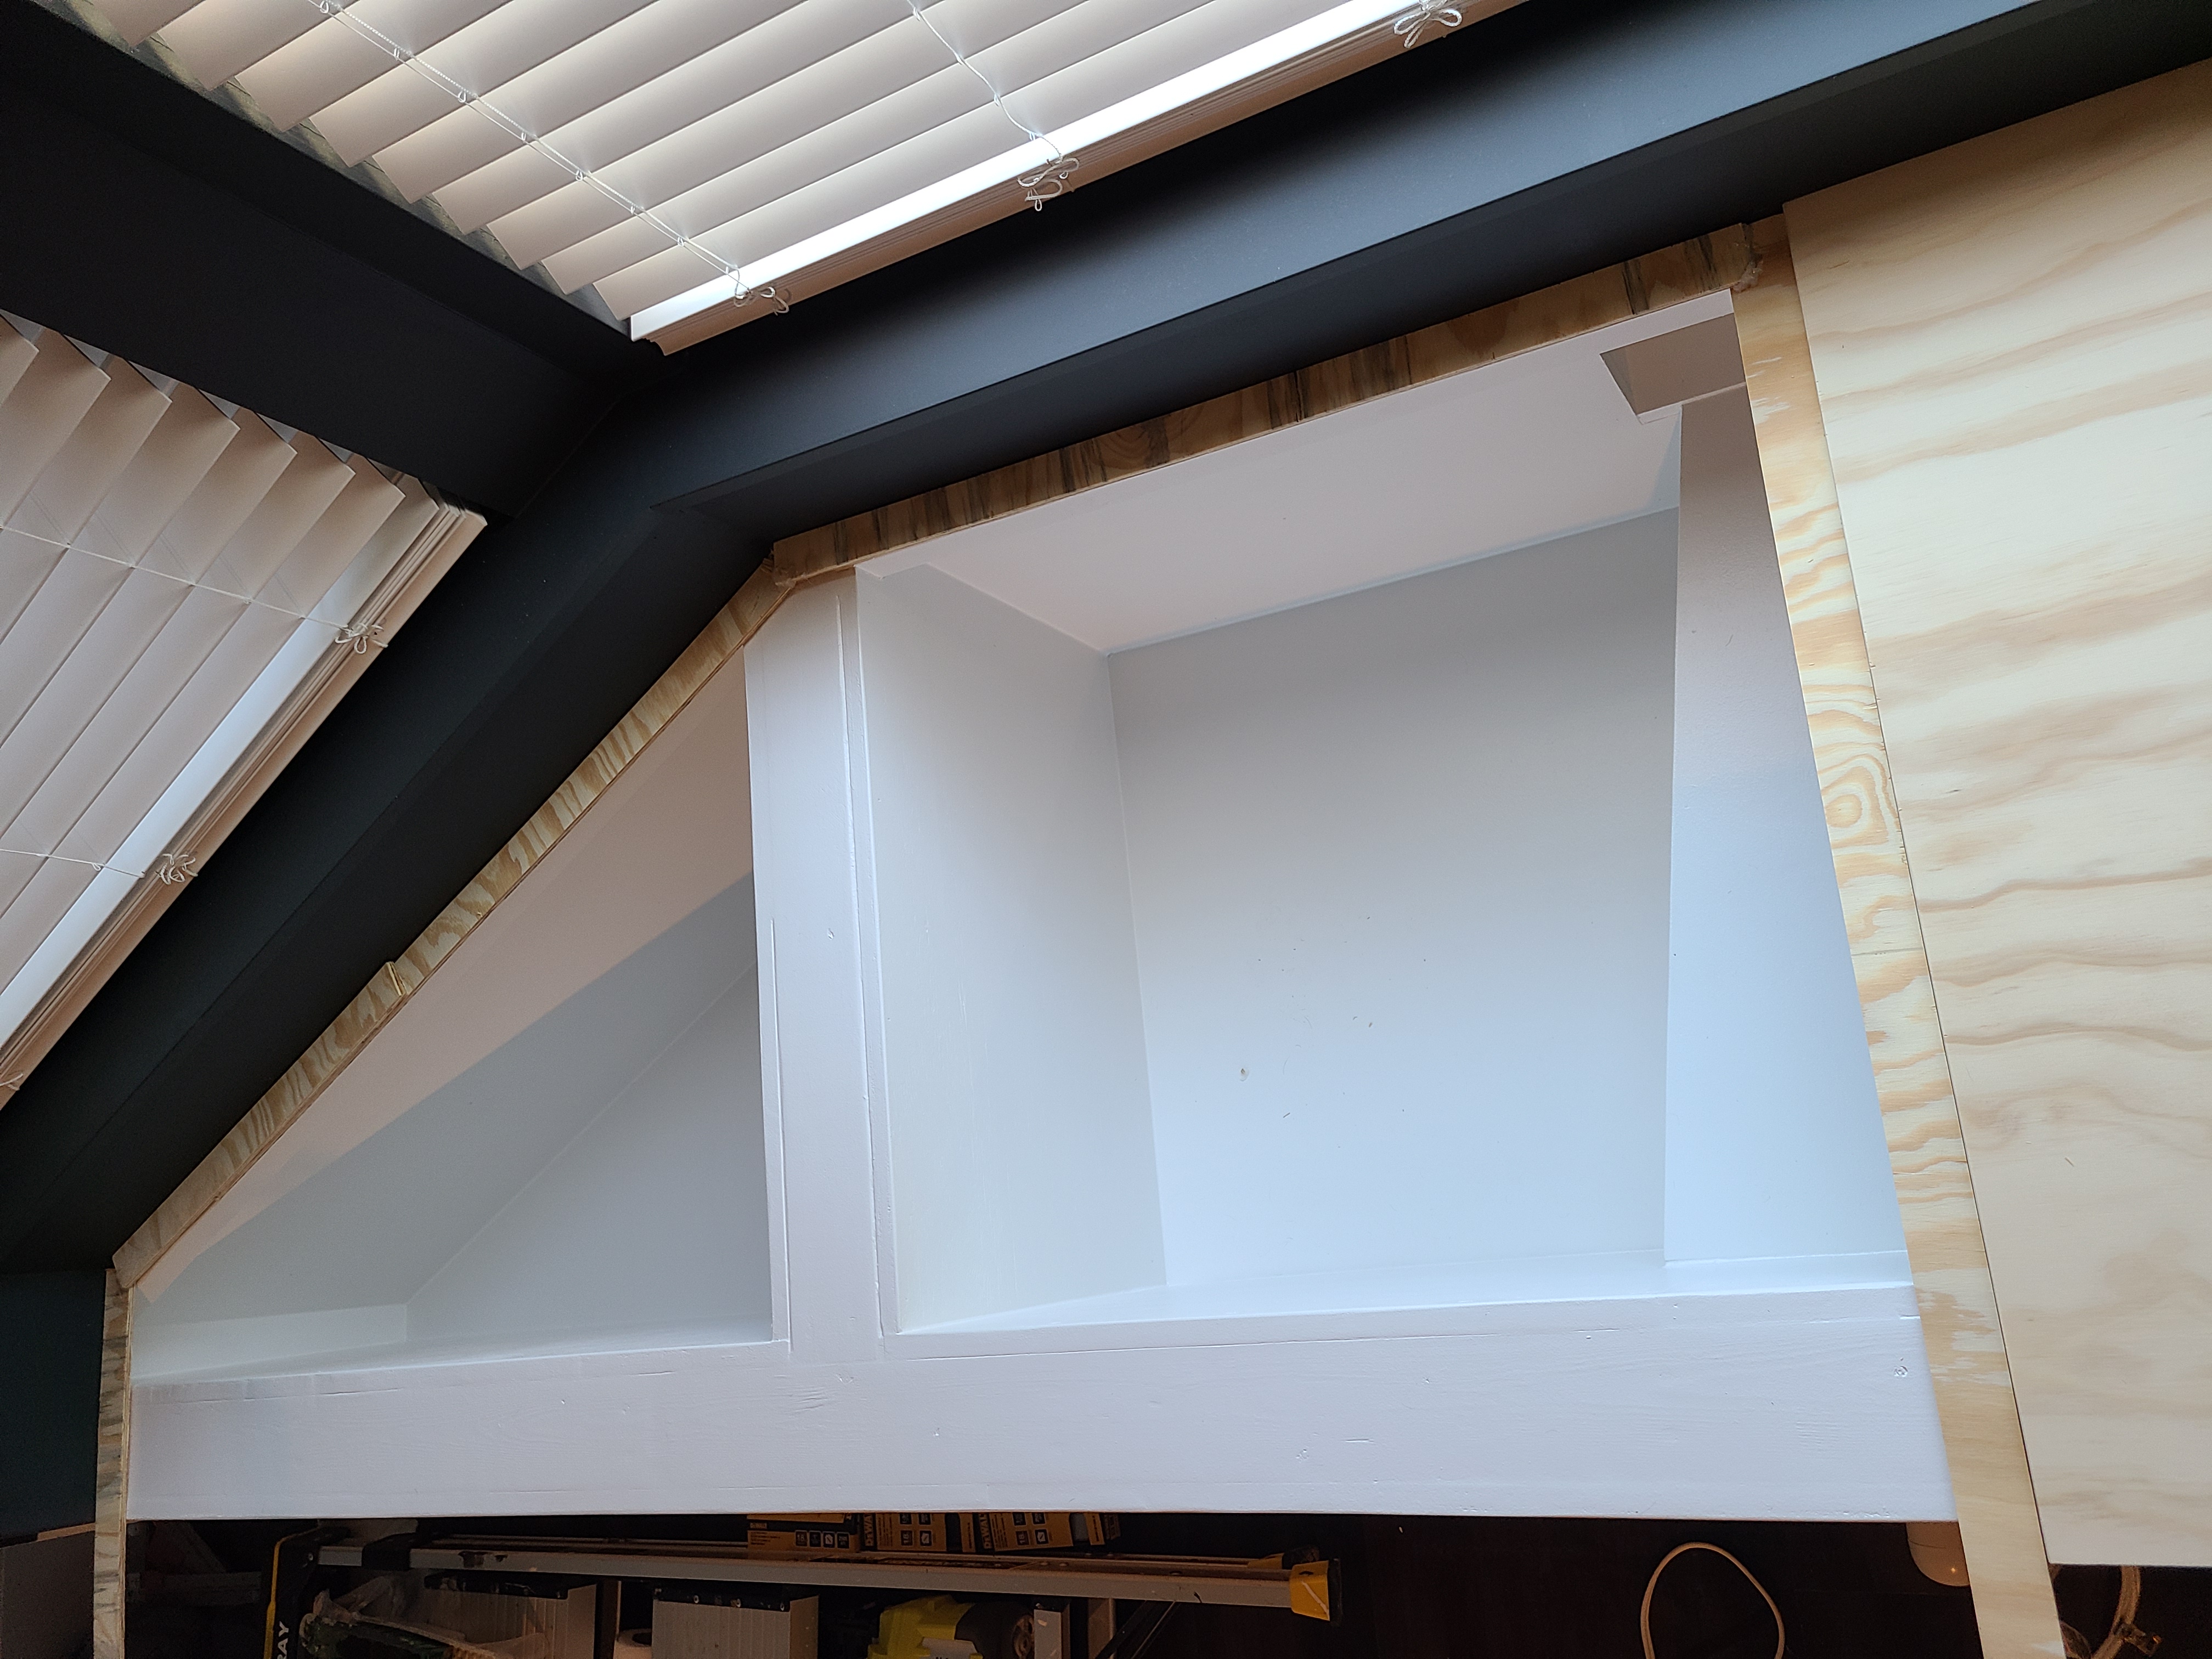
Once everything was painted Iron Ore, I primed the rest of the unit. I painted the inside of the storage bench and front face of the unit white to blend with the surrounding walls. I wanted the inside of the bench seat to be nice and clean since I will be storing pillows and blankets in here.
Cut and Install Plywood for Bench Top
I saved the bench top for the end so that I didn’t ruin it while working on the other sections. Now that everything else was installed and painted, I could cut an install the plywood bench top.
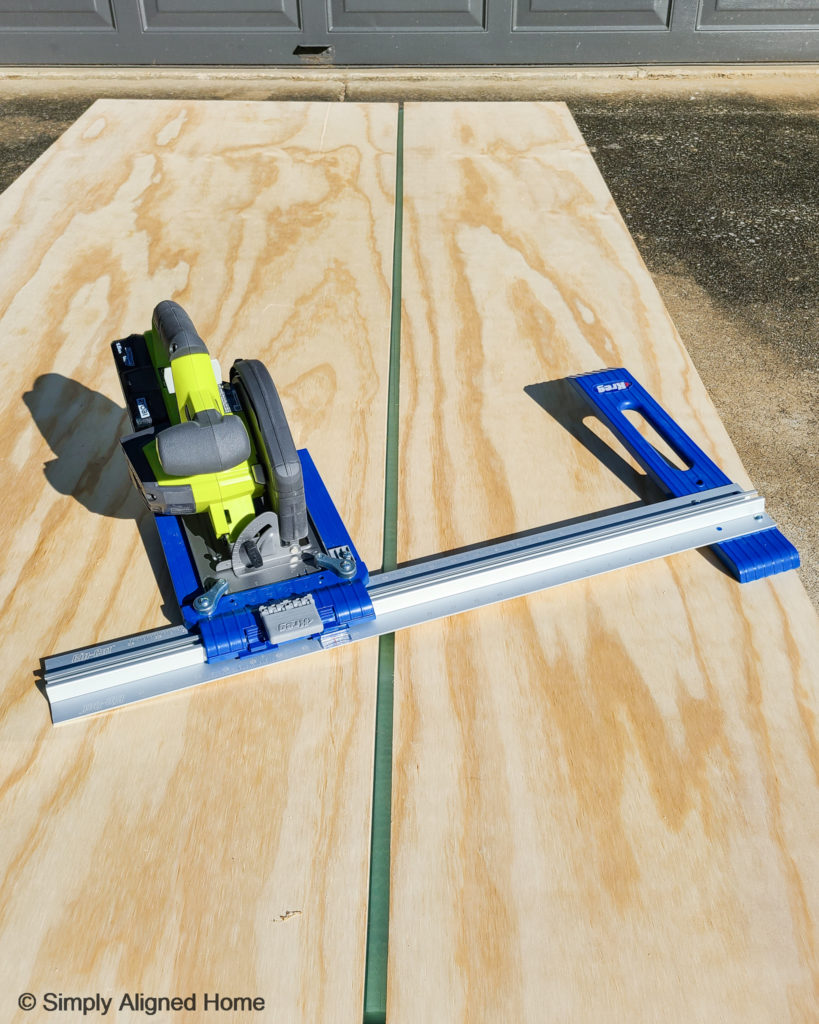
For the top, I decided to use 3/4″ plywood. I made it in four sections so that the top would not be super heavy when opening it. I placed a sheet of 1″ thick insulation foam board on the ground and laid the plywood on top of the foam. I started by ripping the plywood to the correct width using a guide and my Ryobi 18V Circular Saw, which made the cuts quick and easy!
The two end cuts for the bench top were a little tricky due to the angle of the bay window. I made a template of the bench with thin strips of wood to get the outline of the bench. I was able to trace the template on the plywood, which helped me get the perfect cut with my circular saw!
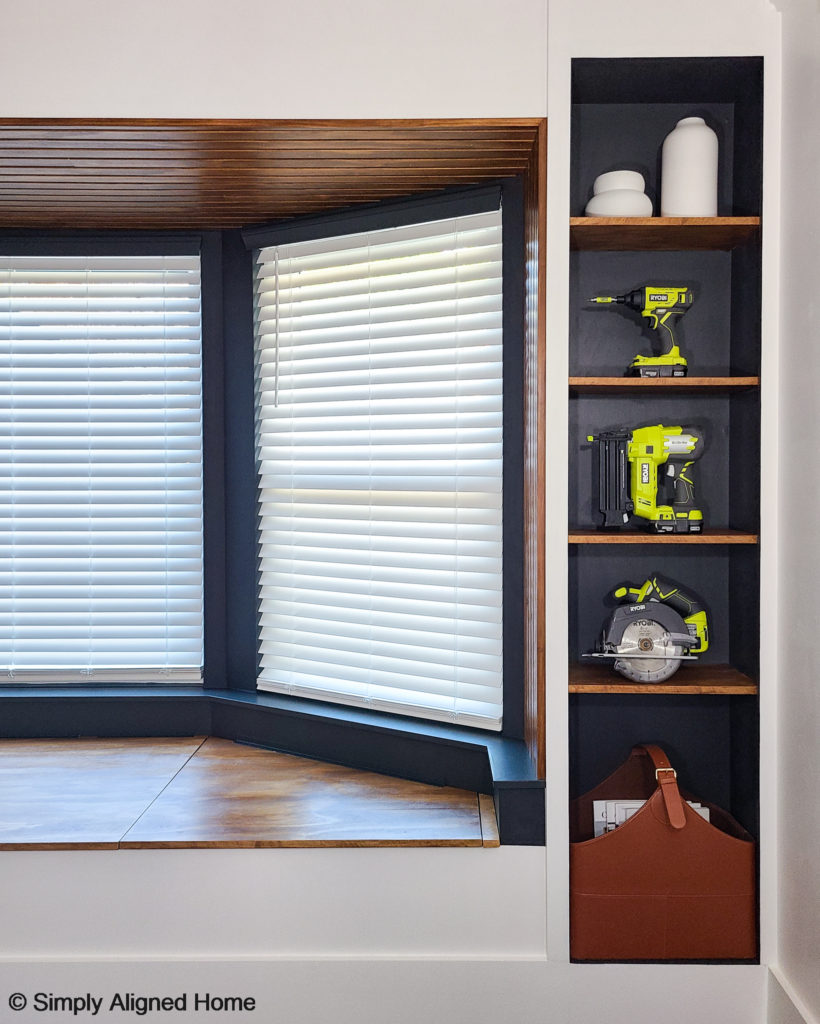
Once all of the pieces of the bench top were cut, I applied edge banding to the front faces of the plywood. This gave it a more finished look than the raw plywood edge. I stained and sealed the top pieces before securing them to the bench with piano hinges. I stained and sealed the shelves of the bookcases at the same time.
Install Slat Wall Around Bay Window
One of my favorite ways to add warmth to a space is with wood slats! Slat walls add character and depth to any space. The bay window was feeling a little cold with all of the dark paint, so I warmed it all up with a wood slat wall.
To make the slat wall, I started by ripping 3/4″ plywood into 1-3/4″ wide slats. I did this using my circular saw and a straight edge. Using a circular saw was much easier than struggling to get a sheet of plywood onto my table saw.

Once the slats were ripped, I sanded and stained them all. I used my favorite color stain…Early American.
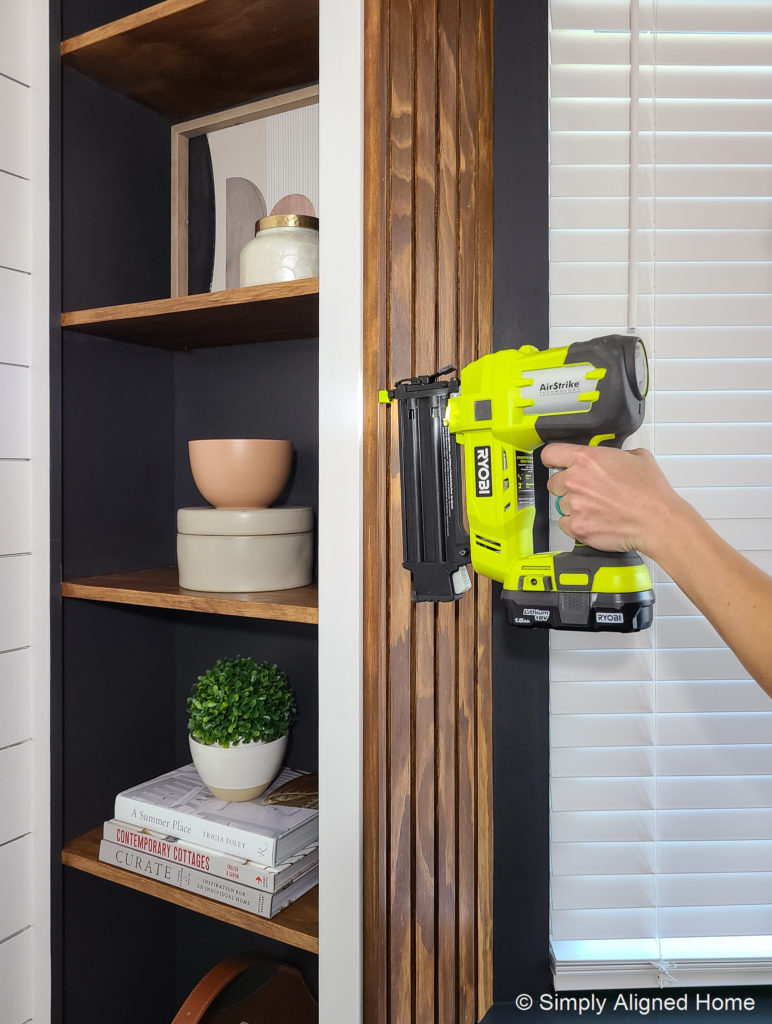
I can’t think of a better way to install wood slats than with a brad nailer. The holes left from brad nails are so small that you don’t need to fill the holes if you don’t want to…I honestly find that trying to fill nail holes on stained wood makes them more obvious. My Ryobi 18V AirStrike Brad Nailer made installing the slat wall quick and easy!
I finished off the slat wall with two coats of poly.
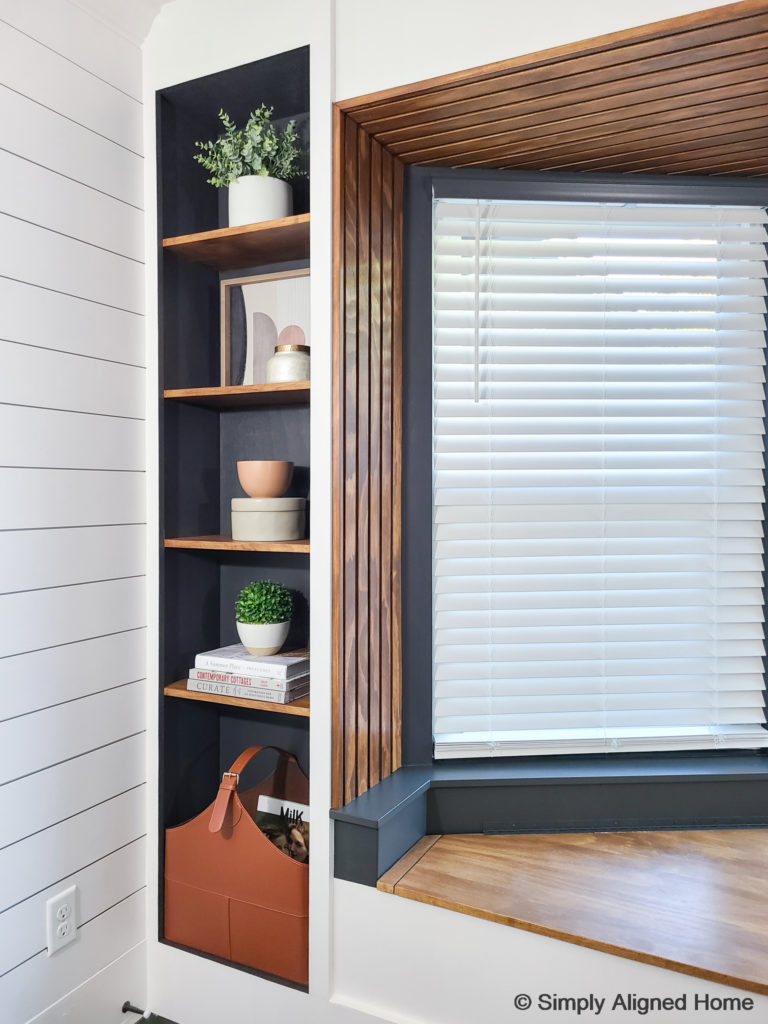
This really wasn’t a difficult build and the finished bay window unit is stunning! What used to be a total waste of space (and a junk collector) is now a cozy space to cuddle up. My favorite part…I have a place to store all of those bulky blankets and pillows!