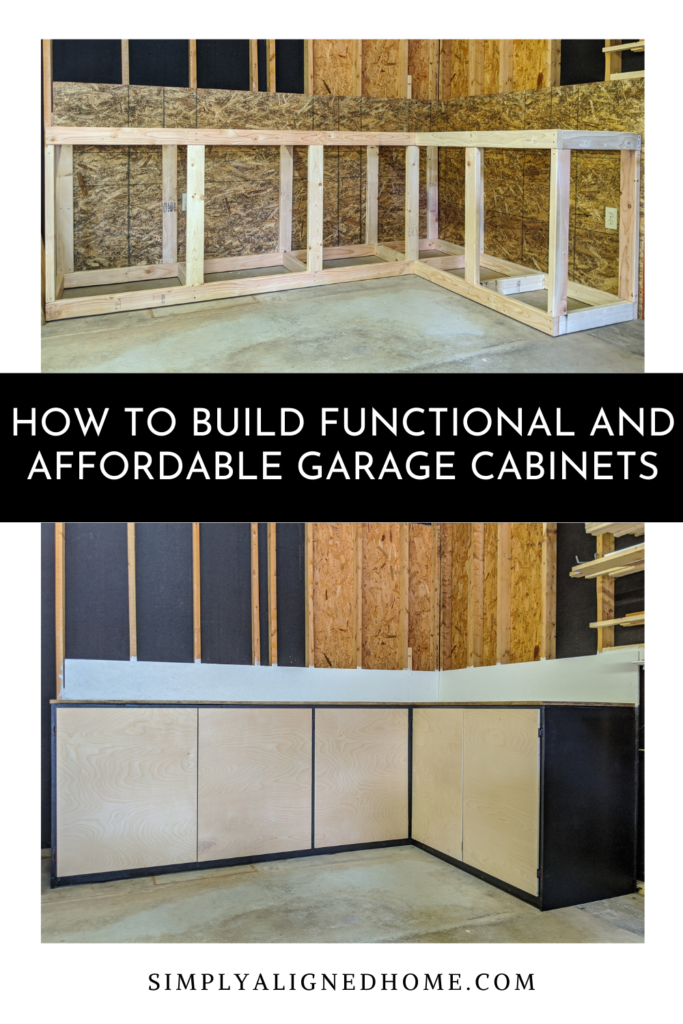
Like many DIYer’s, my workspace is my garage. I am fortunate enough to have a large space, but with more space comes more junk. It never fails that we fill every inch of our garage with stuff…whether its toys, yard equipment or materials. I finally decided to get my space in order. Here is how I built functional and affordable garage cabinets in my workshop.
Start with a Clean Slate
I’m a little embarrassed to share this, but it’s the starting point for my garage workshop. As you can tell, it needs a little lot of help..
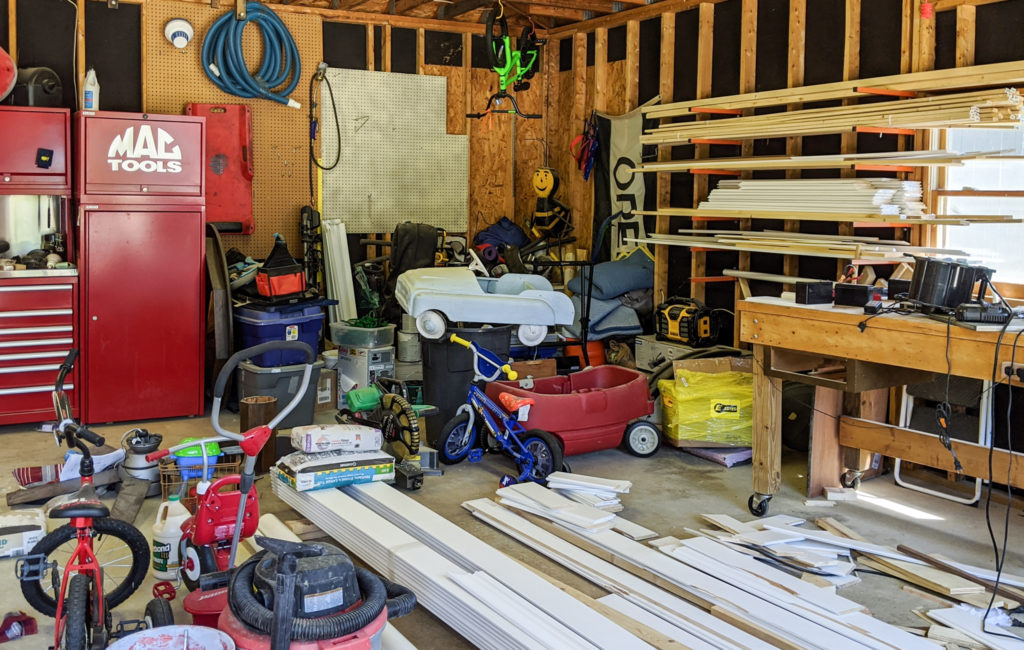
I recently finished our bathroom expansion and all of the leftover materials were piled on this side of the garage. Along with all of the new materials, the back corner was filled with materials that were left from the previous home owners. Before I could come up with a plan, I needed to clean everything out!
Plan the New Space
I wanted to make this space functional while not spending a lot of money. My first requirement was storage for all of the materials. The plan was to make a large, but cheap cabinet in the corner. I didn’t want to move our large tool bench or the material rack on the wall, so that dictated the size of the cabinet.
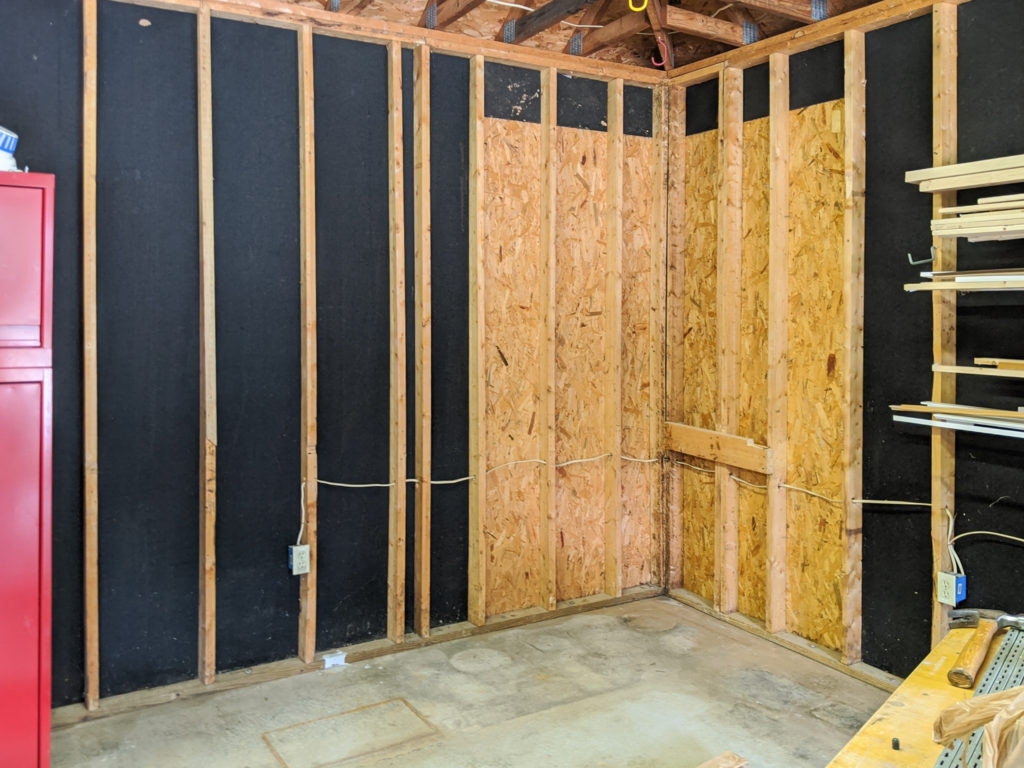
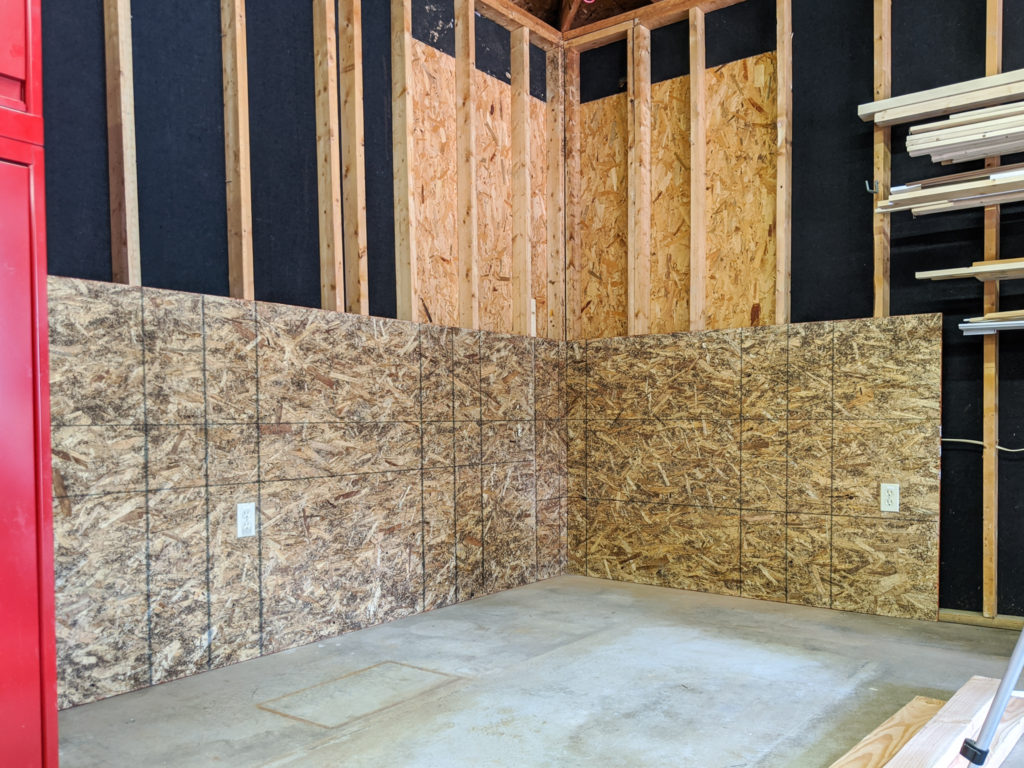
Install Plywood on the Studs
The garage where my workshop is located is a detached, unfinished garage. While most garages have drywall, mine is bare studs. Before I started building the cabinets, I installed plywood on the studs. I used a few pieces of OSB that I had leftover from a recent project.
Build the Cabinet
Since my goal for the cabinet was to hide a lot of stuff without spending much money, I opted for 2×4’s and plywood. I built the frame out of 2×4’s and used plywood for the doors, sides and top.
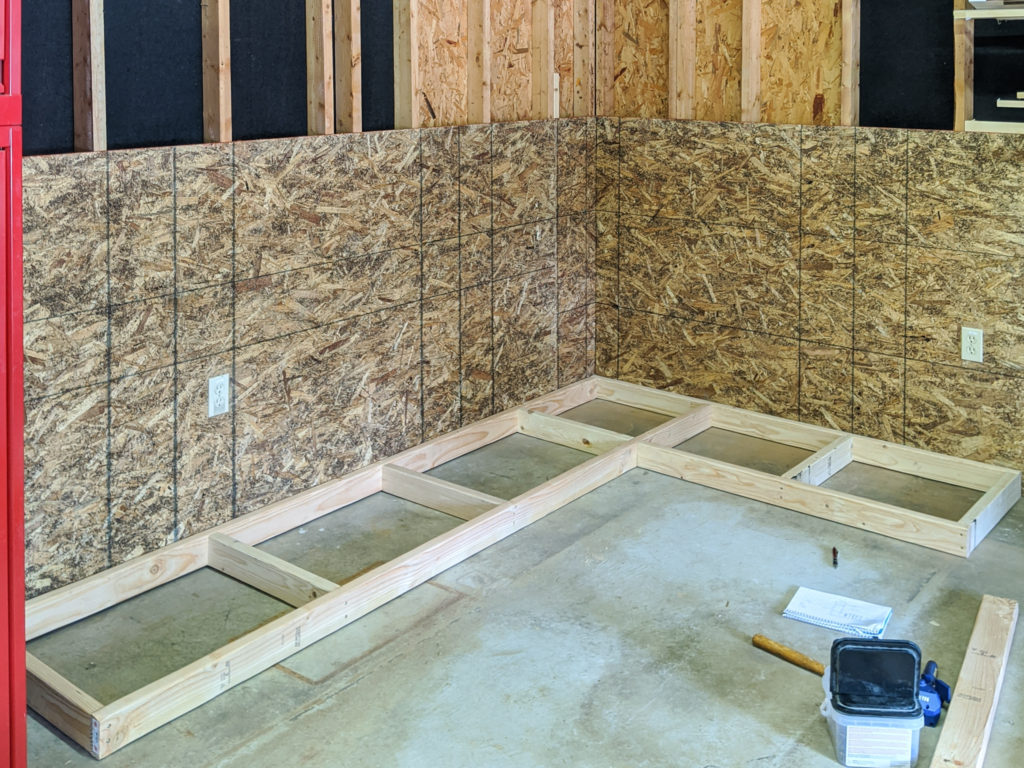
I started by building the base of the cabinet. The depth of the cabinet was determined by the size off the materials I wanted to store in it as well and the plywood I had on hand for the countertop.
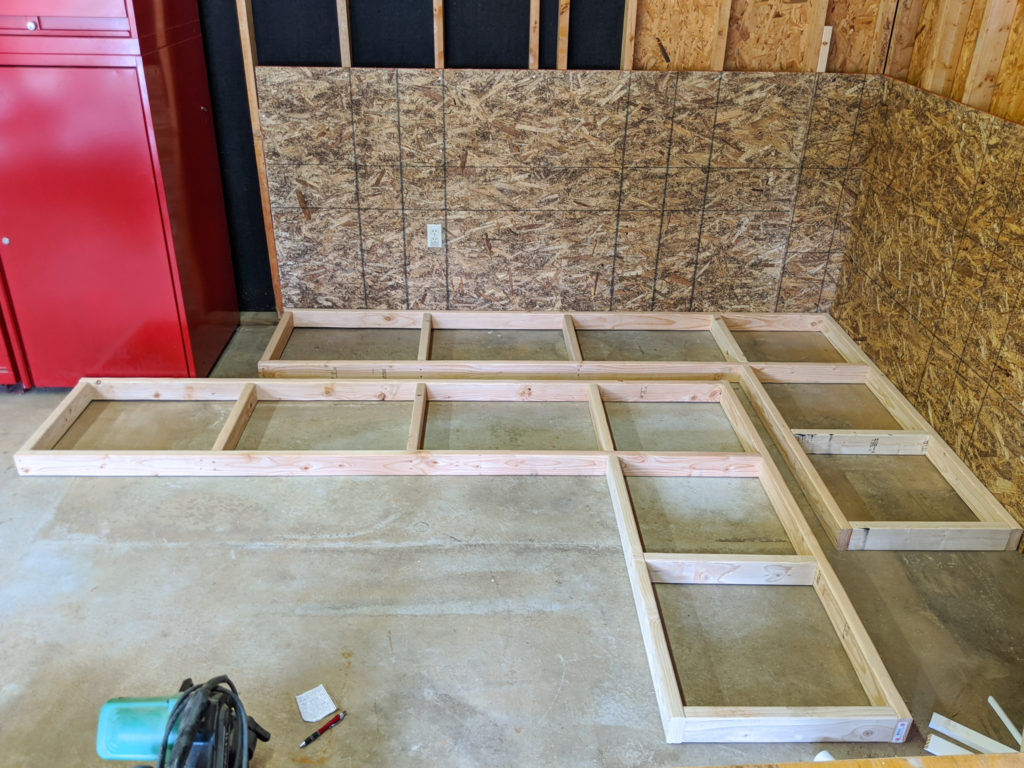
Once the base was built, I made an identical frame for the top.
I then added vertical 2×4’s that I cut to the same length to the bottom frame. I made the 2×4’s flush with the front of the bottom frame. I planned on making overlay doors and the vertical 2×4’s would be used as the frame for the doors.

Now that the vertical pieces were in place, I set the top frame on the vertical members and secured the two frames together.
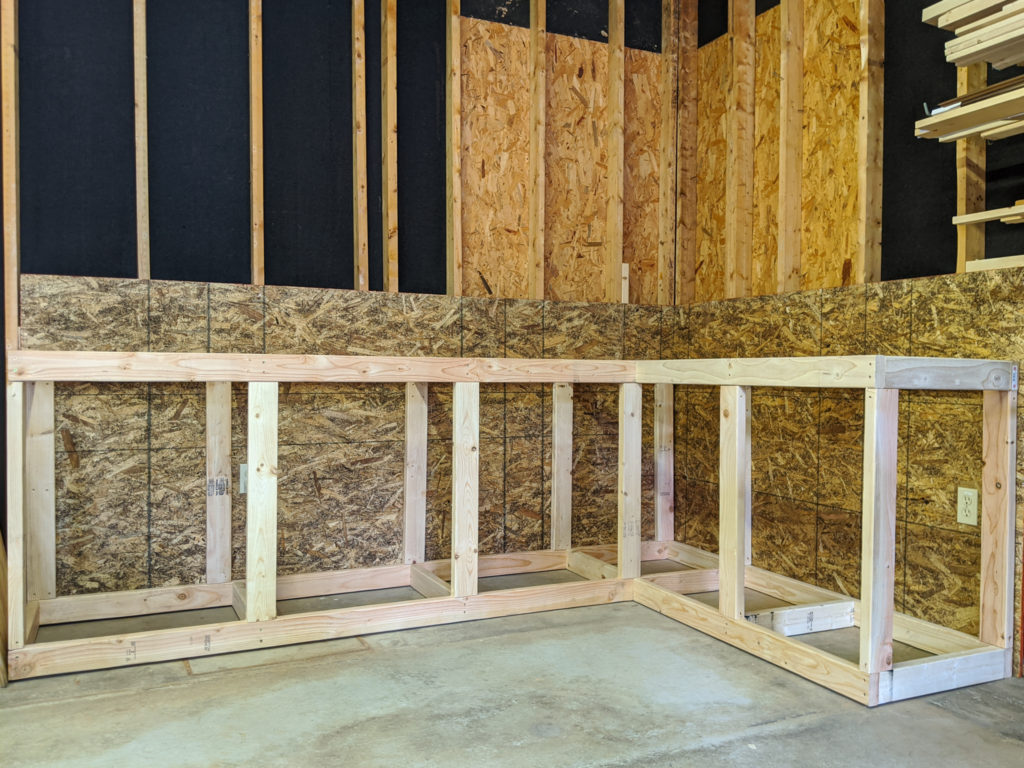
The frame was super simple and quick to make!
Cut and Install Counter Top and Cabinet Ends
For the counter top, I decided to use a piece of 3/4″ whitewood plywood that I had sitting around. I had purchased it to make a cabinet for our bathroom, but found out the hard way that it was not stainable. Since I wasn’t super concerned about how it looked, I decided to use it for the cabinet counter top.
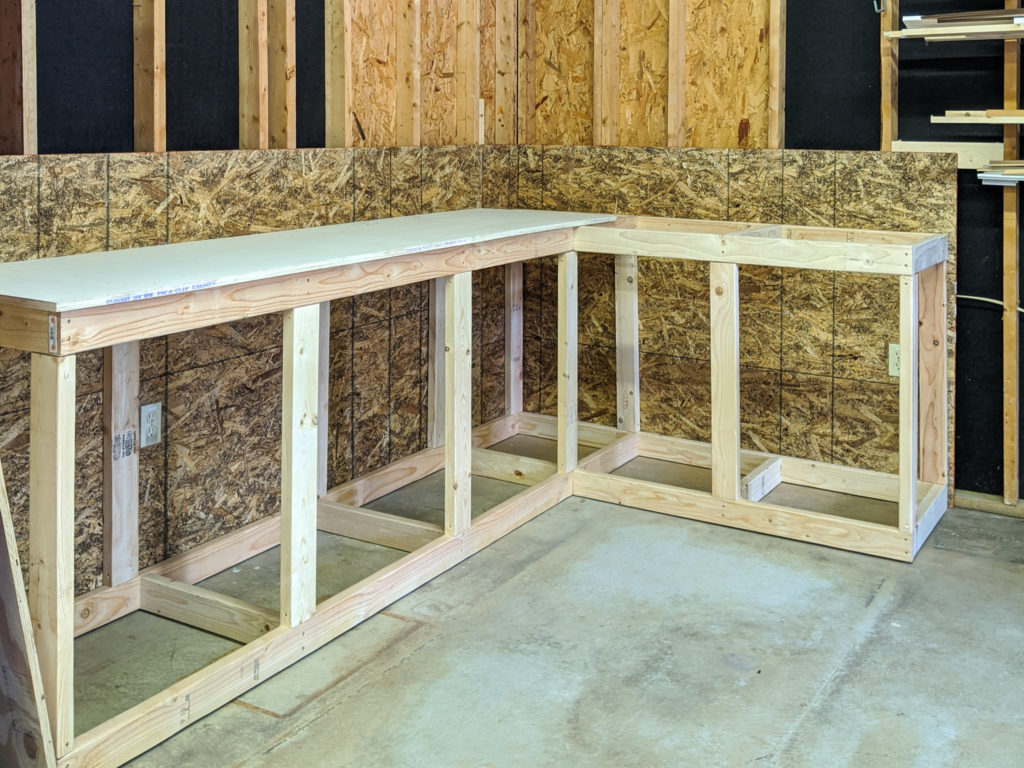
I cut it slightly larger than the cabinet frame so that I would have about a 1/2″ overhang. With the cabinet being L-shaped, the counter top was made in two pieces.
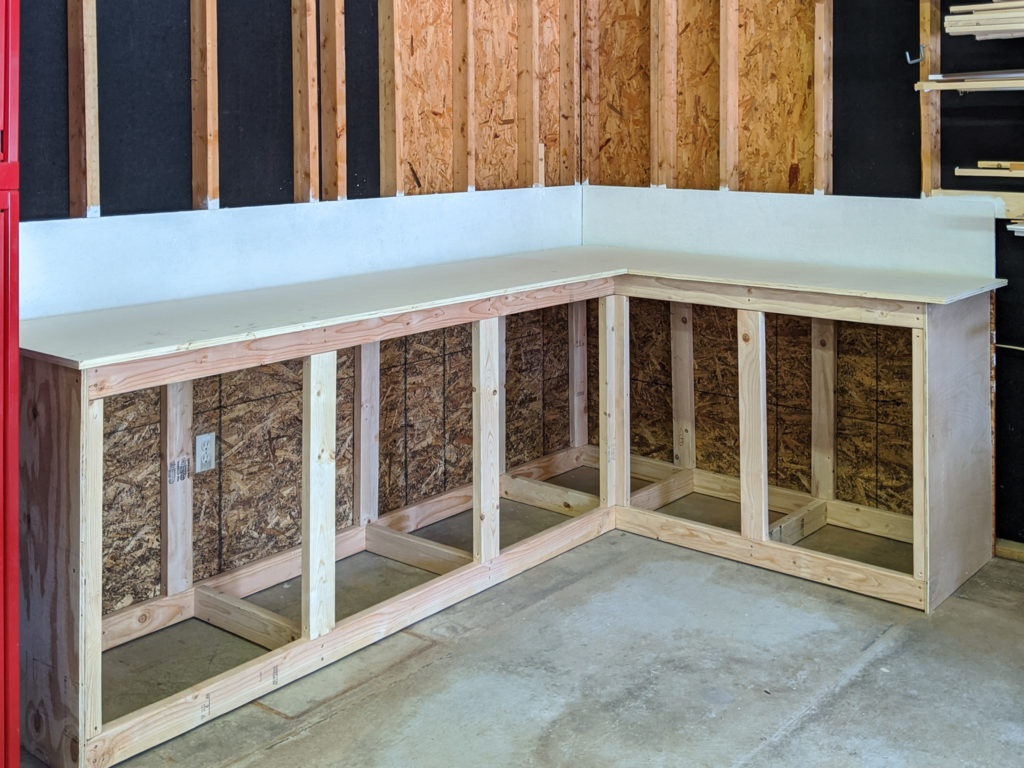
Before I fully installed the counter tops, I painted the OSB that extended above the counter tops white. I also finished the cabinet frame off with a piece of 1/4″ plywood on each end.
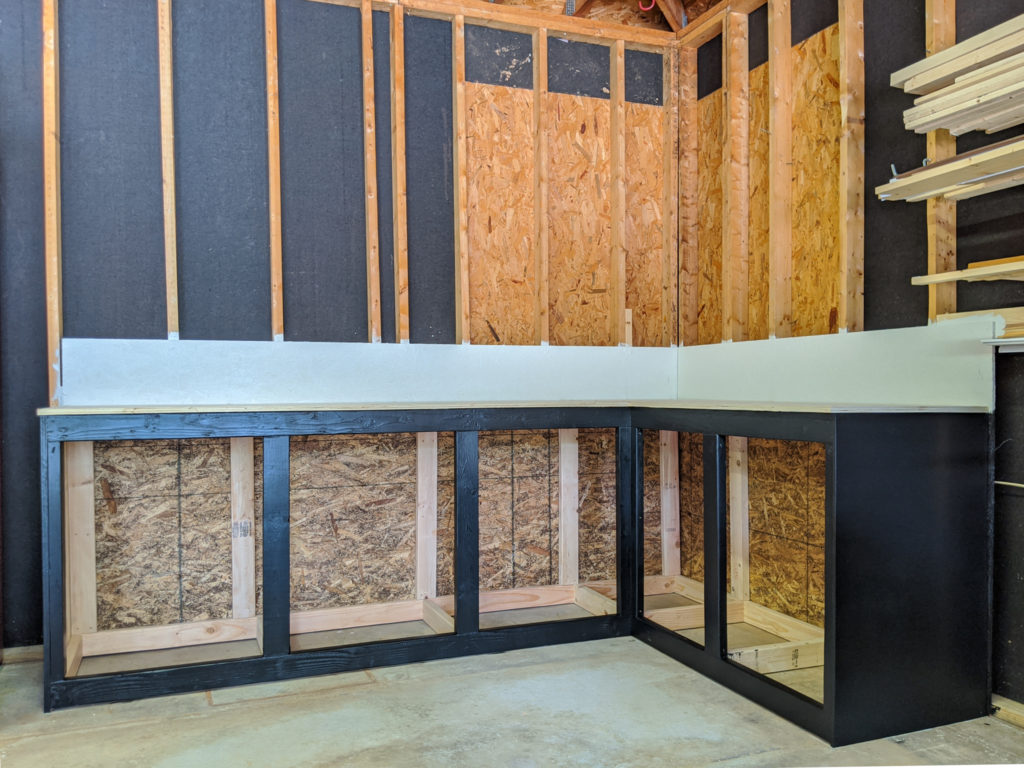
Paint the Cabinet Frame
In order to keep costs down, I used some paint that I already had on hand. I went with a black semi-gloss paint for the frame. I decided to paint the frame before I added the cabinet doors so I didn’t have to work around them.
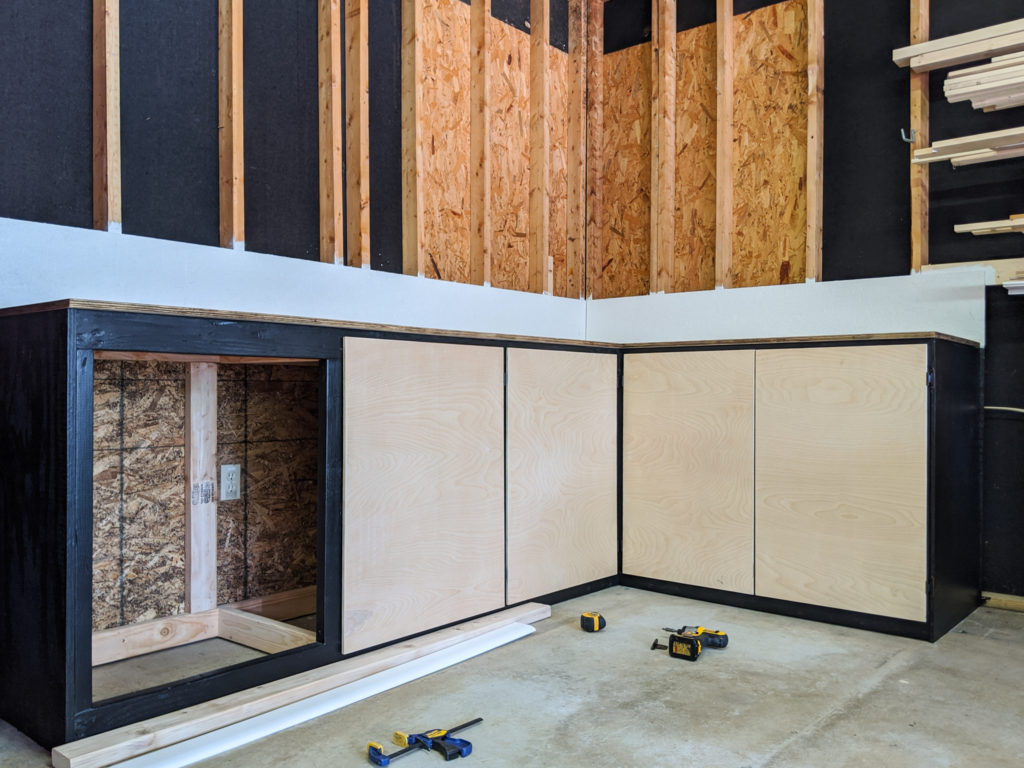
Make and Install Cabinet Doors
For the cabinet doors, I decided to use 1/2″ birch plywood. I chose to use 1/2″ plywood, as opposed to 3/4″ plywood, to keep the doors from being too heavy. I wanted to be able to stain the doors, to break up all of the black, and birch plywood is an affordable plywood that looks great stained. Stained wood also hides saw dust better than black…and my garage is always covered in saw dust.
Since I quickly made the frame of the cabinet with 2×4’s, it certainly isn’t perfect. To hide any imperfections, I decided to make overlay doors. They extend at least an inch outside of the door opening on all sides. I made the openings rather large so that I could fit all of my materials with no issues. This means the doors needed to be pretty big!
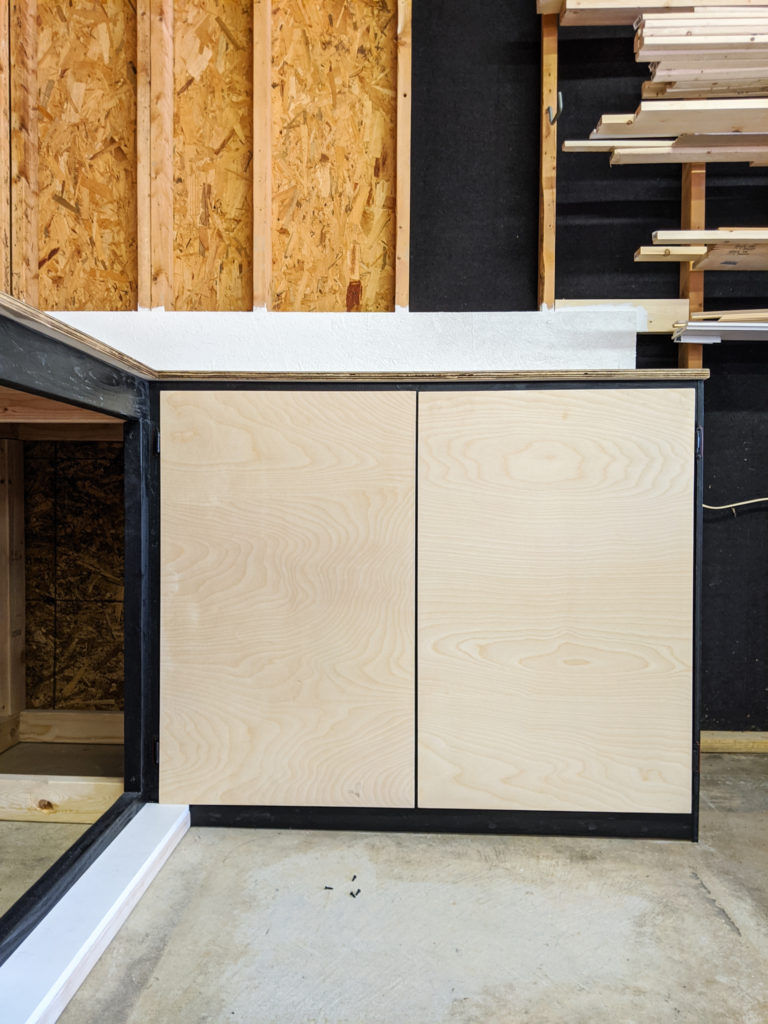
I decided to make and install the doors one at a time. Too many times have I decided to cut everything at once just to find out something doesn’t fit when I’m installing it. I wasn’t going to let that happen this time!
Stain or Paint the Counter Top
Although I already knew that the whitewood plywood would not stain well, I decided to give it a try. I stained it using a special walnut stain. It turned out very splotchy and uneven.
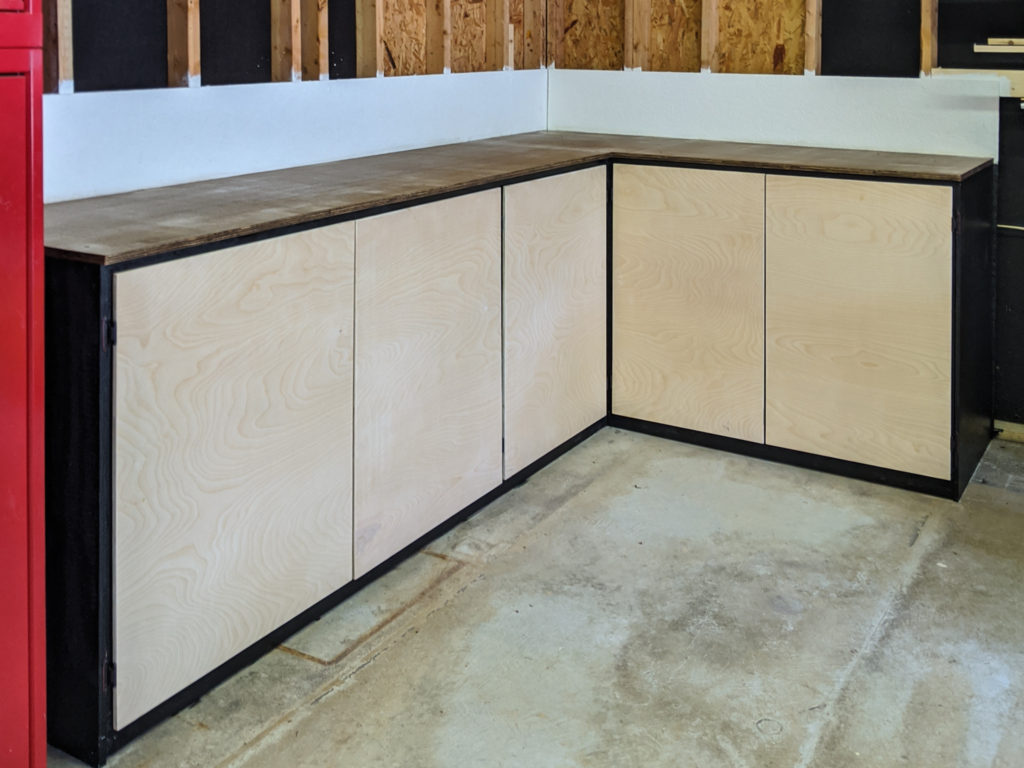
I tried my hardest to let it grow on me, but ultimately decided to paint it black in the end. I would have preferred a stained counter top because it doesn’t show saw dust as much as the black, but the black looks much better than the original stain job.
Stain Cabinet Doors
Since the cabinet doors were made from birch plywood and not the whitewood, I was able to stain the doors. The stain will keep them from looking dirty 24/7.
Seal the Cabinet and Counter Top
In order to protect the cabinets and counter tops, I decided to apply two coats of a polycrylic.
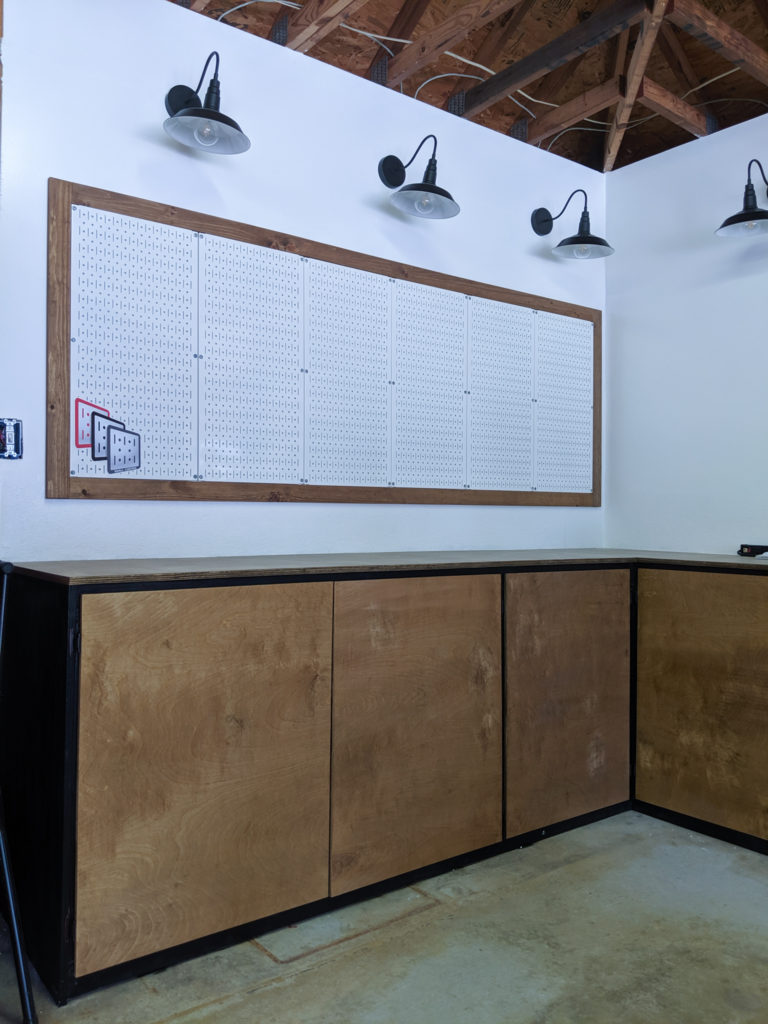
You got a little sneak peak of the garage workshop that I’m creating…
The garage is already starting to look much better! This little project obviously initiated several other projects in this space. Keep an eye out for a post detailing how I completely transformed this corner of our garage!