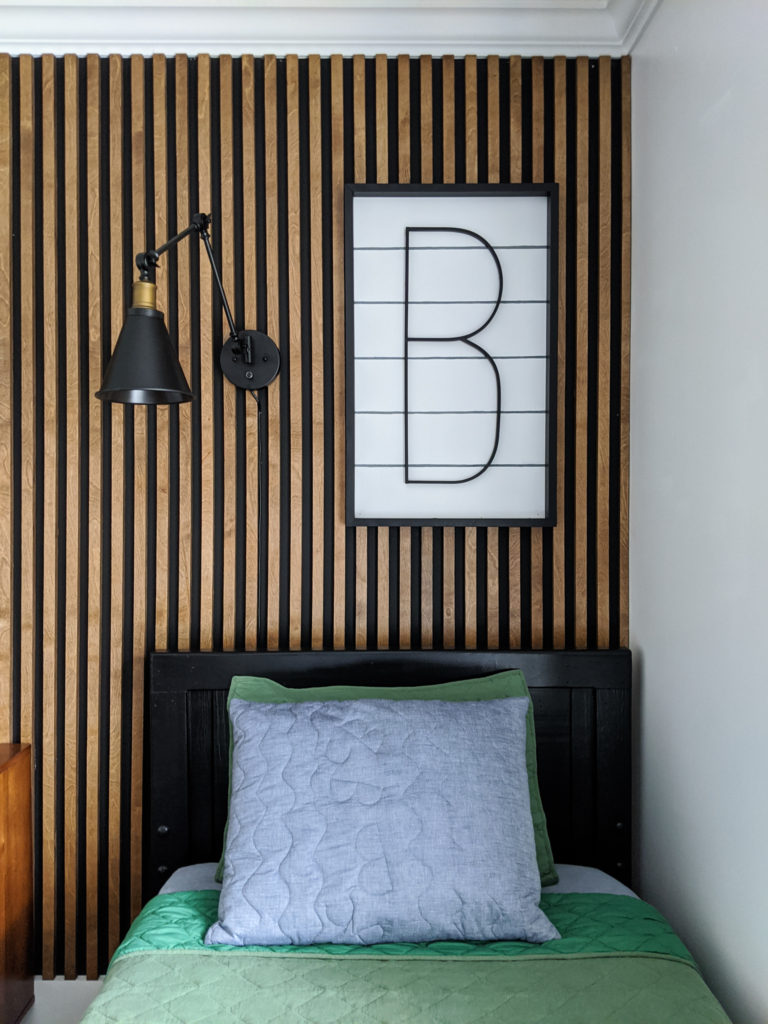
A few weeks ago, I created a shiplap sign. I had the intention of making another one and hanging them above each of my boys’ beds. I absolutely love how they turned out, but they ended up being petty heavy.
I am super careful about hanging things above my kids’ beds and I just wasn’t comfortable hanging these above their beds after realizing how heavy they were (I would definitely hang them somewhere else in my home). I did, however, love the look and thought they were perfect for their new room, so I decided to create faux shiplap signs instead.
Cut the Plywood and Frame
**This post contains affiliate links to products that I recommend. If you purchase something through an affiliate link, I may receive a small percentage of the sale at no extra cost to you. I really appreciate your support.**
I used 1/4″ plywood as the main part of the sign. The size of the real shiplap sign was perfect, so I decided to make them about the same size. I cut the plywood 17″ wide by 30″ tall. I stuck with a nice round number for the height because it would make drawing the shiplap lines on much easier.

I made the frame slightly smaller than the piece of plywood. As usual, I tried to use materials that I already had on hand. Therefore, the frame was made from 1×2. I cut the corners on a 45 degree angle (mitered).
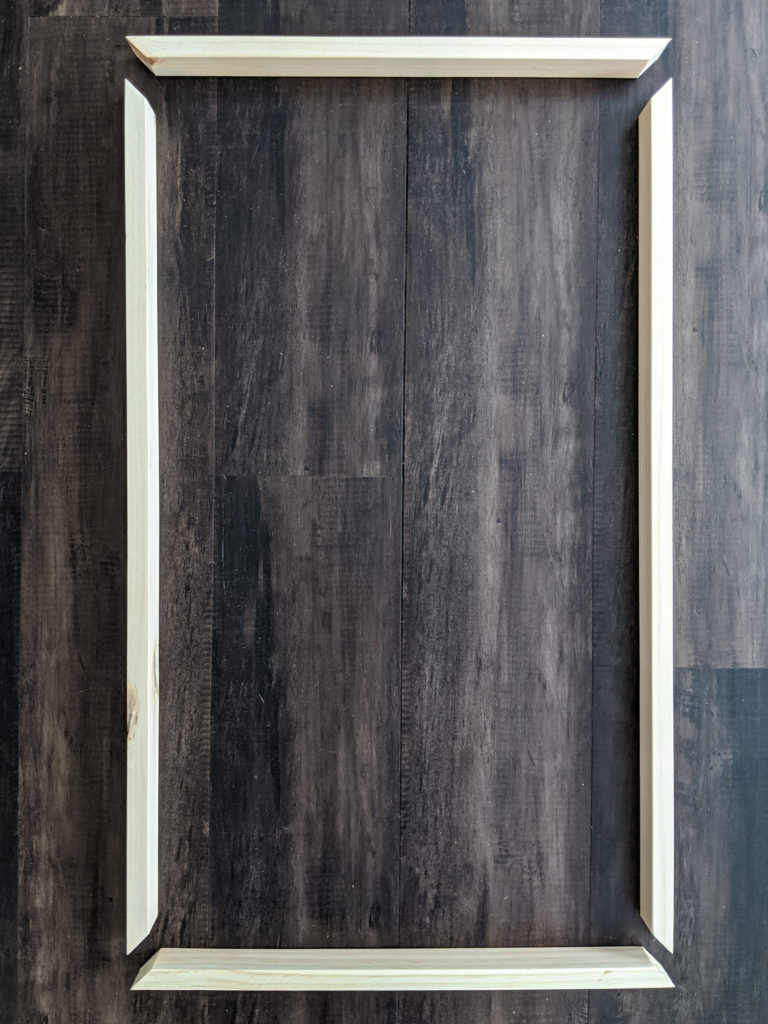
Assemble the Frame
I used wood glue and my finish nailer to assembled the frame. I applied a small amount of wood glue to one of the mitered corners. Using my corner clamps, I lined up the two pieces and then nailed them together with finishing nails.
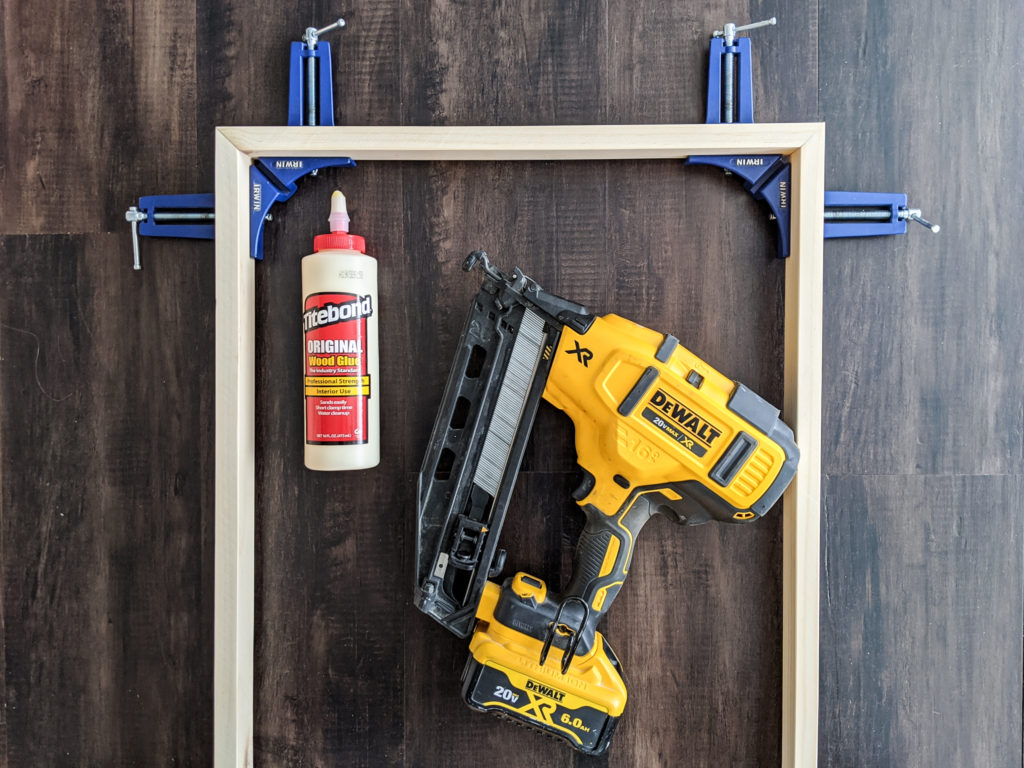
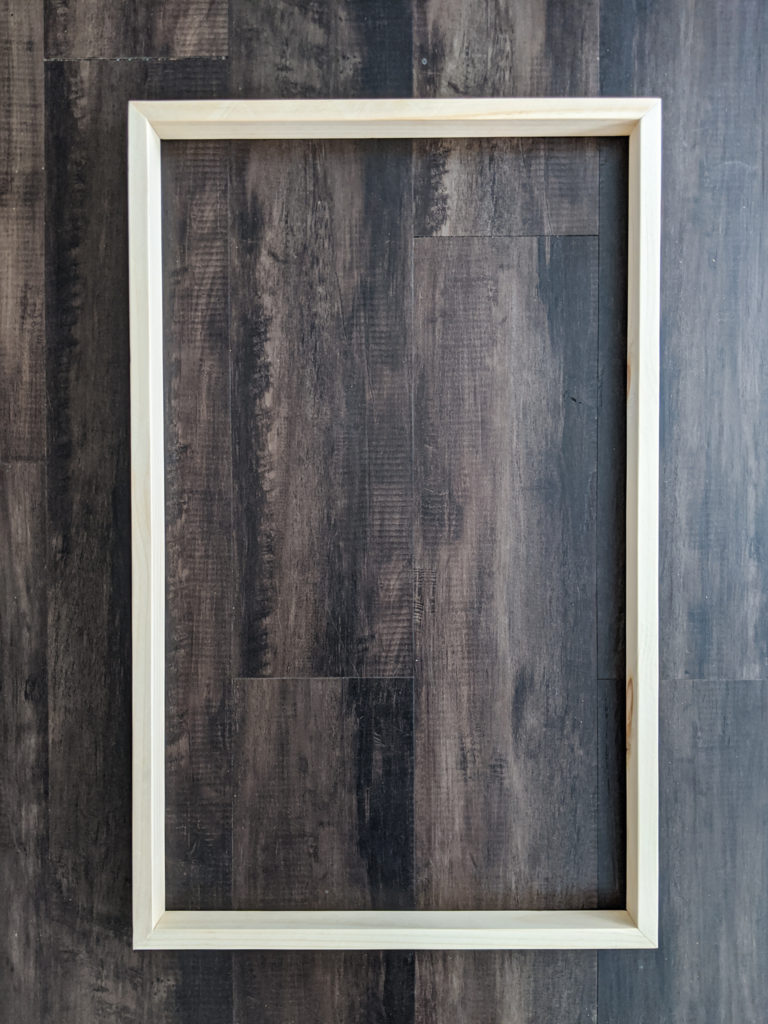
Once I did that for each corner, I had a fully assembled frame.
Paint the Plywood and Frame
I chose to paint the sign black and white. I painted the plywood white and the frame black. The plywood and frame pieces were not primed, so I applied two coats of paint on both.
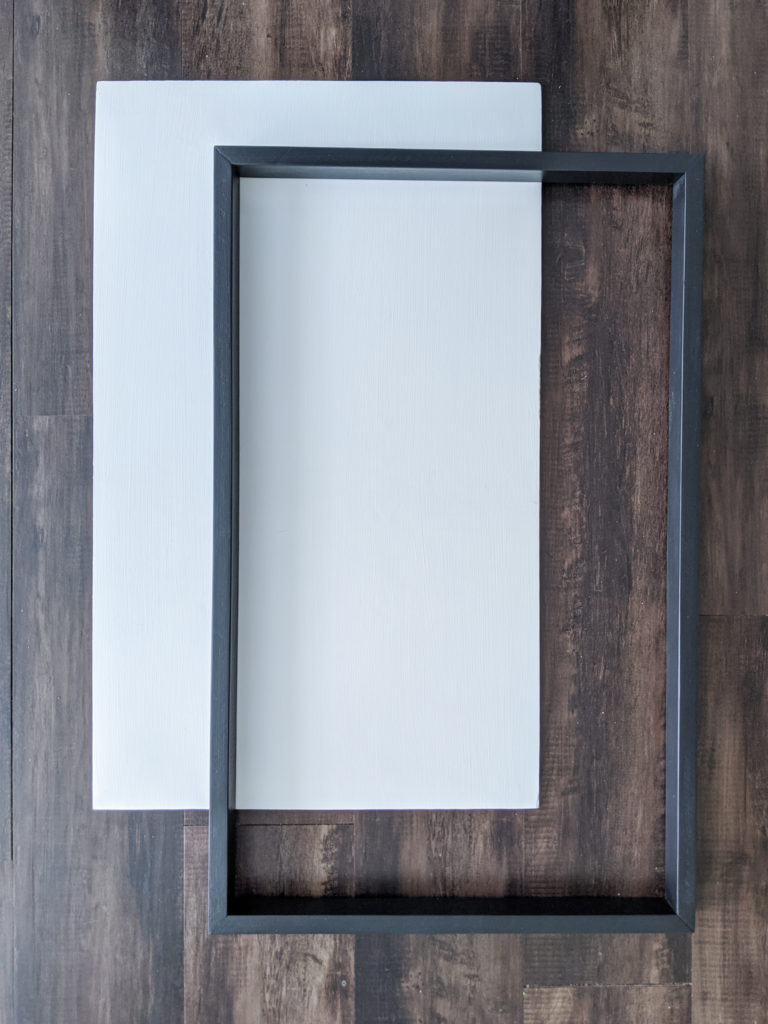
You can easily change up the appearance of the shiplap sign by painting the plywood a different color or using stained wood for the frame.
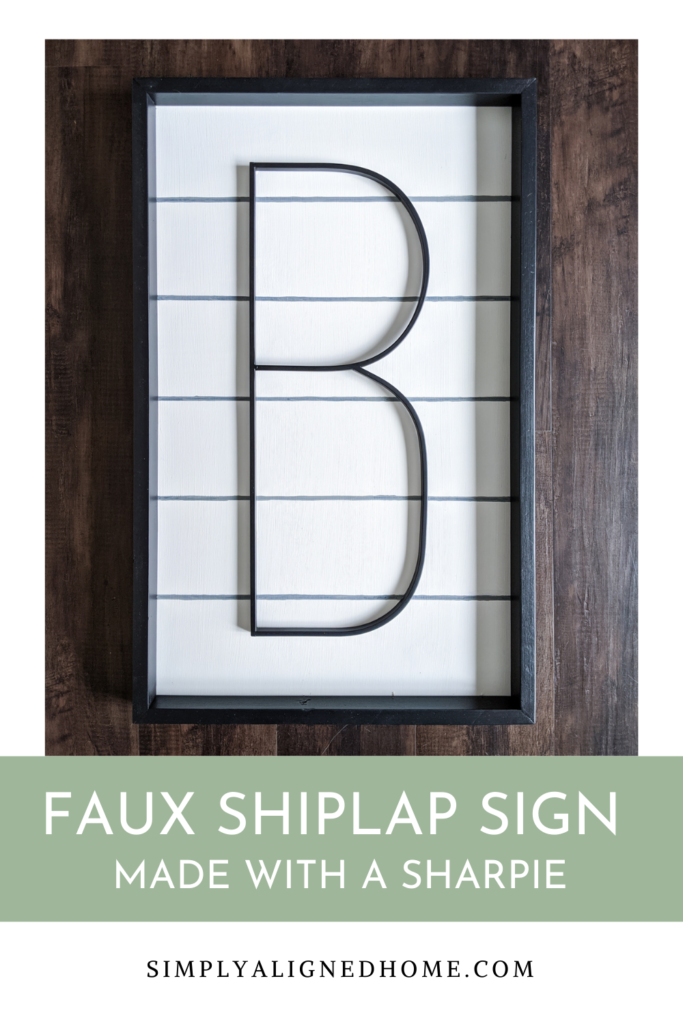
Draw Faux Shiplap Lines with Sharpie
Since I based the size of the plywood on the spacing of the shiplap lines, the math was simple. Using a straight edge, I drew a line with a Sharpie every 5″.
Attach Plywood to Frame
Once the frame and faux shiplap board were complete, it was time to assemble the sign. I used both construction adhesive and short finishing nails to secure the faux shiplap board to the frame. I nailed through the shiplap board into the frame from the back.
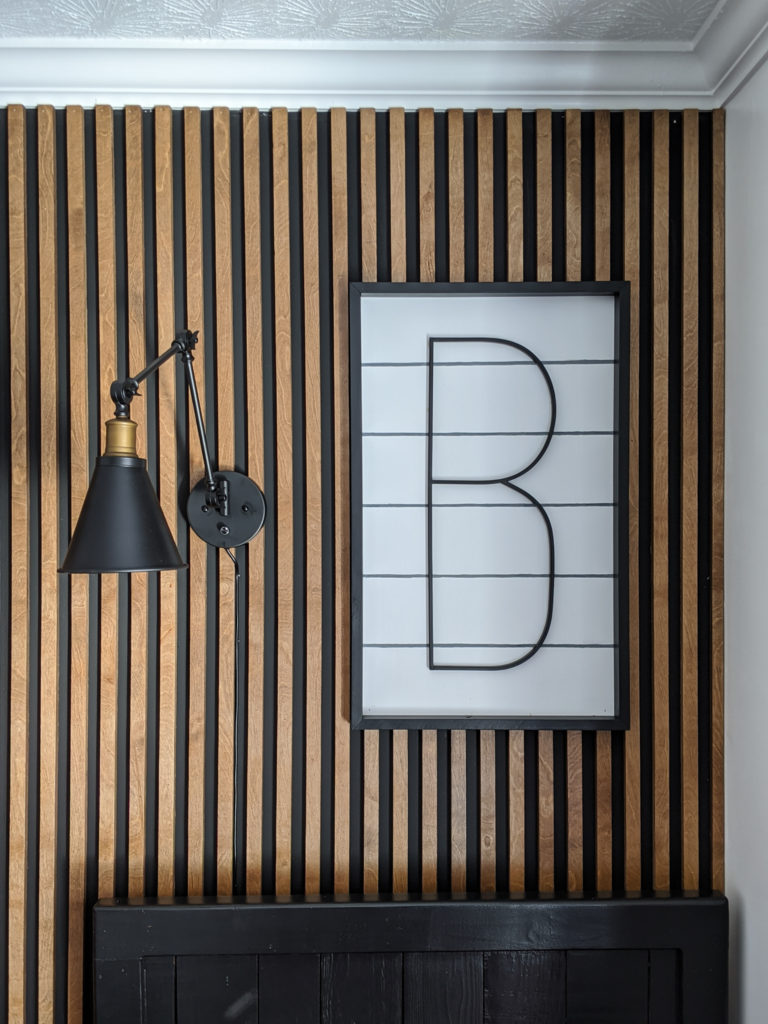
Add Metal Letter
The final piece of my faux shiplap sign was the metal letter. I put a few pieces of construction adhesive on the back of the metal letter and secured it to the faux shiplap sign.
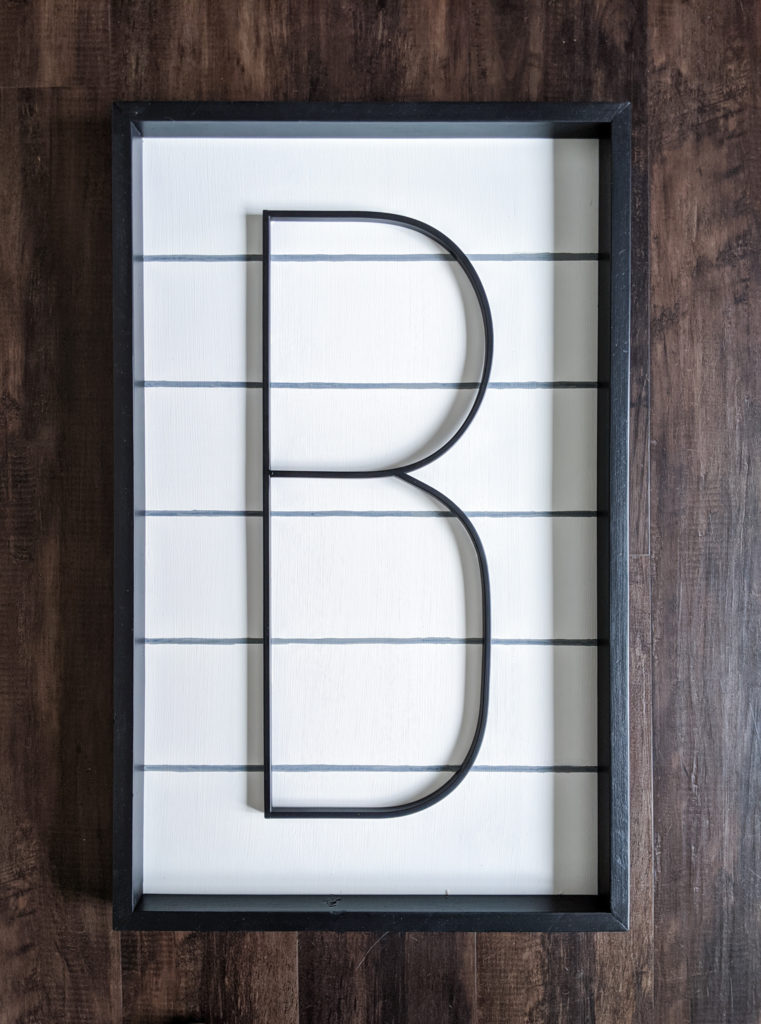
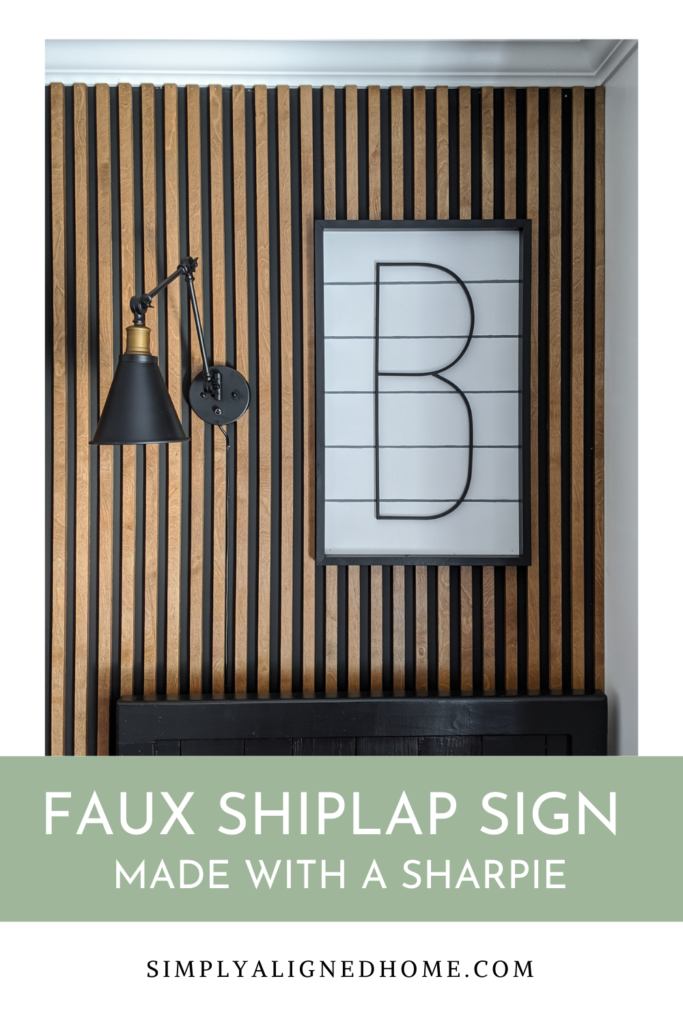
The faux shiplap signs look just like the real shiplap sign, but are so much lighter! If you saw them hanging up, you probably wouldn’t notice they weren’t really shiplap! I felt so much better about hanging these above my boys’ beds since they were so much lighter!!