This post is sponsored by The Home Depot, but all views and opinions shared in this post are my own.
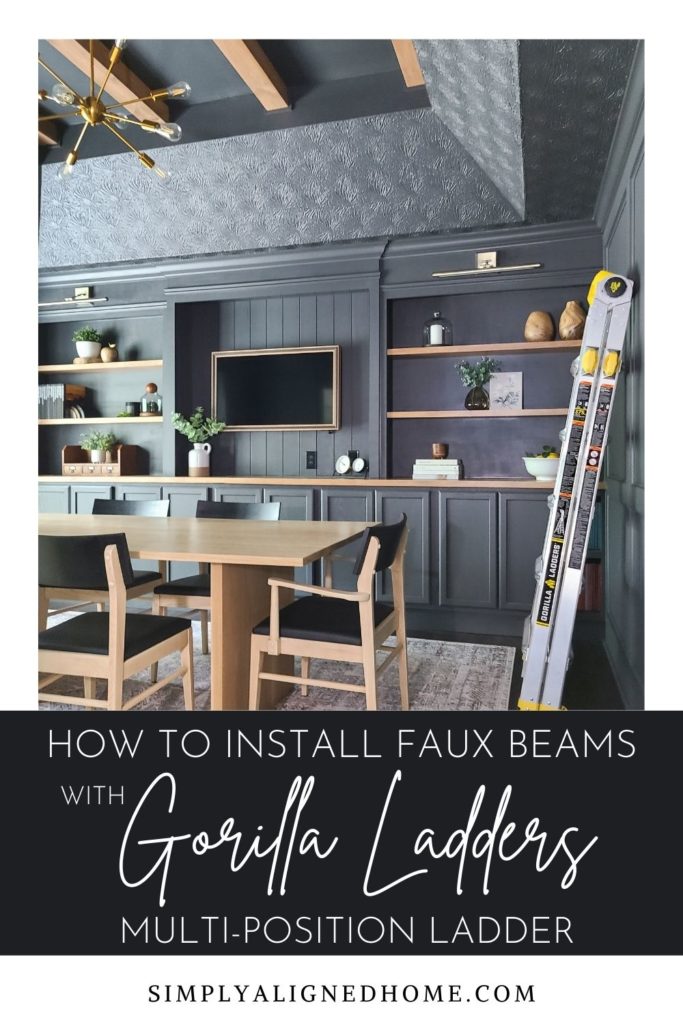
DIY projects are always easier when you have the right tools! I recently installed faux beams in our primary bedroom using a standard a-frame ladder. It was difficult to maneuver the ladder and I did not feel all that safe installing the beams on the ladder. When I decided to install faux beams in my office/dining room, I used the Gorilla Ladders multi-position 23 ft. reach ladder…it made a huge difference in the project! Let me share how to easily install the beams as well as the many features of this ladder.
How to Install Faux Beams
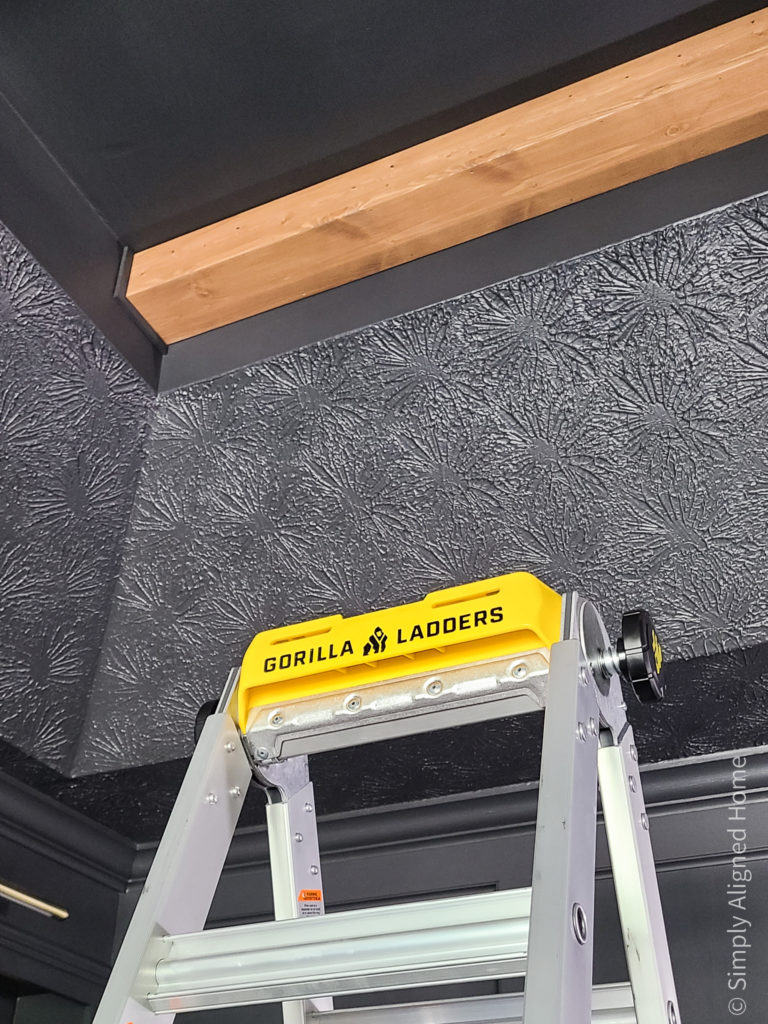
Remove Ceiling Trim
I had a decorative trim around the top of my tray ceiling that I needed to remove before I could install the beams. I did this by first scoring the caulk with a knife. I then gently removed the trim with a trim puller. I patched any nail holes using spackle and touched up the paint. My ceiling was now ready for faux beams!

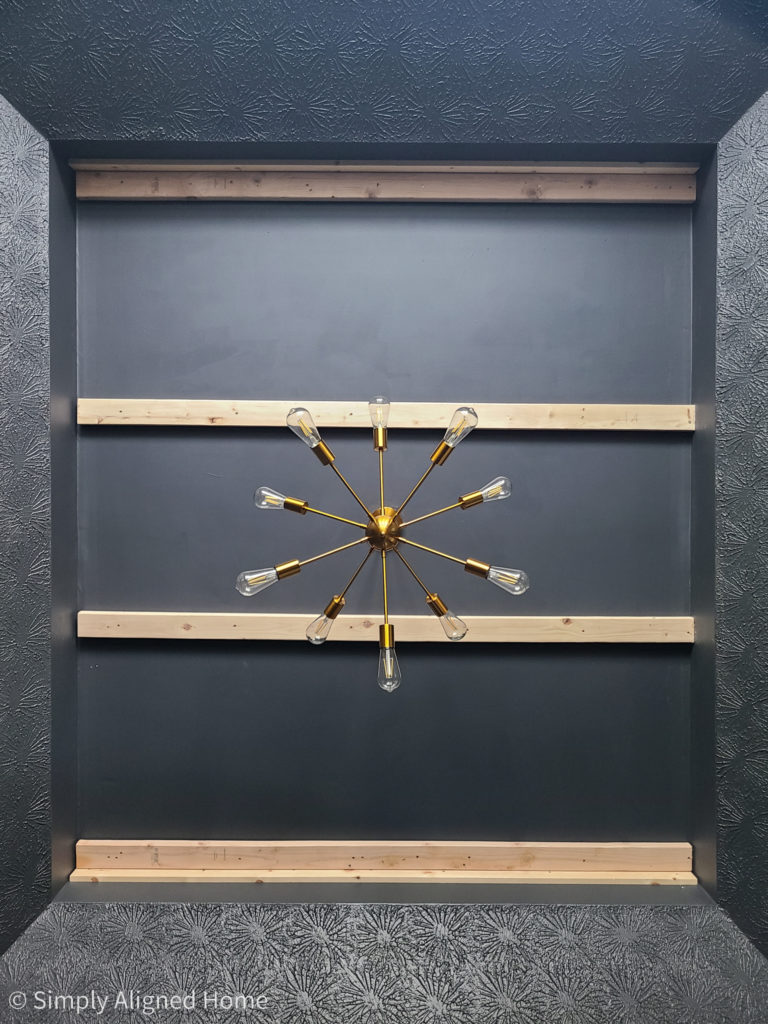
Install 2×4 Supports
It’s very important that the 2×4 supports are secured to the ceiling joists. The 2x4s are the only thing that will be supporting the beams and you certainly don’t want them to come crashing down. I located the joists using a magnetic stud finder. I then secured the 2x4s to the joists using construction screws.
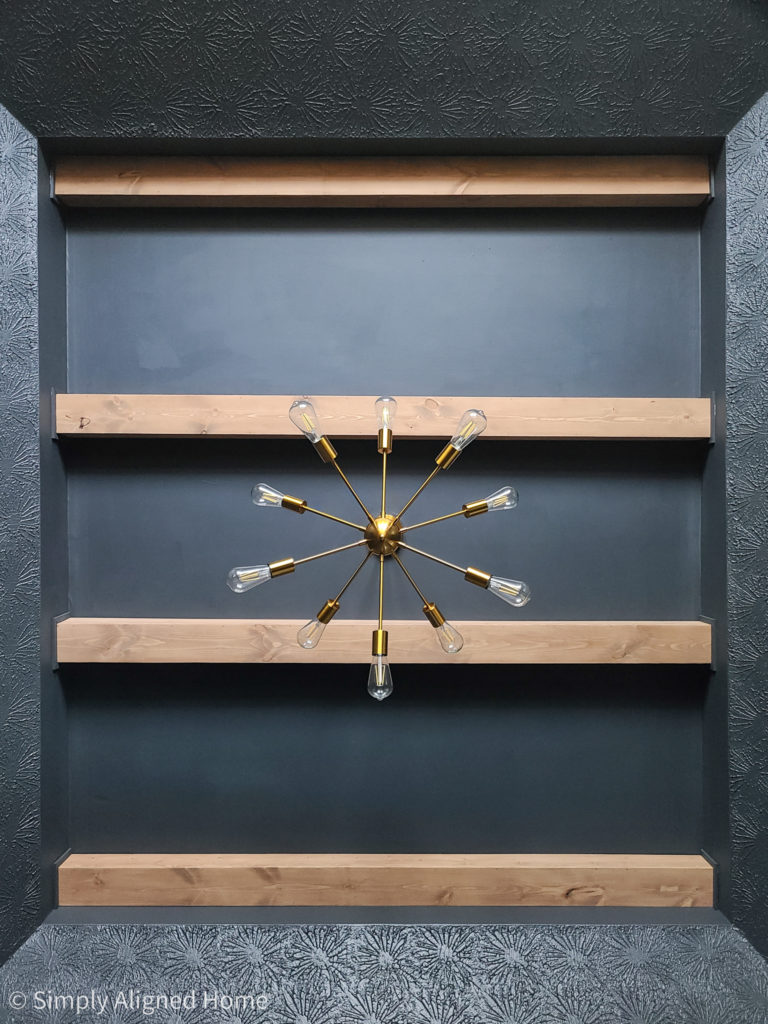
Install Faux Beams
Once the 2×4 supports were installed and the beams were made, it was time to install them! This part was surprisingly easy with the Gorilla Ladders multi-position ladder.
I simply slid the beams onto the 2×4 supports, using a mallet where the beam fit snugly over the 2×4. Once the beam was in place, I secured it to each side of the 2×4 support using finishing nails.
**This post contains affiliate links to products that I recommend. If you purchase something through an affiliate link, I may receive a small percentage of the sale at no extra cost to you. I really appreciate your support.**
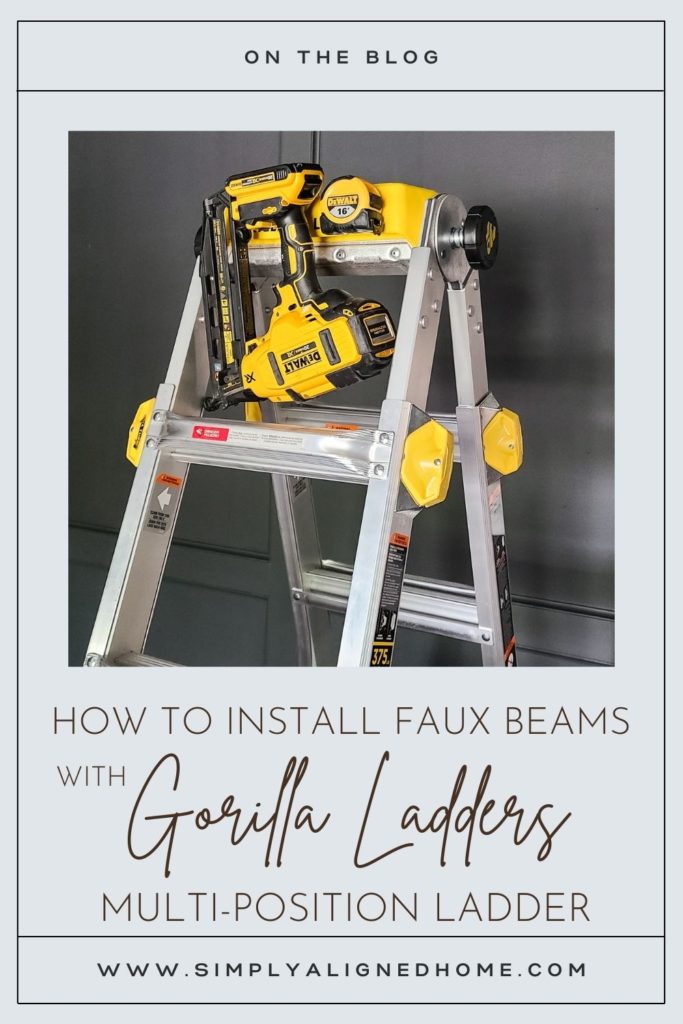
As I said, this project was so much easier thanks to the Gorilla Ladders multi-position ladder! Here are a few of my favorite features of the ladder.
Gorilla Ladders Multi-Position 23 ft. Reach Ladder
Quality
This is not the first Gorilla Ladders product that I’ve owned. I have several smaller ladders of theirs and one of my favorite things about this brand is the quality of their products! They are well made, very durable and the designs are well thought out.
The quality of the ladder was very apparent when I was removing the trim from the ceiling. While I was pulling the trim off, I never once felt unsteady or that the ladder was not stable. The all aluminum construction adds to the stability and rigidity of the ladder as opposed to that of a fiberglass ladder.
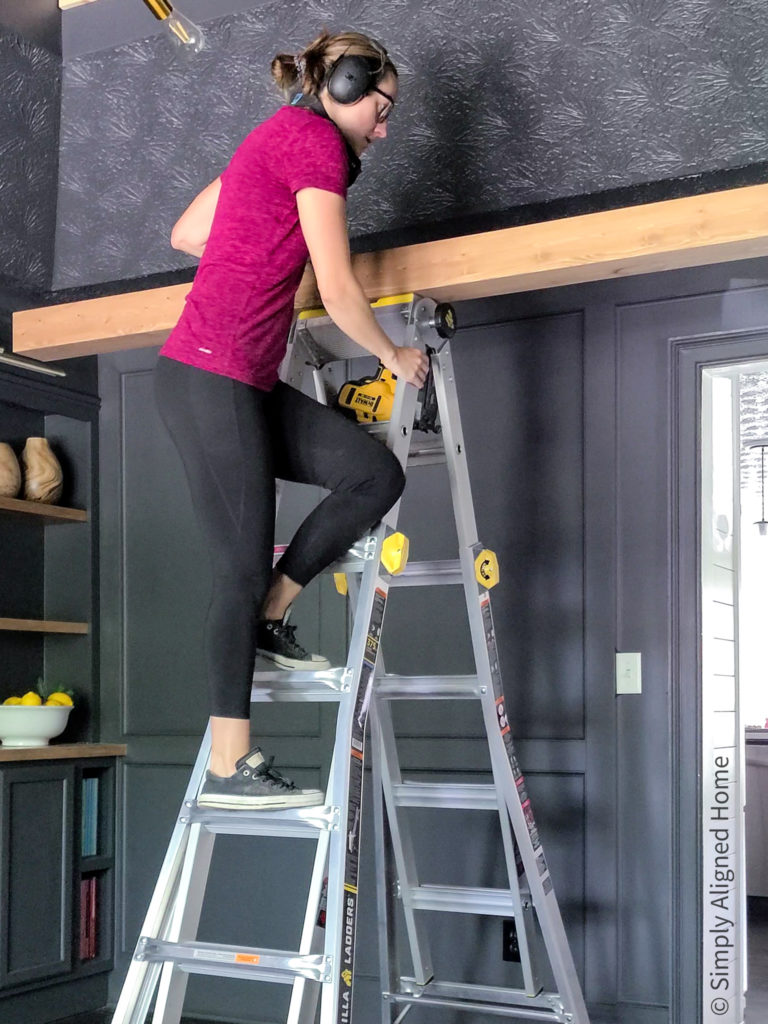
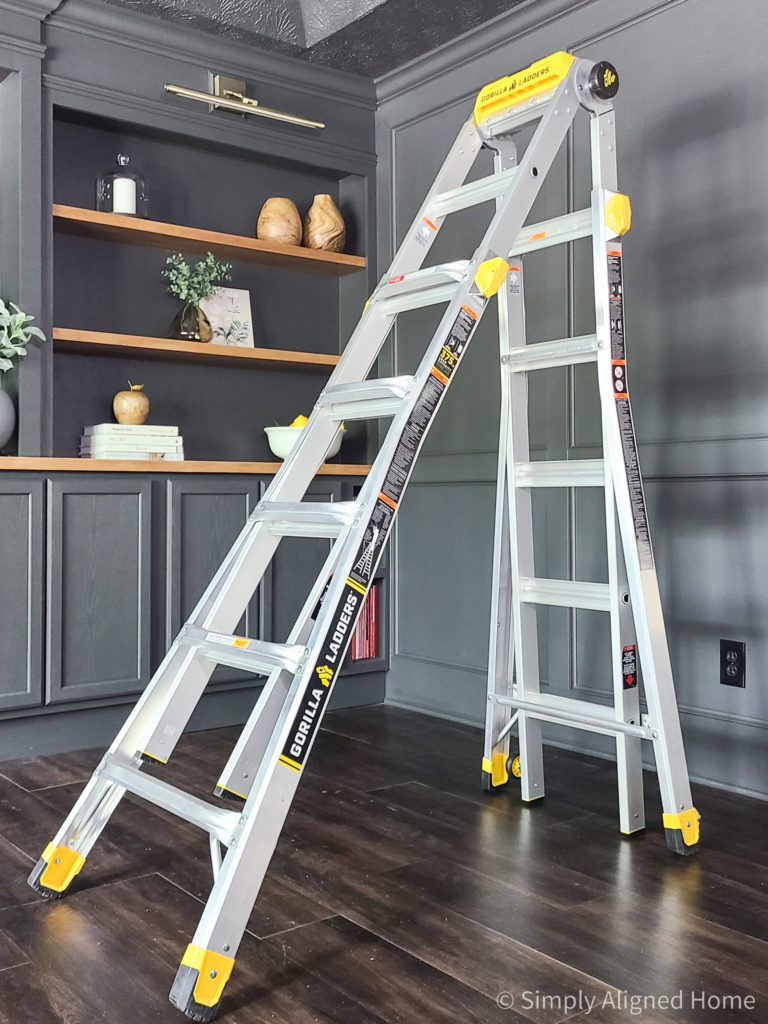
Telescoping Adjustable Positions
One of the best features of the Gorilla Ladders multi-position ladder is the versatility of the ladder. The ladder has several different height adjustments. Each side of the ladder has two speed locks. You simply twist them 90 degrees to adjust the height of the ladder.
Not only is it adjustable to several different heights, it is also adjustable to different angles.
I was able to easily and safely adjust the height of the ladder so that I could access the ceiling without standing near the top of the ladder. I personally hate using the top few steps of a ladder while working overhead. It makes me feel unsteady and not very secure. I really love the ease of use and versatility of the telescoping feature!
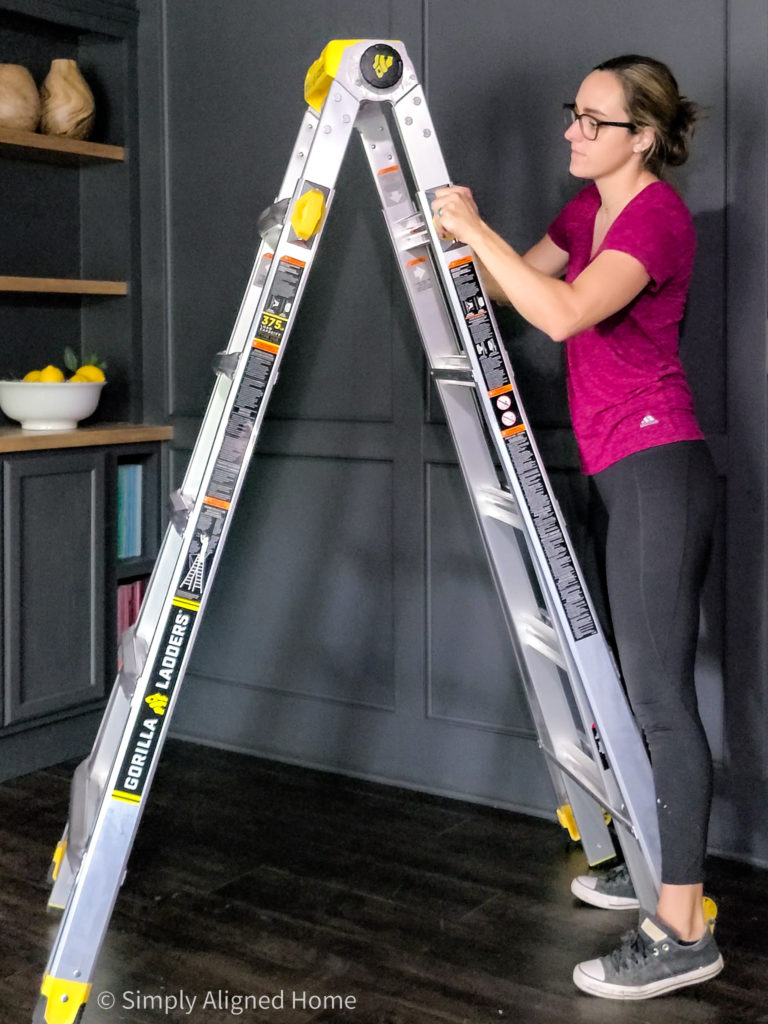
Twin Step
When securing the faux beams to the 2×4 supports, I needed to nail the beam on each side. The twin step was so helpful for this part of the project! I was able to place the ladder directly under the beam and could access both sides of the beam by climbing up each side of the ladder.
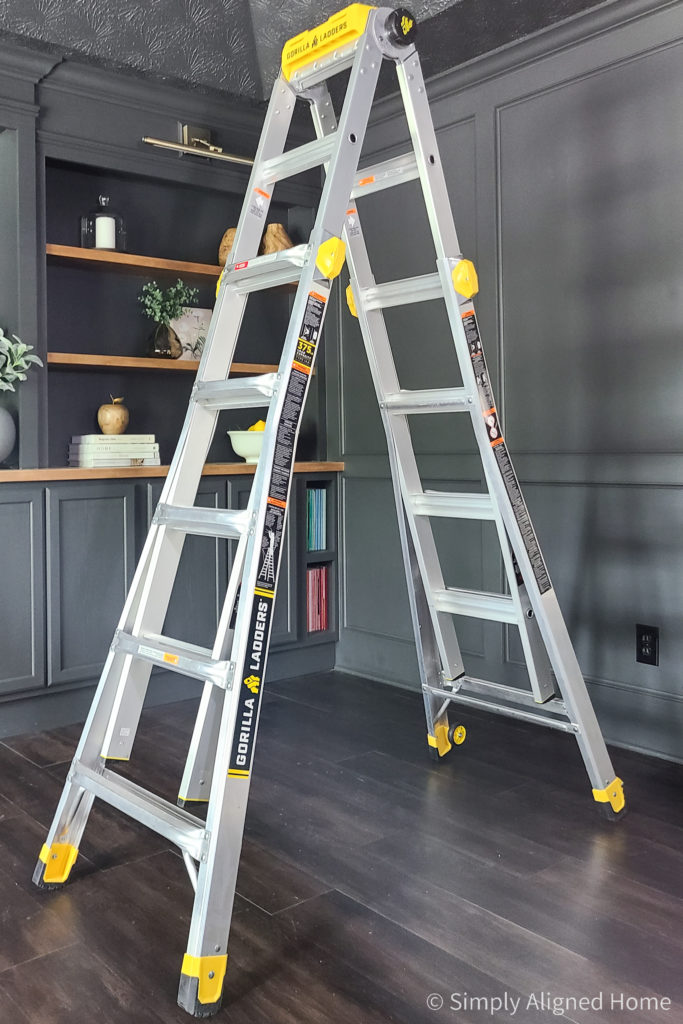
The twin step reduced the number of times that I needed to move the ladder, making the project even quicker!
Project Top
A decent sized project top is a must for any ladder. There’s nothing worse than not having everything you need while on top of the ladder. The project top on the Gorilla Ladders multi-position ladder did not disappoint! There were plenty of spots to hang my tools as well as a large tray. I was able to hang my finish nailer and measuring tape from the tray and store my nails and mallet in the tray.
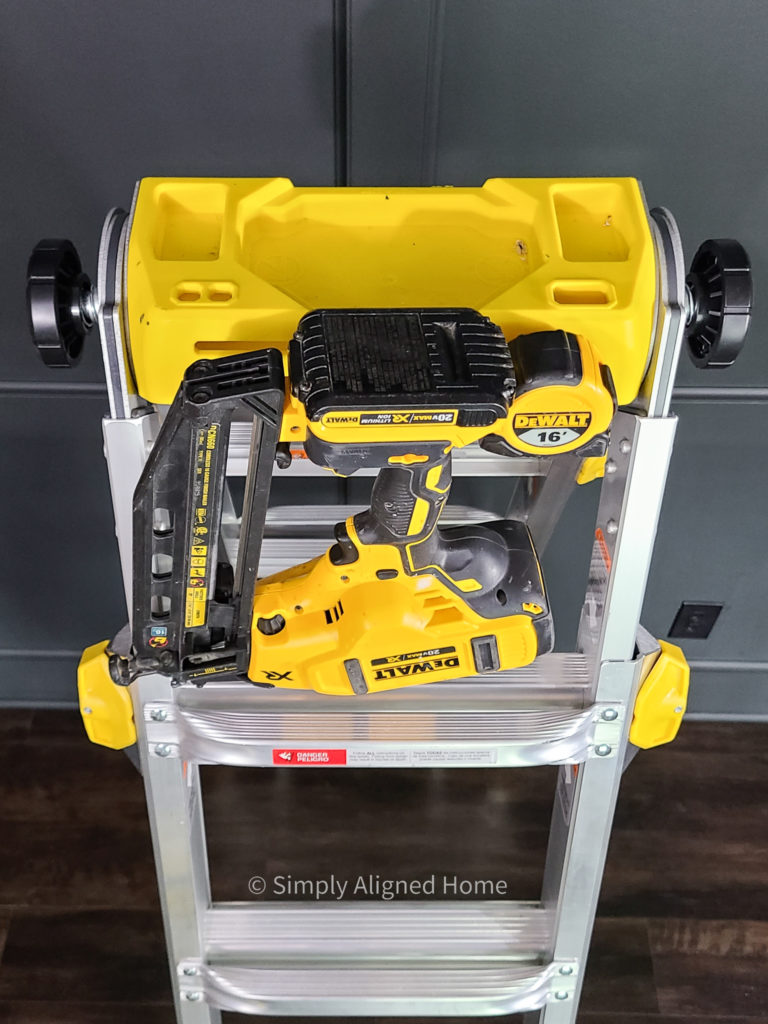
When it was time to touch up the paint on the ceiling, I was able to securely place the paint can on the project top. There is a cutout perfectly sized to hold a paint can with plenty of space to set the paintbrush on either side.
Manageable Weight
The ladder was lighter than my standard a-frame ladder. It still was a little heavy, but definitely manageable. Honestly, any ladder that can support me 23ft in the air better have some weight to it.
Luckily, the Gorilla Ladders multi-position ladder is equipped with wheels. This made moving the ladder from my garage to my office so much easier!

I really love my Gorilla Ladders Multi-Position 23 ft. Reach Ladder and will definitely be using it for many more projects!