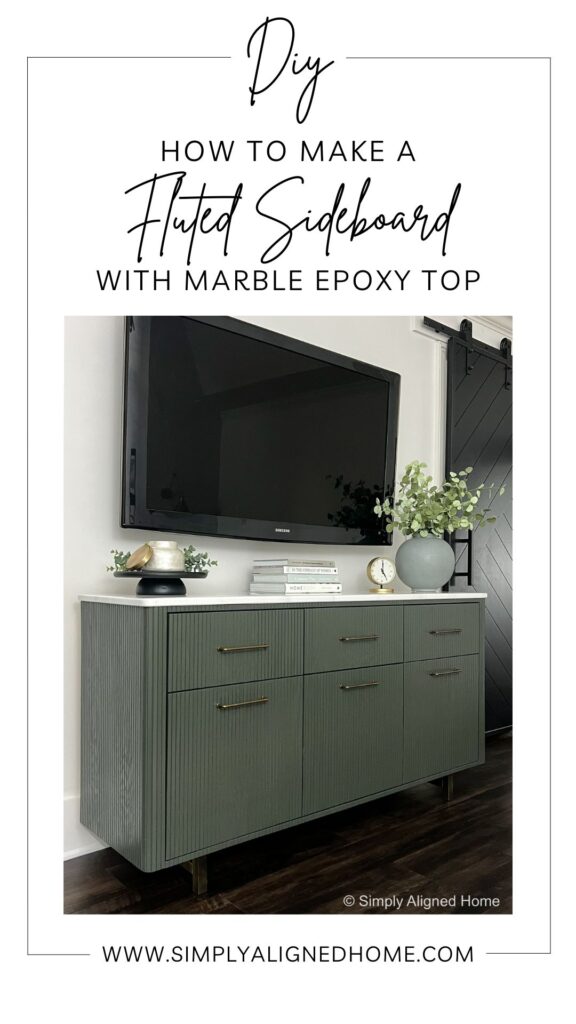
Have you ever found a piece of furniture that you love, but don’t love the price tag?! It happens to me all of the time…which is why I DIY! I love taking affordable pieces of furniture and turning them into expensive looking furniture. Here is how I flipped a basic sideboard into a beautiful statement piece!
**This post contains affiliate links to products that I used or recommend. If you purchase something through an affiliate link, I may receive a small percentage of the sale at no extra cost to you. I really appreciate your support.**
Find an Affordable Piece of Furniture
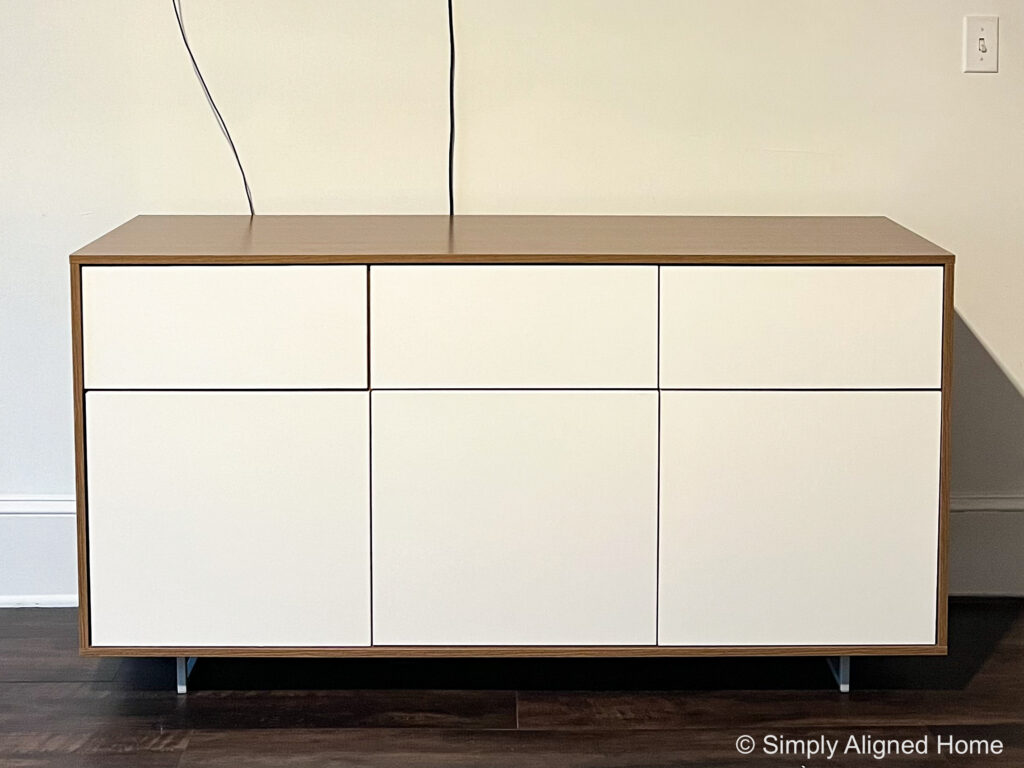
The first step to any furniture flip is finding the perfect piece of furniture! It’s important to take into consideration the changes that you want to make to the piece as well as the major features you want.
For my sideboard, I knew I wanted to fully wrap it and make it look as seamless as possible. In order to achieve a seamless look, I needed inset doors that sat flush with the front of the unit. I also wanted to add trim to the front of the doors and drawers, so I needed flat faced doors. Below is the sideboard that I chose.
Add Framing to Side of Frame
One of the main features that I loved about my sideboard inspiration was the rounded front corners of the unit. In order to achieve this look, I needed to add some framing to the sides.
My first thought was to use a large round over router bit to create the rounded corner. After testing it out, I discovered that I was not able to get a large enough radius for the trim to smoothly transition around the corner.
I ultimately decided to make the rounded corner out of a wall mounted handrail. I ripped the handrail down the center, which gave me two quarter round pieces.
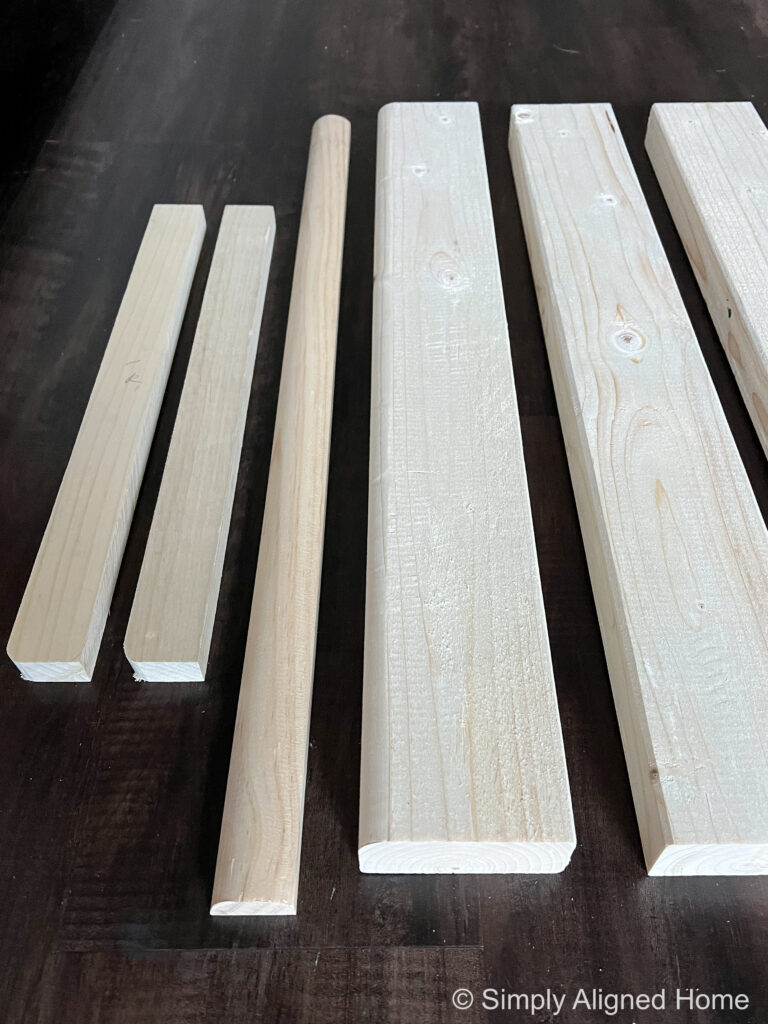
I used the handrail pieces along with some 2×4 to create framing that I would secure the trim to. Once assembled, I secured the framing to the side of the sideboard with construction screws. If you are working alone, like I usually do, it’s a great idea to have a few clamps on hand!

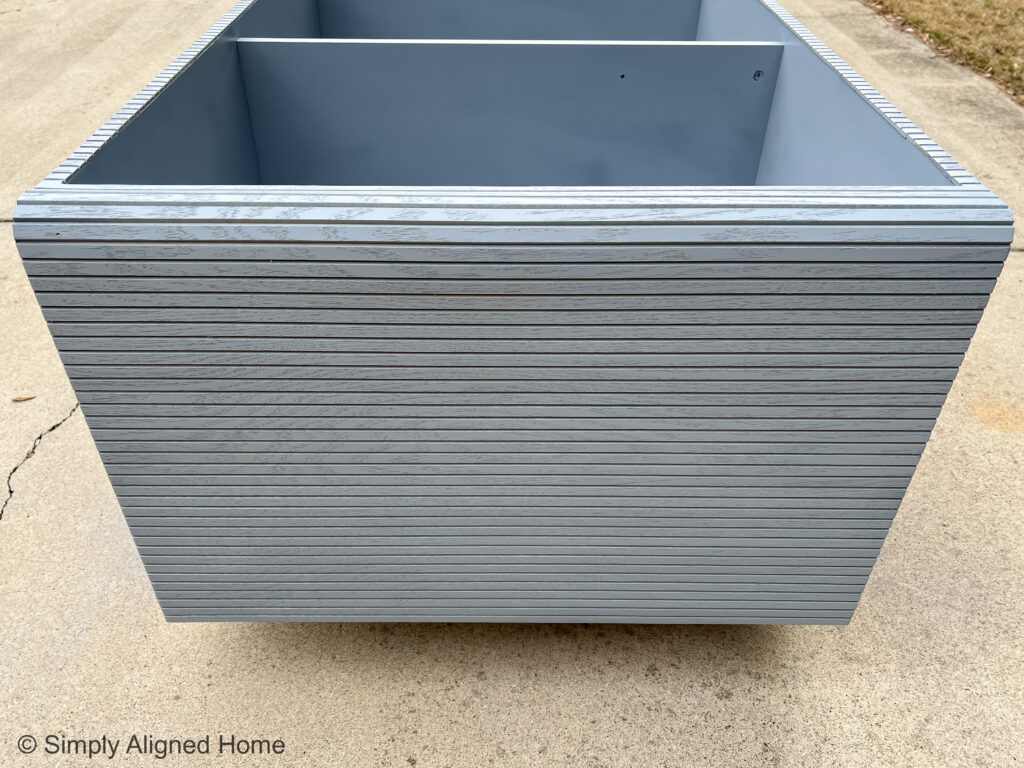
Add Pole Wrap to Sideboard Frame
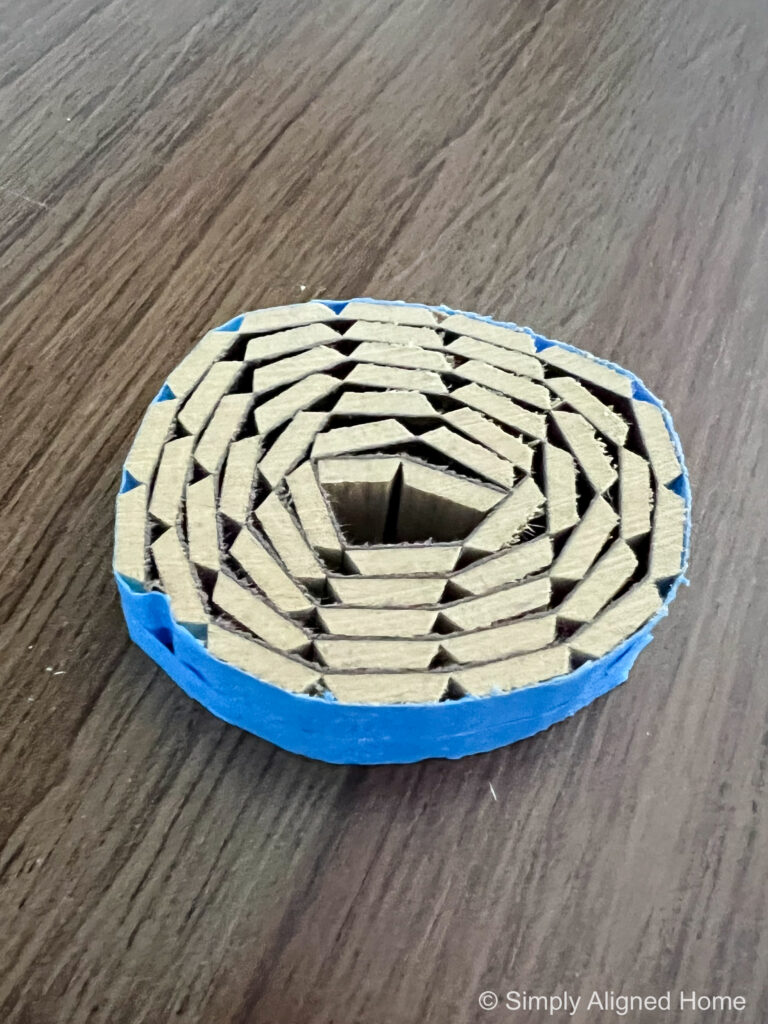
My sideboard inspiration had a fluted look. Cutting individual pieces of wood to achieve this look would have taken forever and been very expensive! I have seen several other DIYers use pole wrap as a faux fluting, so I decided to go that route.
You can buy pole wrap is several different sizes. I chose to purchase a 4′ x 8′ sheet with the intention of having some left over.
I first cut the roll of pole wrap to the same height as the sideboard. I found that it was easiest to tightly roll up the pole wrap and cut it with my miter saw. I wrapped the pole wrap with painters tape where I would cut to prevent tear out of the wood veneer.
Once cut to the correct height, I cut the first side to the correct width. The flexible backing of the pole wrap is really easy to cut with a knife. I secured the pole wrap to the side using glue and my brad nailer with 1″ brad nails.
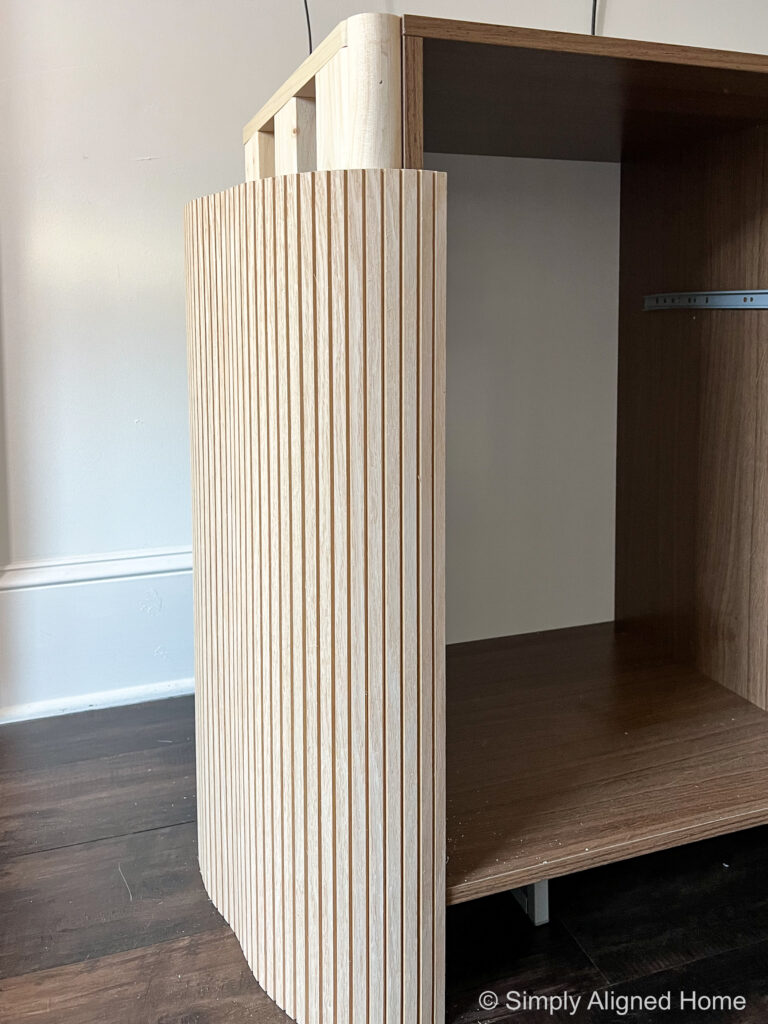
Next up…the top and bottom of the unit.. This was definitely the most tedious part!
I cut small sections of the pole wrap that were the same width as the thickness of the unit frame. Starting next to the side with the pole wrap already installed, I glued and nailed the small pieces across the top and bottom of the unit.

With the top and bottom pole wrap installed, I was able to determine how wide the last side piece needed to be. I carefully ripped it to the correct width with my table saw. I installed it with glue and brad nails.
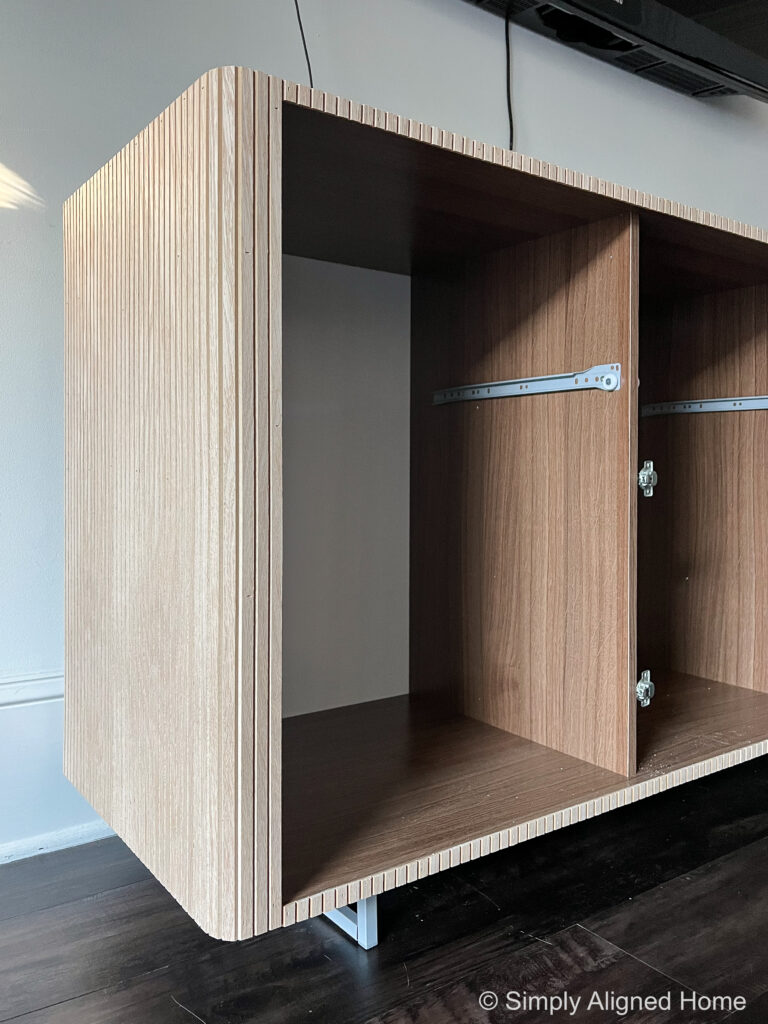
Add Pole Wrap to Doors and Drawers
I put the drawers back in the sideboard once all of the pole wrap was installed. With the drawers installed, I was able to see where I needed to cut the pole wrap for it to align with the pole wrap on the frame of the unit.
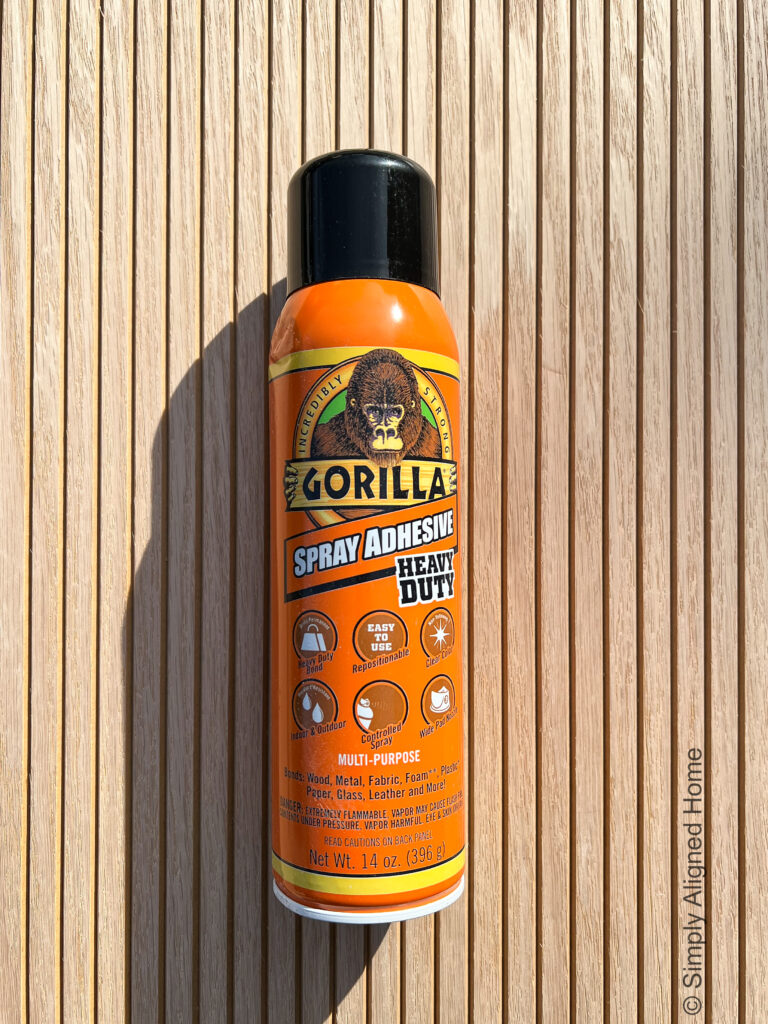
I cut the pole wrap for the doors and drawers and secured them using a spray adhesive. I sprayed the adhesive on both the door/drawer and pole wrap. Fair warning, I’ve never used this adhesive before, so I have no clue how well it will hold. It seemed to have a nice, strong hold when it dried.
Prime the Sideboard
The pole wrap is made of wood and particle board of some sort. For the best paint finish, its necessary to prime the pole wrap before painting. I decided to use grey spray primer. When using a dark colored paint, it is better to prime with grey than white. Grey is much easier to cover than white.
I used my comfort grip attachment for the spray primer. It is much more comfortable and helps give me more control over the paint.
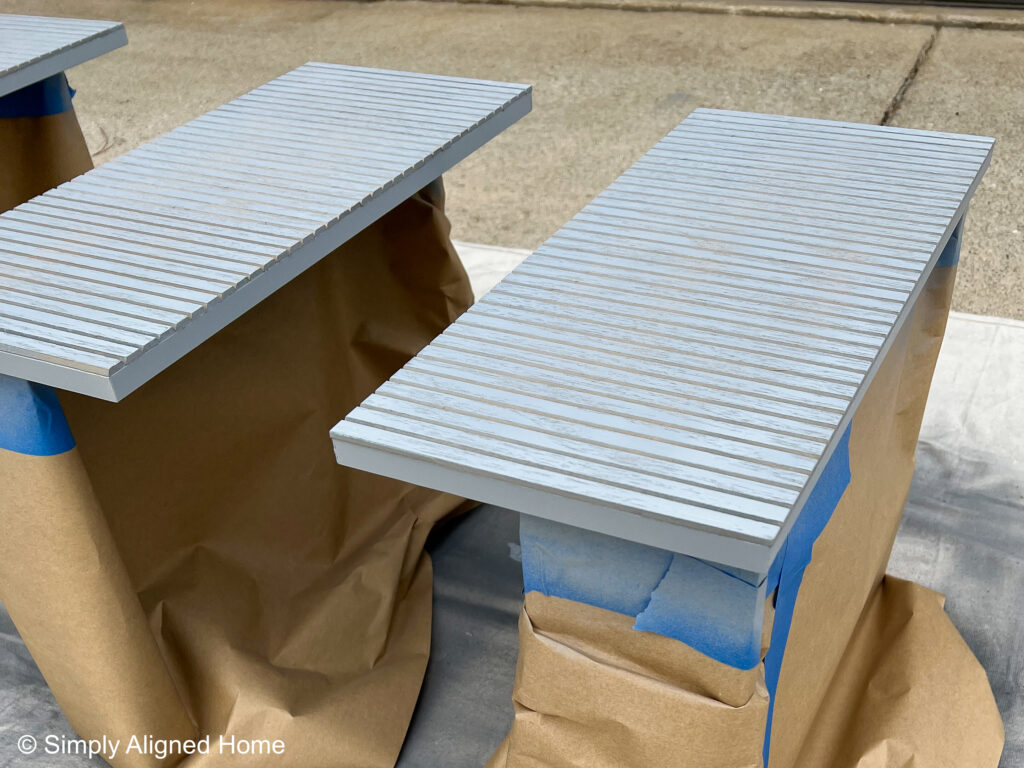
If your primer is not smooth once dry, do a light sanding prior to painting.
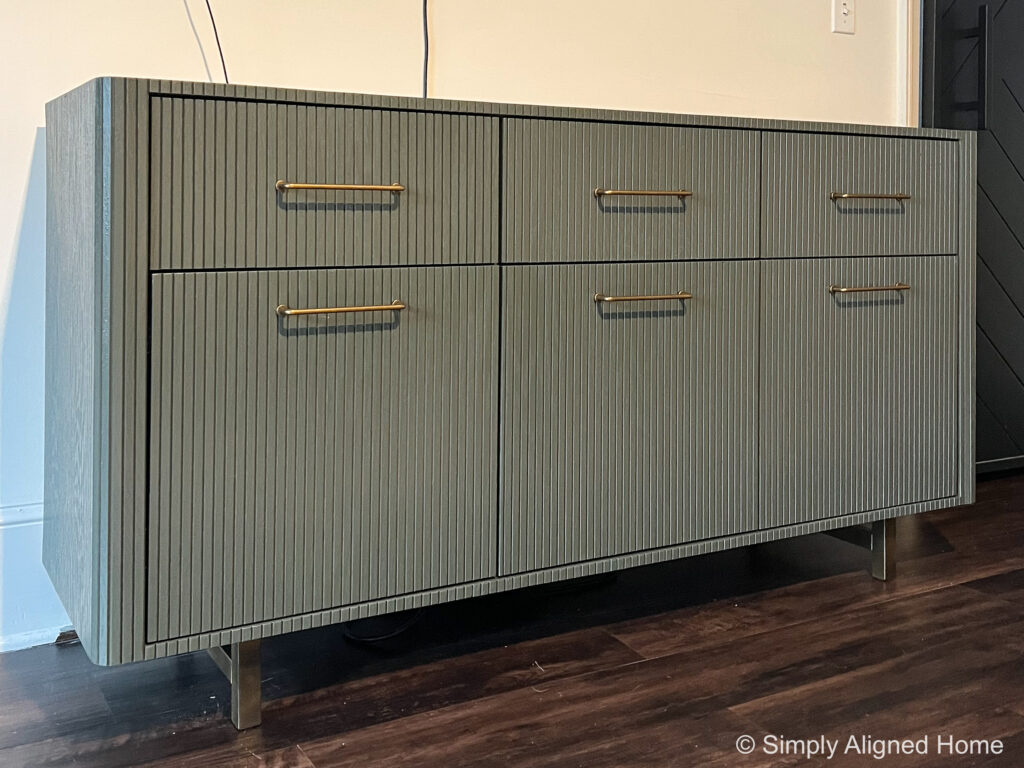
Paint the Sideboard
With all of the grooves of the pole wrap, I quickly decided that it would be best to spray the sideboard. I have tried several paint sprayers and my Graco paint sprayers never fail! I used my Graco TC Pro cordless paint sprayer for this project.

My inspiration sideboard appeared to have a dark wood stain. I am obsessed with dark green right now, so decided to go with a green paint. I settled on Sherwin-Williams Shade-Grown.

I decided to paint both the interior and exterior of the sideboard frame as well as the doors and drawers. This made painting the unit much easier!
I applied two coats of a cabinet and furniture oil-enriched enamel in a satin finish.
Install Door and Drawer Hardware
Isn’t this hardware so good?! I love the color and design! I centered the drawer pulls on the drawer face and installed the door pulls approximately 2″ from the top of the door.
Make New Legs
The legs that came with my sideboard were cheap and not very sound. I decided that I needed to make legs of my own! I started with primed stair balusters. I liked the size of the balusters (they were 1-1/4″ square) and the face that they were primed was a plus.
Using a dowel jig, I made a 3/8″ hole approximately 3/8″ deep into the leg. I then made a pilot hole for the screw. I secured the vertical leg to the horizontal member with glue and construction screws.
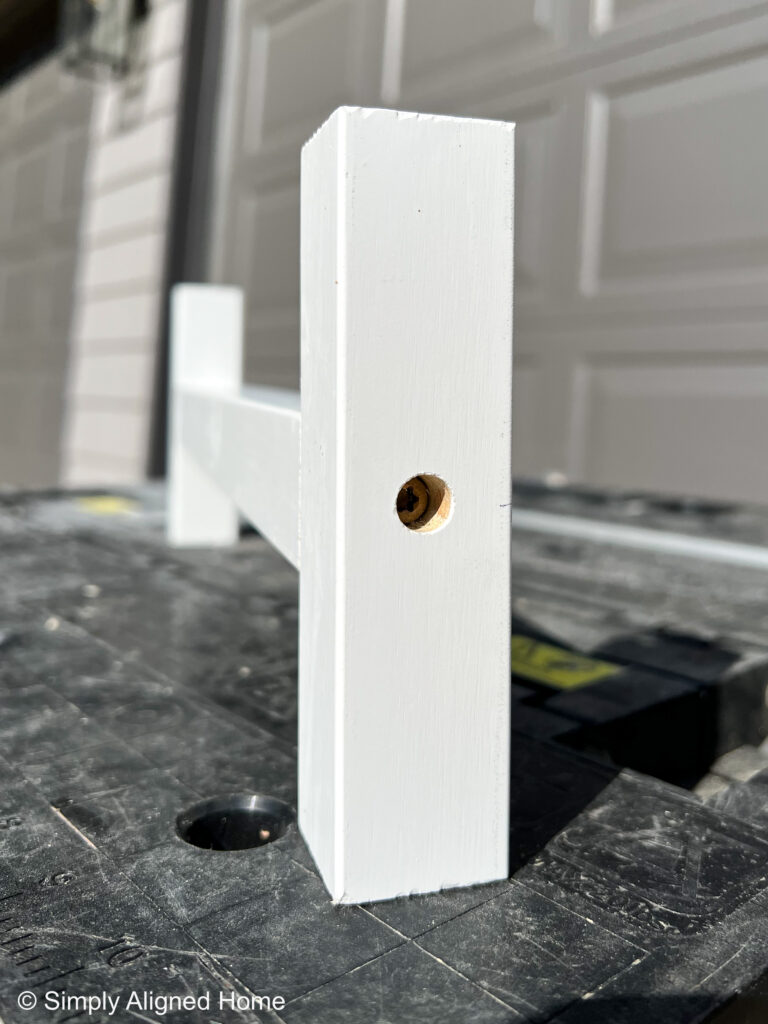
Since I used a dowel jig to make the initial hole, I was able to plug the hole with a 3/8″ dowel. I applied glue to the inside of the hole and inserted the dowel. I then used a flush cut hand saw to cut the dowel to length.
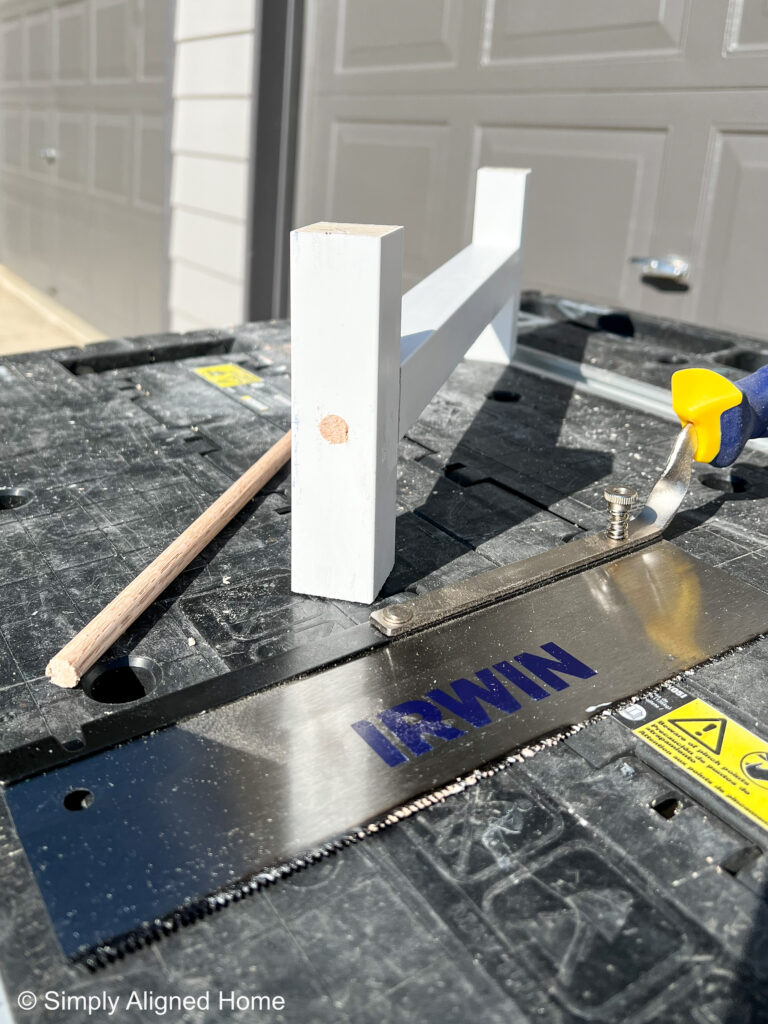
For the best finish, use wood filler to fill any voids and sand it flush.
Paint and Install the New Legs
I wanted the the legs to somewhat match the new hardware I installed on the doors and drawers. In order to achieve this finish, I first spray painted the legs black.
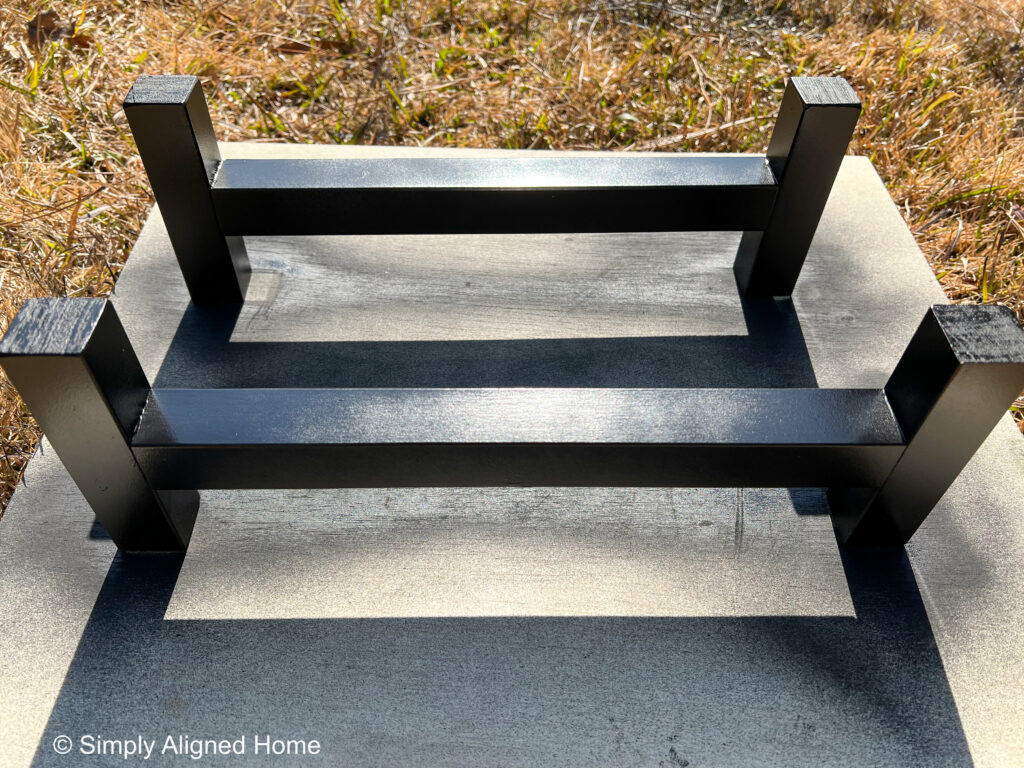
Once that dried, I did a really light and patchy coat of gold spray paint over the black (I didn’t fully cover the black paint).
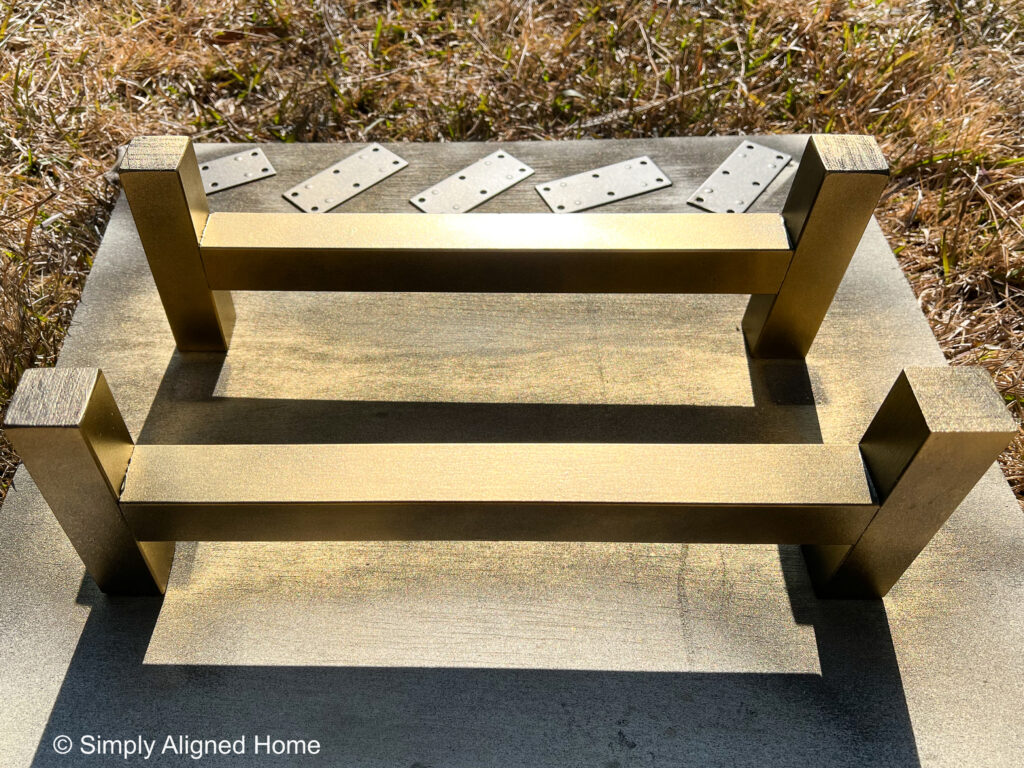
Once the paint dried, I installed the legs onto the bottom of the sideboard using mending plates.
Make a Faux Marble Epoxy Top
Making the faux marble epoxy top was a project in itself…and a fun one at that! I will have to write a detailed post about how I got mine to look like it did, but I’ll provide a high level overview here. This was my first time ever using epoxy, so by no means am I an expert on this topic.
For the epoxy top, I decided to use TotalBoat’s white marble epoxy kit. This kit comes with everything you need to create this look as well as detail instructions. Just be sure to do the calculations to determine how much epoxy you need for your project.
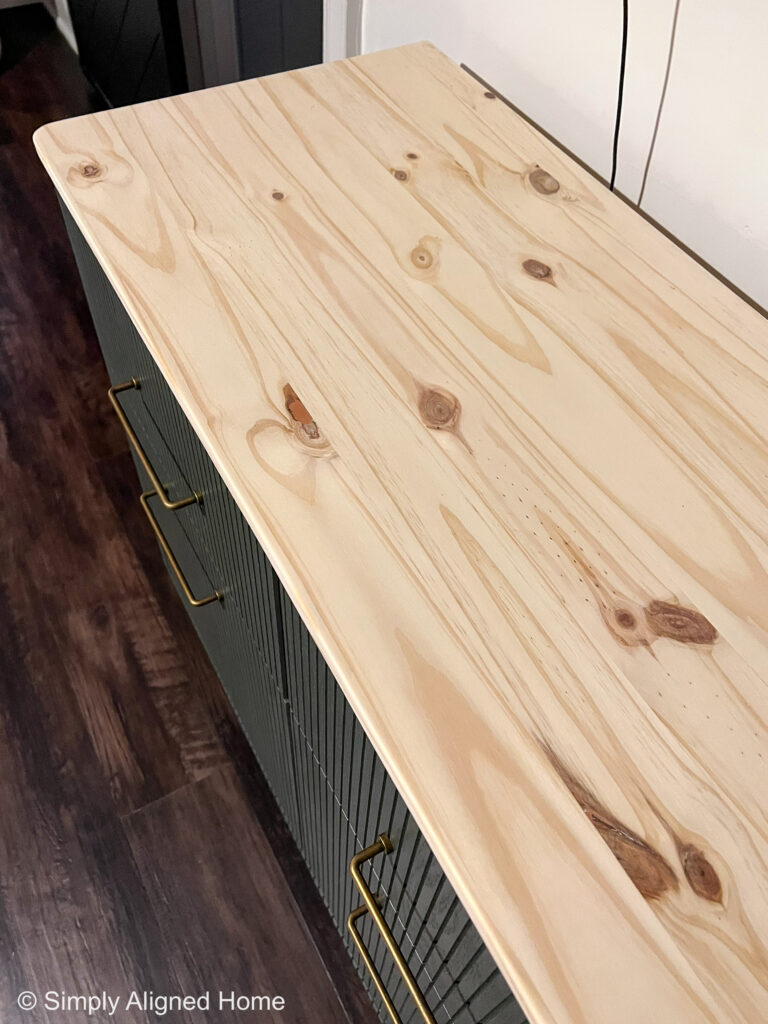
For the top itself, I decided to use an edge glued panel. This is just a larger piece of wood that was created by gluing several smaller pieces together. They have been planed down and take a lot of the work out of having to create your own top. I chose this over plywood because I didn’t know how well the epoxy would do with the exposed edge of the plywood.
I set up the epoxy pour in my guest bedroom because it was much warmer than my shop and not full of sawdust. I laid a large piece of plastic on the ground. I placed a large card table on top of the plastic and covered the table with plastic as well. I used two small storage bins to space the sideboard top off of the card table.
I made my marble epoxy top per the instructions provided by TotalBoat and allowed it to cure for 5 days.
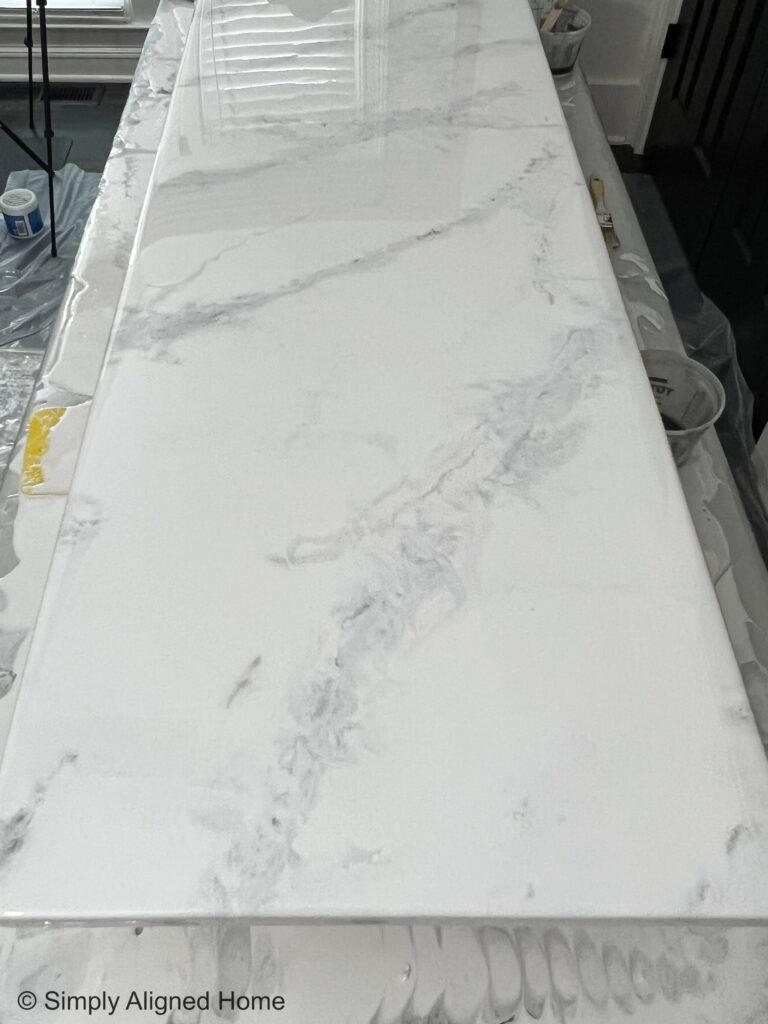
Once the epoxy had cured, I sanded all of the drips on the underside of the top smooth. I then placed the top on the sideboard. I secured it to the sideboard by screwing through the underside of the sideboard and into the epoxy top.

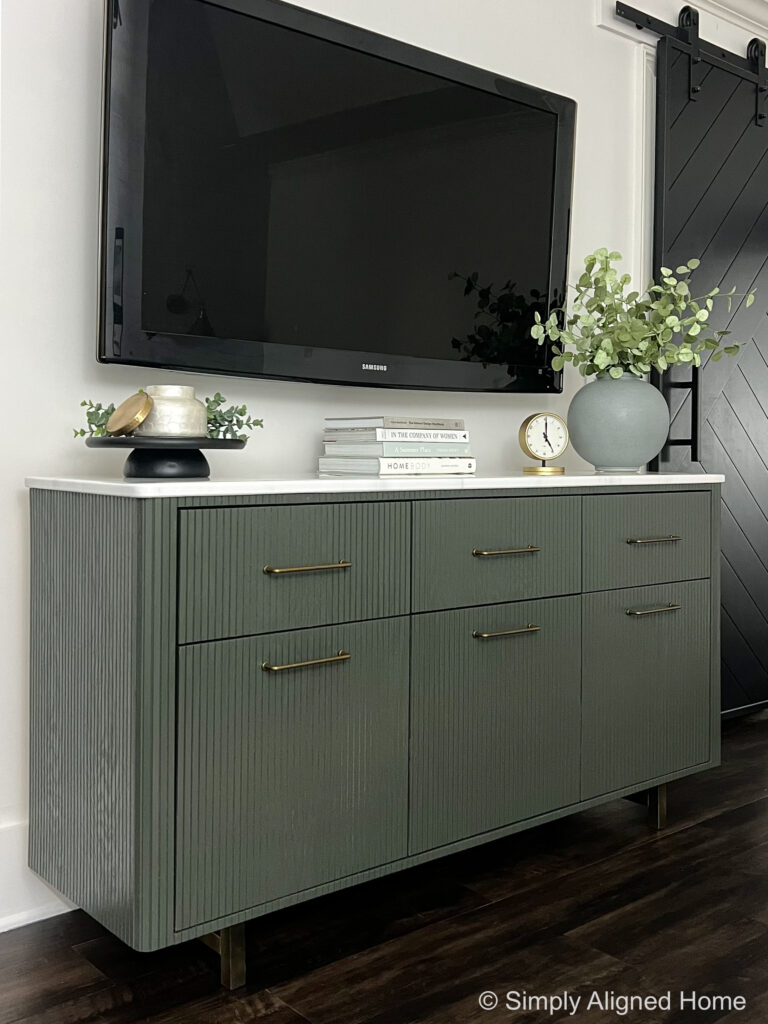
My fluted sideboard was complete and I could not love it more!! Yes, it did take me some time to transform the sideboard, but there is no greater feeling than being able to admire something that you MADE!

**Note: I am not a professional and do not claim to be an expert. Please be sure to always read instructions for all tools and products. Safety is very important and should be your top priority. Wear necessary protection when using tools (eye wear, hearing protection, gloves, etc.) and dust masks when sanding or cutting. Simply Aligned Home is not responsible for any injury or damage. All of my designs are not professionally designed and are for private use only.**