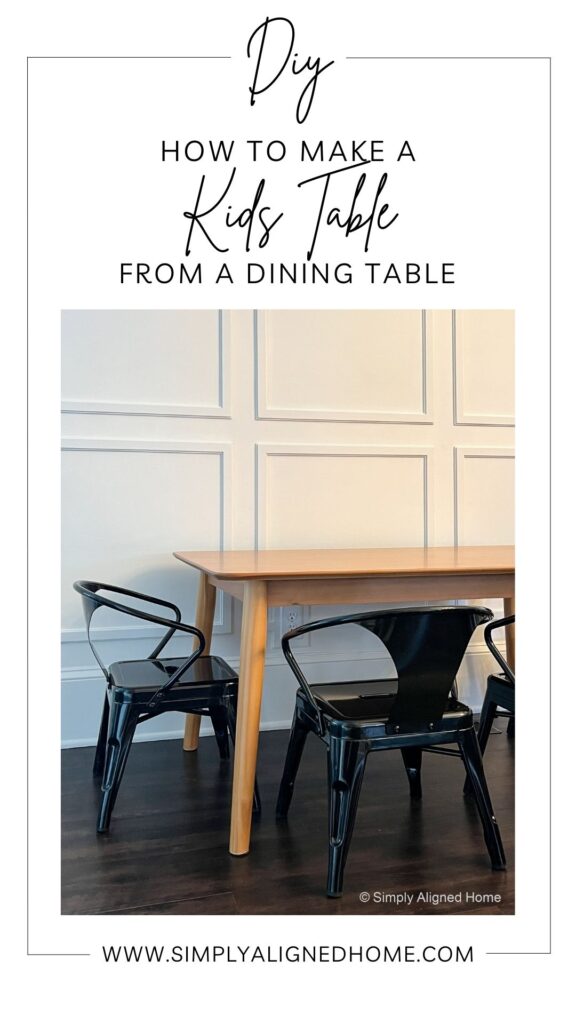
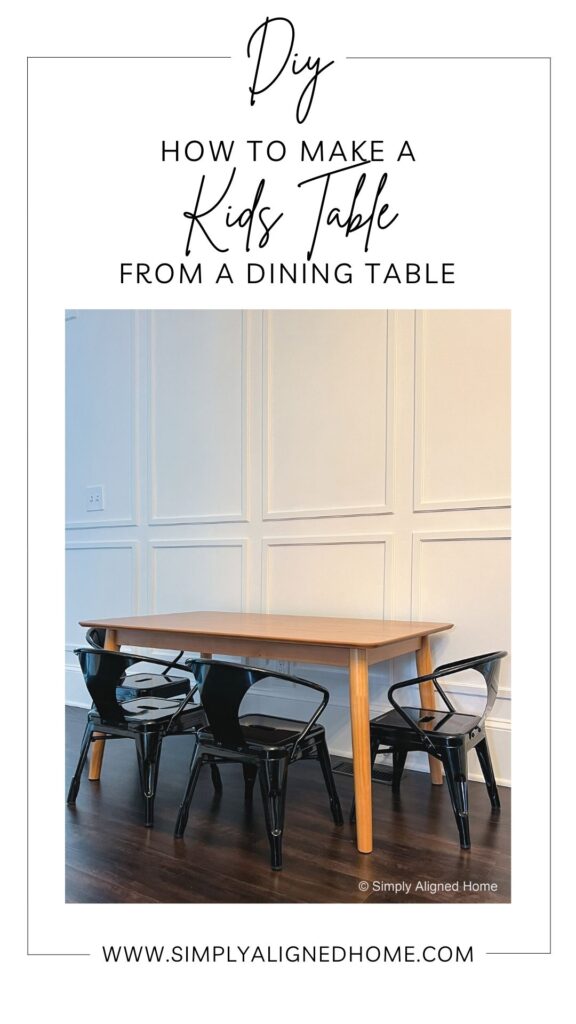
What is one piece of furniture in your home that gets a lot of use? Ours would be the kids table. My kids use their table for everything…and they have really worn it out! It was time for a new table, but with three boys, a little kids table just wouldn’t do.
I exhausted my search for a larger kids table that was not only affordable, but would also blend in with our furniture a little better. After my failed search, I decided I would make a kids table out of a dining table instead! Here’s how I did it.
**This post contains affiliate links to products that I used or recommend. If you purchase something through an affiliate link, I may receive a small percentage of the sale at no extra cost to you. I really appreciate your support.**
Purchase a Dining Table
I wanted a table that was longer than a standard kids table, but not much wider. I also didn’t want to spend a bunch of money on a table.
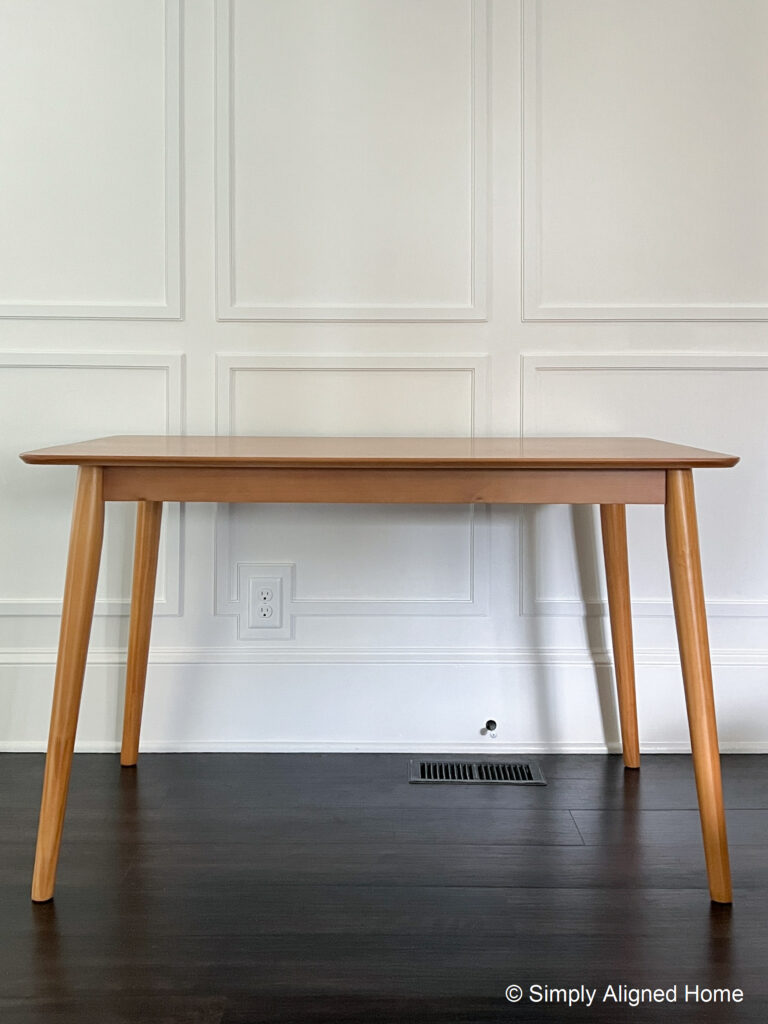
I found the perfect dining table! It was just the right size, affordable and had a midcentury modern vibe.
Determine How Short to Cut the Dining Table Legs
Before you can determine how short to make the table, you need to assemble it (if it’s not already assembled). This will show you the overall height of the existing table.
Along with the assembled dining table, it would be helpful to have the kids chairs handy too. This will help determine the required height of the table.
Since I still had our old kids table on hand, I was able to see the height difference between the two tables. I decided that I needed to cut 6-1/4″ off of the new table legs.
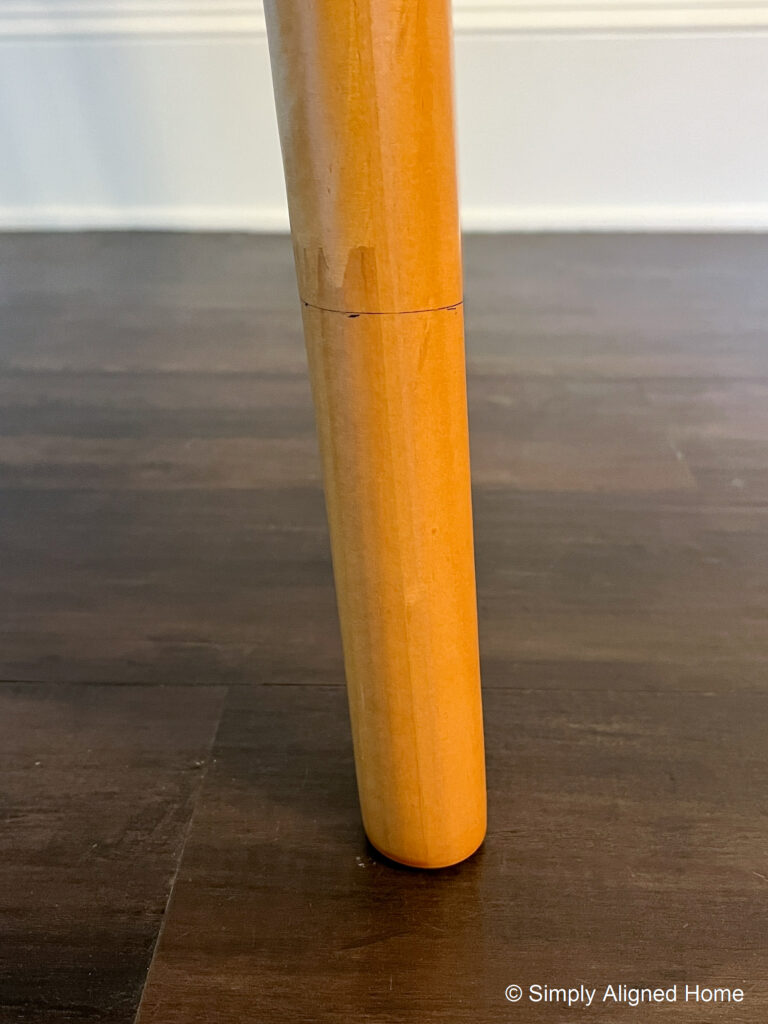
Cut the Dining Table Legs with a Hand Saw
The legs of the new table were angled and I was worried that I wouldn’t be able to safely cut them using my miter saw. In order to safely secure the legs, I would have had to make a jig for the cuts, which would have just added more work.
Instead, I decided to use a hand saw and miter box. I made sure that the cut was parallel to the original cut on the bottom of the leg.
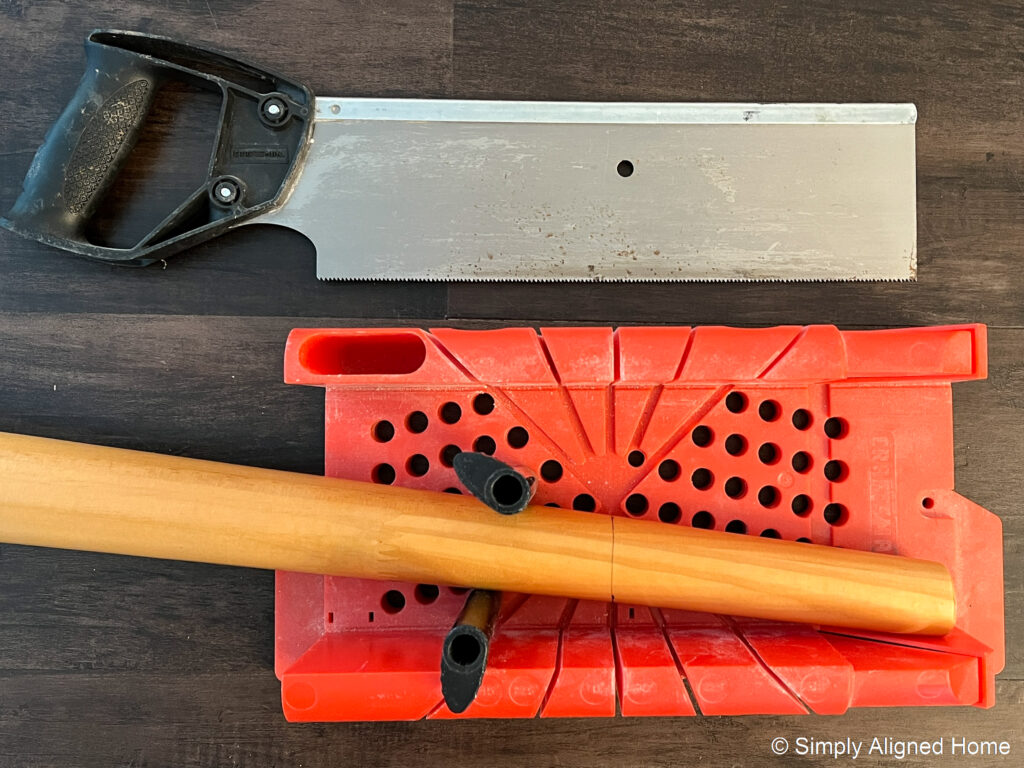
One thing about cutting with a hand saw is that it’s not about how much pressure you apply. My hand saw tends to be harder to use the more pressure I apply. Instead, I just quickly saw back and forth and allow the saw to do its job.
Smooth the Cut Edges with Sandpaper
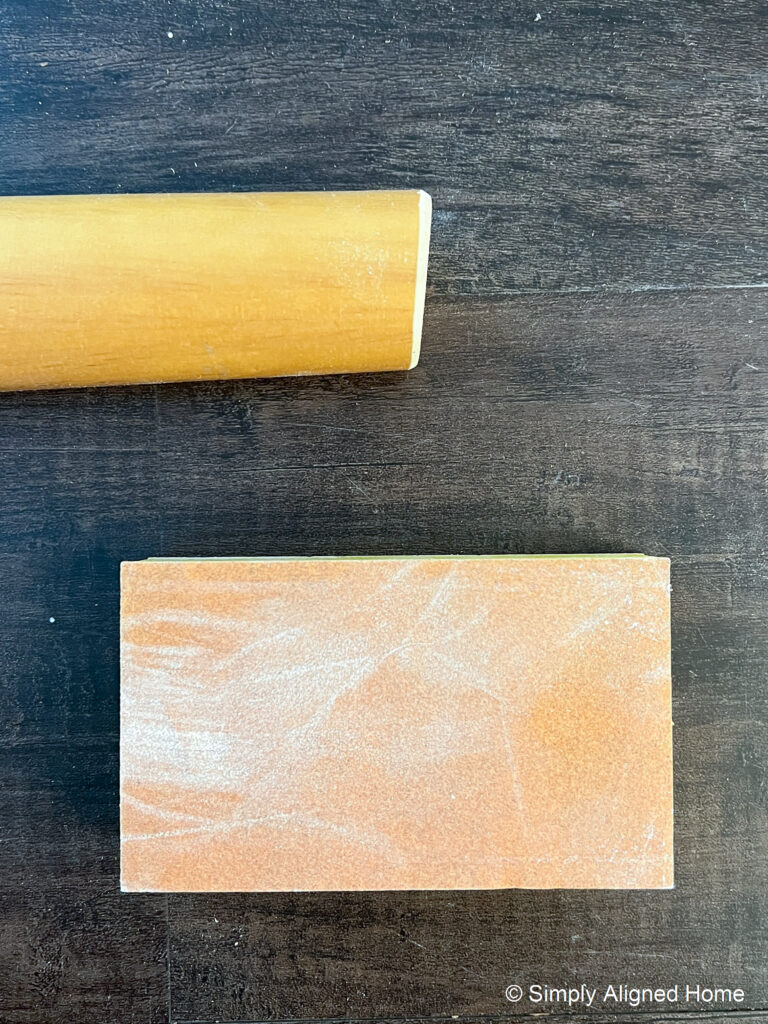
The cut edges of the legs were slightly rough. To smooth them out and round them a little, I sanded them with a 220 grit sanding sponge.
Add Anti-Slip Pads to the Bottoms of the Legs
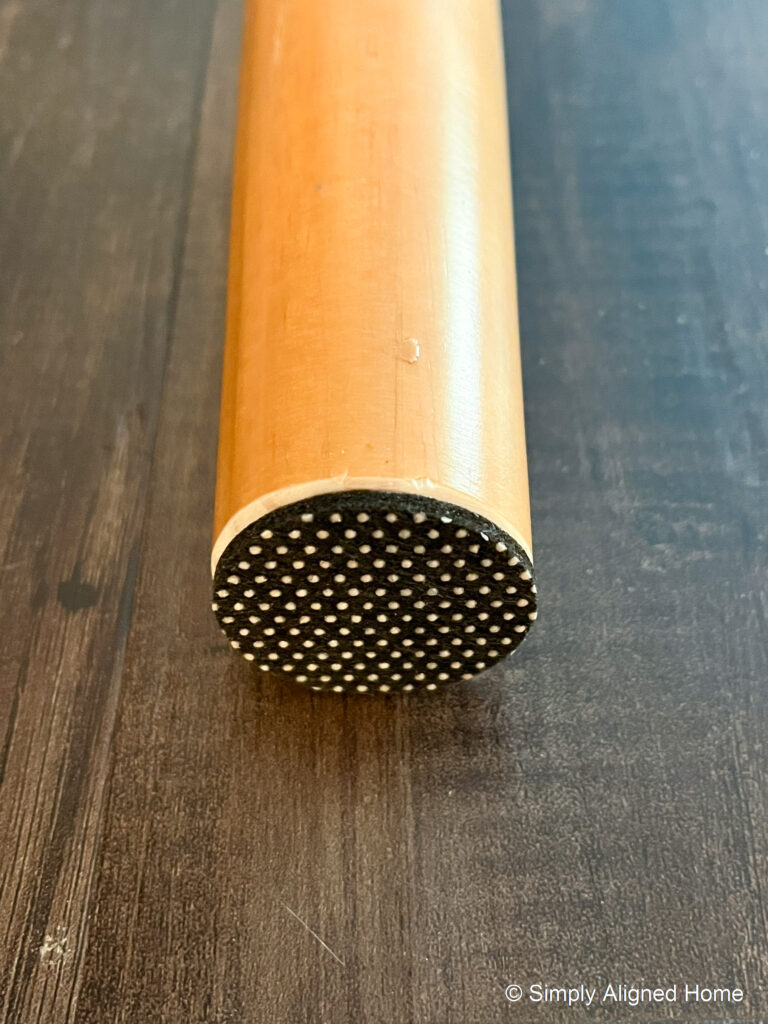
In order to prevent the table from sliding all over the place when my kids lean on it, I added anti-slip pads to the bottoms of the legs. This will also make up for any height differences in the legs, if they are minor enough.
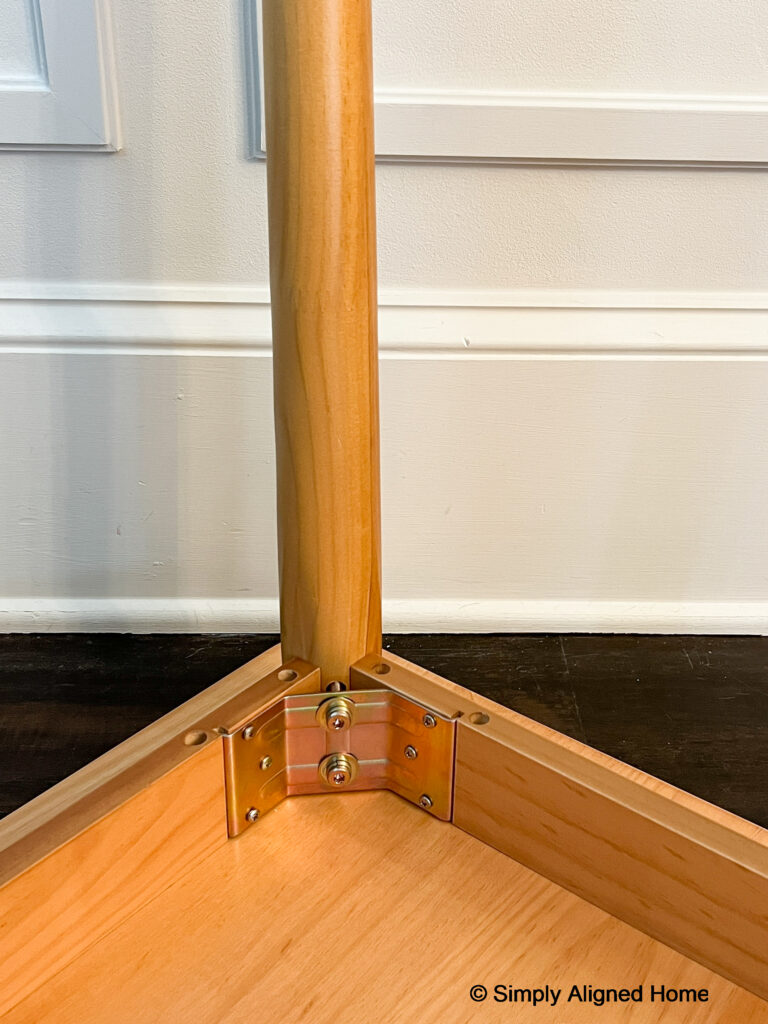
Reattach the Legs to the Kids Table
Once the legs were done, I reattached them to the kids table.
The new height was perfect!!
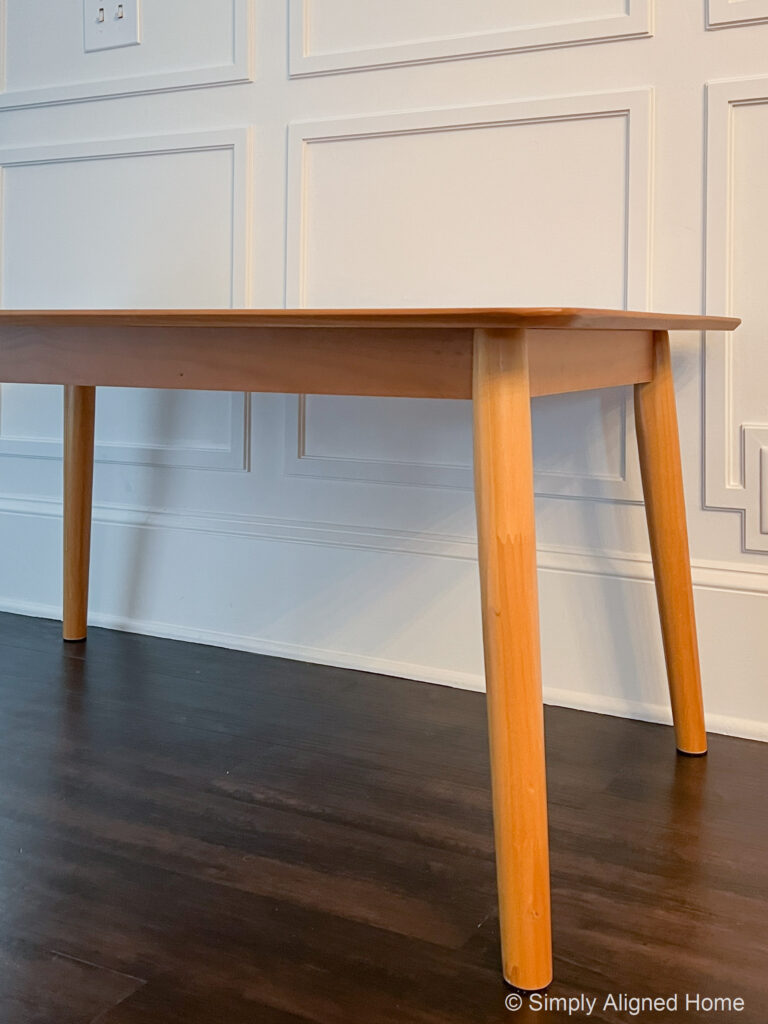
Add Some Fun Kids Chairs
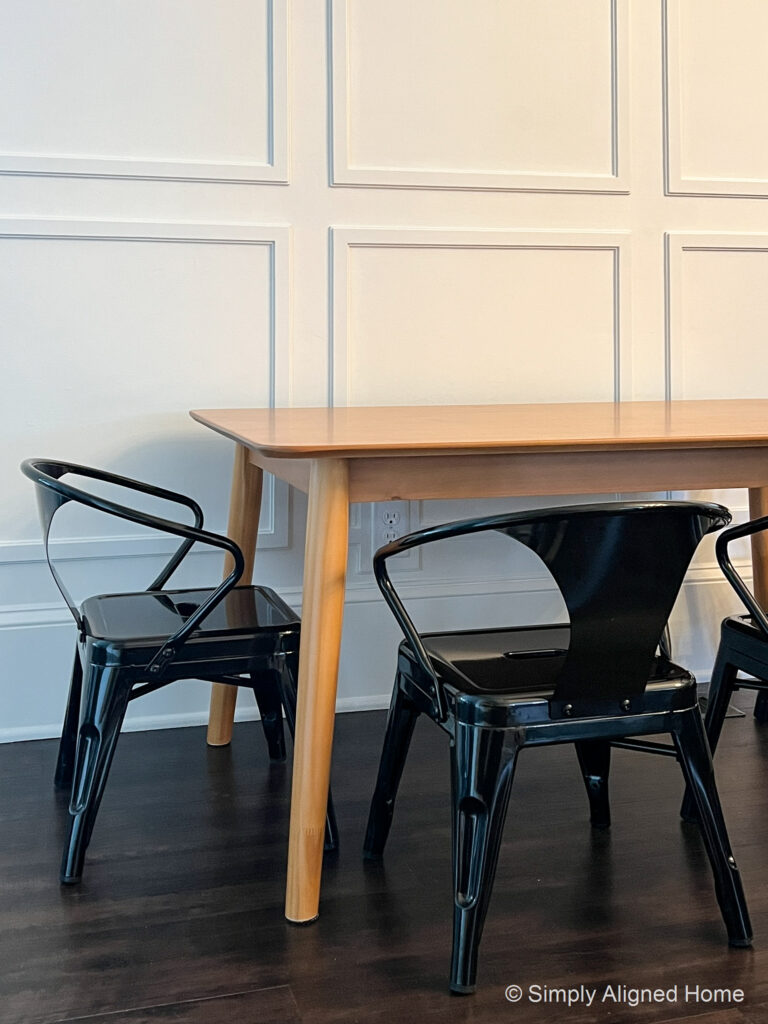
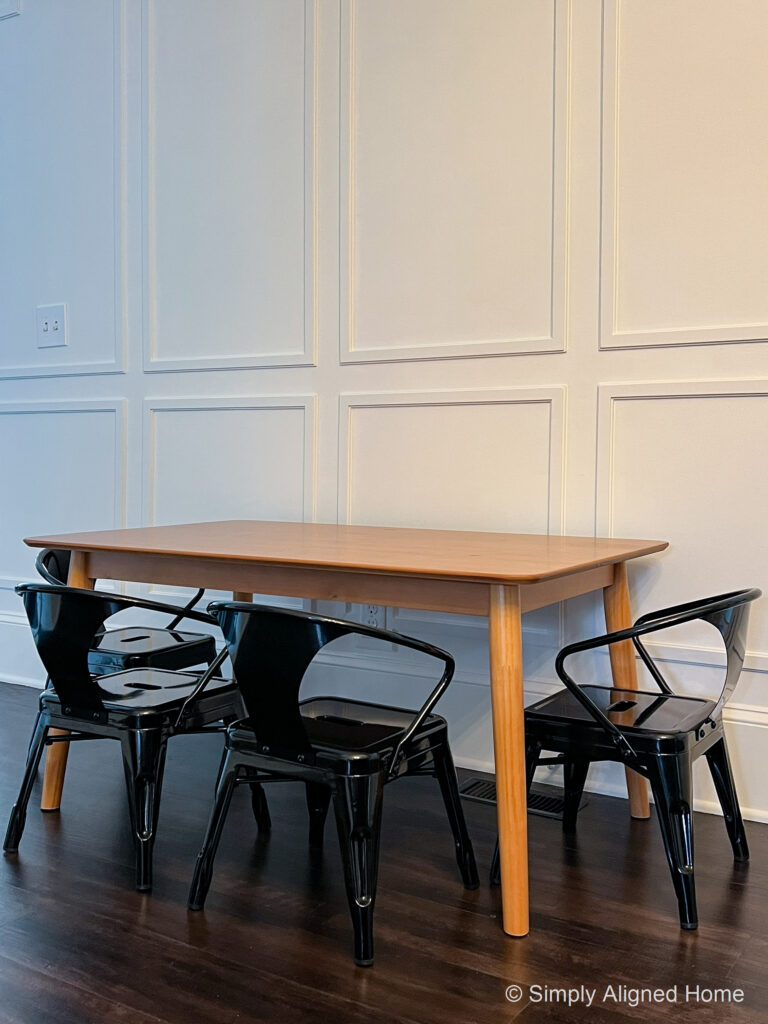
I tried to find two additional chairs to match our existing kids chairs, but was not successful. Instead, I purchased four new black metal kids chairs.

The new kids table set was even better than I expected! I absolutely love how this adorable little set turned out!! It also looks great with my new modern picture frame moulding that I made out of plywood!

**Note: I am not a professional and do not claim to be an expert. Please be sure to always read instructions for all tools and products. Safety is very important and should be your top priority. Wear necessary protection when using tools (eye wear, hearing protection, gloves, etc.) and dust masks when sanding or cutting. Simply Aligned Home is not responsible for any injury or damage. All of my designs are not professionally designed and are for private use only.**
