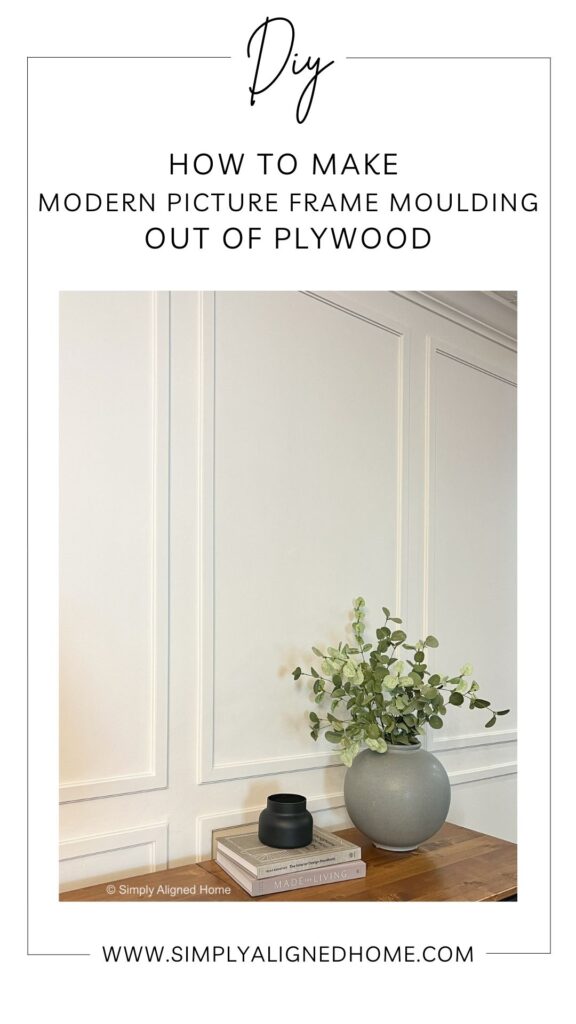
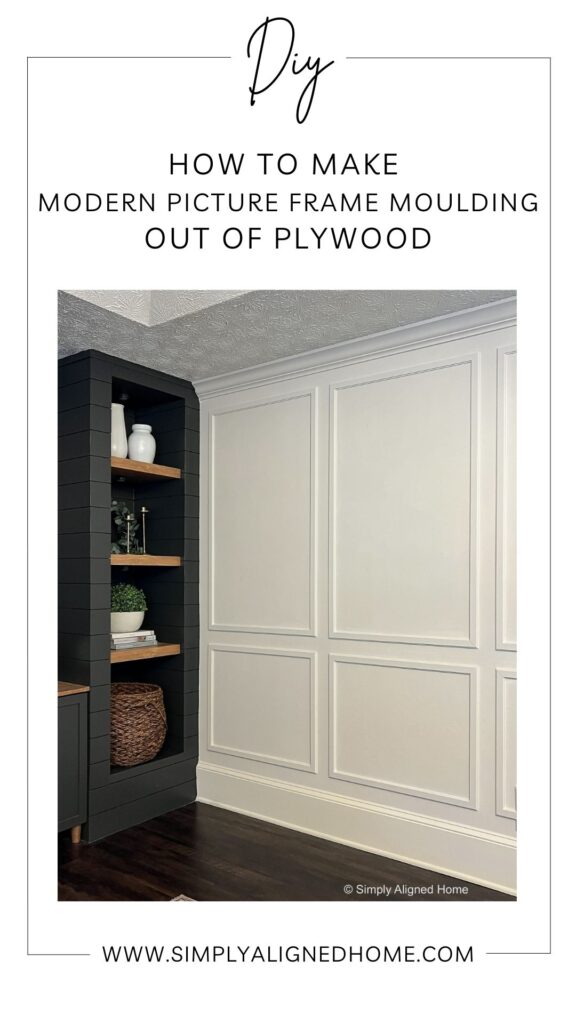
I love the simple elegance of picture frame moulding. Our living room has four large walls and I really wanted to add picture frame moulding to the walls. The only issue I had is that the moulding is very traditional, while my style is more modern. I was worried that it might clash with my shiplap builtins. So, I came up with a modern twist!
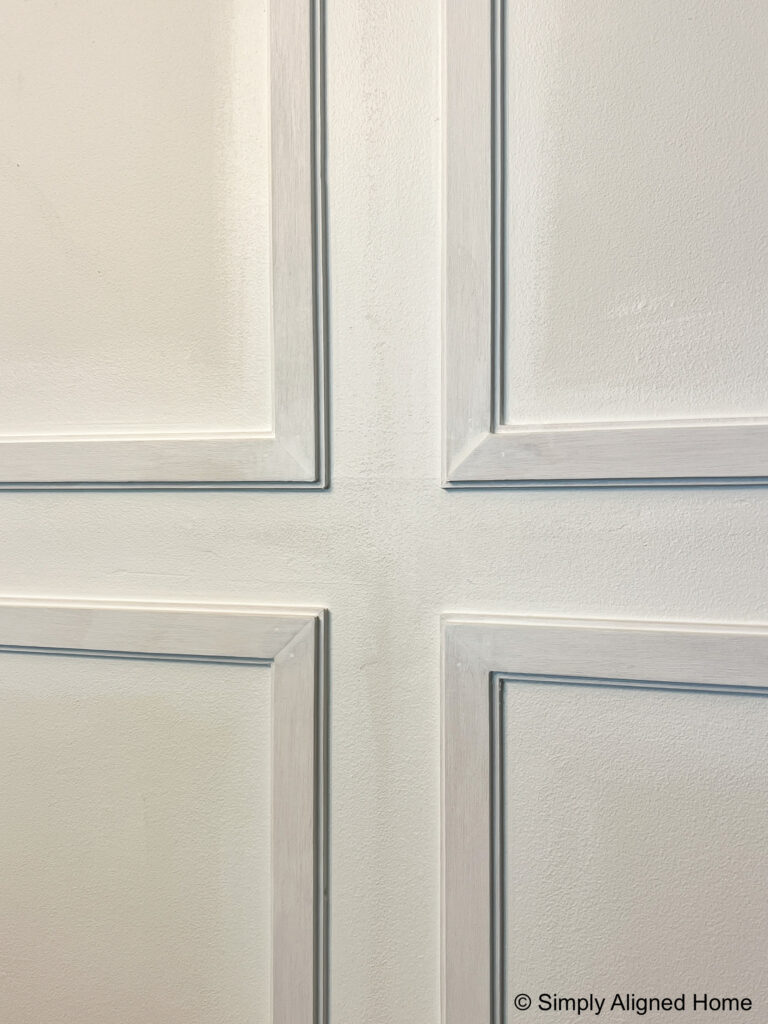
Instead of using the traditional trim, I chose to use lattice trim, which is just a thin strip of wood. I picked two different widths and layered them to give it extra dimension. This modern trim was perfect, but the price tag was not! I quickly did the math and determined that it would cost me a little less than $1,000 to do my entire living room. Here is how I made it out of plywood instead (for less than $100)!
**This post contains affiliate links to products that I used or recommend. If you purchase something through an affiliate link, I may receive a small percentage of the sale at no extra cost to you. I really appreciate your support.**
Select the Plywood
I know that plywood varies greatly by location and store. I used a 1/4″ sande plywood.
There were two main things I looked for when selecting the plywood. First, I wanted a smooth, void free surface. Cheaper plywoods tend to have lots of imperfections and knots on the surface.
The second thing I looked for was a plywood with a solid core. I wanted one with as few voids in the center as possible.
Rip the Plywood
Since I tested the trim out with pieces of lattice trim, I already knew what widths I needed for my trim. Using my table saw, I ripped my plywood into 1-1/2″ and 1-1/16″ wide strips.
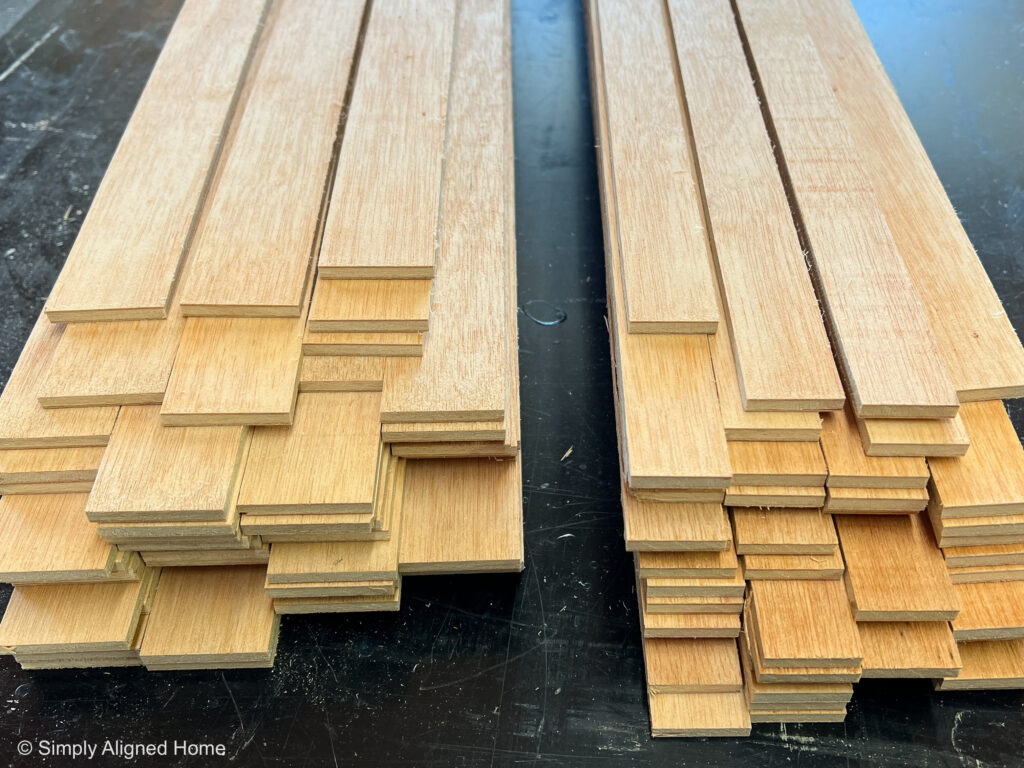
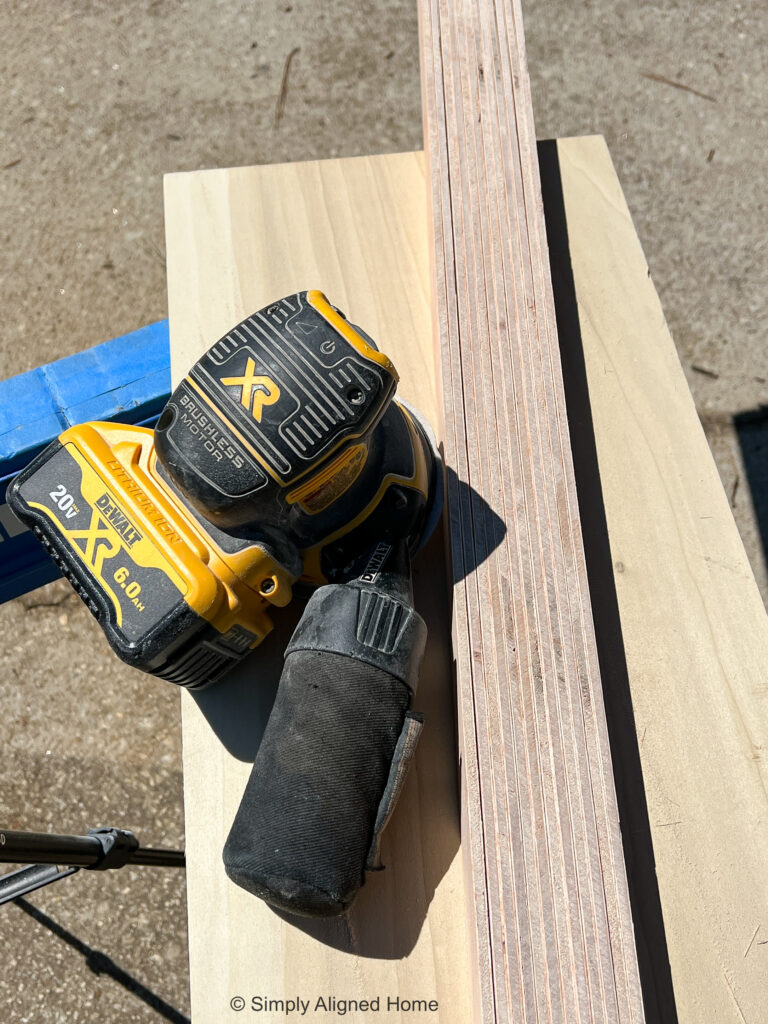
Sand the Cut Plywood Edges
After all of the plywood was ripped, I sanded the cut edges. I stacked a handful of strips together and sanded several at once using my palm sander and 220 grit sandpaper.
Glue the Plywood Strips Together
The next step was to glue the two strips of plywood together to make the picture frame moulding trim. I did this using construction adhesive. Wood glue would have worked better, but I wanted something that would dry quicker.
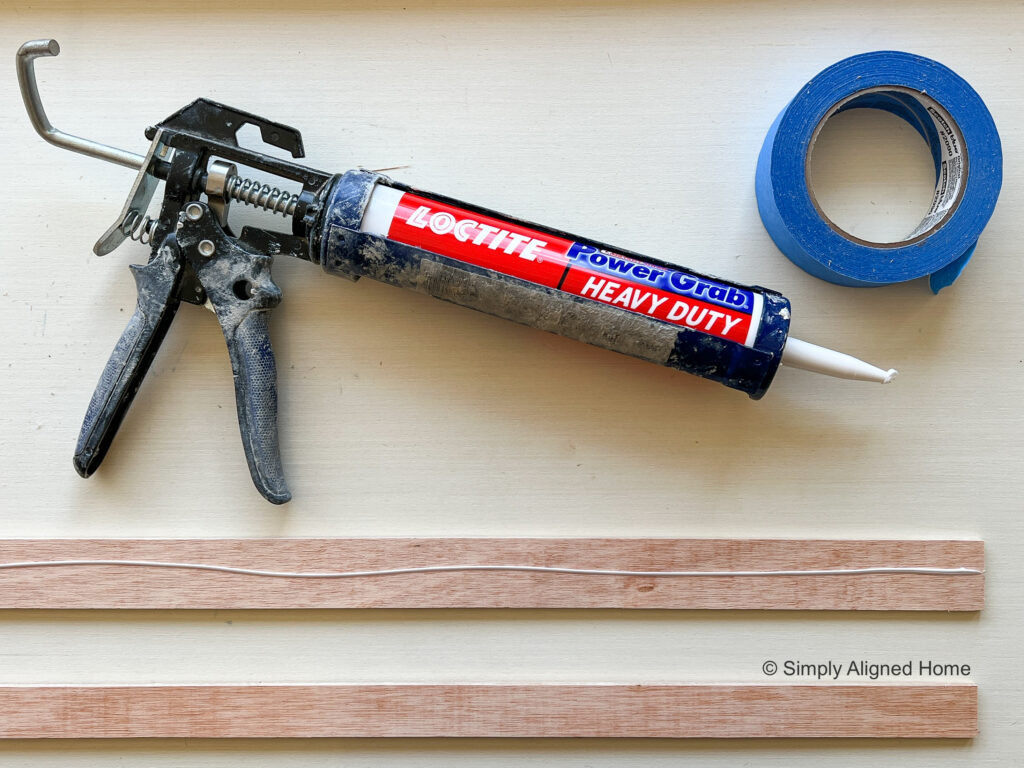
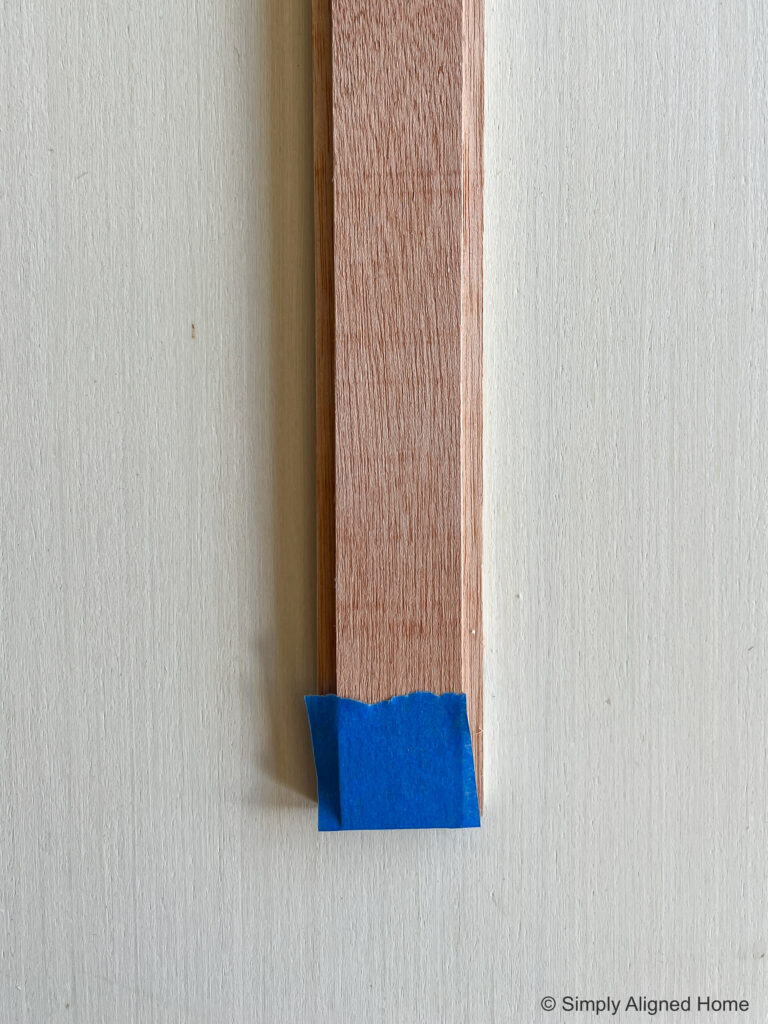
I applied a bead of glue down the center of the 1-1/2″ strip and placed the 1-1/16″ strip on top, ensuring that it was centered. I used painters tape on the ends to keep the two pieces aligned while drying.
Determine the Trim Layout
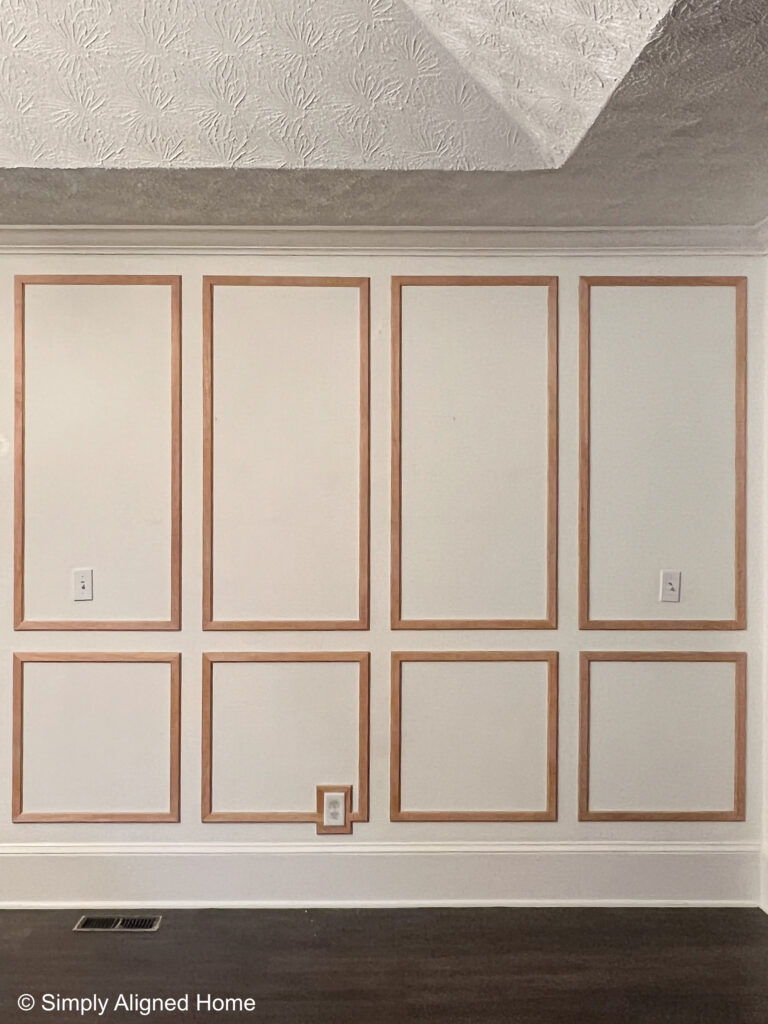
The height of my trim was based on an old chair rail moulding. It had been removed by a previous owner. If you look closely, you could tell where the moulding used to be. I wanted to cover these lines with my new trim.
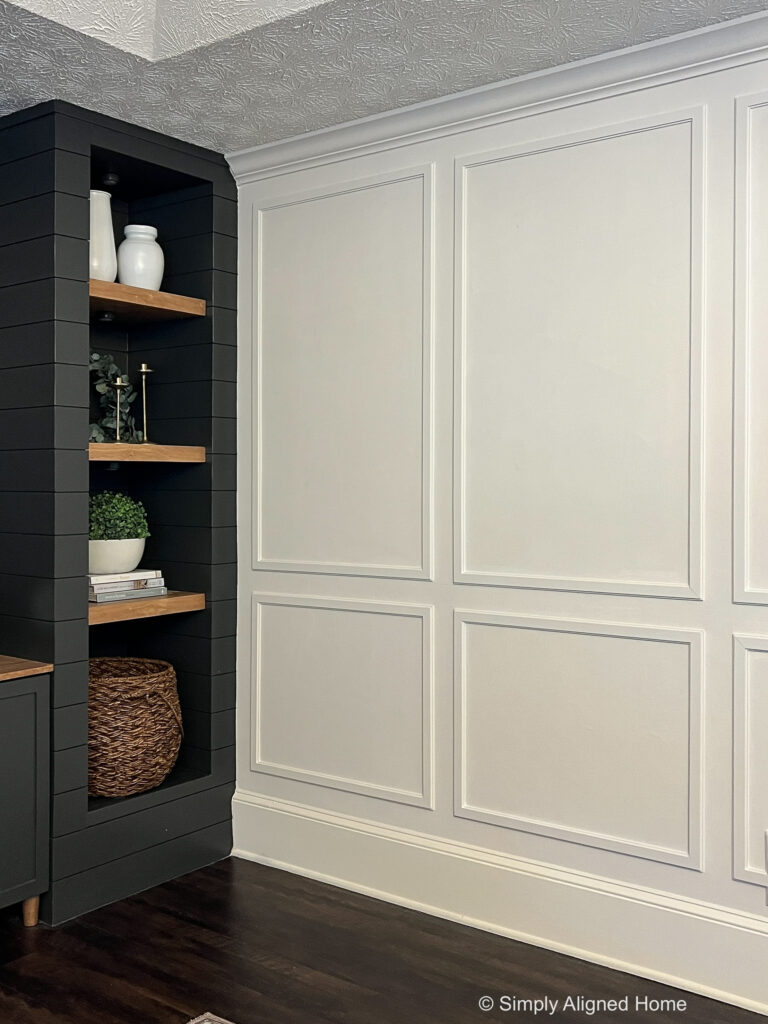
The location of the old chair rail dictated the height of the boxes as well as the spacing between boxes. My spacing between all of the boxes was 3″. The height of my bottom boxes were 24-1/4″ and the height of the upper boxes varied by wall, since my floors are anything but level.
As for the width of the boxes, I determined that three of the walls needed four sets of trim boxes, while the one next to my builtins only needed three. For the walls with four boxes, I took the overall width of the wall and subtracted 15″ for the spacing between boxes. I then divided that number by four to get the width of the boxes for my modern picture frame moulding.
Pay Attention to the Details
Trim can look really unfinished if you don’t pay attention to the details. Instead of just cutting the trim to go around outlets and switches, I decided to frame around them as well.
I also had a beam that cut into two of my walls. I chose to keep the 3″ spacing around the beams. This required a few extra cuts, but made the trim look so much more professional!

Cut the Trim
Once I had my dimensions, I was able to cut my trim. While I did try to cut as much trim at once, I know that my walls are not perfectly square. I cut the trim for all of the boxes except for the final two on each wall. I waited until the other trim was on the wall to measure for the final boxes.
In order to get nice, clean corners, I used my miter saw to cut the trim on a 45 degree angle (miter cut). The beauty of gluing the trim together before I installed it is that I only had to make half of the cuts.
Install the Trim
Before I installed the trim, I did do a very light sanding of the edges with a sanding block. I wanted to smooth out any imperfections before the trim was on the wall.
When installing trim that will be evenly spaced, it is a great idea to cut a few spacers. I did this using some scrap wood I had on hand. I cut two pieces that were 3″ long.
I picked the focal point for each wall and started the trim installation in that corner. Using the spacers, I located where the corner of the first box needed to be and started here. It is important to be sure that the first few pieces are level. I nailed one corner of the trim in, ensured it was level, and then nailed the other corner.
For the installation, I used my brad nailer and 1″ brad nails. I have used construction adhesive to install accent walls in the past and regretted it. If you ever want to remove the moulding, it will ruin your drywall. Nails will hold the trim well enough that you don’t need adhesive.
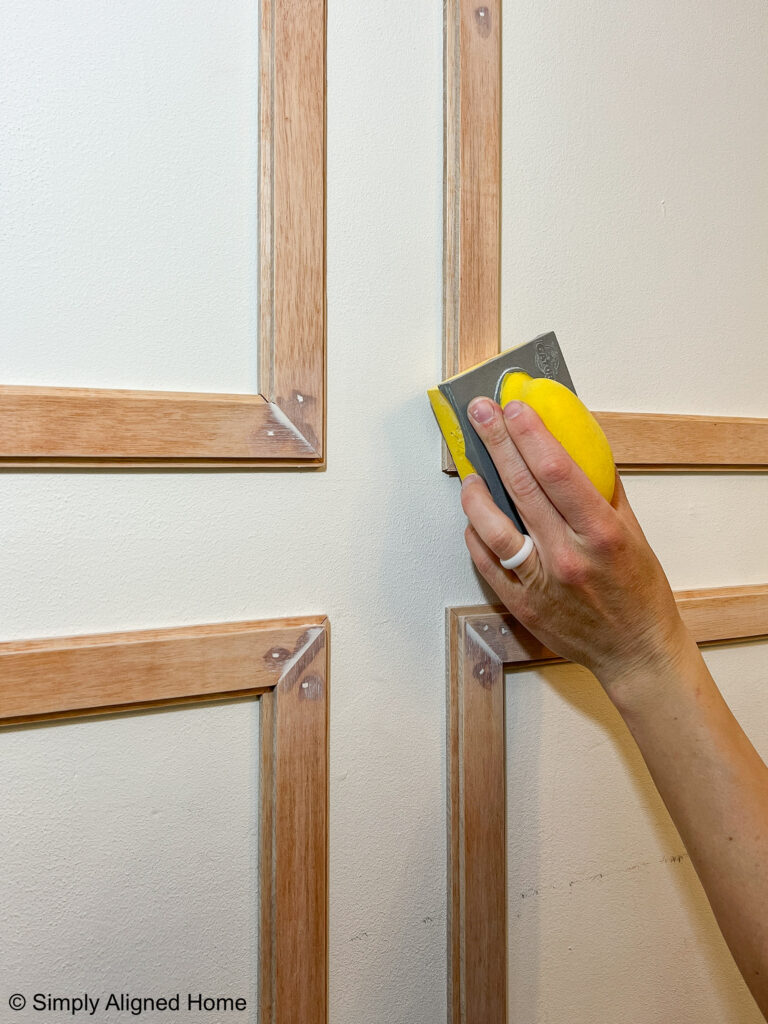
Patch Holes and Seams
I prefer to patch all of my holes and seams before I caulk. This allows me to sand the spackle and vacuum it up before I caulk, which keeps the caulk clean.
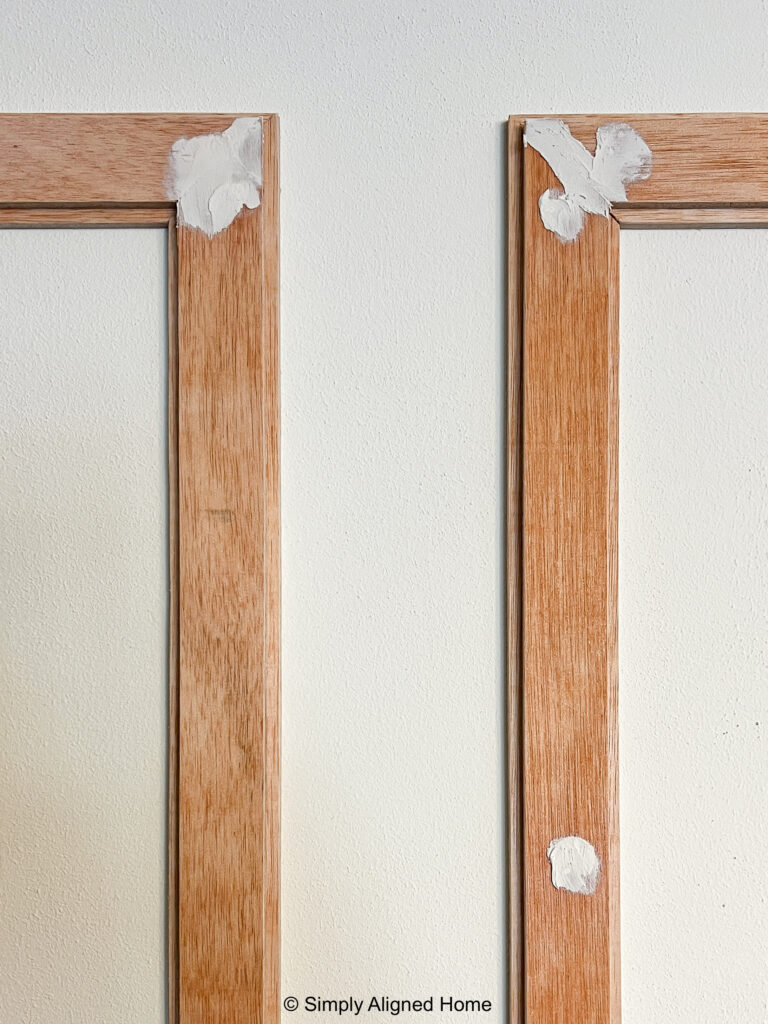
I applied a dab of spackle to each nail hole and spread some over the mitered corners of the trim. Once it dried, I lightly sanded all of the sparkle with a 220 grit sanding sponge. I vacuumed all of the sanding dust before I caulked the inside seams.
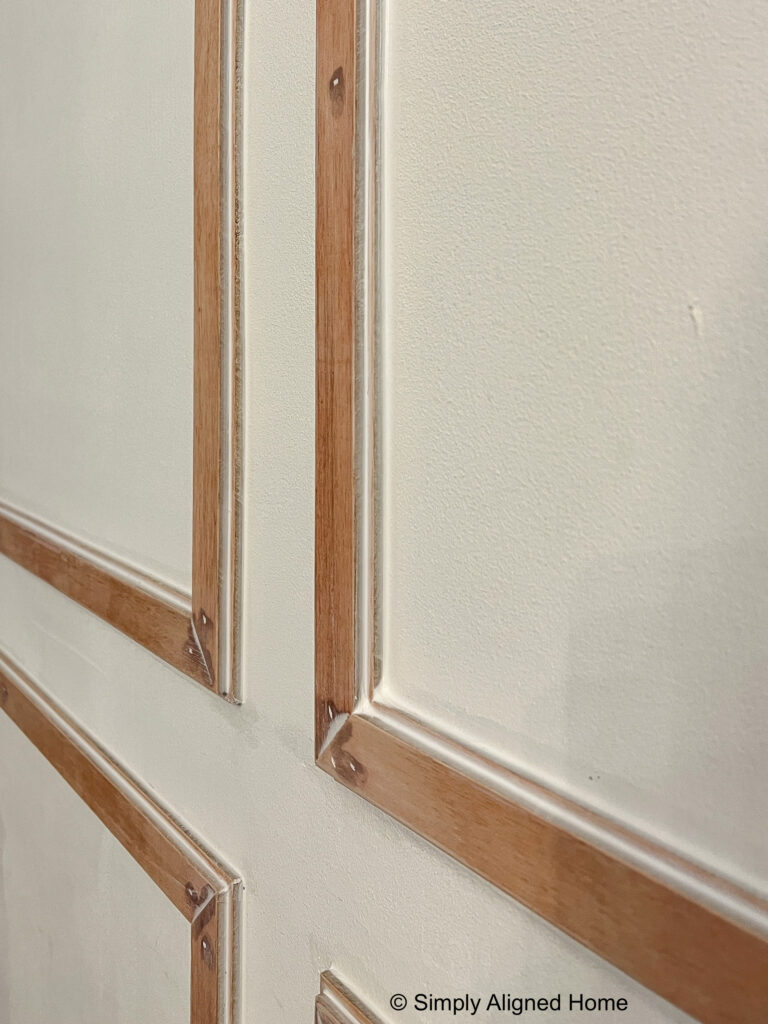
Caulk Seams between Trim and Wall
I always caulk the seams between my trim and wall for accent walls. It was especially important to caulk all of the seams for this wall because the trim was plywood.
Not only will the caulk fill in any gaps between the trim and wall, it will also fill in any voids in the plywood edges. This will make the plywood trim look even less like plywood!
Prime the Trim
It is important to prime the trim after patching the holes for a few reasons. One, if you don’t prime spackle, the paint will have a different sheen in all of the spots that were patched. Two, raw wood sucks up paint like crazy. You will save some paint by priming the trim first.
I applied two coats of primer to all of the trim and any spots that I patched on the wall. I made sure that the primer was smooth before I painted. I sanded any rough spots with my sanding sponge.
Paint the Trim and Wall
The final step for this trim was paint! My walls desperately needed a fresh coat of paint, so I painted both the trim and walls. I always like to paint the walls when painting trim to ensure there are no lines or noticeable differences between the paints.
I used a brush to paint the sides of the shiplap. I then used a roller for the face of the trim as well as the walls.
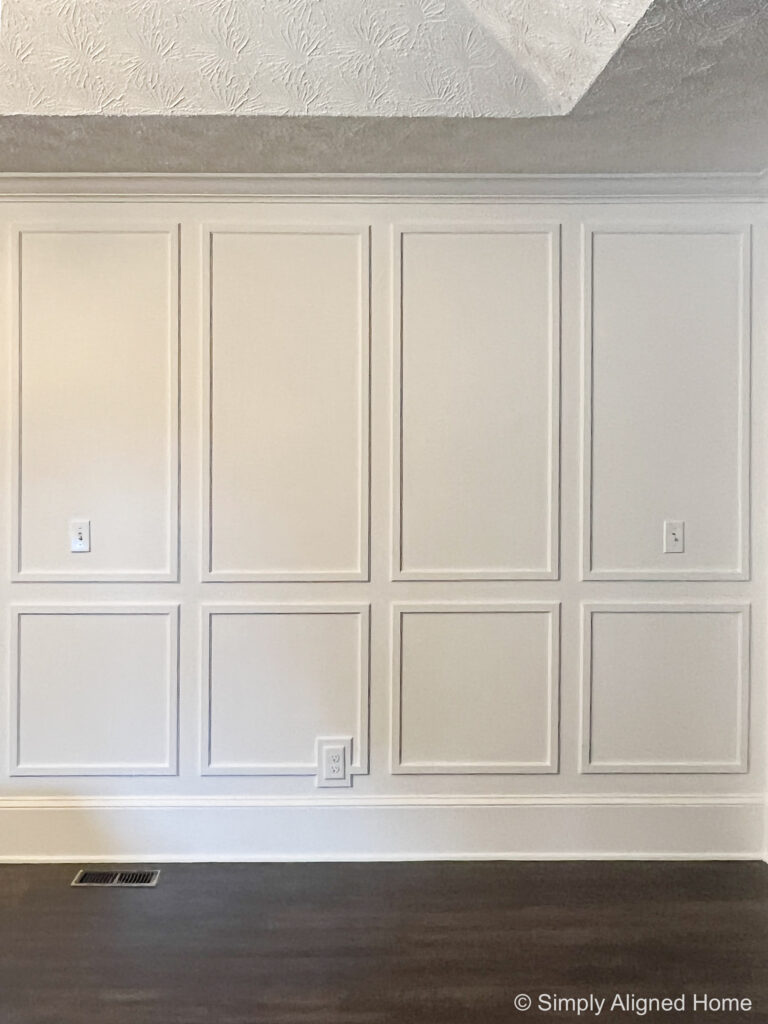
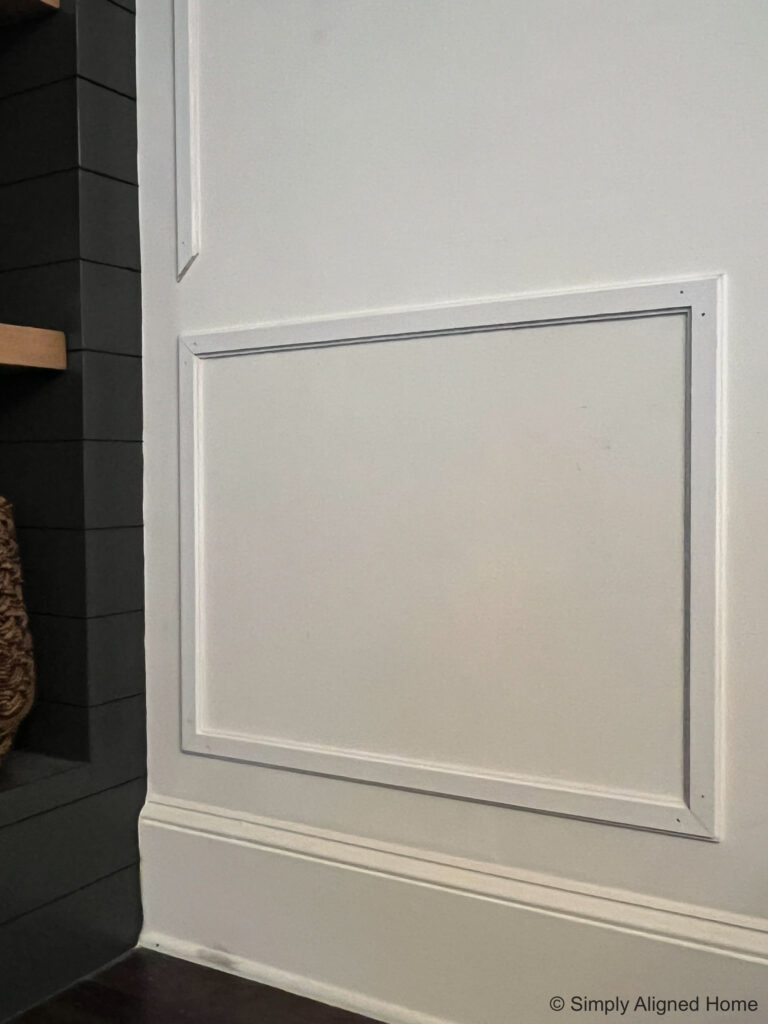
The finished product was stunning!! This affordable plywood modern picture frame moulding was everything my living room and wallet needed!

The space looks so much more sophisticated. I seriously cannot believe that I was able to do this for less than $100!

**Note: I am not a professional and do not claim to be an expert. Please be sure to always read instructions for all tools and products. Safety is very important and should be your top priority. Wear necessary protection when using tools (eye wear, hearing protection, gloves, etc.) and dust masks when sanding or cutting. Simply Aligned Home is not responsible for any injury or damage. All of my designs are not professionally designed and are for private use only.**