
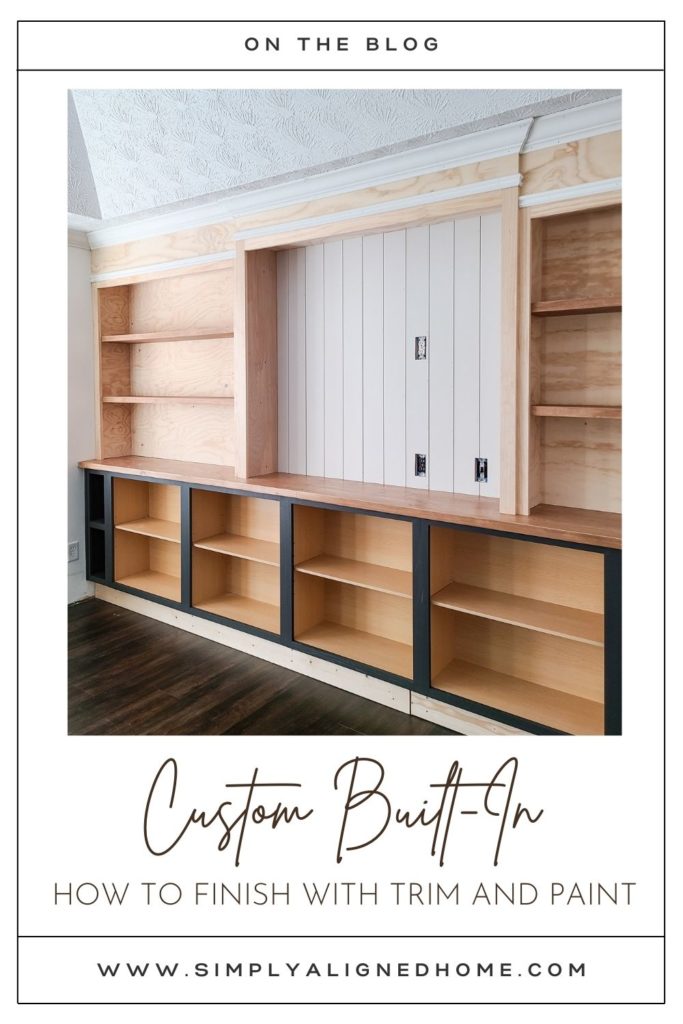
What is the best way to tackle a large project? I small pieces…which is why I broke my custom built-in into three different posts. I shared how I installed the base cabinets and how I made the upper units. The final part of the custom built-in was to tie it all together with trim!
**This post contains affiliate links to products that I recommend. If you purchase something through an affiliate link, I may receive a small percentage of the sale at no extra cost to you. I really appreciate your support.**
Trim Out the Upper Units
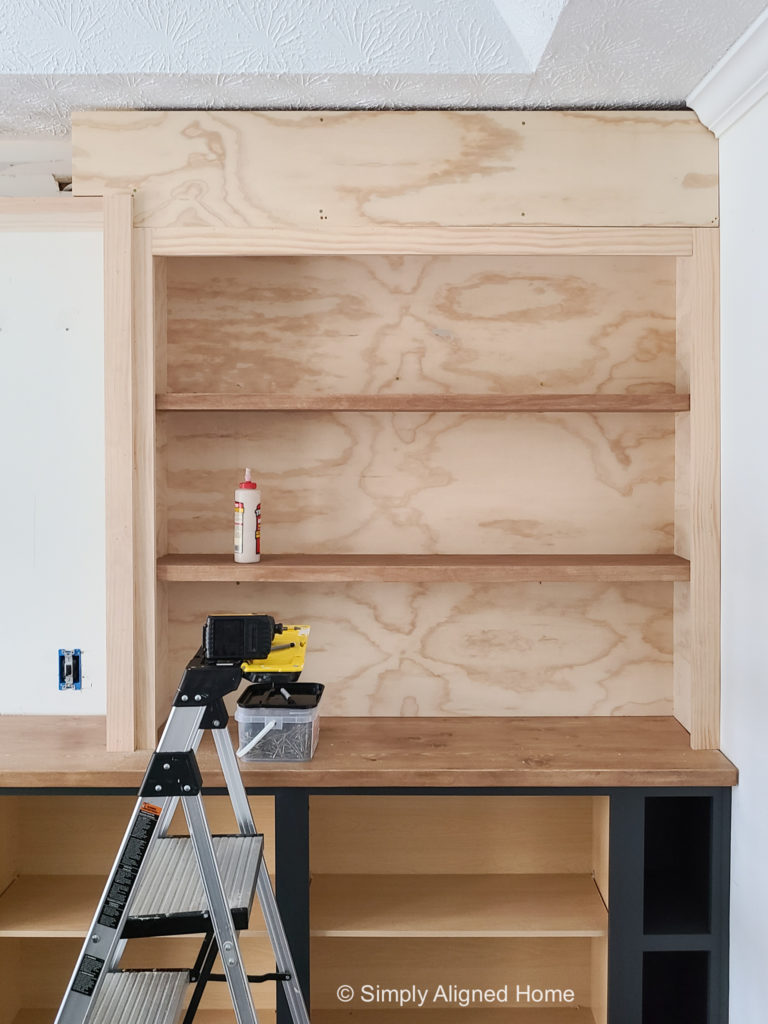
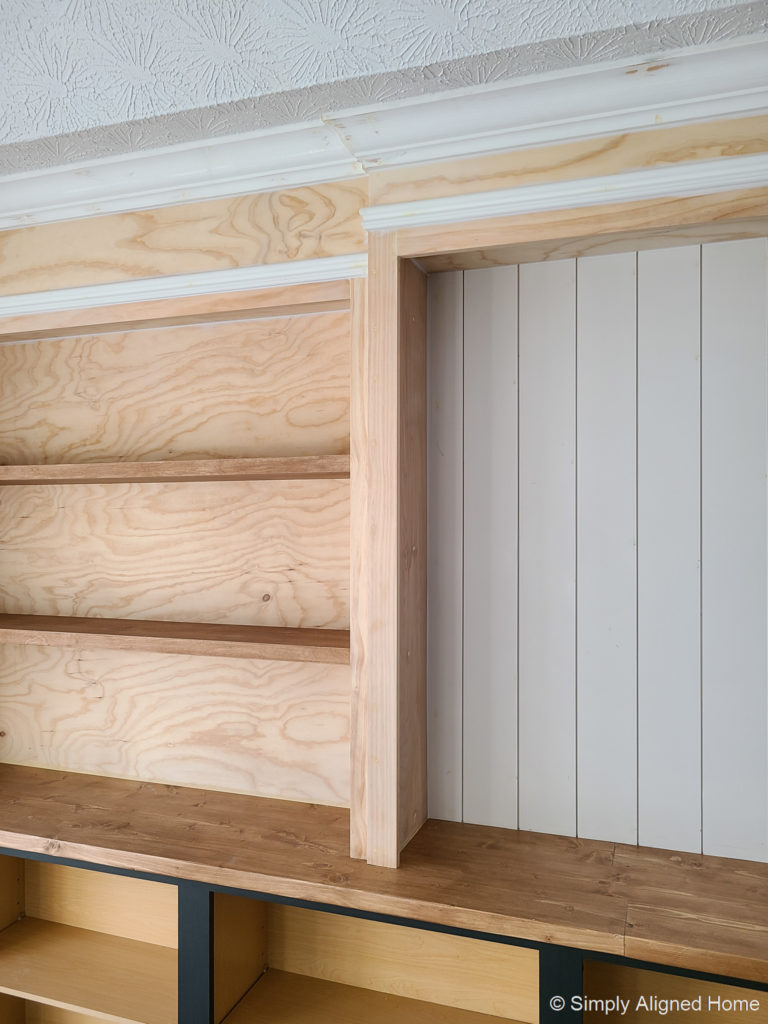
I decided to use select pine for all of my trim. I started by vertically trimming the shelving units. I added a piece of 1×3 against the wall and 1×4 by the center unit. I secure the trim with wood glue and my finish nailer.
One thing that I’ve learned when adding trim is to not try to align the edges of the trim to the unit. I made sure that the trim pieces were wide enough to overhang into the shelving units.
Once I had the vertical trim pieces installed, I installed the top, horizontal trim piece.
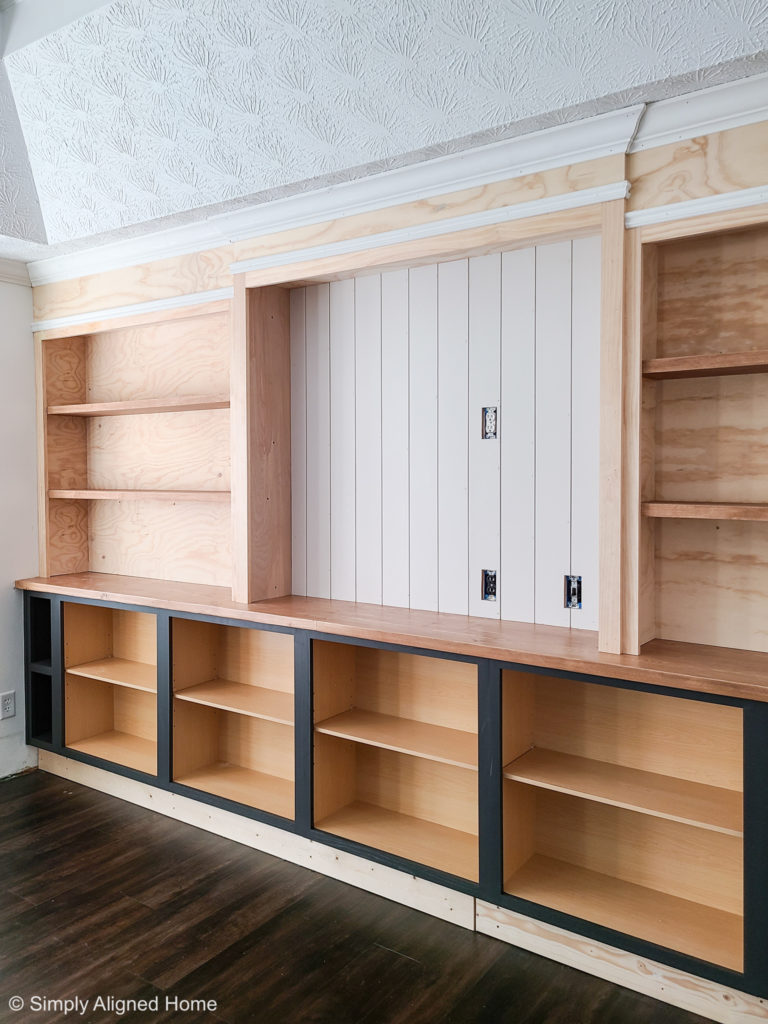
I added a little depth to the upper structure by overlaying the trim for the center unit. This made it appear as though the center unit sits out farther than the two shelving units.

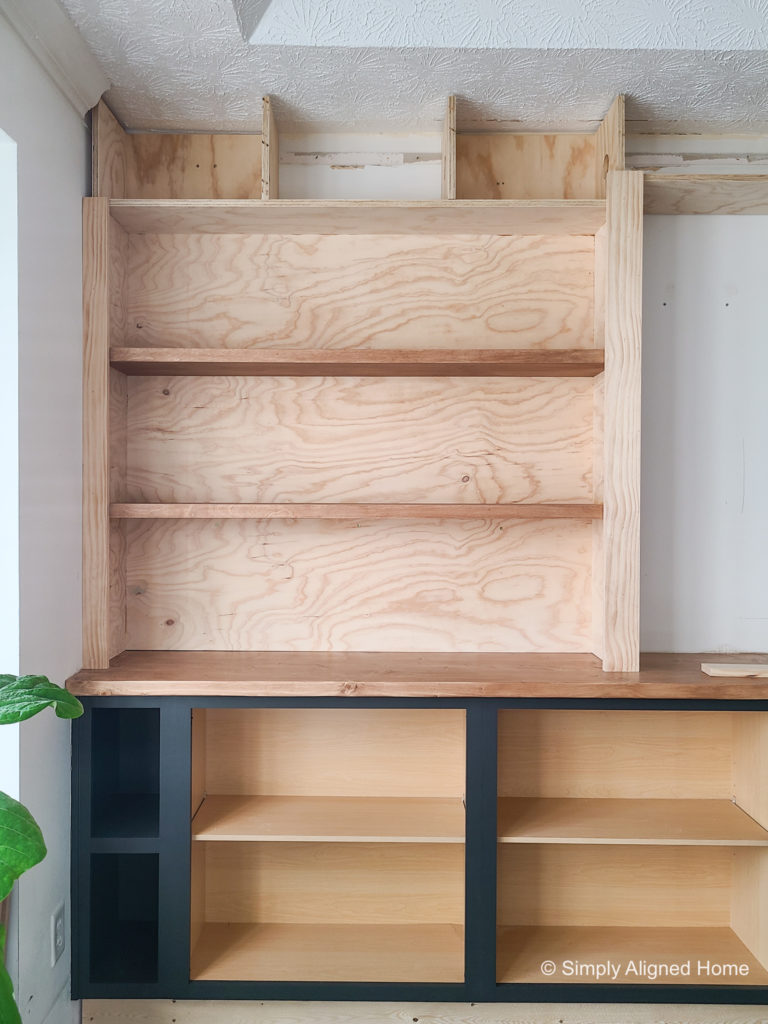
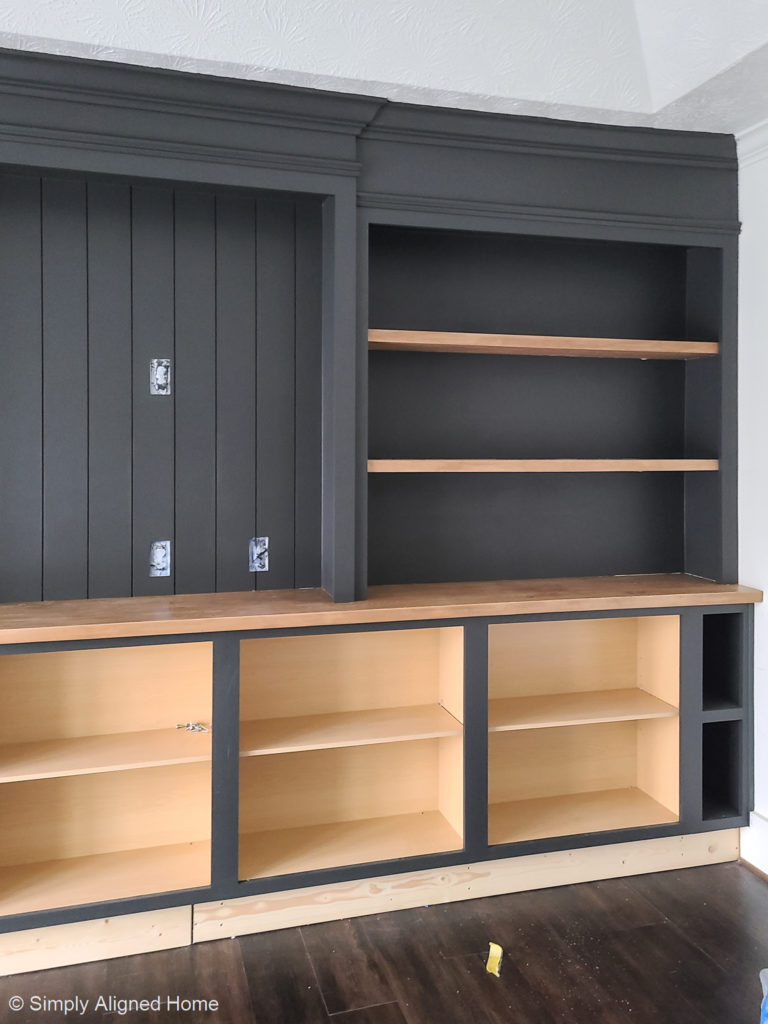
Add Plywood Above Upper Units
To finish off the top of the upper units, I installed 3/4″ plywood. I secured the plywood to the upper framing, that I showed in my last blog post, with wood glue and construction screws.
I jumped to the shiplap install (see below) before I finished off the plywood on the upper units, but you can complete this before adding an accent to the center of the unit.
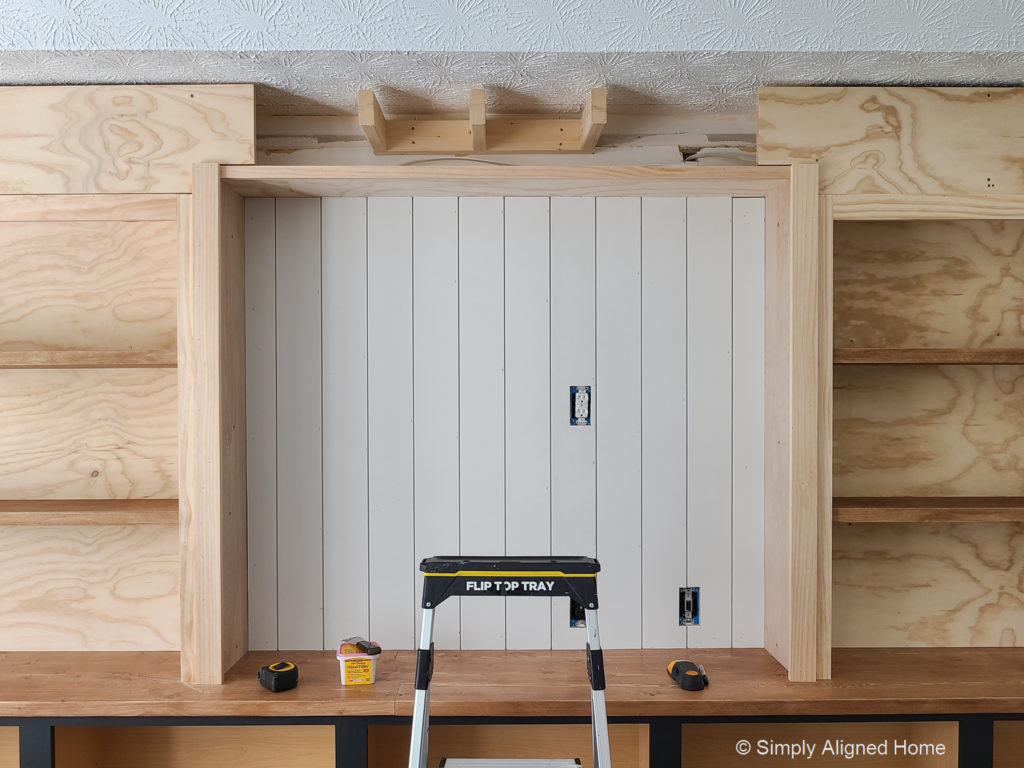
Install Shiplap in Center Upper Unit
I wanted a nice feature accent for the center of the built-in. Since I have shiplap throughout our home, I decided to use it for the center accent. The shiplap will not only finish off the space nicely, it will also hide any spaces that are visible between the wall and countertop and upper units.
Install Decorative Trim to Hide Seams
If there is one thing that I have learned about trim and getting a professional finish, it’s that you should conceal any major seams with more trim. For instance, I had a seam between the plywood at the top and the trim that I used to frame the upper units. It would be almost impossible to get a nice, smooth finish of this seam with wood filler. Instead, I added a decorative trim to hide the seam.
I carried this decorative trim across the entire unit. Since the center unit appears to sit out further than the two side units, I had the decorative trim wrap around the edge of the center unit.
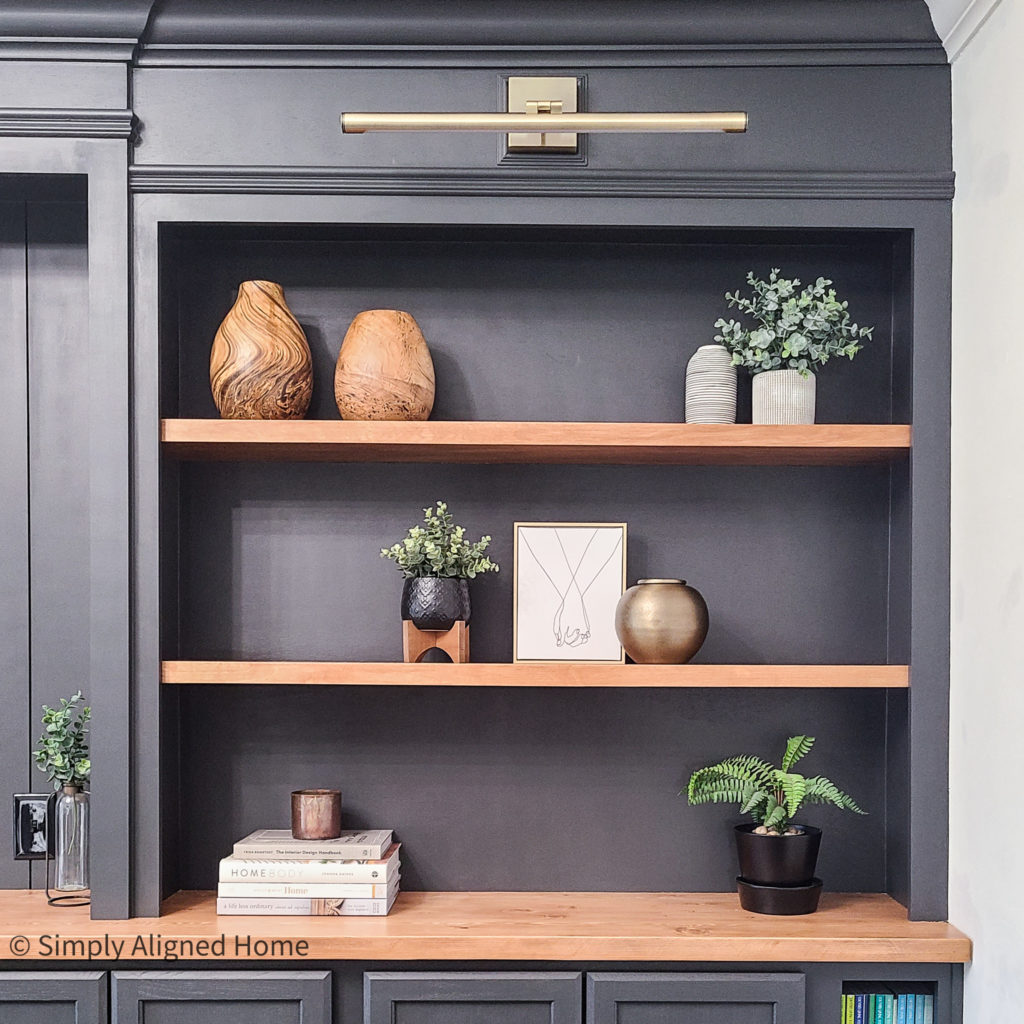
Install Crown Moulding
The final (and most difficult) piece of trim to install was the crown moulding. In order to make the built-in unit look like an original piece of the room, I made sure to match the crown moulding that was already installed in the room.
I started by coping the new crown moulding with a coping saw to sit perfectly over the existing crown moulding. I then carried it across the unit and finished it off the same way I started, with a cope.
There are a lot of tutorials out there about how to cut and install crown moulding. Unfortunately, I have not perfected the process and am not able to explain how to do it yet. I did use a Kreg crown moulding jig that helped with the install.
Fill the Seams and Holes
Once all of the trim was installed, I used a paintable wood filler to fill any seams and holes. This included any minor seams that weren’t covered by trim as well as screw and nail holes left from the install.
After the wood filler dried, I did a light sanding with my 220 grit sanding sponge to smooth it all out.
Caulk the Joints
I usually save caulk for the very end of my projects. Before applying the caulk, I wiped down all of the wood with a tack cloth to remove any residual sawdust.
I caulked all of the joints within the unit and the joints along the wall and ceiling.
Prime the Unit
It is necessary to prime raw wood for two reasons. One, raw wood likes to suck up the paint. You will use way more paint if you don’t prime the wood before painting. Two, you need to prime any patches or else the patches will have a different sheen once painted.
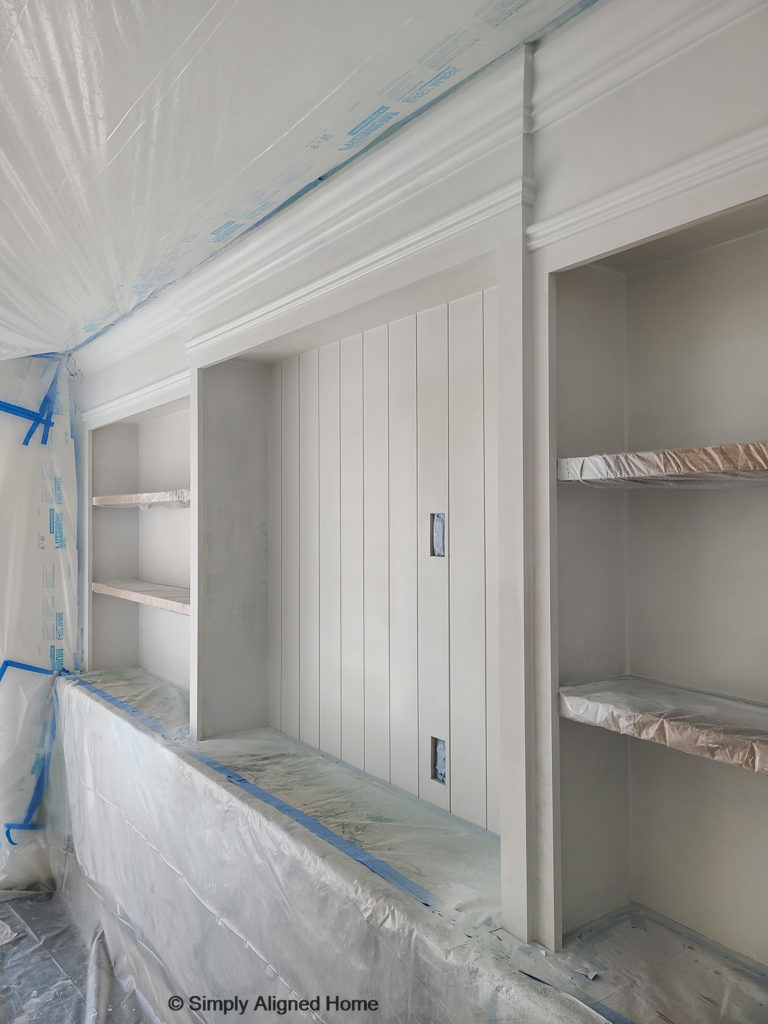
I taped and covered all of my stained wood to protect it from the primer. I originally planned to apply the paint with a paint sprayer (hence all of the plastic), but decided to paint it with a brush and roller. I applied one coat of primer to every surface that would be painted.
If I had any rough spots after the first coat of primer, I did a light sanding of the primer. I wiped off any sawdust and applied another coat of primer.
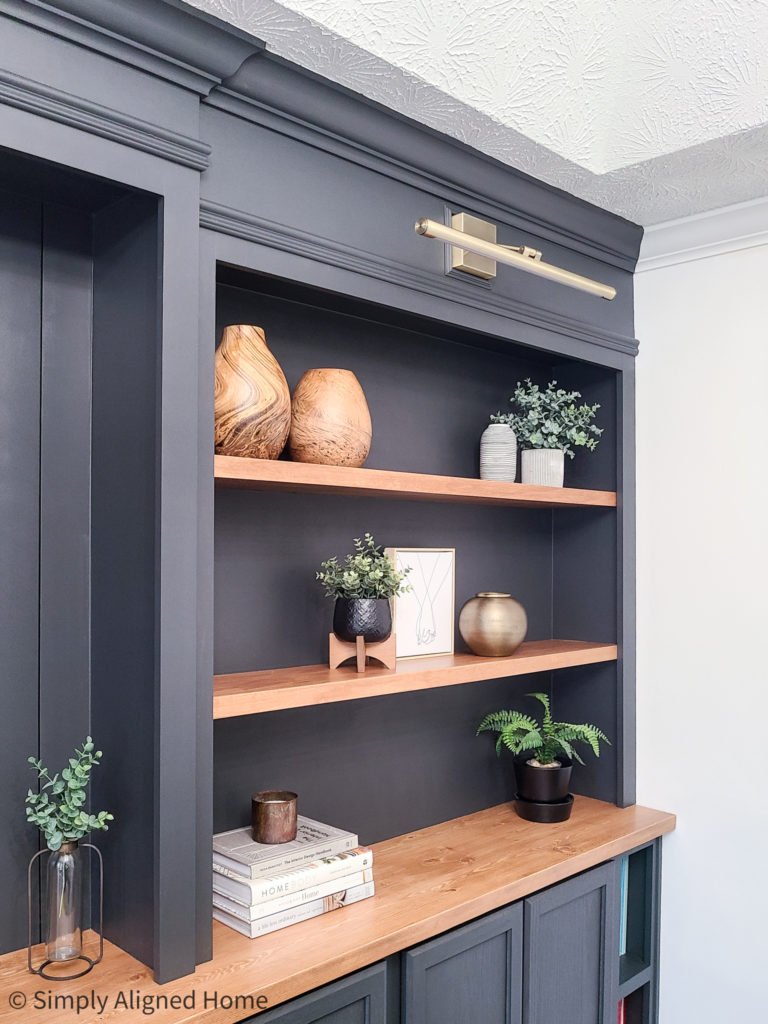
Paint the Unit
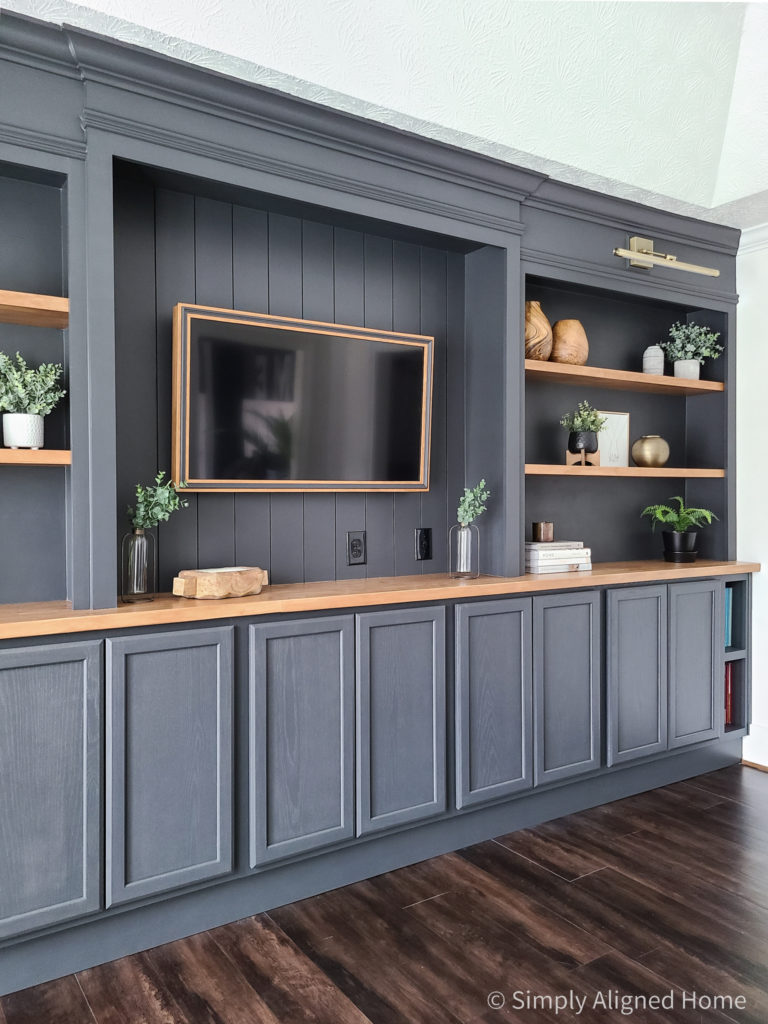
Time for paint!! It’s no secret that I have a slight obsession with Iron Ore. I love that it’s dark and moody, but not stark like a solid black. The combination of Iron Ore with stained wood is perfection!
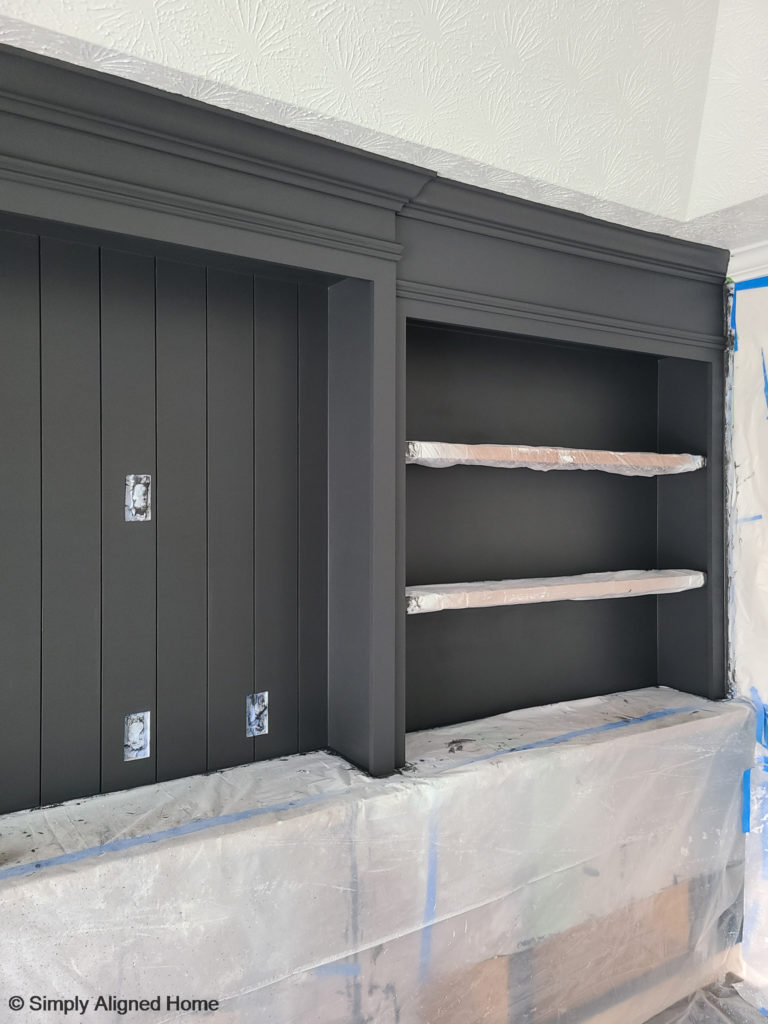
Pulling off the plastic to reveal the finished built-in unit might have been my favorite part of the project!
Install the Toe Kick
The final part of the built-in unit was the toe kick. I used a piece of the old baseboard and ripped it so that it would fit under the base cabinets. To make my life easier, I painted the toe kick before I installed it. Once the paint was dry, I secured it using finishing nails.
With the unit complete, I just had to reinstall the cabinet doors and admire the beauty! I still cannot believe that I built this entire unit!!

**Note: I am not a professional and do not claim to be an expert. Please be sure to always read instructions for all tools and products. Safety is very important and should be your top priority. Wear necessary protection when using tools (eye wear, hearing protection, gloves, etc.) and dust masks when sanding or cutting. Simply Aligned Home is not responsible for any injury or damage. All of my designs are not professionally designed and are for private use only.**
Hello,
The final rendering is simply wow, wonderful, very pretty…
I was eagerly awaiting the last post.
I’m like you when you finished the project, I’m in awe of the end result and the work you did.
Thank you for sharing the realization of this project step by step. This allows me to embark on the realization of an almost similar project for the construction of an office.
Good continuation in your projects
Thank you so much!! It’s the best feeling to step back when a project is done and think “I did that!” Good luck with your office build! Let me know if you have any questions about my build.
Seriously, thank you SOOOOO much for your tutorials. These are not a small undertaking. I dream up our projects, research and try to hand off to my hubby for wood cutting and assembly, but he isn’t strong in finish work so thats where I step in. We are trying to upgrade our small garage (used as a small house overflow, play space and tv room) and with your help, the dreams are becoming a reality! Thank you!
It is my pleasure!! I love being able to share my projects! That awesome that you and your husband are able to work together to bring your visions to life…isn’t it so rewarding?!