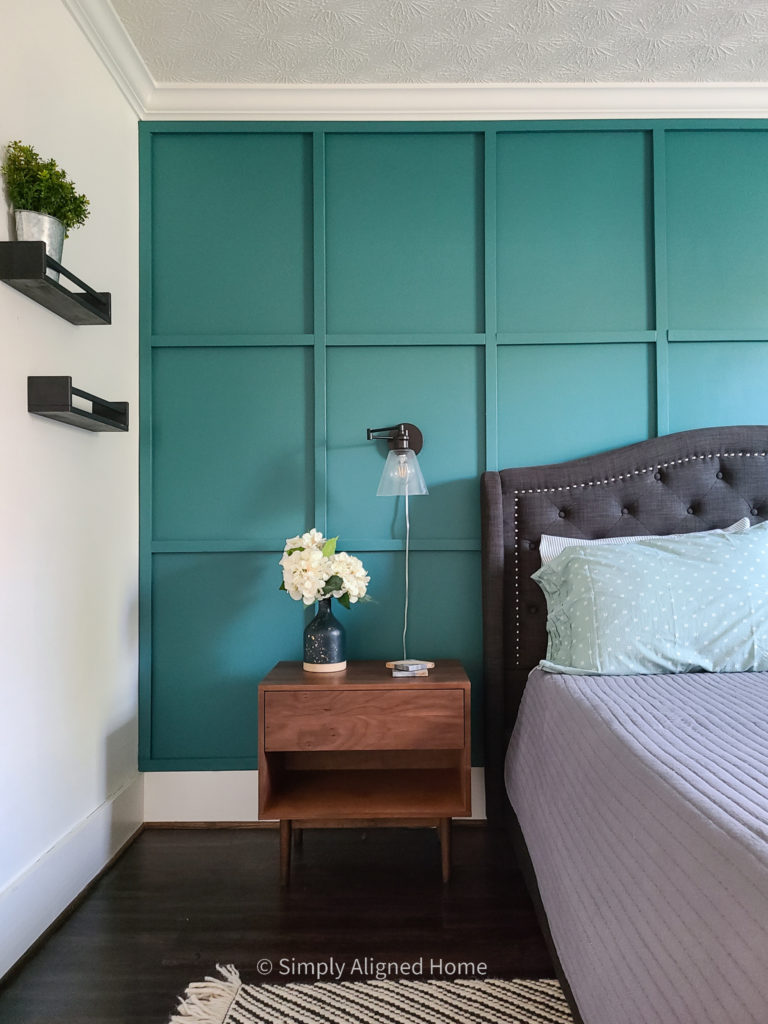
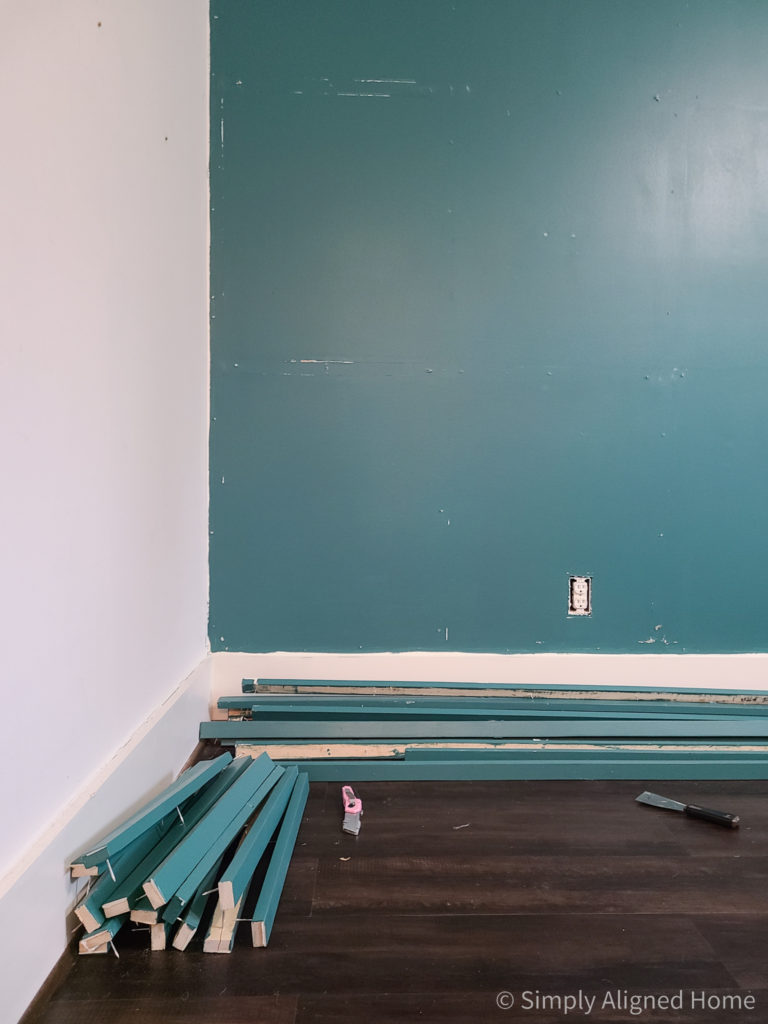
I’m sure you’ve seen your fair share of accent walls, but do you know how to remove accent walls?! It’s not a clean process, but it’s necessary if you want your walls to look decent after removing trim. Here is how I removed and patched an accent wall show below (this can also be applied to removing partial wall accents, like wainscoting).
Remove Accent Wall Trim
The first step is to remove all of the trim. It is important to cause as little damage to the drywall as possible during this step.
My accent wall trim was only secured using finishing nails, however, the paint that was used on the trim did act as an adhesive in some spots. If caulk was used, begin by scoring the caulk (or paint) with a knife. If construction adhesive was used, attempt to break it loose from the trim by sliding a putty knife between the trim and drywall.
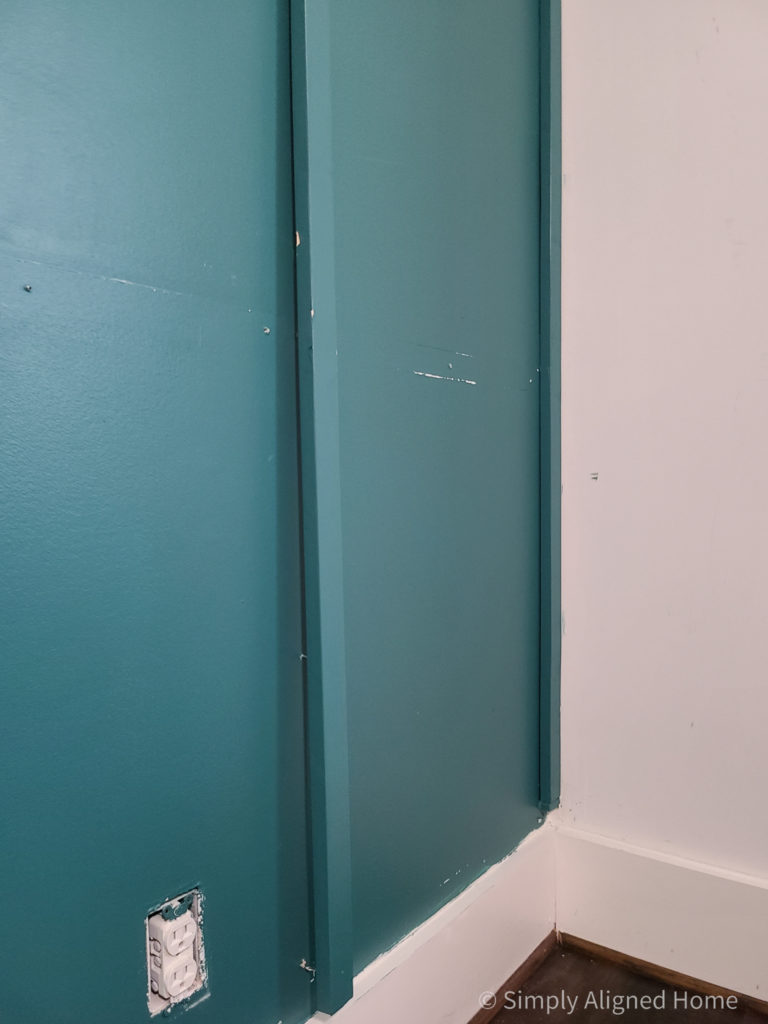
To pry the trim from the drywall, use a trim puller or putty knife (I usually just use a putty knife). Gently work your way down the piece of trim, prying it off the wall a little at a time. Avoid the urge to pull the entire piece of trim off of the wall in one swift motion.
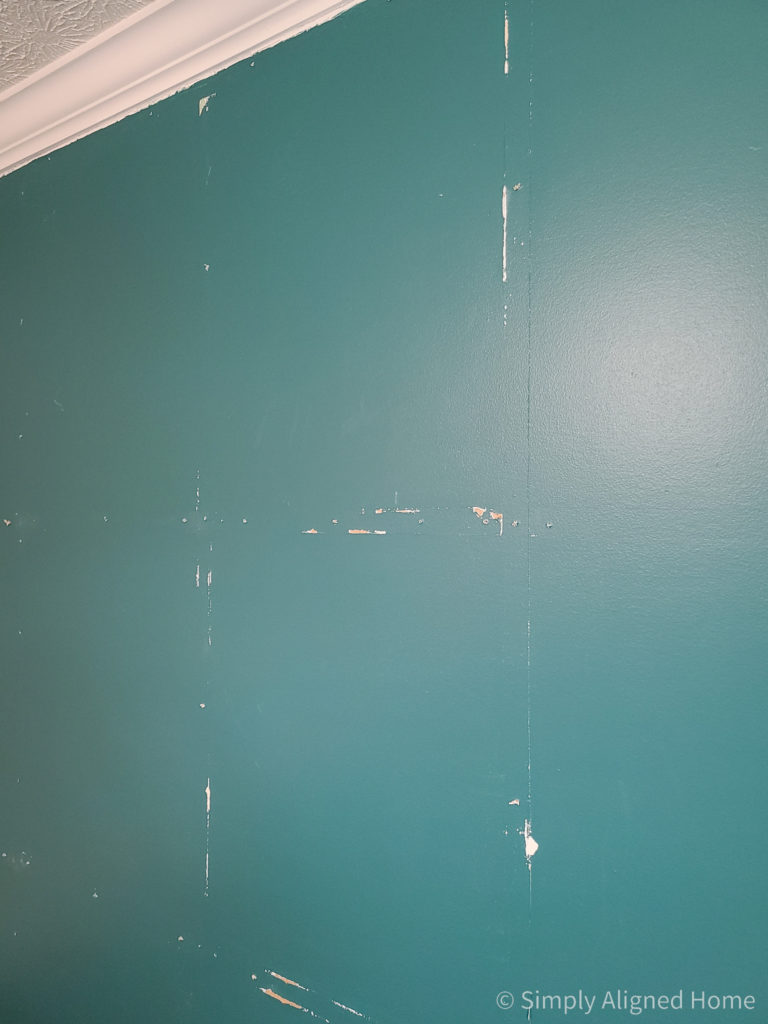
Evaluate the Damage
Once all of the trim is removed, you can see the damage that needs to be repaired. If your drywall needs extensive repair, the best option may be to replace the drywall. In most cases, you can simply patch any holes or minor tears with spackle.
Spackle Holes and Drywall Tears
I started by applying spackle to all of the nail holes and any drywall tears. All of the tears to my drywall were relatively small, so there was no need to replace the drywall.
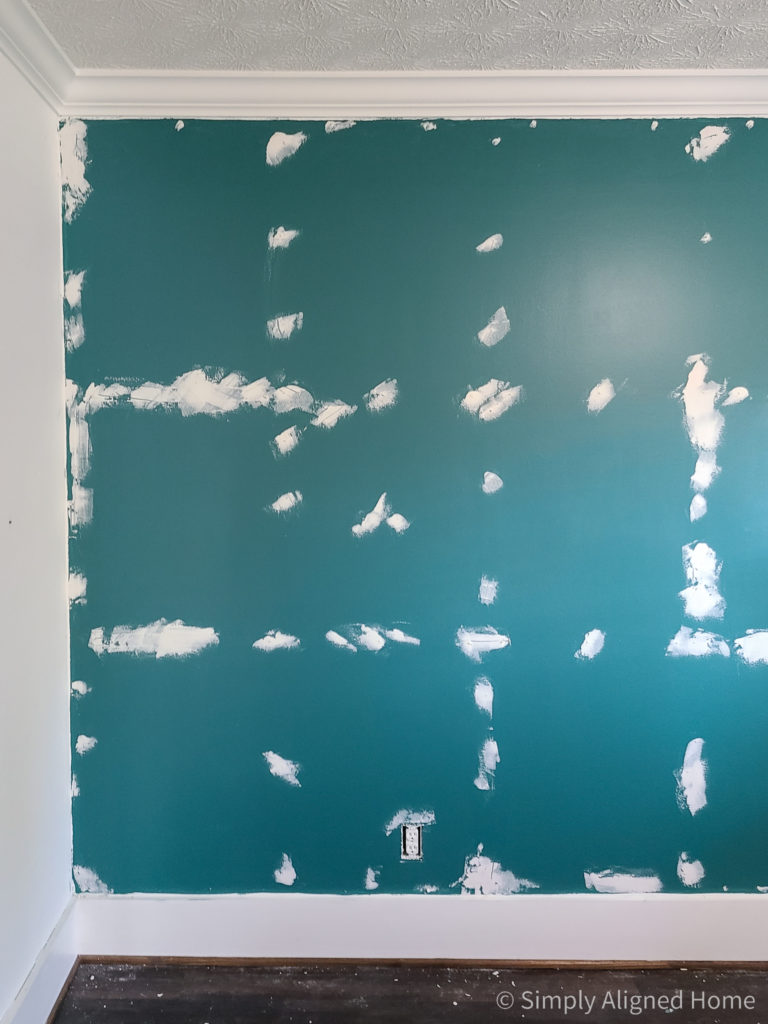
The spackle I use goes on pink and turns white when it’s dry. I apply enough spackle so that it covers the hole and sits slightly above the drywall. This will allow me to sand the patch flat once the spackle dries.
Cover Everything in the Room
Unless if you have a great dust collection system, sanding inside always creates a mess! I covered all of my belongings in the room with plastic and made sure to keep the bedroom door closed. Connecting your sander to a shop vac will significantly reduce the dust in the room.
My room has vinyl flooring, so I didn’t bother covering the floor. If you have carpet in your room, be sure to cover it with plastic as well.
Sand the Wall
I started by sanding the patches using 220 grit sandpaper and my orbital sander. I made sure that the patches were flat and smooth. Once sanded, if any of the patches had low spots, I added another coat of spackle.
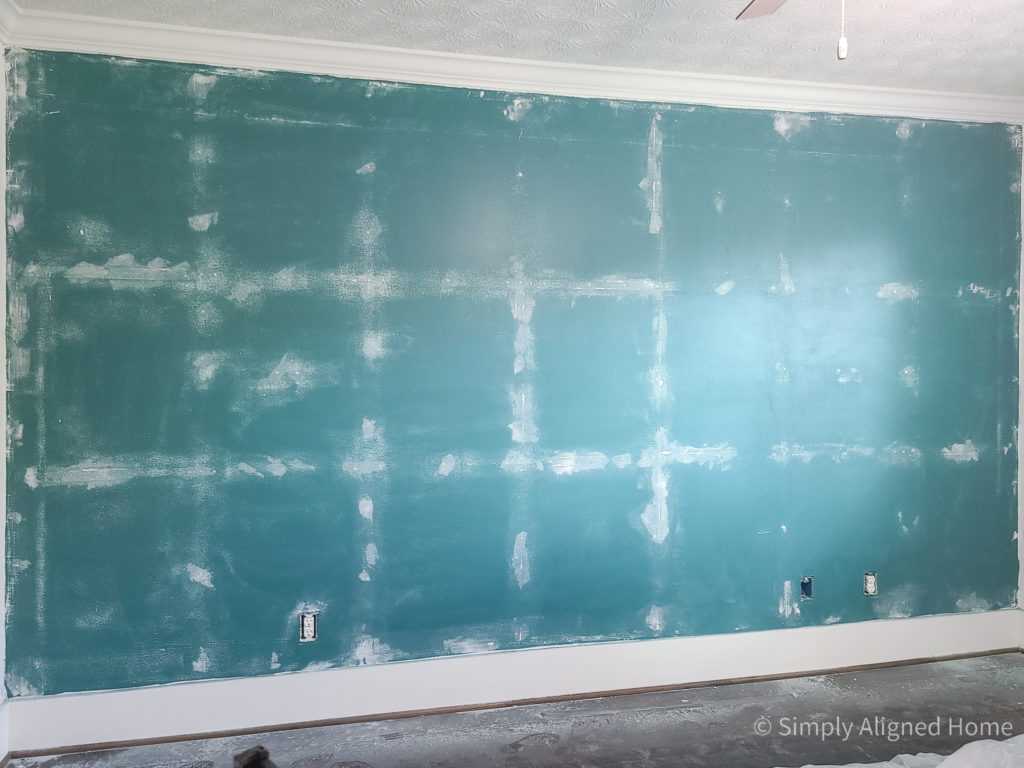
Once I had all of the patches sanded down, I did a quick sanding of the entire wall. My home is older and does have some paint drips on the walls from old paint jobs, so this was my chance to clean up the imperfections.
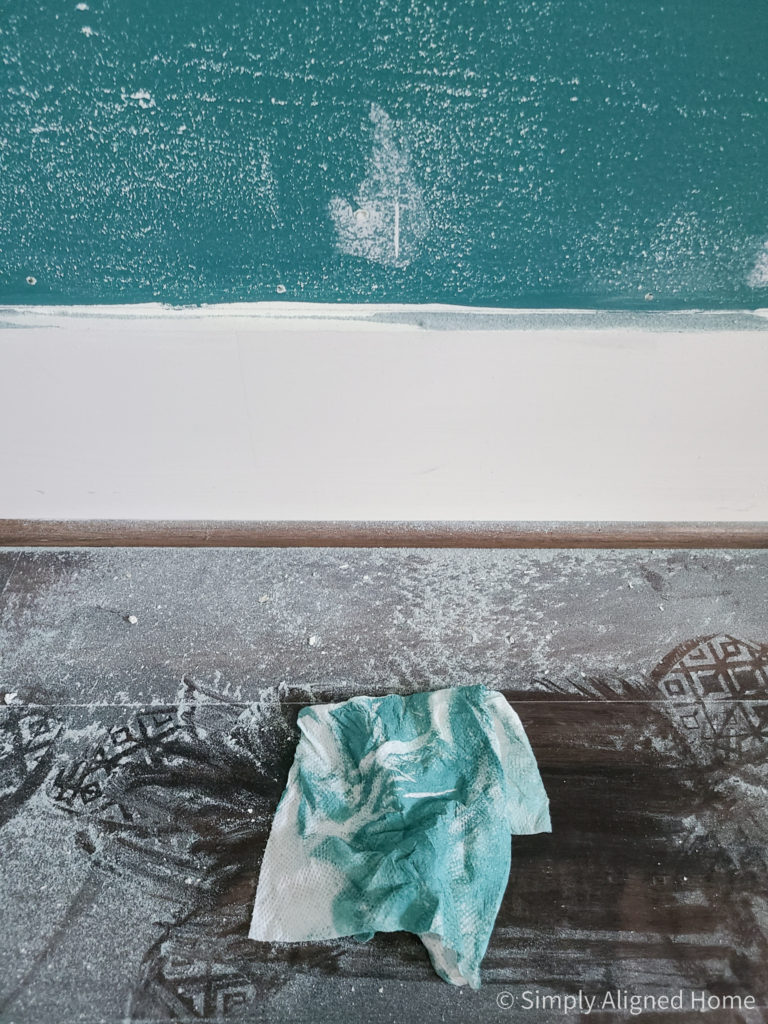
Clean Up the Sanding Dust
It’s necessary to remove the sanding dust before you begin painting. I like to work my way from the top down when cleaning up sanding dust. I started by wiping the wall with a damp rag to remove the dust. Once the wall was wiped down, I vacuumed the top of the baseboard and then the quarter round. Then I cleaned up the floor.
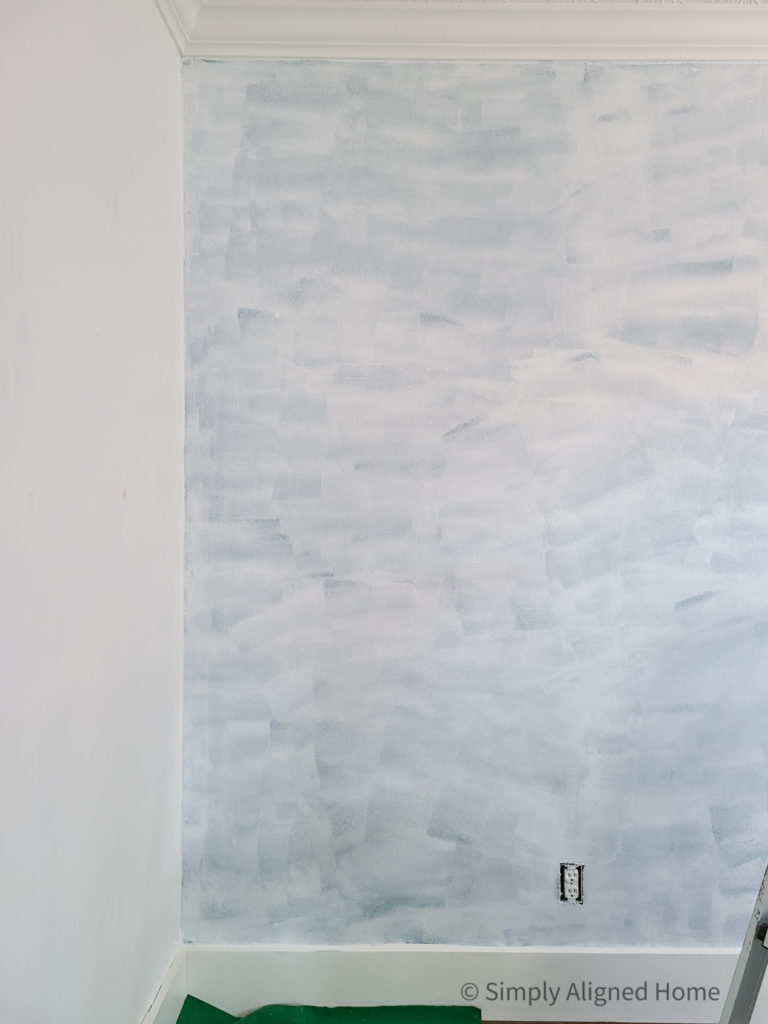
Prime the Wall
As with all projects, you need to prime any patches before you paint. If you don’t prime your patches, the paint sheen will be different in those spots. When the light hits the paint, it will be very obvious.
Paint
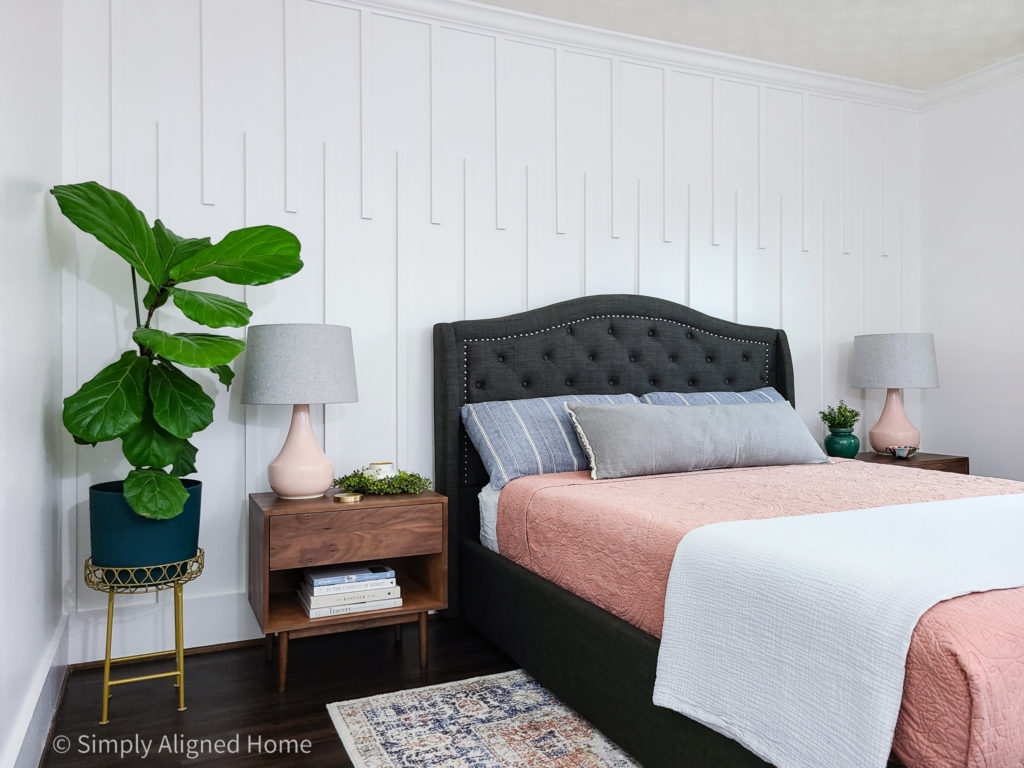
Now that the wall has been patched and primed, you can paint the wall any color you’d like! I decided to take this room from dark and moody to bright and airy.
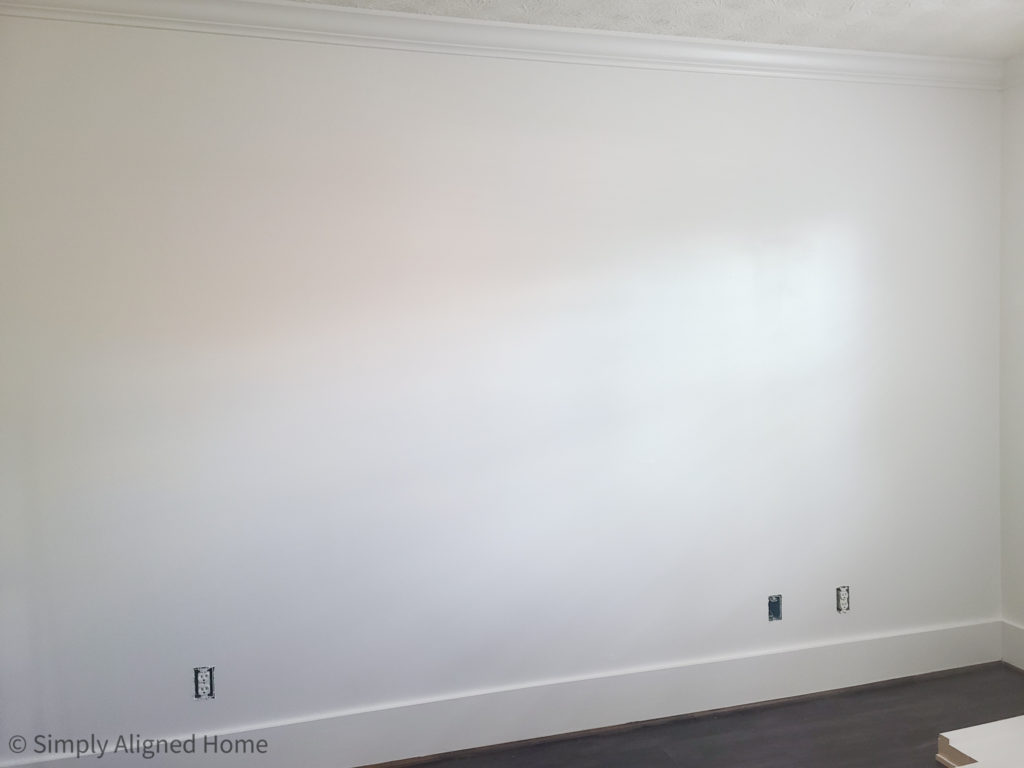
I painted the wall white before installing a new, modern accent wall.
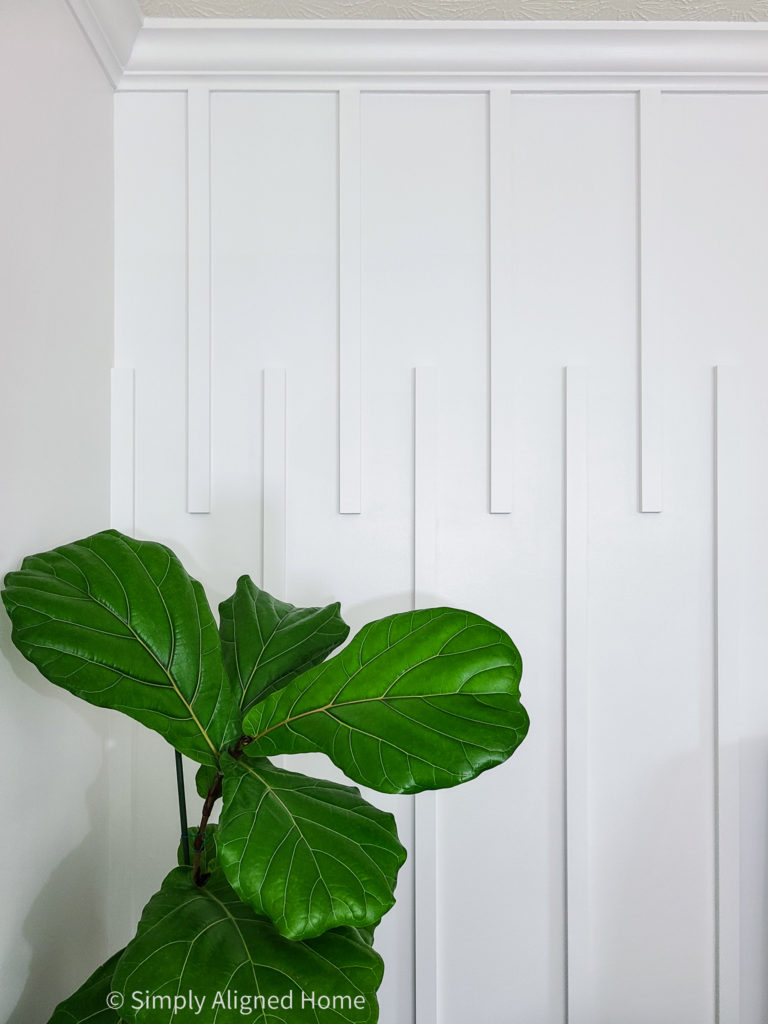
To see more of the guest bedroom, be sure to check out my post about the mid-century modern nightstands I used!