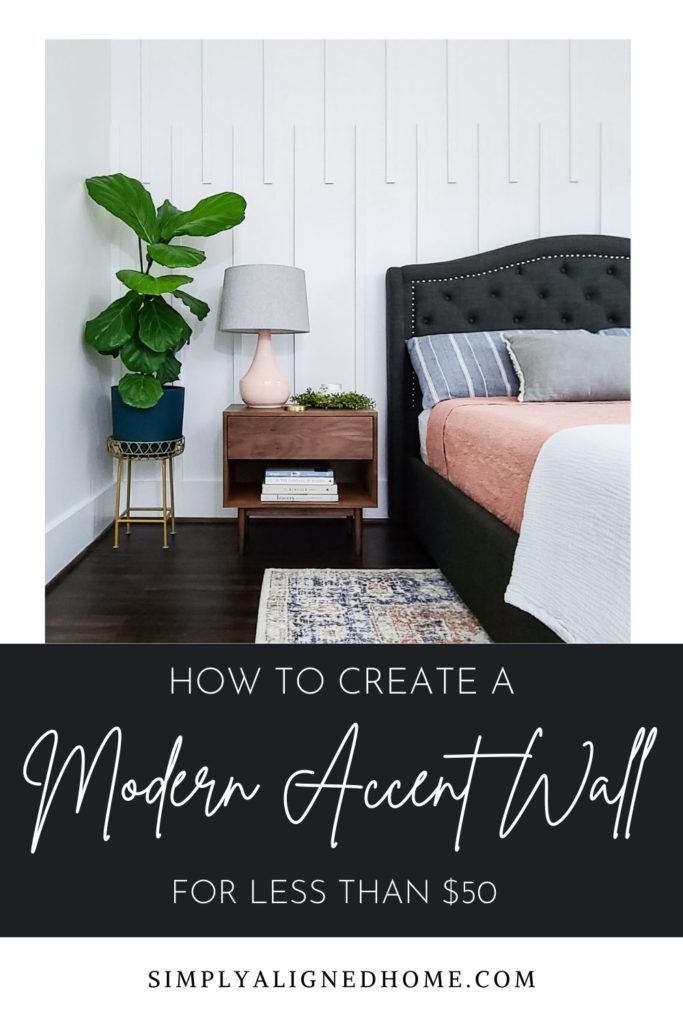
I am a fan of change…especially when it comes with a cheap price tag! Our guest bedroom needed a change and my first project was a modern accent wall. I’ll walk you through the steps of how I made this modern accent wall for less than $50!
Our guest bedroom was one of my first solo DIY projects. I wasn’t using power tools yet, so I tackled this accent wall with a handsaw and hammer in hand!
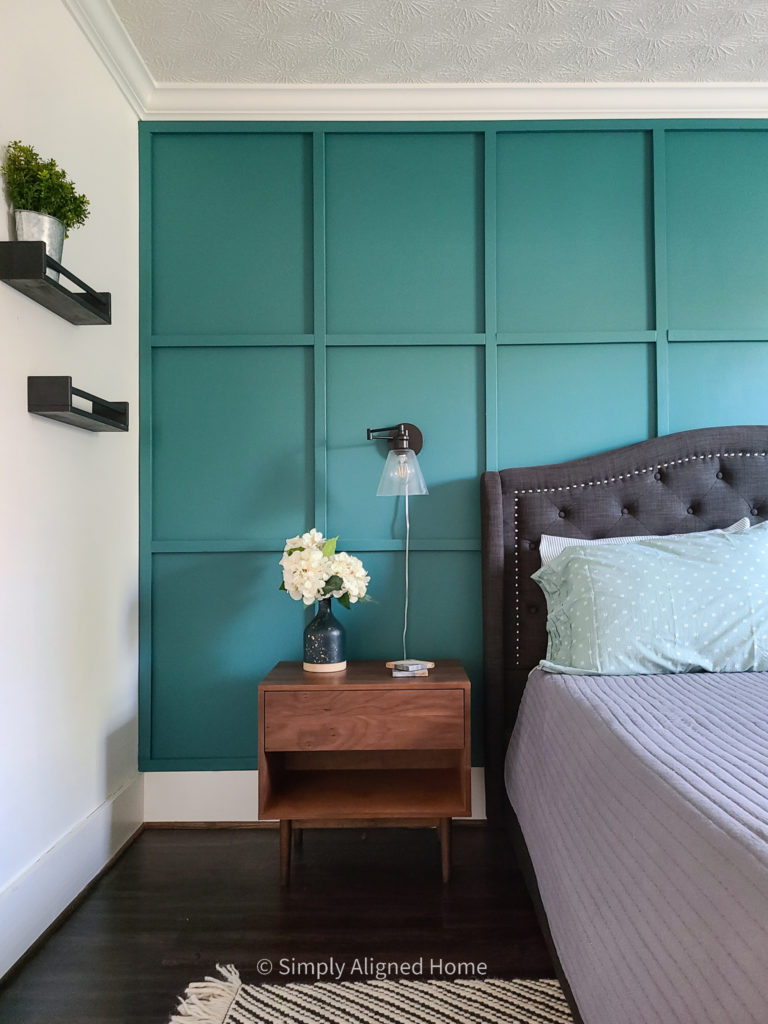
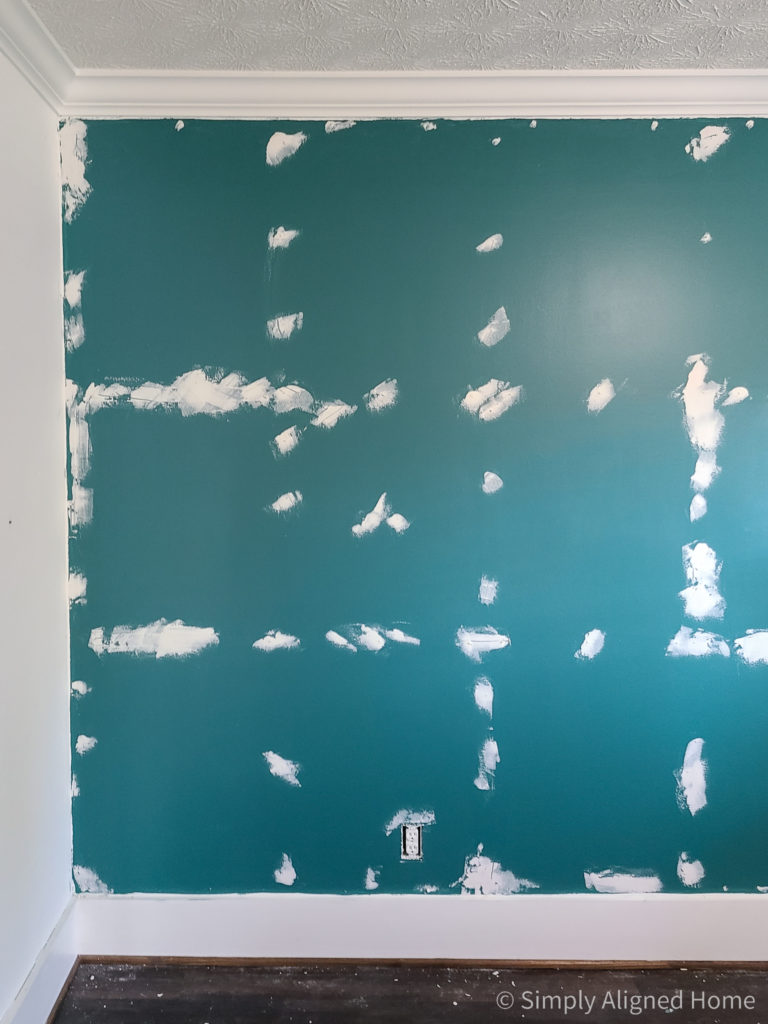
Accent walls usually set the tone for a room, and this green accent wall gave the guest bedroom and dark, moody feel. While I loved the color, the room needed an update. I wanted the guest bedroom to be bright, fresh and cozy. The first change that needed to be changed was the accent wall.
Prepare the Wall for an Accent Wall
This part will be different for every project. I, personally, had to begin by removing the existing accent wall. I will be sharing a post on how to remove an accent wall and repair any damage left by the accent wall. On a high level, I had to remove the trim, patch any holes, prime then paint the wall.
If you are starting with a blank wall, all you need to do is paint the wall whatever color the accent wall will be. This may seem like an extra step, but if/when you decide to remove the accent wall, you will be so glad that you painted the entire wall first.
Determine How Much MDF is Needed
There are several different materials that can be used to create an accent wall. I decided to use MDF strips for this wall. MDF is a very affordable material. It is lightweight, easy to work with, and doesn’t warp quite like wood.
In order to determine how many MDF strips I needed, I first needed to know the length of the wall. My wall was roughly 160″ long.
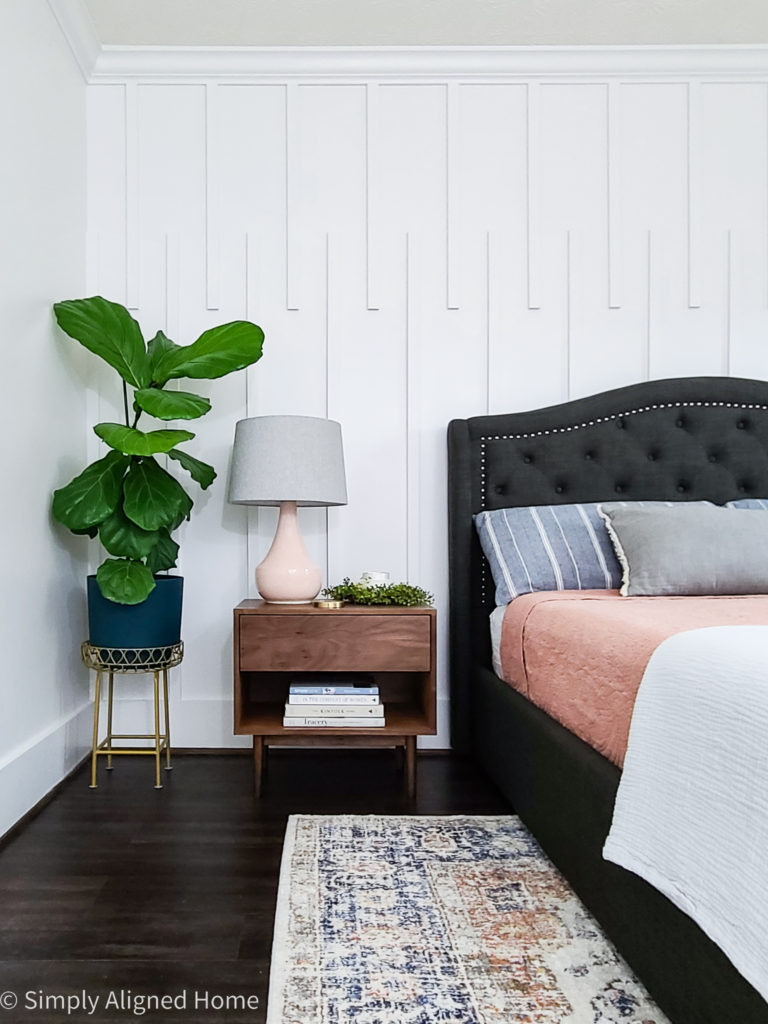
I decided to to use 1×2 MDF strips for the wall. The true width of a 1×2 is 1-1/2″. I wanted the strips to be spaced 4″ apart. The math at this point was simple! I took the length of the wall and divided it by 5-1/2″ (the width of the 1×2 plus the 4″ space). I needed roughly 29 pieces of MDF.
To save even more money, I decided to use one 8′ long 1×2 MDF strip to cover two of the vertical pieces. I did this by cutting the short pieces 31″ long and the long pieces were 65″ long. Therefore, I only needed to buy 15 pieces of 1x2x8′ long MDF. Hope that all makes sense!
# MDF Strips = ( Length of Wall (in) / 5-1/2″ ) / 2
Cut the MDF and Two Spacers
This part was super quick! I simply had to make one cut per piece of MDF. I used my miter saw for these cuts, but MDF is soft enough that you could easily cut it with a hand saw.
Like I said before, I cut the 8′ long pieces of MDF into two different lengths. One piece was 31″ and the other was 65″.
I have found that installing accent walls like this one is much quicker if you have a spacer. This will eliminate the need for a measuring tape. I cut two different spacers…one was 4″ and the other was 9-1/2″ long.
Nails vs Construction Adhesive
There are so many different ways to install an accent wall. Two of the most common ways to secure trim to the wall are nails and construction adhesive. Construction adhesive is meant for more permanent applications. If you think you might want to remove the accent wall in the future, skip the construction adhesive as it will do more damage to your drywall. I opted to just use 1-1/2″ finish nails.
Install the Trim
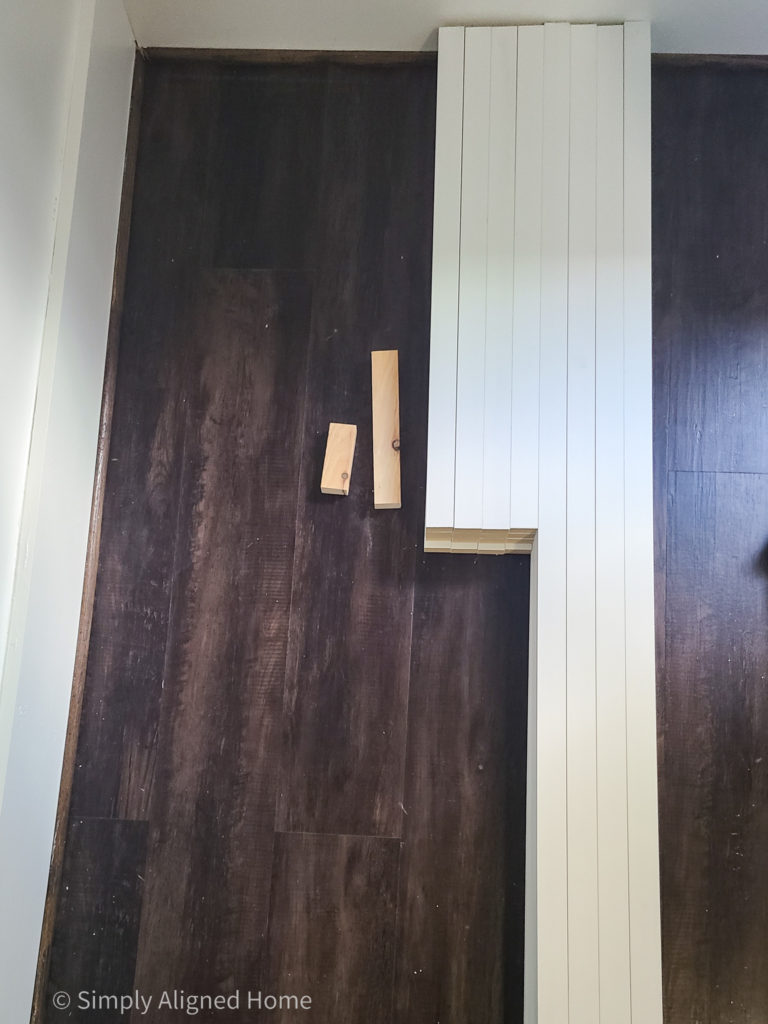
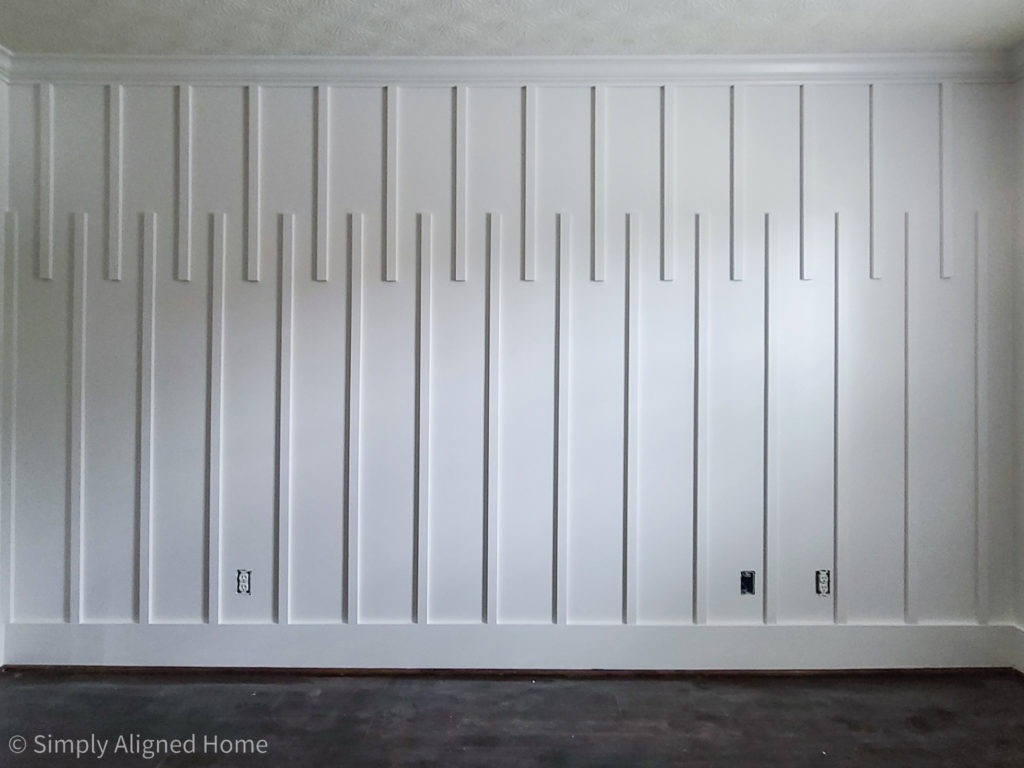
Now that everything was cut, it was time to install the accent wall! This part literally took me 30 minutes to do!
I started on the side of the wall that is visible when you walk in the room…you could also start in the middle and work your way out. I made sure that the first piece was plumb and secured it to the wall using a few 1-1/2″ finish nails.
Once the first piece was in, I relied on my spacers to get me through the install. I did occasionally check to ensure the boards stayed plumb.
The easy part was done…now to make it look nice and finished!
**This post contains affiliate links to products that I recommend. If you purchase something through an affiliate link, I may receive a small percentage of the sale at no extra cost to you. I really appreciate your support.**
Patch the Nail Holes
I started by patching all of the nail holes. I prefer to use spackle to patch nail holes, instead of caulk, because caulk has a tendency to shrink. When it shrinks, the nail holes are very obvious.
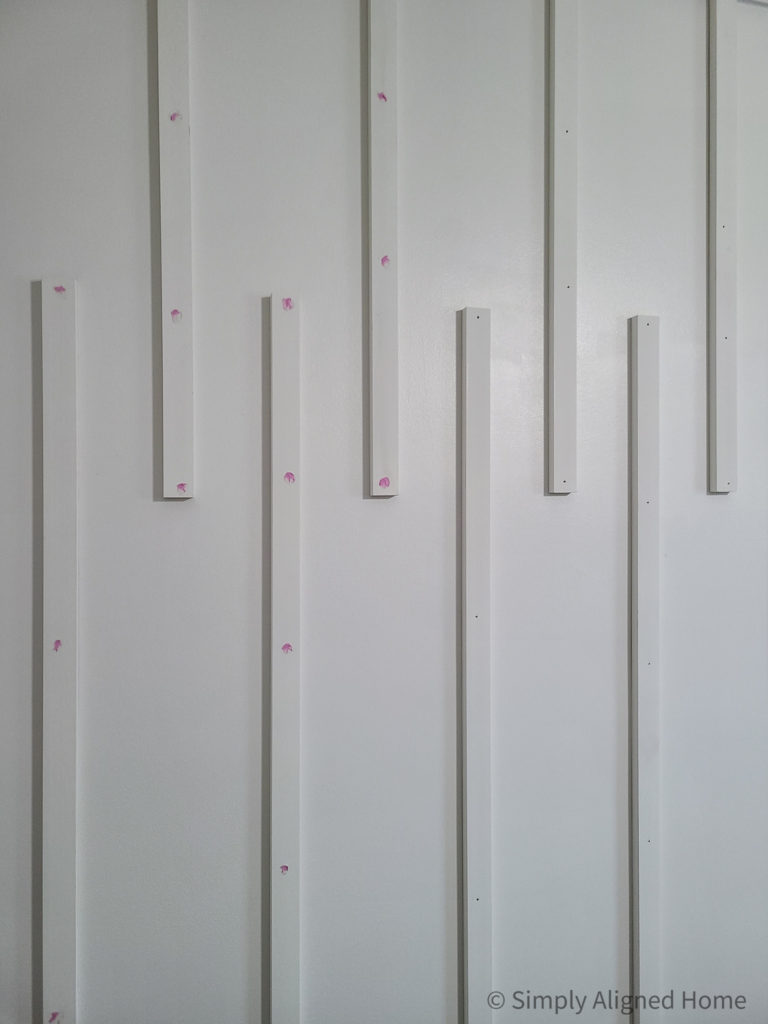
I placed a dab of spackle on each nail hole making sure to fully cover the hole. After the spackle dried, I sanded the patches flush using a 220 grit sanding sponge.
Caulk All Seams
I caulked all of the seams where the MDF touched the wall or trim. I made sure to use a paintable caulk.
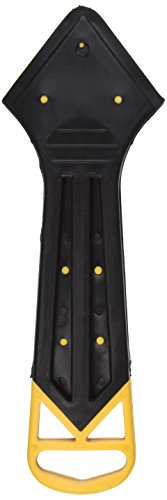
One of my favorite little tools is this caulk finisher tool. It leaves a nice, smooth bead of caulk and saves my finger!
Prime the Patches
Priming patches is a must! If you don’t prime spackle before you paint it, the sheen will always be off.
Since I only patched the faces of the trim, that’s the only part that I primed. I personally like to use Zinsser Water Based Primer. I used a roller for nice, even coverage.

Paint the Trim
The final step for the accent wall was to paint! I used a brush to paint the sides of the trim and a roller for the faces.
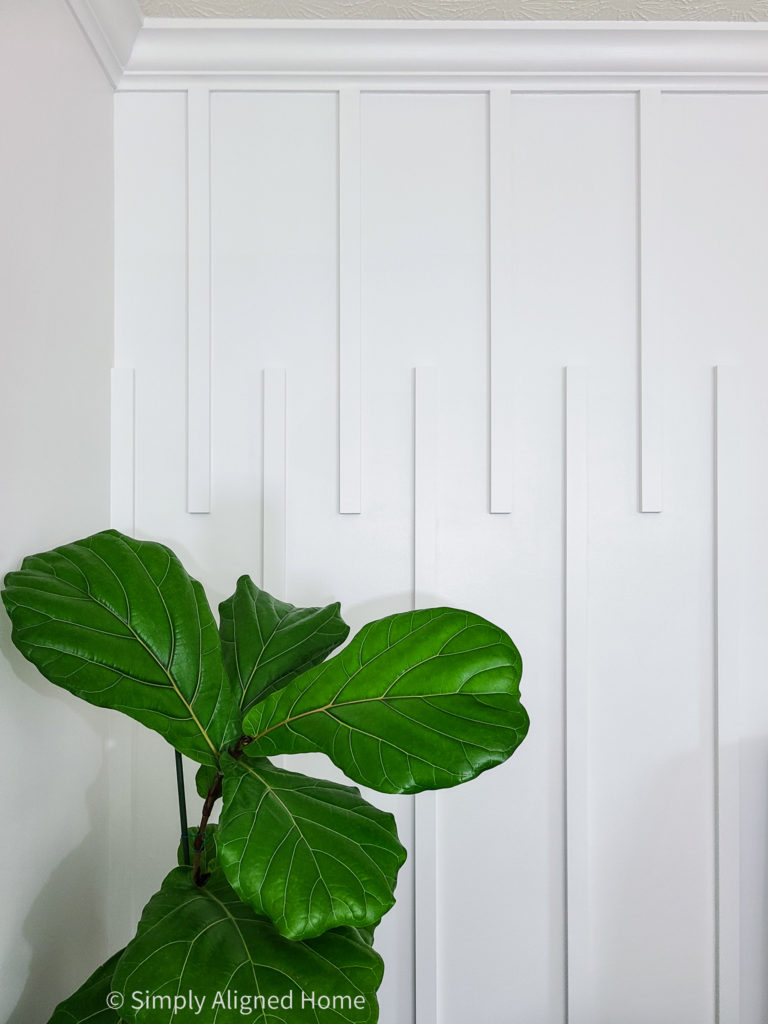
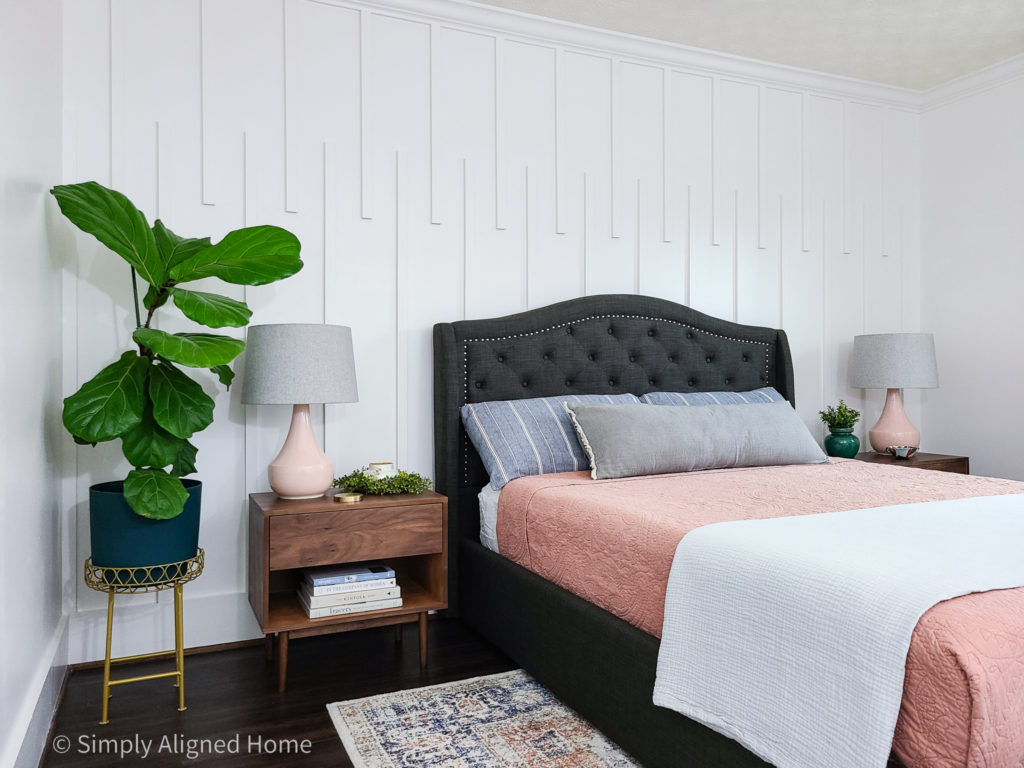
Our guest bedroom went from moody to cozy with a spa-like feel!
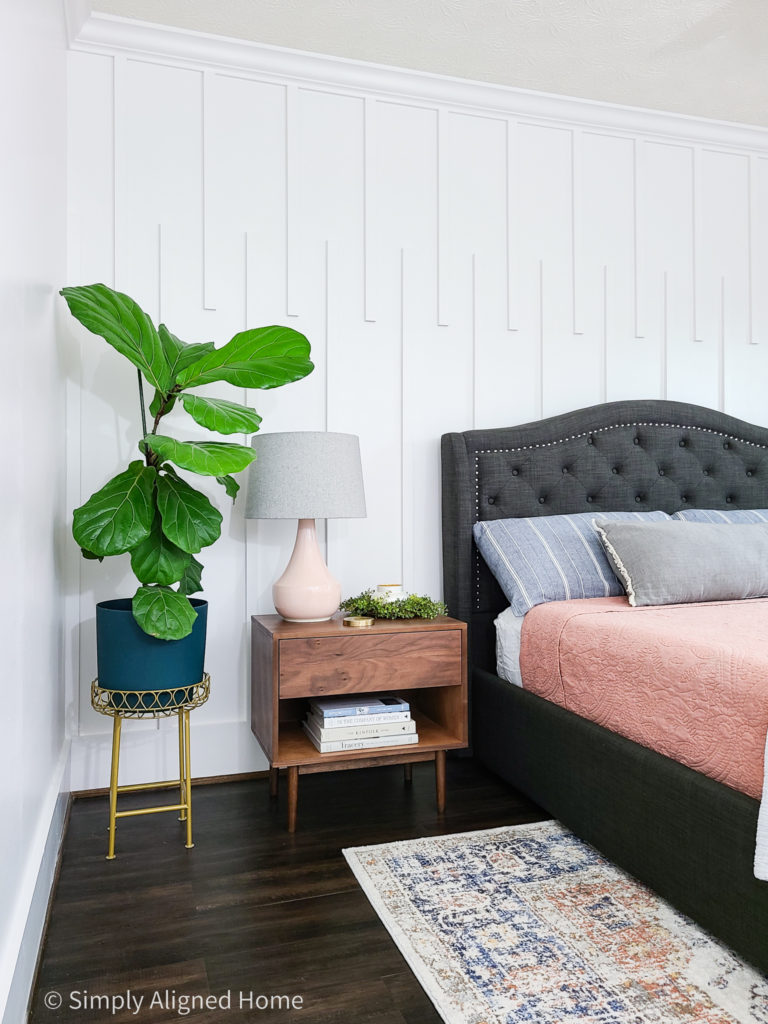
The complete makeover, including the mid-century modern nightstands, was perfect!