I can’t tell you how many times I’ve gone back and forth to my local hardware store to buy shiplap. It can be found in almost every room in my home by now. I love the simple design that adds dimension without adding clutter. It’s no surprise that I have a nice little stash of scraps from all of my projects…I hate throwing away material that I might use in the future. For this project, I was so happy that I did save all of those scraps!
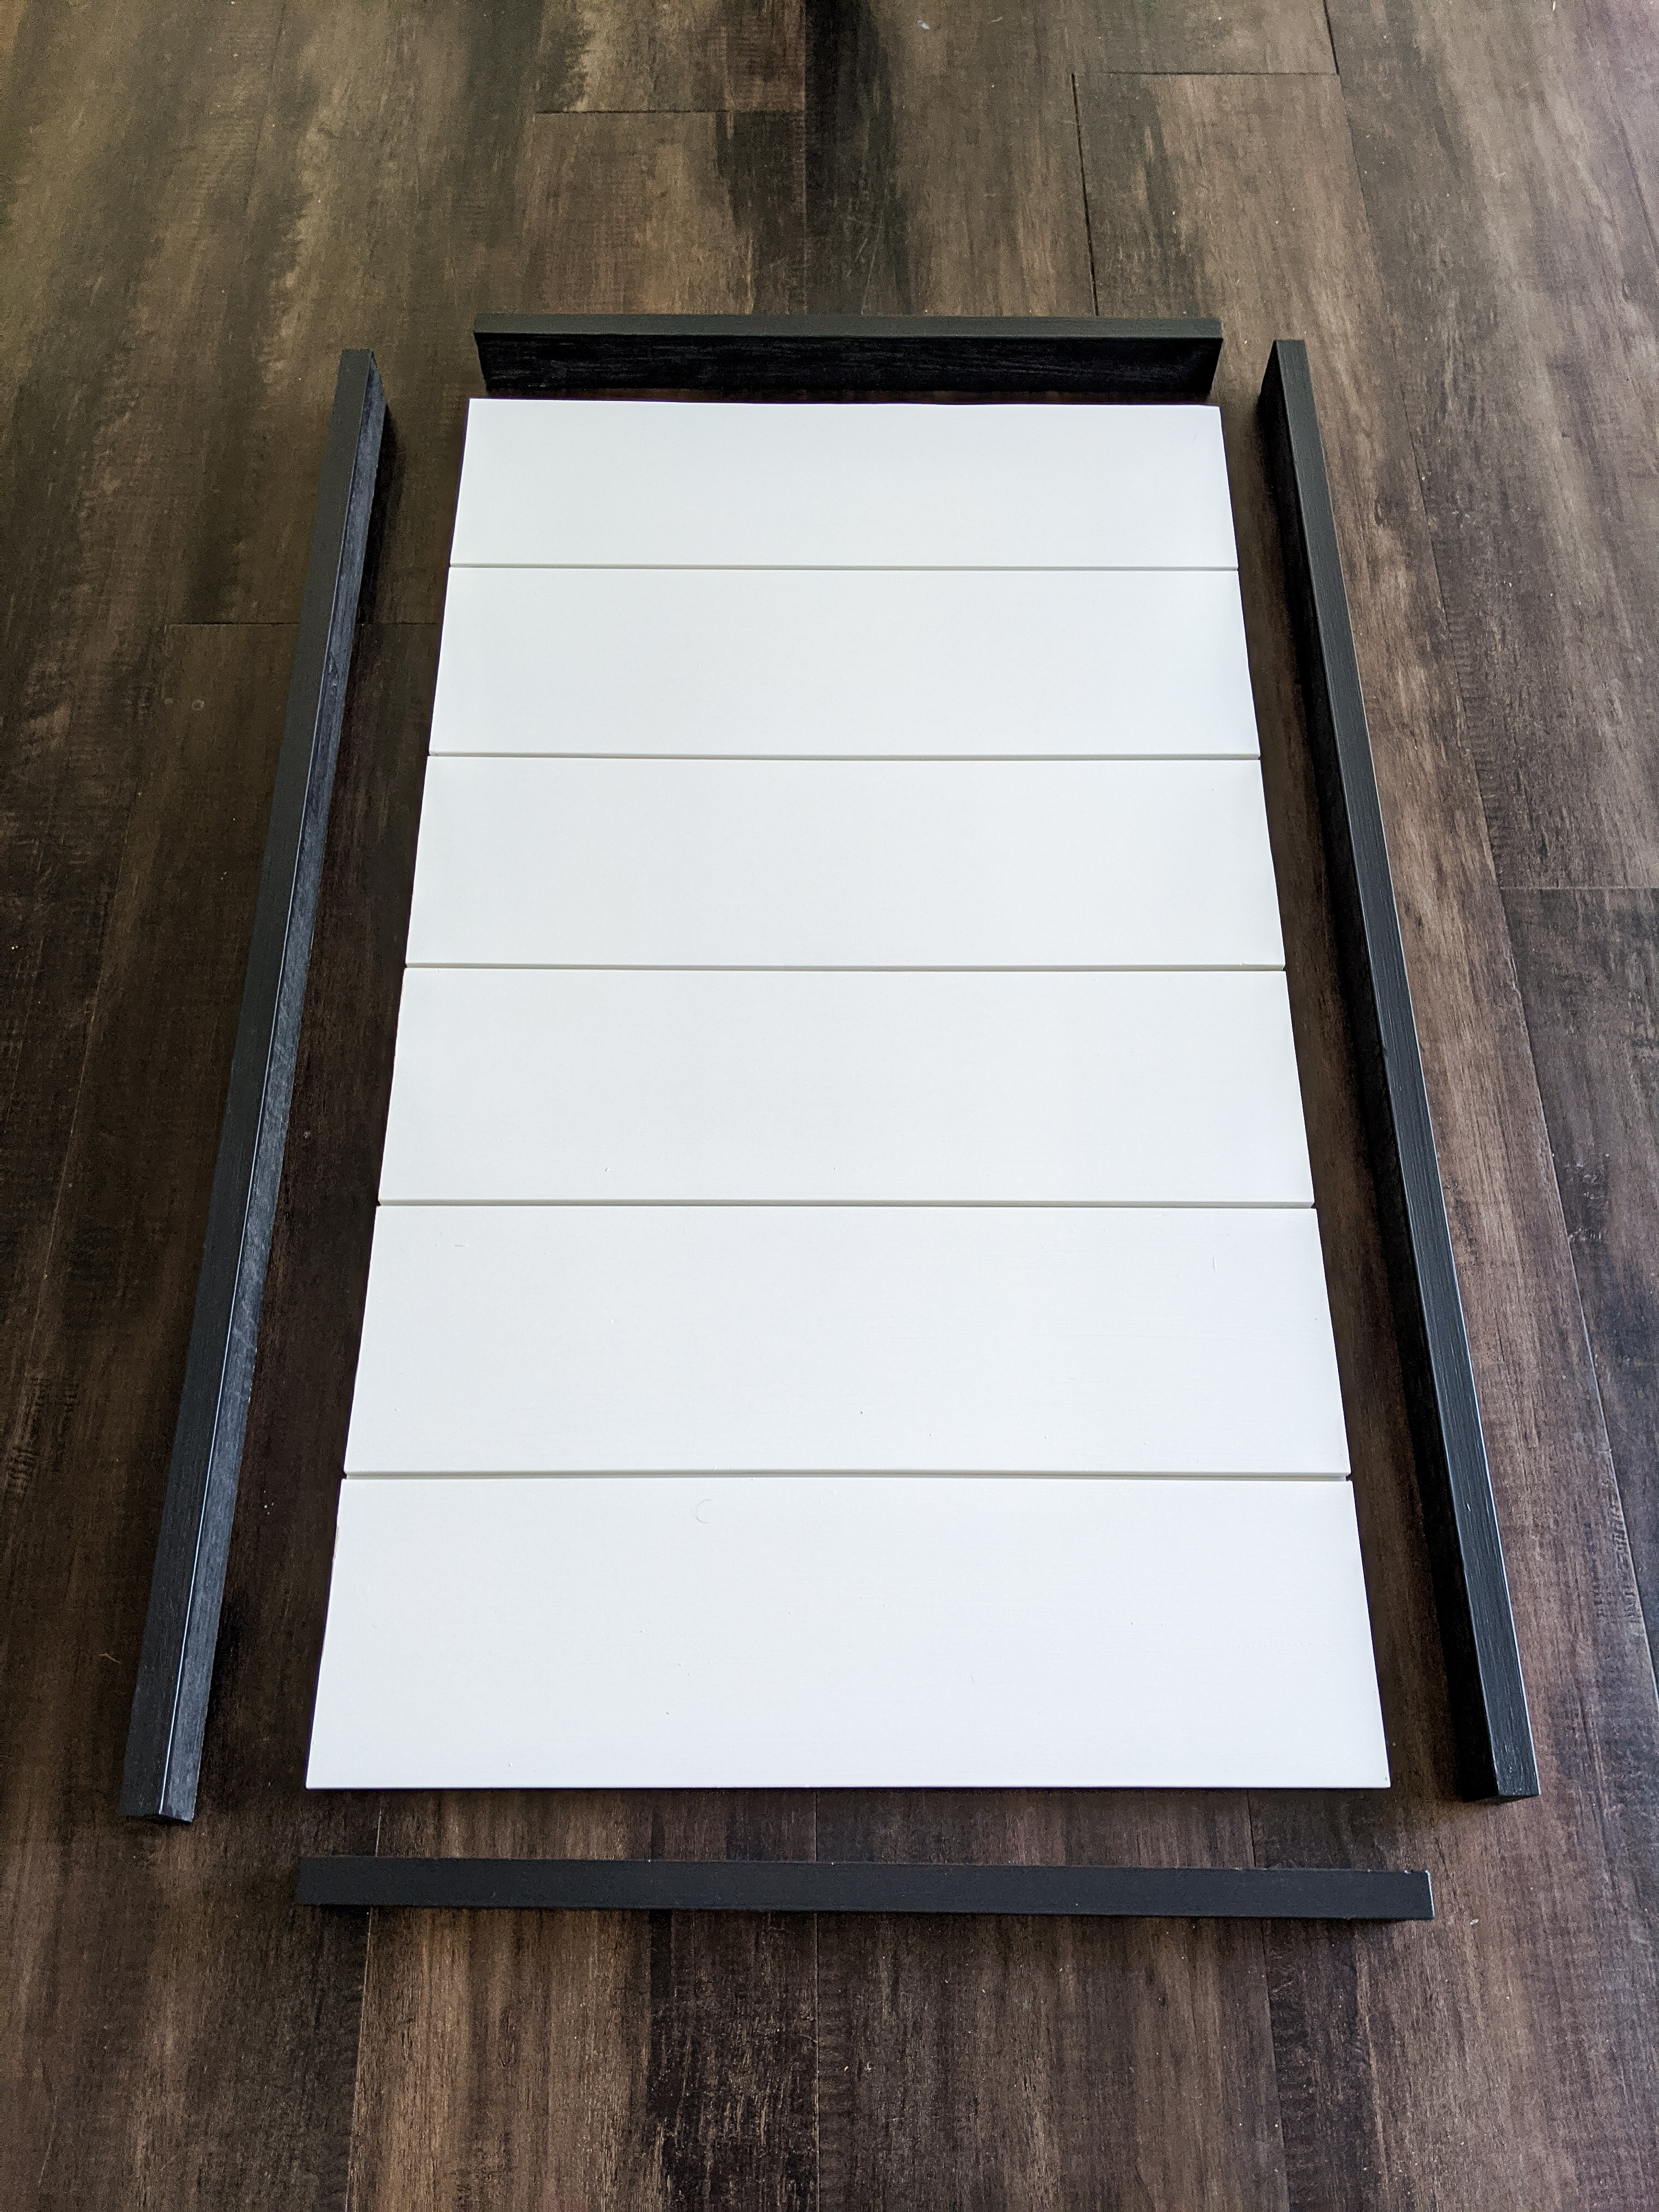
The first step to making the shiplap sign is to cut the shiplap. The width of my sign was dictated by the scraps that I had available. Luckily, it is easy to make signs of all sizes! I started by cutting six (6) pieces of shiplap 17-1/8″ long.

Once I had all of the pieces cut, I laid them out how they would go. I then ran the top piece of shiplap through my table saw to remove the top flange of the shiplap. (I call it a flange…not sure what the correct term is for this part of the shiplap.)

Now that all of the shiplap is cut, I am able to determine the overall dimensions of the sign. I secure all of the shiplap pieces together using a backer board. For the backer board, I used 1/4″ plywood cut just slightly smaller than the overall dimensions of the shiplap.

I secure the shiplap to the backer board using a construction adhesive. I applied a thin bead of construction adhesive all over the plywood and laid the shiplap on top.

The final piece of the sign is the frame. I cut the top and bottom pieces of the frame the same length as the shiplap pieces. The side pieces of the frame will be the overall height of the shiplap sign plus the thickness of the top and bottom frame pieces.
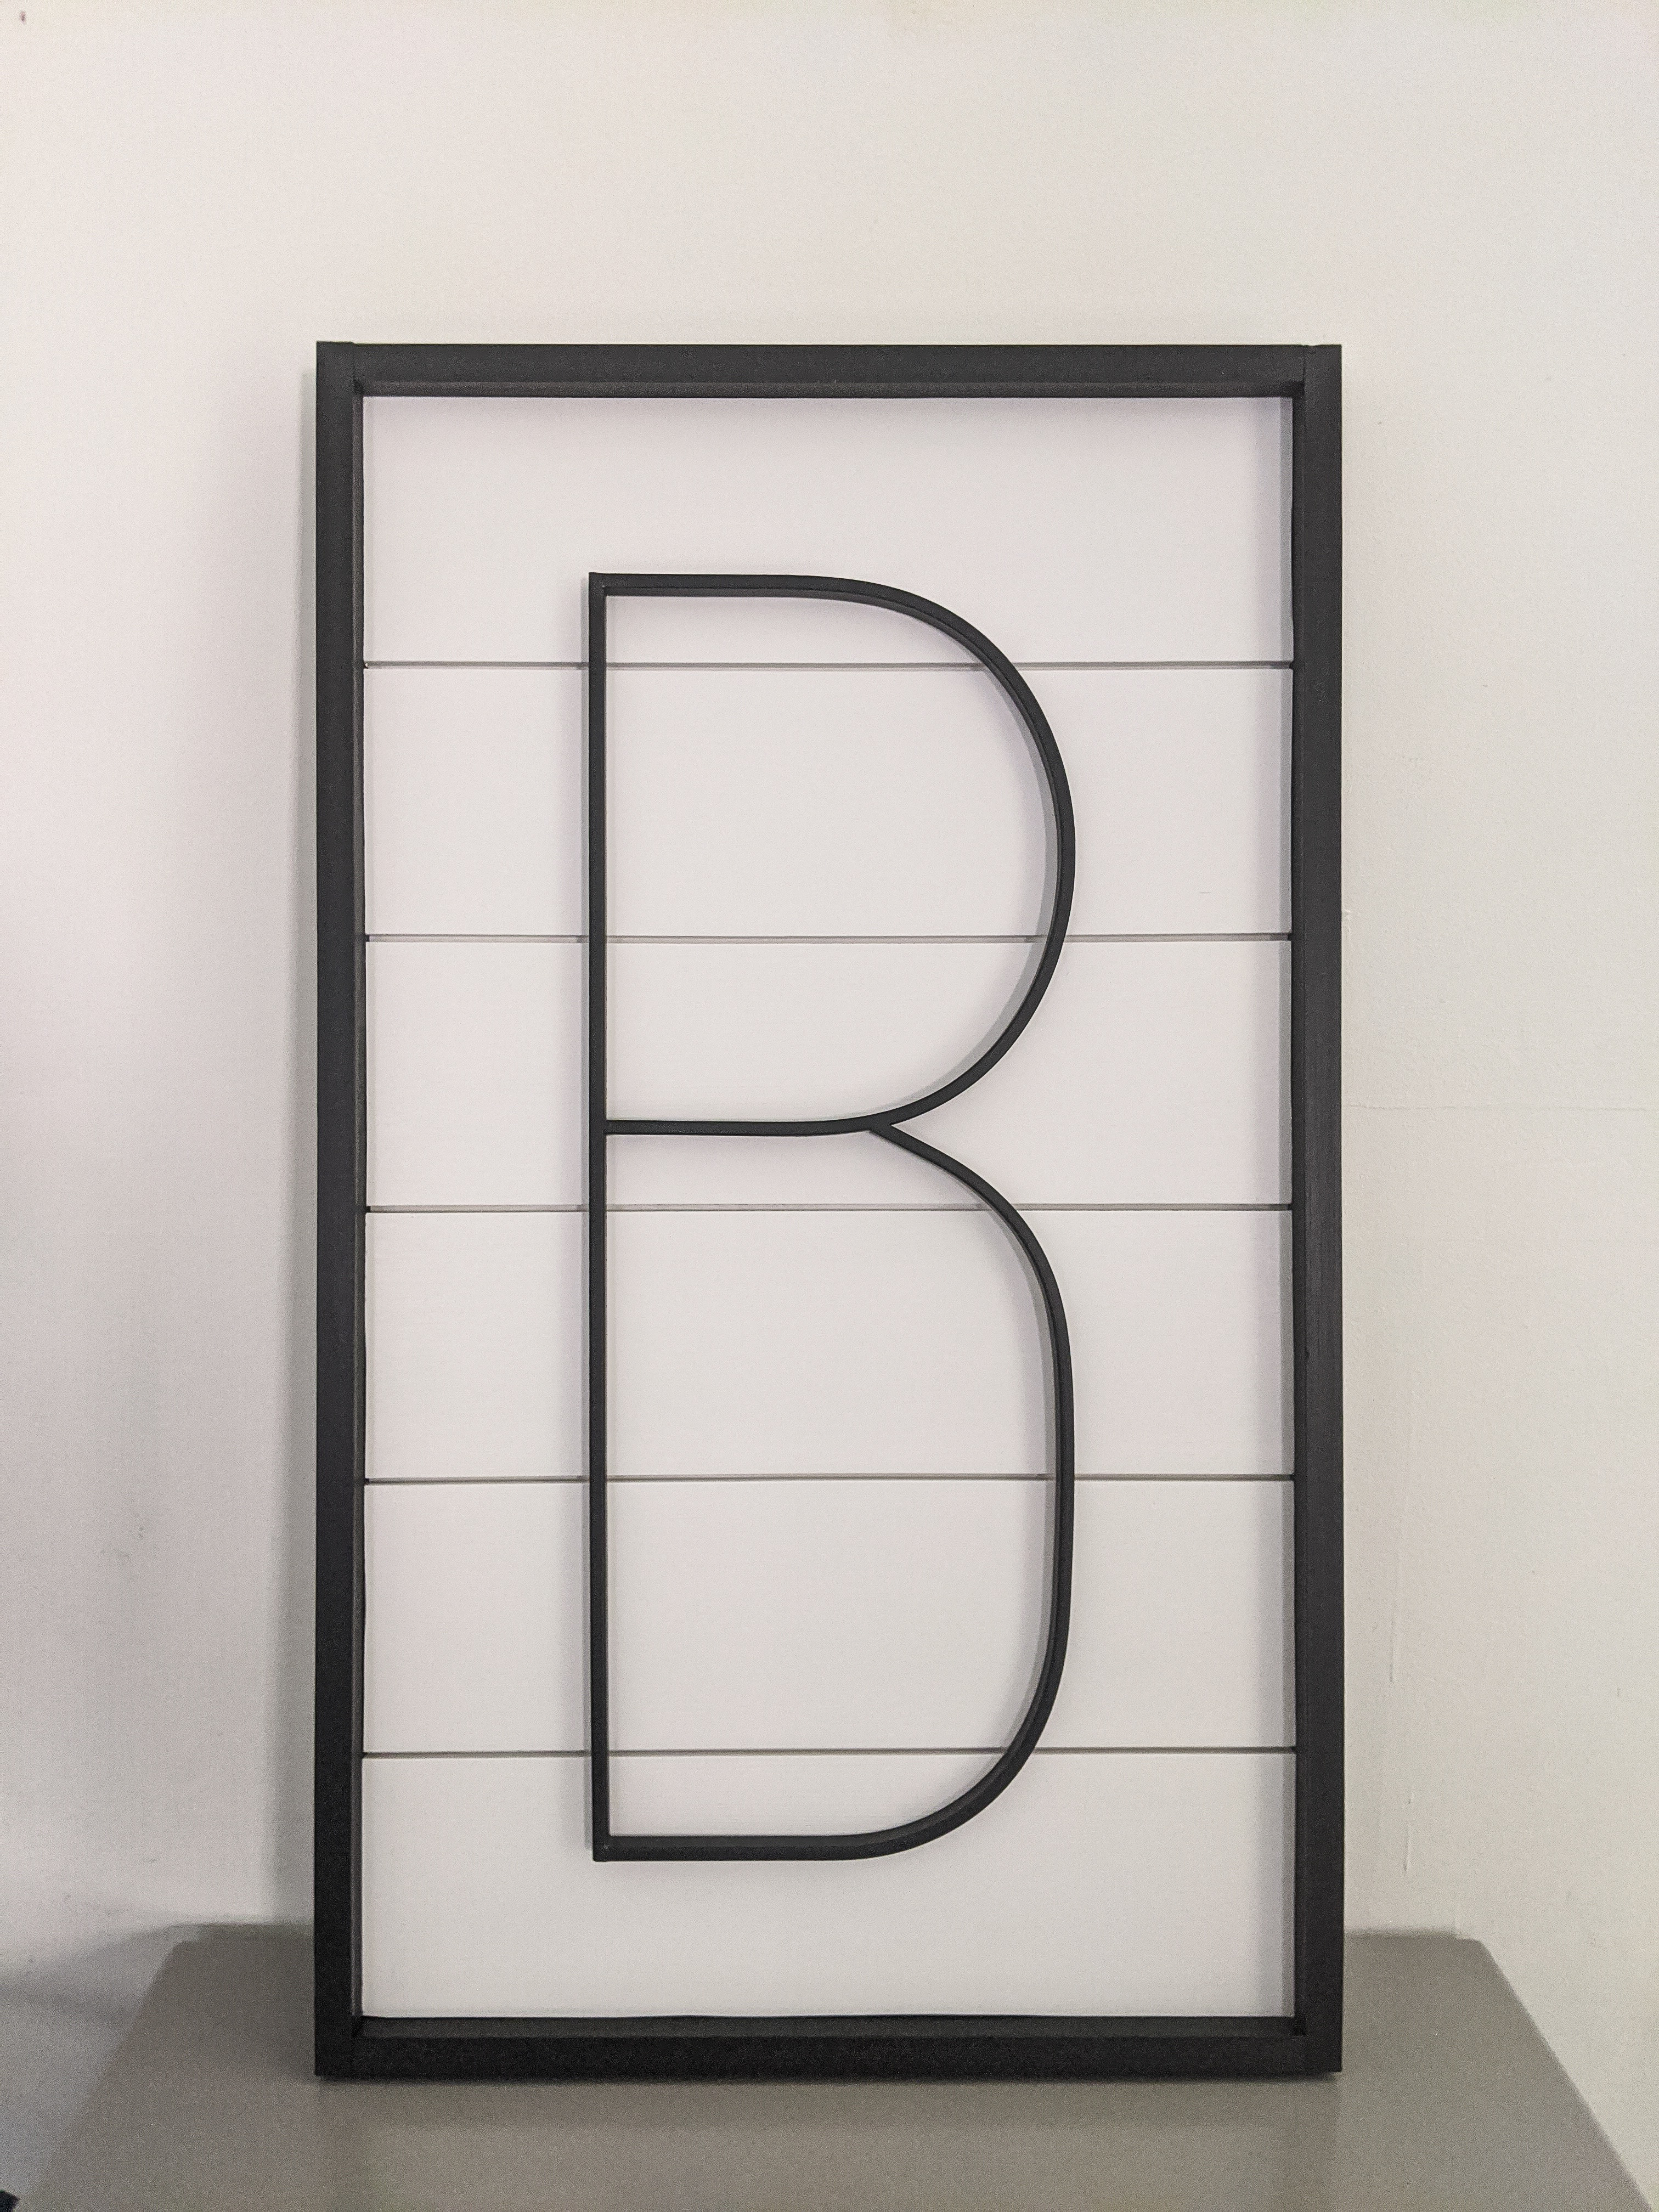
I chose to keep the sign black and white. I painted the shiplap white and the frame black. The shiplap and frame pieces were both primed, so I applied two coats of paint on both.
You can easily change up the appearance of the shiplap sign by painting the shiplap a different color or using stained wood for the frame. I recently made a chalkboard shiplap sign with a stained wood frame (see below). The possibilities are endless!

As soon as the paint was dry, I secured the frame to the shiplap sign using 1-1/4″ finish nails. I made sure to nail through both the frame and shiplap.

Time to add the finishing touch! For this sign, I decided to use metal letters that I already owned. I secured the metal letter to the shiplap using the construction adhesive. It would be easy to also paint on the sign instead of using the metal letters. Again…there are so many options when it comes to this shiplap sign!
This shiplap sign took me just under an hour to complete. This does not include the dry time required for the glue and paint. Below is a rough breakdown of the time it took:
- Prep Time: 35 minutes
- Paint: 15 minutes
- Assembly: 10 minutes

The weight of the shiplap sign is based on the size of the sign and the shiplap used. The Shadow Gap that I use makes the sign a little heavy. If I weren’t going to install these above my boys’ beds, I would use two hanging brackets per sign. I would secure the brackets to the plywood – not the frame. However, I am installing this above their beds and I’m super cautious anytime I hang things above their beds. Therefore, I will be screwing straight through the shiplap into two studs to mount them.
I just love how this sign turned out! It’s simple and perfect! I can’t wait it hang them in the boys’ room!!