
When I first found out that I was selected to participate in the Jeffrey Court Renovation Challenge, I was shocked, excited and honored. I have never participated in something like this and thought it was a long shot. After all, I just decided to follow my passion and start a blog at the beginning of the year!

I had so many ideas and I couldn’t wait to get started. The first few weeks seemed to drag. There were many long and tiring hours of juggling my family, the renovation and my part-time job. Every minute was so worth it! I learned a lot and feel like I have grown as both a designer and maker. I am so happy to share my finished mudroom!

Where It All Began

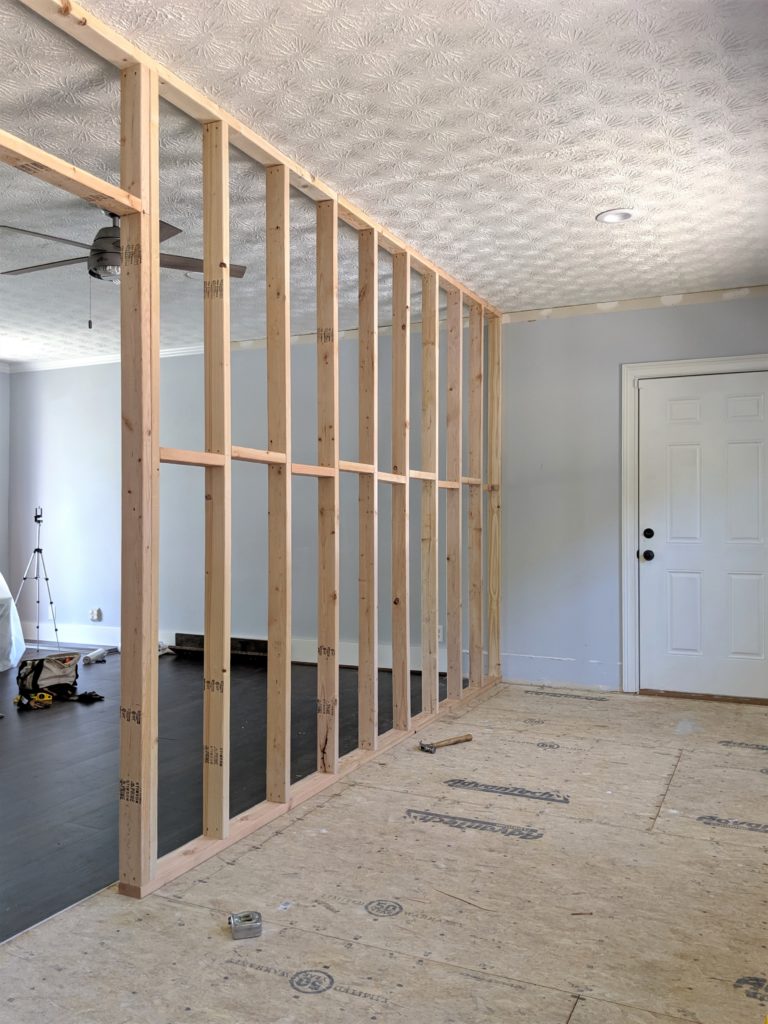
My incredible mudroom all began with an over-sized, under utilized playroom. There were two exterior doors leading into what we have deemed the playroom. To me, it just made sense to build a wall and create a mudroom.
A Mudroom in the Works
Since I discovered that our floors are “floating” floors, demo was a breeze! The next step was building the wall, with which I had zero prior experience. I was pleasantly surprised by how quick and easy it came together!
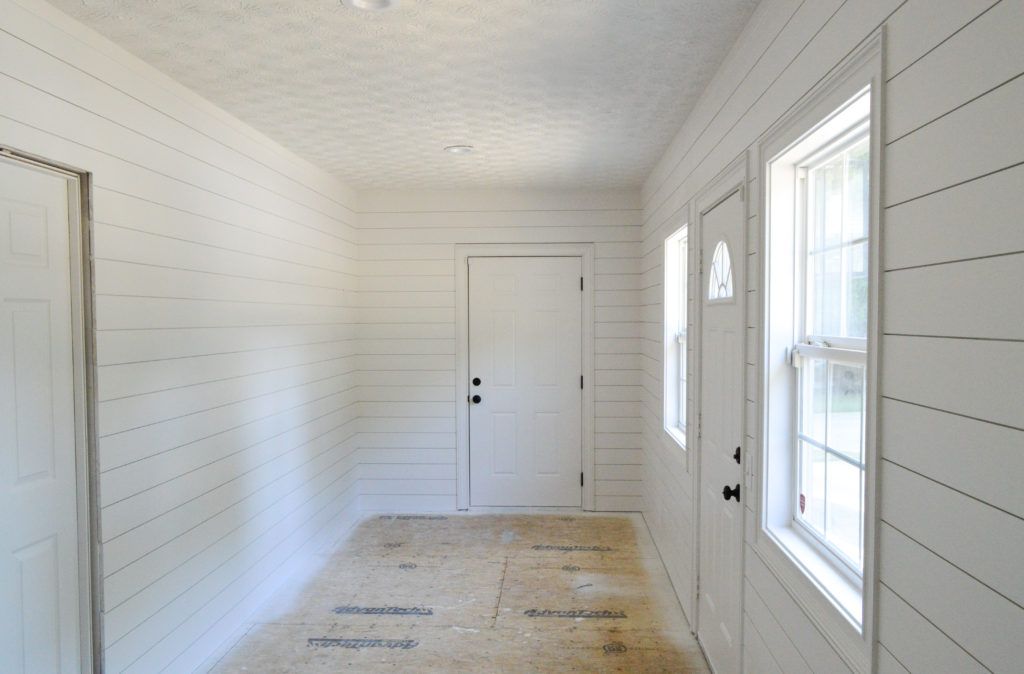
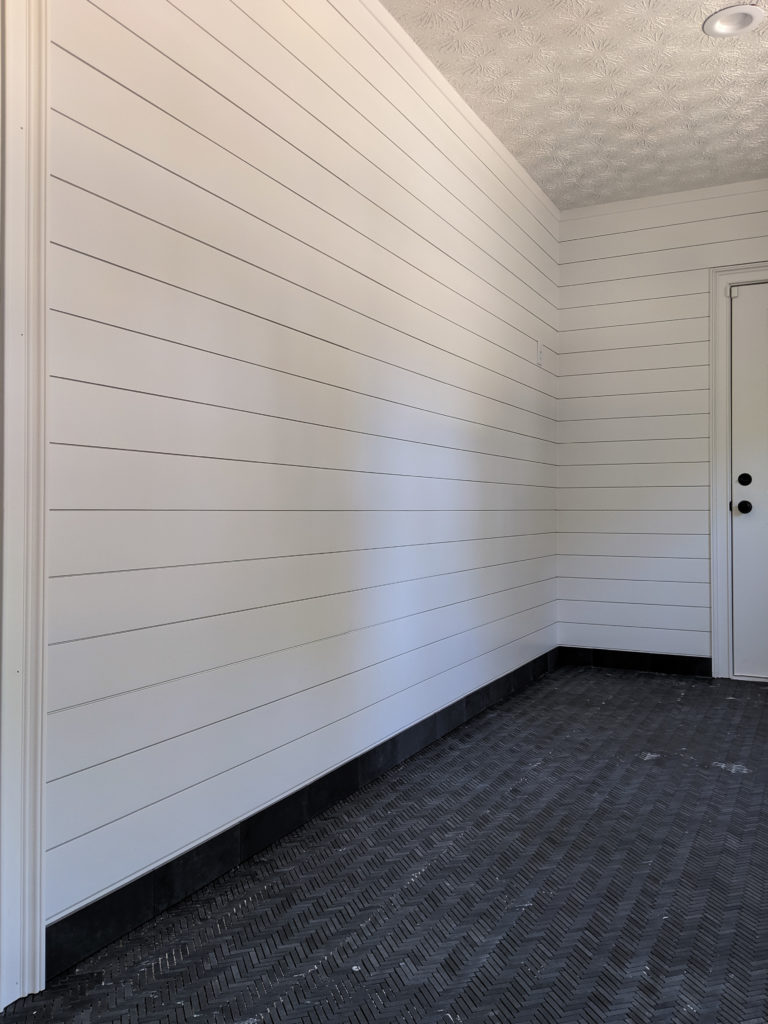
Once the wall was up, it was on to my favorite task…installing shiplap! I have shiplapped many walls in our home and was thrilled when my husband gave me the thumbs up to shiplap the entire mudroom! I decided to spray the mudroom with my Wagner paint sprayer to get a professional finish. Before I knew it, the room was closed in and fully painted!
Next up…TILE!!! I absolutely love the Jeffrey Court Basalt Herringbone Tile that I selected for the mudroom and couldn’t wait to see it installed. The herringbone tile paired with the Basalt Field Tile baseboard finished the room off quite nicely!
Storage Time
What good is a mudroom without storage?! I knew I wanted a large built-in, but didn’t want to break the bank. Instead, I decided to build one from scratch. I built it in three sections and was pleasantly surprised by how it all came together. I now have an 8′ long by 7′ tall built-in unit with lots of storage!

Utilize the Empty Space
I wanted to utilize every square foot of this rather large mudroom. I had one corner of the room that was awkward, unused space. Once the space was complete, I realized that I wanted to spend as much time in our mudroom as possible. The solution…add an office work space!

I didn’t want a large, invasive desk, but I did want even more storage (as if I didn’t have enough already). I made a small L-shaped desk with an old filing cabinet that we had laying around. If you need me, I’ll be in the mudroom!

Putting on the Finishing Touches
With two little ones, we have a lot going on and we struggle to keep our schedules straight. In an attempt to keep everyone informed, I decided to make a weekly chalkboard. I added just one more spot for storage…this little basket. In an attempt to hide the junk that will surely collect in the basket, I placed a wreath on top of it.
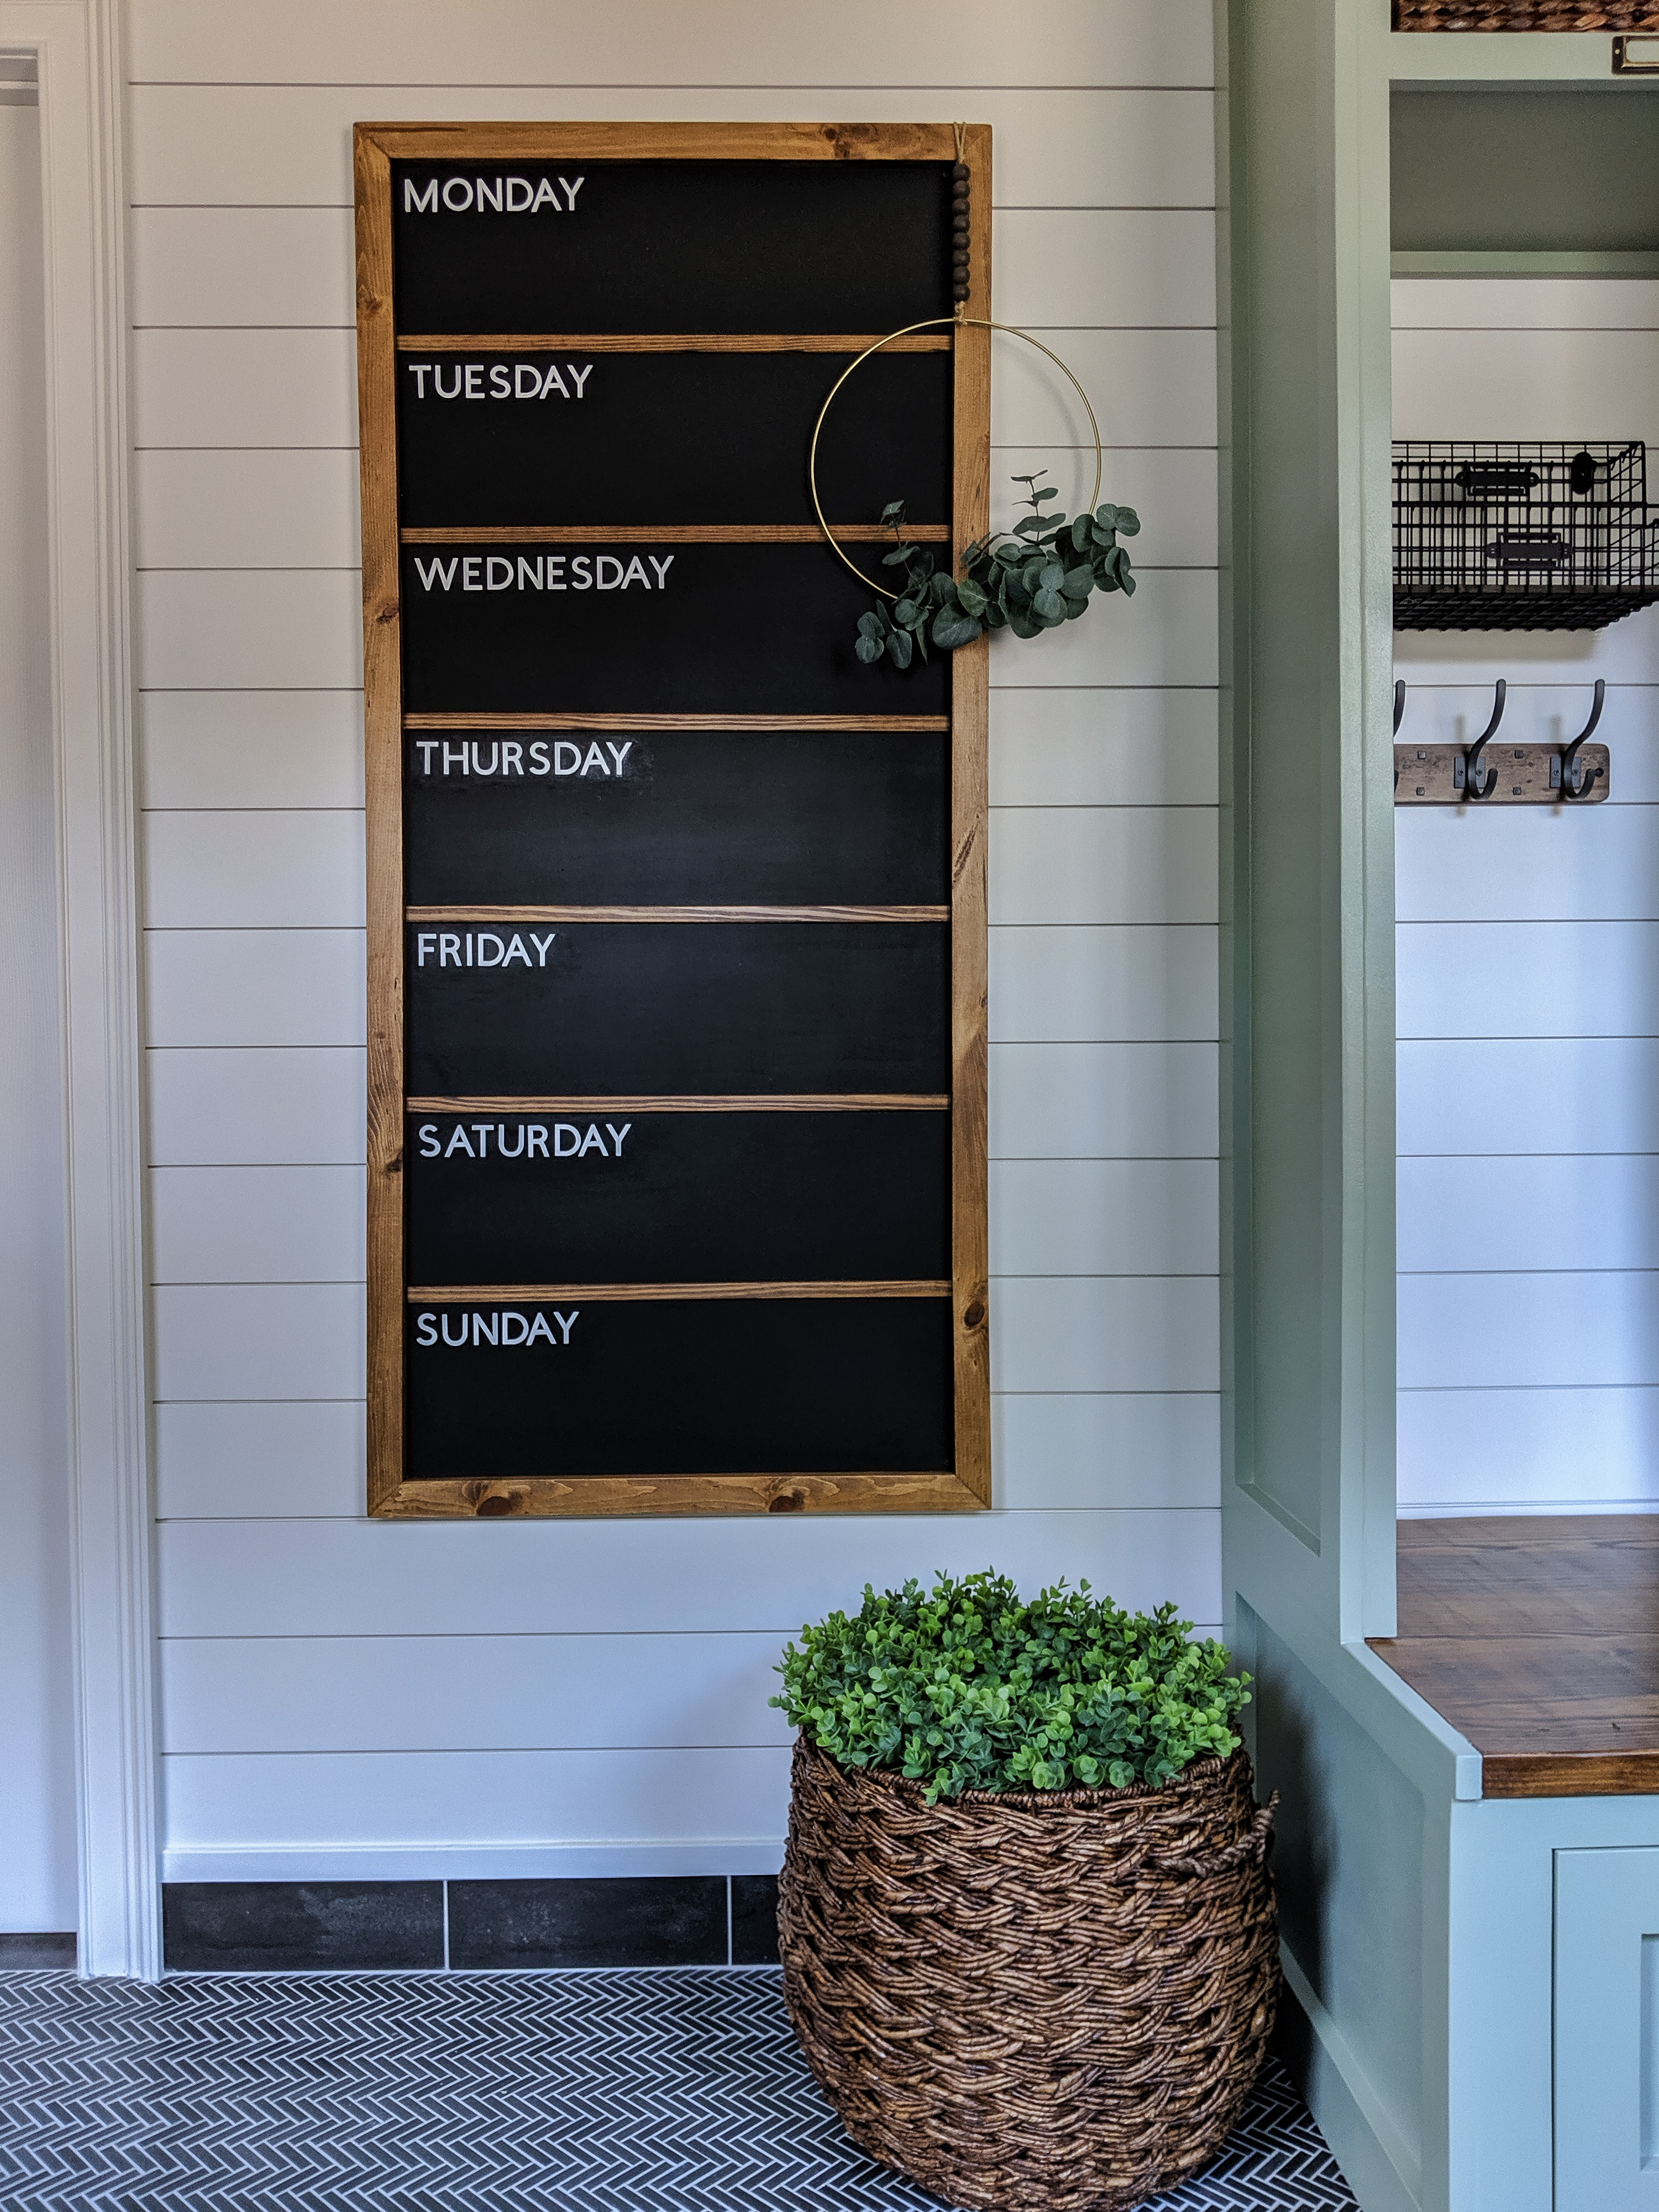
Along with Jeffrey Court and Homes.com, I had two other amazing sponsors, Spectrum Diversified and Wool+Timber. In addition to shoe storage, I wanted a place for everyone’s mail (no more mail on the counter!) and plenty of space for jackets and backpacks. I absolutely love Spectrum Diversified’s Vintage Living line and was thrilled to have them as a sponsor, providing the wire baskets and hooks!

Despite the fact that the mudroom is technically just an entryway to our home, I wanted it to feel like a cozy and welcoming space. Thanks to Wool + Timber, I added a lovely tapestry that warmed the space up quite nicely!

The Finished Product

I am so happy with how the mudroom turned out…it is exactly as I envisioned it!! It just goes to show that if you put your mind to something, you will succeed! It’s crazy to think that just two years ago I was afraid to use a saw and now I built everything in this mudroom!
THANK YOU!!
First of all, I want to thank Jeffrey Court for selecting me to be a part of this renovation challenge! It was an incredible experience and I have learned so much in the past six weeks! I also want to thank my sponsors: Jeffrey Court, Homes.com, Spectrum Diversified and Wool + Timber. Thanks so much for following along while I’ve created the mudroom of my dreams!
Final voting starts today. Please take a minute to go vote…I would greatly appreciate your support!

Below are the links for my sponsors:
- Jeffrey Court Basalt Herringbone Tile
- Jeffrey Court Basalt Field Tile
- Homes.com
- Spectrum Diversified File & Letter Holder
- Spectrum Diversified 3-Hook Wood Rack
- Spectrum Diversified Small Mail Bin
- Wool + Timber Custom Tapestry
Hi, Your mudroom is incredible. I have few questions about the desk. I saw the instagram story how you build it and I love it. Can I ask you where you purchase the file cabinet and the desk legs?
Thank you in advance!
Thank you so much!! The desk legs are from Hobby Lobby and the cabinet is just an old filing cabinet I had laying around.
Thank you for your message. Can I know the dimension for the file cabinet? All your posts are very inspiring.
The filing cabinet is 28″ tall. I’m so glad you find them inspiring…that is my goal! 🤗
Thank you so much for your answer. Can you please let me know the size of the file cabinet?
Thanks again and really love to watch all the posts that you did. Such inspiring!!