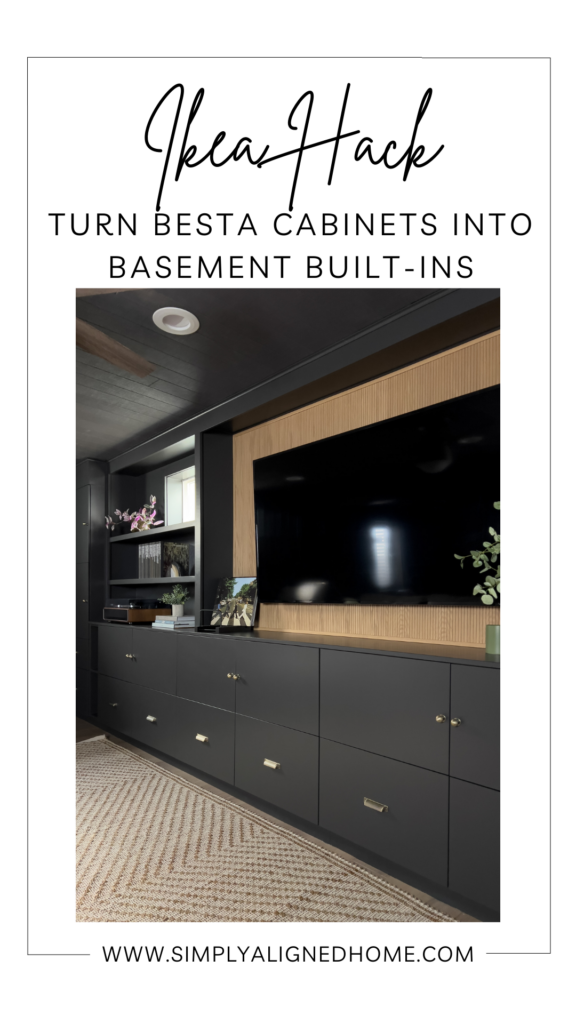
In this blog post, I will walk you through how to transform ordinary IKEA Besta cabinets into extraordinary built-ins!
I love a good IKEA hack, don’t you?! It’s no secret that I love using IKEA furniture for built-ins. One of my favorite IKEA hacks include taking Besta cabinets and turning them into something more! In our home, our basement is the hangout for all things lounging, gaming and movie watching.
I needed some type of system down there to house toys, tablets and games. When brainstorming ideas of what to build I thought why not use IKEA Besta cabinets!
**This post contains affiliate links to products that I used or recommend. If you purchase something through an affiliate link, I may receive a small percentage of the sale at no extra cost to you. I really appreciate your support!**
How To Build Basement Built-Ins Using IKEA Besta Cabinets
Assemble Besta Cabinets & Build Cabinet Base
Like many of my included tutorials, the initial step involved assembling the IKEA Besta Cabinets. Once assembled, the next phase was to create a base using 2x4s. Using 2×4’s I made a base that spanned the length of my wall that I would be building the built-in on.
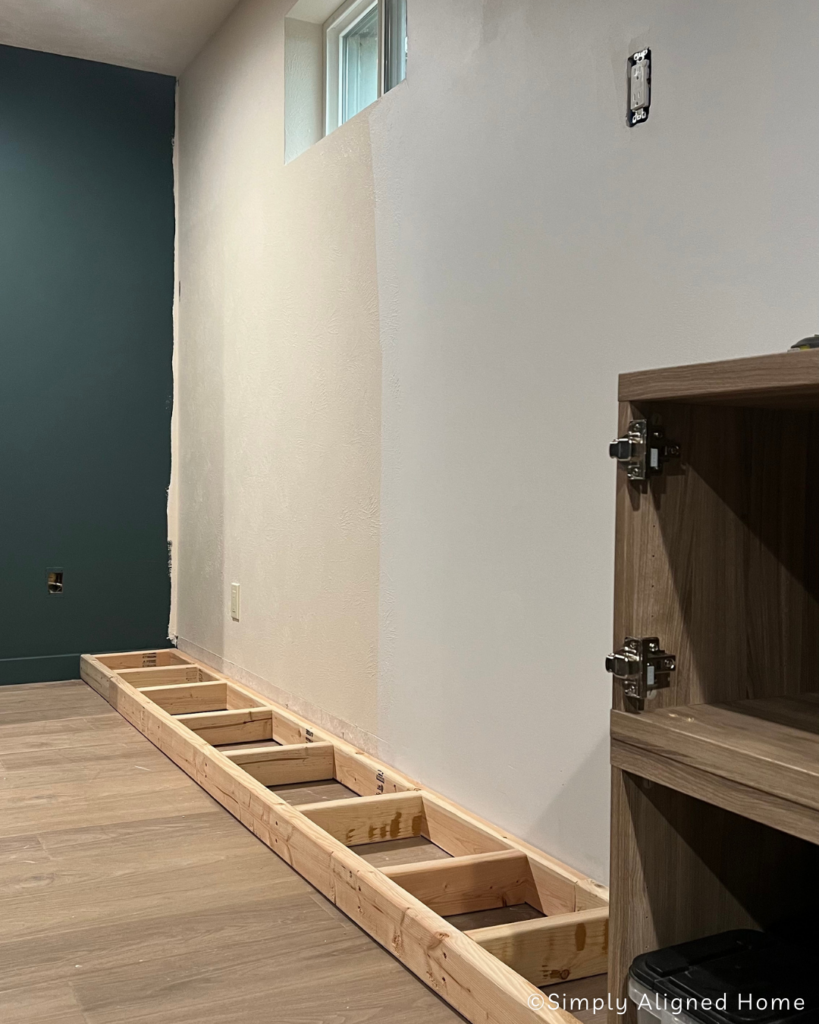
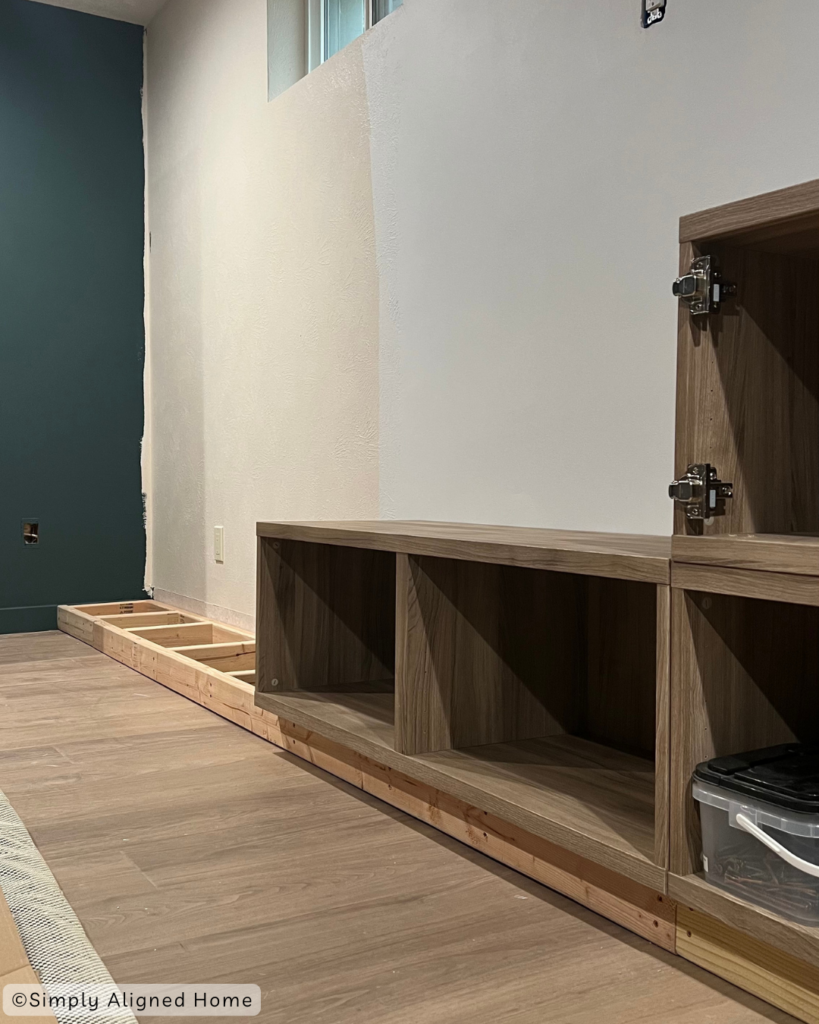
I almost always construct a base for my units to sit on top of. I always want them to be elevated just slightly off the floor. This gives them a built-in look that’s more professional and clean. For the IKEA Besta cabinets I chose to in-set the 2×4 base a little bit. Picture kitchen cabinets and how they have a toe kick along the bottom!
Build A Small Custom Cabinet
Once my base was attached to the wall with construction screws, I went and added all my Besta cabinets to the 2×4 base. I ended up having one tiny area that had an outlet on the wall and was to tight for a Besta cabinet.
This space was perfect for a custom cabinet, in which I was going to make into a designated charging station.
Using 3/4″ plywood I cut down what I needed and assembled using these corner clamps, wood glue and construction screws. By cutting out a hole in the back of the cabinet I was able to access the outlet and now my family will have a nice hidden charging station!
To attach the custom cabinet to the Besta units, I used construction screws to attach them side by side.
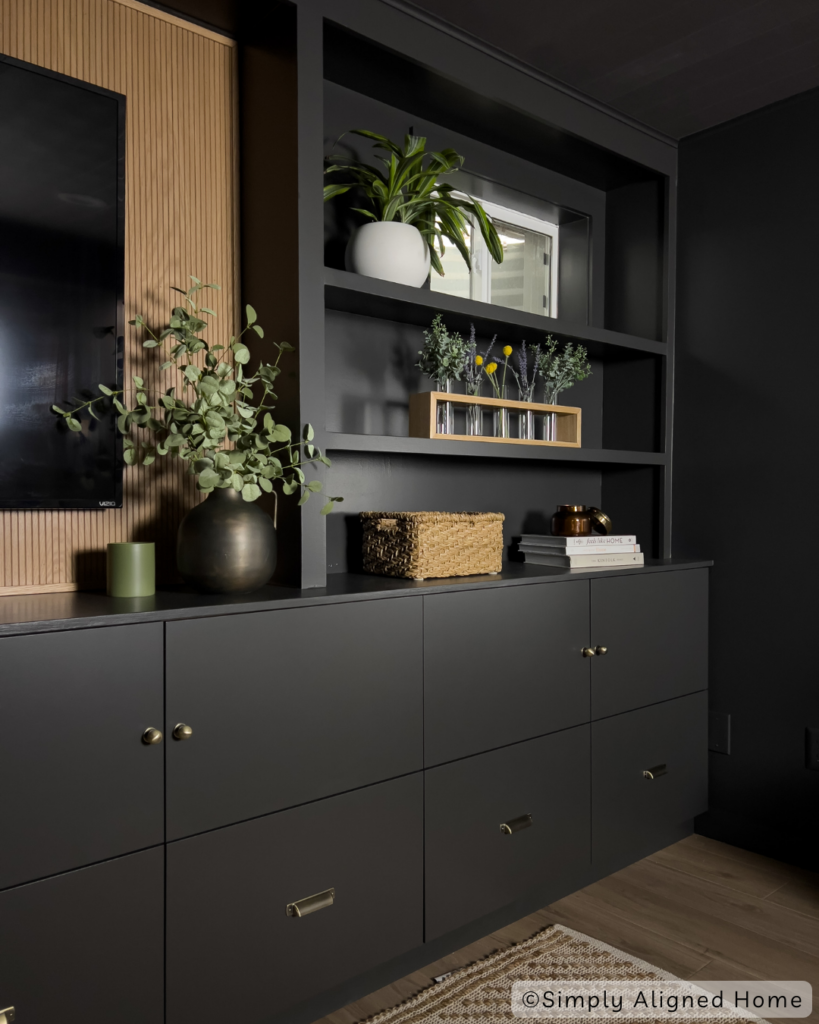
Make Shelving Units For Basement Built-ins
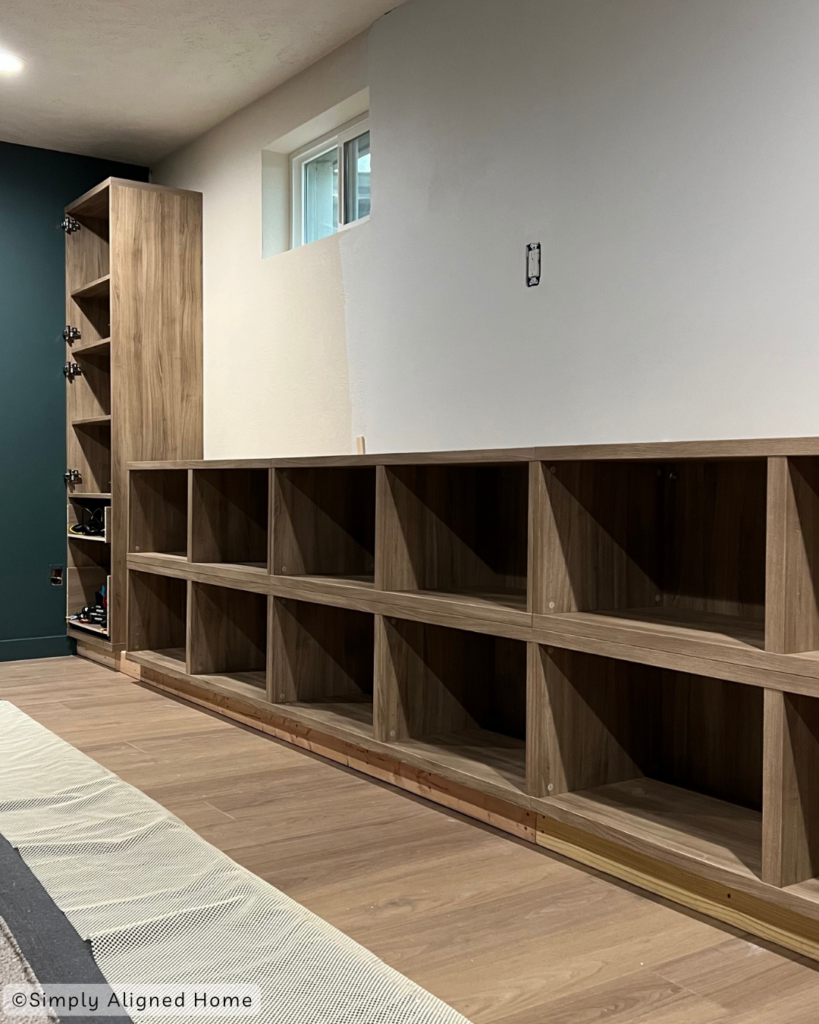
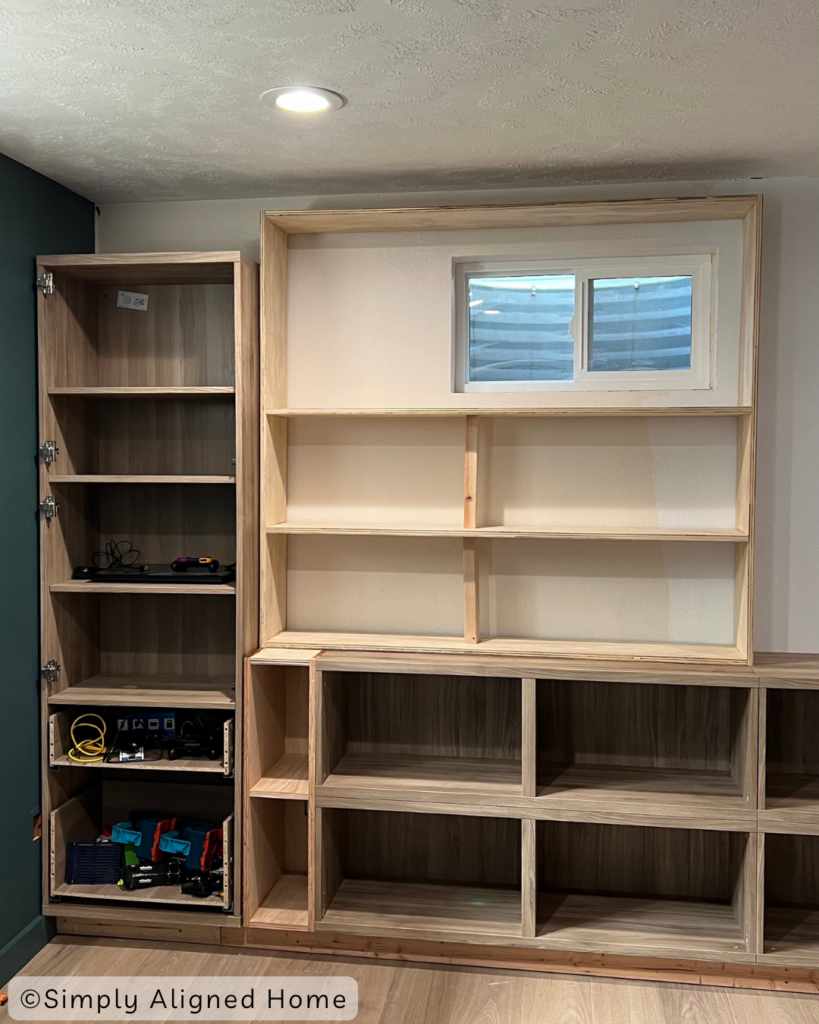
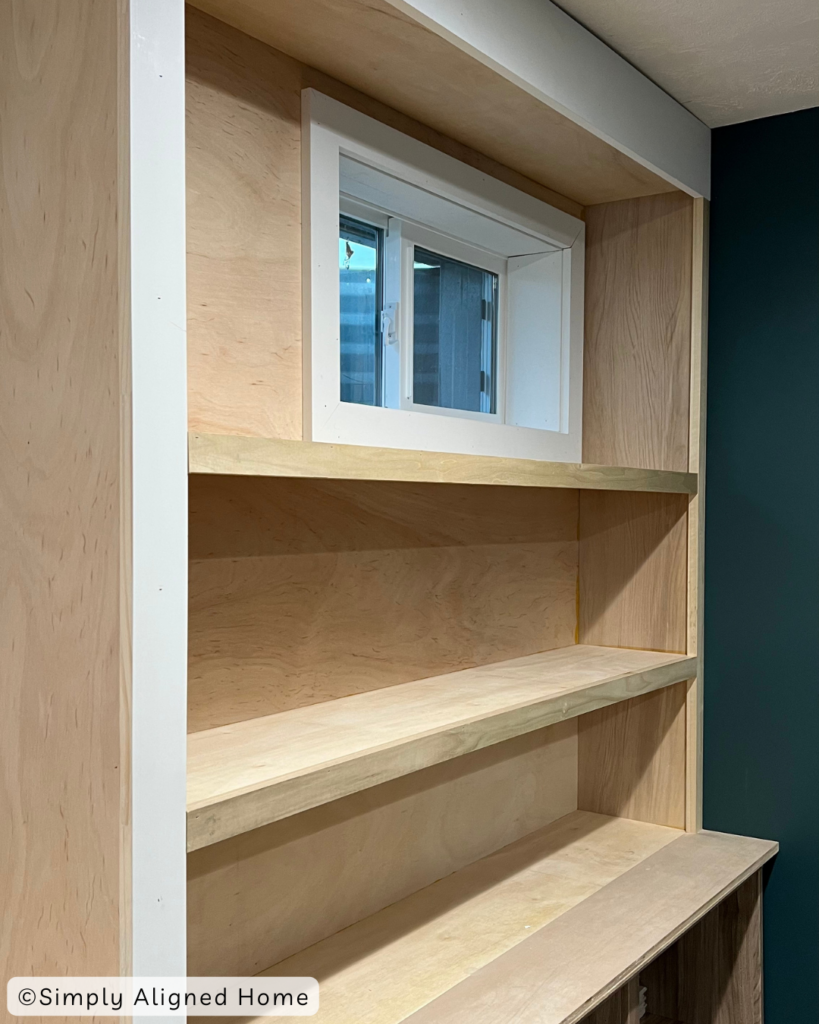
Using the same 3/4″ plywood I took my track saw and cut down longer pieces of plywood to assemble into shelving units. The plan was to build shelving units on either end of the built-in that frame out the windows. This will create a center point on the built-in where the TV will be mounted.
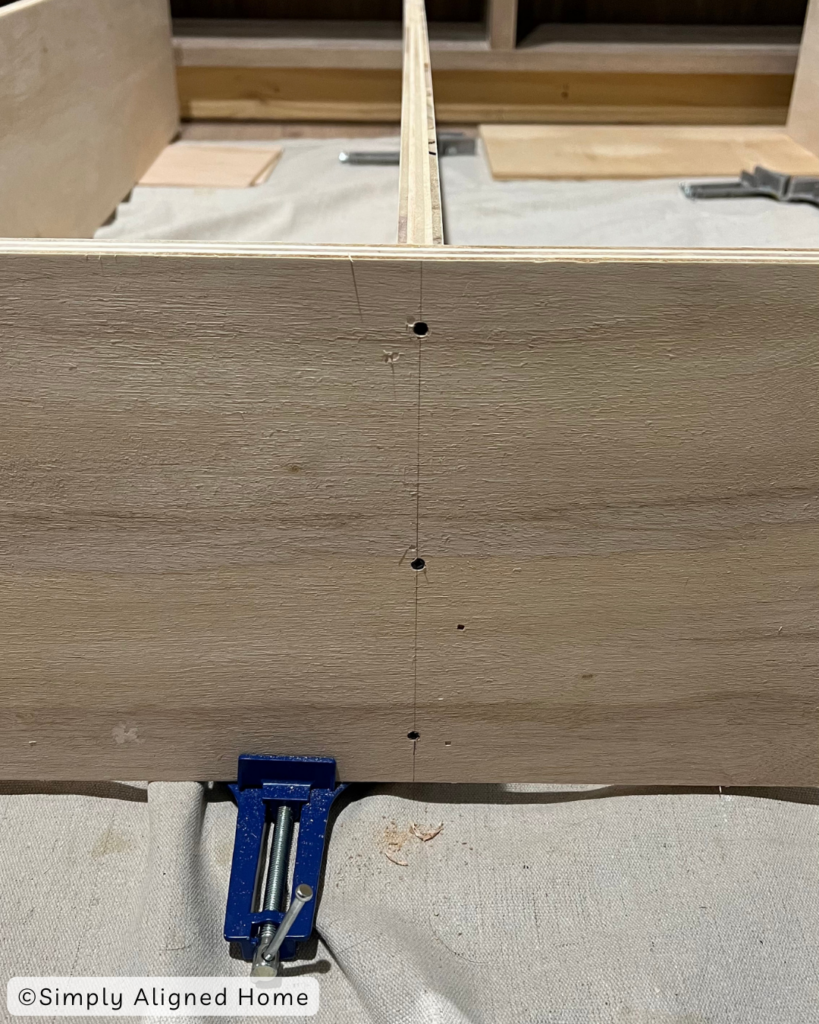
To assemble my shelves I used many corner clamps, trim screws and wood glue. Holding the unit together with the corner clamps I added wood glue to the ends of the plywood, pushed them in place and drilled pilot holes for my screws.
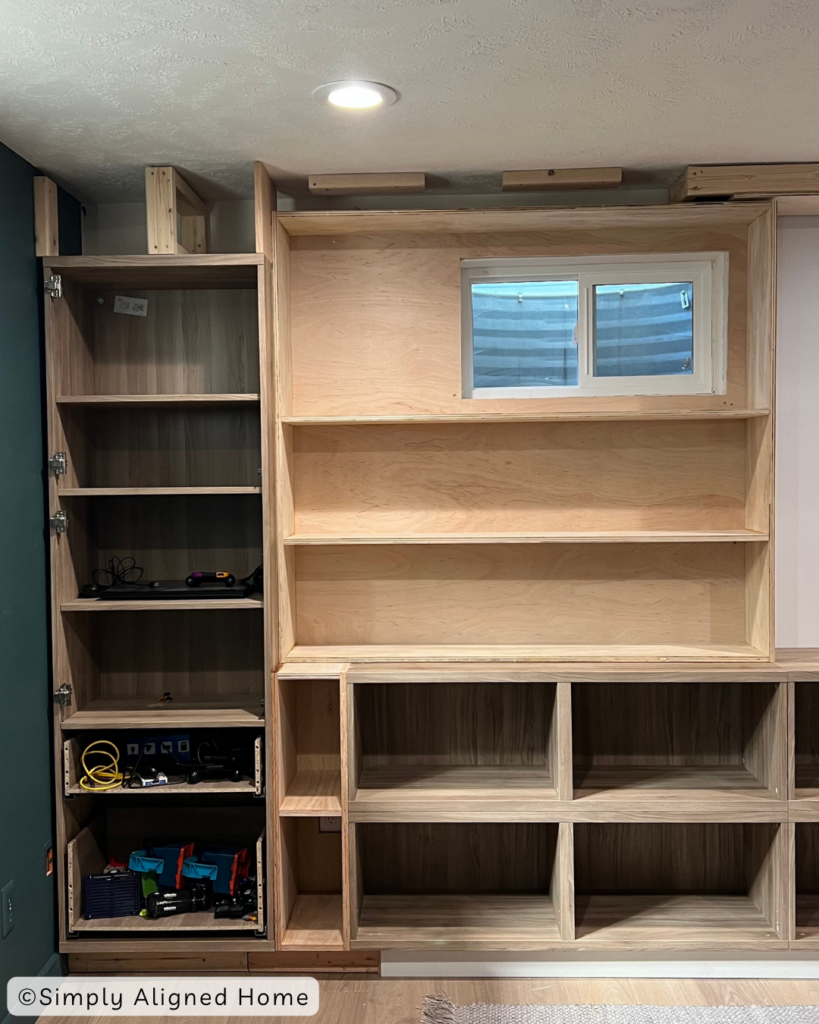
Then, I took my shelves and added them on top of the IKEA Besta cabinets. I wanted to add a back panel to the shelves but needed to measure where my opening was for the window. Once I had that measurement I took the shelving unit down, added the back panel and trimmed out my window.
Trim Out Built-In
Next step, is one of my favorites. There’s a particular joy in the process of adding trim to a built-in, transforming it from an assortment of random pieces into a meticulously crafted masterpiece!
To start trimming out the top of the built-in I added another 2×4 frame to the top of the unit. On the bottom of the 2×4’s I added a piece of 1/2″ plywood to cover up the framing. I went ahead and secured that to the ceiling and wall studs.

Since the top of this built-in is longer than 8 FT I installed the upper 1×6 trim in pieces. I secured the middle section of 1×6 with screws and the outer pieces of the trim with brad nails! To finish off the rest of the trimming I used 1×2’s for the shelf edges!
Trim Out Windows
I wanted the windows to look like part of the built-in so I decided to add some trim on the inside and outside of the window. Starting by mitering the edges of the 1×3’s that I used for the outer trim and then securing them to the wall with brad nails.
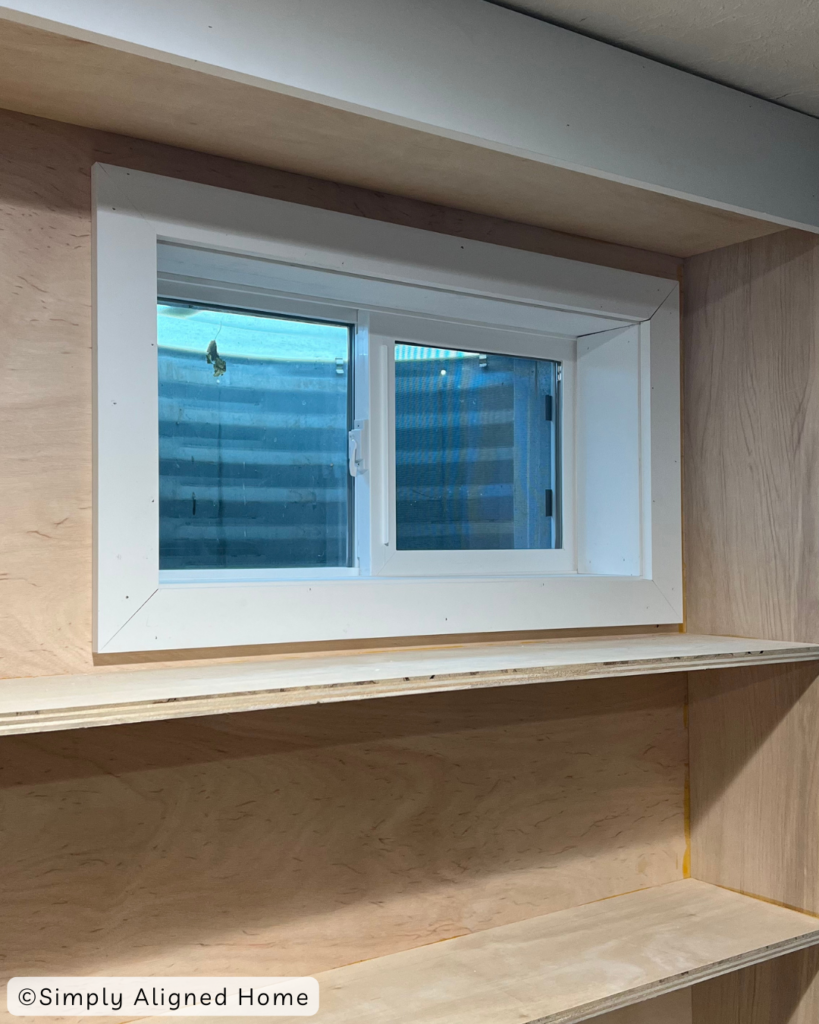
Finally, I caulked the seams and filled the nail holes with wood filler.
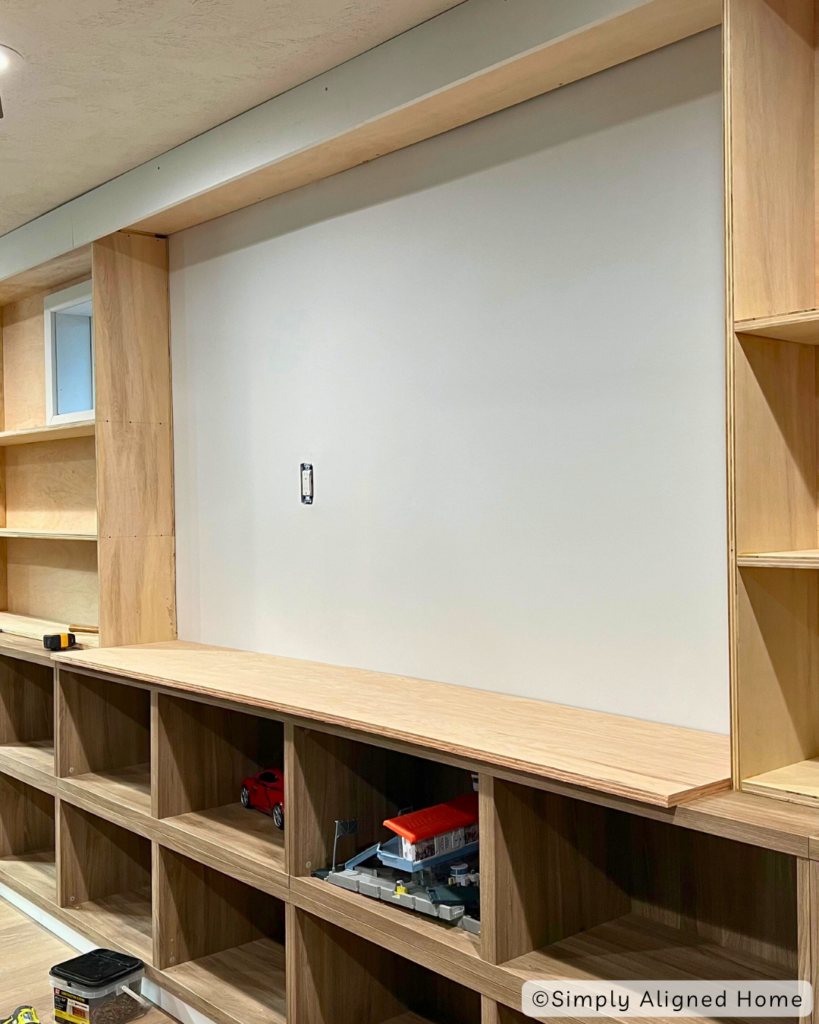
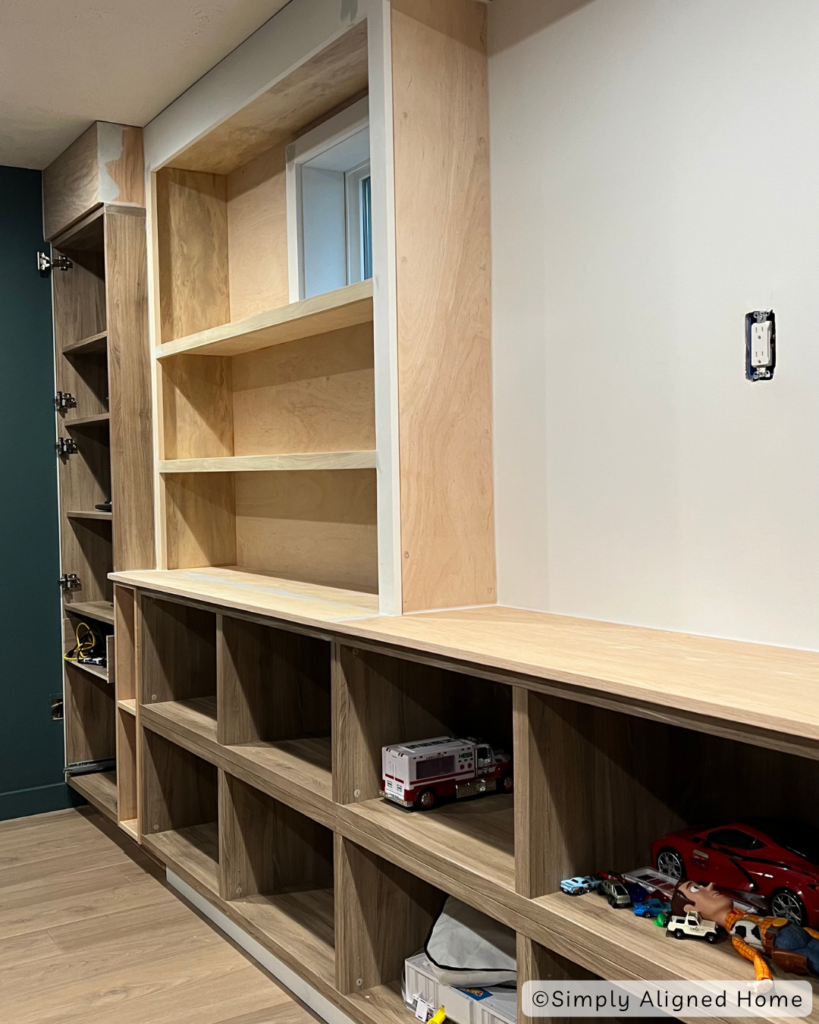
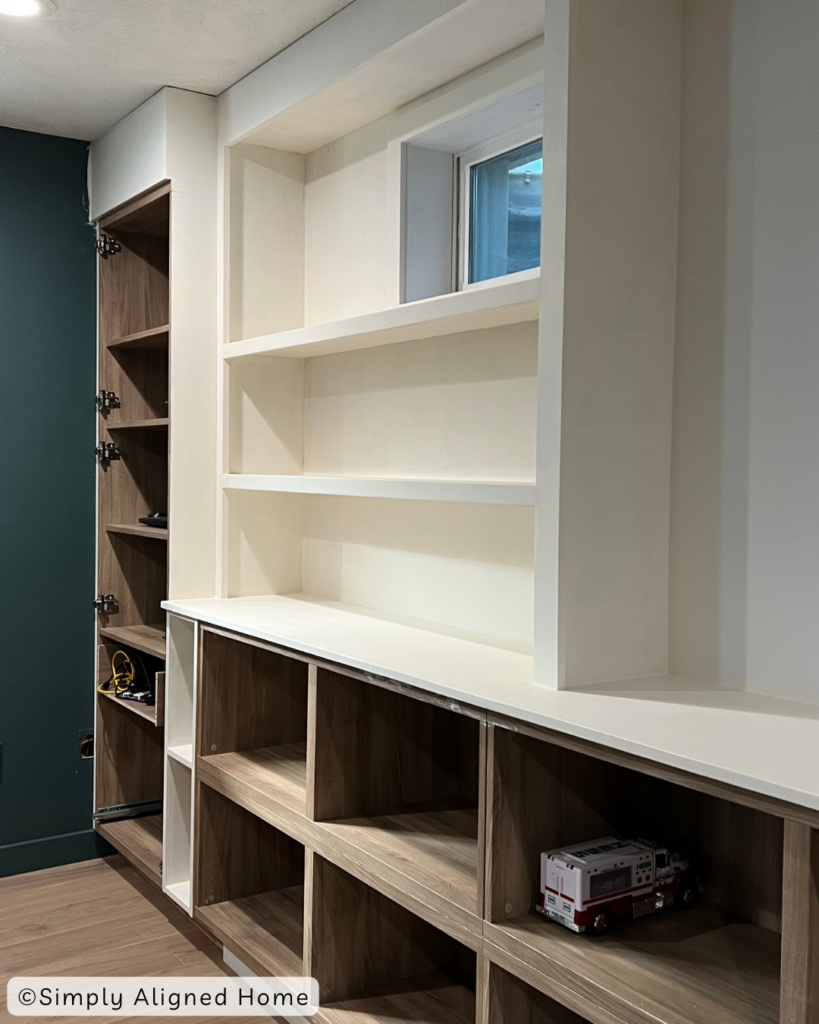
Add Countertop
I wanted to add a countertop to the built-in so all I did for this was add some plywood to the top of the unit. This isn’t necessarily the best and only way to do this but for this particular project I was okay with pieces together pieces of plywood for the top.
To hide the seams on the plywood I chose to use Bondo. Bondo really smells and isn’t my favorite to work with but it’s the only thing I know of that doesn’t end up cracking. When the Bondo dried, I ran my palm sander over it to smooth it all out!
How To Paint IKEA Besta Cabinets
I won’t go into detail on how to paint IKEA furniture but if you want a more in-depth tutorial I have an article that does just that! I talk more on why I use a good shellac primer and why it’s important to sand in between coats! You can read that article HERE!
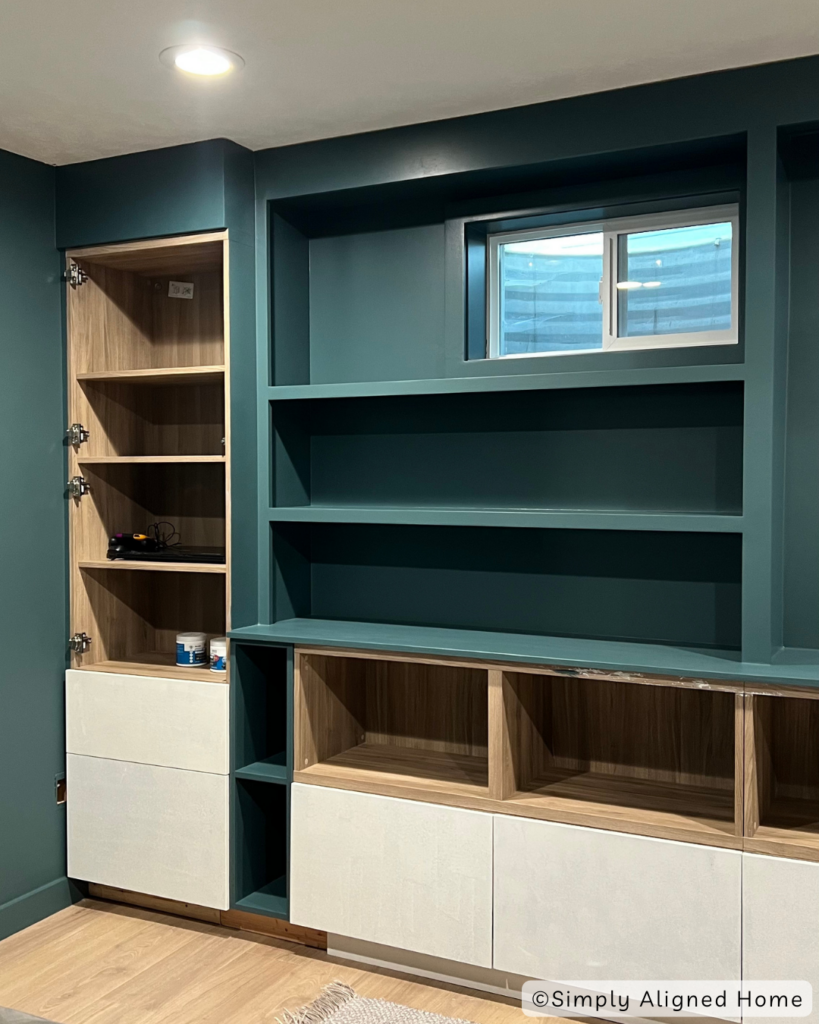
Pretty much all my steps are the same when it comes to painting IKEA furniture. Prime with a shellac primer, lightly sand cabinets, then paint with an enamel paint!
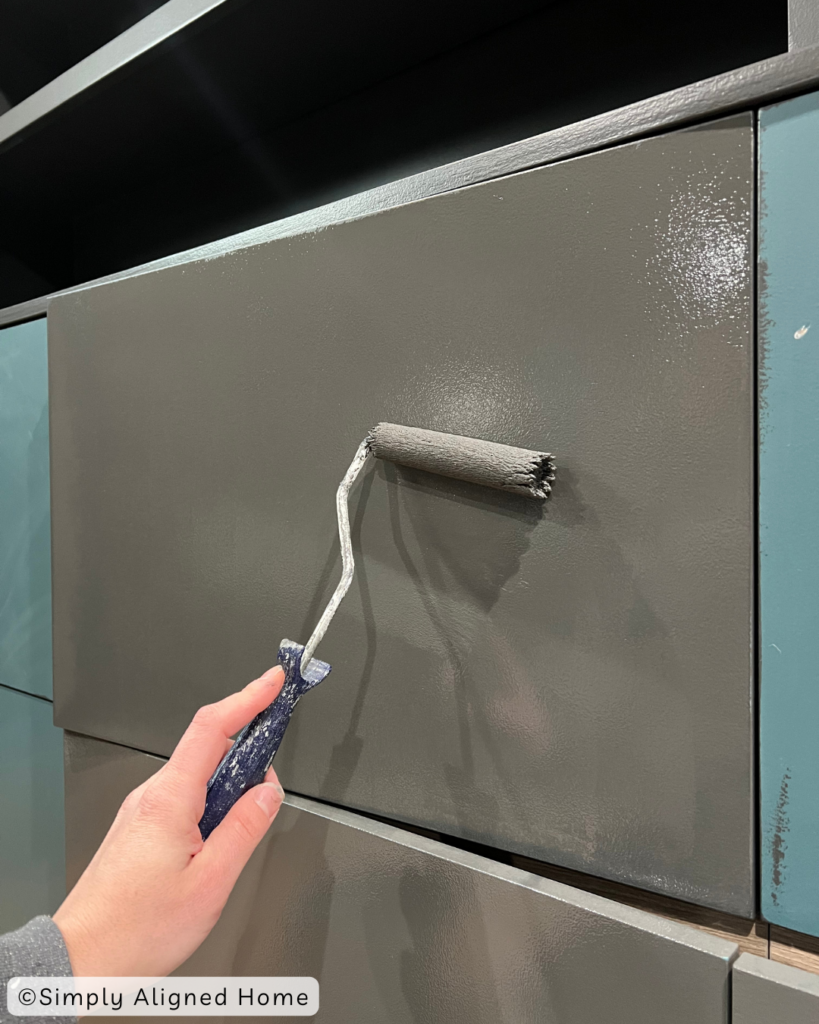
In this picture you will notice that I am painting over the blue color I had painted previously…I loved the blue but it wasn’t the vibe I was aiming for! So months later, I chose to repaint my basement and the built-ins Iron Ore from Sherwin Williams.
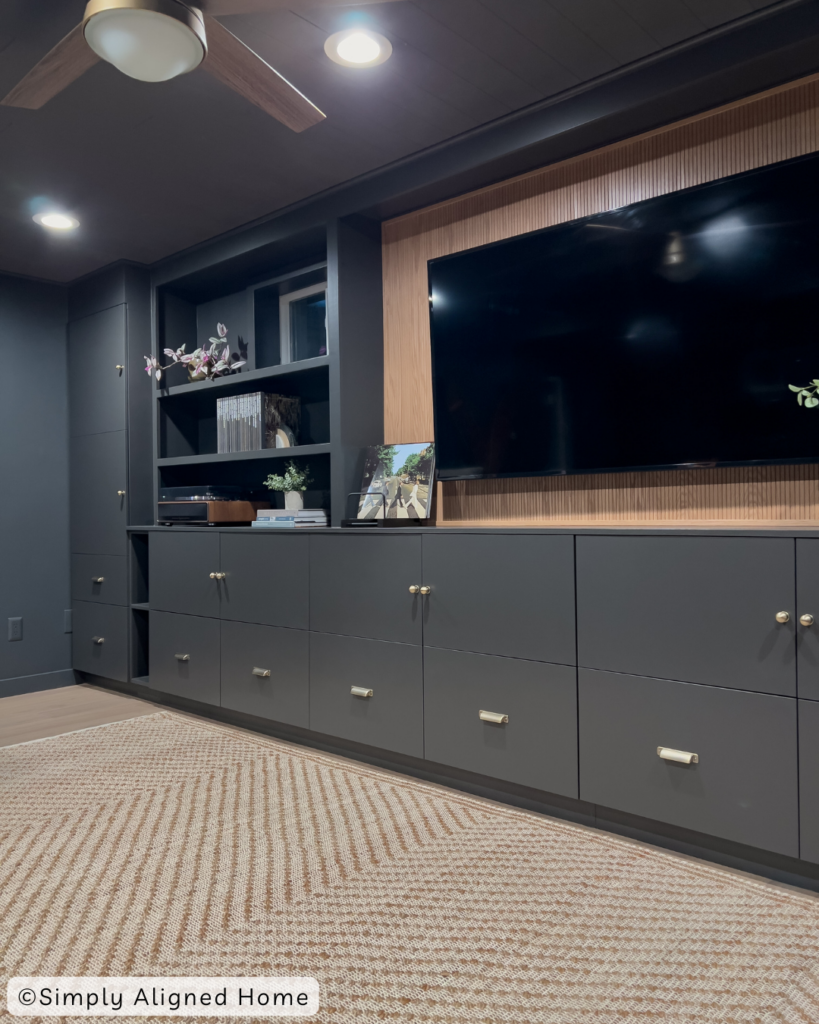
Adding Pole Wrap Behind The TV
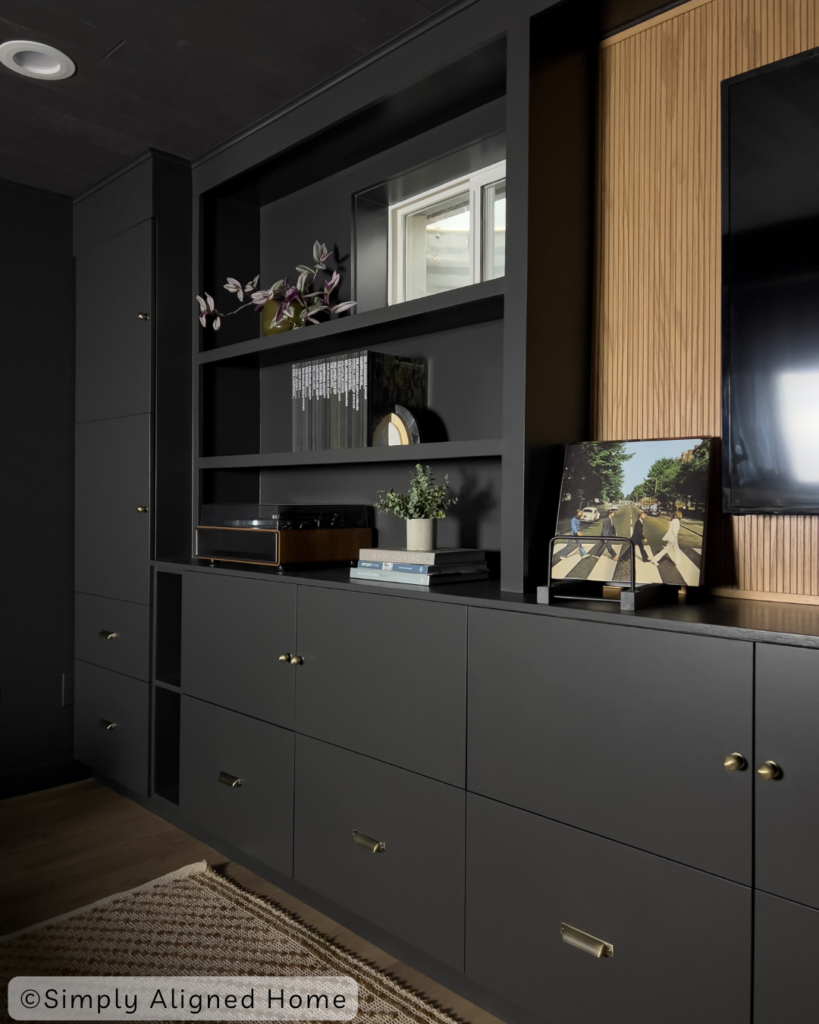
After I repainted the built-ins months later, I decided that I really wanted a wood feature behind the TV. I decided to add pole wrap! Pole wrap has an oak wood veneer over particle board with a flexible backing. It can be stained like wood, but I found out that it’s not a very durable product.
It’s great for cosmetic updates, but you’ll want to install it over a solid surface and avoid high moisture areas!
To attach the pole wrap I added construction adhesive to the back and then added some brad nails for extra support. I also added some small trim around the edges of the pole wrap to finish it off. After getting that installed I stained it my favorite stain combo and sealed it with a coat of poly!
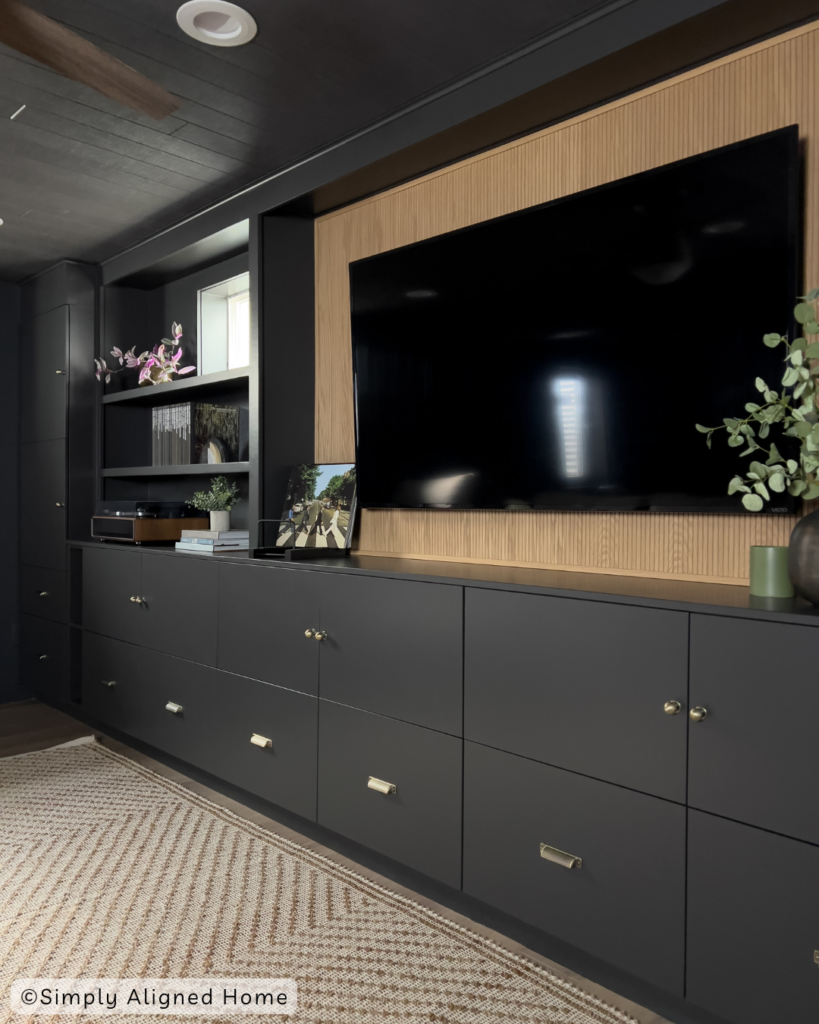
What do you think? I love it, and I’m so happy I switched up the color and added some wood contrast to the built-ins! I hope this inspired you to build some built-ins in your space. IKEA Besta cabinets really are so nice to add to a space and I’m happy with how it turned out.

**Note: I am not a professional and do not claim to be an expert. Please be sure to always read instructions for all tools and products. Safety is very important and should be your top priority. Wear necessary protection when using tools (eye wear, hearing protection, gloves, etc.) and dust masks when sanding or cutting. Simply Aligned Home is not responsible for any injury or damage. All of my designs are not professionally designed and are for private use only.**
Materials Used
- 2x4s
- 3/4″ Plywood
- 1×6-Trim Pieces
- 1×2-Trim Pieces
- 1×3-Trim Pieces
- Construction Screws
- IKEA Besta Cabinets
- Wood Glue
- Brad Nails
- Caulk
- Wood Filler
- Bondo
- Sandpaper
- Shellac Primer
- Enamel Furniture Paint
- Pole Wrap
- Stain & Polyurethane
- Construction Adhesive
- Cabinet Knobs
- Cabinet Cup Pull
Tools Used
- Impact Driver & Drill
- Track Saw
- Rip-Cut Saw Guide
- Circular Saw
- Corner Clamp
- Miter Saw
- Measuring Tape
- Level
- Brad Nailer
- Palm Sander
- Paint Roller & Paint Brush
- Paint Pail